When you click on links to various merchants on this site and make a purchase, this can result in this site earning a commission. Affiliate programs and affiliations include, but are not limited to, the eBay Partner Network.
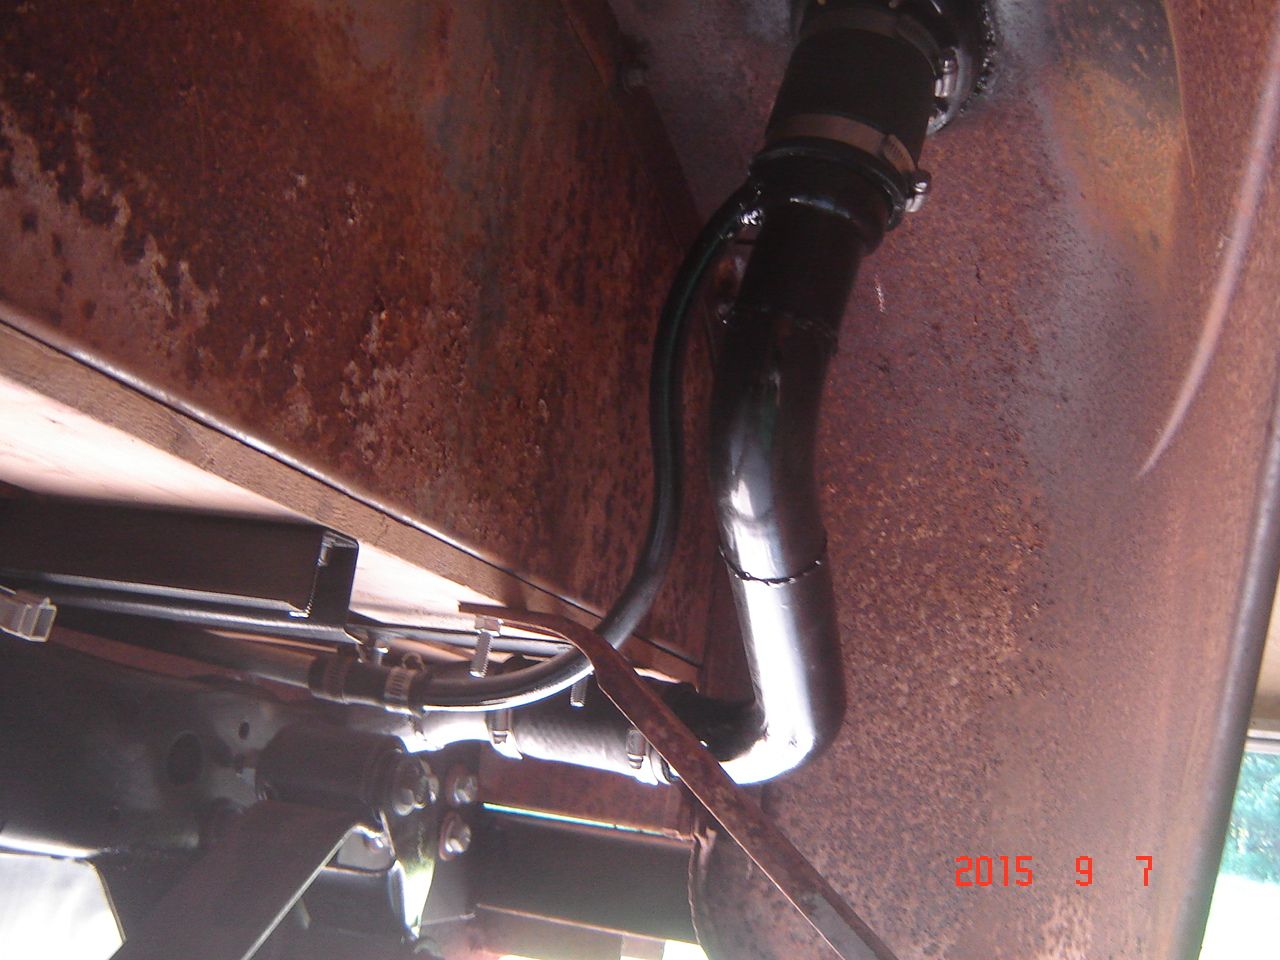
Got a couple things done this morning before heading out for a party. Fuel filler is in.
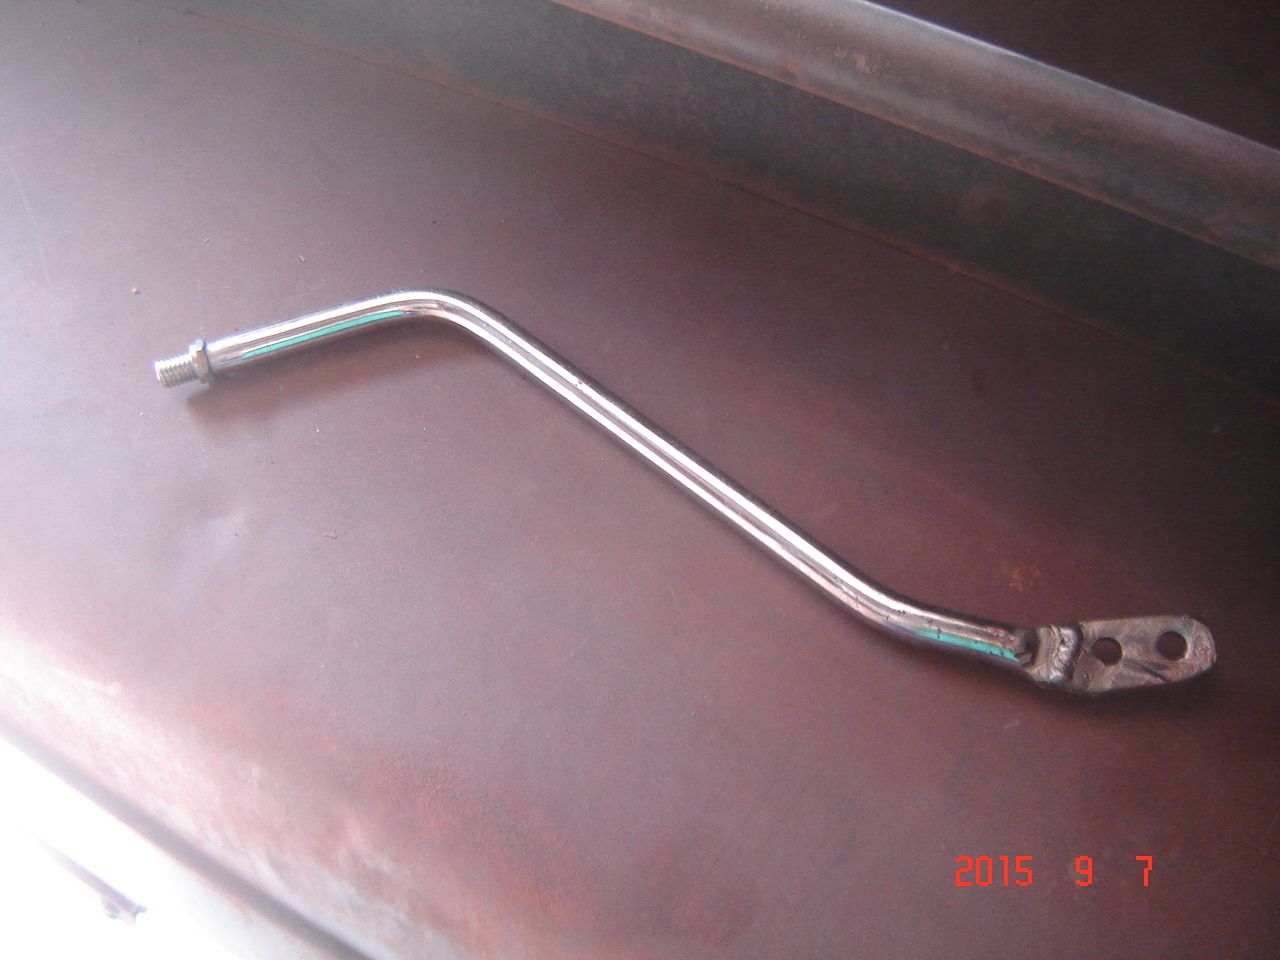
Modified this shifter handle, it actually looks like it is going to work. While I am at swap meets I am always on the lookout for $5 - $10 funky modified shifters that arent worth anything but have good handles. This was off some home made deal and had already had the handle modified, I just had to cut it again and change the angle.
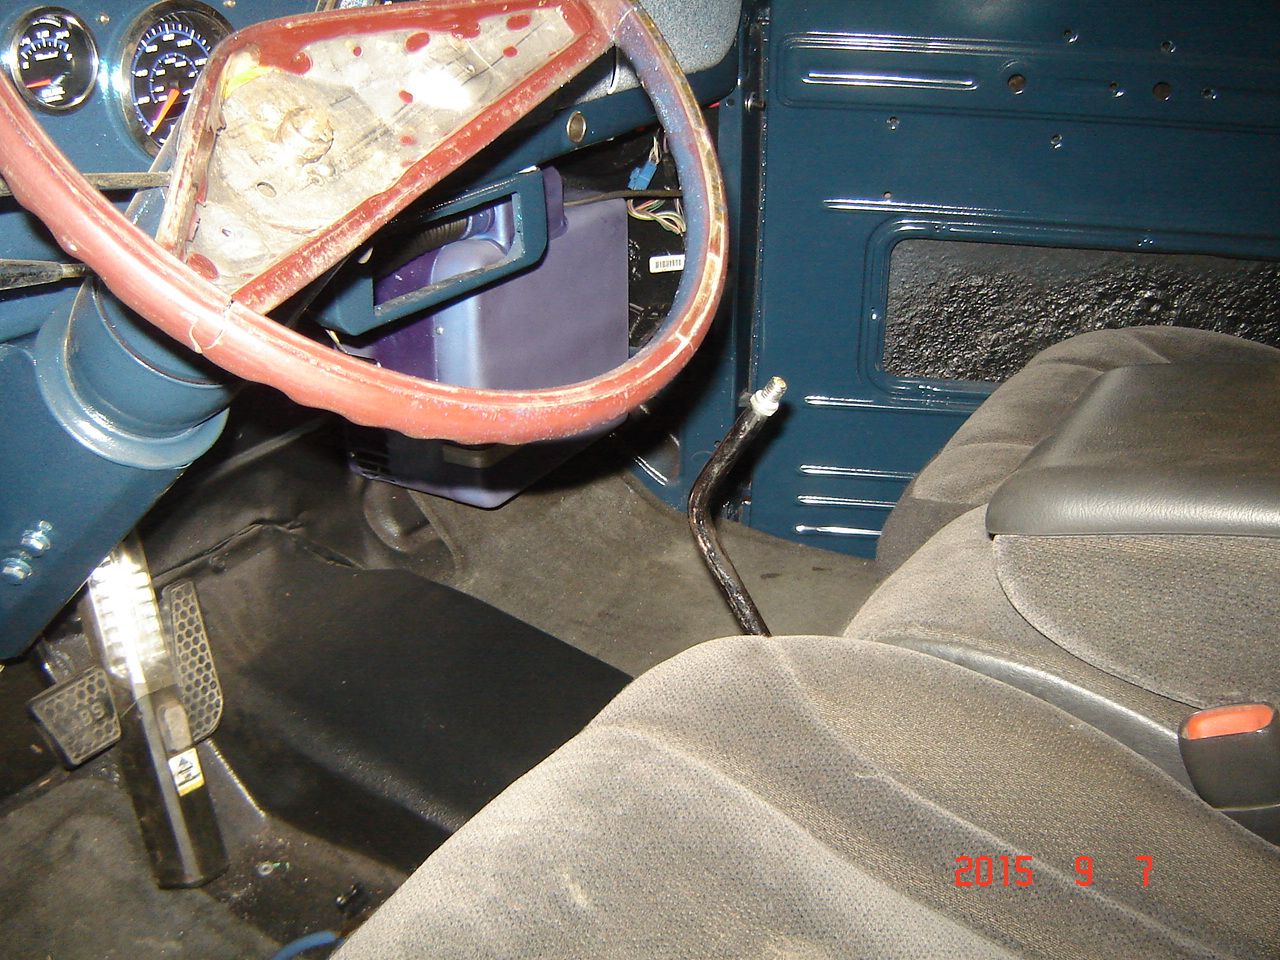
Placement is fine with the bench seat and not too far a throw either. Yes I have to change that dang steering wheel!
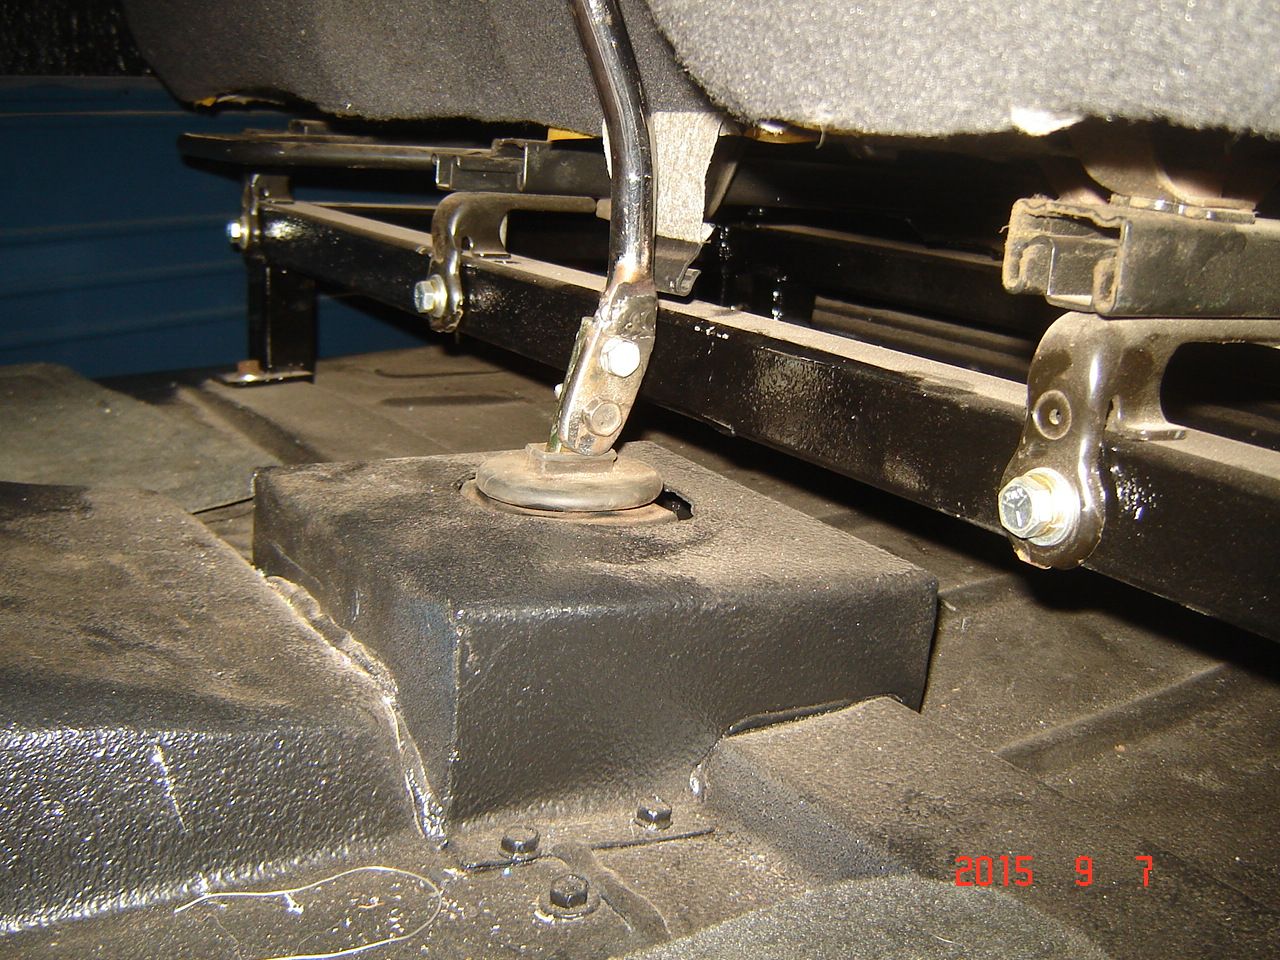
Clears the seat frame OK. Have to figure out the threads for a shifter handle and then make or buy something, not sure what I want yet.
Maybe tomorrow she will fire and be driven out of the shop? Been 13 months since this thread started.
I'm just pulling your leg - you've done a great job building your truck.
It's amazing what you have done in such a short time. Make sure your wife or daughter is ready for that first video!
I did fire the truck, but first fire off I am more concentrated in going over all systems. I knew the truck would fire as I had already tested the ignition, so I just added some gas and cycled the fuel pump a few times until I had fuel pressure, then fired up first hit of the key...and as normal I have a couple things to take care of. <p> CTS, cooltant temperature sensor, was intermittently reading -35C, which makes the PCM go full rich, traced to a flaky connector at the sensor, I will replace that tomorrow. Also alternator is not charging, found that when I shrunk the harness down I removed a circuit that was in the Z28 cluster, so need to provide a 12v switched line through a 470 ohm resistor to excite the alternator. Should be charging then. <p>
Good news is there is 50 pounds oil pressure, no coolant leaks, no fuel leaks, and actually no PS leaks, the tower seal seems to be working fine. Tested the clutch, all good, but didnt move the truck out with the two issues to fix.
I will try and get a video, but the engine is a "bit" loud and it may not be easy to get sound that isnt saturated. <p>
I dont think this engine will be in this truck for more than a full season, it is a pretty stupid engine and reminded me why I stopped putting stuff like this in daily drivers!
Dave thank you for this thread/build your are very good at this and I have learned a little from it
I've also copied a few things like the fuel fill/cap doing that I hope today
Would like to see the #1 truck how is that going
Dave thank you for this thread/build your are very good at this and I have learned a little from it
I've also copied a few things like the fuel fill/cap doing that I hope today
Would like to see the #1 truck how is that going
Glad I could help, take whatever you want idea wise, I am not the first to do this stuff and certainly not the last.
LOL on the gas filler I put this on in case my wife is driving this thing
Steering wheel changed, this one was from the donor camaro so free
Still may switch to a 60s steering wheel painted blue metal flake, but will decide for good someday.
Here is a good shot of the gas tank, have to get down low to see it and it fits up there nicely.
As promised here is a quick video of the engine running and I tried to get the exhaust. Should be quieter with the tail pipes, but I assume still pretty loud.
I used a bungee cord to hold the passenger door shut and drove it up on the road a bit, this thing is completely stupid. May have to drop this engine into one of my Novas that can actually handle some power because this is only going to burn rubber, already tested the posi, it works
Oh yeah and truck #1 isnt dead, just still waiting on my cab and bed to come back to me. I am hoping to paint all the body parts over the winter and do assembly in the spring, but I will not be going as hard on it as I have some house projects to do as well. It will be finished for sure, and not in years, cause I have other cars waiting for me.
Dave you get an incredible amount done in such short time. I enjoy your posts because i think we started our vehicles about the same time and you seem to breeze thru the mechanical part. I hope your house projects go just as quick so you are back posting again.
Dave you get an incredible amount done in such short time. I enjoy your posts because i think we started our vehicles about the same time and you seem to breeze thru the mechanical part. I hope your house projects go just as quick so you are back posting again.
Thanks but you are not getting rid of me that easy!
Firing the engine is just another step, still have to hang the nose, install the glass, put the doors back together, do the tail lights (NOT regular F1 lights as you will see), tail gate install, etc..and a few other details.
Dave,
Very impressive, I've just spent the last 2 nights reading the write up.
How are you finding the Jag IFS? Nothing on CL around my area, NW Indiana.
Thanks,
MrBlue54
Dave,
Very impressive, I've just spent the last 2 nights reading the write up.
How are you finding the Jag IFS? Nothing on CL around my area, NW Indiana.
Thanks,
MrBlue54
Thanks, I just keep an eye out on craigslist for XJ6s, I bought 4 complete cars this summer and there are more on craigslist for sale. Normally can get them as non runners for $500 or less, take what I want and scrap the rest, and I end up with the IFS for almost nothing out of pocket or free. This is one I picked up last month, around 50k miles and sitting for years. I bought the IFS in this truck for $250 but now just buy cars since it is cheaper in the end.
I wont bother with the XJS because I dont want the heavier front springs, the XJ6 springs are plenty stout. Right now I am barely off the front bump stops with the fenders and hood off the truck.
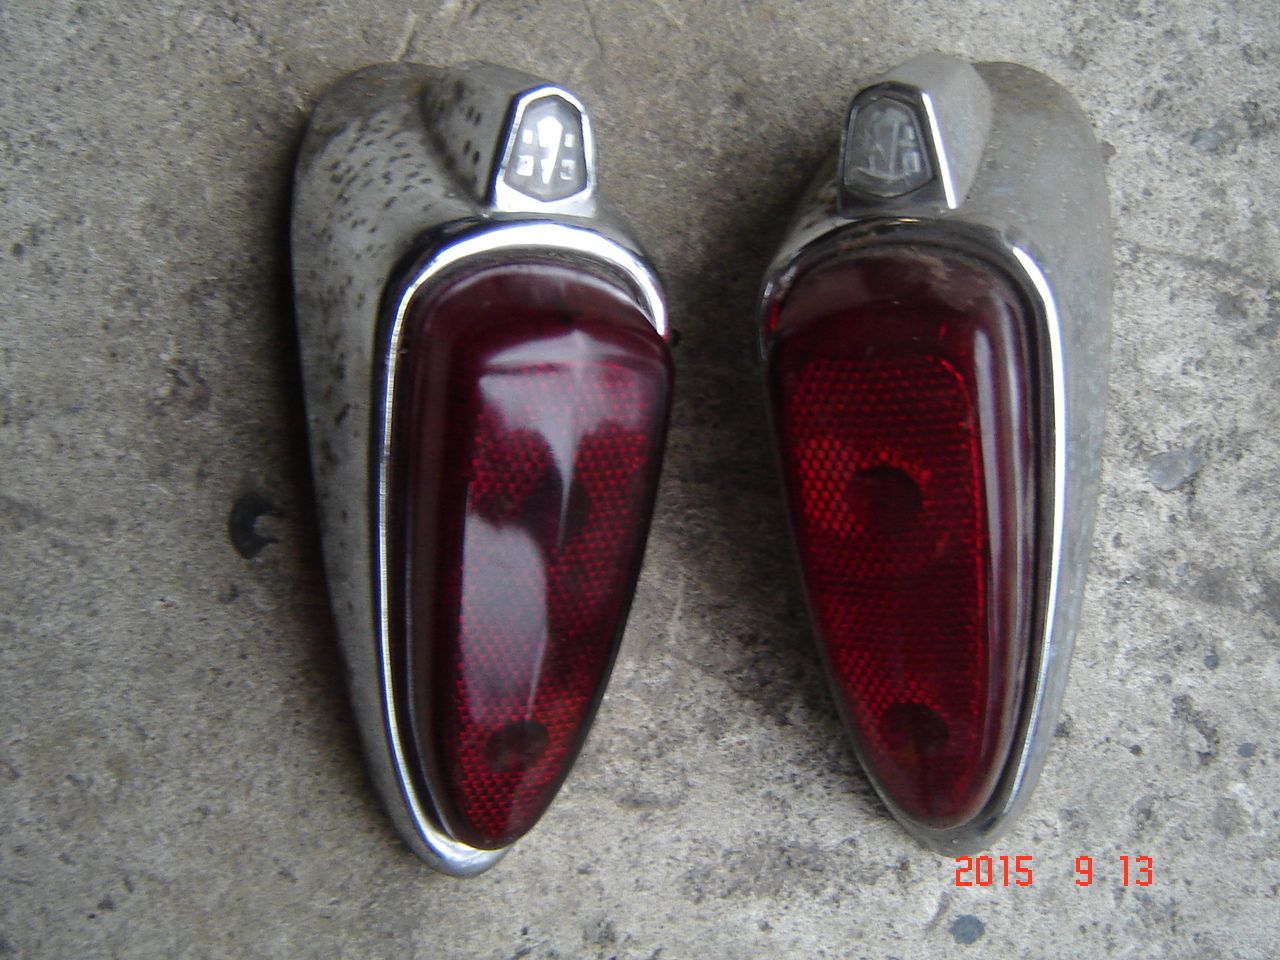
I didnt want stock tail lights, had to be something different. Picked these up last year at a swap meet, $20 for the pair. The housings are too pitted for a painted truck, but for a rat rod, or patina rod, or whatever you want to call this thing they are perfect.
Didnt know what they were from, but they had a curve to the housing so I knew they could be made to work on one of the F1s. Come to find out they are from a 1948 Hudson, so that is definitely a little different.
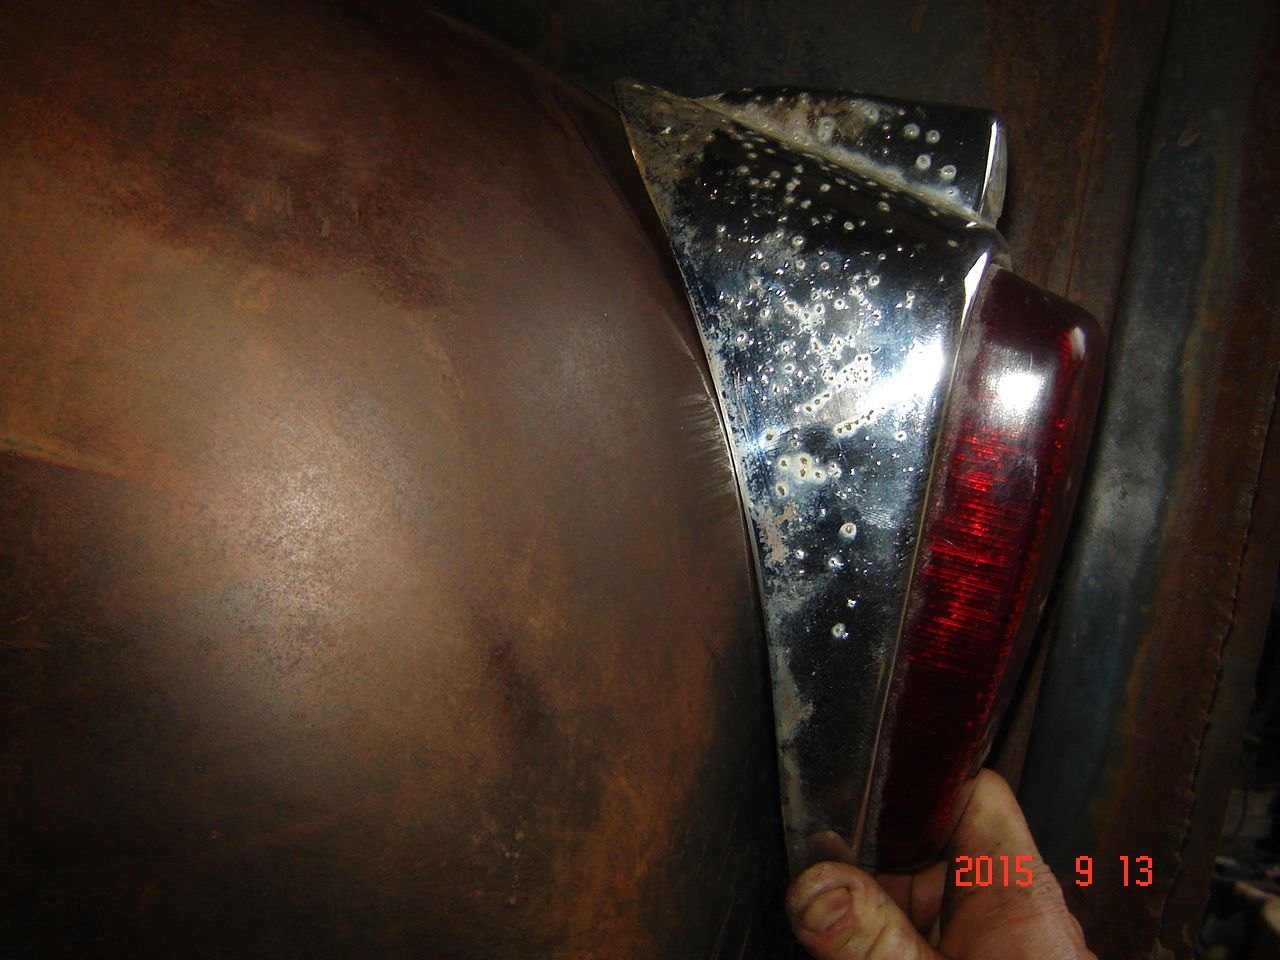
Curve didnt match the fender, that would be too easy!
Had to trim the light housings to fit the fender. These things are made of industrial strength pot metal and did NOT want to be cut. Cutoff wheel was painfully slow and the grinding wheel barely scratched them. Ended up using the plasma cutter which disintegrated the metal instead of cutting it, but it worked.
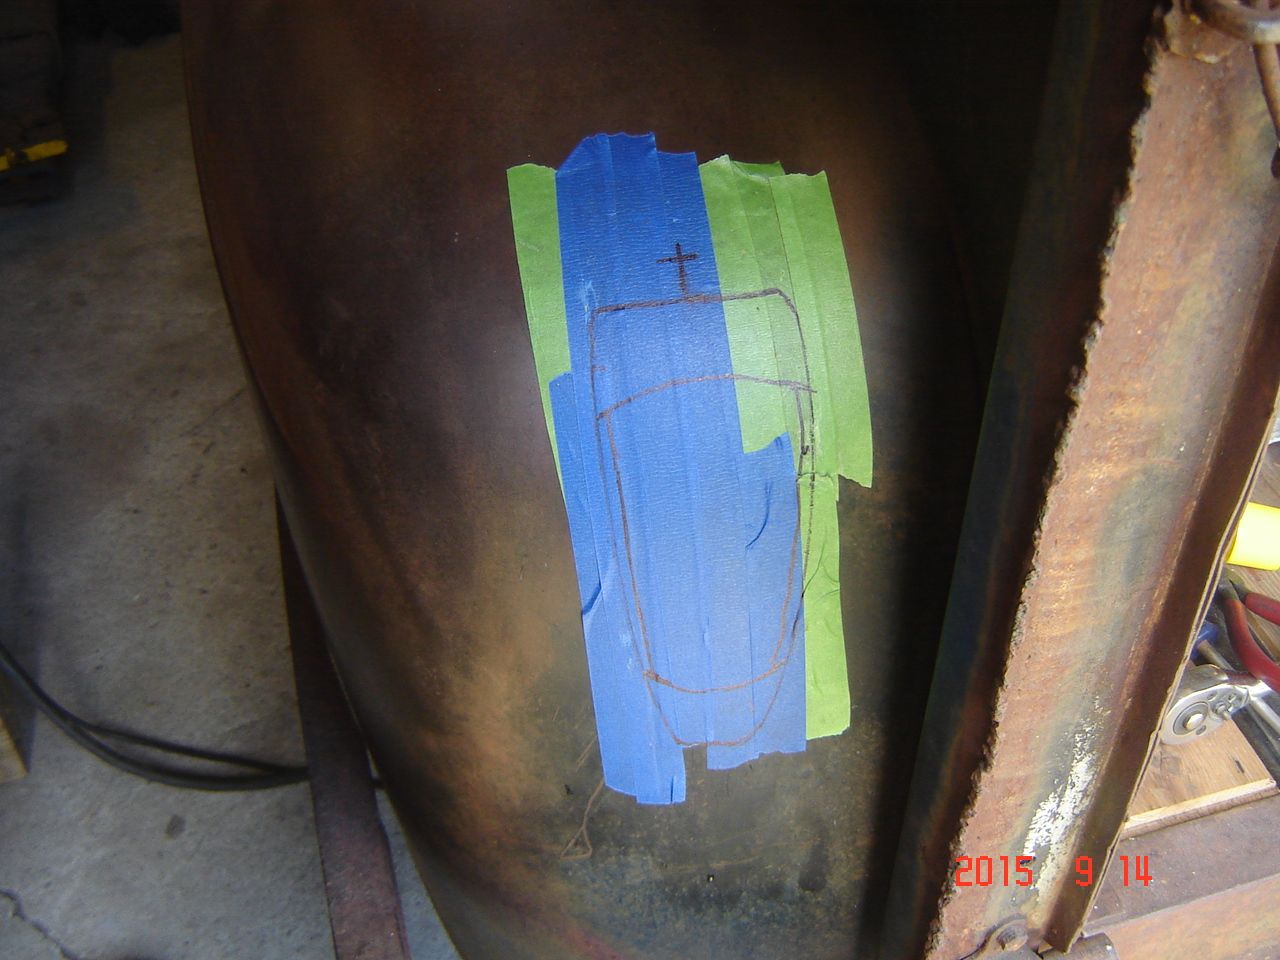
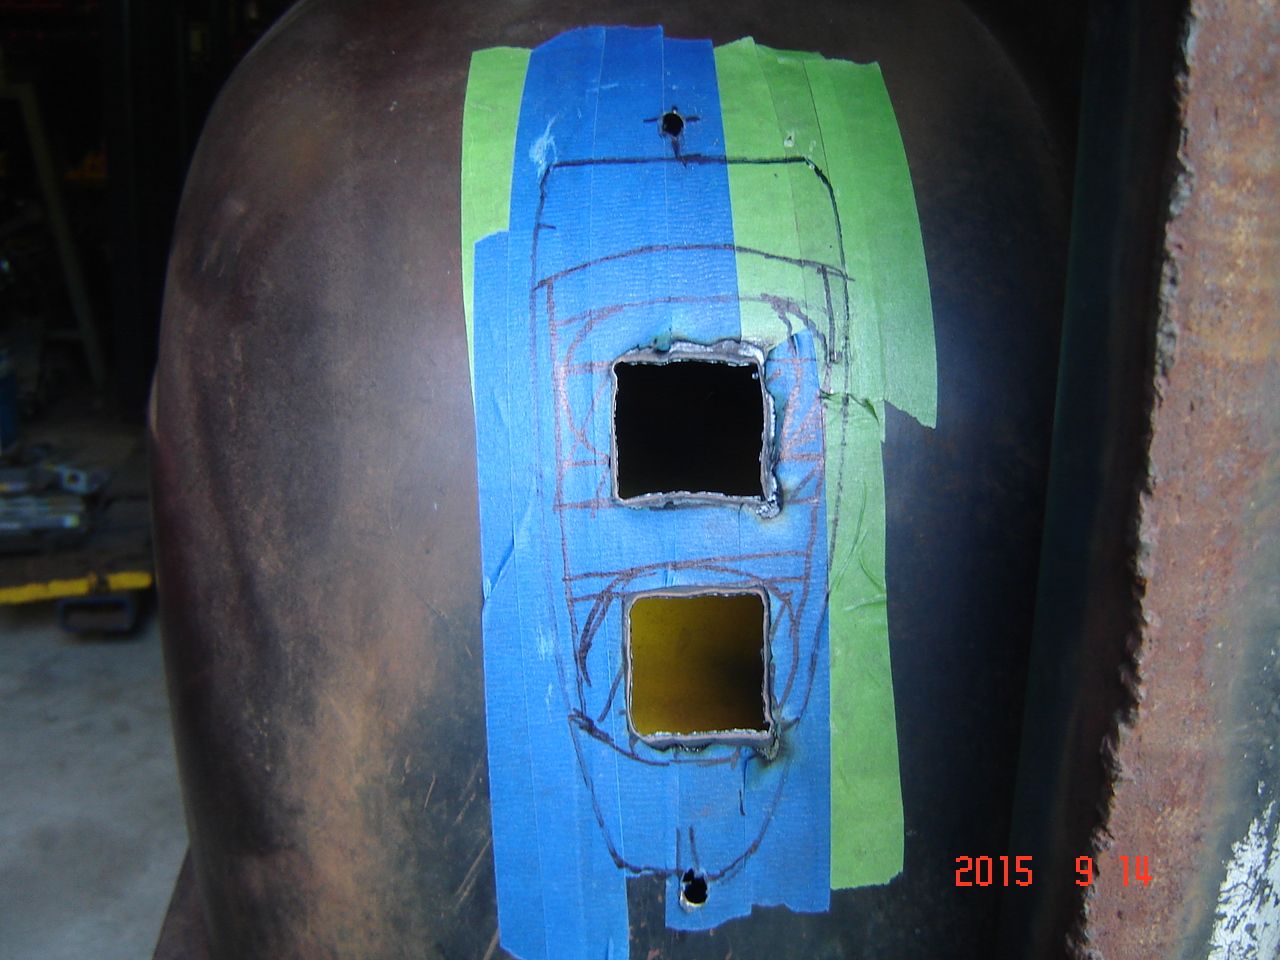
Marked up the fender for mounting holes and to get an idea of location
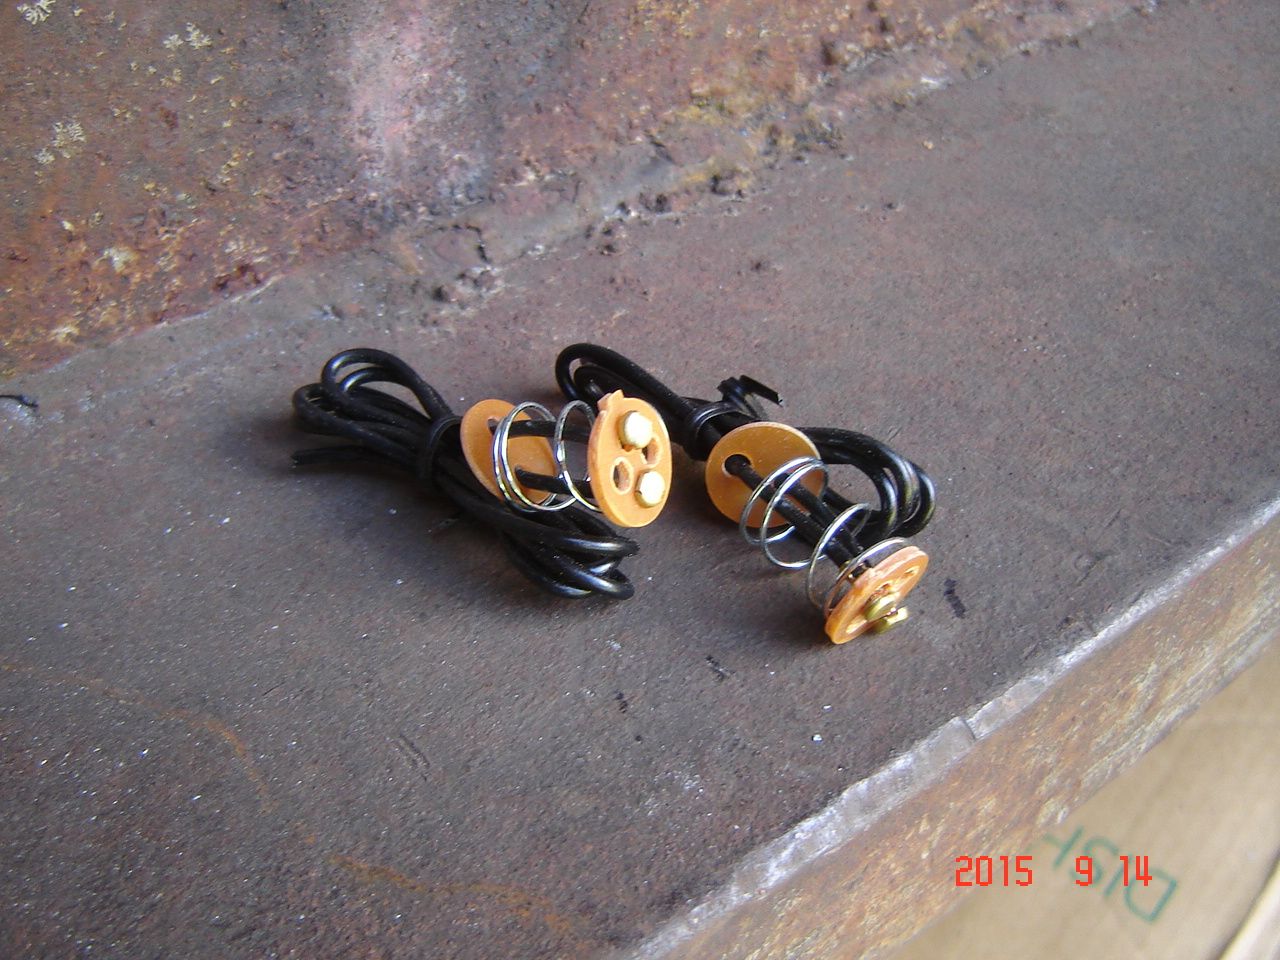
These lights use sockets on snap in mounts that hang back from the actual light so the bulb has enough depth to fit without hitting the lens. Forgot to take a pic but the holder is a typical metal style socket which of course needed rebuilding. I get these off ebay, work great for rebuilding older metal lamp sockets.
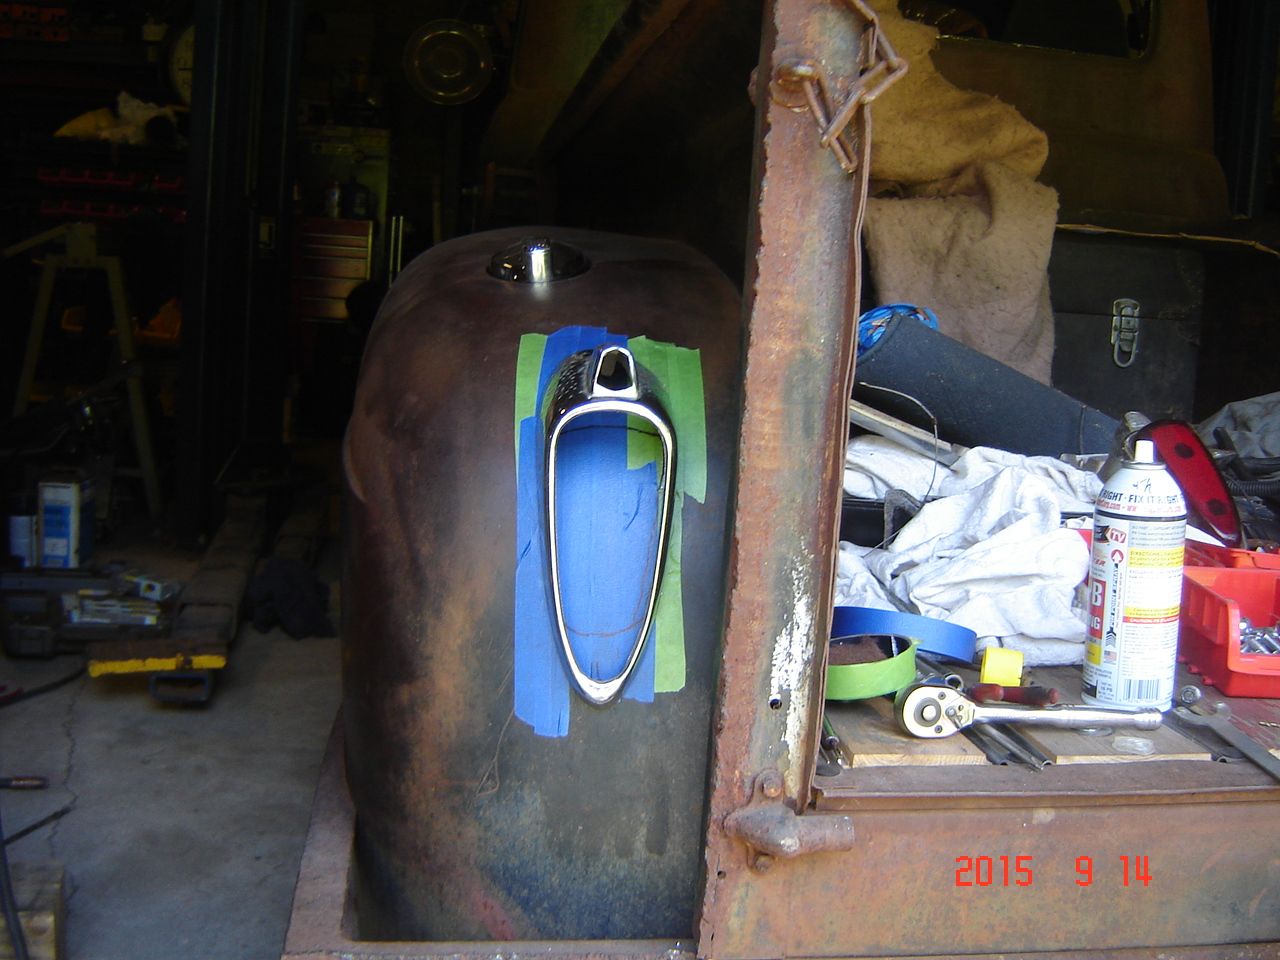
Needed these holes for the lamp holders to clear the fender.
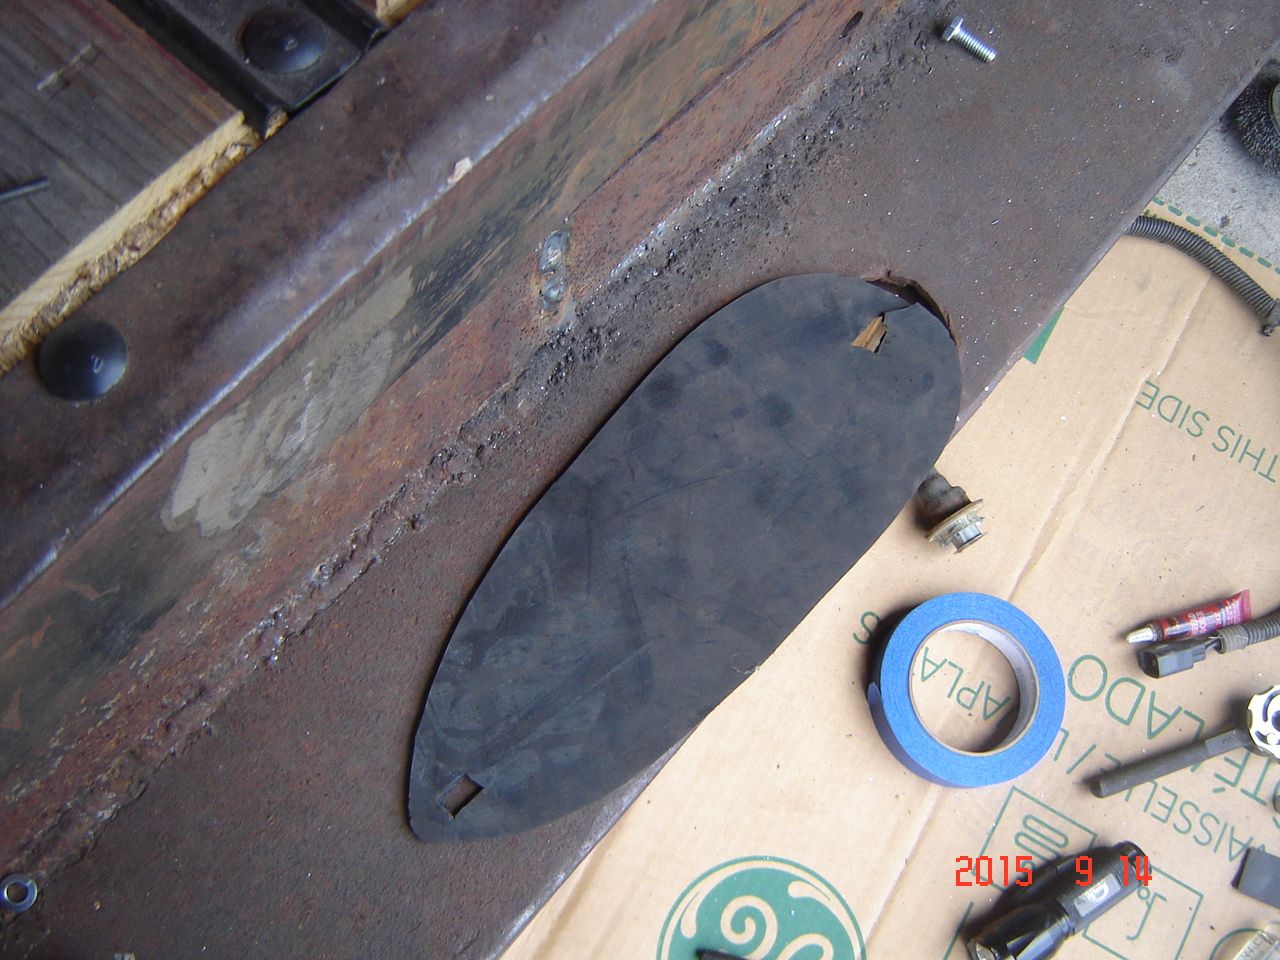
Lamp gasket made from 1/8" rubber sheet
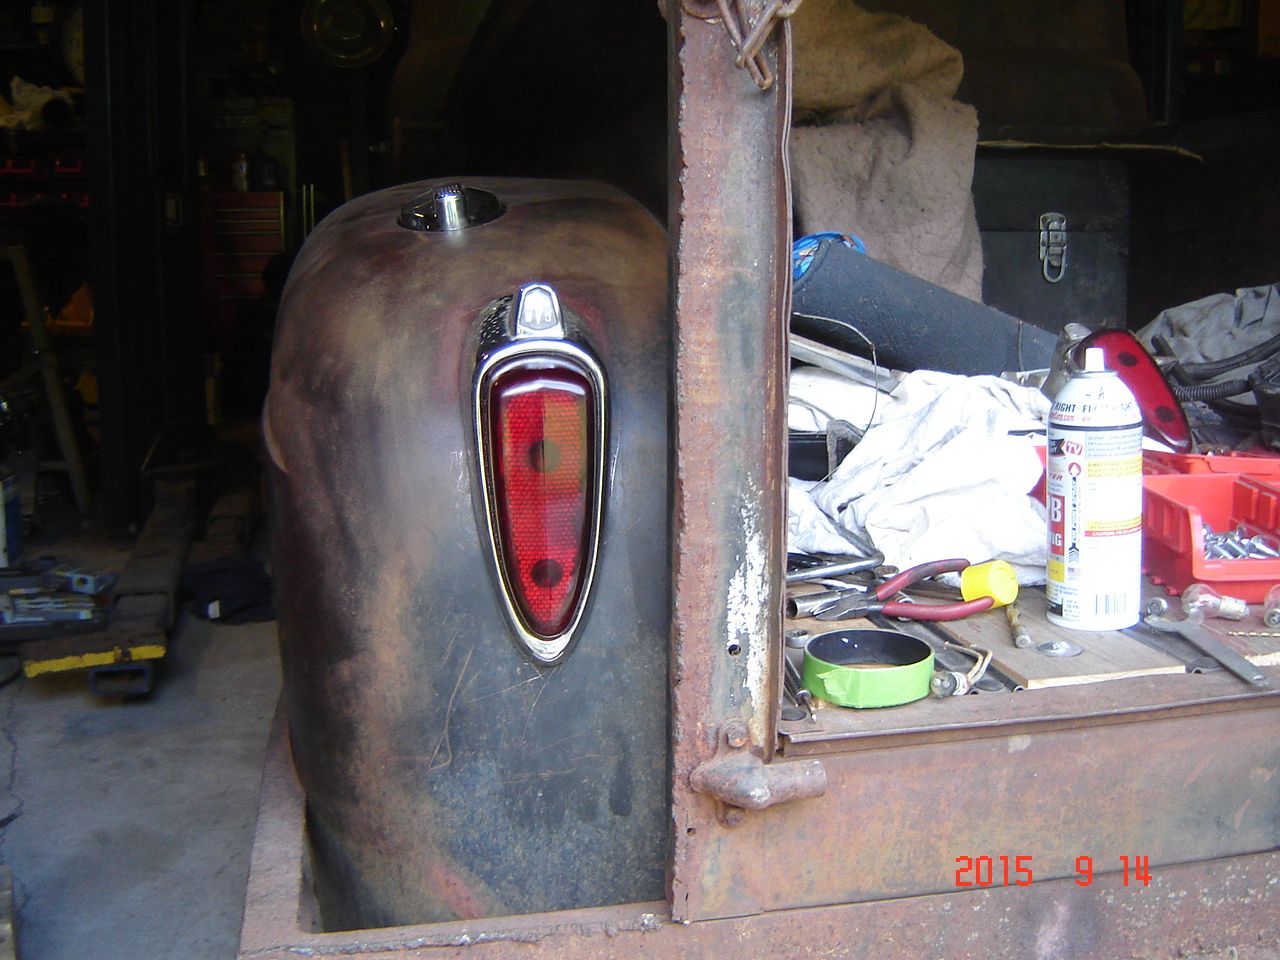
Here is the light mounted, I think it looks good. Other side was done the same way.
First family car I remember as a little one was inherited when my Grandfather passed, a 49 Hudson Commodore. Looked a lot like a 49-50 Merc on steroids. It was HUGE inside! You could have a party in the back seat! had footrests that folded out from under the front seat, jump seats that folded out of the back of the front seats. The package tray behind the back seat was so large I used to lay up there and take a nap when taking long drives. Interior was all covered in thick velour over padded rolls like a fancy living room couch! The smaller lighter 2 door Hudson Hornet with it's multiple carb I-6 engine kick serious a$$ in the early days of NASCAR.
"Doc Hudson" in cars was drawn directly from the Hornet.
 09-06-2015, 05:59 PM


 <p>
<p>