Lets do it again! 1951 Ford F1 LT1 supercharged, 4L80E, EFI, jag IFS, etc..
#271
 07-27-2015, 05:43 PM

More misc stuff done today, it is all the small jobs that seem take forever. Did some more on the engine compartment wiring, wired up the headlight switch (GM switch with the F1 ****), floor high beam switch, speedo, tach, fuel gauge, turn signal LEDs, high beam LED, and the ses LED.


#273
07-28-2015, 08:59 PM
Thanks!
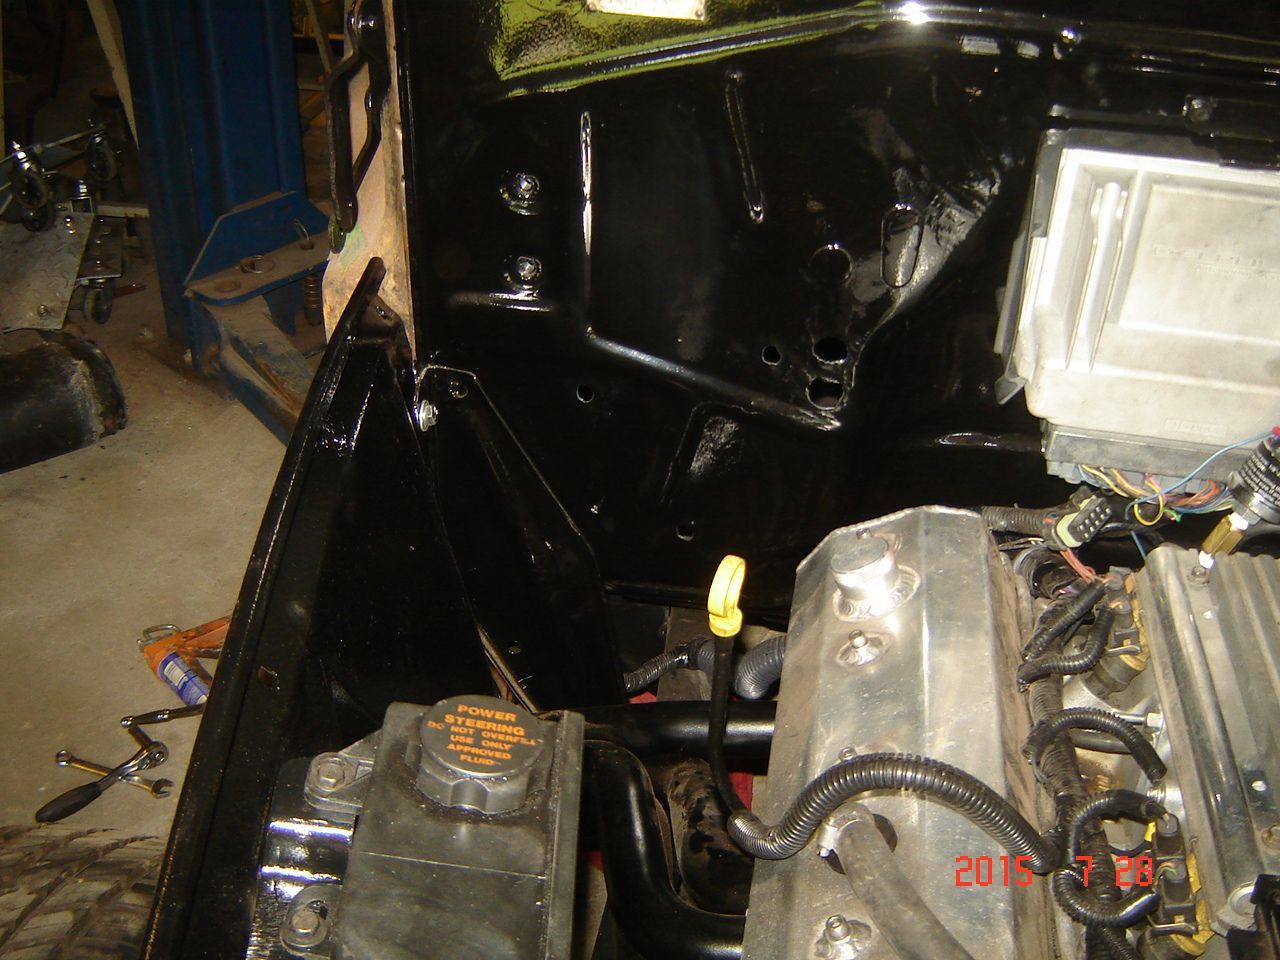
Still working on little nit pick jobs, PS done, had to extend the wiring for the MAF and IAT. Looks like air filter will be on the passenger side, not sure where yet.
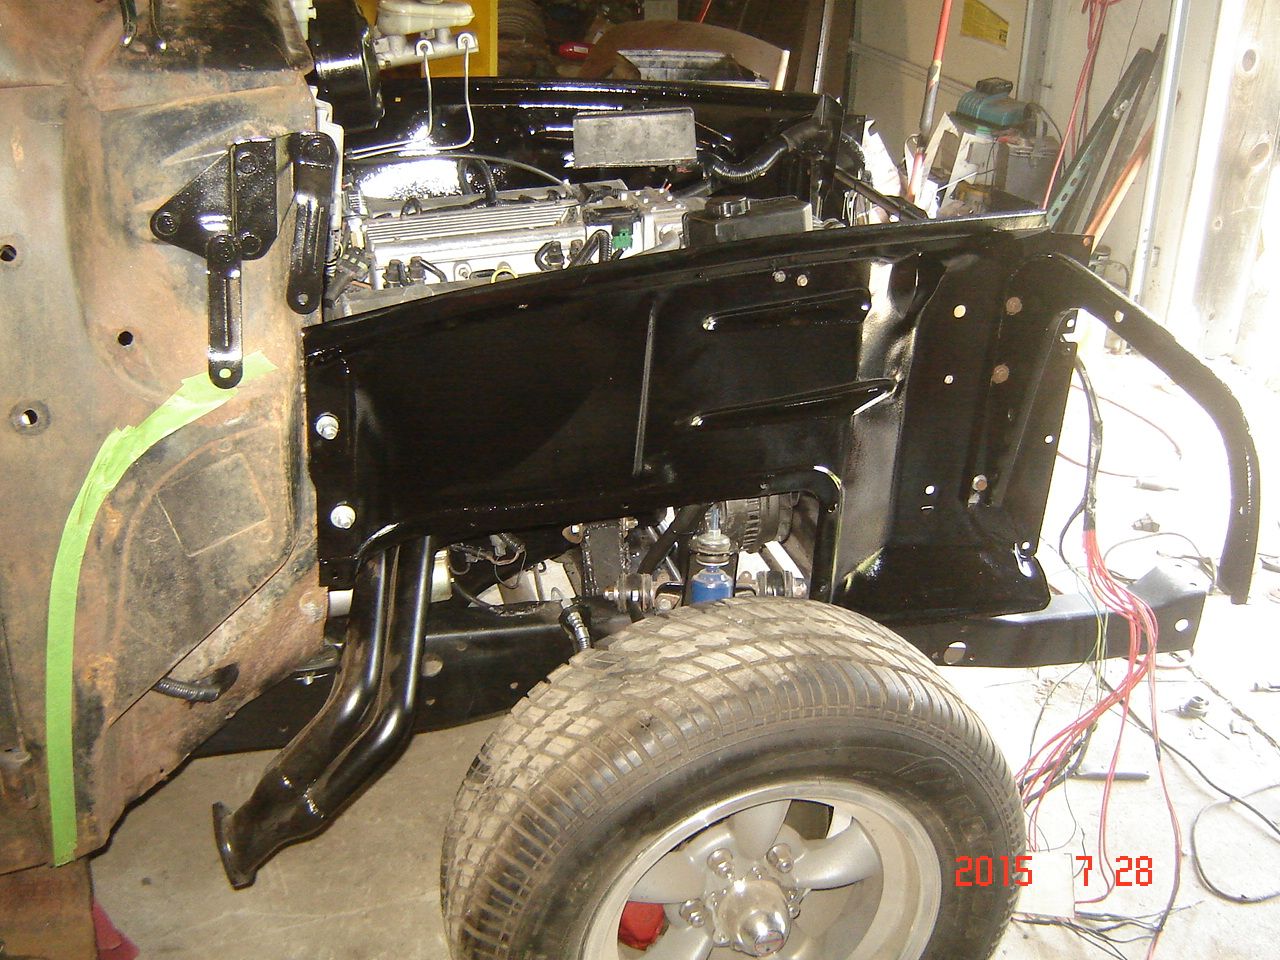
Headers are bolted up for now with no gaskets for exhaust work, I think i am going to cut off the ends of the collectors and weld on some pieces turned to the inside of the truck. First start will definitely be with open headers
Still hoping someone can get a pic of the area of the inner fender wells where the hood hinges sit when the hood is closed, trying to see how much room I have for clearance, or if the hinges even go lower than the inner fender upper line.
Still working on little nit pick jobs, PS done, had to extend the wiring for the MAF and IAT. Looks like air filter will be on the passenger side, not sure where yet.

Headers are bolted up for now with no gaskets for exhaust work, I think i am going to cut off the ends of the collectors and weld on some pieces turned to the inside of the truck. First start will definitely be with open headers

Still hoping someone can get a pic of the area of the inner fender wells where the hood hinges sit when the hood is closed, trying to see how much room I have for clearance, or if the hinges even go lower than the inner fender upper line.


#275
07-30-2015, 10:40 AM
looks real good dave I really need to fit up the sheet metal on my truck I'm sure I will be cutting some. a ? dave does chevy put the pcm on the fire wall in the cars and does ford I'm looking for a place for my pcm, may be the rt side kickspace but firewall would be easy
Thanks!
Still working on little nit pick jobs, PS done, had to extend the wiring for the MAF and IAT. Looks like air filter will be on the passenger side, not sure where yet.
Headers are bolted up for now with no gaskets for exhaust work, I think i am going to cut off the ends of the collectors and weld on some pieces turned to the inside of the truck. First start will definitely be with open headers
Still hoping someone can get a pic of the area of the inner fender wells where the hood hinges sit when the hood is closed, trying to see how much room I have for clearance, or if the hinges even go lower than the inner fender upper line.
#276
07-30-2015, 12:09 PM
Thanks guys!
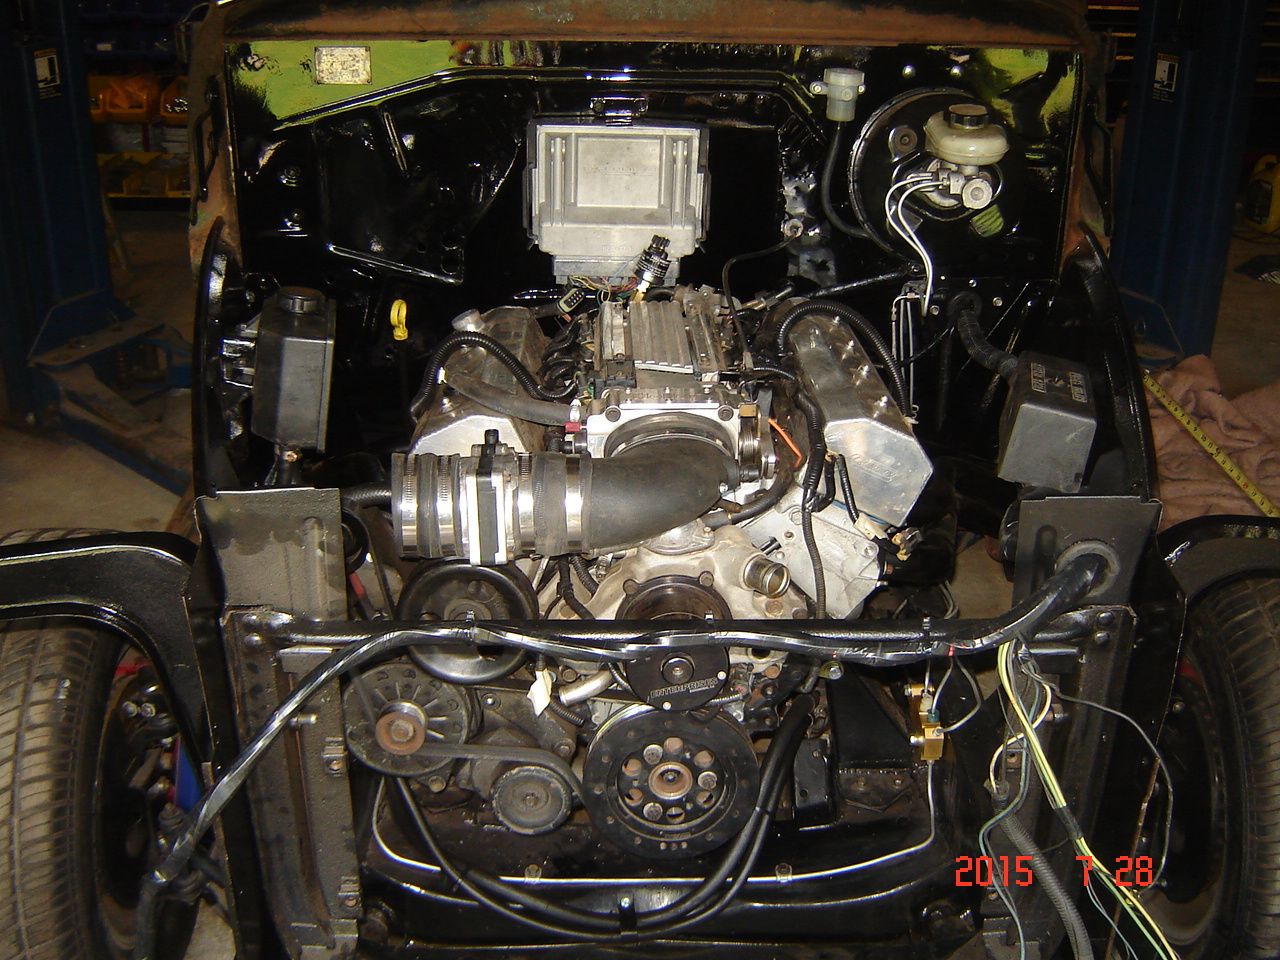
GM normally mounts the PCM in the engine compartment, this PCM in the donor car (95 z28) was mounted on the inner fenderwell back by the firewall. I may eventually move it inside the cab, I didnt want to put in on the fenderwell because of the fenderwell headers being there and the potential heat issues. Not the prettiest place to put it but the firewall will work for me for now, and if I can figure out a Ford air cleaner housing that looks cool I will mount it on the engine to block the view of the PCM anyway. My coil packs are going to be mounted on the inner fenders up high where the PCM would of gone.
GM normally mounts the PCM in the engine compartment, this PCM in the donor car (95 z28) was mounted on the inner fenderwell back by the firewall. I may eventually move it inside the cab, I didnt want to put in on the fenderwell because of the fenderwell headers being there and the potential heat issues. Not the prettiest place to put it but the firewall will work for me for now, and if I can figure out a Ford air cleaner housing that looks cool I will mount it on the engine to block the view of the PCM anyway. My coil packs are going to be mounted on the inner fenders up high where the PCM would of gone.


#278
07-30-2015, 08:16 PM

Elder User
Join Date: Jun 2012
Location: Frankfort, Ohio
Posts: 508
Likes: 0
Received 0 Likes
on
0 Posts
That picture you want is gonna be hard to come by. It's hard to get under the hood and take a picture of the hinges in the closed position, unless you don't have your engine in yet. The only thing I can tell you is that both of the hinge arms are straight up when the hood is open. Sorry, my engine is in.
#279
07-30-2015, 09:00 PM
That picture you want is gonna be hard to come by. It's hard to get under the hood and take a picture of the hinges in the closed position, unless you don't have your engine in yet. The only thing I can tell you is that both of the hinge arms are straight up when the hood is open. Sorry, my engine is in.


#280
07-31-2015, 10:18 PM
Thanks for Making your build threads.I have gleaned tons of info from this and your first build thread(https://www.ford-trucks.com/forums/1...i-t56-etc.html) over the last year.....Please keep up the great work
#281
08-01-2015, 10:42 AM
#282
08-03-2015, 02:55 PM
Dave I want to steal your Van tank idea. How much crap has to come off to pull the tank from the van? I'm just thnking if its a pain in the a$* I might just buy a new tank and sender as its only 90 for a tank and 60 for the sender. Retrofit a walbro 255 and I've got a nice setup for around $200-220
#283
08-03-2015, 08:14 PM
Sounds good, I did the same thing with a walbro 255 in this truck. I wouldnt bother with a used tank, I put new ones in both builds just because the price is so reasonable. I think this is the best place to get one.
Replacement C670146 Fuel Tank | Auto Parts Warehouse
If you sign up with them they frequently send out 20 percent off codes with free shipping which is a great deal.
One thing I did which isnt always necessary is when I extended the filler neck I increased the filler tube from 1 1/2" to 2", I only did this because I am using an S10 filler neck on build #1. and a Jag filler on truck #2 which also needed a bigger fill tube. If you use a filler neck with a 1 1/2" tube you can just extend the filler and keep the smaller 1 1/2" size.
#285
08-03-2015, 09:41 PM
LOL I have done many glossy paint builds, just wanted to try something different. This was the last one before I started leaving things on the outside alone. Truck #1 will be painted bright red, so I havent given up on paint completely