Lets do it again! 1951 Ford F1 LT1 supercharged, 4L80E, EFI, jag IFS, etc..
#121
 12-30-2014, 02:55 PM

I think the winter weather really puts a damper on my enthusiasm for getting things done, must be the short days and lack of sunlight.
Modified the farmer rear bumper to work with the rear mounted gas tank and made new mounts so it would bolt up to the new nut plates in the frame.
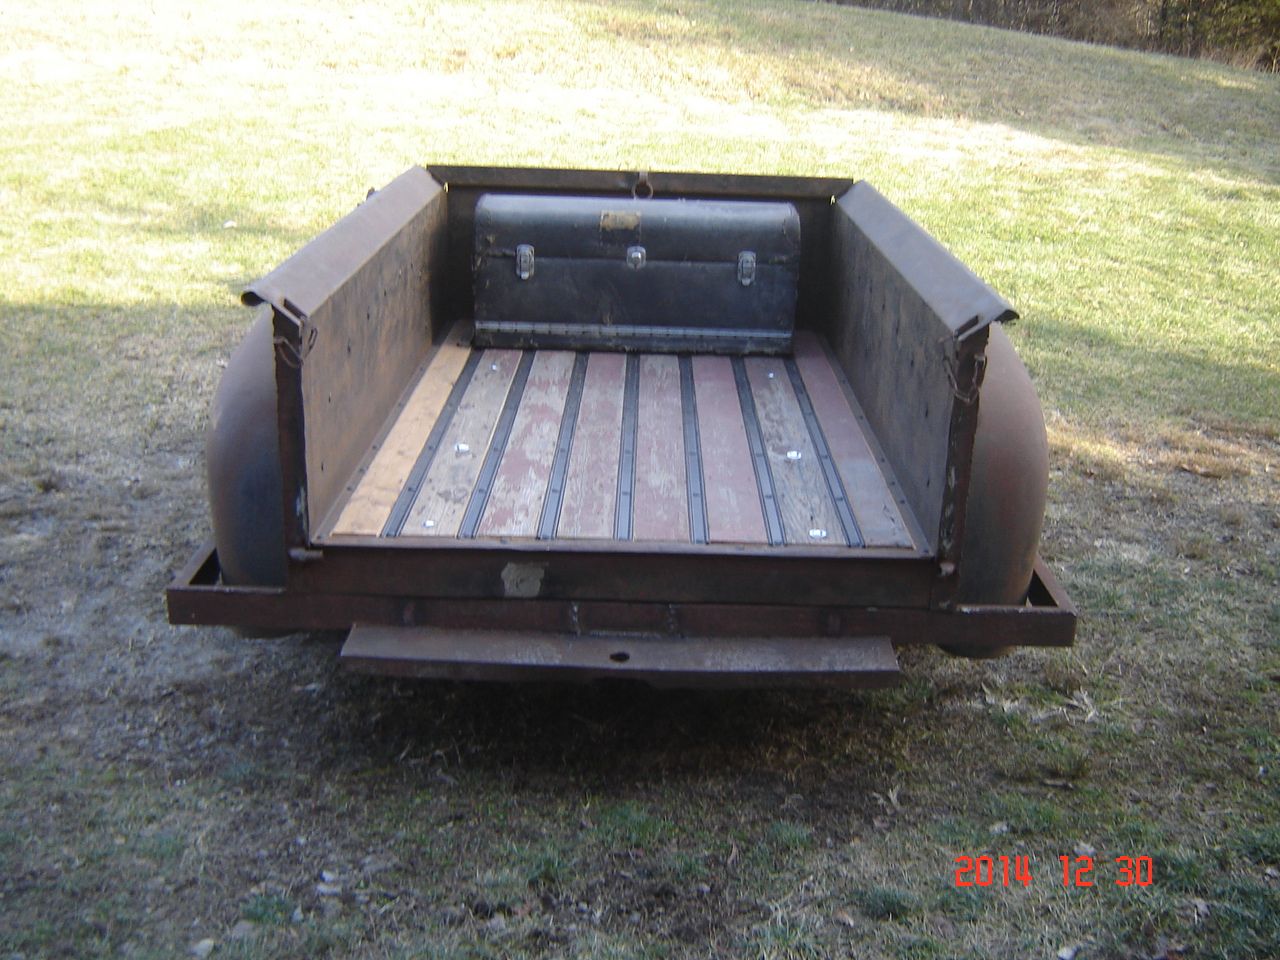
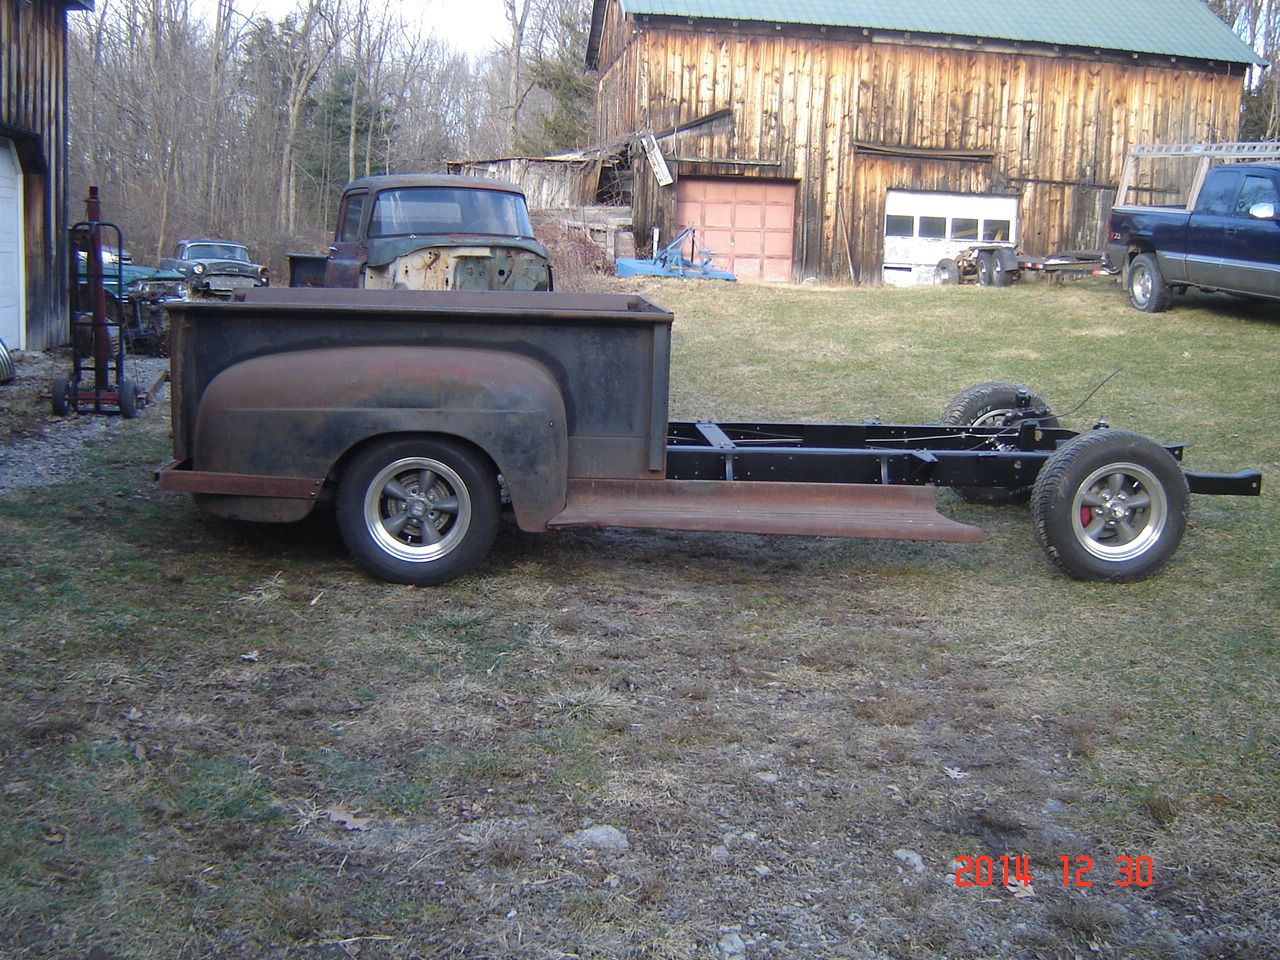
Here is a good side shot of the rear wheel position and height with the bed on. This is where I want it and I was able to bounce the rear suspension quite a bid and not hit the frame, so the plan for no rear C notch worked out fine.
Cab work starts next. 5 months into the build I should be further along but I need to get motivated!
Modified the farmer rear bumper to work with the rear mounted gas tank and made new mounts so it would bolt up to the new nut plates in the frame.

Here is a good side shot of the rear wheel position and height with the bed on. This is where I want it and I was able to bounce the rear suspension quite a bid and not hit the frame, so the plan for no rear C notch worked out fine.

Cab work starts next. 5 months into the build I should be further along but I need to get motivated!
#122
12-31-2014, 11:32 AM
Started stripping out the cab, have to fix a few spots in the floor and get the bottom done so I can get the back on the frame.
One more vote for no drain holes in the cab, this corner was plugged with a few inches of dirt and now there is a rust hole that wasnt there a few hours ago.
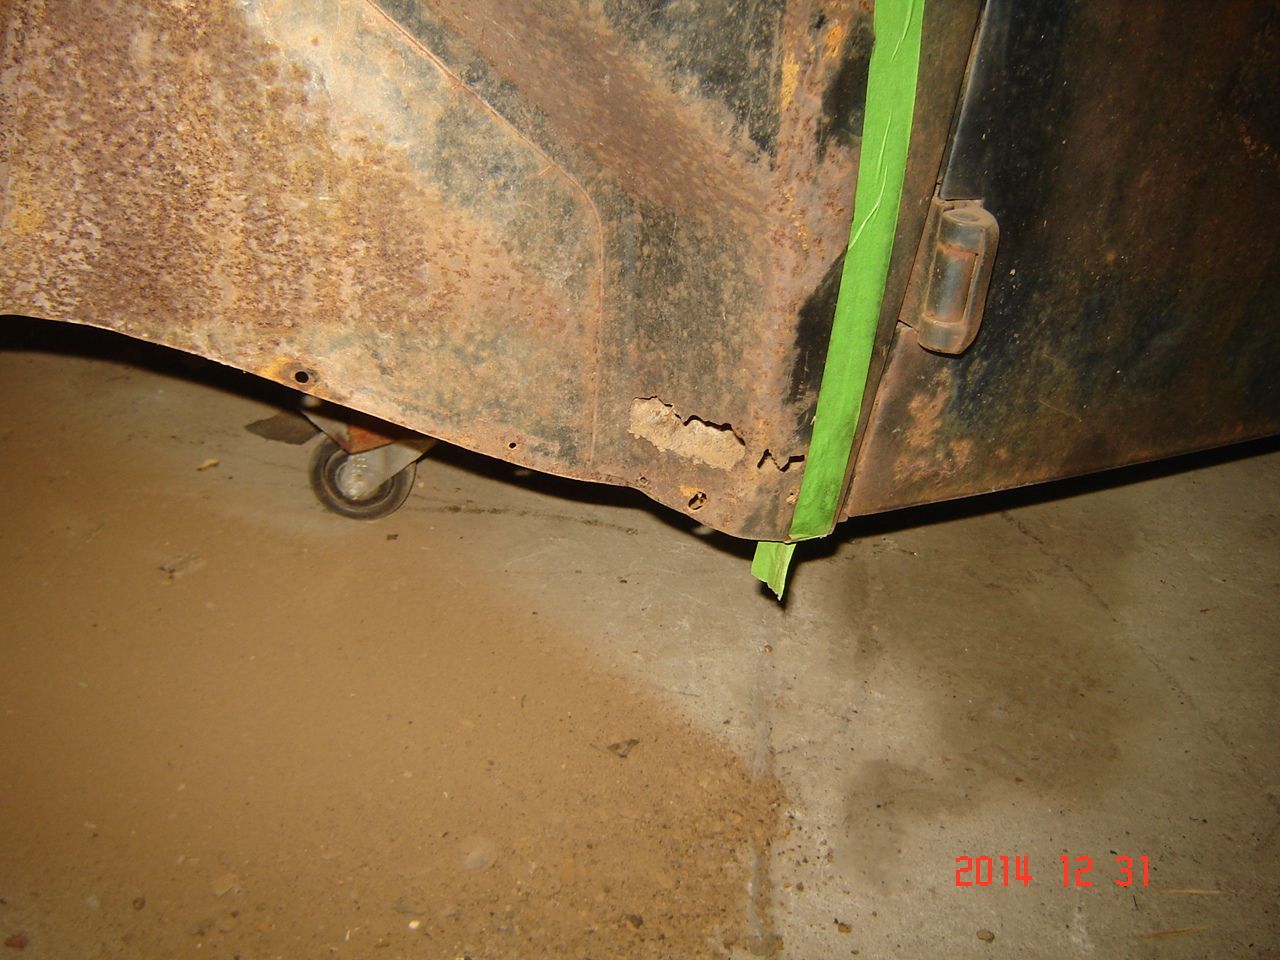
So how does the cowl vent mechanism come out without getting out a saw and cutting the cowl open? Lid is off, bolts are out and it looks like the truck was built around it!
#123
12-31-2014, 02:34 PM
Tuned
#124
12-31-2014, 05:06 PM
My cowl vent seems like it just will not come out, ther e must be a trick to it. I removed the vacuum wiper motor but still have the wiper linkage installed, the wiper arms are stuck pretty good and I dont want to remove them if I dont have to.
I will be going electric wipers as well, hoping I can set it up under the dash without having to take out the arms.
I will be going electric wipers as well, hoping I can set it up under the dash without having to take out the arms.
#125
12-31-2014, 05:13 PM

#126
12-31-2014, 05:24 PM
Tuned
#128
01-06-2015, 01:33 PM
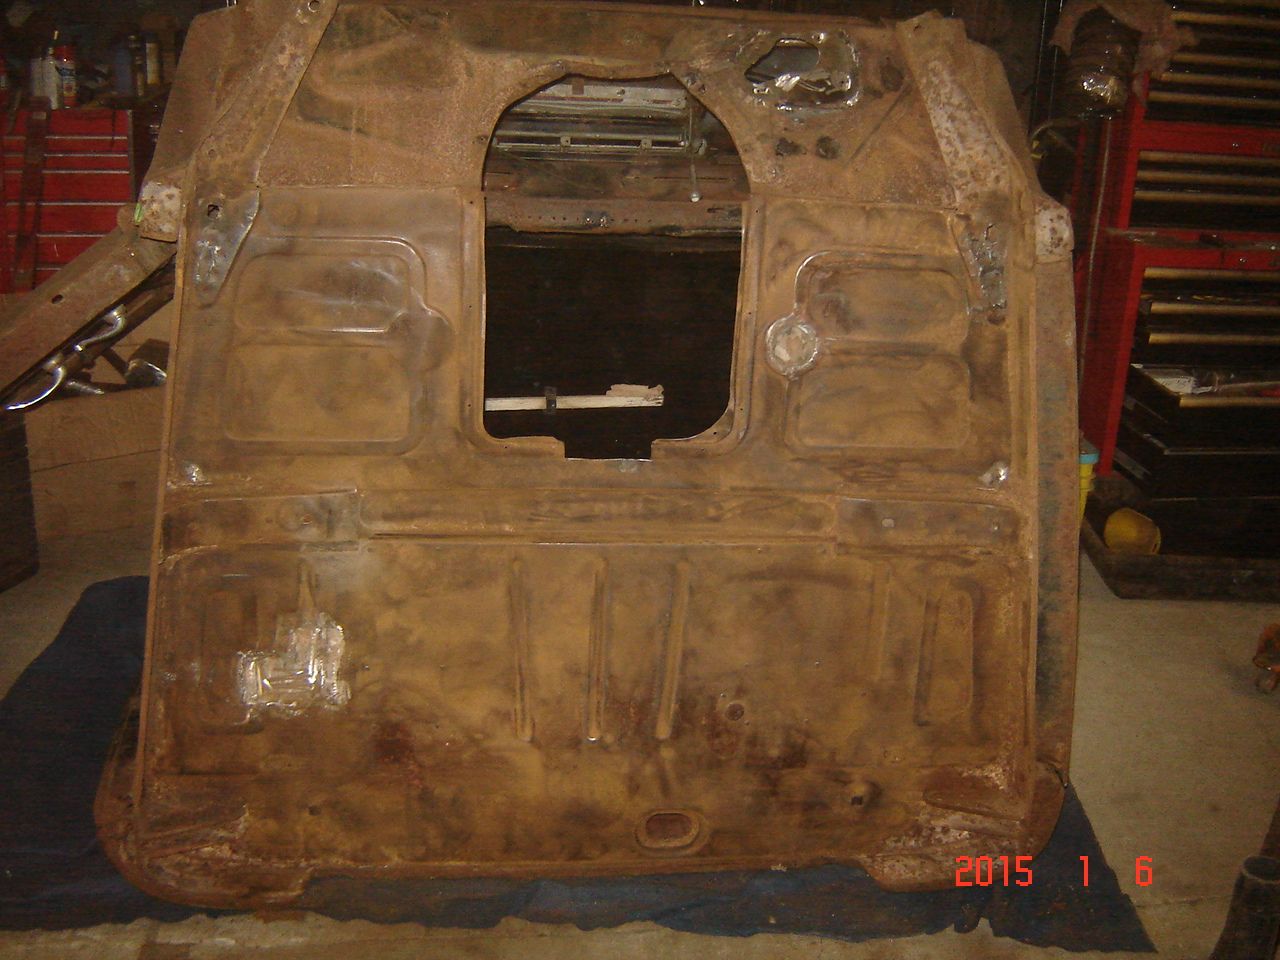
Started work on the cab, since the outside is not getting painted yet the work is all on the bottom.
Only one area in the right side rocker that was rotted out, had to remove the weatherstripping channel to repair the rocker so I will have to get new channels.
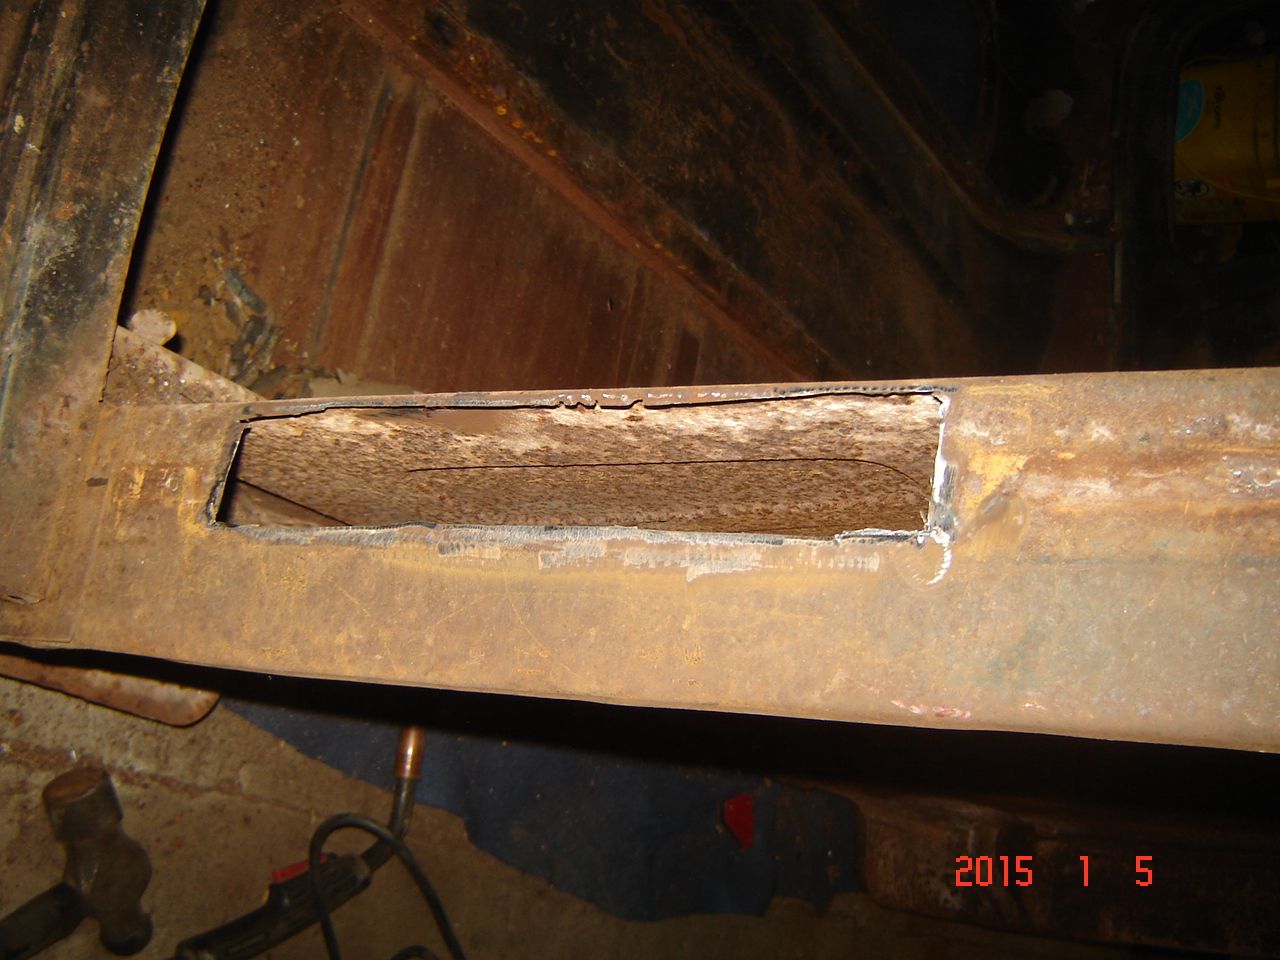
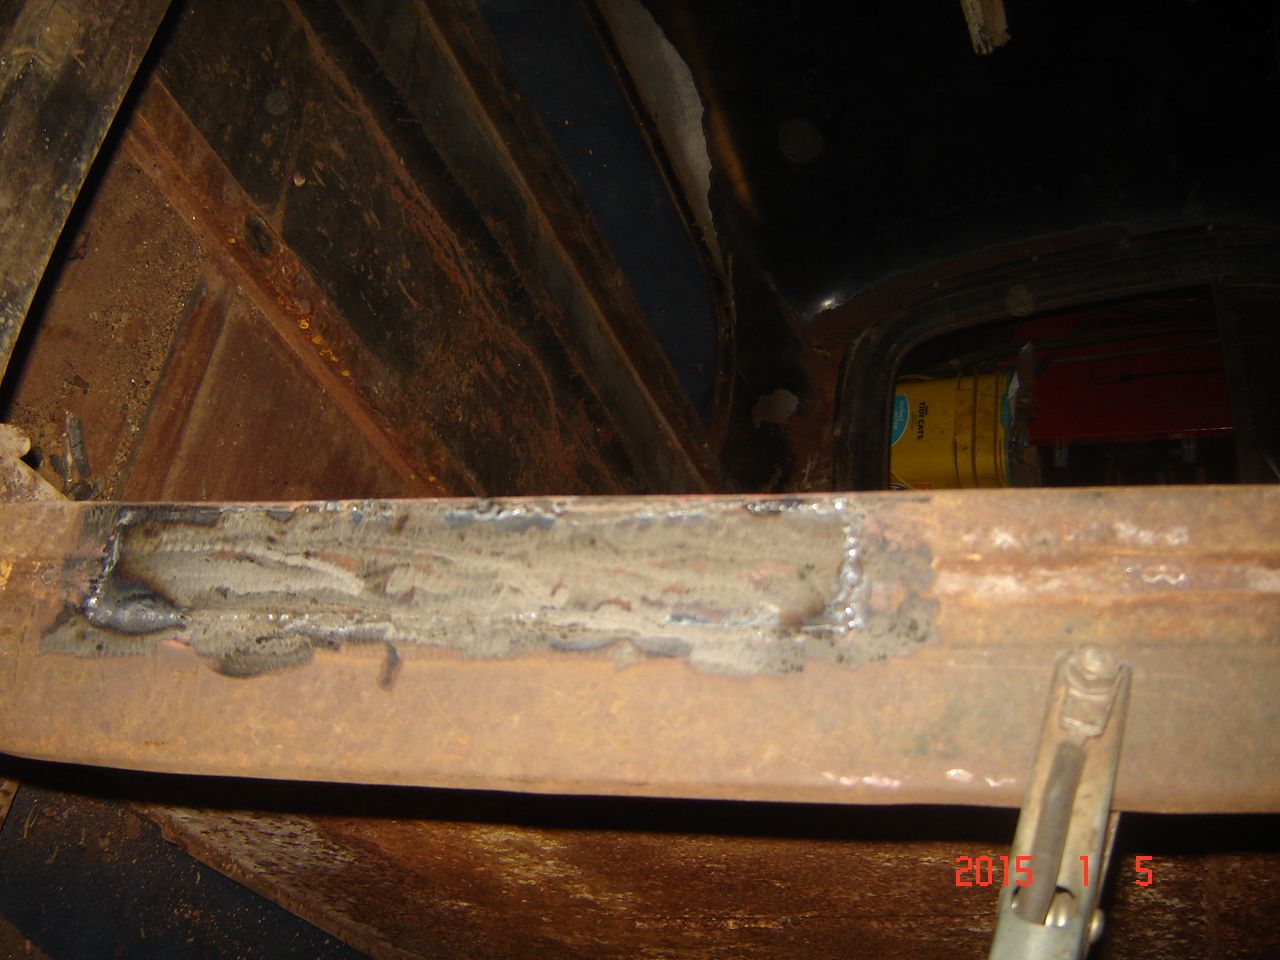
Only one floor patch needed, this cab is like new compared to what I had to fix on the first truck.

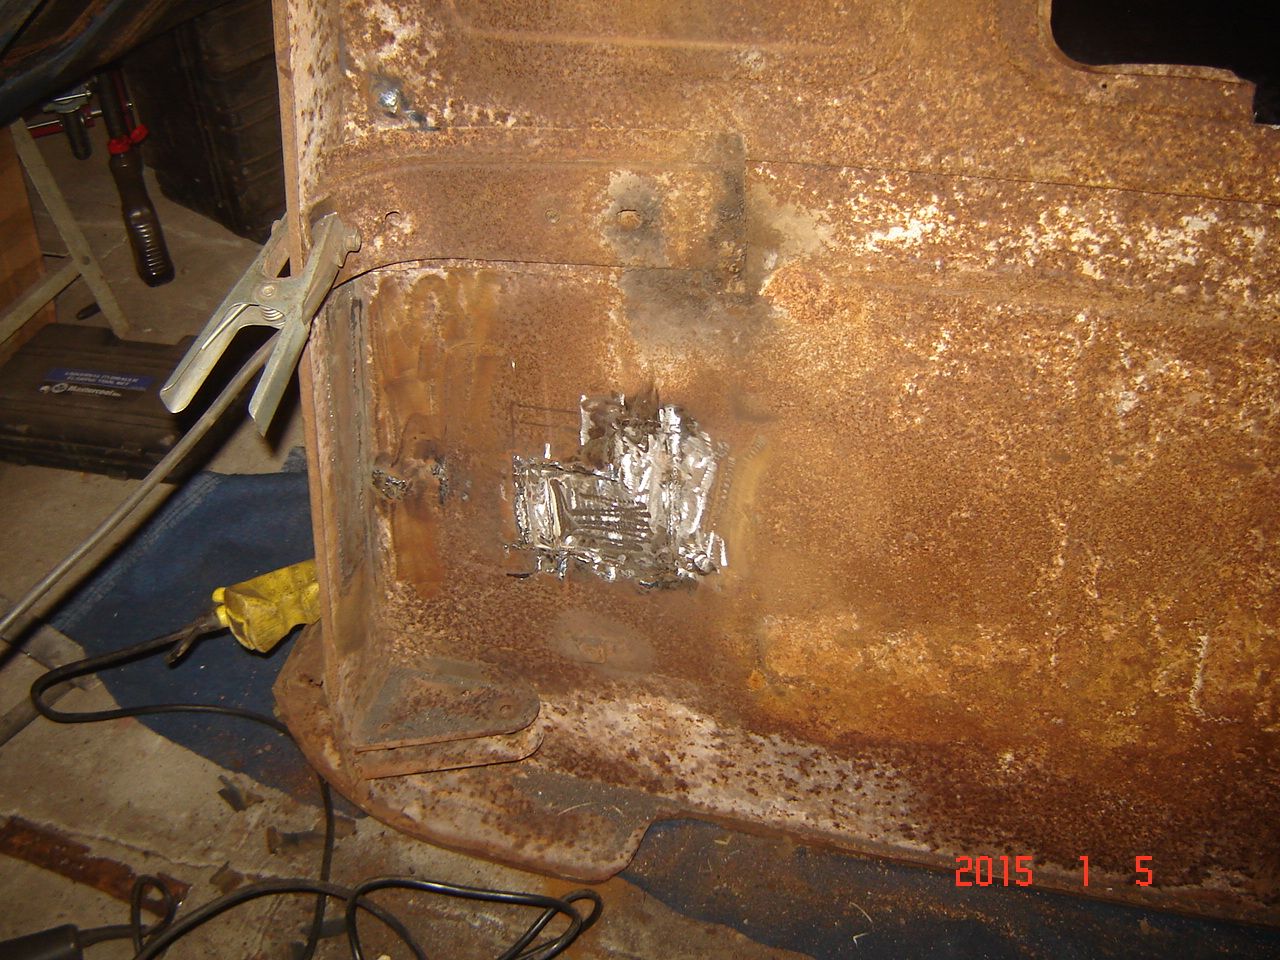
Master cylinder hole filled, few small spots fixed and the rest of the lower firewall holes filled. Started cleaning it up for paint and bedliner, will finish it up next week.

#129
01-06-2015, 04:05 PM

#130
01-06-2015, 04:52 PM
Hey Ben,
Yes it is plenty cold up here now which is why I am getting very little done on the truck. I have to wall off a section of my shop so I can keep it heated, I have not put sheet rock on the ceiling yet so the heat is going right out of the building.
This truck came from texas so it is very solid, nothing like what a truck from the rust belt would look like. I envy the guys who have iron like this sitting around, it sure saves a lot of time.
#131
01-26-2015, 03:12 PM
Took a few weeks off the truck because of the weather, just too cold for me, I am getting too old for cold weather!
Yesterday was actually not bad out (maybe 40 which felt like summer) so I got the blaster out and sand blasted the mounts and areas I couldnt get with the wire wheels and sander. Sprayed a few coats of black, next will be the bedliner, but not yet since it is now snowing and supposed to get a foot or better of snow by the end of tomorrow.
I am ready to move south!
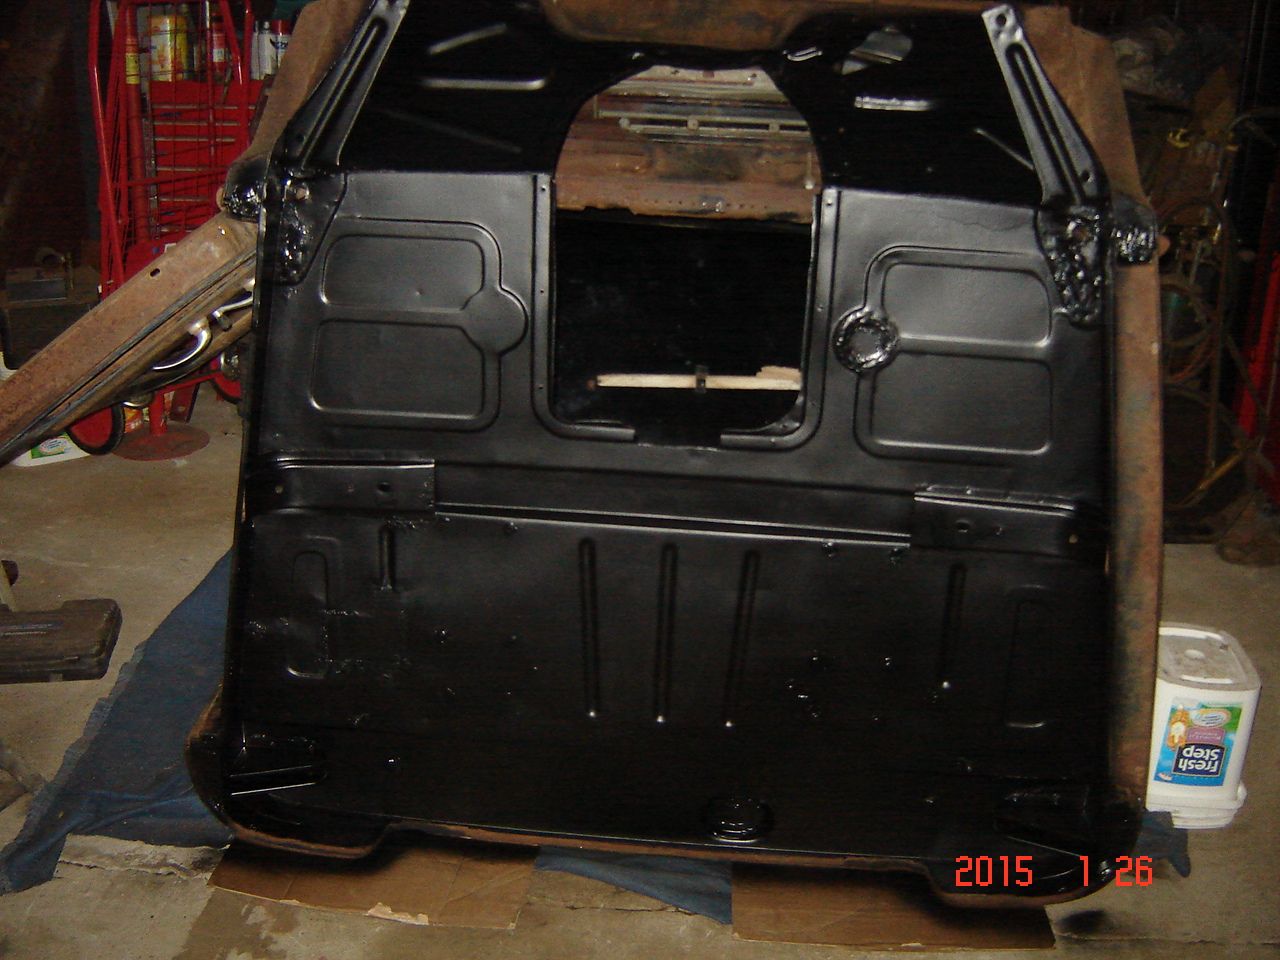

#132
01-28-2015, 04:46 PM
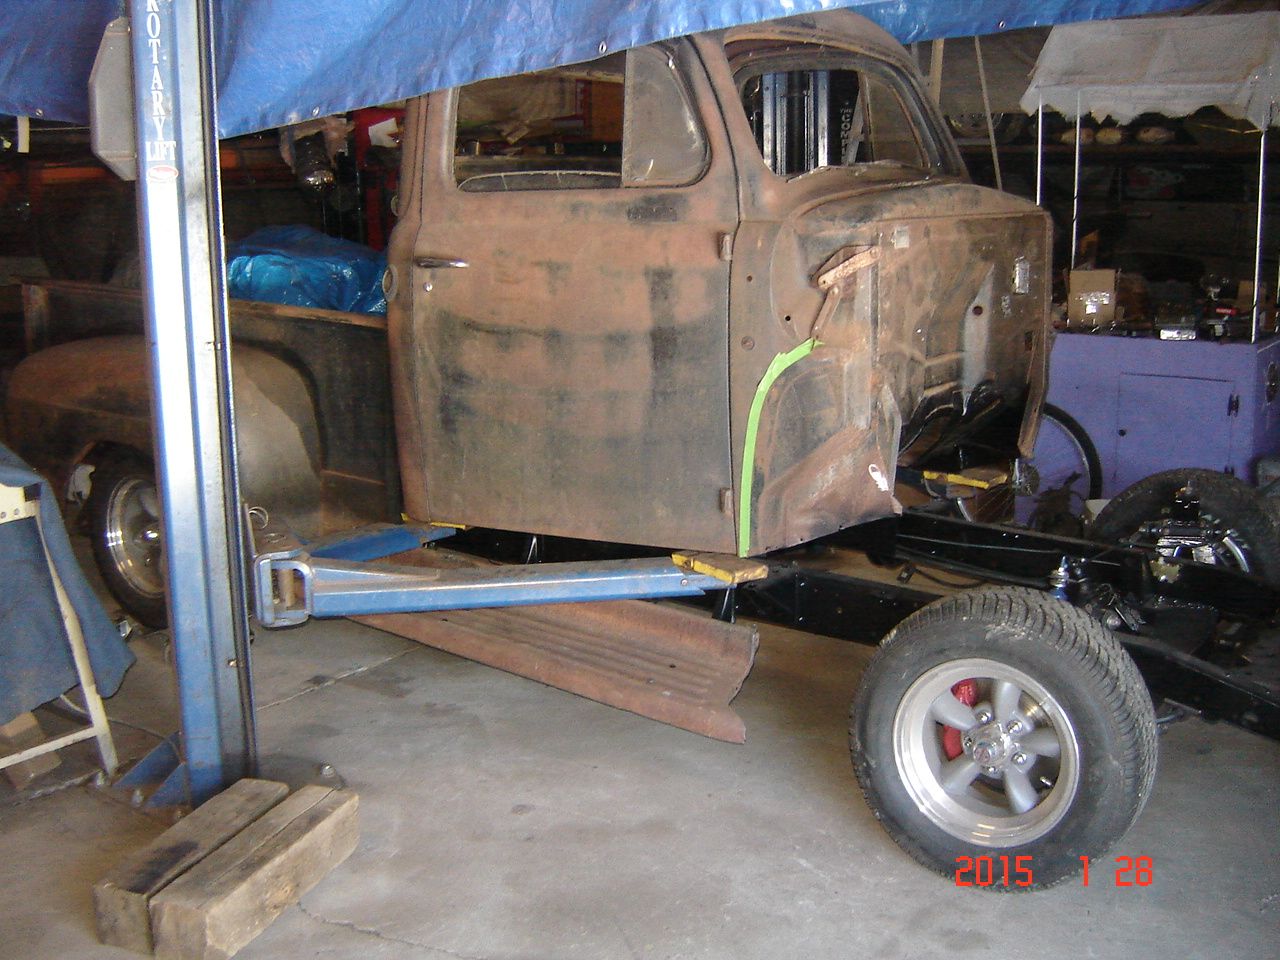
Time to bolt the cab back on, passed on spraying bedliner on the underside now since it is really to cold to spray it, paint alone will work fine.
Got my new rear arms and bushing set.
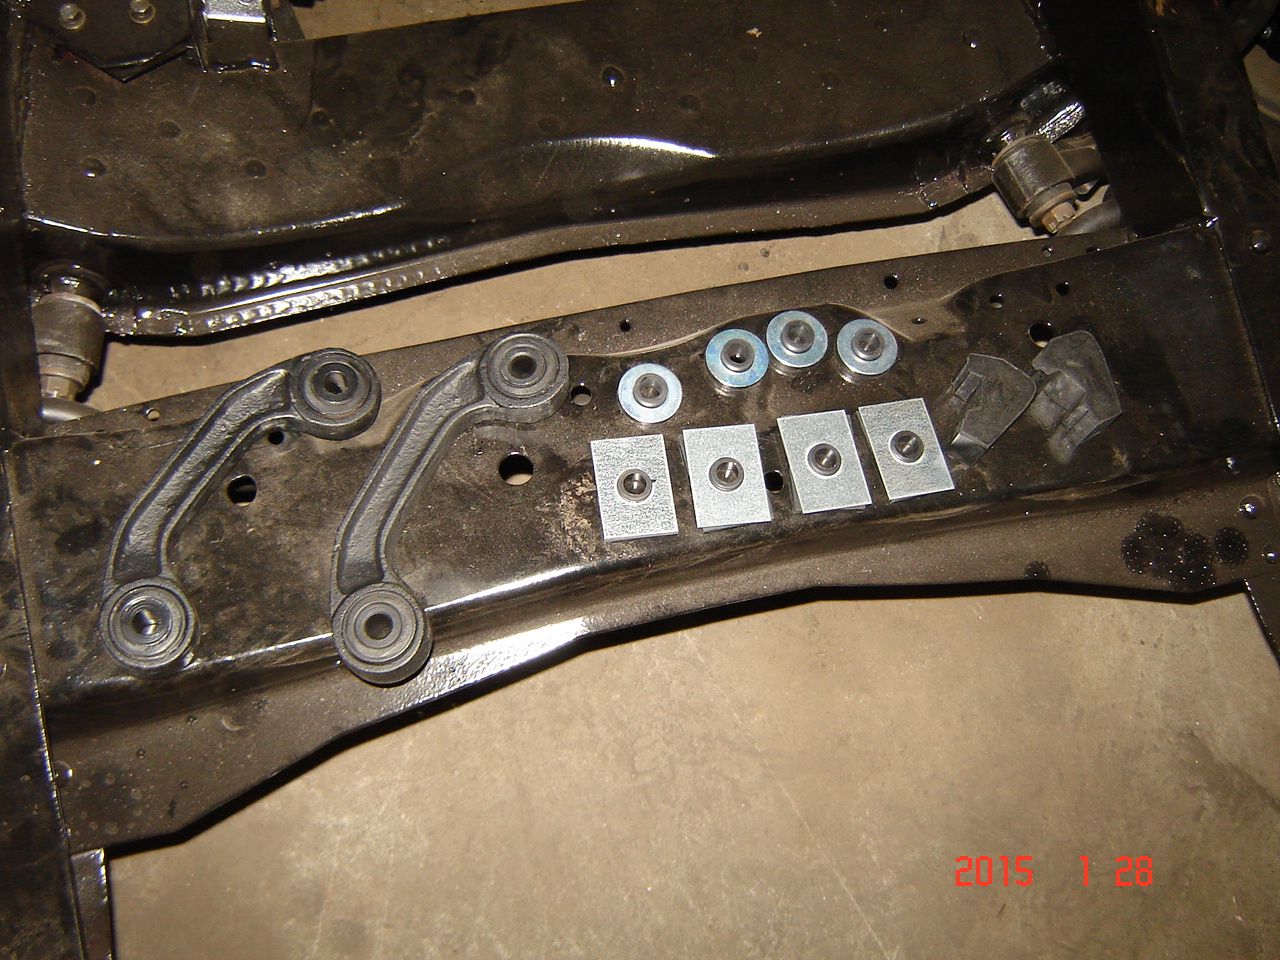
Cab going back on
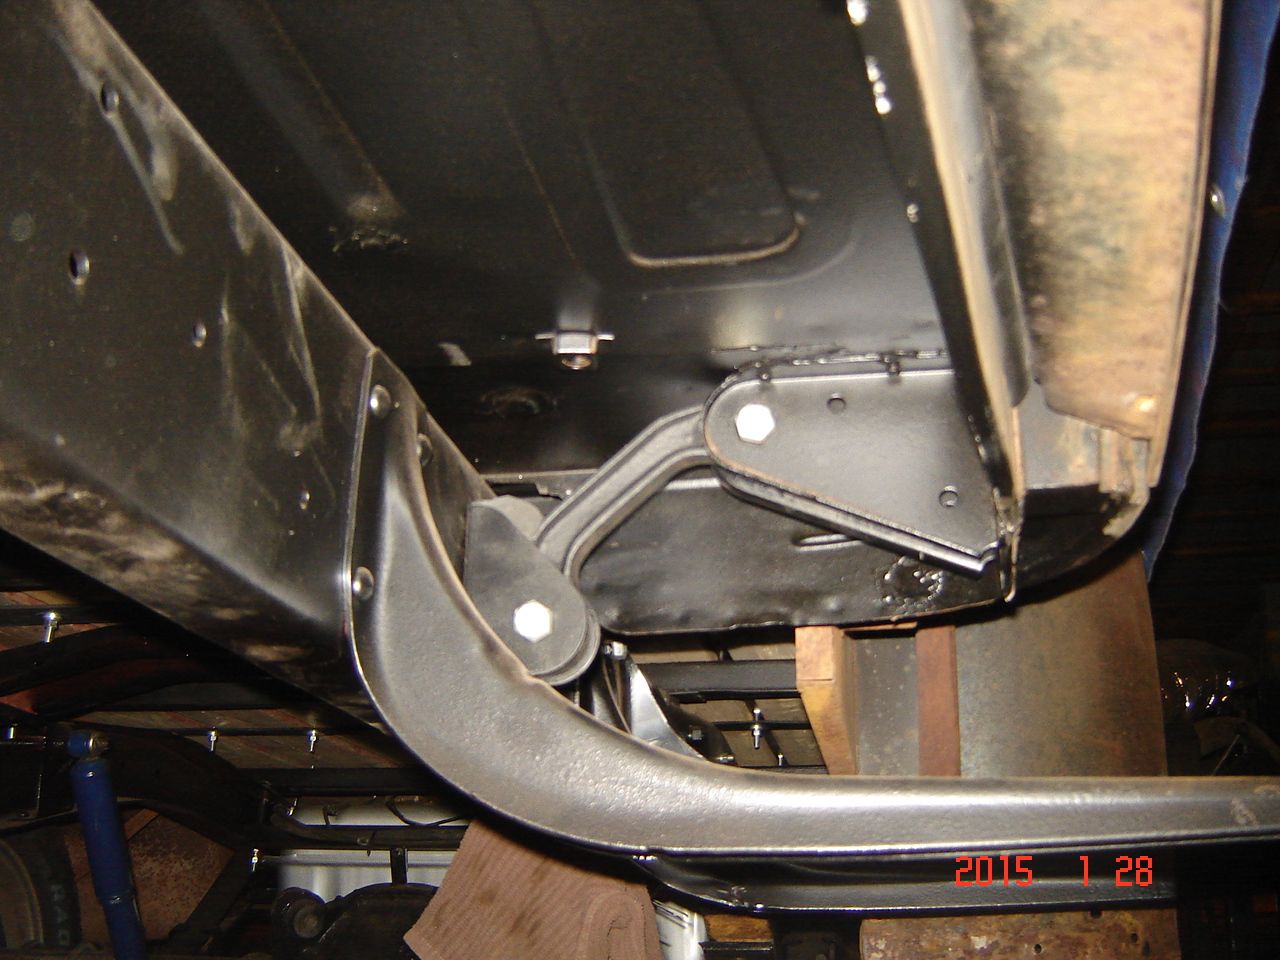
Had to shave about 1 1/16" off the rubber bushings for them to fit into the mounting brackets, no way would they fit as is. I still had to hammer them into place but I know they wont move!
I found the easiest way to install the rear arms was to bolt them to the frame bracket, bolt the frame bracket to the frame, and then use a jack to push up the cab end of the arm to compress the rubber bushing and get the cab side bolt hole lined up. Both sides went in the same way.


#134
01-29-2015, 02:34 PM
Thanks! Trying to keep it a high labor lower dollar build. I have been slacking but getting the cab on and seeing it start to look more like a truck has given me a second wind. Ordered all the glass yesterday and have to get the block to the machine shop soon. Shooting for the first burnouts by June 1st! 
#135
01-29-2015, 10:58 PM

Looking good Dave .... Man I really need to get my other projects tied up so I can start on the 52... Looks like I'm about a month and a half behind... But I should have the motors swapped in the ElCamino by mid next week I'm shooting to have the truck started by mid late February .... Keep up the good work and stay warm.. Looking forward to seeing more progress