When you click on links to various merchants on this site and make a purchase, this can result in this site earning a commission. Affiliate programs and affiliations include, but are not limited to, the eBay Partner Network.
My next big purchase is going to be my wheels. I am going with Intro West Coast wheels. 19x 9 in front with 255/45/19 tires and 20x10 with 295/40/20 in the rear. I choose the tire size after researching forever. I happened to find a set of tires off a wrecked Chevy SSR to use for back spacing measurements.
To check the back spacing I rented Wheel Works ultimate figment tool to figure out the exact back spacing. The tool is really easy to assemble and use. I will load the suspension tomorrow by placing blocks under the A arms so that the suspension will be at ride height and then adjust the tire in or out to check clearances.
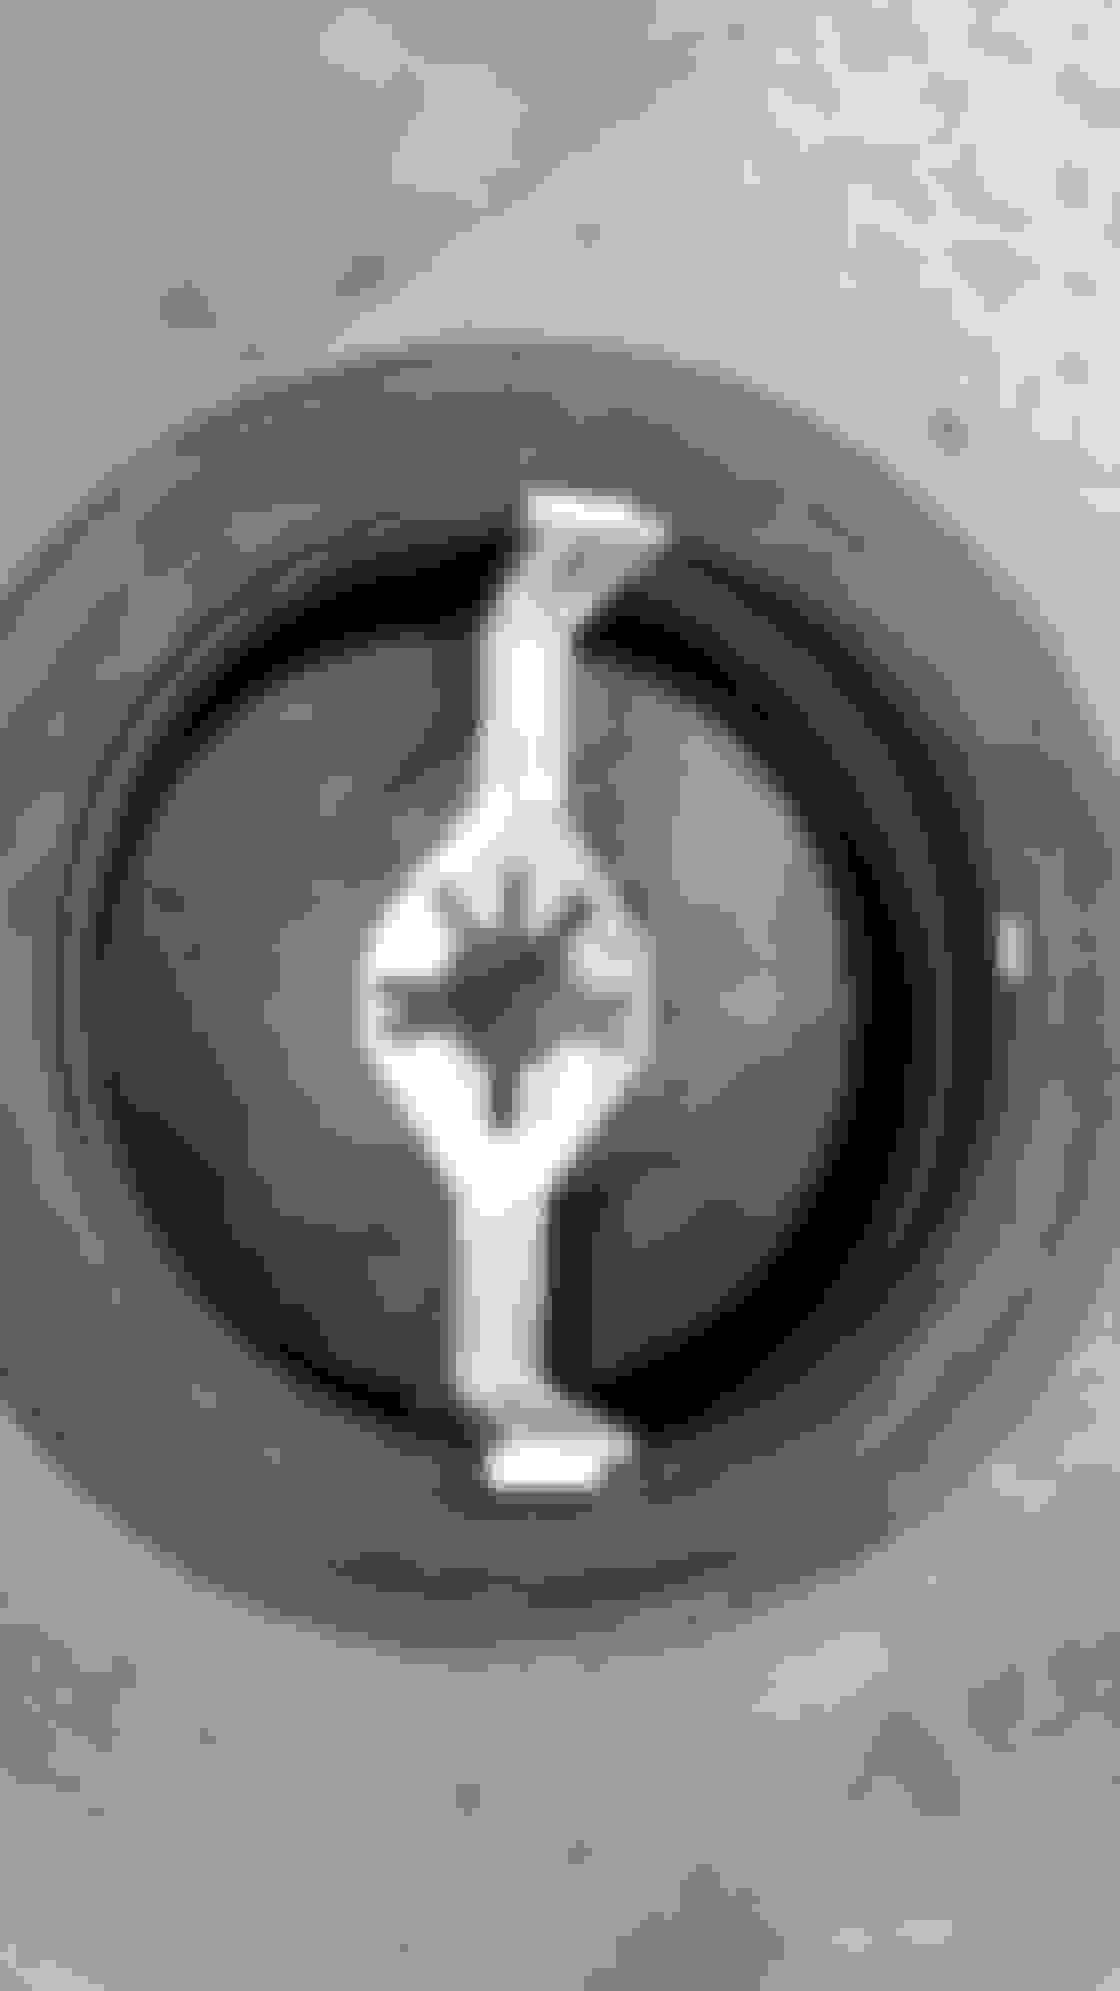
Tool installed in 19" tire.
You can see the scale on the tool that you use for the measurement.
You just mount it on your hub but must support the truck with a jack as it is not designed to bear weight.
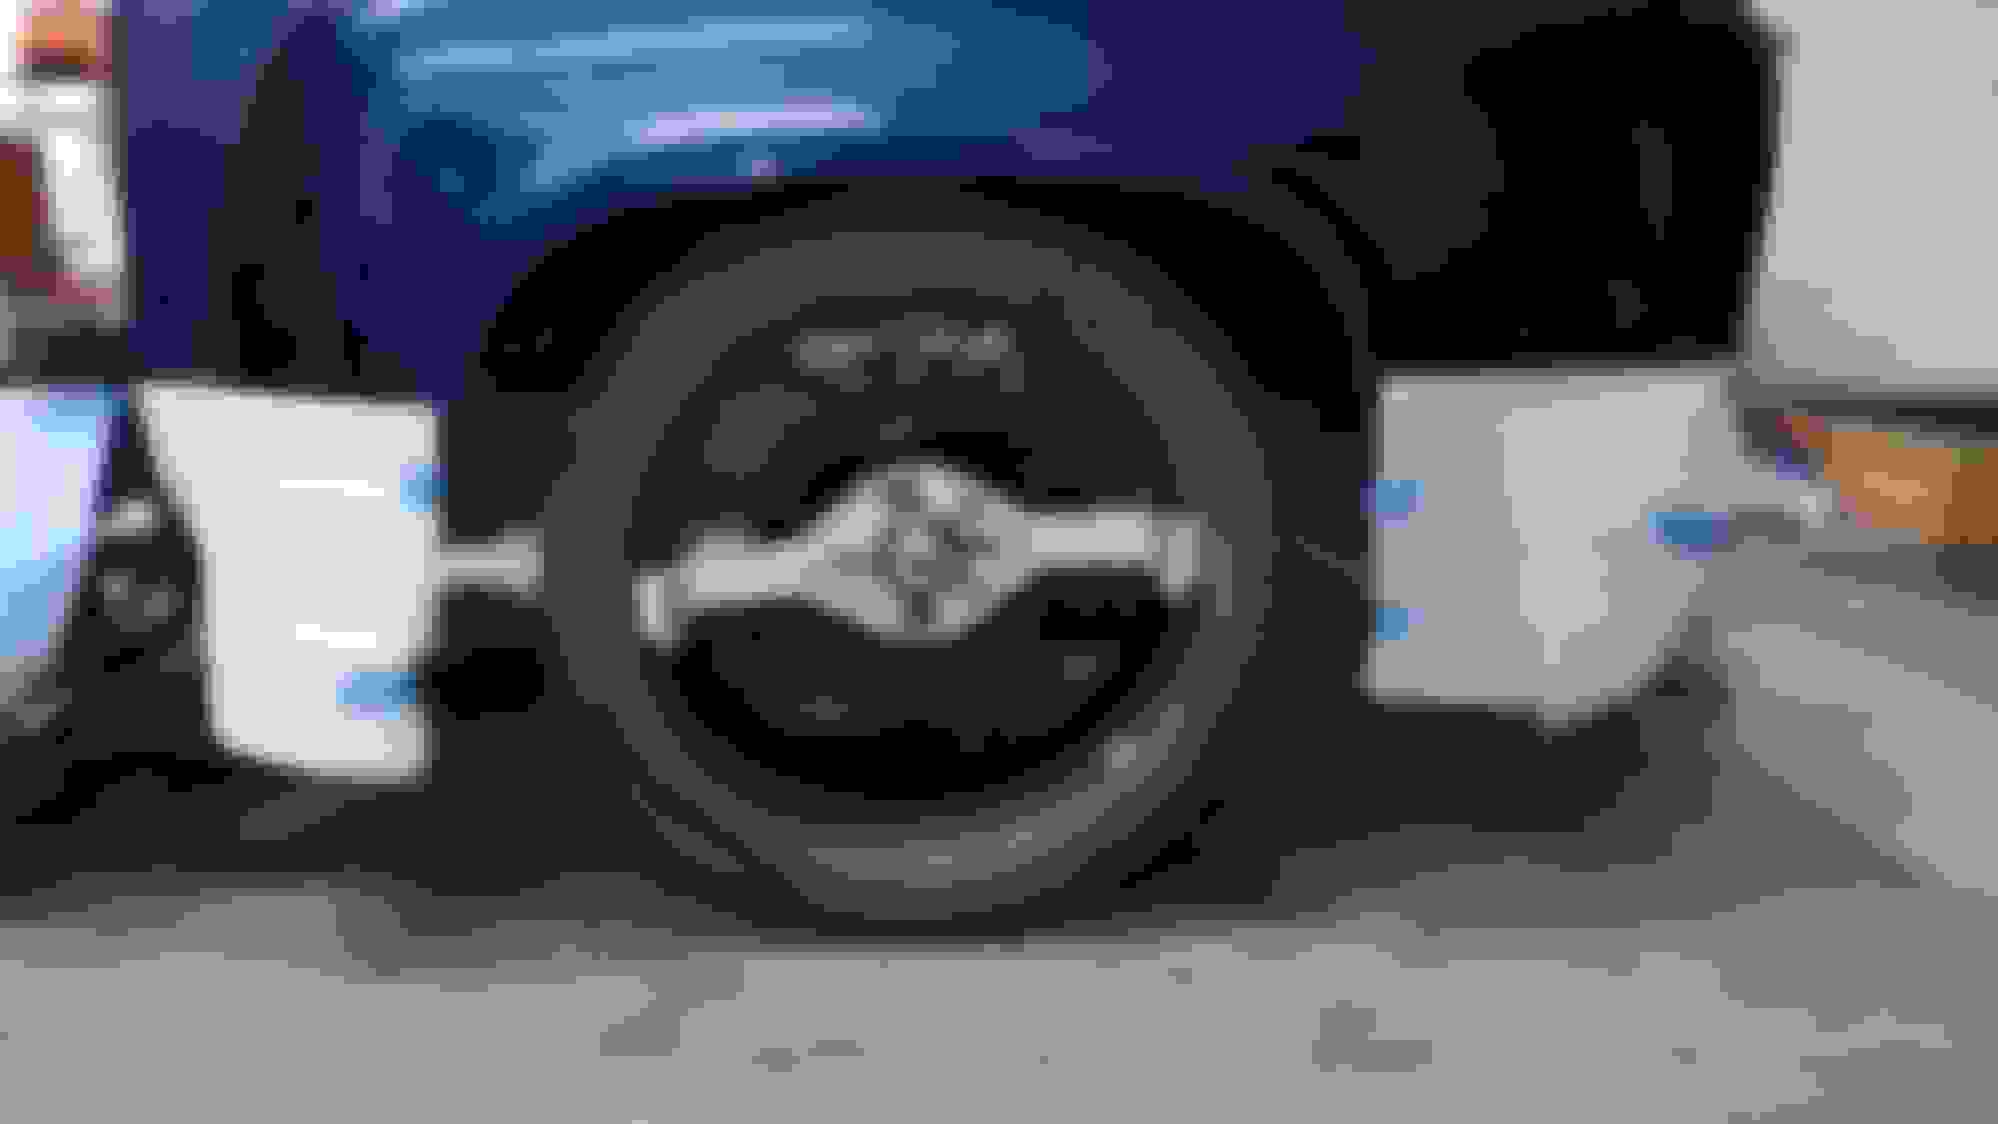
Spent the day measuring for wheel back spacing. I set jack stands under the A arms in order to load the front suspension to ride height. I could then adjust the tire in and out and turn the wheel side to side to check clearances.
Next I went up to the body shop to pick up the bed and fenders. After installing I switched the tool to the 20" tire. I had to jack the truck up to get the tire under the fender. The initial ride height was too low so I moved the lower shock mount up 1" in order to keep the most adjustability in the coil over.
I stuck the front tire back under the truck at ride to get an idea of the look. I like it.
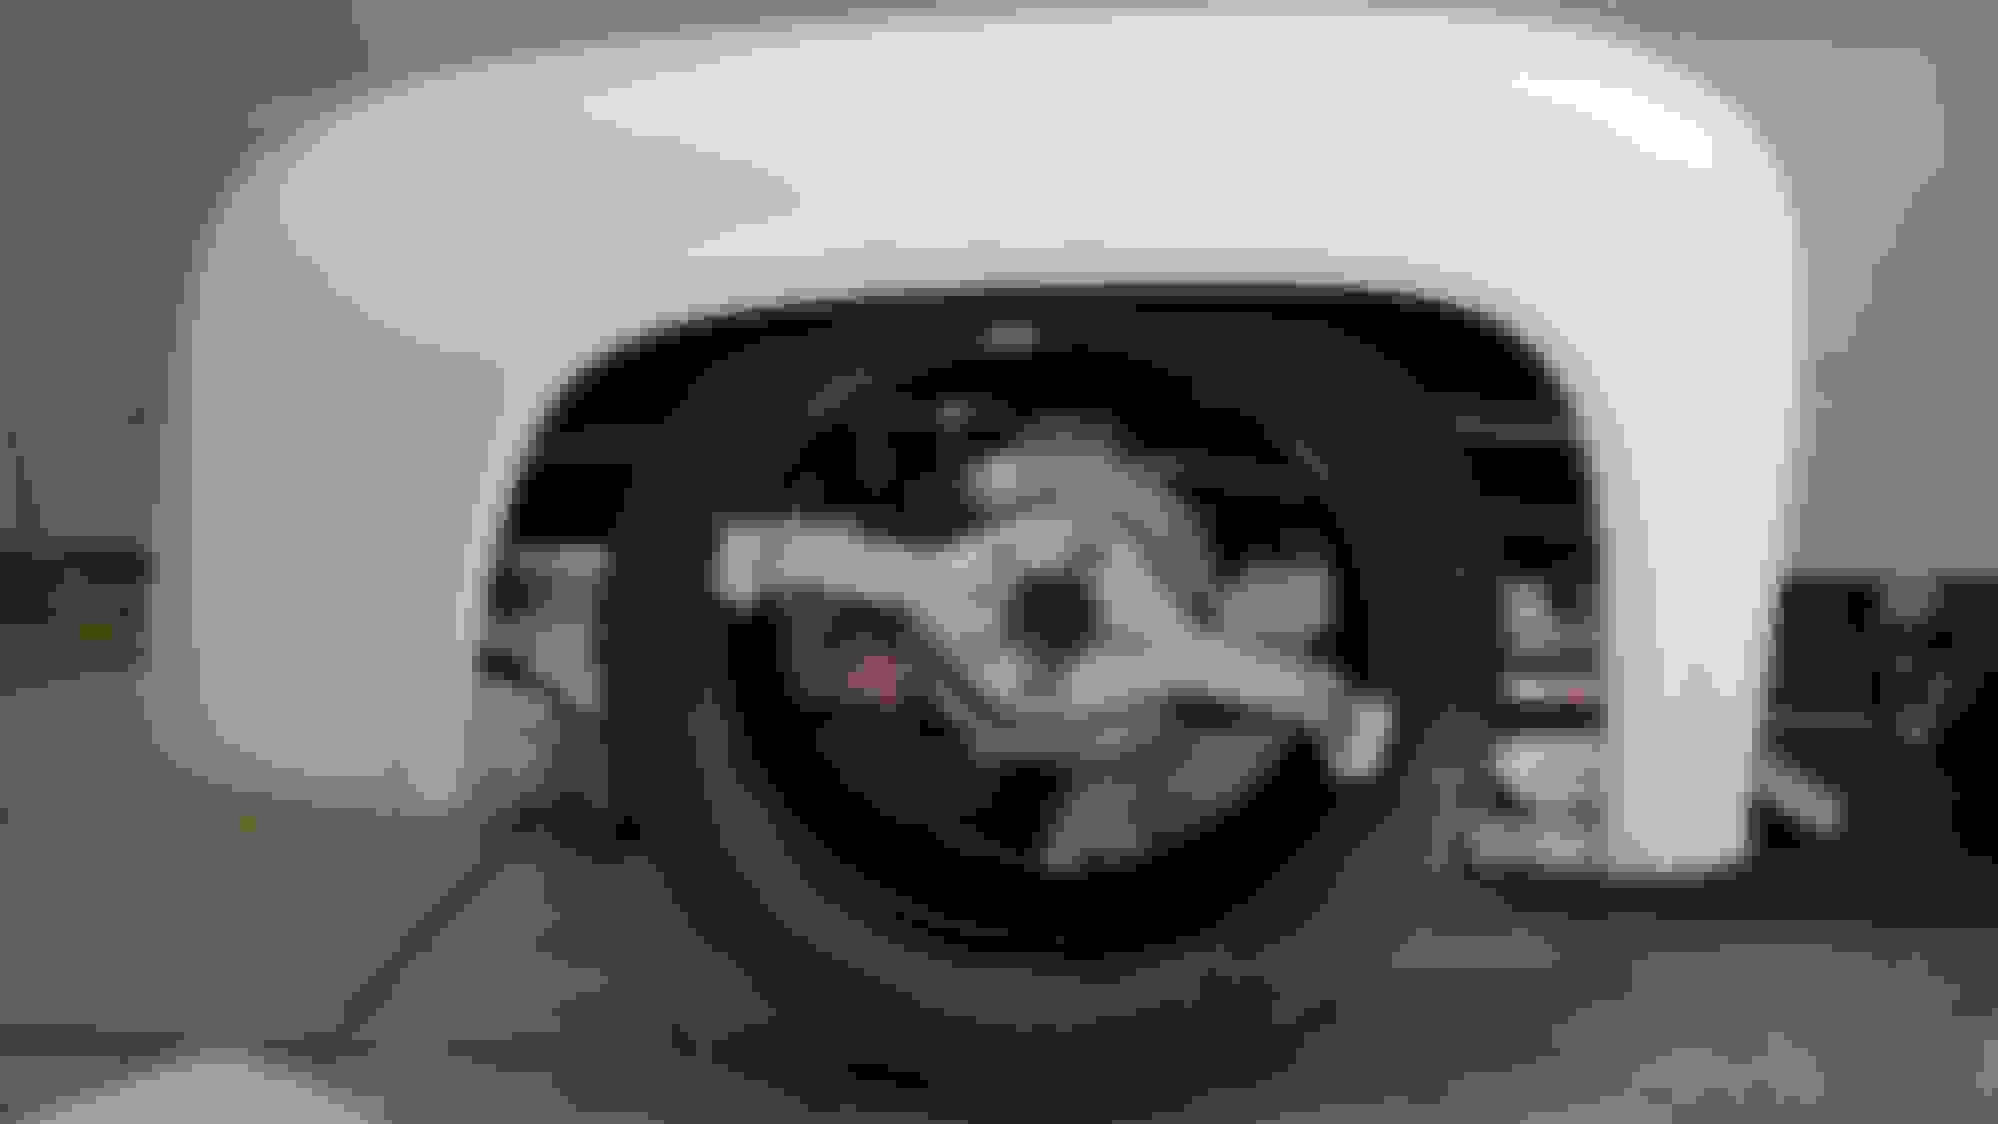
Can't believe I am saying this but it is too low. The top of the tire would hit the fender if it moved a few inches.
After installing I have about one inch clearance on both sides.
Hard to see with all the stuff hanging on it but it has a good stance.
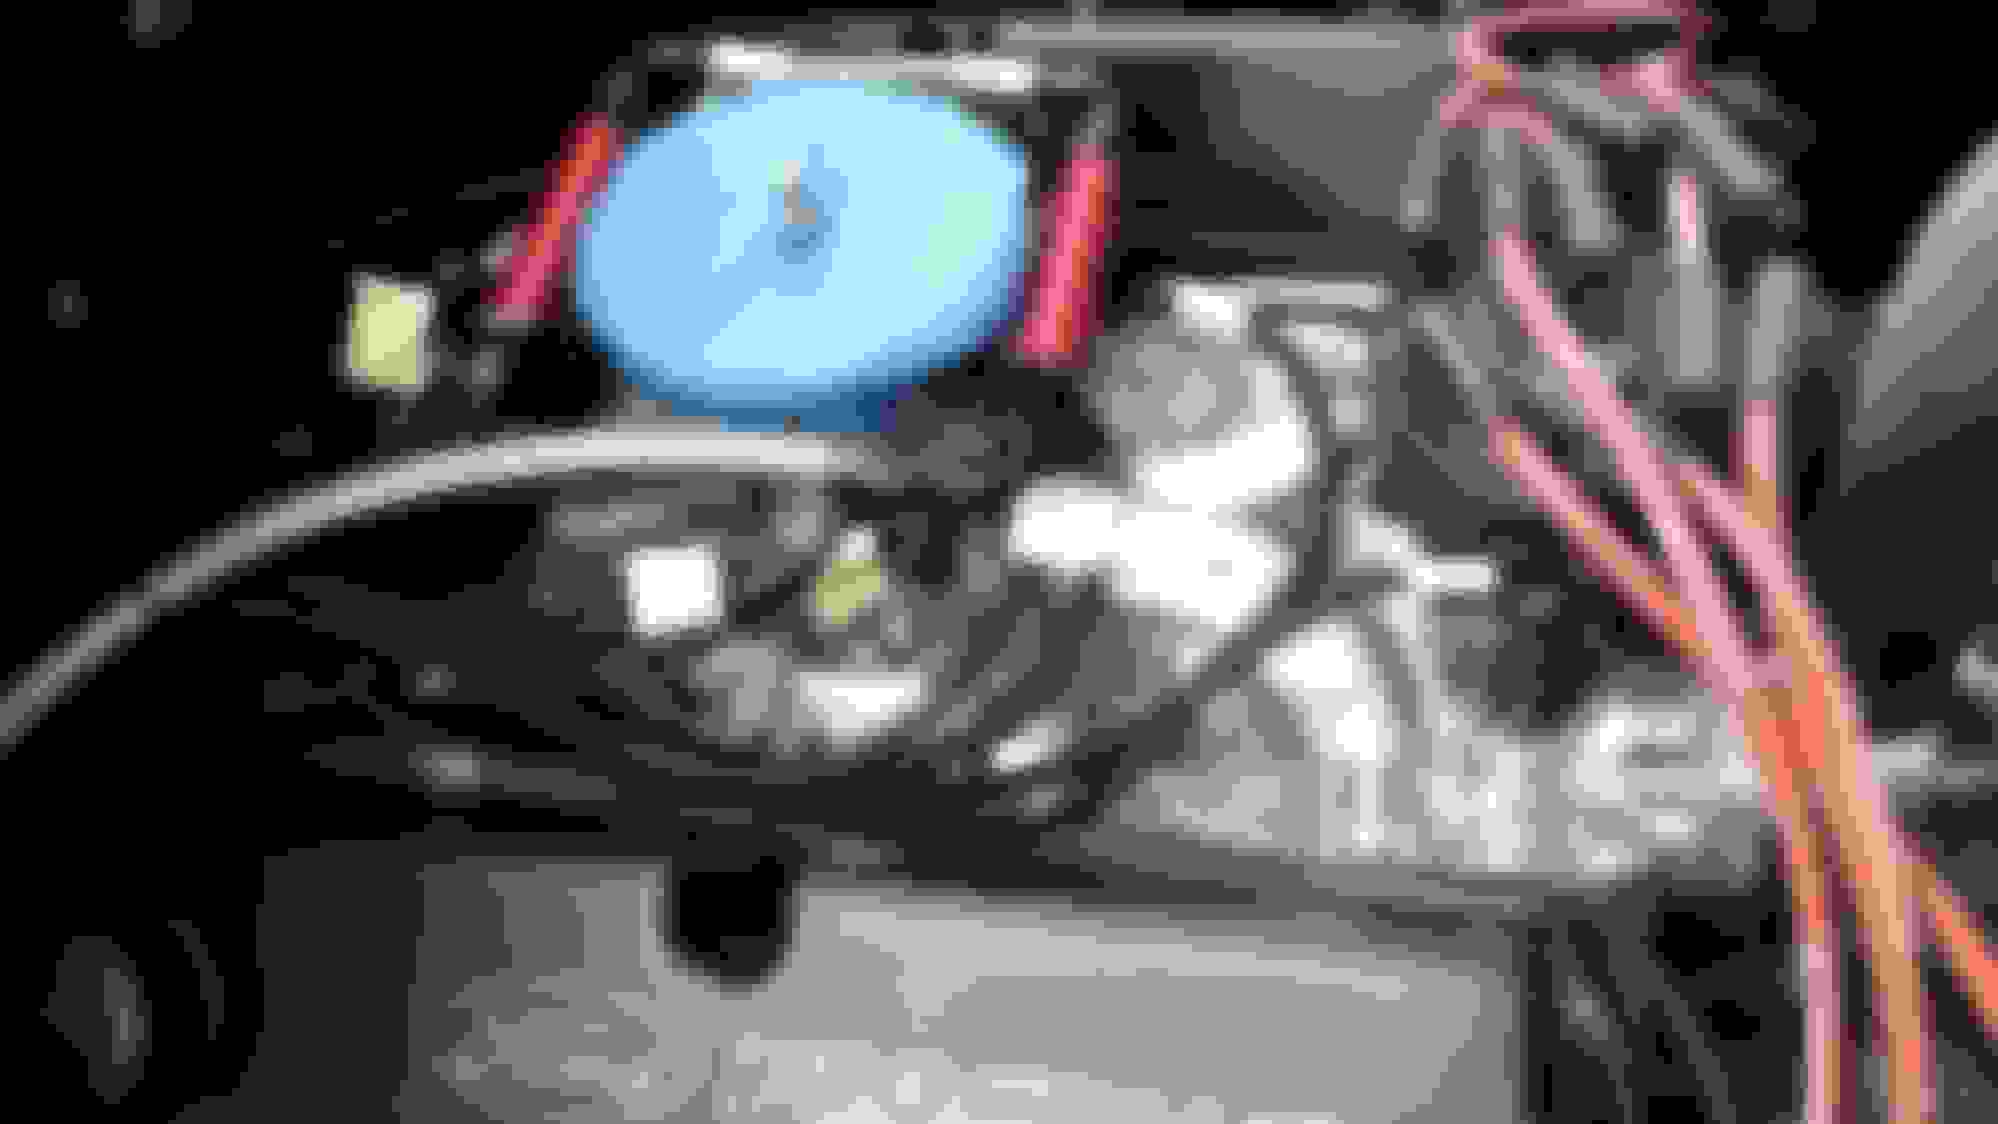
I started to install the efi wiring harness but just couldn't stand the plastic wiring loom on harness. I spent a few hours replacing it with the mesh style.
Day 75 I spent measuring, remeasuring and measuring again the wheel back spacing. I am going to drop a lot of coin on custom rims and they are non returnable. I spoke to the manufacturer and they told me 8-9 weeks. That puts me right at the show so I need to order them tomorrow !
The masking tape was used to label everything for install. Once the engine is test fired I'll remove it.
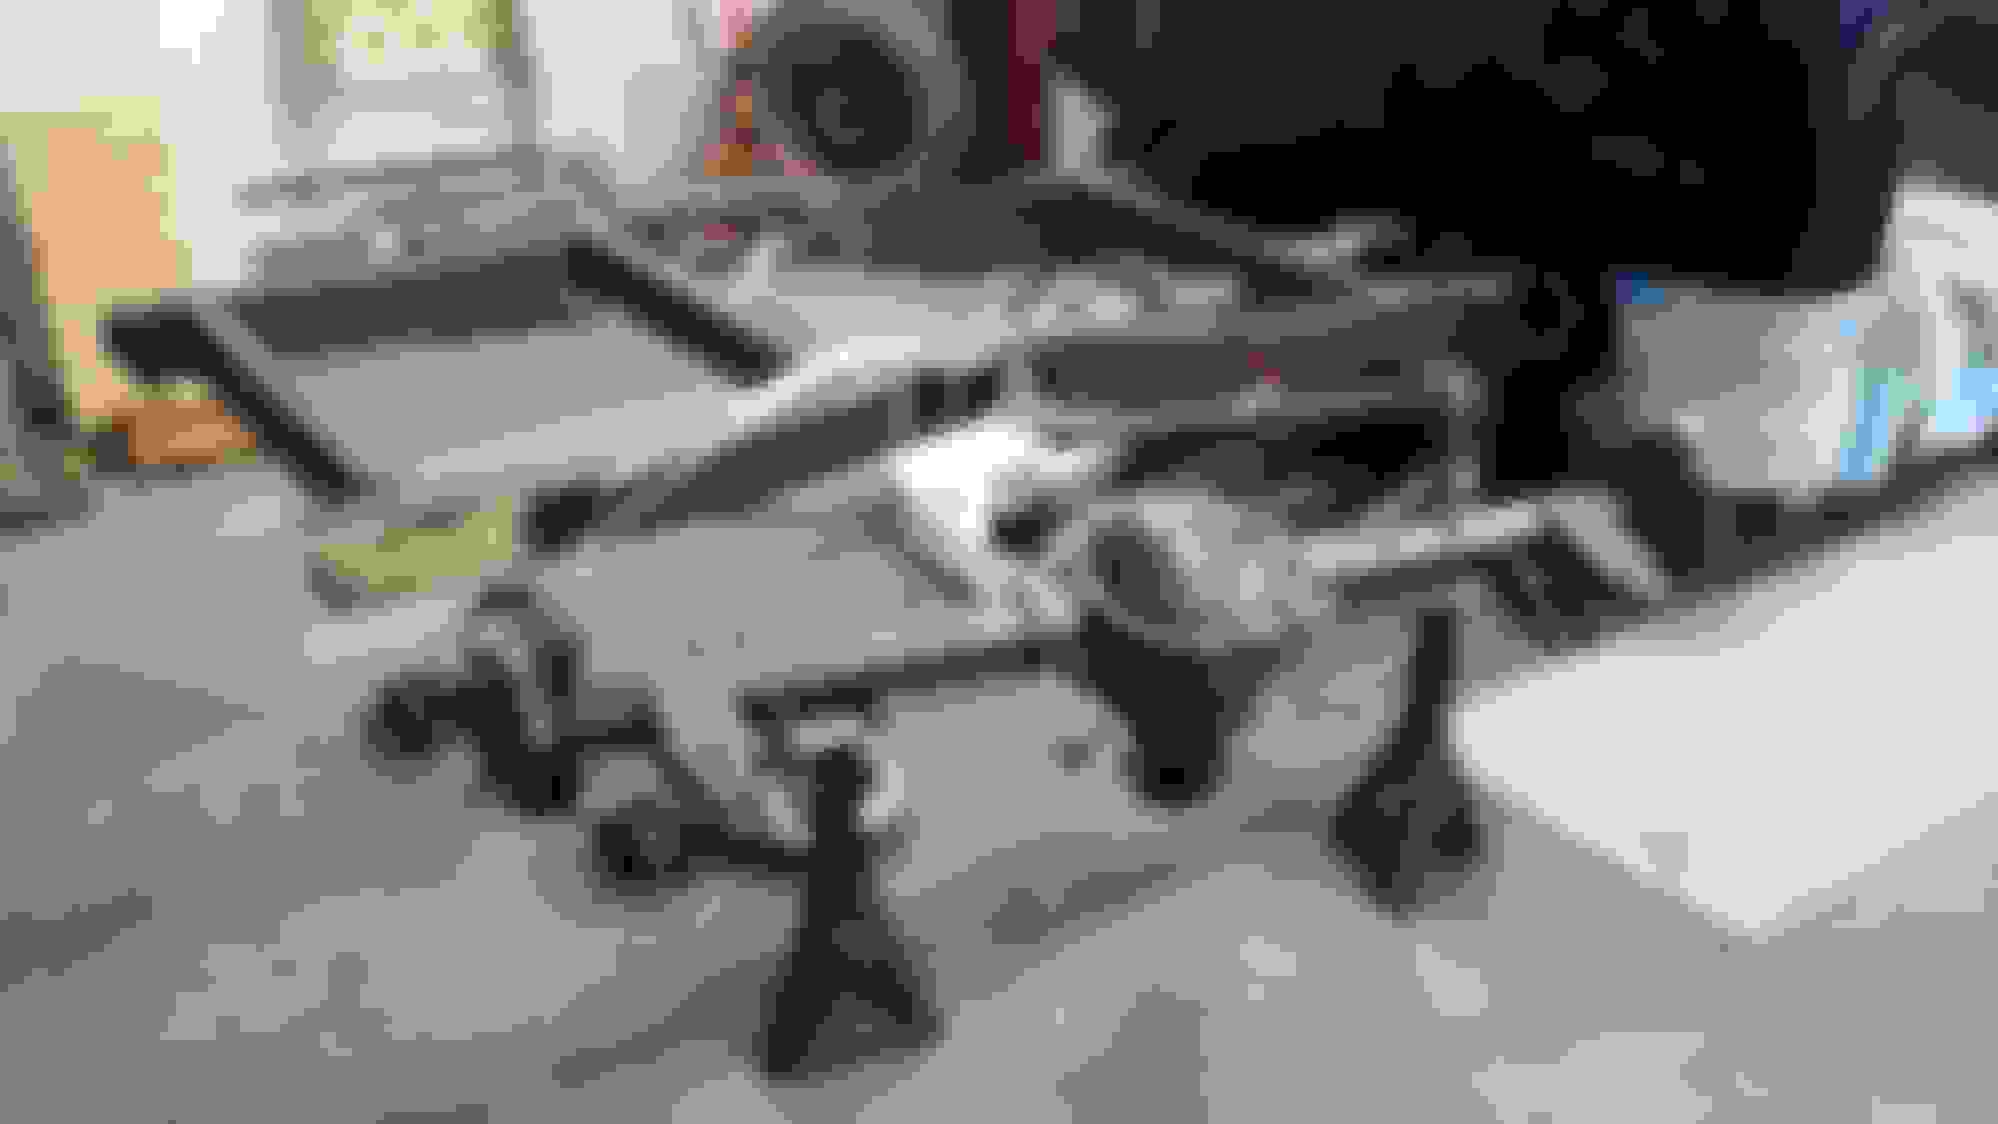
Did a lot of traveling and holiday stuff but I managed to finish the wiring and removed the bed and rear end. I had to pull the rear in order to remove the axles and change the rear caliper brackets.
I also figured out the exhaust re routing, adjusted the fuel tank height and measured for the wood bed height. I raised it to clear the fuel tank and give the rear diff more clearance.
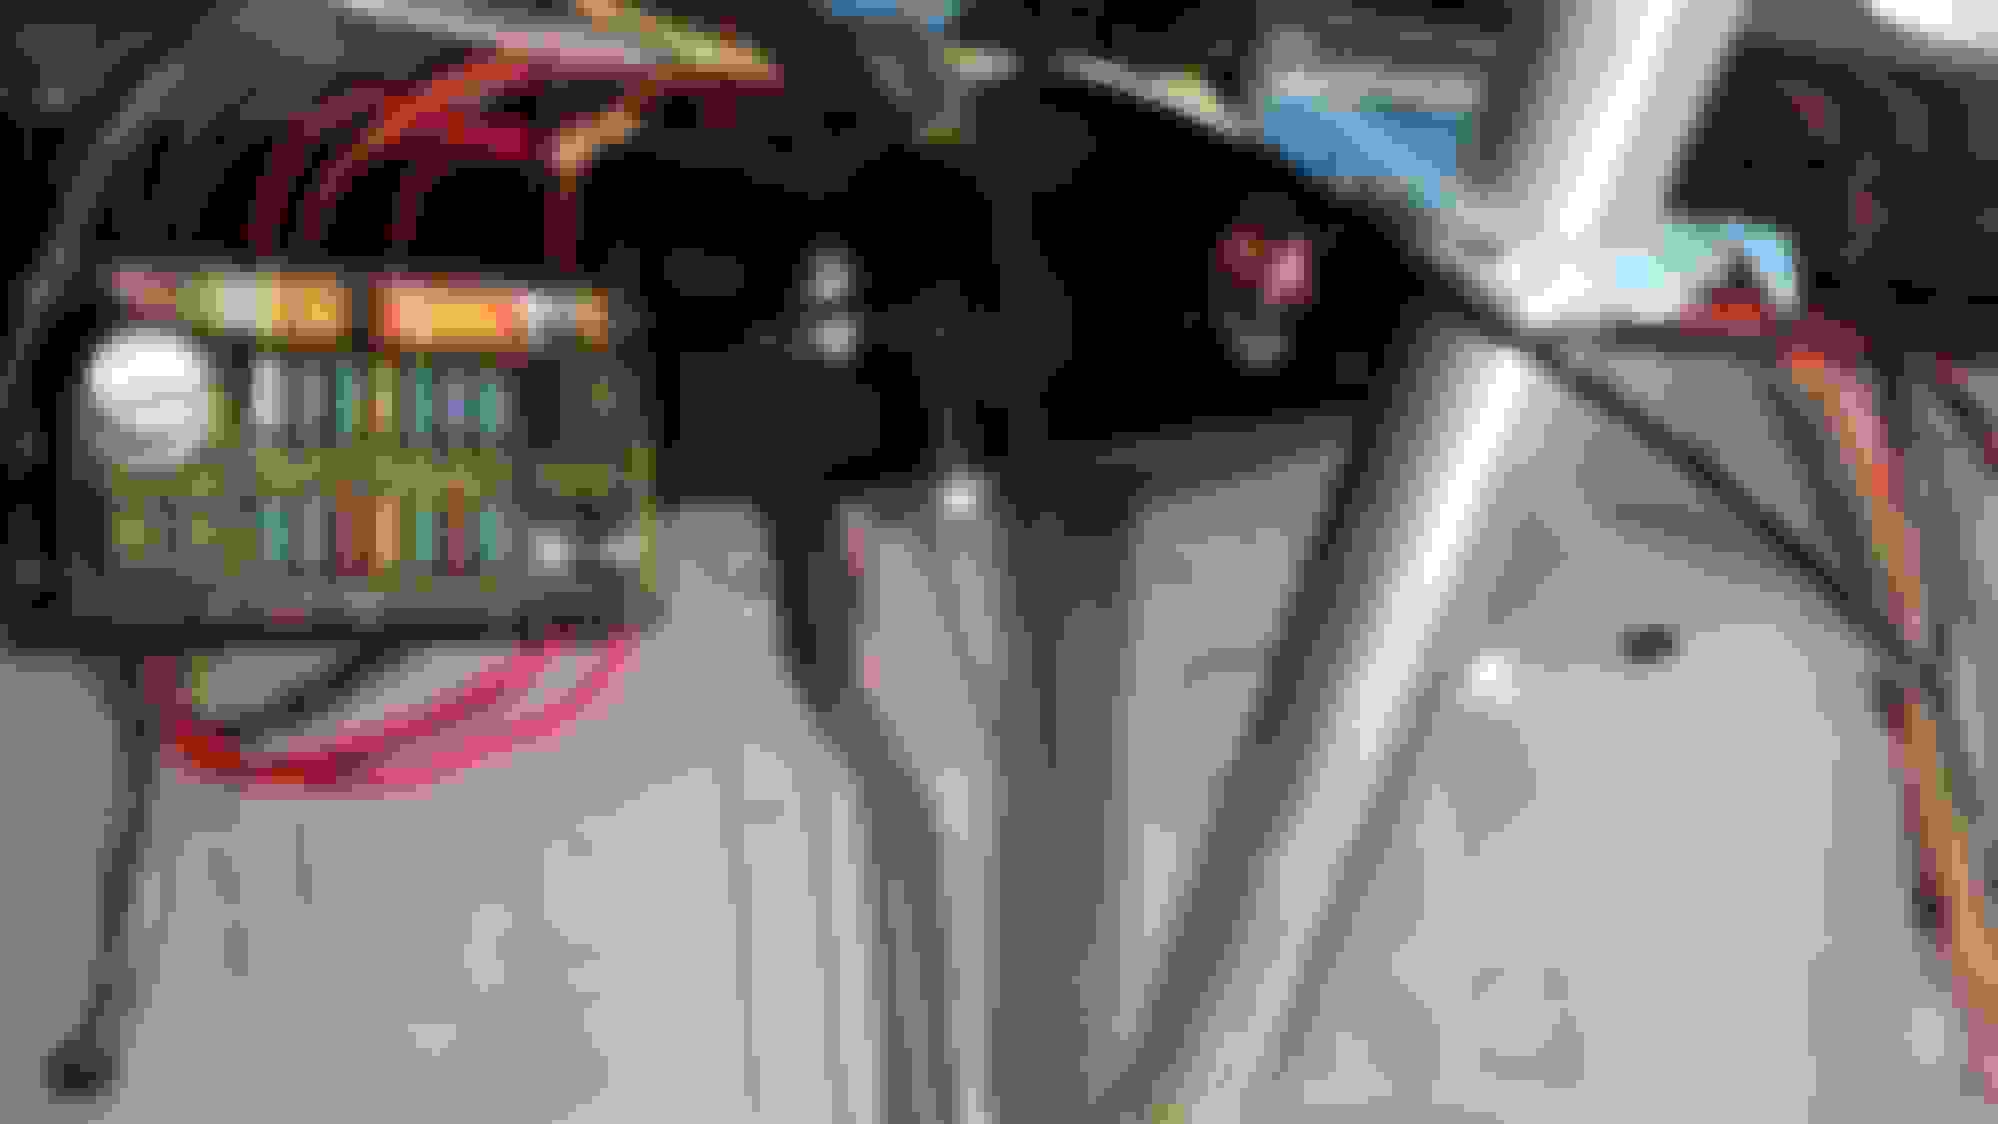
Fuse panel mounted on drivers side.
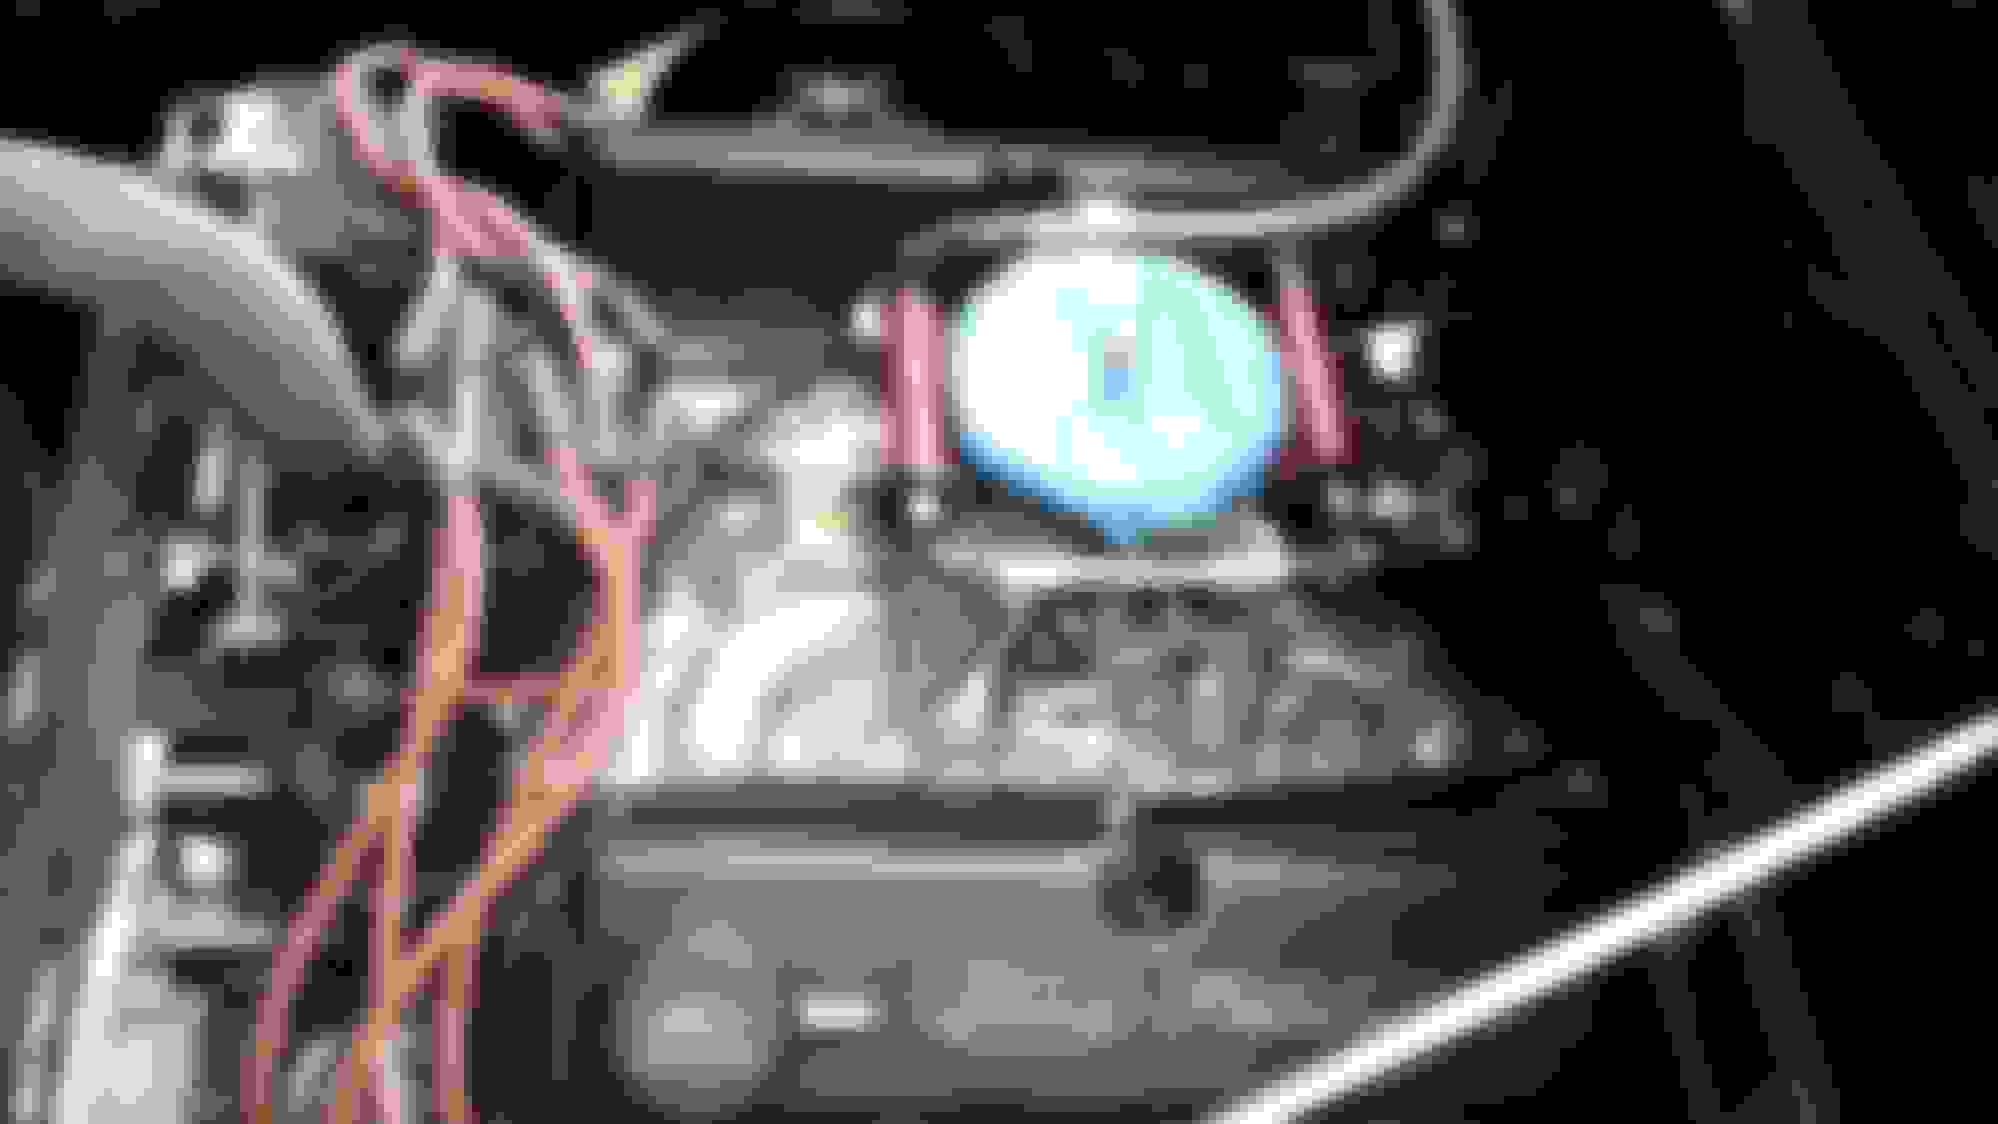
FAST EFI computer was mounted on pass side for easy access. I'll tidy up the wires a little more once the insulation is installed.
Rear out for the last time. Pulled the axles and removed the brake caliper mounts.
The Wilwood bracket on the left has a larger axle tube bore. This was the only one available for my rear. I have hybrid big style axle tube brackets on a 8.8 rear. I am having a spacer machined to center the Wilwood bracket.
Waiting on adapters for the for rear caliper brackets to show up. I received the plug wire brackets today and installed them. They were supposed to fit up to 9mm wires but didn't. I had to do a little modifying.
Brackets install using valve cover bolts.
The wire seperators were not even close to fitting.
A trip to the drill press and 45 minutes later the warranty was voided.
I had to work the All Ford Nationals yesterday buI did manage to score a really nice original 56 grill. I also found a set of original turn signal/ marker lights on craigslist.
To keep busy today I finished installing the spark plug wires.
Spent the day measuring for wheel back spacing. I set jack stands under the A arms in order to load the front suspension to ride height. I could then adjust the tire in and out and turn the wheel side to side to check clearances.
Next I went up to the body shop to pick up the bed and fenders. After installing I switched the tool to the 20" tire. I had to jack the truck up to get the tire under the fender. The initial ride height was too low so I moved the lower shock mount up 1" in order to keep the most adjustability in the coil over.
I stuck the front tire back under the truck at ride to get an idea of the look. I like it.
Can't believe I am saying this but it is too low. The top of the tire would hit the fender if it moved a few inches.
After installing I have about one inch clearance on both sides.
Hard to see with all the stuff hanging on it but it has a good stance.
Wicked looking truck. What spring rates did you go with?
I have been waiting on a set of centering rings for the brakes and they finally arrived. I installed them and the rear caliper mounts. I reinstalled the axles and the new diff cover. I also test fit the rear calipers, all looks good. Now I can repaint the rear and get it back under the truck.
Aluminum centering ring for the caliper brackets. Fits perfect now.
Test fit the rear rotors and caliper after installing brackets.
Trick Flow differential cover. It has the studs to help prevent axle cap flexing. I bought this one because the fill level plug is at the proper fill level and the ARP fastners.
 05-16-2016, 09:14 PM