When you click on links to various merchants on this site and make a purchase, this can result in this site earning a commission. Affiliate programs and affiliations include, but are not limited to, the eBay Partner Network.
TSM Mfg Front Disc Brake Conversion Kit Installation (Lots of pictures)
Ok so the TSM Front Disc Brake Conversion Kit came in and I promised an initial review and some pictures of the install so here we go...
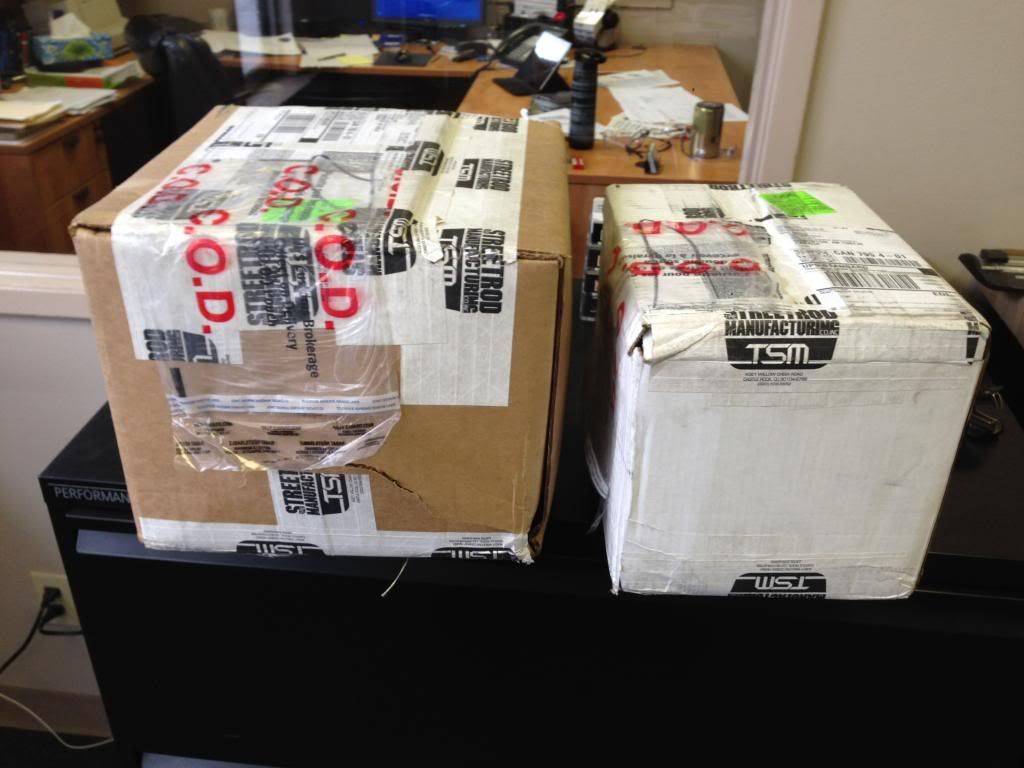
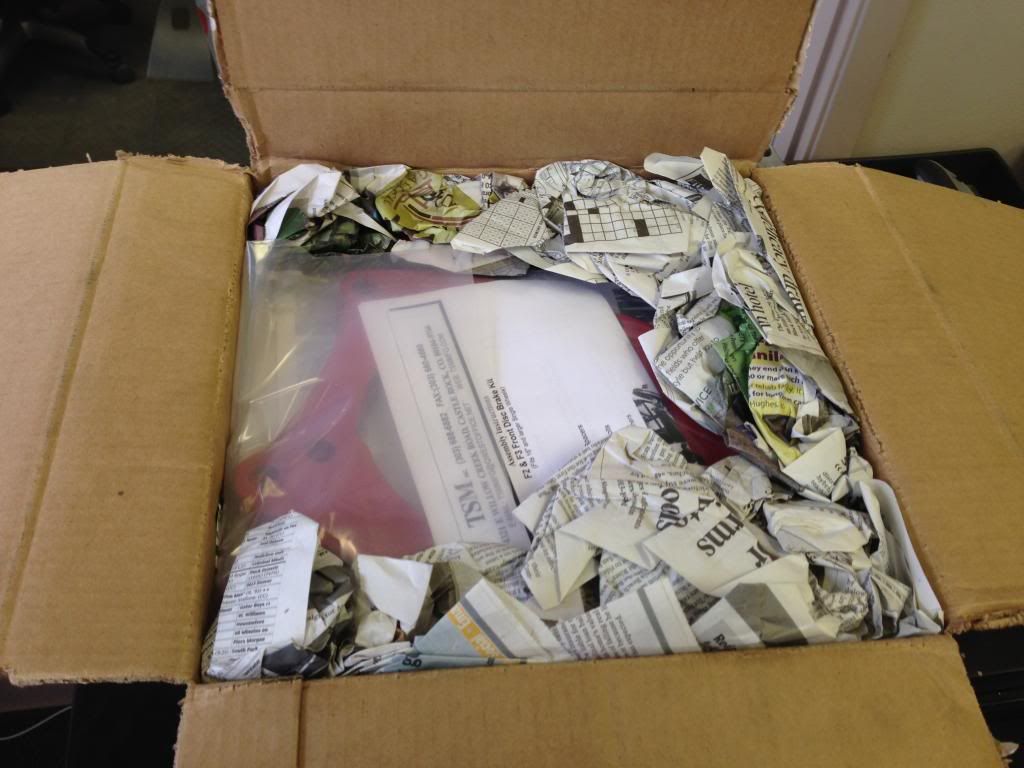
As seen here the kit came in well packed to prevent damage in transit. Was happy to see that cause with some companies you just never know...
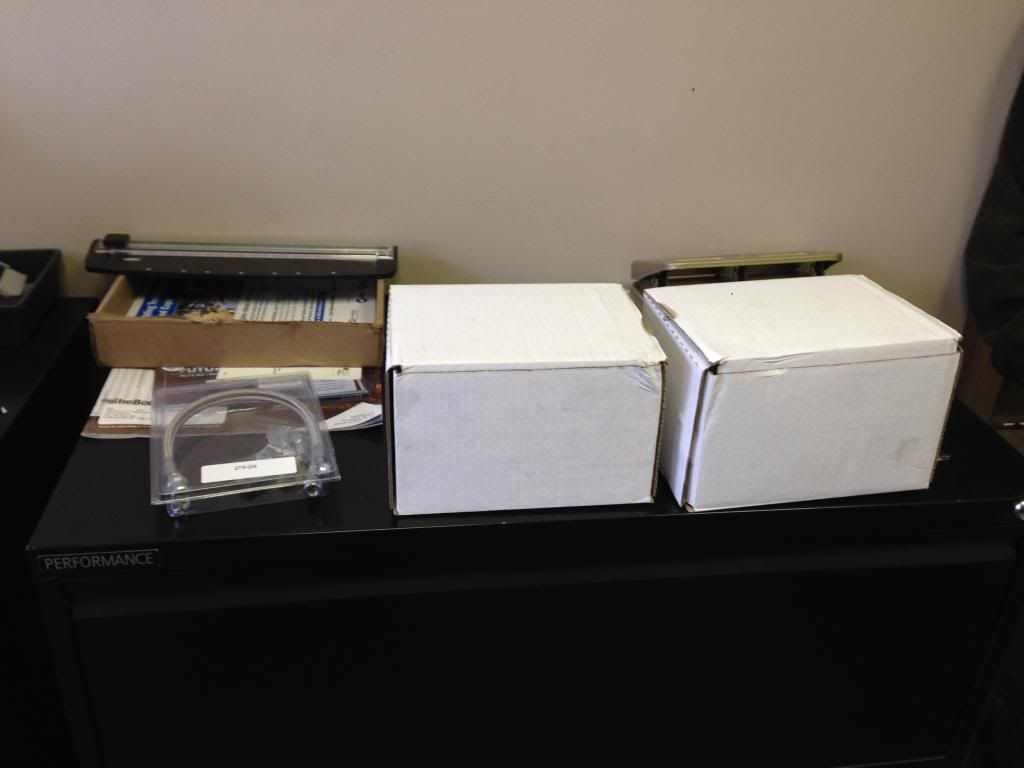
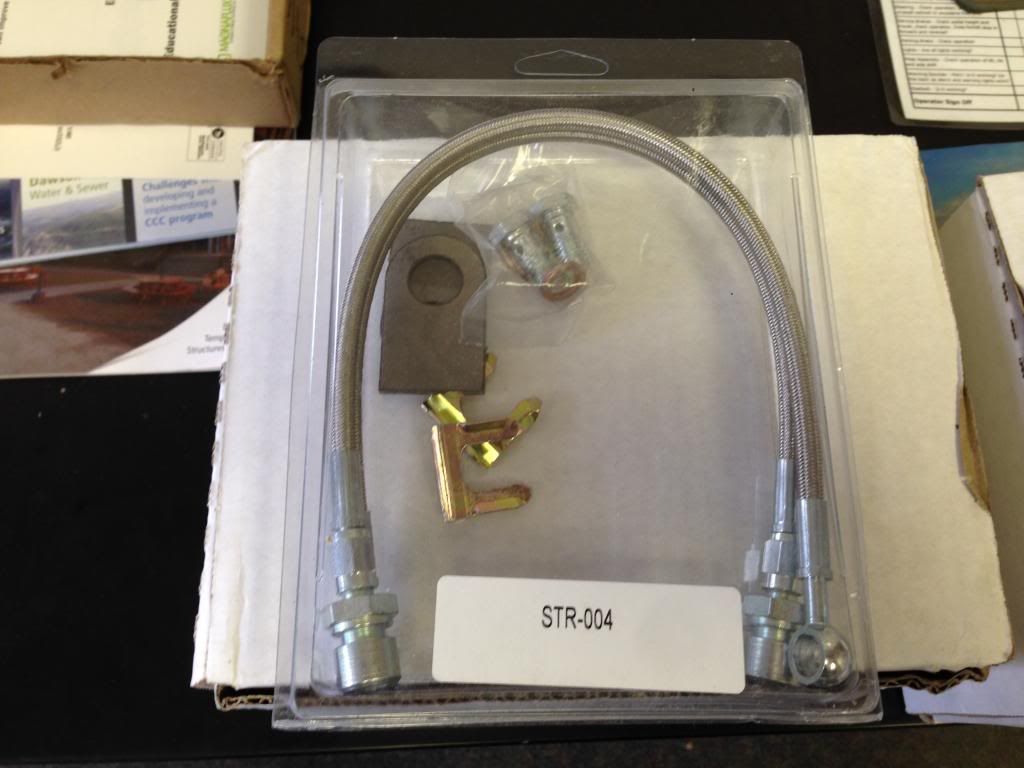
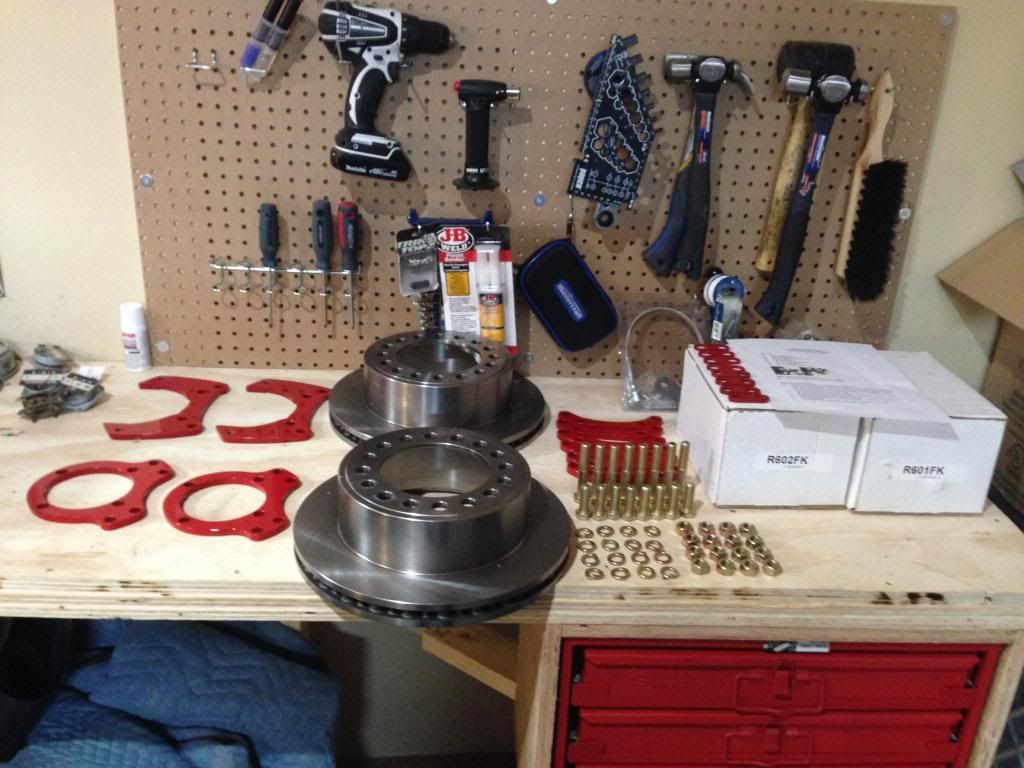
The kit contents laid out on the workbench...
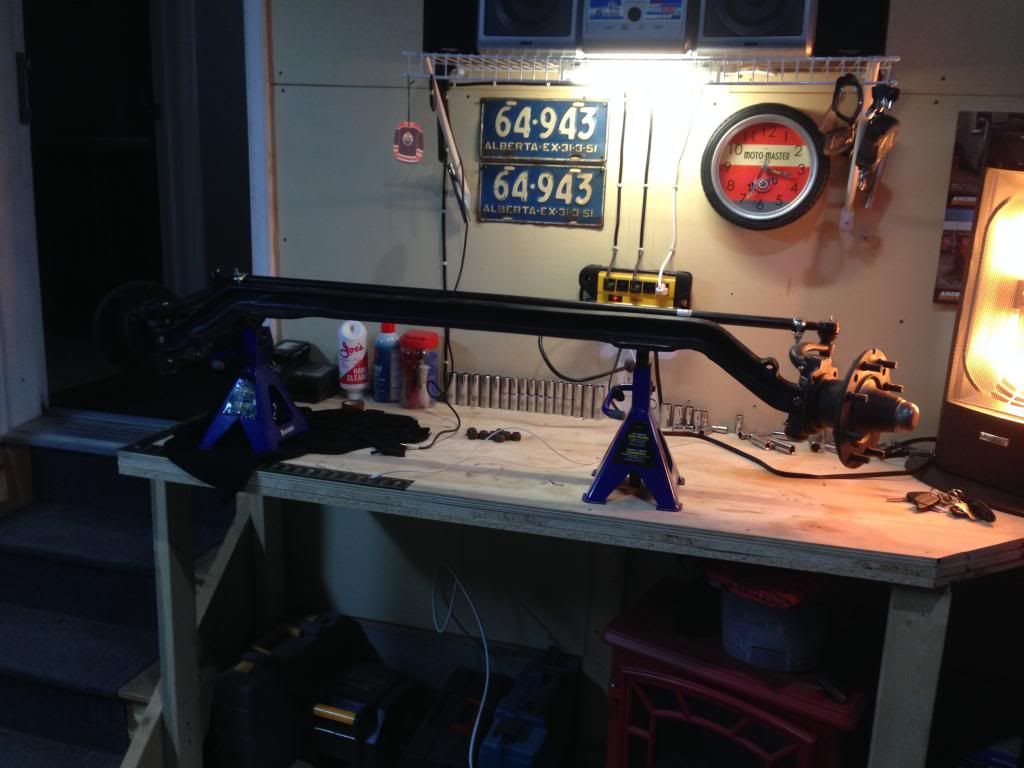
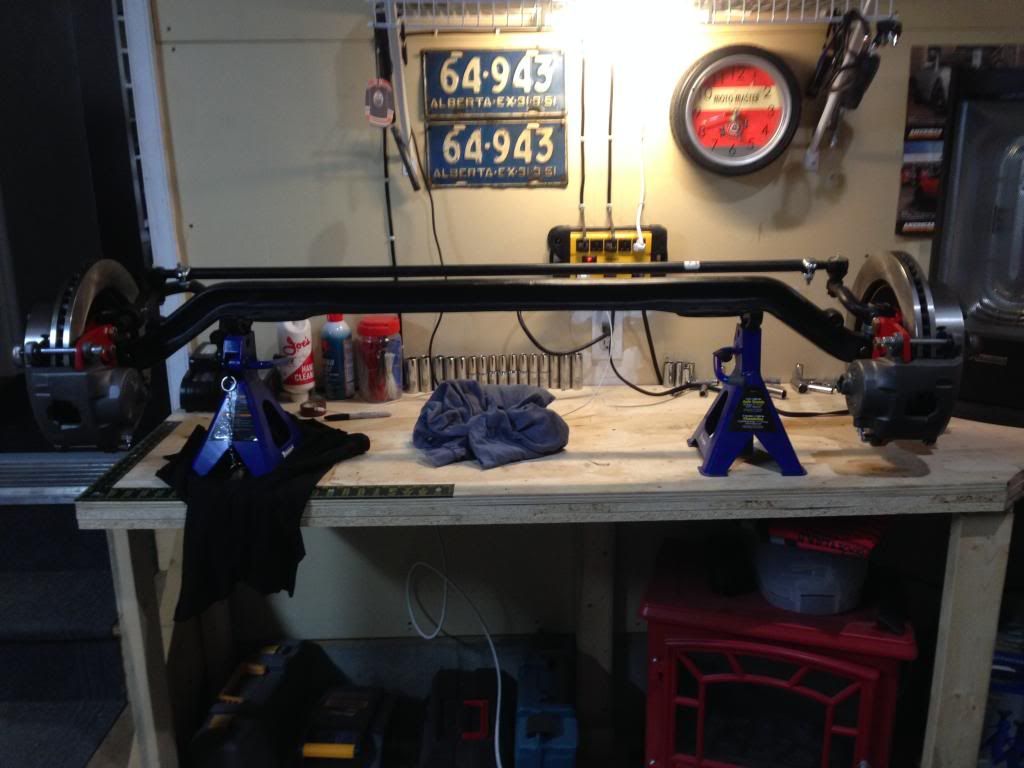
Since my axle assembly is already off my truck while I wait for new leaf springs I decided it would be easier to do this up on the workbench as opposed to down on the ground...
In retrospect this wasn't a good idea. Don't get me wrong, it made the install very easy. But adding 80 lbs of brake gear to an axle assembly that already weighs 65-70 lbs means it's now staying on the work bench until a buddy comes over to help me lift it down
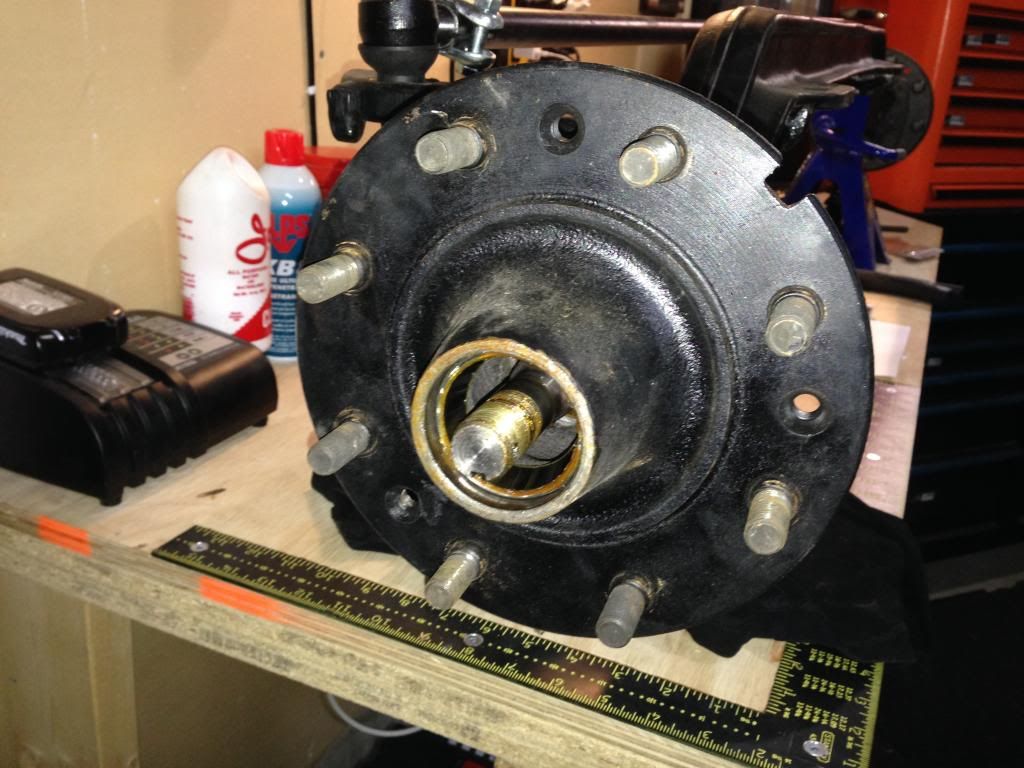
Step one of the instructions (which I might add are brutally vague hence my decision to post a step by step w/ photos) says to remove the hub the normal way.
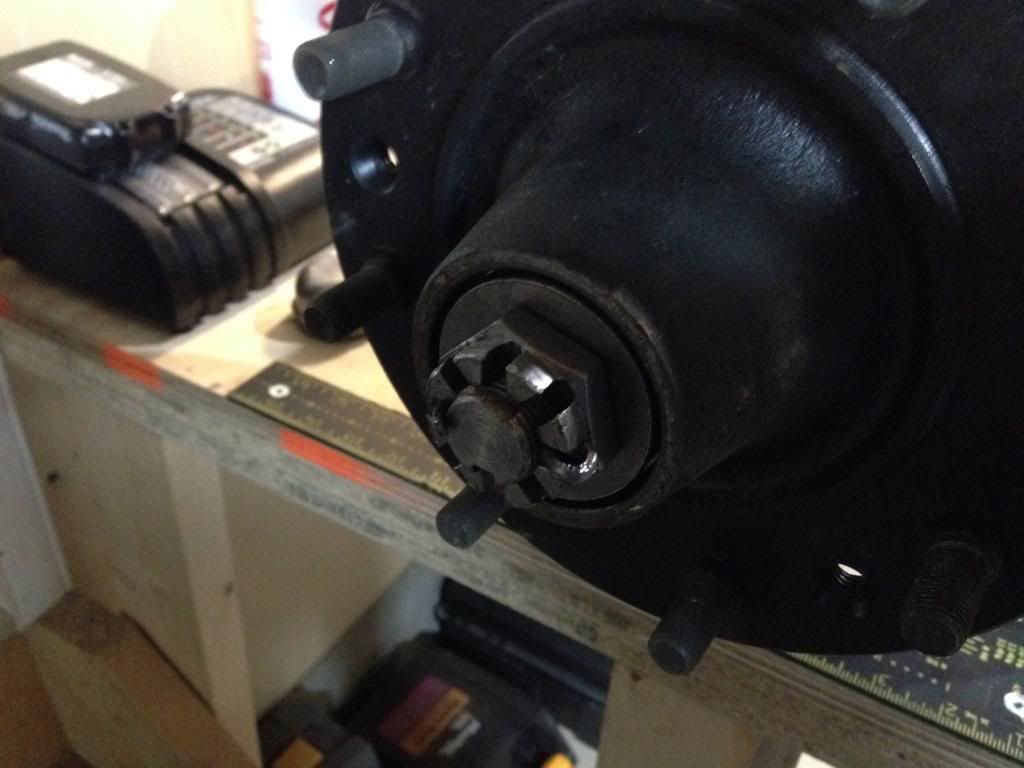
So, dust covers off, cotter pin out...
Remove spindle nut...
Remove slotted washer...
Remove front wheel bearing...
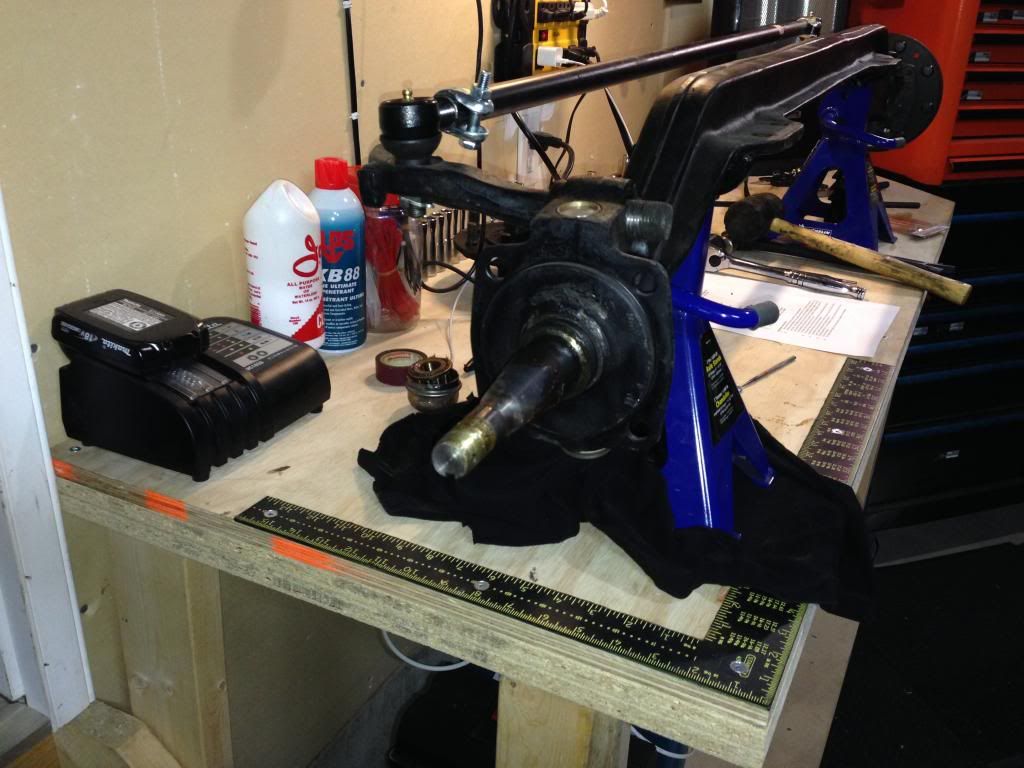
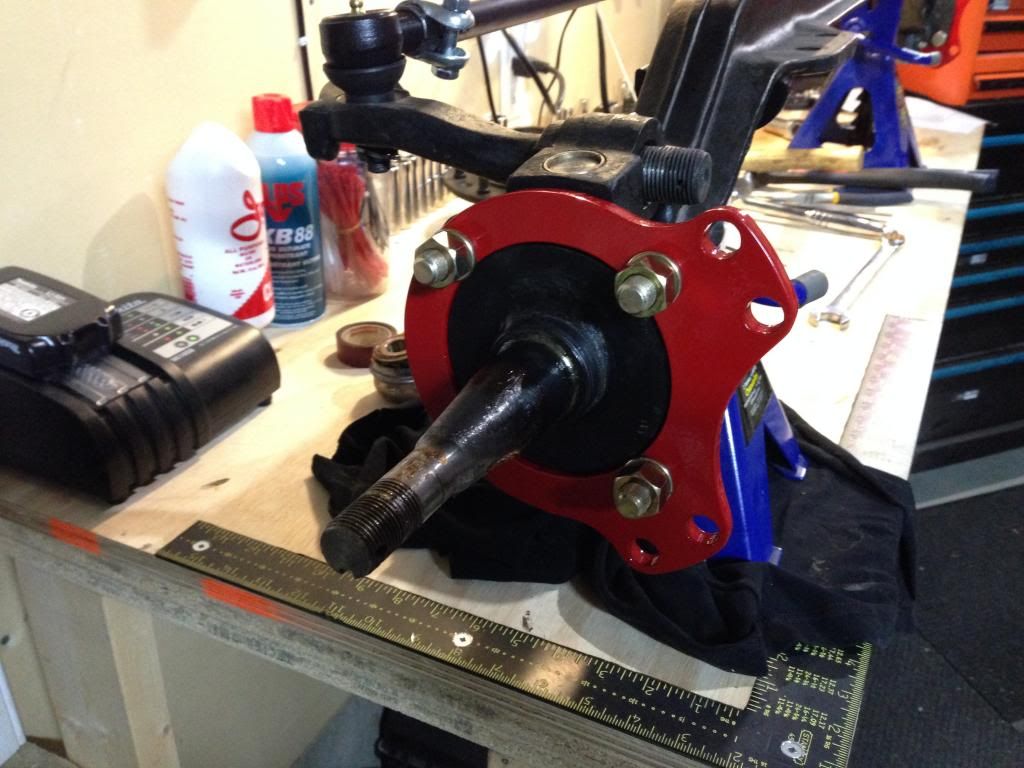
With bearing now out, remove hub from spindle...
Step two of the instructions is pretty much the entire assembly compiled into a short non-descriptive paragraph so I'll break it down.
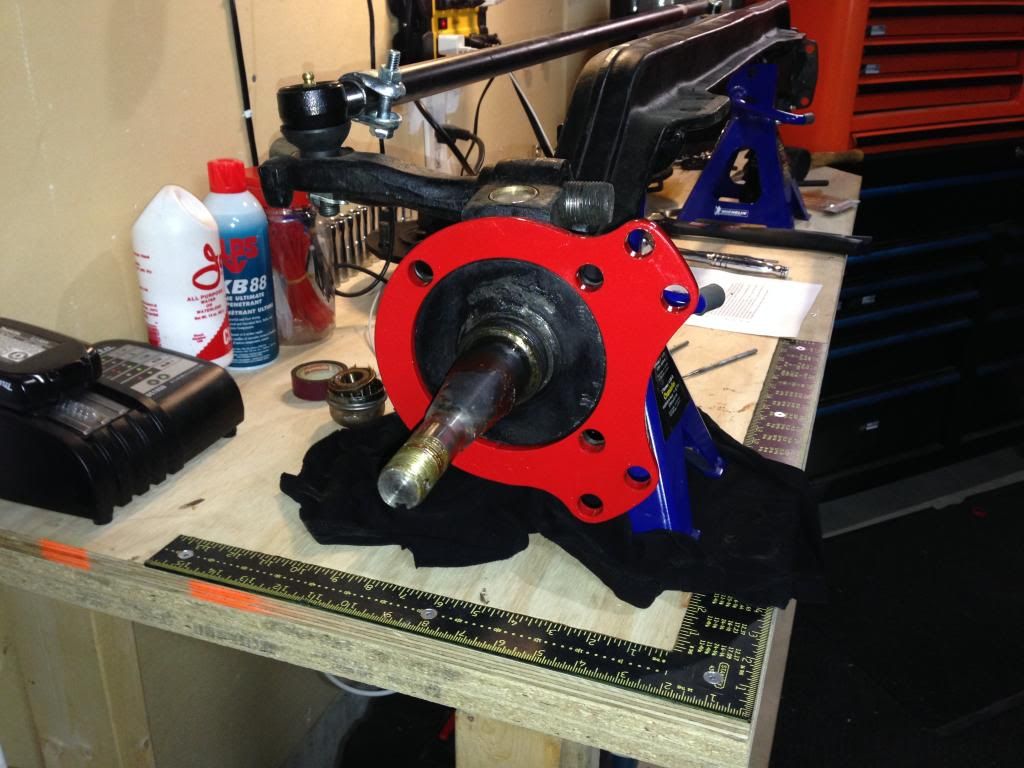
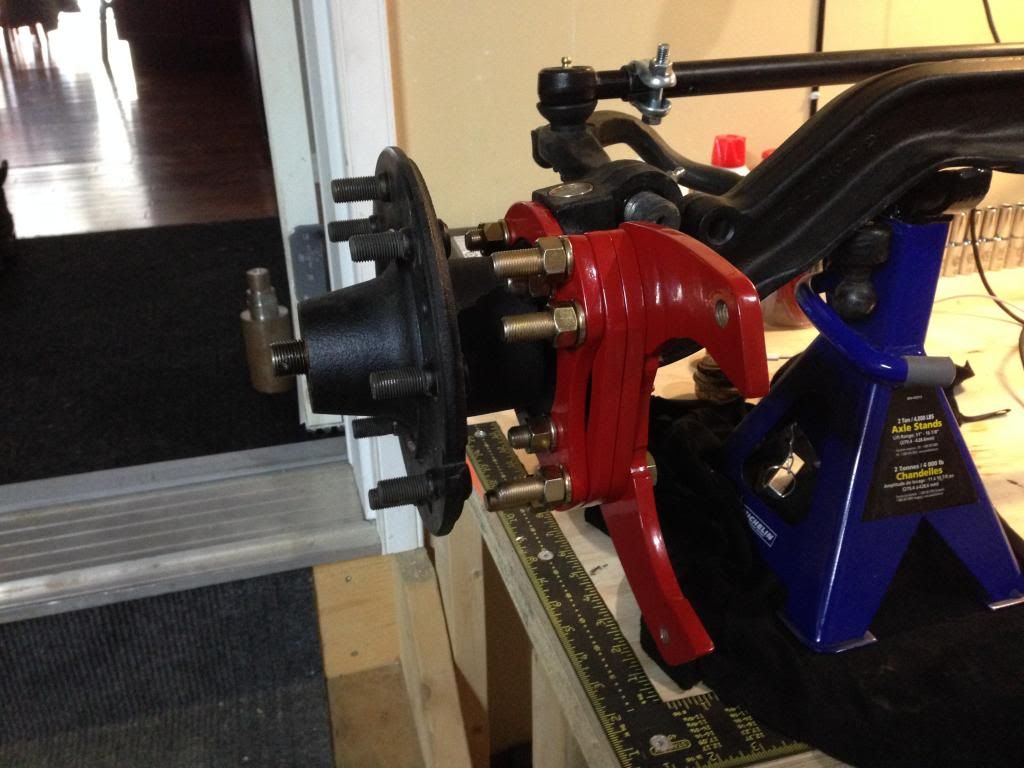
"Bolt the base brackets to the spindle using the 1/2 x 1 1/2 bolts, lock washers and nuts." This red piece is what they are referring to as the "base bracket" even though they call it a "2-piece brake brackets" in the parts list...
..."The brackets go forward only Hold the bracket up to the spindle and try
both sides of the bracket. Use the side that puts the caliper the highest."...
They will look backward in my picture but remember my axle is sitting upside down. You can tell that it's aligned properly (high side) by seeing where the holes are that will bolt it to the spindle in relation to the holes where the other bracket will bolt on. Once you're sure you have it in the right spot, bolt it to the spindle with the nuts out toward where the wheel will be...
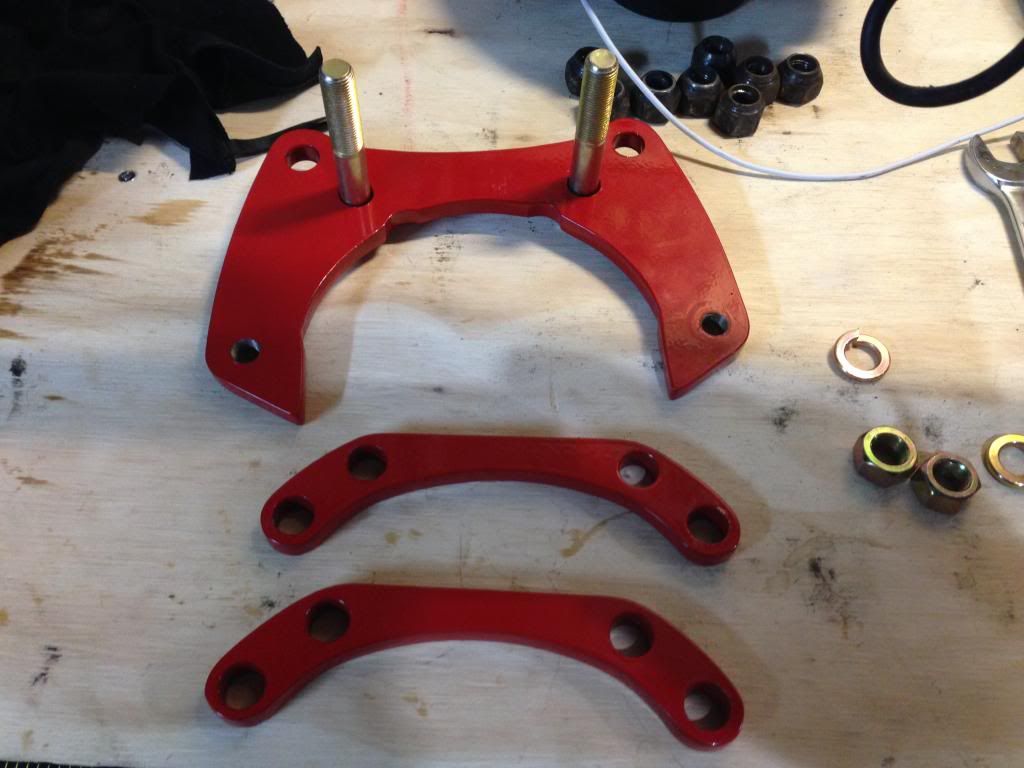
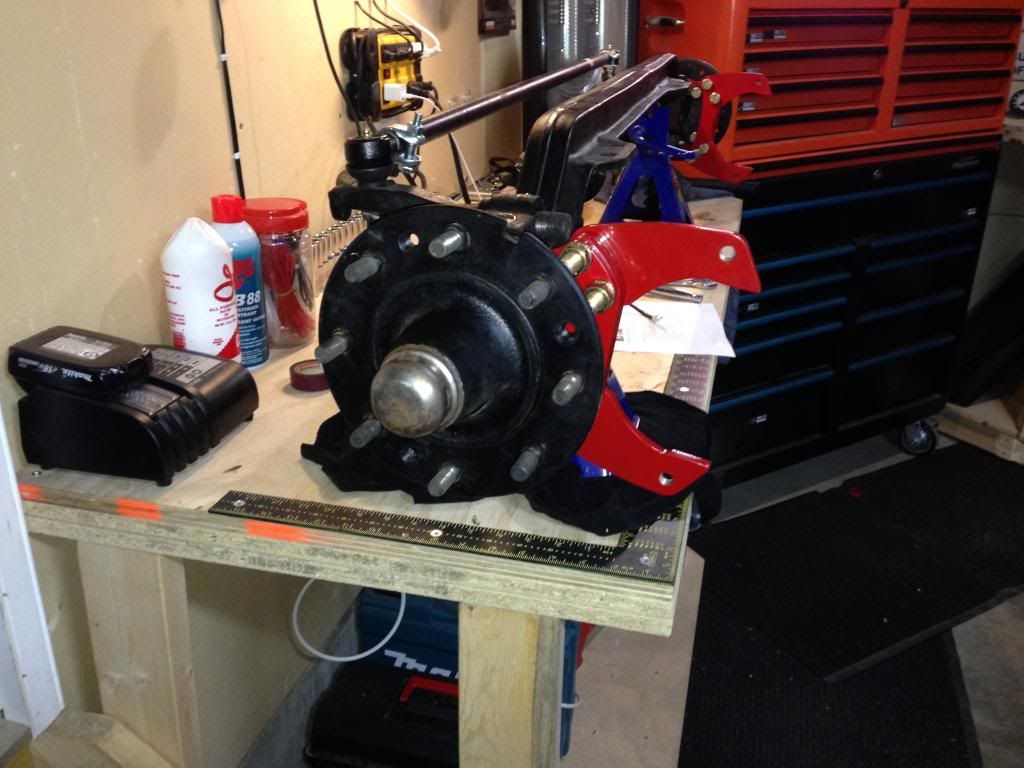
..."Bolt the top brackets to the base with the spacers in between. (The bracket is spaced to the inside of the truck away from the rotor.)"...
The U-shaped piece with the bolts in it in the next photo is the "top bracket".
It can mount any way just make sure the nuts are again on the outside toward where the wheel will be. The kit comes with a number of different spacers, the two show in both the previous photo and the next one show the 3/8" spacer, there are also 3/16" and 1/8" spacers in the kit. Though the photos show I only used two 3/8" spacers I later had to take it all apart and add more for proper caliper positioning. In the end I used all 3 of 3/8" spacers and the 1/8" spacers on each side. I did not need the 3/16" spacers.
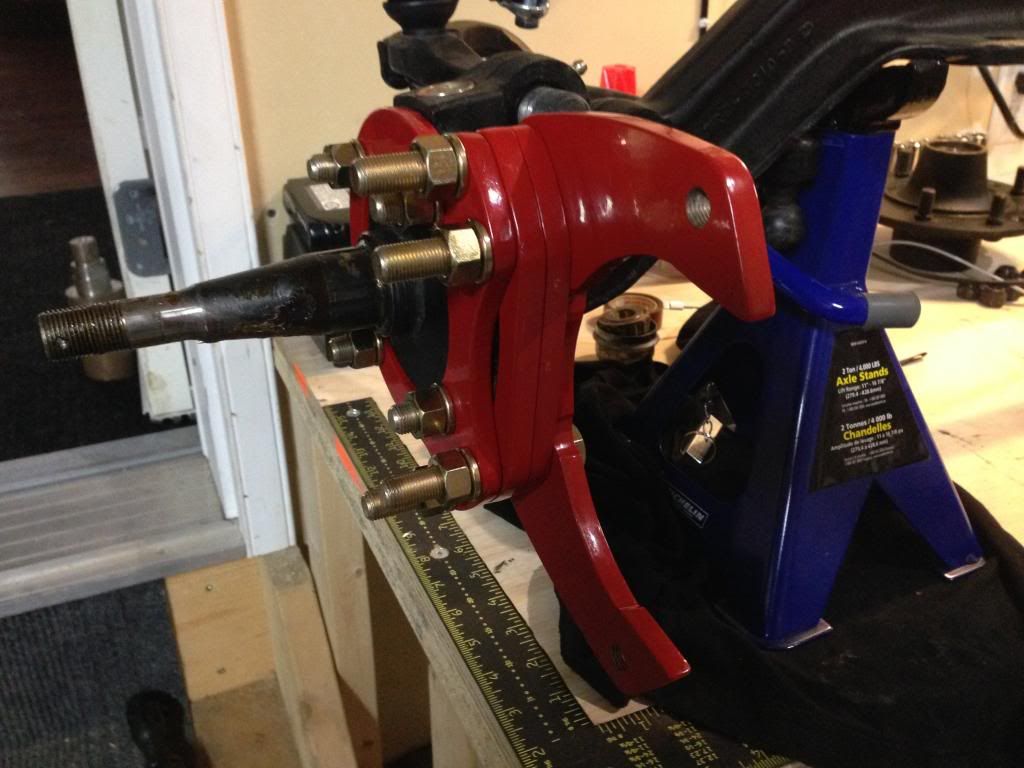
The spacers go between the "top bracket" and the "base bracket" on the inside (away from the wheel) and again with the nuts on the wheel side.
I then checked the hub and bolt ends for clearance. Again, I later added more spacers...
Step 3 in the instructions tells you you'll have to move your shock to the back side of the axle. Seeing as how my axle is out of the truck I will do this when I put it back on.
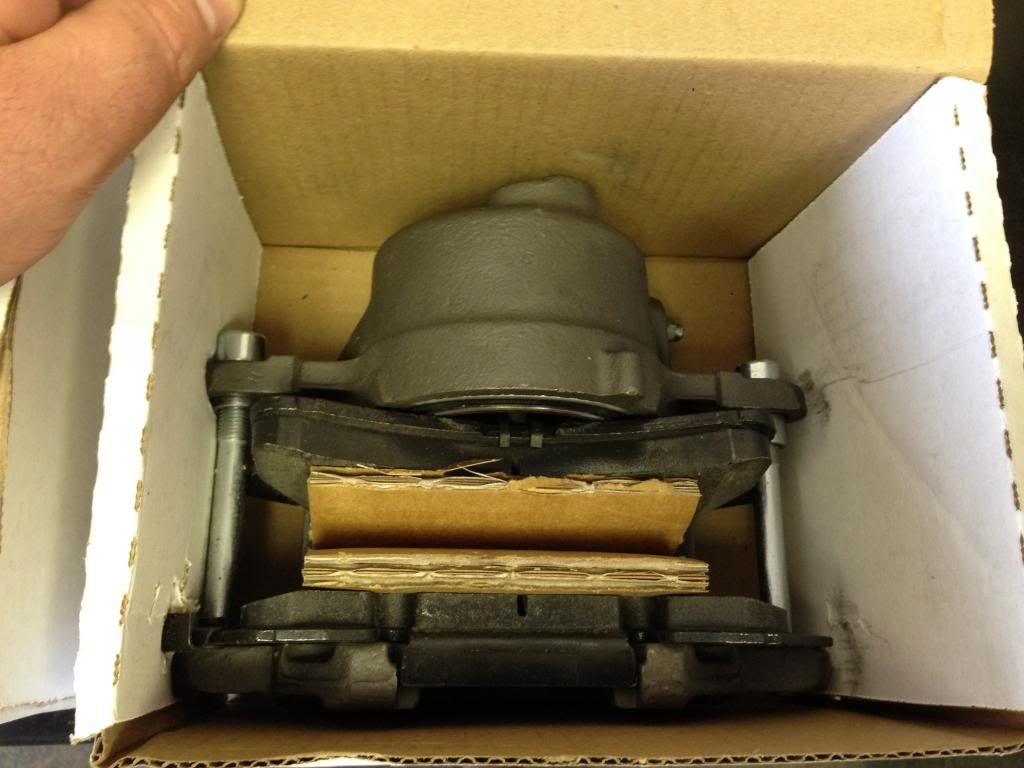
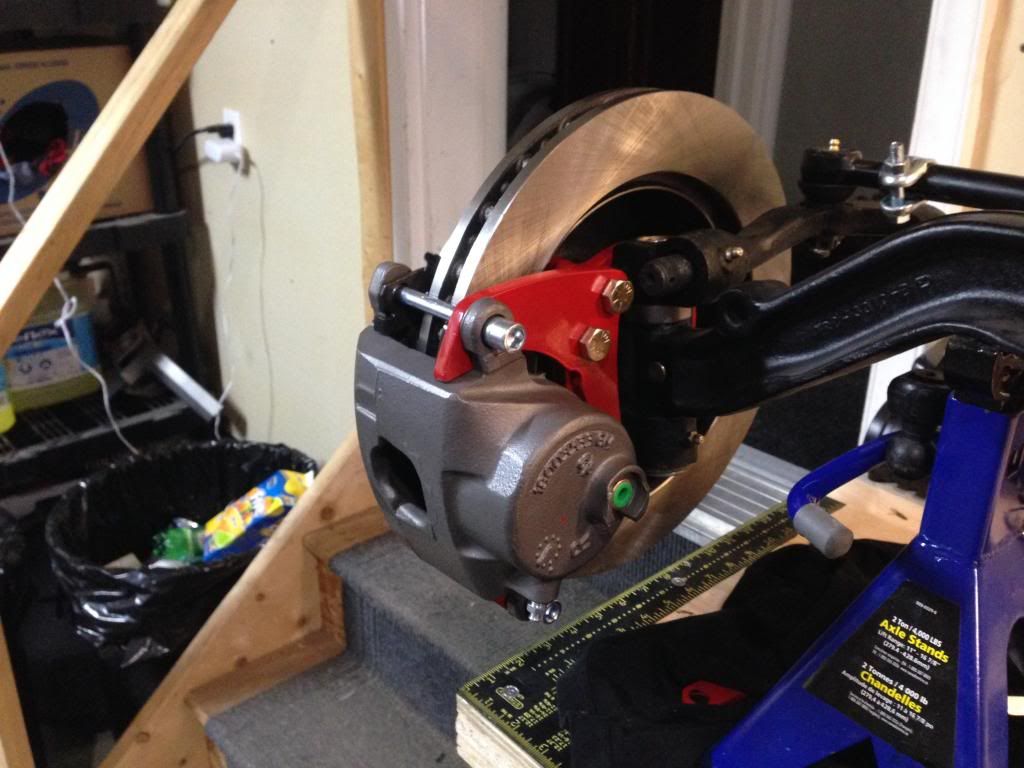
Step 4 is to reassemble the hub and check the rotors for runout of .005 or less being good and to install the calipers with the bleed screw up
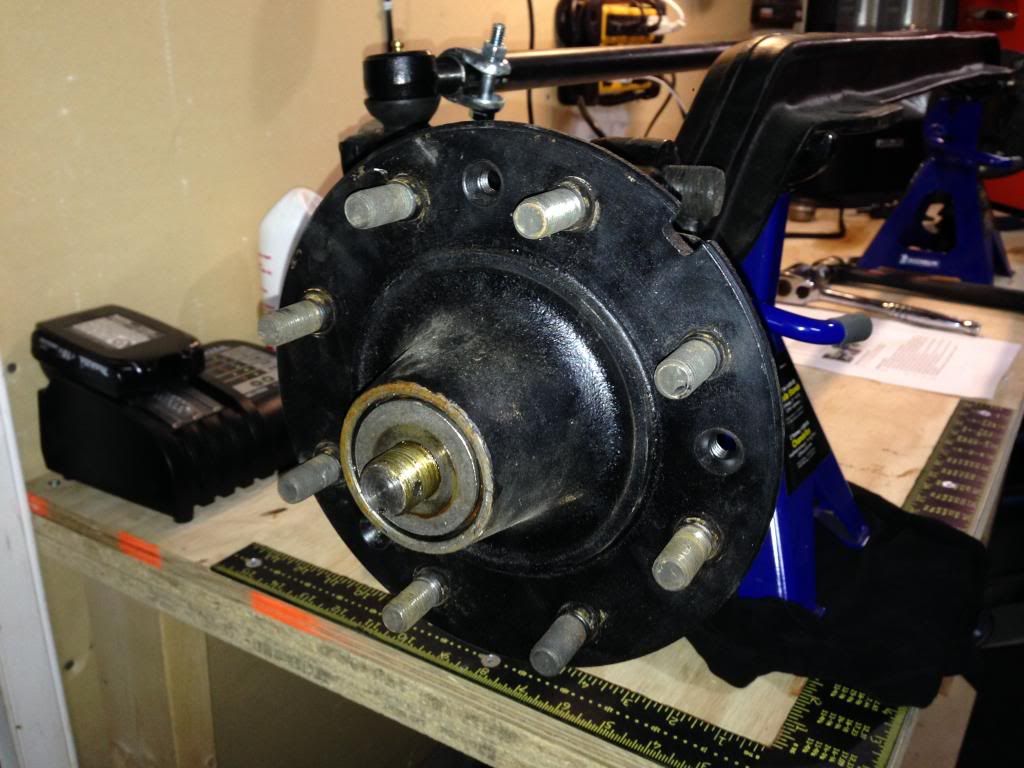
I then reassembled the hub onto the spindle (in reverse of removal above)...
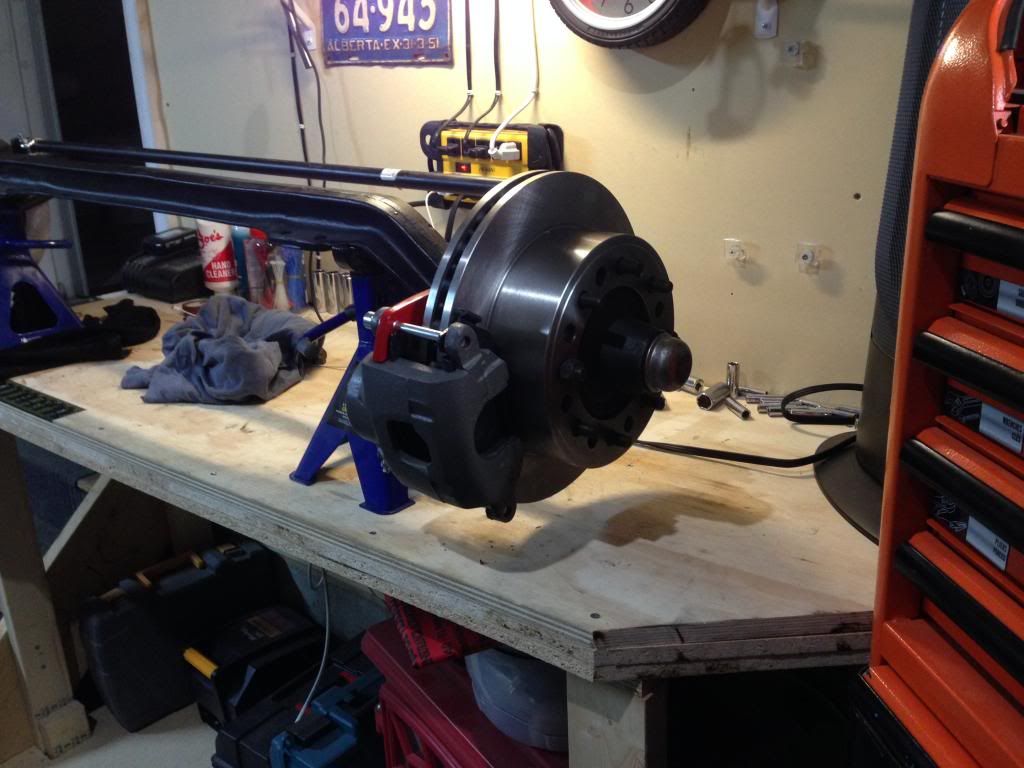
I then put the rotors on and held them in place with two lug nuts. I just happened to have a dial indicator at home so I checked them and they were fine. I bolted on the calipers with the bleed screws down so they would be "up" once my axle is right side up....
Step 5 was to install the brake lines which I am also leaving until I put the axle back on the truck and Step 6 was pretty much useless.
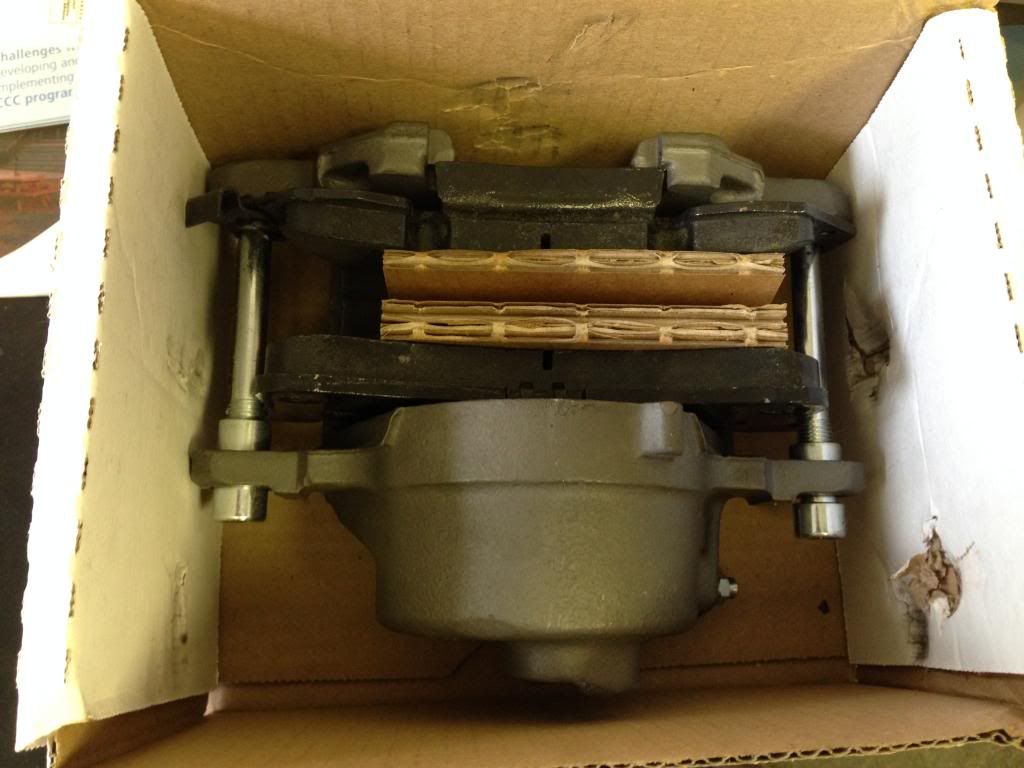
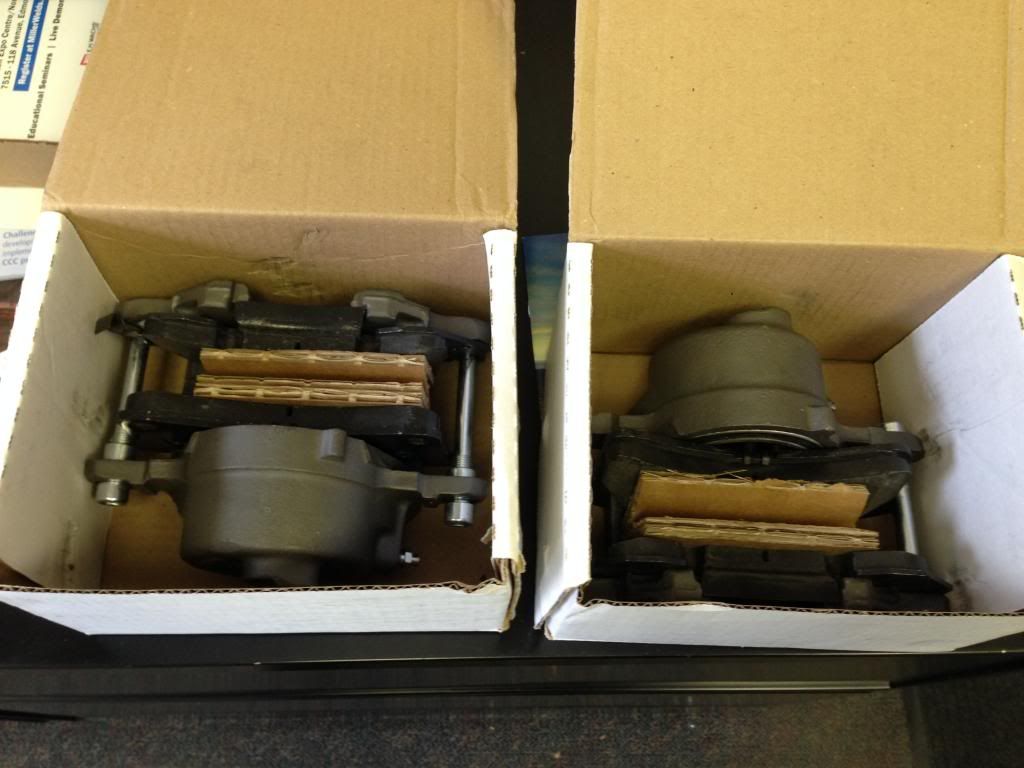
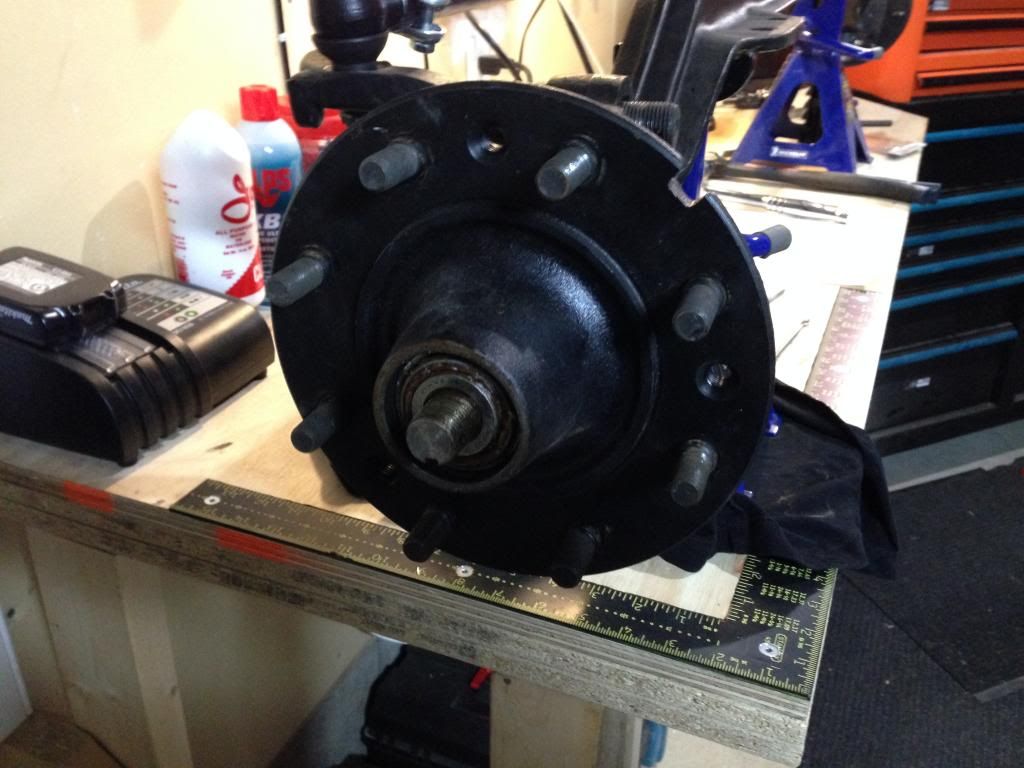
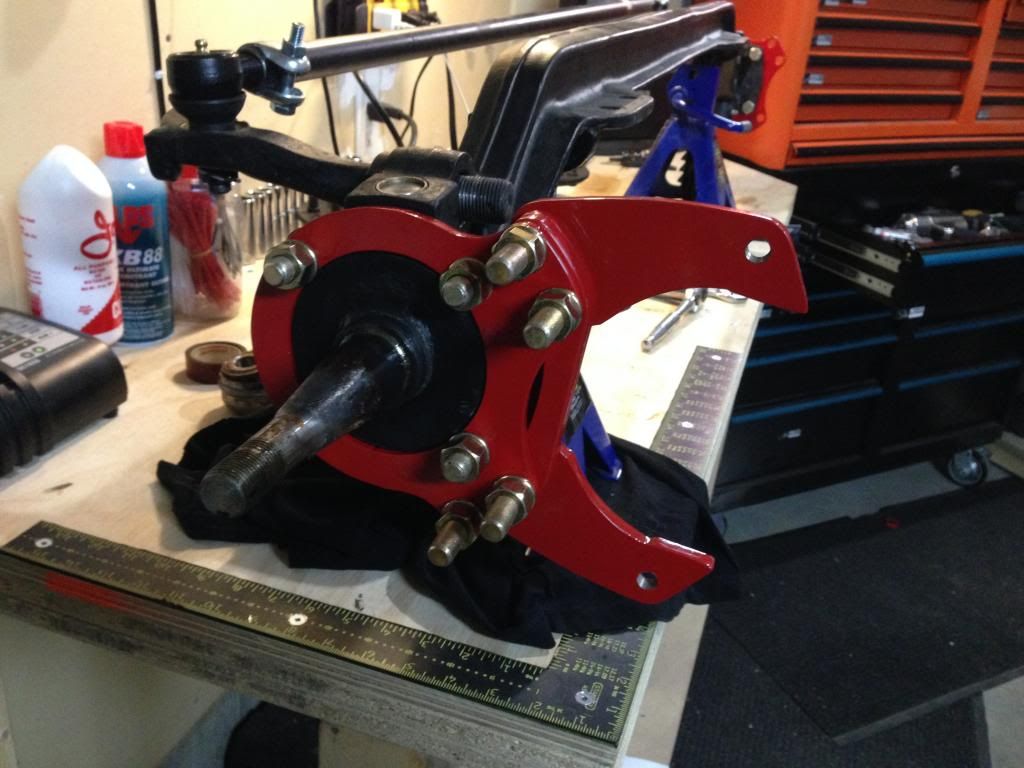
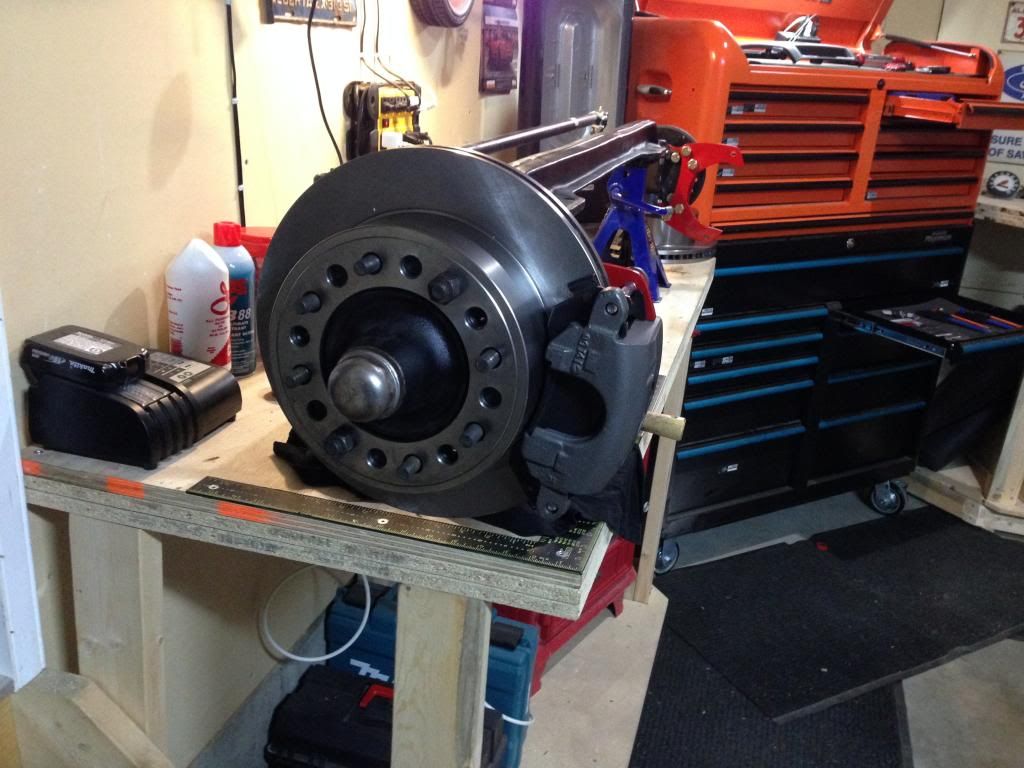
Here are some photos of the final assembly (on the bench)...
Hope this is helpful to anyone else considering this upgrade. Overall the only complaint I have is the instructions but there is also a diagram in the booklet they sent with it showing the assembly order but it wasn't marked as being for this kit and there were others. You can tell which one it is by the drawings matching the brackets you have.
Most of you should have no problem figuring it out as you go with a little trial and error like needing more spacers
Will let you all know how it works when I get it on the road though that is likely a couple years away yet.
Nice job on the great tutorial, I subscribed so I can find it again. Hey I can definitely relate to what you said about not giving a whole lot of thought about the weight difference B4 and after the upgrade. I had the same issue when I rebuilt the rear end Im using. The axle tube was pretty lite empty. But Im surprised I didn't get a hernia trying to move it after it had all it's components back on it. In fact I already got the drill, tap, cutting oil, and, plug to add a drain plug, to make oil changes easy.Once was enough for me.
Rob You should send this to TSM. I had sent them my F3 spindles a few years back so they could make the brackets for F3's. When they sent them back and gave me a very nice discount on the set & they sent instructions. The instructions were 3 lines long plus a hand written note that said "Let us know how it goes!". The brakes worked well so it was worth it. I may be going this route on my current project if I can't solve the current brake issue.
Great series of pictures and clear instructions Briz. I had to make this decision on my F2. I finally decided that I was never going to haul heavy loads or trailers. So I went with the less expensive and certainly lighter weight 5 lug kit from Classic Car and Truck Brake, Steering and Suspension Parts. They should fit on the F3 spindles as well (please, someone correct me if I'm wrong).
I'm also curious if stock style 16 inch rims will fit over the TSM kit.
Stock rims do not have enough backspacing. The calipers hit stock wheels long before you are able to tighten down the lug nuts. I am running stock wheels off of an 80s f250 and it's a really tight fit, but they work great.
Stock rims do not have enough backspacing. The calipers hit stock wheels long before you are able to tighten down the lug nuts. I am running stock wheels off of an 80s f250 and it's a really tight fit, but they work great.
Do you know the wheel size and backspacing on the ones you're running?
I am pretty sure F3 spindles are different than F1 or 2. That's why TSM had to use my F3 spindles in order to make the F3 setup they sell. I may be wrong and I'm sure someone that knows will let us know.
 04-18-2014, 11:52 PM