1979 F150 Lariat- First truck project*Many Pics!*
#31
 02-03-2014, 12:50 AM

Fleet Mechanic
Looking good. When you get the intake make sure its somewhat performance oriented. That motor is likely going to be a dog for the most part stock. At least you'll get a mild gain. Also make sure none of that crap that got on the old intake itself made it down into the heads, that will be a pita to clean out.
#32
02-03-2014, 10:19 PM
Join Date: Dec 2013
Location: Grants Pass, OR
Posts: 67
Likes: 0
Received 0 Likes
on
0 Posts
Looking good. When you get the intake make sure its somewhat performance oriented. That motor is likely going to be a dog for the most part stock. At least you'll get a mild gain. Also make sure none of that crap that got on the old intake itself made it down into the heads, that will be a pita to clean out.
#33
02-03-2014, 10:30 PM
Join Date: Dec 2013
Location: Grants Pass, OR
Posts: 67
Likes: 0
Received 0 Likes
on
0 Posts
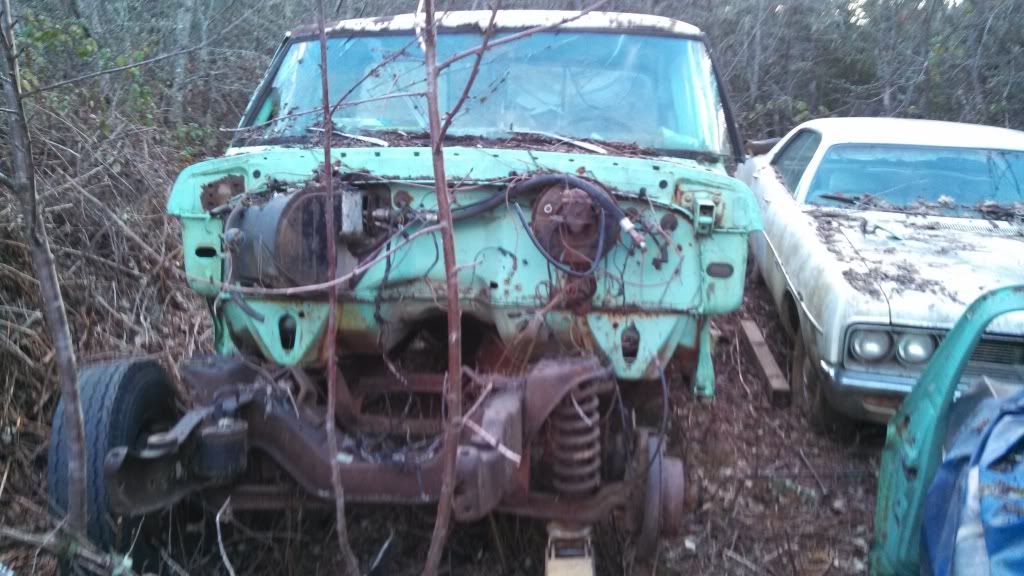
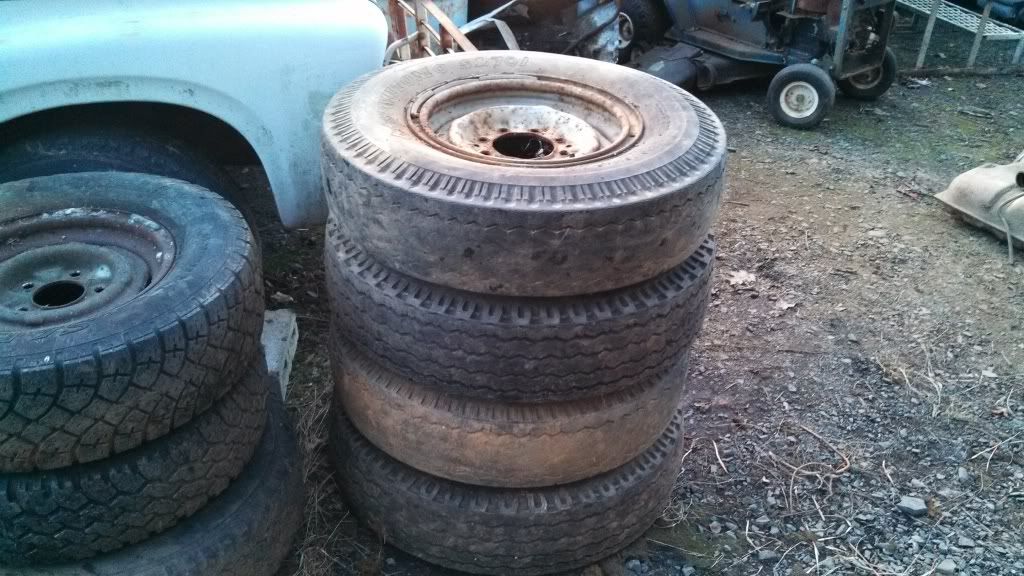
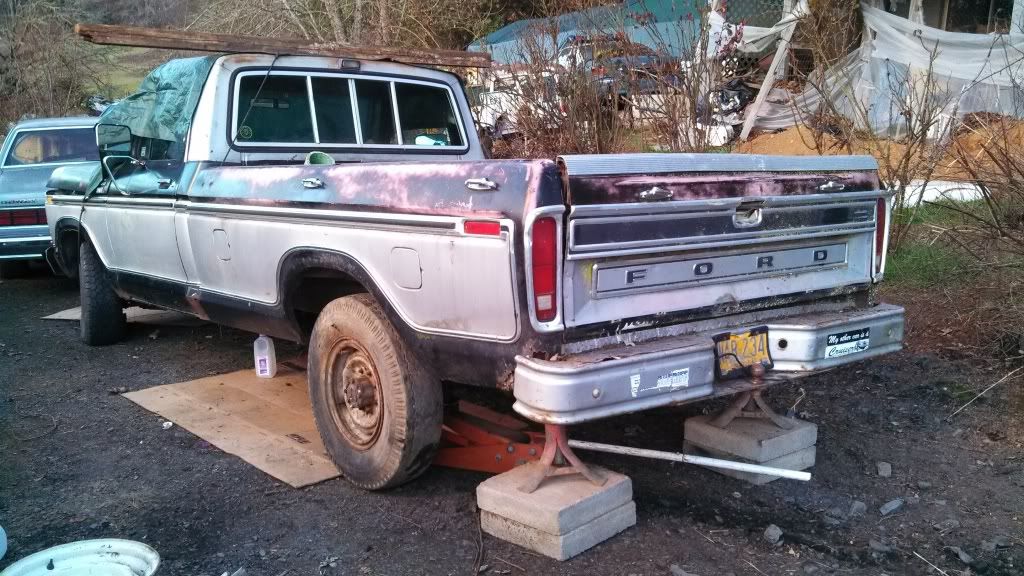
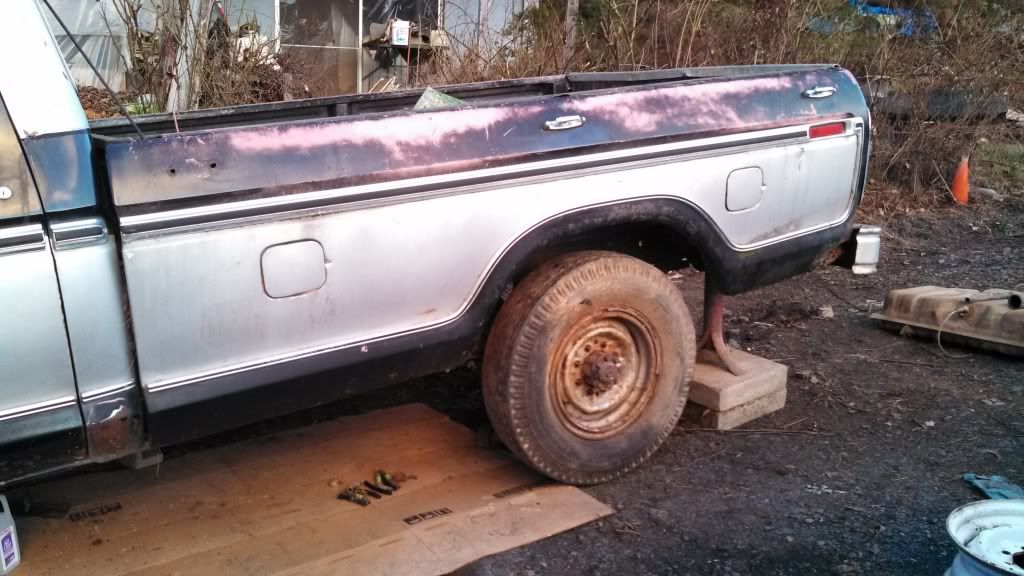
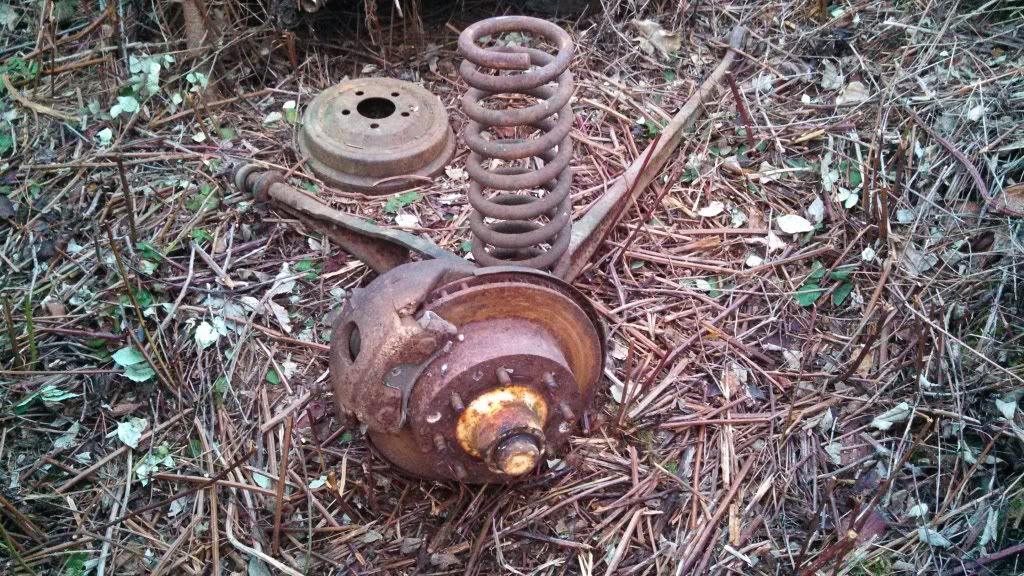
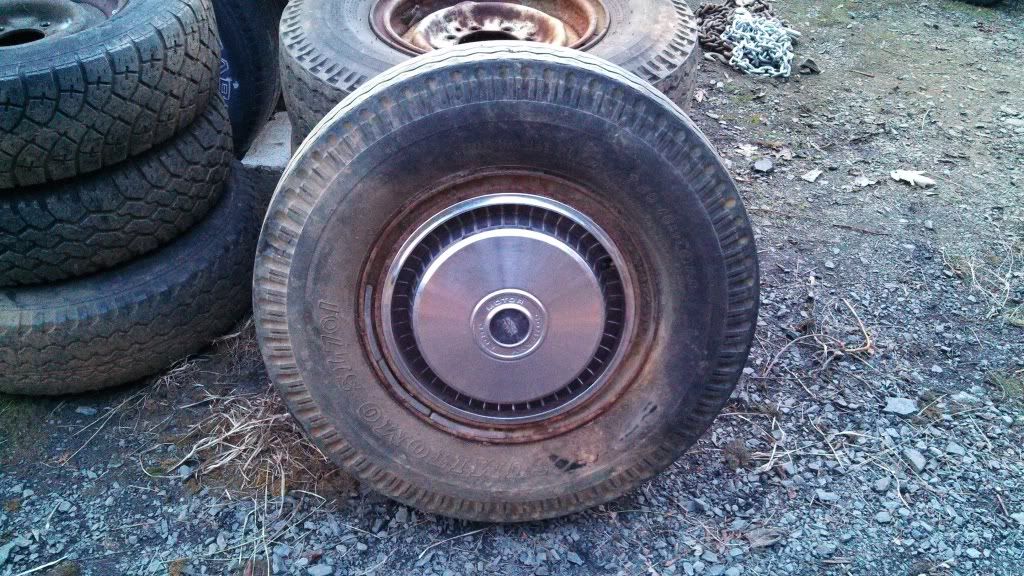
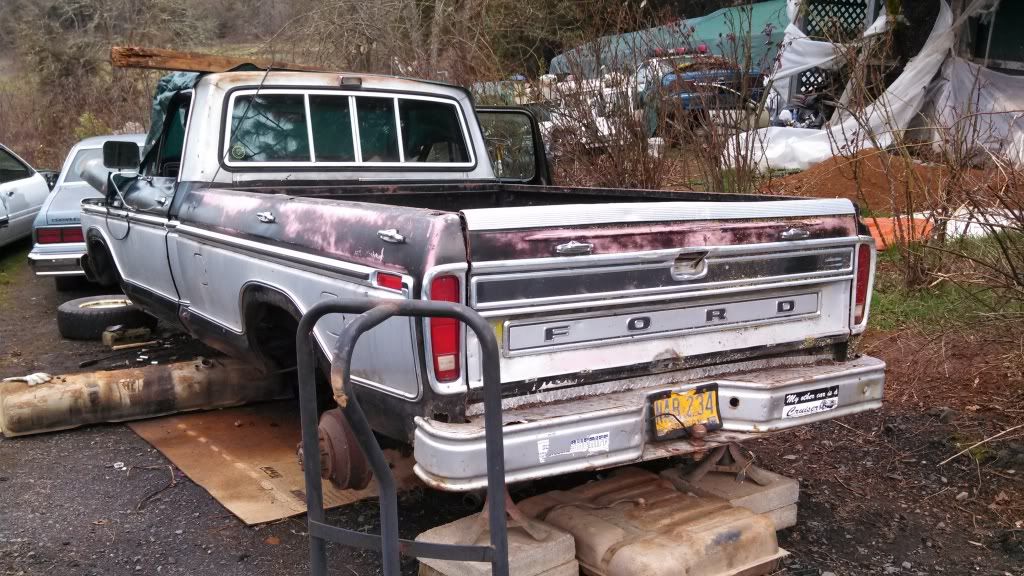
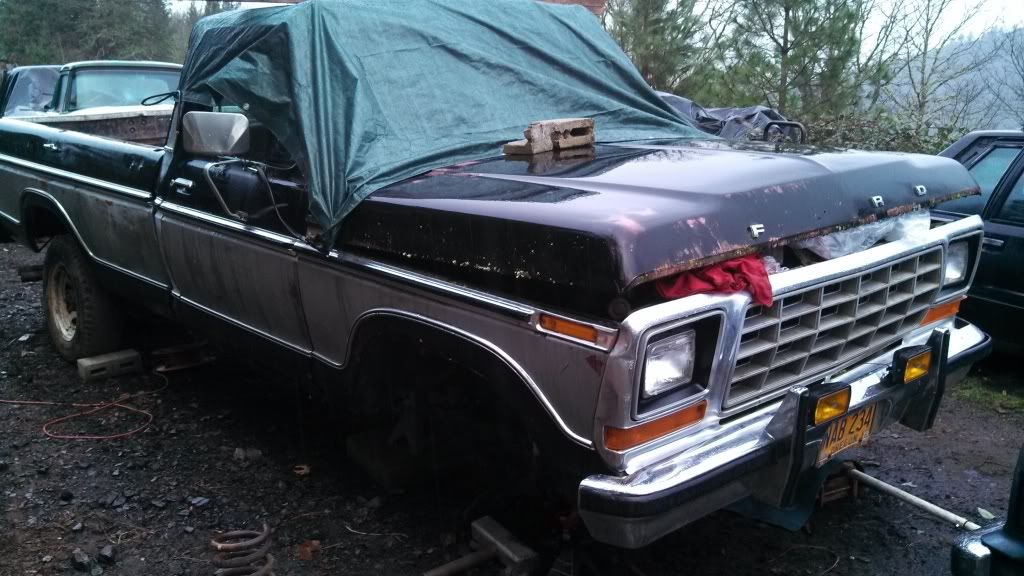
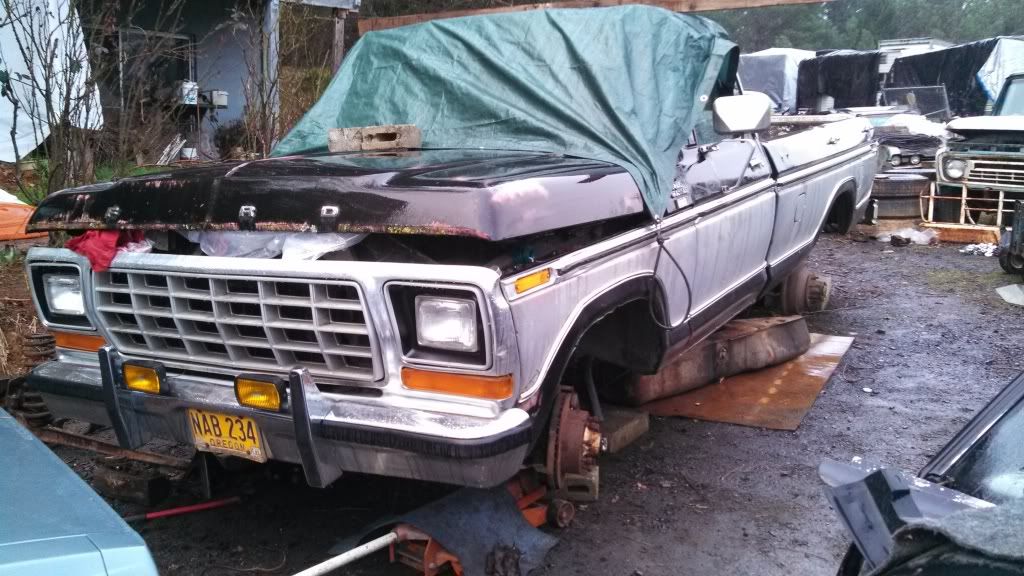
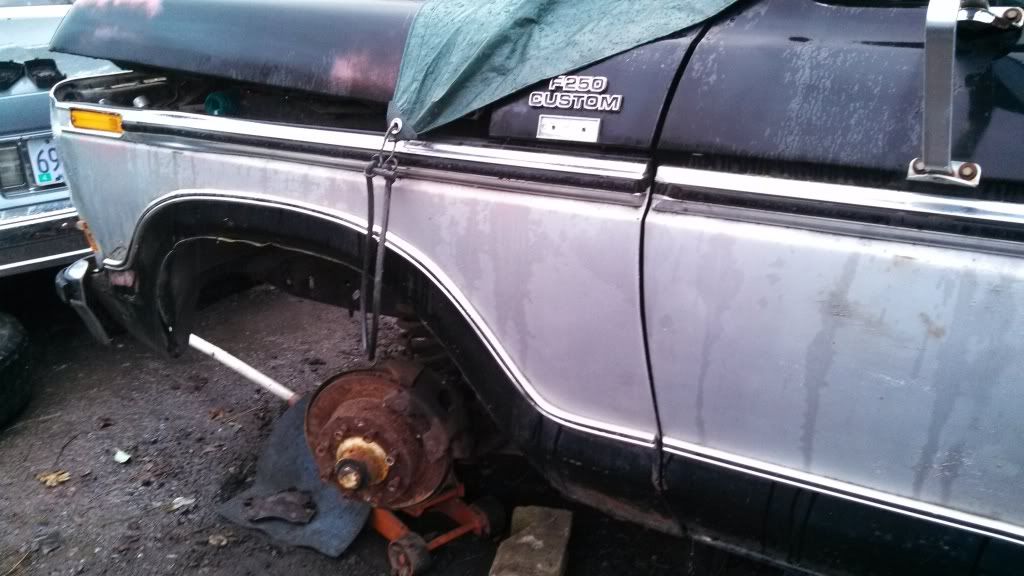
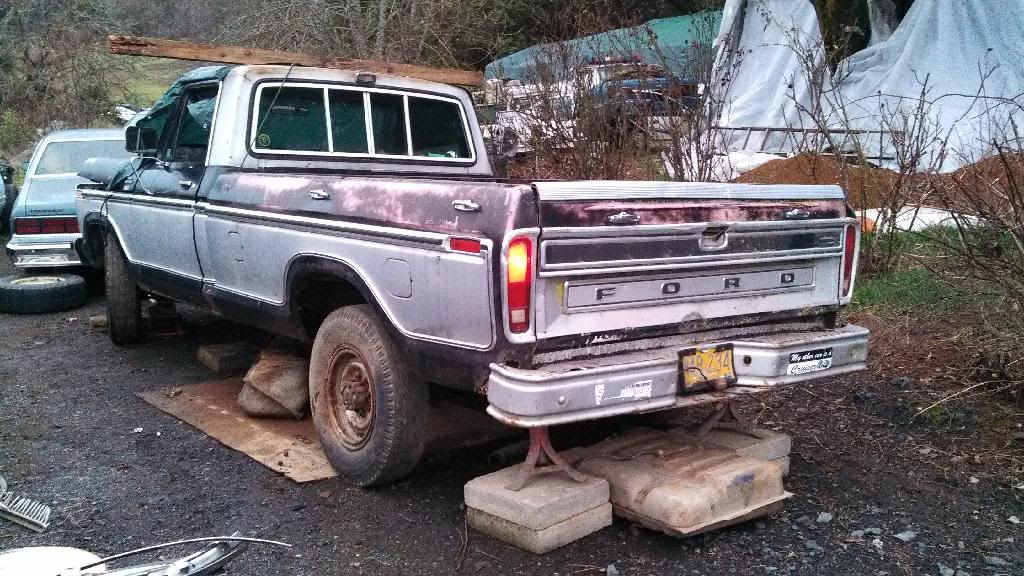
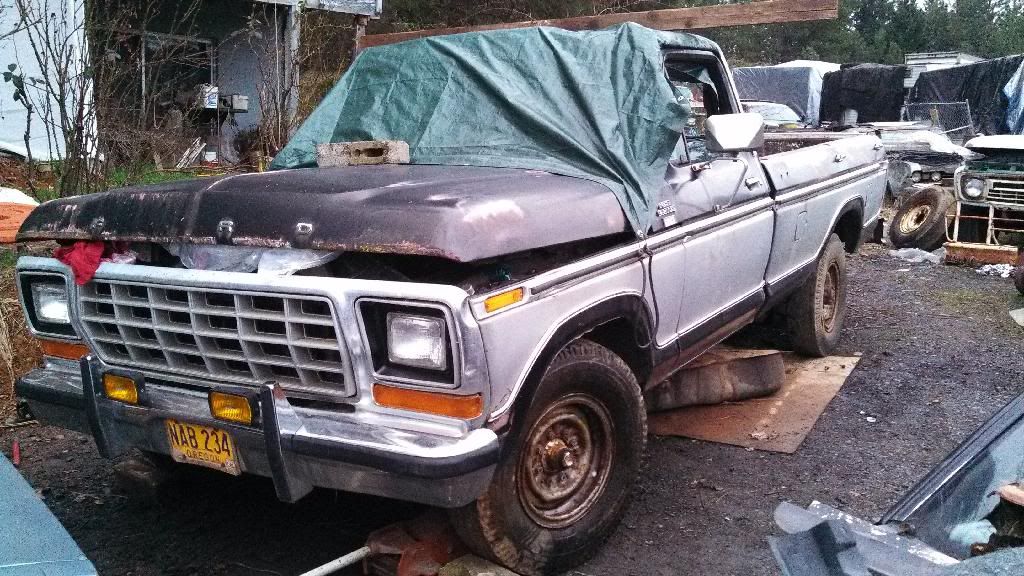
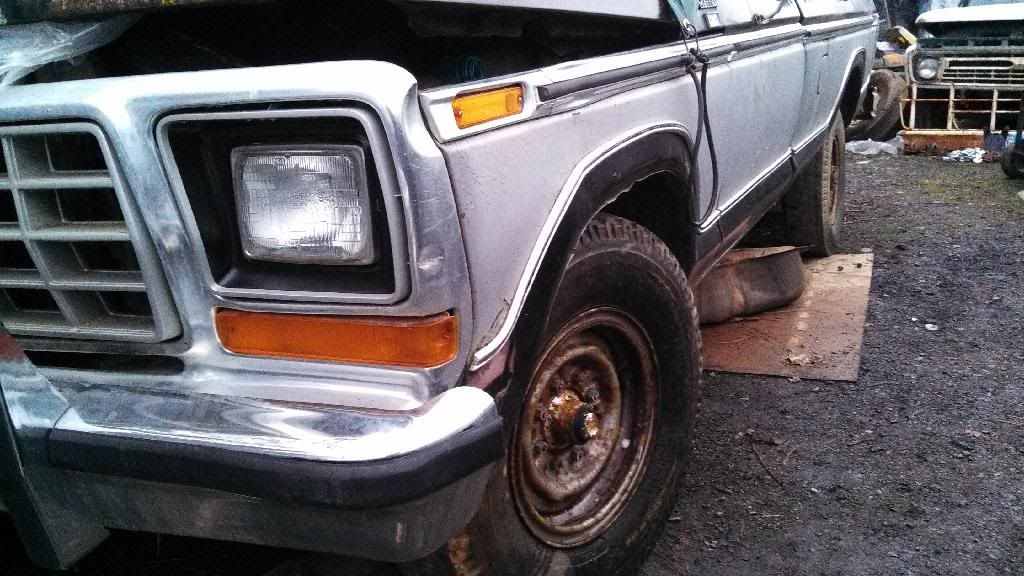
Didn't work on the fuel lines, had the bug to go pull the front wheels off the parts truck! I also found the other two matching rims. Kinda neat how they are tube type. I like the look of them, I'd like to find a new set. They'll also give the truck a slight lift!
Lug nuts took some time and effort to get off! Some were almost too hot to touch from the friction!
When I get the tires removed I'll have to sand blast the rims
About the height it would sit, jack under axle
Lug nuts took some time and effort to get off! Some were almost too hot to touch from the friction!


When I get the tires removed I'll have to sand blast the rims

About the height it would sit, jack under axle


#34
02-04-2014, 08:39 PM
Join Date: Dec 2013
Location: Grants Pass, OR
Posts: 67
Likes: 0
Received 0 Likes
on
0 Posts
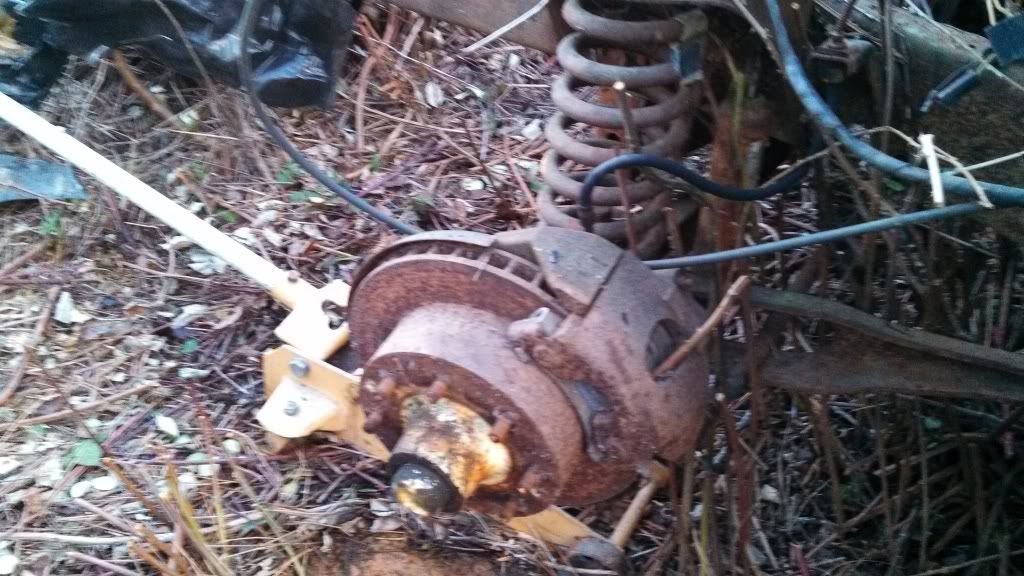
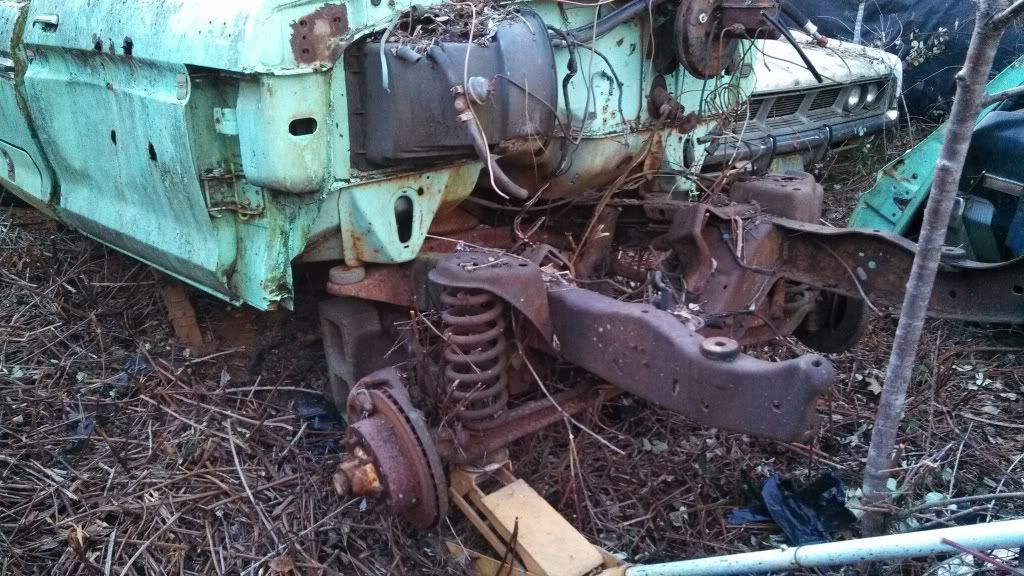
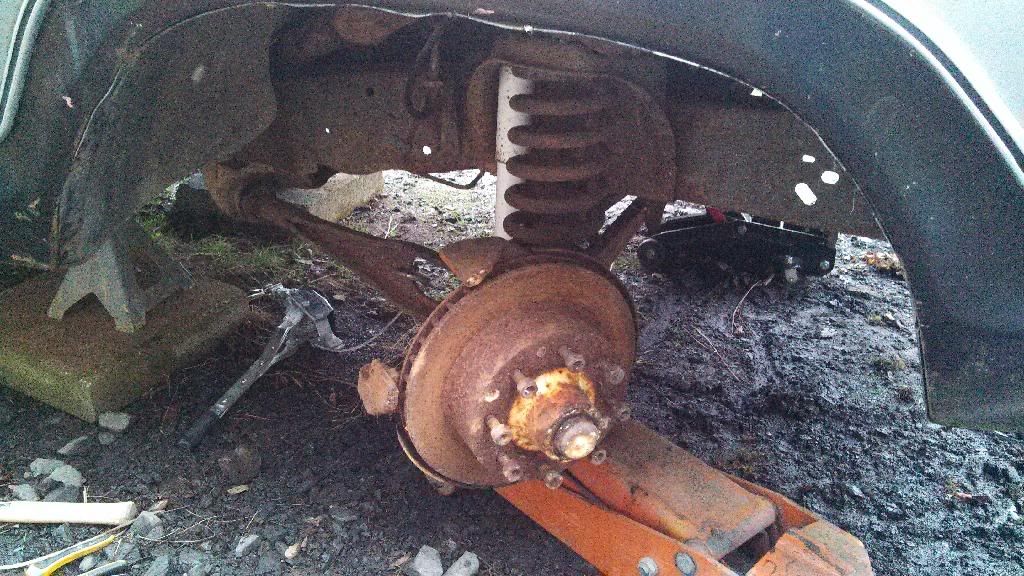
Decided to tackle the front suspension on the parts truck today! Took a while to figure out the plan of attack on the passenger side first, then it took 16 minutes to remove the drivers side! It was so easy that I might just swap it all into the 150 this weekend! The radius arm bushings are only $10ea which I can afford!
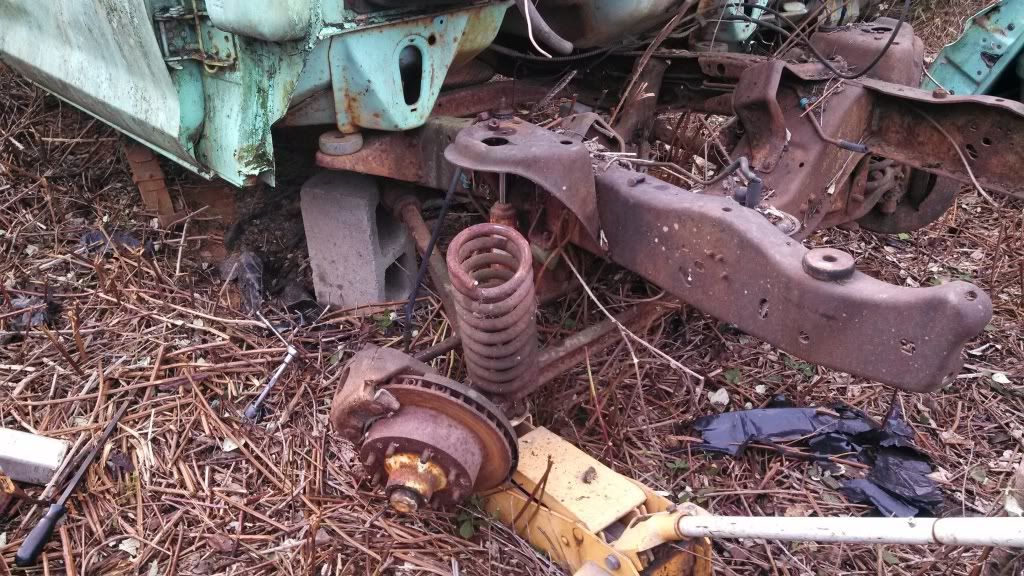
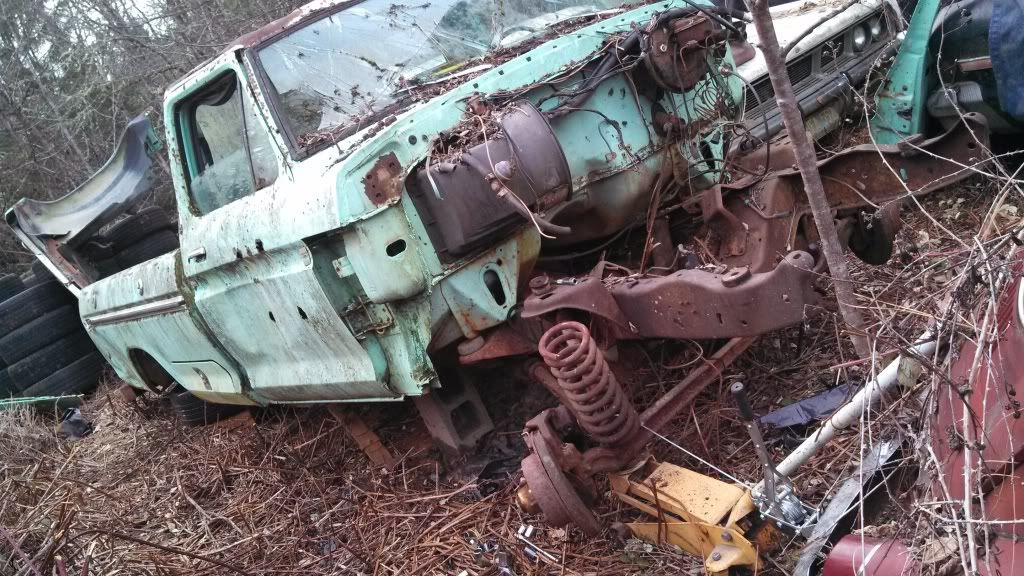
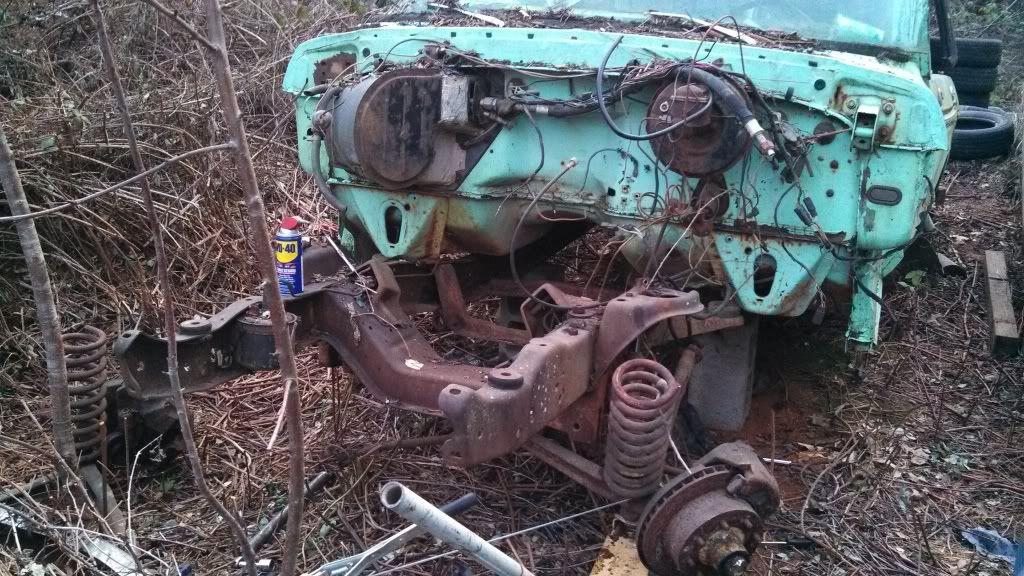
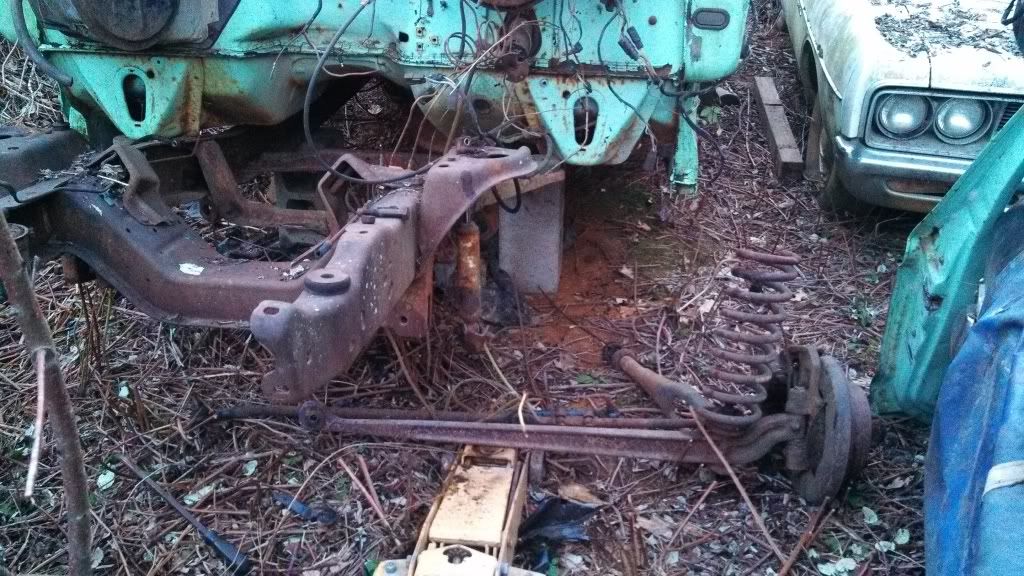
My large hammer does the job when others cant

Stock hubcaps barely hold themselves onto the other trucks wheels. Would have been cool to use if they fit snug


My large hammer does the job when others cant


Stock hubcaps barely hold themselves onto the other trucks wheels. Would have been cool to use if they fit snug


#37
02-08-2014, 11:28 PM
Join Date: Dec 2013
Location: Grants Pass, OR
Posts: 67
Likes: 0
Received 0 Likes
on
0 Posts

----------
My dad helped me bring the 3/4 ton suspension up front to my truck. If it isn't raining tomorrow I'll try to get the old suspension pulled out!
#39
02-09-2014, 07:58 PM
Join Date: Dec 2013
Location: Grants Pass, OR
Posts: 67
Likes: 0
Received 0 Likes
on
0 Posts
Today was a busy day! The morning and early afternoon were clear without rain.
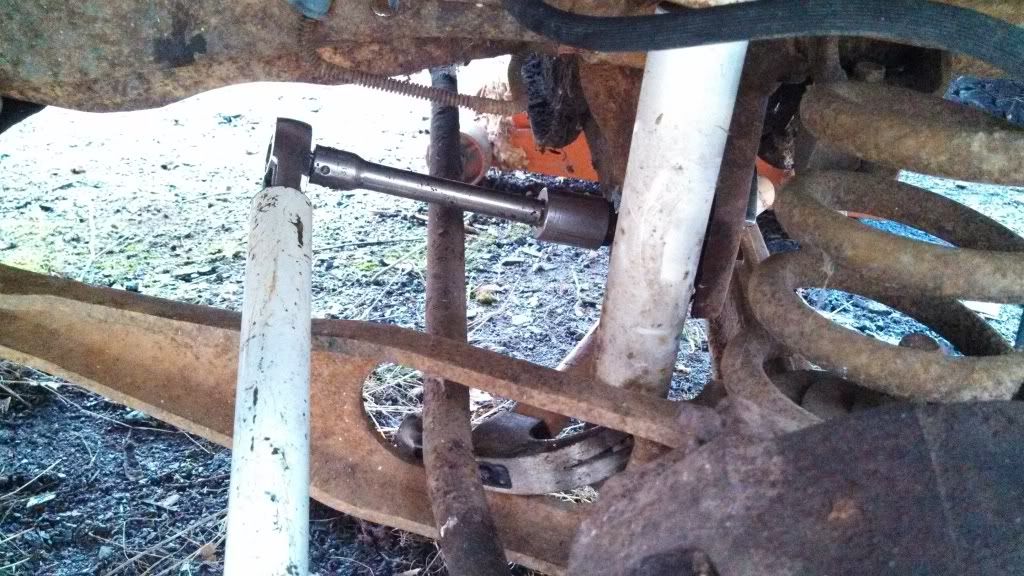
Got the old suspension out on the drivers side fairly easily. The passenger side was easy until I got to taking the steering linkage off. My dad had a funky tool for the job which wasn't doing the job, then I found the classic horse shoe shaped tool for the joint off the steering box arm. It popped off after several tries of tightening the tool to push the threaded part out of the arm.
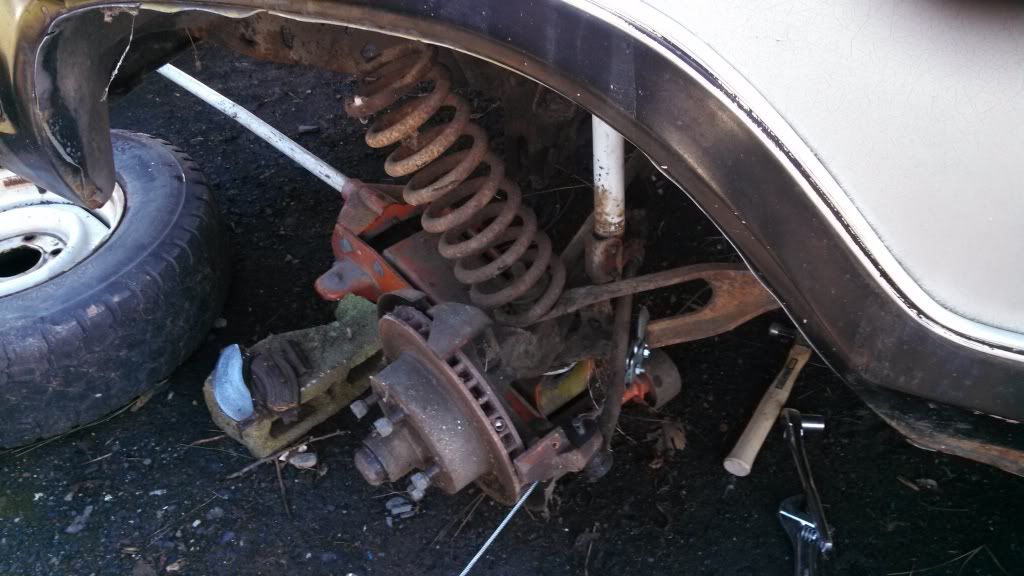
Then I went to work putting the f250 suspension on the drivers side. Installed the new bushings on the radius arm, replaced the bump stops, and replaced the upper spring clip before putting the suspension in.
Had to get a little creative to get stuff undone

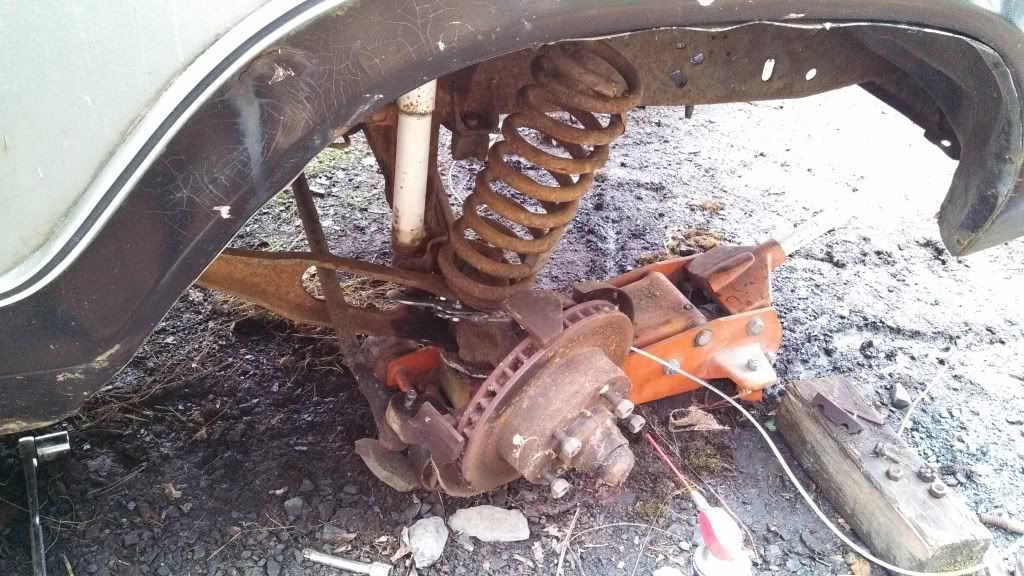
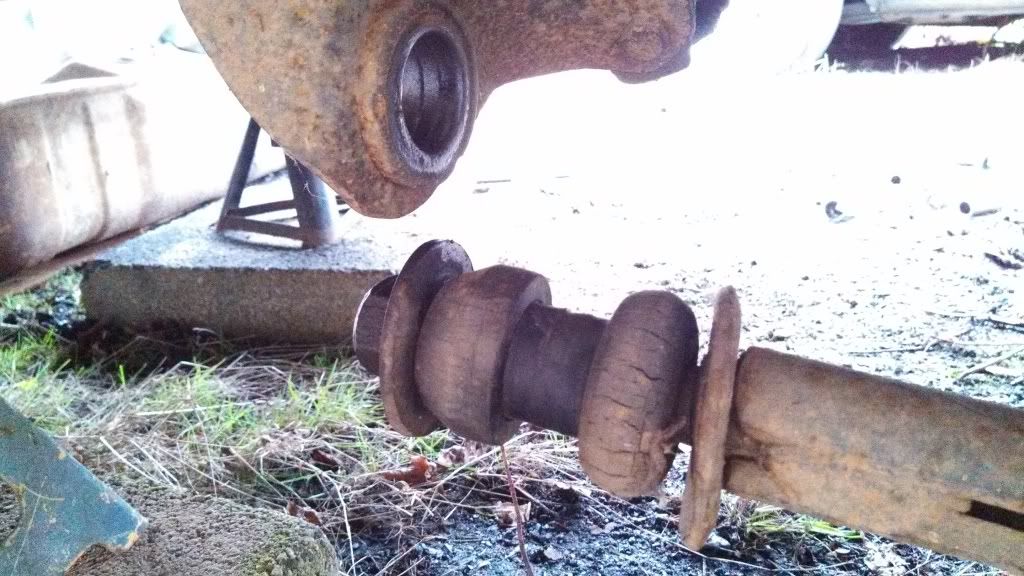
For some reason both drivers side bushings were completely worn away on each truck, but the passenger sides were uneaten where it goes through the bracket
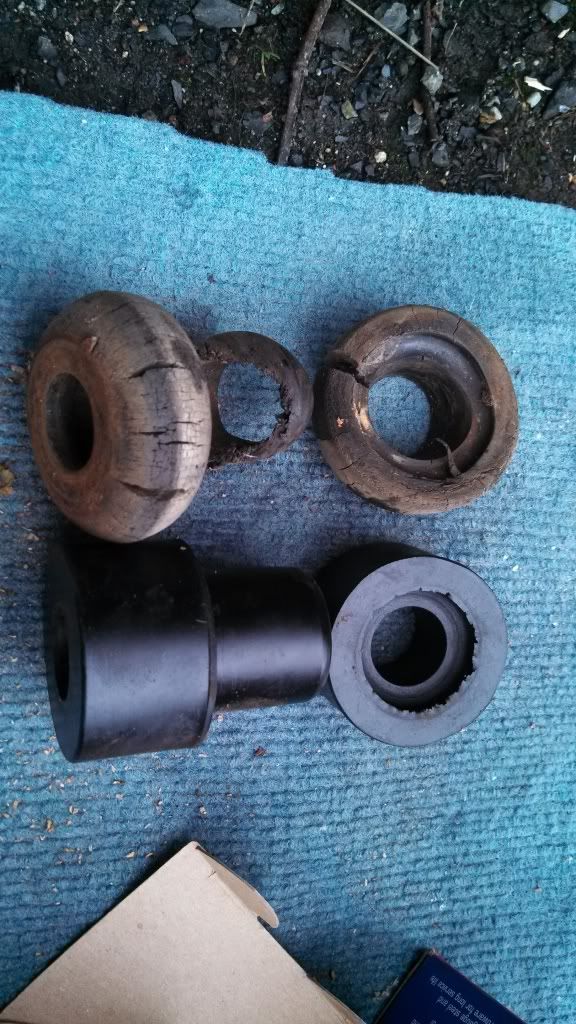

Bump stops on the F250 were better than my originals
Gettin it back in

Come-a-long to pull the radius arm into the bracket
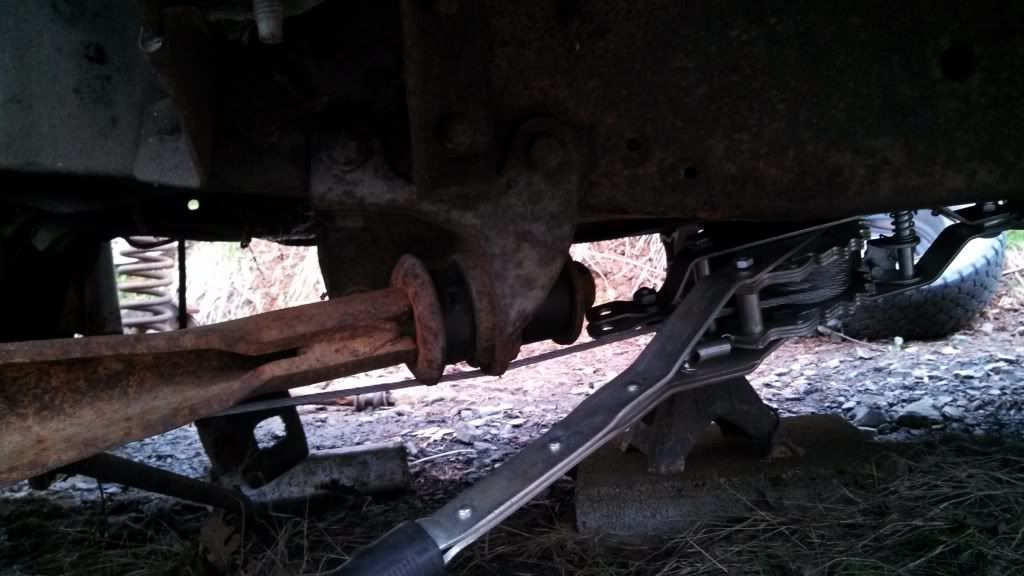
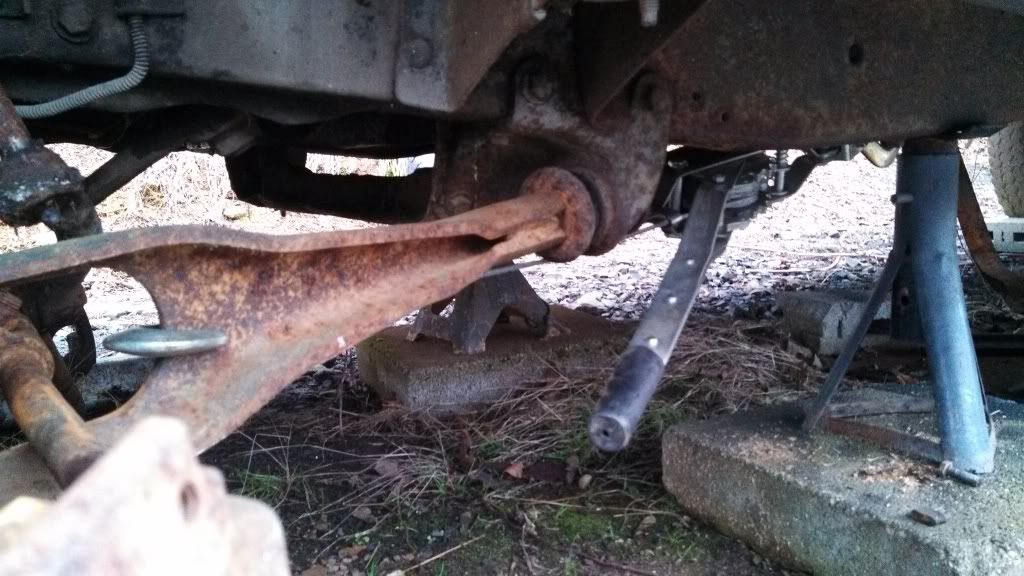
3/4 of the way done with the 8 lug swap!
Got the old suspension out on the drivers side fairly easily. The passenger side was easy until I got to taking the steering linkage off. My dad had a funky tool for the job which wasn't doing the job, then I found the classic horse shoe shaped tool for the joint off the steering box arm. It popped off after several tries of tightening the tool to push the threaded part out of the arm.
Then I went to work putting the f250 suspension on the drivers side. Installed the new bushings on the radius arm, replaced the bump stops, and replaced the upper spring clip before putting the suspension in.
Had to get a little creative to get stuff undone


For some reason both drivers side bushings were completely worn away on each truck, but the passenger sides were uneaten where it goes through the bracket


Bump stops on the F250 were better than my originals

Gettin it back in

Come-a-long to pull the radius arm into the bracket


3/4 of the way done with the 8 lug swap!


#41
02-11-2014, 10:27 PM
Join Date: Dec 2013
Location: Grants Pass, OR
Posts: 67
Likes: 0
Received 0 Likes
on
0 Posts
#42
02-13-2014, 09:38 PM


#43
02-19-2014, 08:32 PM
Join Date: Dec 2013
Location: Grants Pass, OR
Posts: 67
Likes: 0
Received 0 Likes
on
0 Posts
yay more bandwidth!! Picture time!!!
My dad dropped off the intake to the machine shop dude last week. He's gonna sand blast it, check if it's true, and drill out the old choke tube bolts and tap new threads. If anyone has a lead on where I could get a good choke tube, I'd appreciate it!
Trading my dad a full detail of his 99 dodge ram for the intake cost, since it's gonna be around $60.
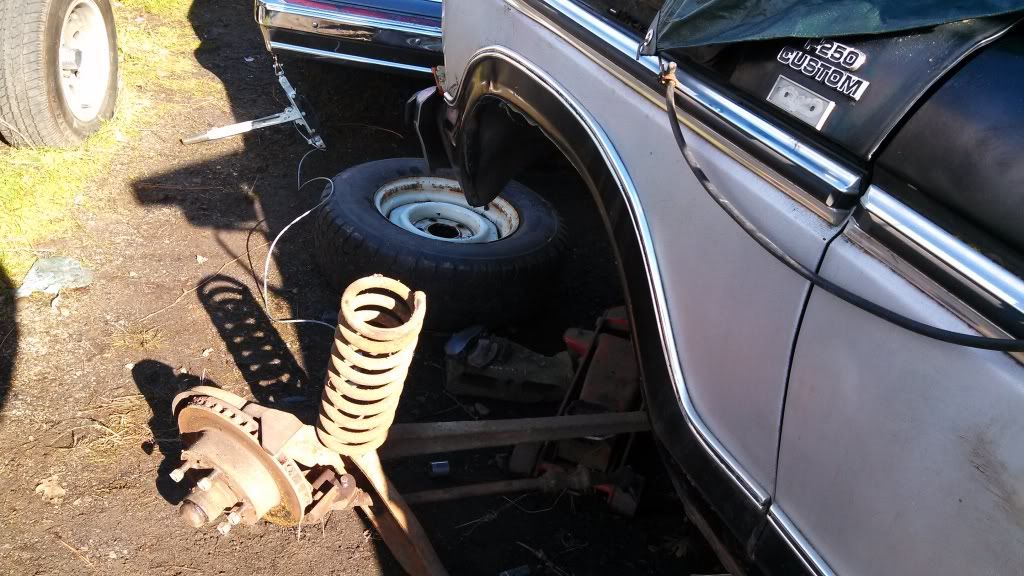
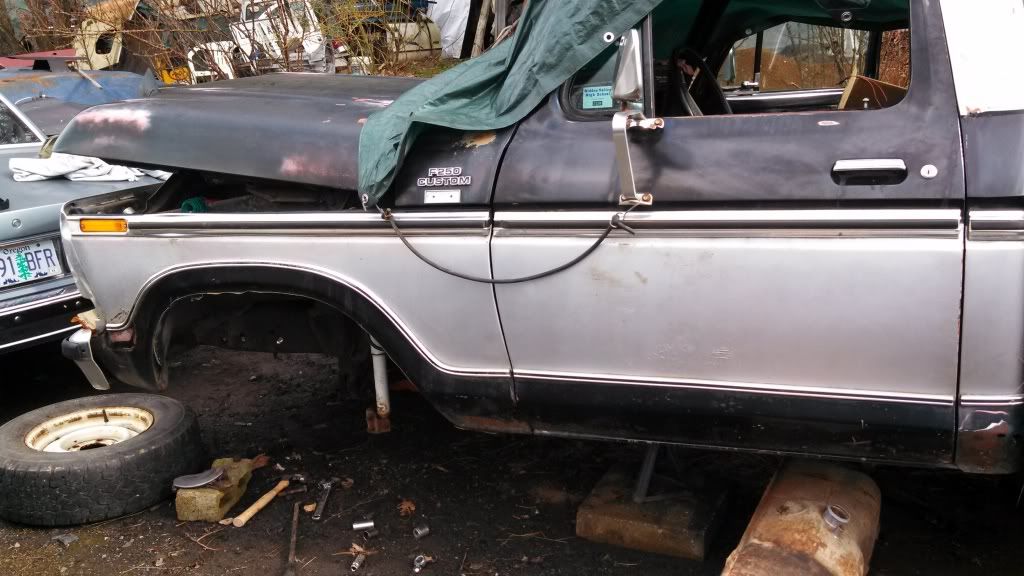
Finished the 8 lug swap last week when I was sick from school (was totally worth being kinda sick the rest of the week at school )
)
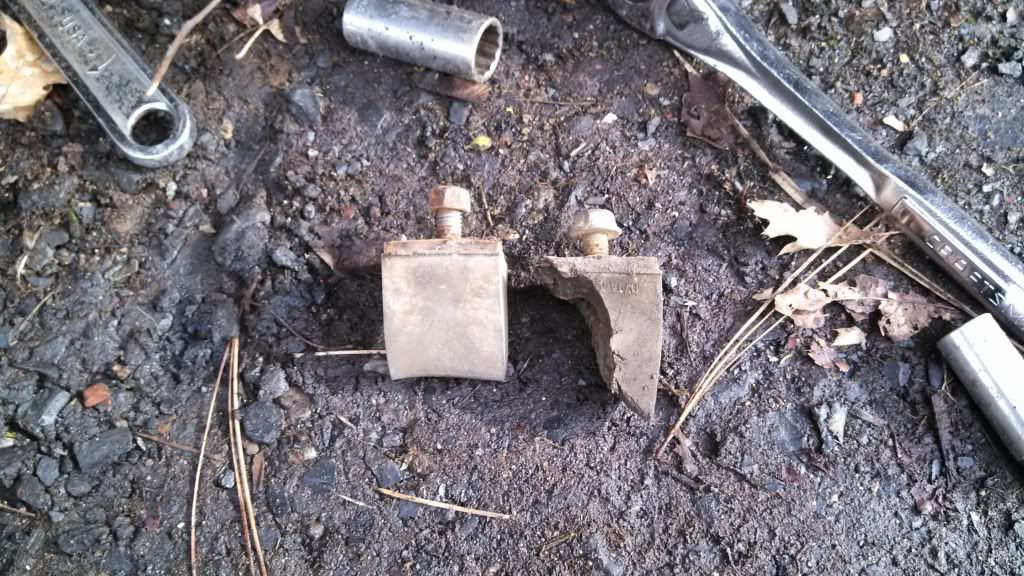
If I sell some more car parts I'm gonna buy new calipers and rubber lines for the front brakes since the calipers didn't want to press back for the 150's better pads or press the 250's more worn pads against the disk.
At that time I will probably pull the disks and re-pack the bearings as they just keep spinning more than they should.
And both of these broke. Other side broke about an 1/8" below the surface of where it screws in. Looks like I'll be buying new ones of these too
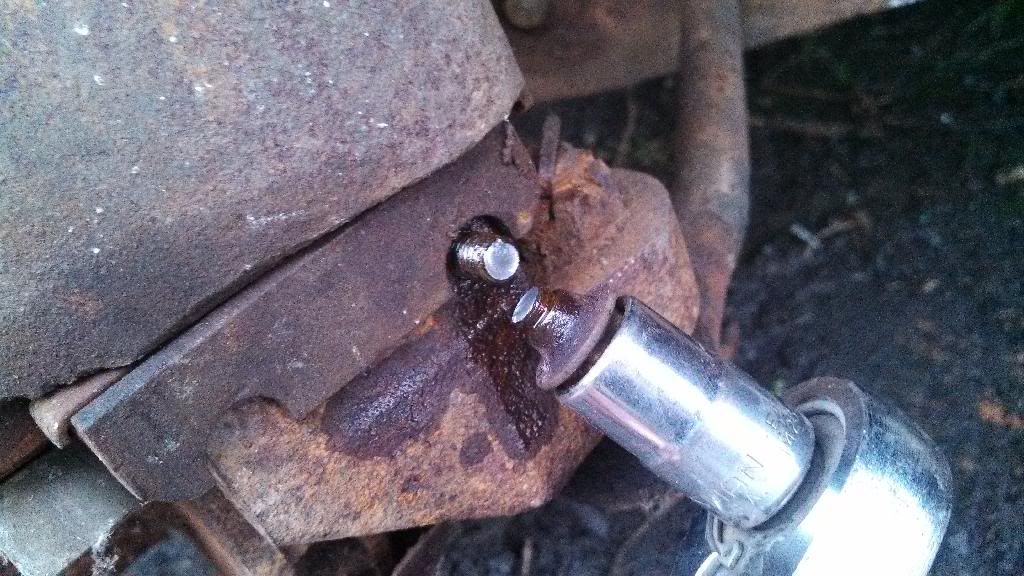
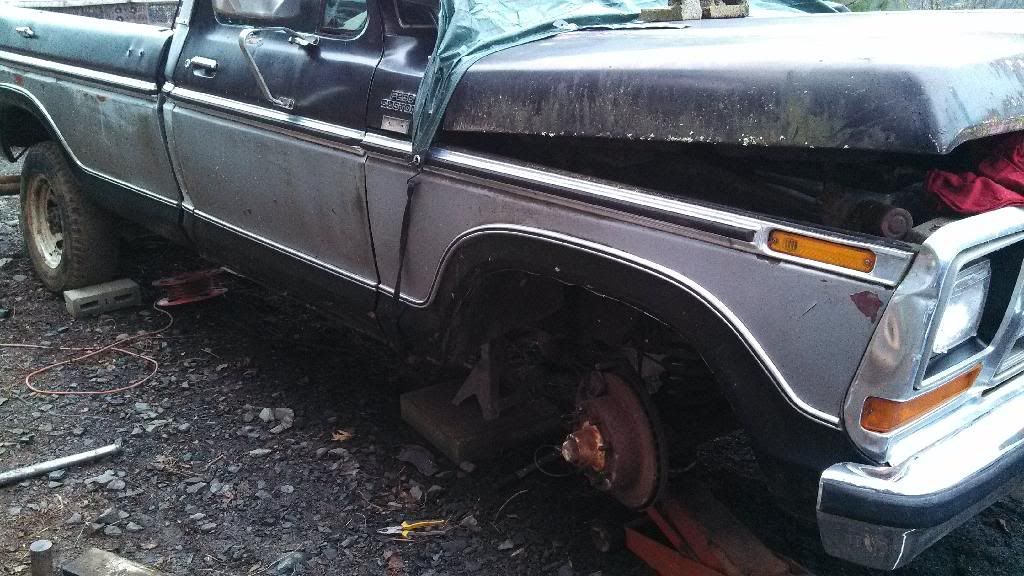
Wheels on!
My dad dropped off the intake to the machine shop dude last week. He's gonna sand blast it, check if it's true, and drill out the old choke tube bolts and tap new threads. If anyone has a lead on where I could get a good choke tube, I'd appreciate it!
Trading my dad a full detail of his 99 dodge ram for the intake cost, since it's gonna be around $60.
Finished the 8 lug swap last week when I was sick from school (was totally worth being kinda sick the rest of the week at school
)If I sell some more car parts I'm gonna buy new calipers and rubber lines for the front brakes since the calipers didn't want to press back for the 150's better pads or press the 250's more worn pads against the disk.
At that time I will probably pull the disks and re-pack the bearings as they just keep spinning more than they should.

And both of these broke. Other side broke about an 1/8" below the surface of where it screws in. Looks like I'll be buying new ones of these too


Wheels on!


#44
02-19-2014, 09:02 PM
Join Date: Dec 2013
Location: Grants Pass, OR
Posts: 67
Likes: 0
Received 0 Likes
on
0 Posts
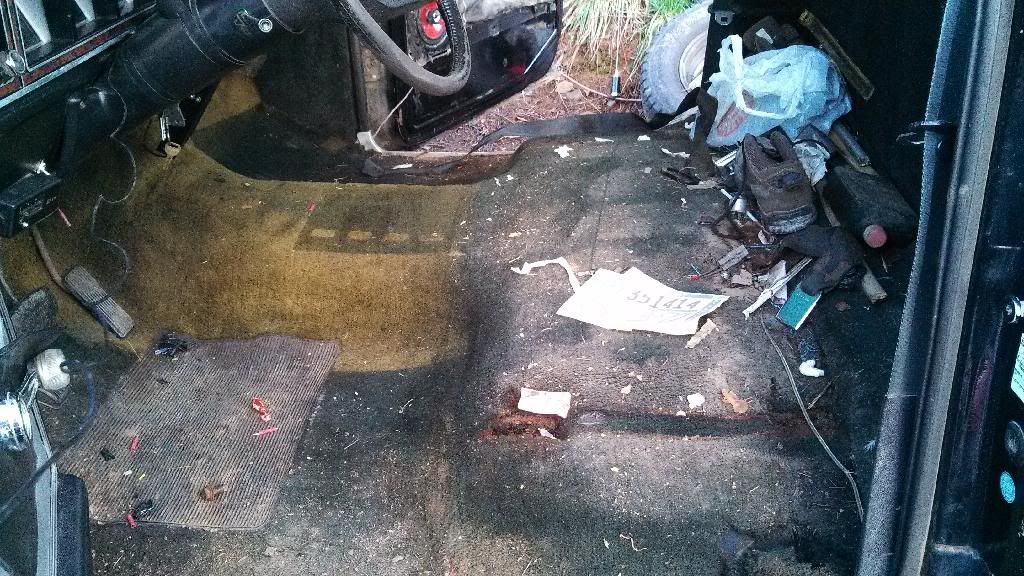
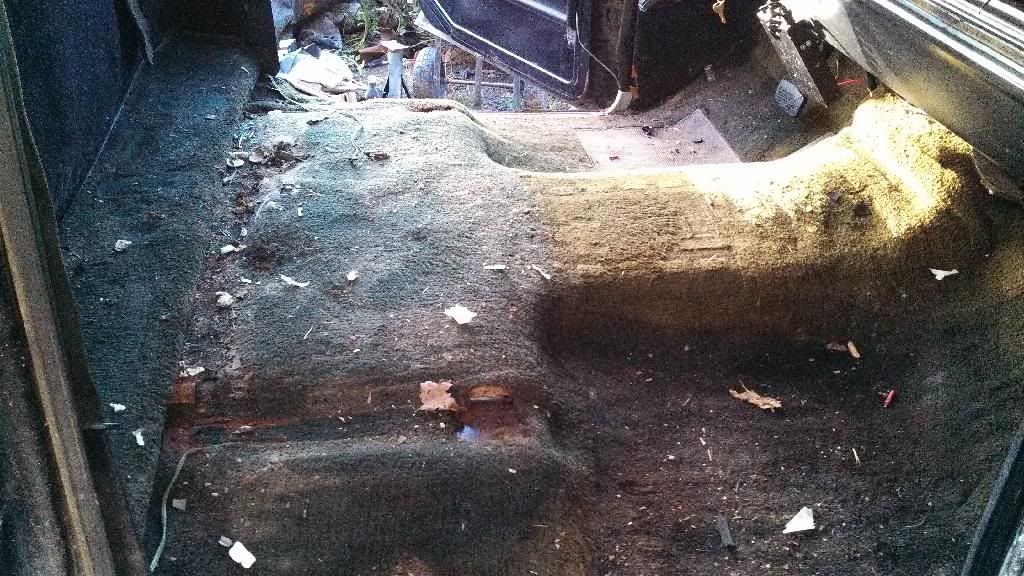
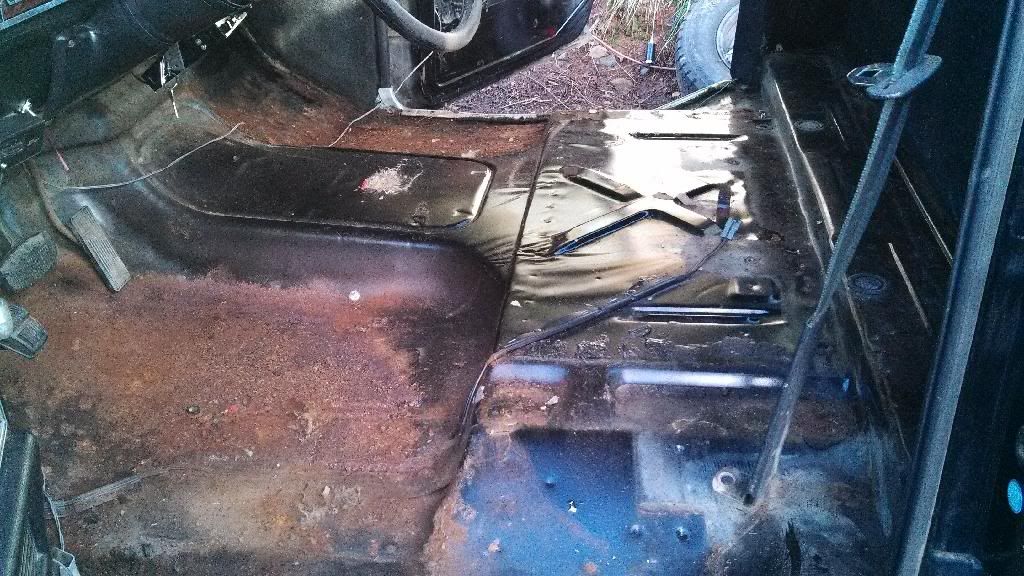
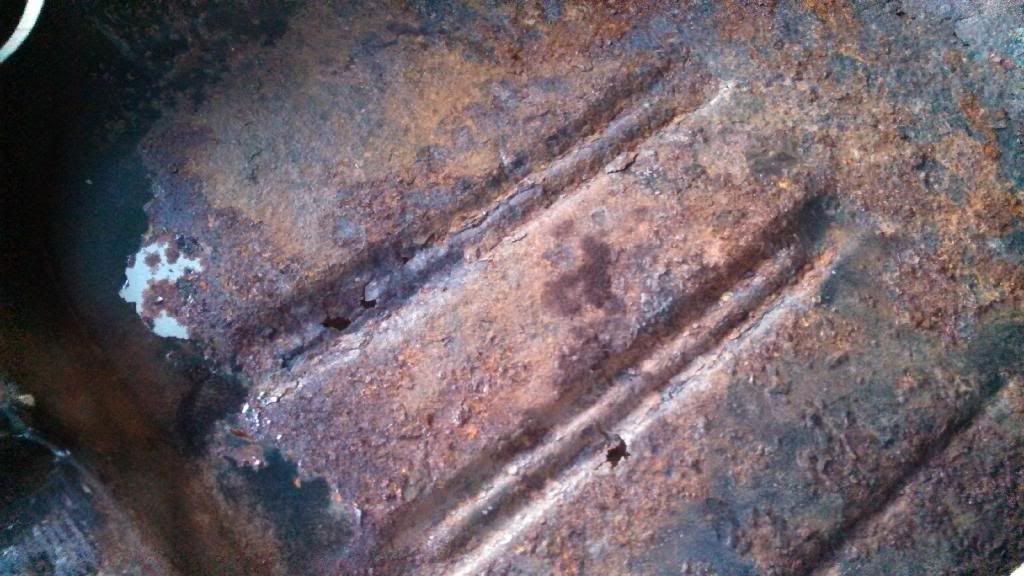
After reading some other threads earlier this week and seeing that the floors in these trucks rust pretty easy, I went ahead and pulled my carpet up to have a look.
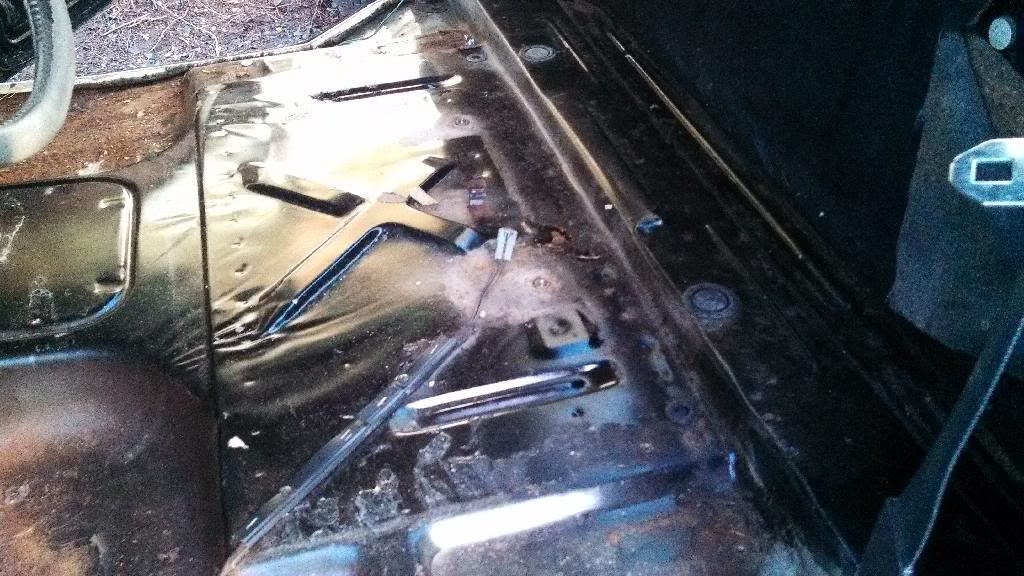
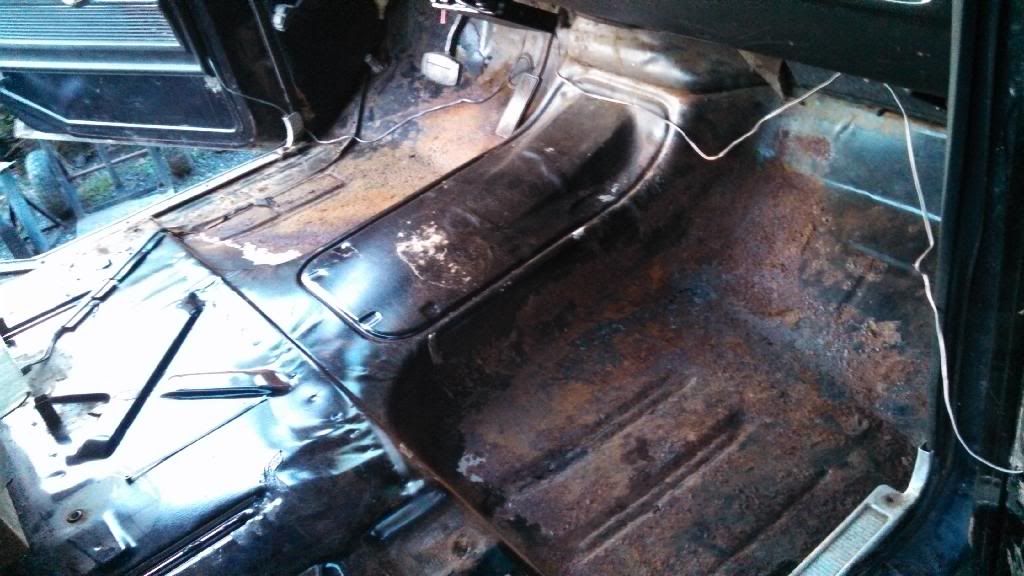
At first I pulled back the back part of the carpet and was like "saaweeeet!!" when I saw pristine black paint, but then the foot wells were less exciting.
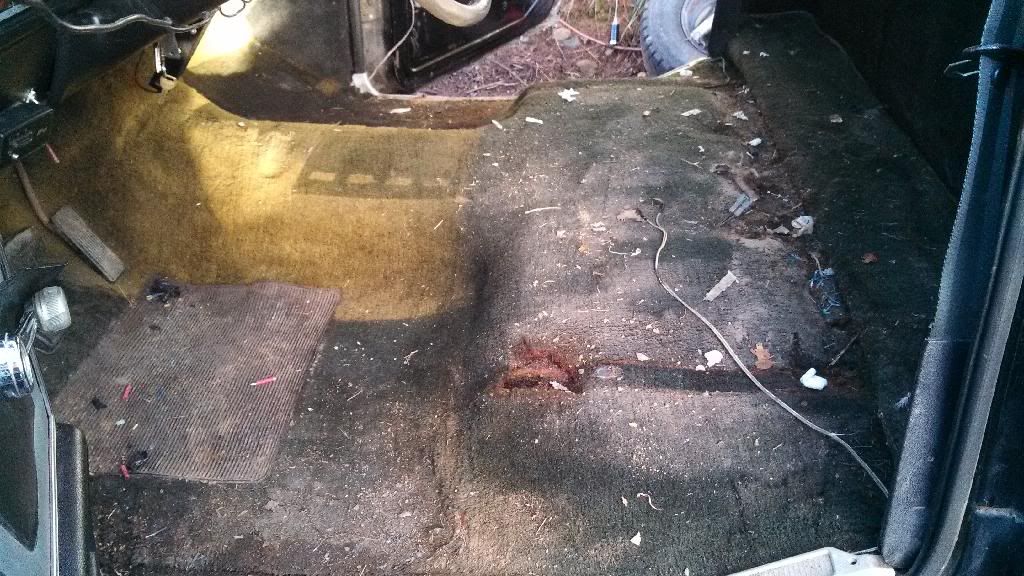
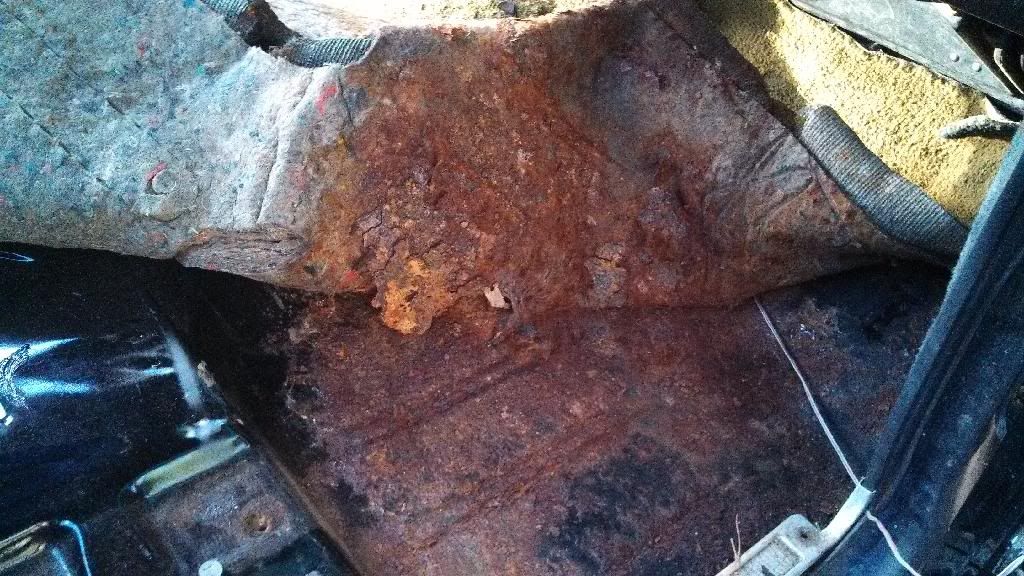
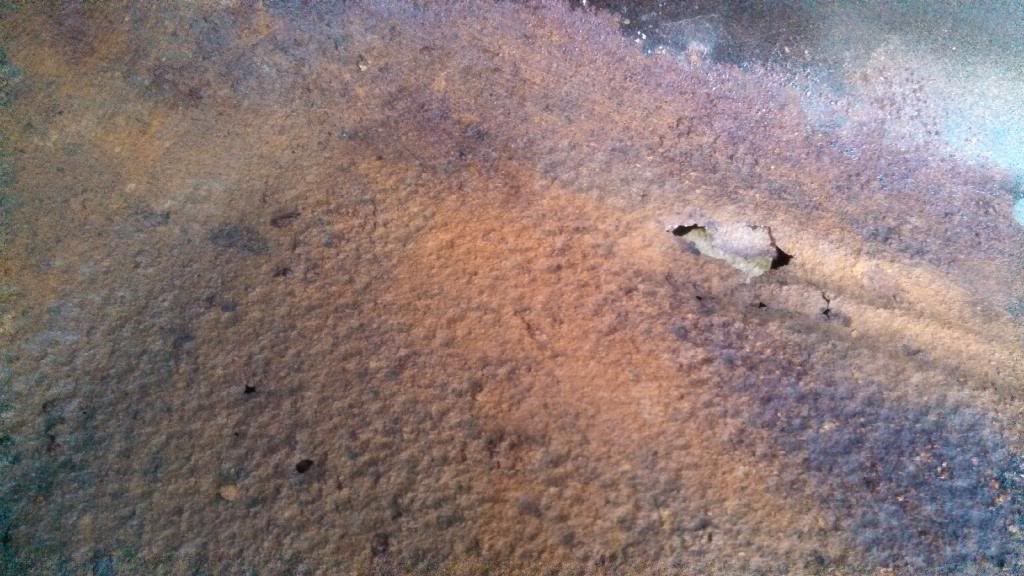
Thought it was just major surface rust, but hammer smacking and wire brushing revealed real cancer
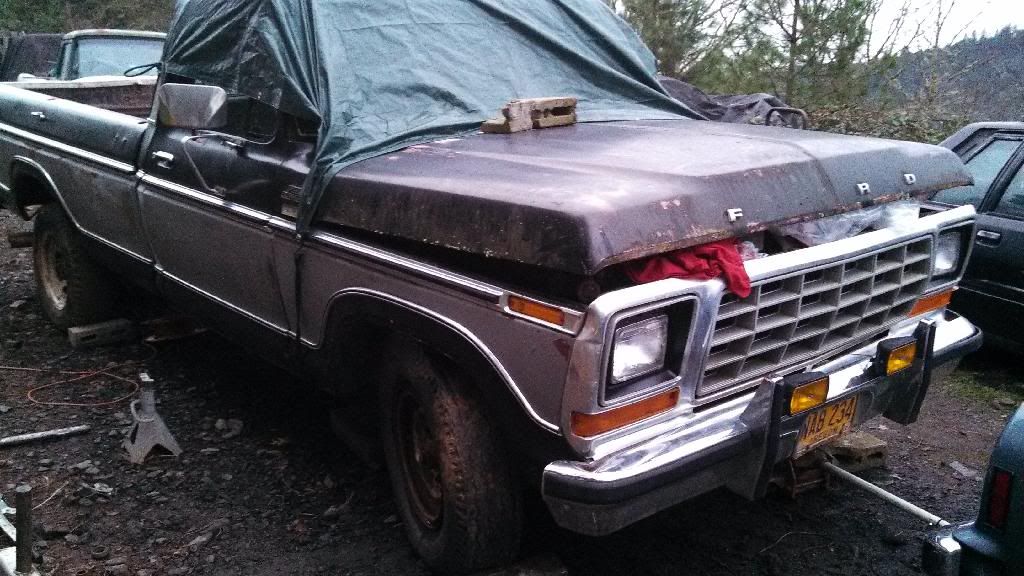
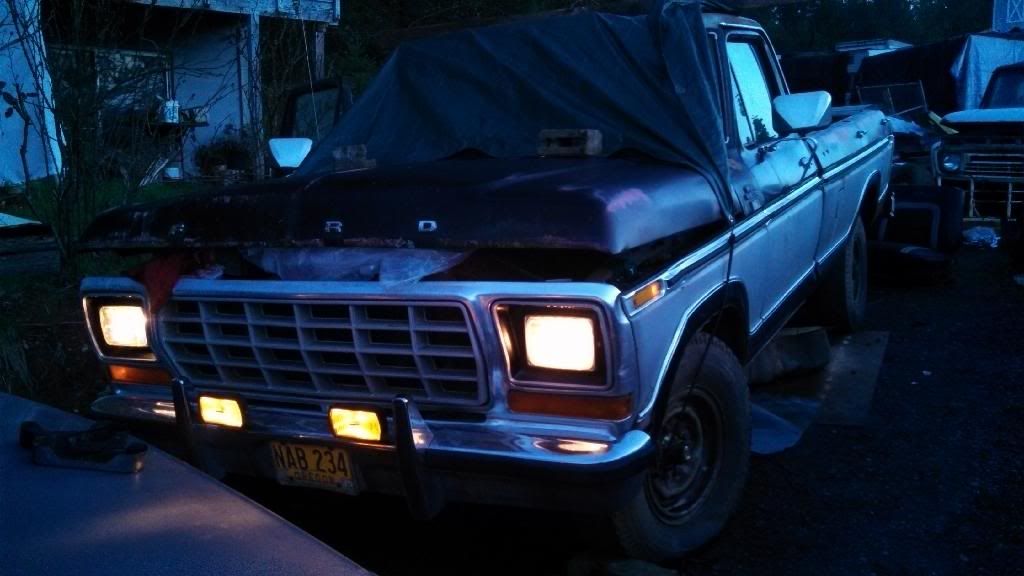
Thank goodness I have a parts truck with near perfect floors! (and it spent enough time on the coast to rot the passenger side mirror off!)
Hard part though will be getting cutting materials to the f250 since it is at the very back corner of our property.
I'm trading a heater core replacement and detail on my friends car for a new carpet and some other things for the truck. The old carpet would have driven my clean interior OCD crazy! lol Gonna buy a black tweed seat cover for it until I buy NOS material for new seat covers.
Working on the suspension I have found that I love 1/2" drives
It's about 4 different shades of green, black, and new clay mud lol
New floor wells, outside undercoating, POR 15 on the inside, dynamat, better center seat belts (if anyone has some decent black ones for cheap hit me up! ), and of course the new carpet. Gonna be nice and cozy when i'm done!

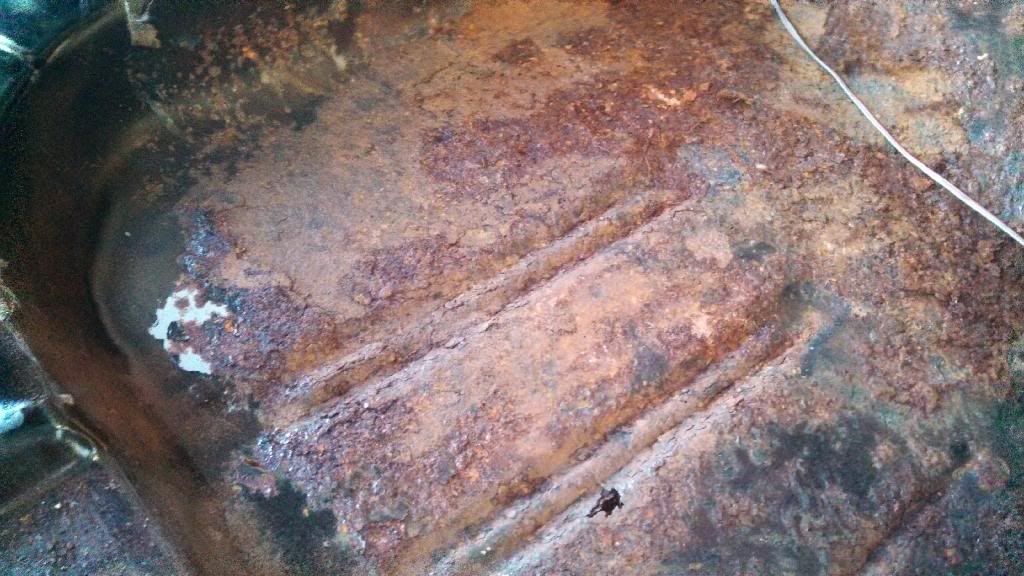
Wire brushing
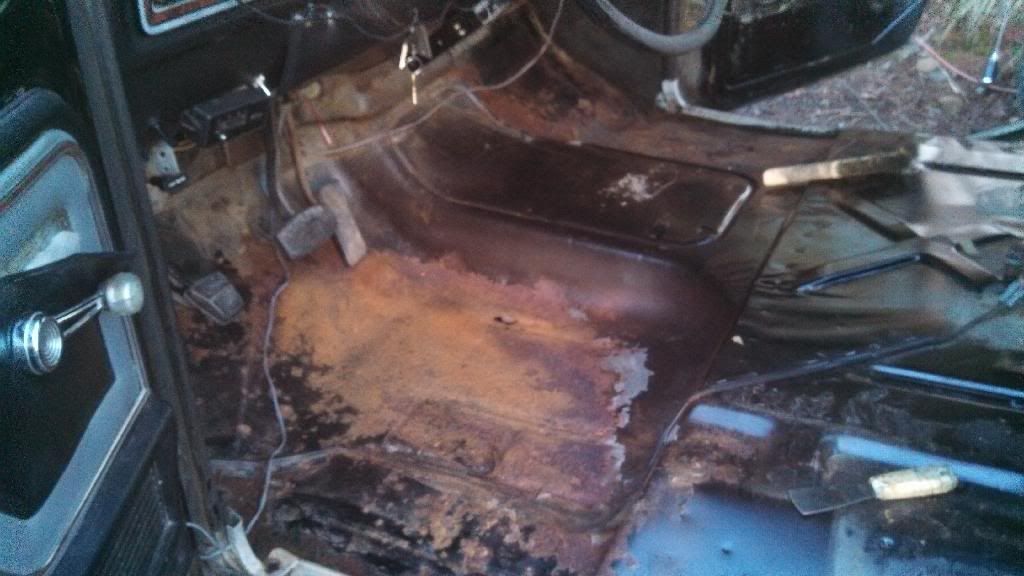
Drivers side
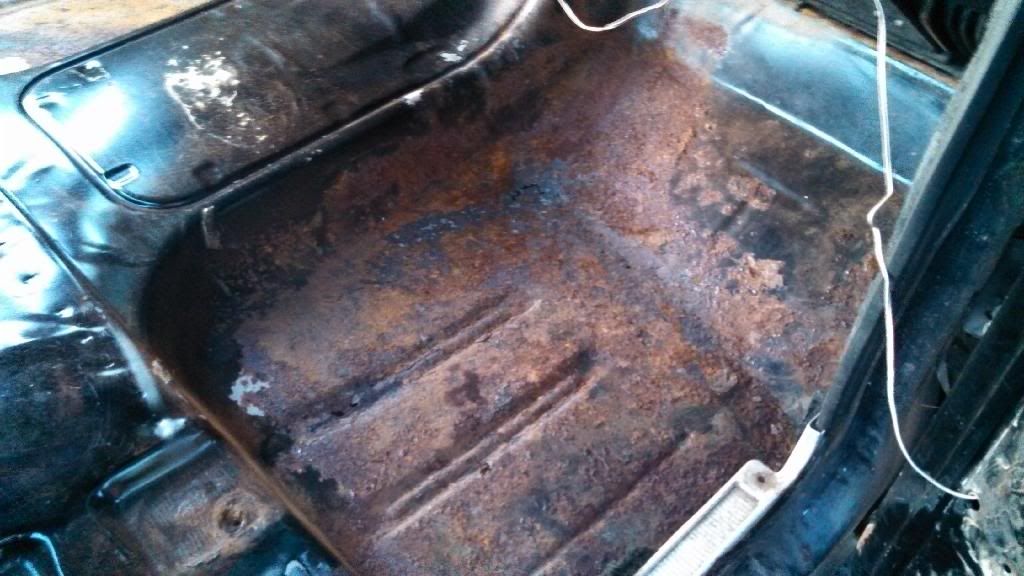
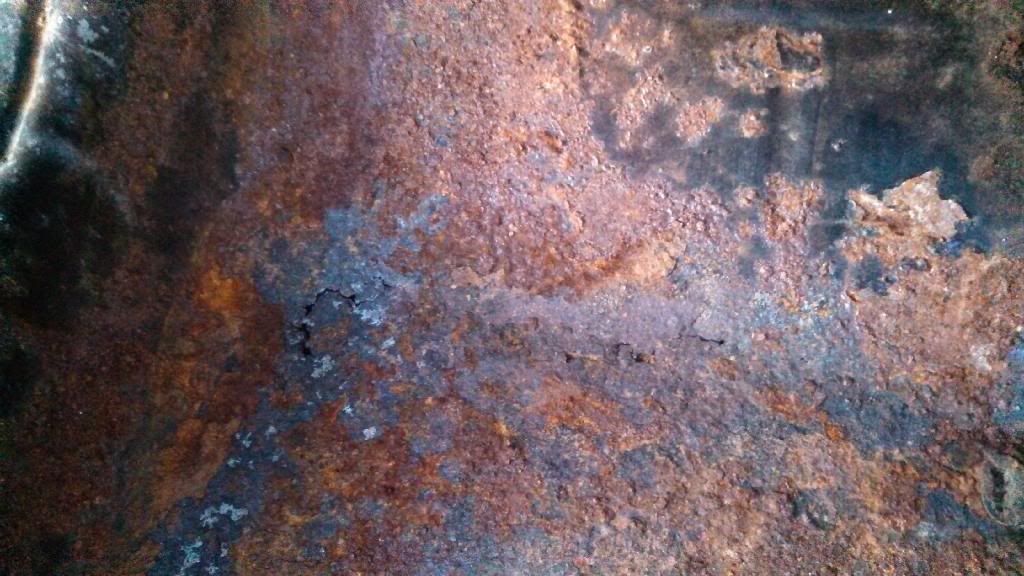
Passenger
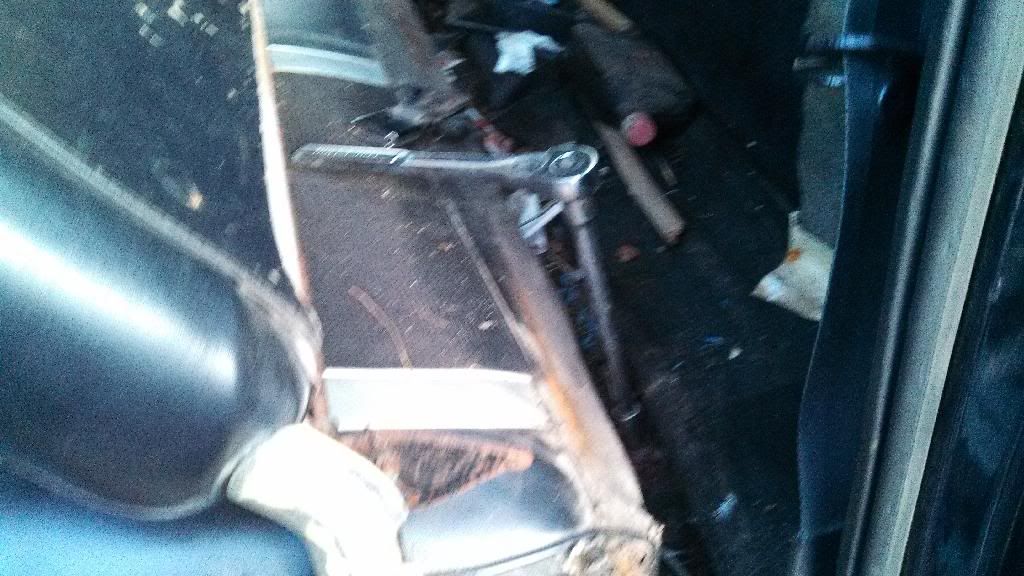
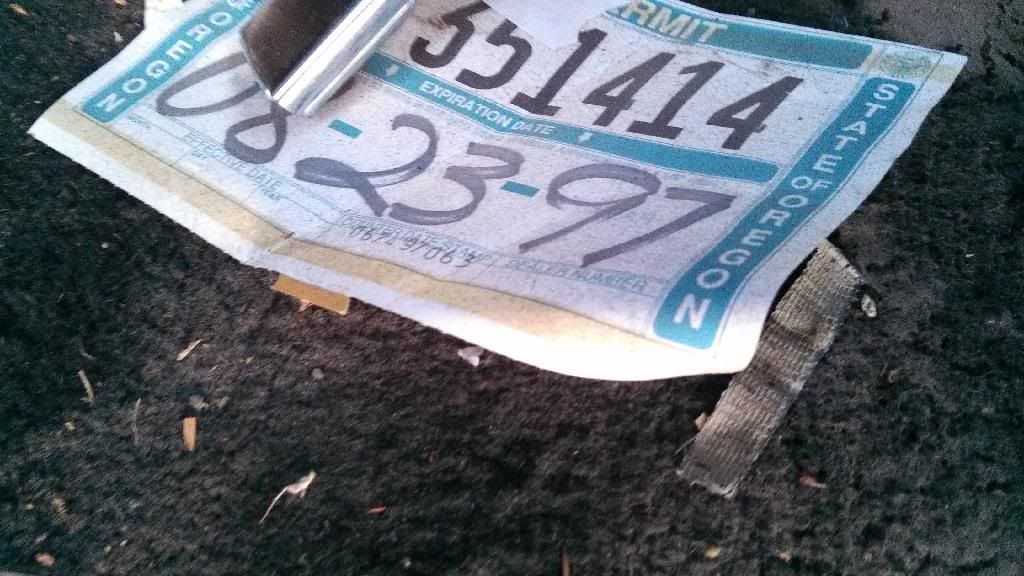
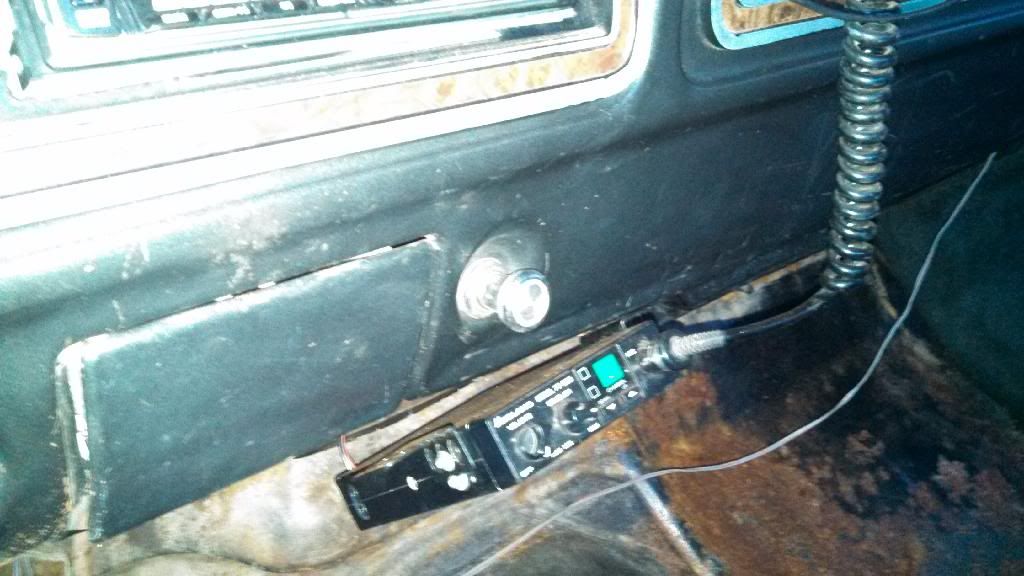
Found the original cigar lighter under the seat too!
I need a new dimmer switch as well. Dang list has grown so big so fast! But I have no problem giving the truck what it needs since it has sat unloved for 10 years and it's family history.
Plan for the bench seat is: as I said earlier a black tweed seat cover, repaint and grease seat tracks, repaint hinges black, repaint chrome covers silver(until I buy new ones when new seat covers are done), and put some house carpet or cardboard between the springs and foam to add some support back!
At first I pulled back the back part of the carpet and was like "saaweeeet!!" when I saw pristine black paint, but then the foot wells were less exciting.
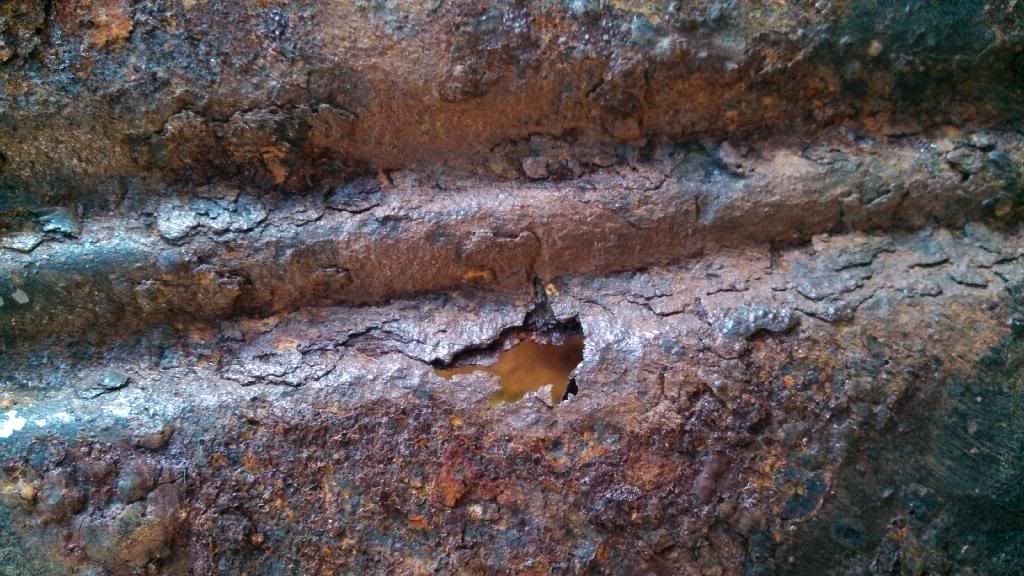
Thought it was just major surface rust, but hammer smacking and wire brushing revealed real cancer
Thank goodness I have a parts truck with near perfect floors! (and it spent enough time on the coast to rot the passenger side mirror off!)
Hard part though will be getting cutting materials to the f250 since it is at the very back corner of our property.
I'm trading a heater core replacement and detail on my friends car for a new carpet and some other things for the truck. The old carpet would have driven my clean interior OCD crazy! lol Gonna buy a black tweed seat cover for it until I buy NOS material for new seat covers.
Working on the suspension I have found that I love 1/2" drives

It's about 4 different shades of green, black, and new clay mud lol


New floor wells, outside undercoating, POR 15 on the inside, dynamat, better center seat belts (if anyone has some decent black ones for cheap hit me up!
), and of course the new carpet. Gonna be nice and cozy when i'm done!


Wire brushing

Drivers side

Passenger


Found the original cigar lighter under the seat too!

I need a new dimmer switch as well. Dang list has grown so big so fast!
But I have no problem giving the truck what it needs since it has sat unloved for 10 years and it's family history.
Plan for the bench seat is: as I said earlier a black tweed seat cover, repaint and grease seat tracks, repaint hinges black, repaint chrome covers silver(until I buy new ones when new seat covers are done), and put some house carpet or cardboard between the springs and foam to add some support back!


