
1997 F250 HD 4x4 Rust-o-ration
#61
 03-05-2014, 04:45 AM

Fleet Owner
#62
03-05-2014, 09:22 AM
Yeah, but bolted together it's pretty heavy and I didn't have anyone to help me put the entire apparatus in. I bolted the center seat on the pan and set it in place. Then I was able to hook the seatbelts up with the tin brackets without fighting with the side seats. Then I set each seat on the pan, loosely held the fronts down with the nuts, then pivoted the pan up in the front, using the rear studs as anchors. Pretty easy to tighten the rear seat nuts then set the whole pan down and bolt it down last. No heavy lifting required.
#63
03-05-2014, 09:30 AM
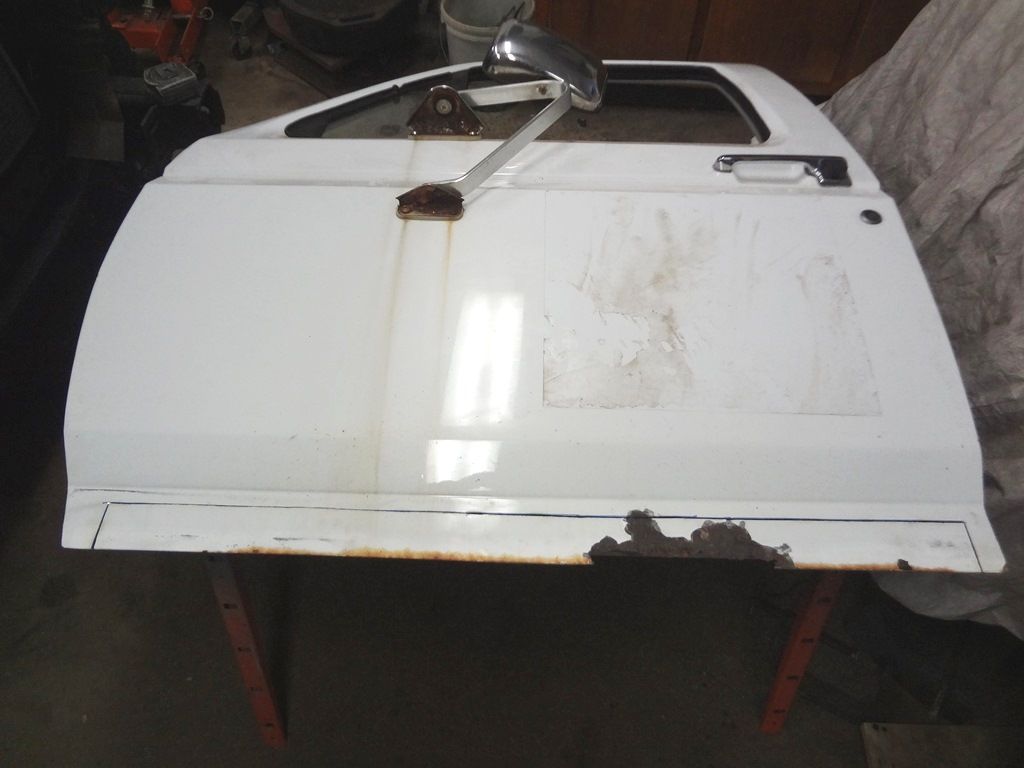
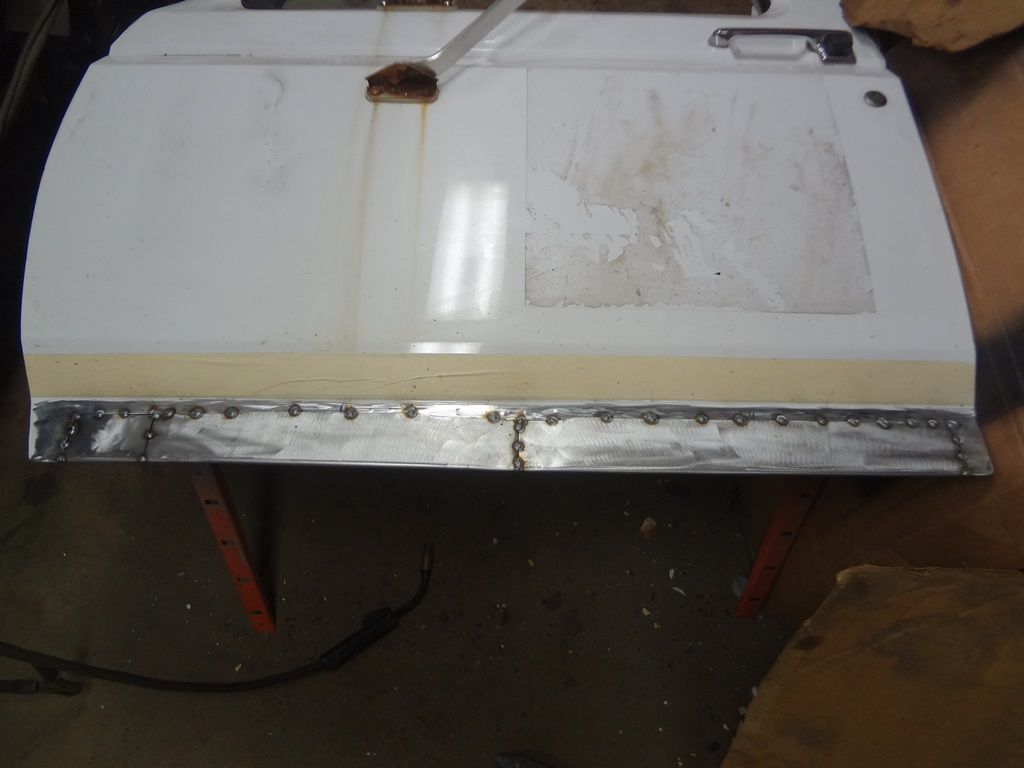
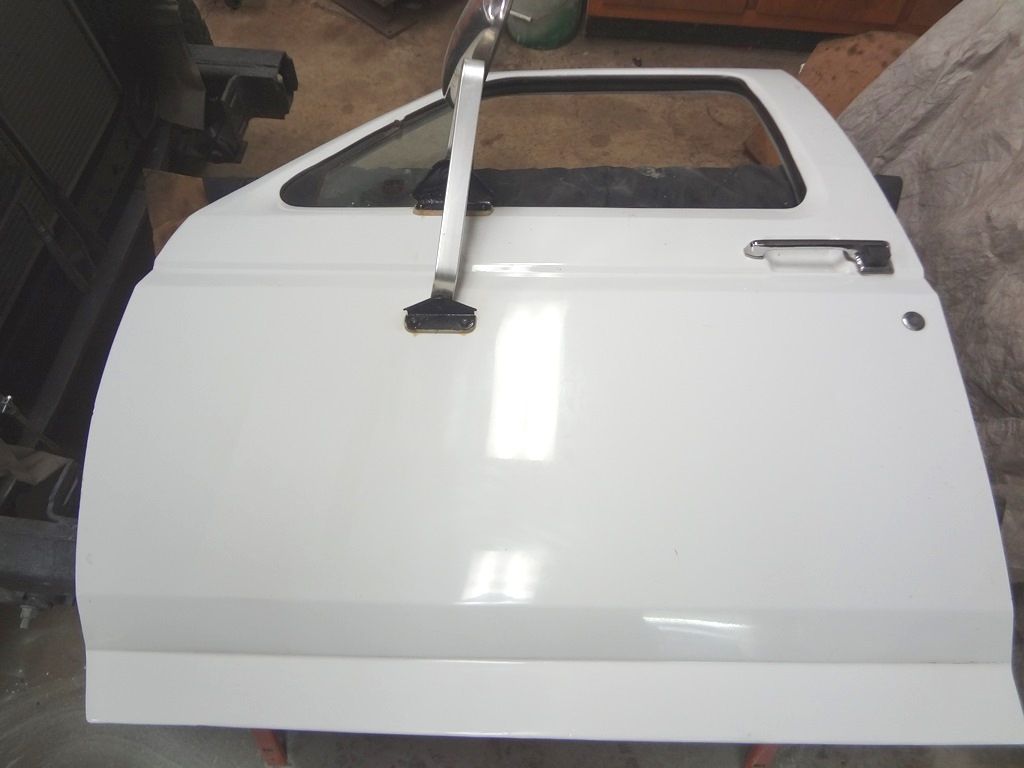
I really needed a replacement driver's door, but haven't found a good white one yet. In the mean time I just quickly repaired the rust on the bottom of the OEM door. Not perfect, but should last quite a while. Here's what I started with.
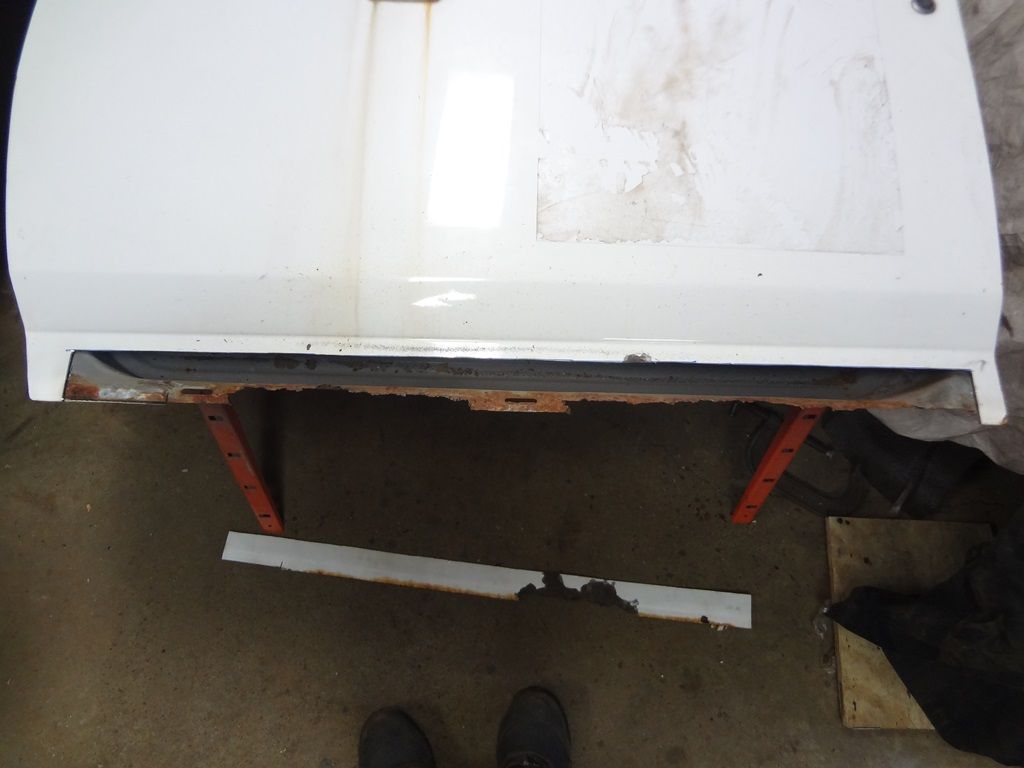
Cut the rotten piece off.
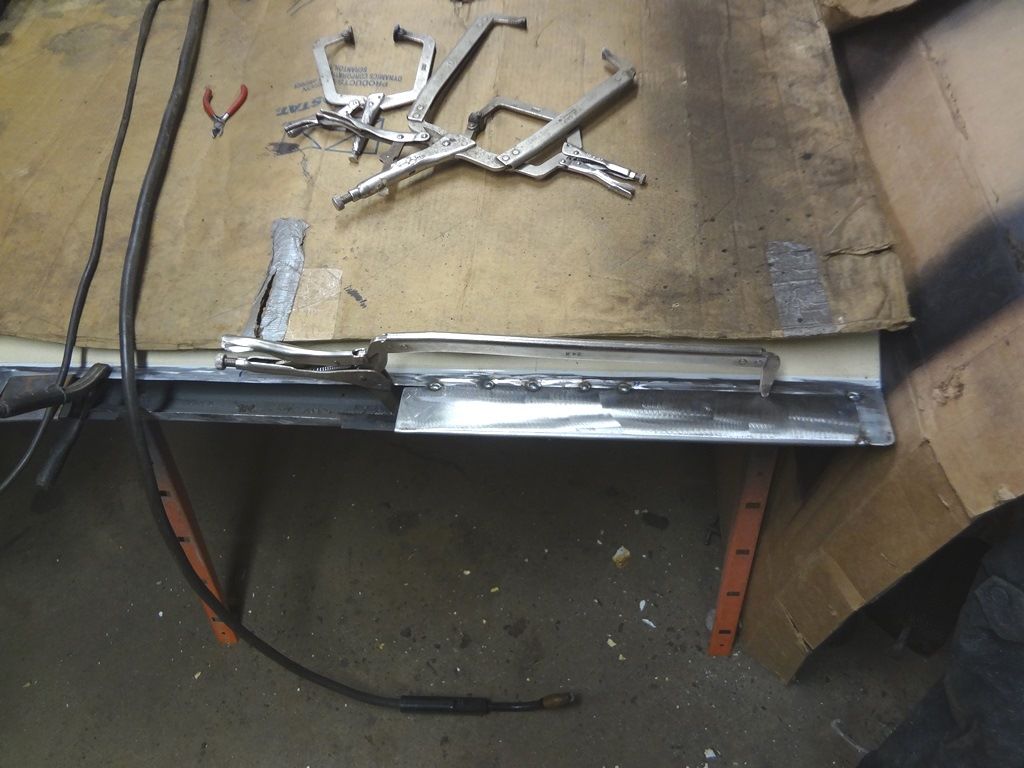
Didn't have access to my neighbor's 8 ft brake so had to make three pieces in my small brake. I used the brake to make the bend for the bottom part of the skin. When the top is tacked in place I'll hammer the edge of the skin tight with a dolly and body hammer.
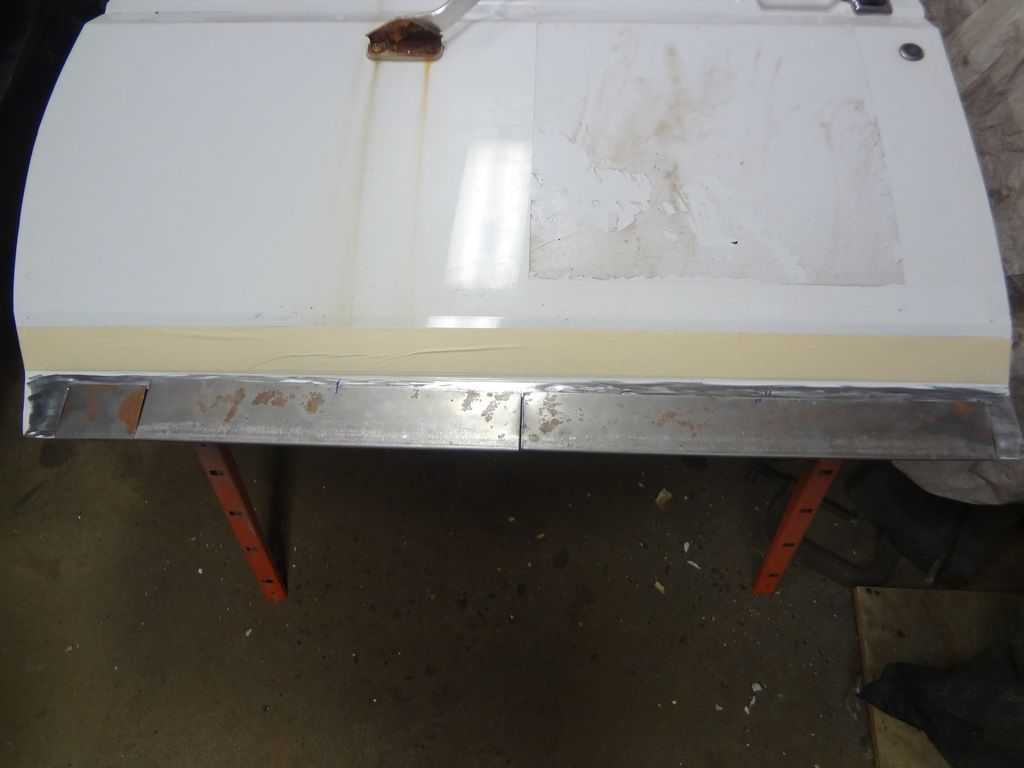
Started tacking them in.
The bottom was also rotted so had to fix that too.
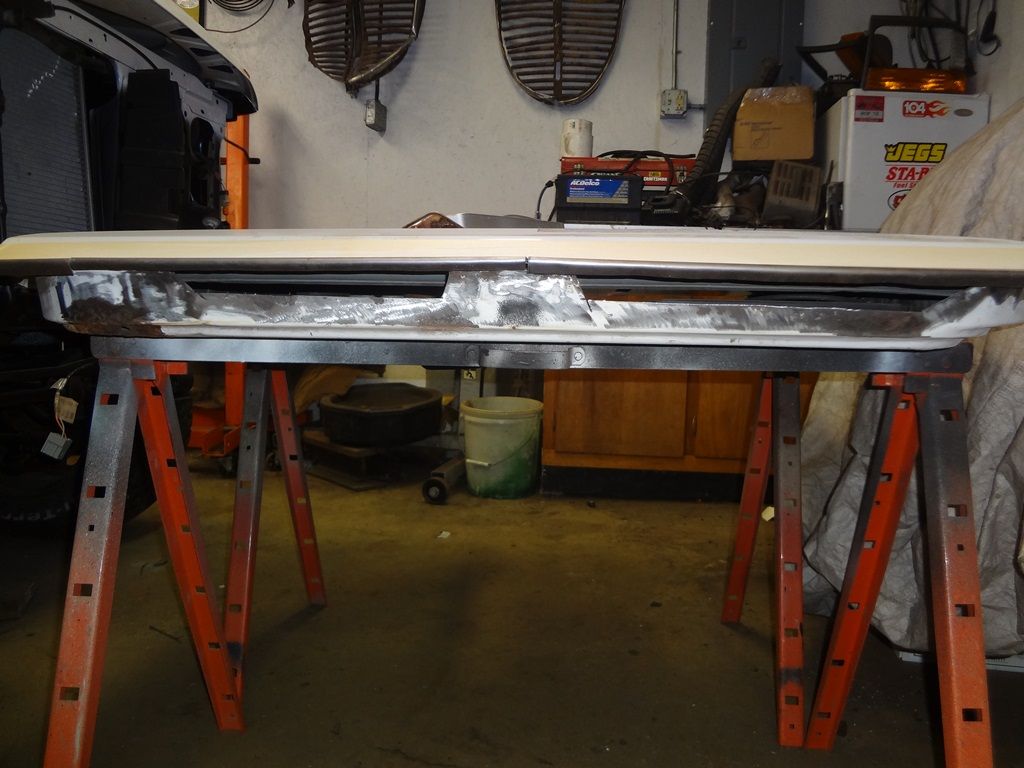
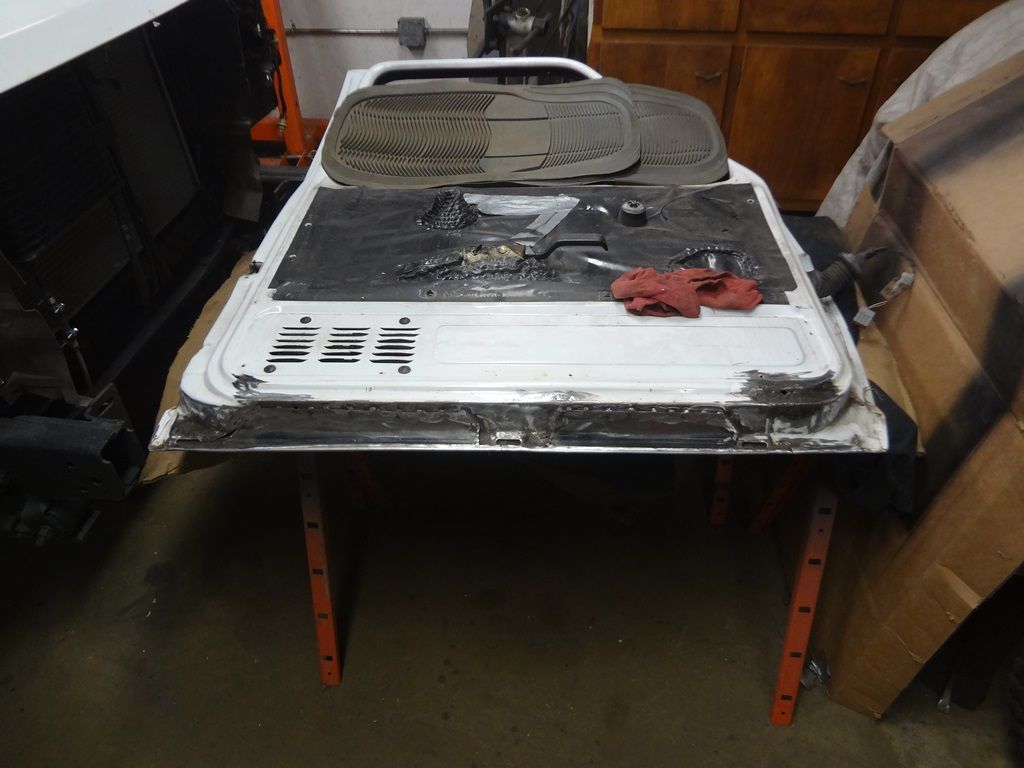
Then threw a coat of mud on the top to start straightening everything out.
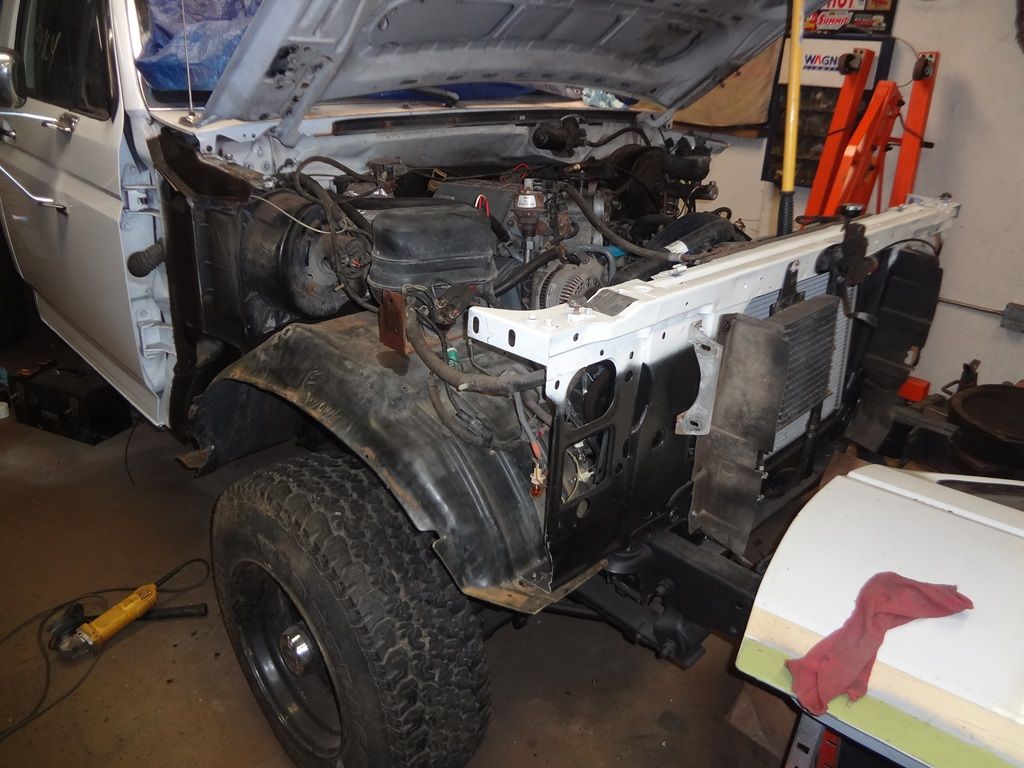
And while the bone was setting up I got the inner fenders mounted.
Cut the rotten piece off.
Didn't have access to my neighbor's 8 ft brake so had to make three pieces in my small brake. I used the brake to make the bend for the bottom part of the skin. When the top is tacked in place I'll hammer the edge of the skin tight with a dolly and body hammer.
Started tacking them in.
The bottom was also rotted so had to fix that too.
Then threw a coat of mud on the top to start straightening everything out.
And while the bone was setting up I got the inner fenders mounted.
#64
03-05-2014, 10:13 AM

Posting Guru
#65
03-05-2014, 10:39 AM

#66
03-05-2014, 06:05 PM
Senior User
Join Date: Dec 2006
Location: Fulton IL
Posts: 200
Likes: 0
Received 0 Likes
on
0 Posts
Im bookmarking this thread. I need to do some of this to my 96... I did the flatbed thing and POR'd the frame from the cab back last winter. I have a bad manifold gasket and rotted fenders so the cab foreword will be next. Couldn't do it this winter because I needed it to plow since I sold my 97 I had all set up to put my Western on.
Part of me says just do as you did, fix what is needed on the engine and put it back in, but part of me says bring it to the machine shop and build it a little... Well see how that goes, It just turned 118k miles. I told myself that my flatbed project was going to be simple and cheap. Slap on the bed and have like $300 into it, then it turned into a dump bed project with $350 worth of LEDs and alot of other work... Ended up over $1200 instead...
Seems like thats how all my projects go. Start off with cheap intentions, then go above that... I guess if its worth doing, its worth doing right.
Heres a link of my flatbed project. OBS Flatbed Dump Project - PowerStrokeNation : Ford Powerstroke Diesel Forum


#69
03-12-2014, 08:35 AM
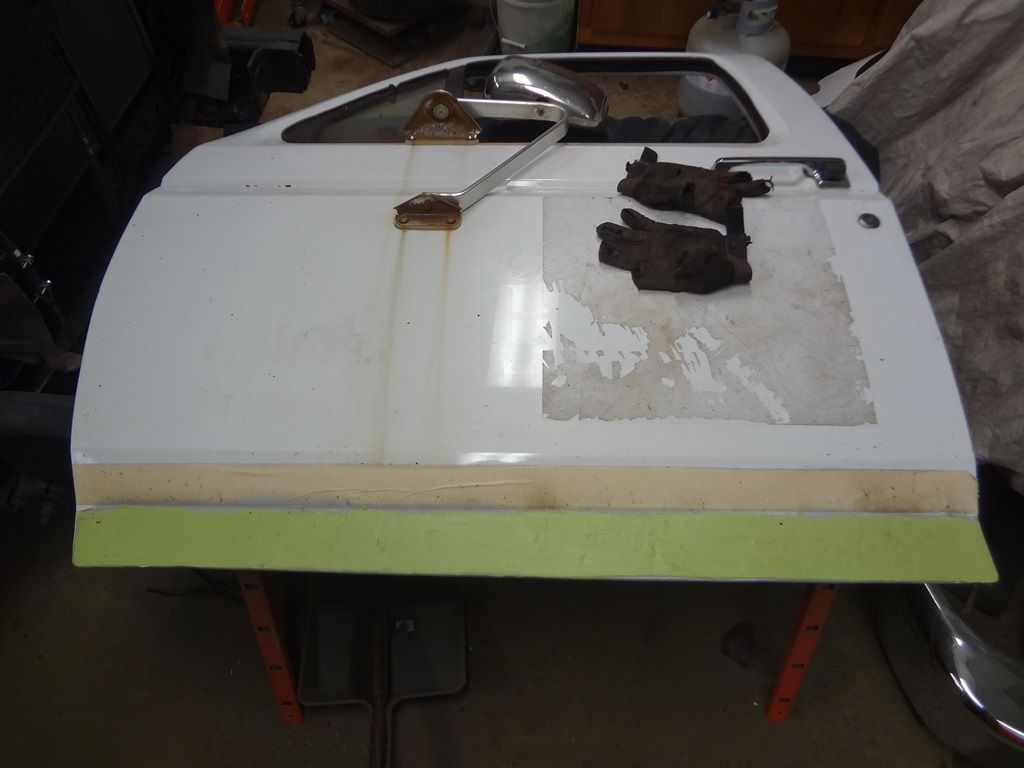
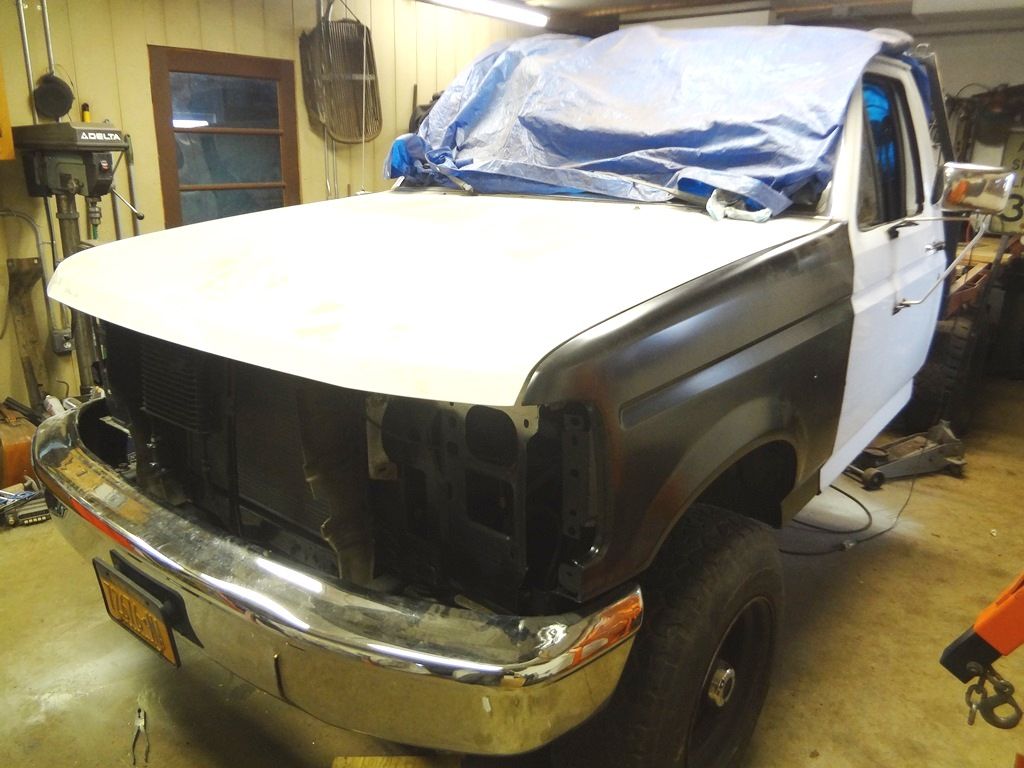
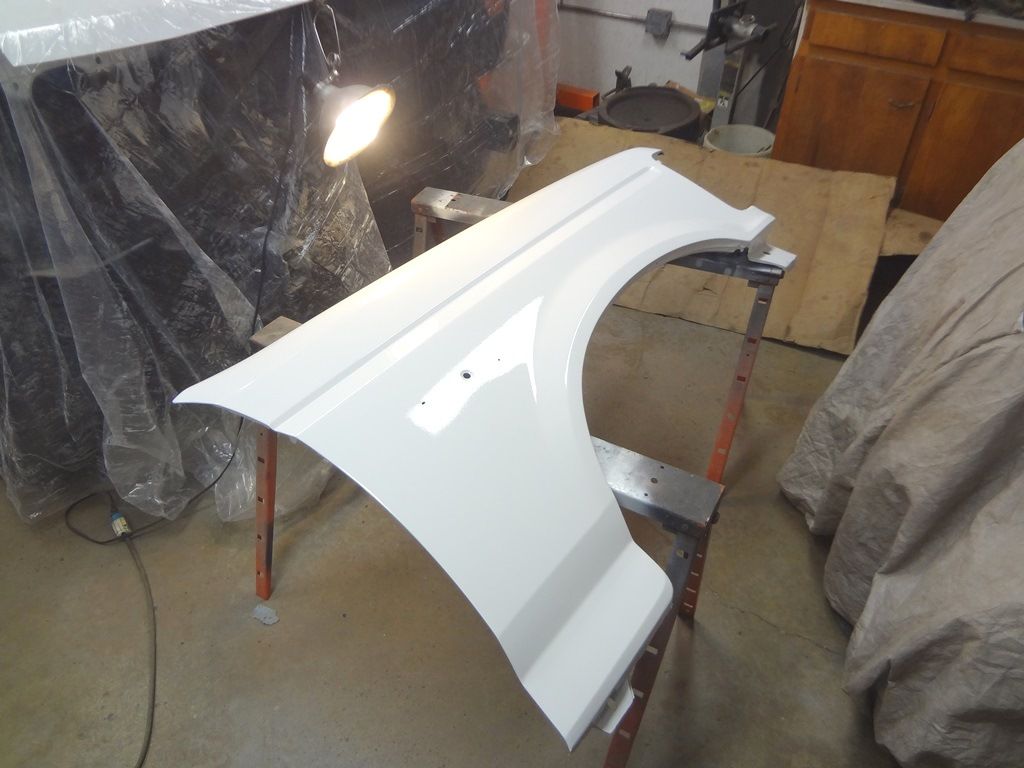
Finished the body work on the door and got it painted.
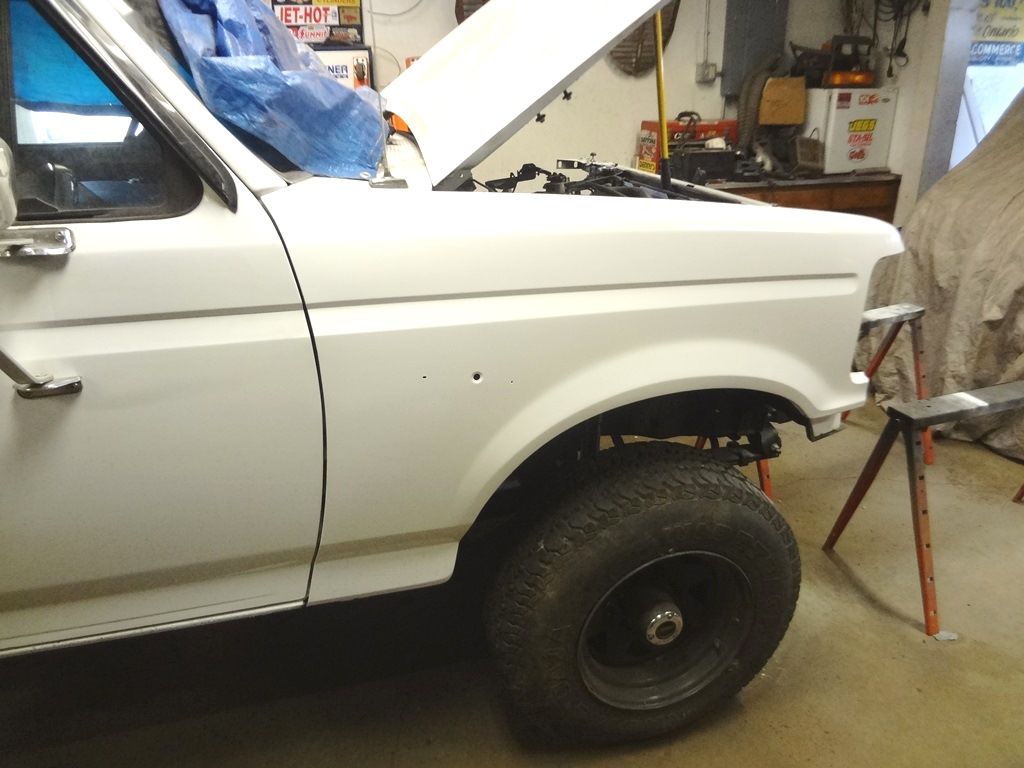
Once the door was installed it I did one last fit and alignment with the fenders and bumper before taking the fenders back off for paint.
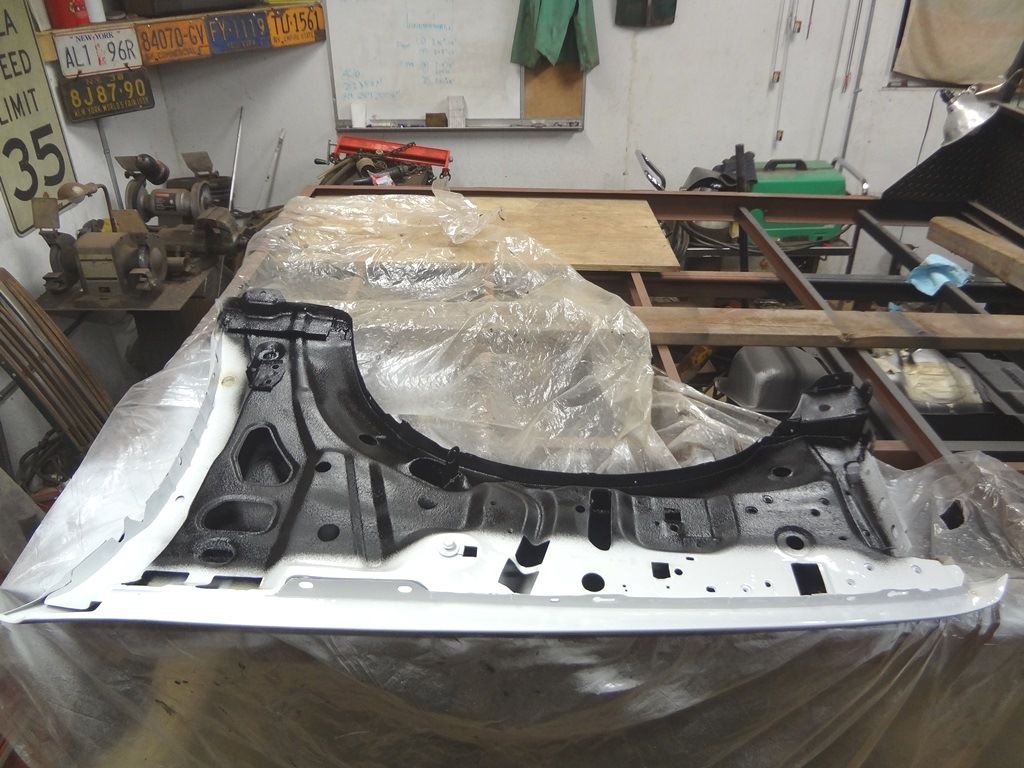
Passenger fender painted on the edges and undercoated inside and in the middle.
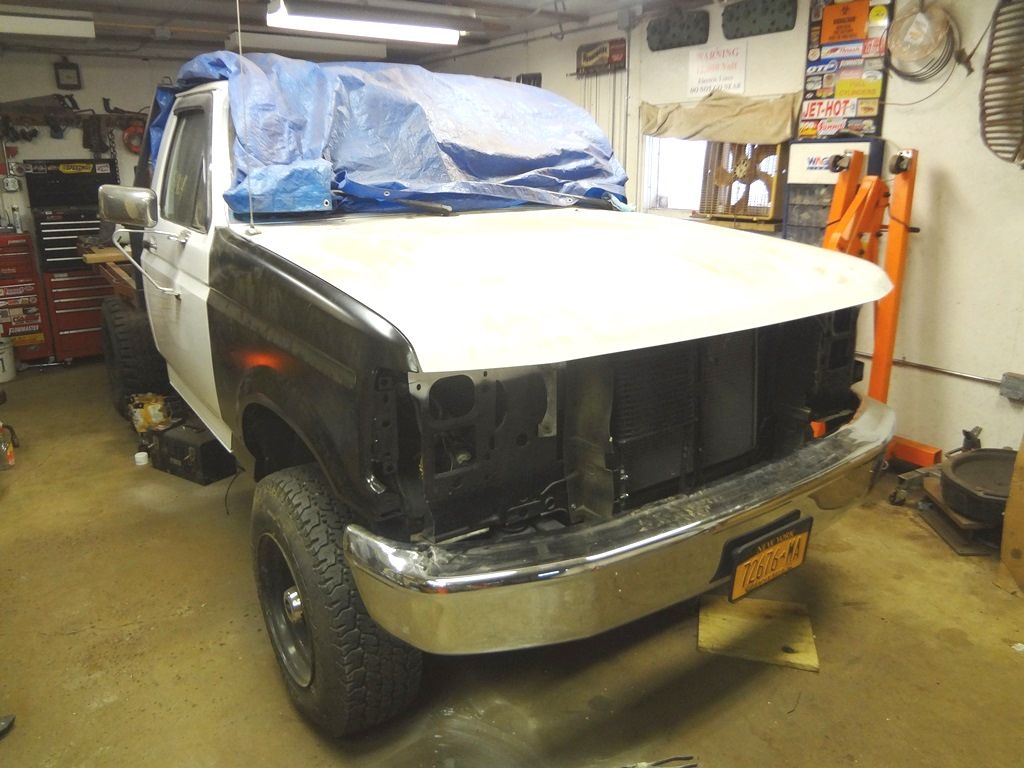
Looking good.
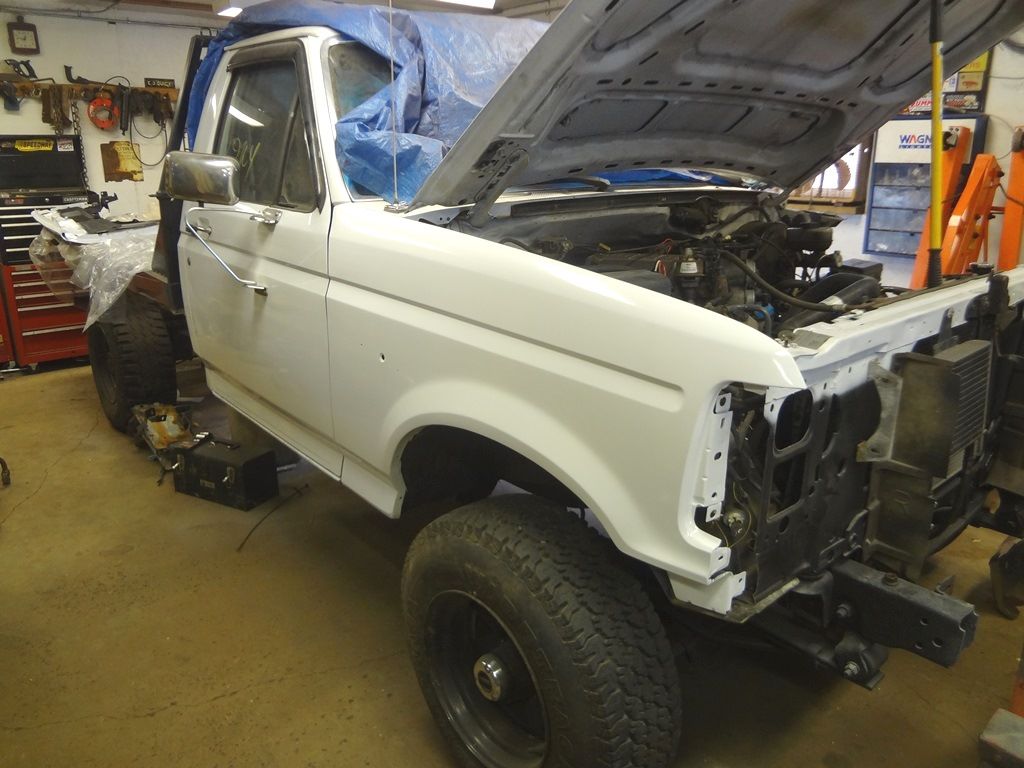
Installed, shimmed, and gapped.
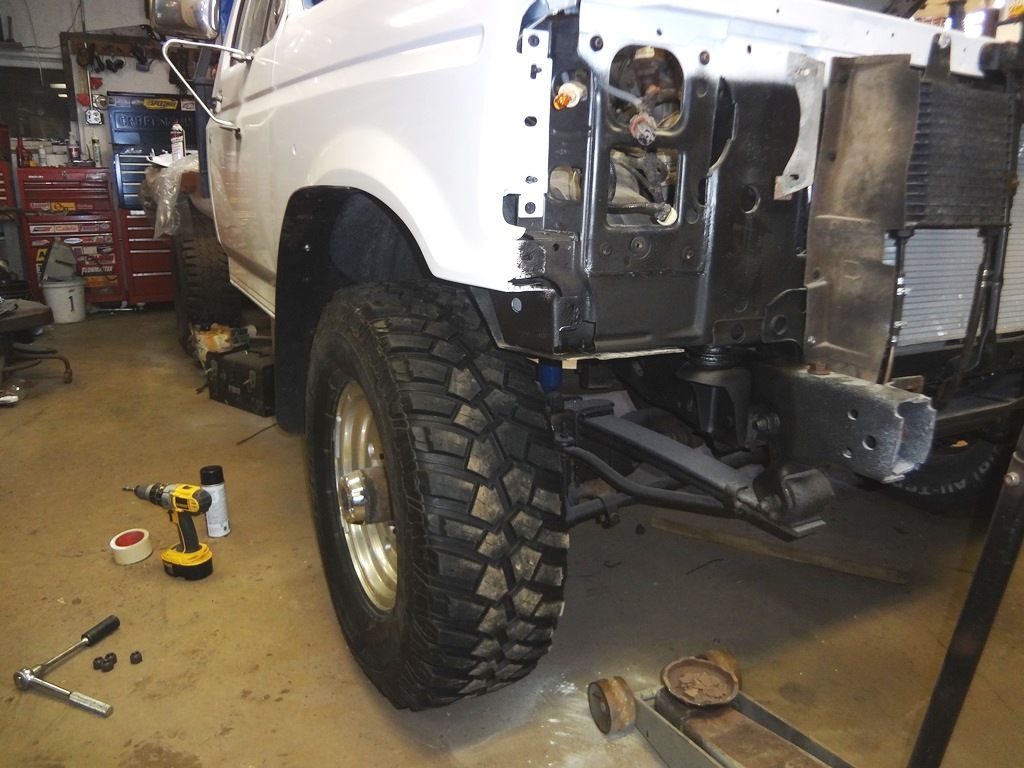
I needed some tires for the truck. I'm also partial to the factory Alcoa wheels as my previous HD had them. I was keeping my eyes open for a set of the wheels to mount some new tires on, but the Alcoas are hard to find around here and usually expensive. I was looking on Craigslist and happened on an old post. A guy had the Alcoas with brand new 285/75R16 tires for $500. The post was over a month old and I was sure they'd be gone, but I called anyway. He still had them so I couldn't get the money out fast enough. Just the tires alone retail at about $800. The rims have some corrosion, but still look pretty good and are a lot better looking than four plain steel rims.
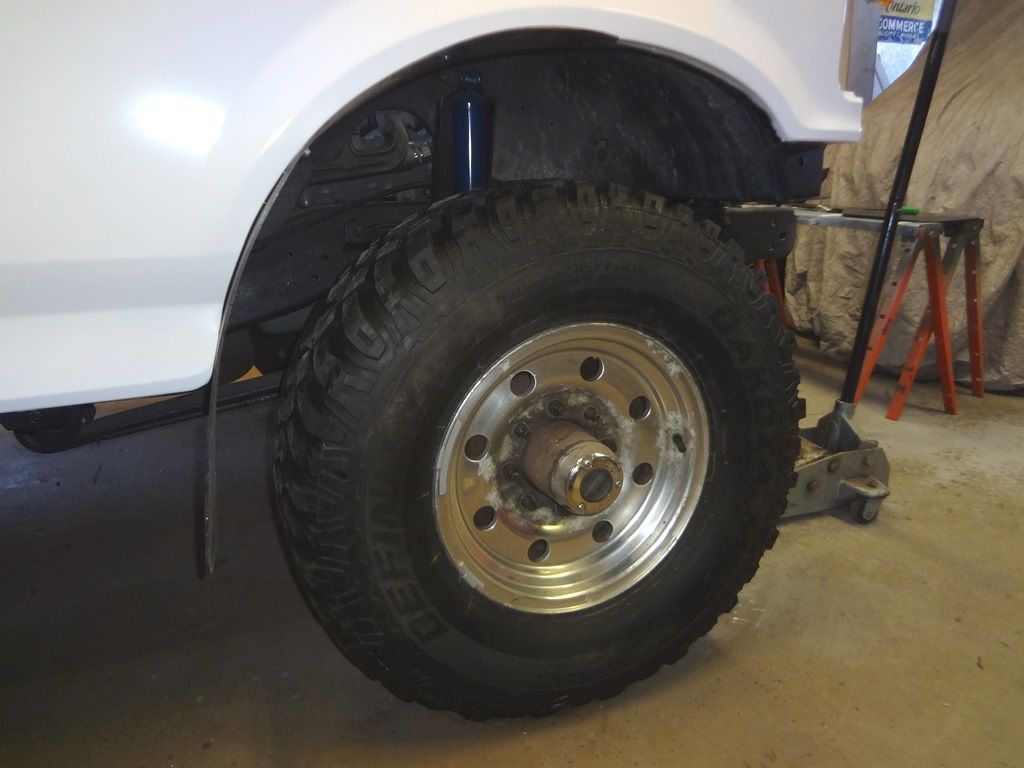
And the tires look bad *** on the truck.
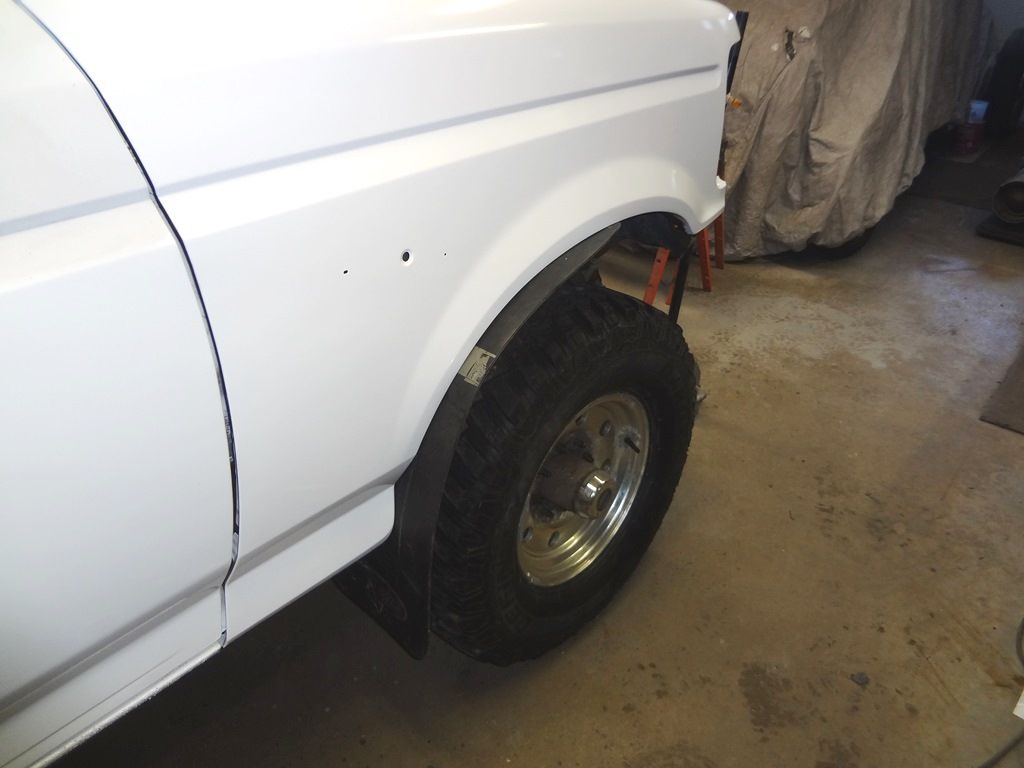
One more good score were these large Ford logo splash shields. I found them at the Goodwill of all places for $2!
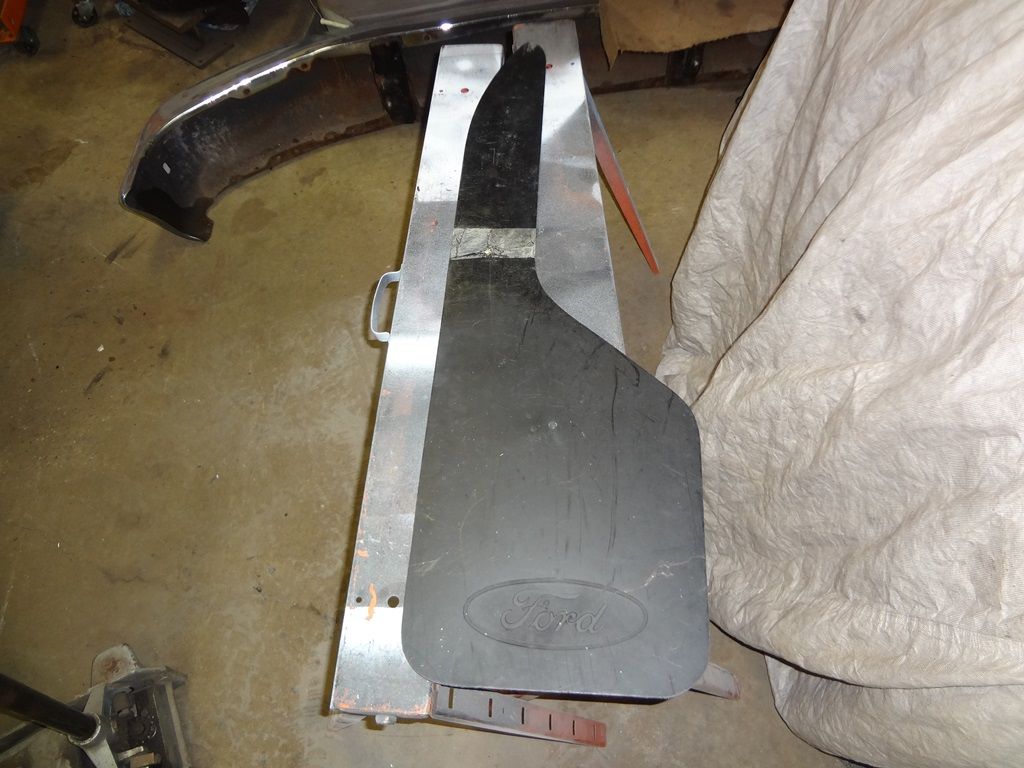
They wrap half way up the fender and should keep the big tires from throwing crap all over the doors.
Once the door was installed it I did one last fit and alignment with the fenders and bumper before taking the fenders back off for paint.
Passenger fender painted on the edges and undercoated inside and in the middle.
Looking good.
Installed, shimmed, and gapped.
I needed some tires for the truck. I'm also partial to the factory Alcoa wheels as my previous HD had them. I was keeping my eyes open for a set of the wheels to mount some new tires on, but the Alcoas are hard to find around here and usually expensive. I was looking on Craigslist and happened on an old post. A guy had the Alcoas with brand new 285/75R16 tires for $500. The post was over a month old and I was sure they'd be gone, but I called anyway. He still had them so I couldn't get the money out fast enough. Just the tires alone retail at about $800. The rims have some corrosion, but still look pretty good and are a lot better looking than four plain steel rims.
And the tires look bad *** on the truck.
One more good score were these large Ford logo splash shields. I found them at the Goodwill of all places for $2!
They wrap half way up the fender and should keep the big tires from throwing crap all over the doors.

#71
03-12-2014, 02:01 PM
Posting Guru
#72
03-12-2014, 05:10 PM

Lookin real good! You do nice work and it shows in the finish product.
Mind if I ask, whose fenders did you use?
I've been following your thread from the beginning but didn't see you mention where you're sourcing your sheet metal from (apologizes if missed it), the cab support/rocker/floor pan/fenders etc.
Based on what can be seen in the pictures I'm impressed with the fit of the fenders so far, gap control and shape/body line appear to be pretty much spot on.
#74
03-12-2014, 09:30 PM
Lookin real good! You do nice work and it shows in the finish product.
Mind if I ask, whose fenders did you use?
I've been following your thread from the beginning but didn't see you mention where you're sourcing your sheet metal from (apologizes if missed it), the cab support/rocker/floor pan/fenders etc.
Based on what can be seen in the pictures I'm impressed with the fit of the fenders so far, gap control and shape/body line appear to be pretty much spot on.
Mind if I ask, whose fenders did you use?
I've been following your thread from the beginning but didn't see you mention where you're sourcing your sheet metal from (apologizes if missed it), the cab support/rocker/floor pan/fenders etc.
Based on what can be seen in the pictures I'm impressed with the fit of the fenders so far, gap control and shape/body line appear to be pretty much spot on.
#75
03-12-2014, 09:32 PM

