When you click on links to various merchants on this site and make a purchase, this can result in this site earning a commission. Affiliate programs and affiliations include, but are not limited to, the eBay Partner Network.
too late now (I did the same w/a stick welder) but I think it's WH that has a nice adj C/R (maybe BCB? ask me'n I'll lookid up in my archive).
Thnx 4 all da pic over the yrs, glad there was no damage.
I've reved the engine 2 the correct rpm & shifted lots w/o a clutch...not lookin 4ward to my NV swap over the nxt few wks if ur experience is the norm. But hey, how often duz it 'let go'? Had same clutch since '83 & I haul logs outta da swamp & up the hill to the band saw...
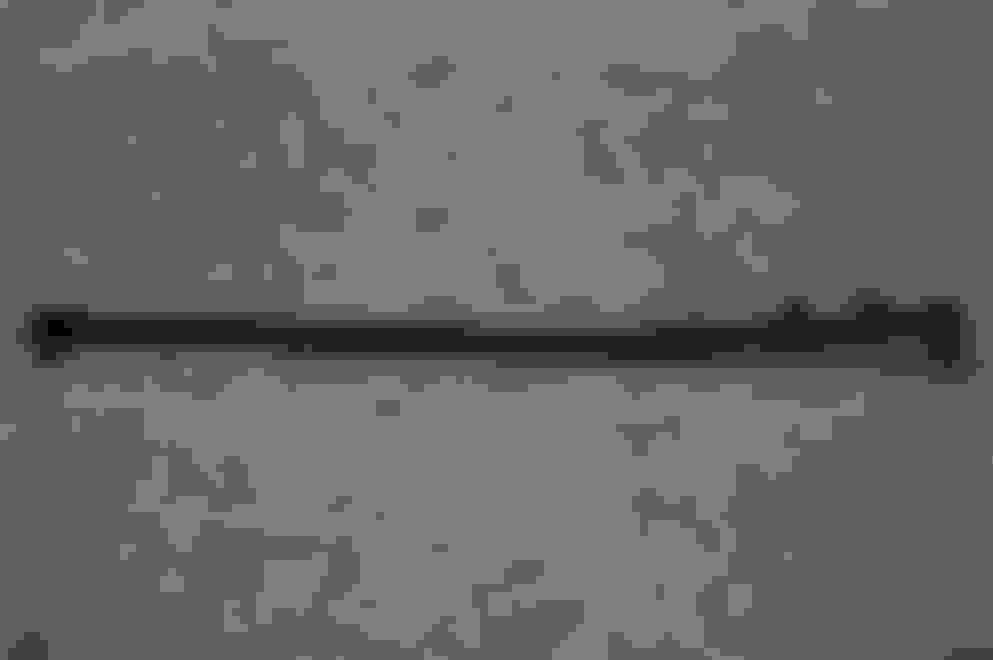
Yeah, I saw adjustable clutch rods for sale when I was looking, but I didn't realize why they were offered at that time, so I got the cheaper one. Once I had it I could cut and weld it quicker than I could get the right one to my door, so I went for the quicker option.
When I was learning to drive my parents had a Toyota Celica with a hydraulic clutch that was always leaking. I drove that car a lot with no working clutch. Shut it off to stop, start in gear and speed match all the shifts, no problem. I've driven a 1929 Model A, an NP-435, a T-18 and the Broncos stock 3 speed and shifted all of them without the clutch at least some. So I'm disappointed I can't shift the NV3550 like that too. But as you say, how often is it really needed anyway?
"...I can't shift the NV3550 like that too. ..."
Wonder Y? Sompin bout "syncros" (may B?)?
Wonder how manis were updated (back inda day)
w/this "Syncromesh...
Know how that all works?
How this relates to the dodge (well, Jeep NV)?
Last edited by chrlsful; 10-20-2017 at 07:37 PM.
Reason: spelling
Hmm, with so few people experimenting with clutchless shifting, and so few probably even thinking it's even a thing nowadays, it's no wonder I'm just now hearing it with you guys. Bummer and now I have to try it on mine when it goes in!
Refreshing to hear some still know how to do it.
I know some gearboxes are harder and some are easier. Just too bad the NV has to be one of the harder ones.
I had a clutch rod break on me on the way to work once and got the rest of the way doing the stop/start/shift thing in commute traffic! Luckily it was lighter back then, but still pretty entertaining.
They did not have the correct rod at the dealer so I bought the full-size version from them.
Instead of cutting and welding though, I cut and threaded instead. Went to the hardware store (or maybe I had it laying around) and got that hex-shaped internally threaded sleeve material about 2" long. Screwed it right on to the rod, screwed the other half into it, and voila! Instant adjustable clutch rod!
"...Just to bad the NV has to be one of the harder ones..."
Wish I knew more bout trannies, never had 1 apart, not sure how each differ from another other except as operator.
When I learned manis - some had no syncro 1st (wait till stopped, double clutch and/or as stated above bring engine revs to match train revs'n shove). Each engineering upgrade has changed them somehow...
Time for another upgrade project! For years, even before I bought this Bronco and was driving a CJ5 with a rear Detroit and open front, I've been wanting / planning to put a selectable locker in the front. Well now I'm gonna do it! I decided on an OX locker. I chose it over an ARB or an e-Locker because of not having to drill holes in the case to pass an air line or wires, and the ability to work it manually if the main shifting mechanism gets damaged (OX calls it a "drive-away lock"). I've also heard only good things about the OX durability and reliability. ARB and the e-Locker both seem to be pretty well thought of, but the OX, as a strictly mechanical device, is just inherently simpler, and I like that.
However I did decide to go with the air actuator for it rather than a lever and cable. I already have on-board air, so it doesn't add any more cost or complexity. And it seemed like it would be easier to mount the air switch and run air lines than it would be to mount a lever and run a cable that can't be kinked.
I ordered the locker and diff kit last week. It hasn't arrived yet. Hopefully this week.
So far I've been working on disassembly. Getting the axle shafts out went pretty well. The biggest problem I had was getting the spindle nut locking rings off. Both had "walked" a little so the tab on the locking ring wasn't in the slot in the spindle anymore. The driver's side was very close so once I was able to yank it out a little (with some baling wire through one of the holes that lined up with a slot in the inner nut) it popped back into the slot and came off fine. The passenger side had moved a lot farther though. I was able to yank it out enough to clear the pin on the inner nut, then I used a screwdriver as a punch and tapped it to "unscrew" it off the spindle until the tab came back to the slot.
Both spindles came off by hand! I've fought those so hard on every vehicle I've ever worked on that I was dreading it here. But when I put them on the Bronco last time (the first time I had pulled them off) I cleaned everything up good and slathered on anti-seize. It worked!
I did have trouble getting the axle shafts to slide out through the knuckles. Even after taking the grease fittings off the U-joints I couldn't get them to slide through. I kept turning the knuckles slightly, and twisting the axles to different positions and all of a sudden one just came out easily! That was when I remembered that I had put higher strength axle shafts and U-joints in it when I was building it (getting ready for a locker) and had found that I couldn't fit the new shafts in, so I had to file the knuckles a little to make notches to let the axles go in. I just had to get the axles lined up with those notches again to get them out.
Along with the dent in the diff cover that appeared last summer in the Black Hills, I also saw a shiny spot on the diff cover from where the tie rod was making contact. That shouldn't happen so I looked closer at the tie rod and saw it was bent (actually it's the left rod end that's bent, but since that goes almost all the way across the Bronco, and the actual tie rod is only about 6" long, it kind of seems like it's the tie rod).
So I got the tie rod off (to be straightened, and to get it out of the way of the diff change) and got the diff cover off. That's where it sits now. I'm planning to do the diff swap myself. I've never set up gears before, and I've heard that Dana axles are some of the worst to work on. But I'm reusing the old gears and not touching the pinion, so it seemed like a good time to try it. If worst comes to worst I'll put the spindles back on and drive it to a shop to bail me out!
Here's a pic of the diff cover with the dent (low on the part that sticks out to clear the ring gear) and the mark from the tie rod hitting it (about even with the cover bolt that was already removed). The tie rod was already removed in this pic.
Yeah, the later "Y" (or is it "why?") style seems easier to bend than the older "T" style. The original has done well for me for quite a while, and even with the bend was still very serviceable. So I think it'll hold up for a while longer. I could see deciding to upgrade at some point, but I don't know yet what I'd want to upgrade to, and I don't really want to stack another project on it right now. So especially if I can fix it for free (just straightening the old rod), that'll do it for now.
Since I'm going to be reusing my old gears I figured I'd check the current setup before I pulled the carrier out. Being I'm new at this I welcome suggestions from others.
The backlash is .006", which seems very good (I've heard .005" - .008" is the spec).
I'm less thrilled with the pattern, but I think it's OK. The pattern seems a lot closer to the toe than the heel, but what I'm seeing on most "expert" sites is that that doesn't matter so much. The main things seem to be that the pattern is centered between the flank and the face (and the pinion depth needs to be changed to adjust that) and that the backlash is correct (moving the carrier to adjust that). I think my pattern seems good that way (flank - face), so I think the pinion depth must be correct (which is great, because I wasn't planning on touching that). So It should just be getting the backlash and the carrier bearing preload right by getting the right carrier shims in the right places.
Again, I welcome feedback!
Drive side (I think I might have got cleaner patterns if I had been able to put more load on the ring gear while I was turning the pinion. I think I'll try to get some help when I put it back in so I can do that better)
Wow, that was a job! As I said, I've never done differential gears before. Now I understand why it's a "if you have to ask if you can then you probably can't" job. It's not rocket science by any means. But it's picky, slow and frustrating. It would be very easy to give up in the middle (I almost did a couple of times).
I checked the backlash and pattern with the old gears as described above (.006" backlash, acceptable pattern). I also checked the torque-to-turn: about 15 lb-in with the carrier before I pulled the old diff out, and 5 lb-in with just the pinion, so pretty low on both counts, but it's a 47 year old front diff with gears that still look good, so I wasn't sweating that.
I was able to carefully pry the old carrier out without using a spreader, so I was happy to avoid that purchase.
I tried using a brake cylinder hone to open the ID of a new set of carrier bearings to make myself some setup bearings. After about 15 minutes I saw absolutely no change in diameter (measured with a caliper), and I needed to take out .002". I decided I'd probably die of old age before I got it that way, so I brought them to work and figured out how to hold them in a 4-jaw chuck where I could indicate them in and bore them out. It was still tough to get then in the chuck straight (very little of the inner race is available to grab), so I'm sure they aren't perfectly centered, but it was the best I was going to be able to do.
I set the old carrier on a surface plate and used a height gage and indicator to measure the position from one outer race to the ring gear mounting face and to the other outer race. Then I played with shims and the setup bearings on the OX until I got the same measurements. Should be a good starting point, right?
Wrong. Well, maybe a good starting point, but nowhere near a good ending point. I slipped it into the case, torqued down the bearing caps (yes, they were marked to go back the same as they came out), and checked the backlash. Perfect at .006"! So what was wrong? The carrier isn't supposed to slip into the case. I had no carrier bearing preload and the torque-to-turn was 5 lb-in (it should be at least about 15 lb-in more than the torque to turn just the pinion, which was 5 lb-in too). I ended up adding .017" to the "button" side and .009" to the "flange" side (with about three in-and-outs of the carrier) before getting .007" backlash and 20 lb-in torque-to-turn. And I was able to tap the carrier in with a plastic mallet and pry it back out, so I still avoided needing a case spreader.
Well at that point I felt pretty good about where I was, but not so great on how I got there. Needing to add .026" total shims from my measurements off the old carrier didn't give me a lot of confidence that I'd get it right the first time with the "real" pressed-on bearings. But I measured the height of the setup bearings, found that the "real" bearings were .002" shorter, so I added .002" of shim to both sides. I pressed the real bearings on and slipped it in again. Yep, again I was way too low on the preload.
The OX carrier doesn't give much room to get behind the carrier bearings to pull them off. Looking on-line I didn't find any pullers I was willing to pay for. So I made my own at work. Before I pulled them off I measured the overall width and position of the mounting face (not very close to my original carrier). Then I added shims to both sides to get back to my original measurements. That still slid right into the case.
So off came the bearings again, take a wild guess at how many shims to add to both sides and try again. This time I couldn't rap it in with the plastic mallet, so pull out a little shim and try again. Success! I fully expected to have at least one more in-and-out to get the backlash set once I was close on the preload. But this gave me .007" backlash, 20 lb-in torque-to-turn (so 15 lb-in over the pinion alone) and pretty much the same pattern I started with originally!
And the whole thing only took 5 weeks!
But I'm there! I did have to grind the shifting fork in the OX cover to clear part of the case (OX wanted me to grind the casting, but I wasn't going to pull it out at this point and fill the oily case with grinding dust, so I'm sure I voided the OX warrantee). I straightened out my bent tie rod and put it all back together. No weird noises when driving with the hubs locked, so I'm calling it good!
I do still need to tap into my air system, mount the switch/valve, and run the air lines. And I'm a little disappointed that OX only included 3 of the 4 air line fittings, so I need to get another one somewhere. But I have hooked up the air line to my shop air and have shown that it engages and disengages. So now I just need another round toit!

 10-19-2017, 10:39 PM