'88 F350 CCLB Paint Project - Photos
#1
 10-28-2013, 02:04 PM

'88 F350 CCLB Paint Project - Photos
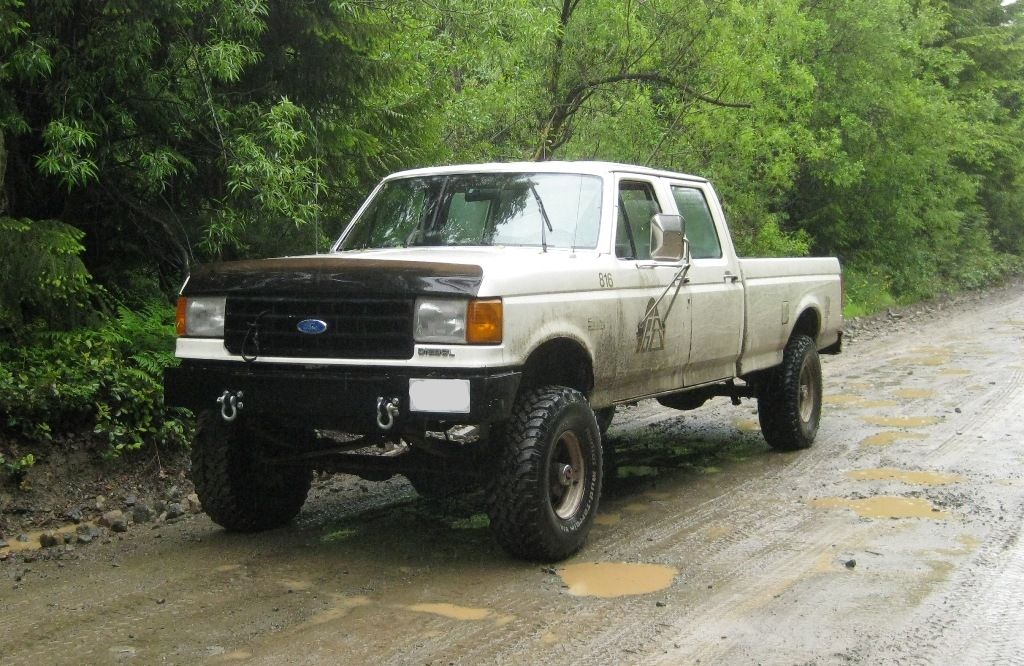
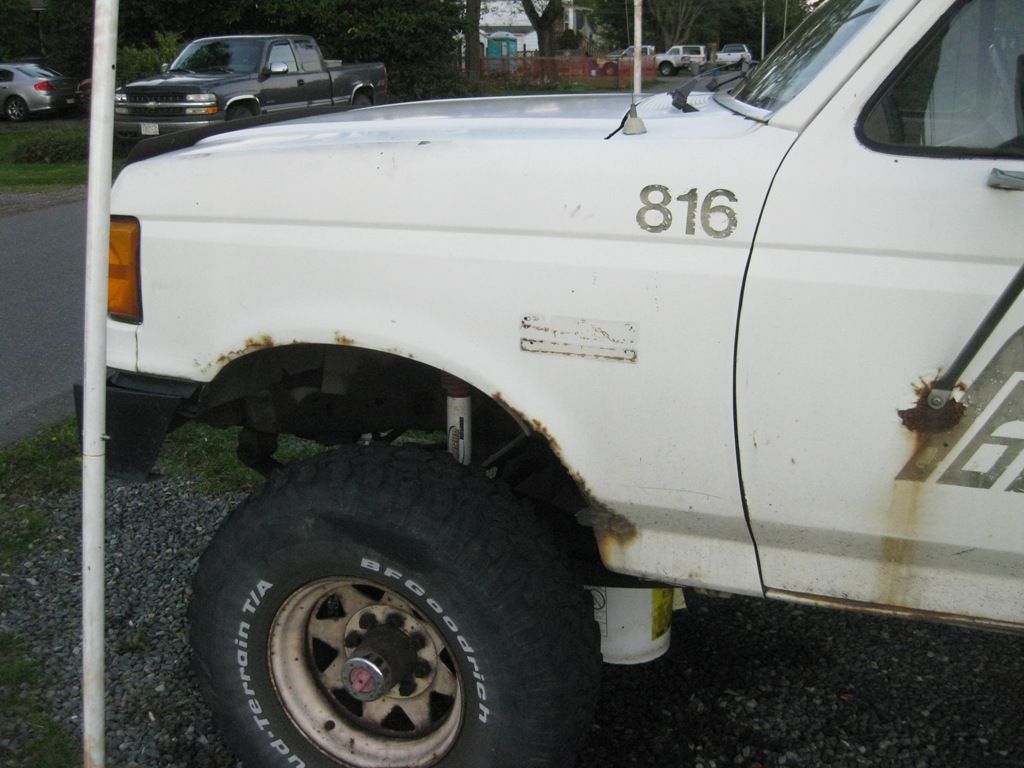
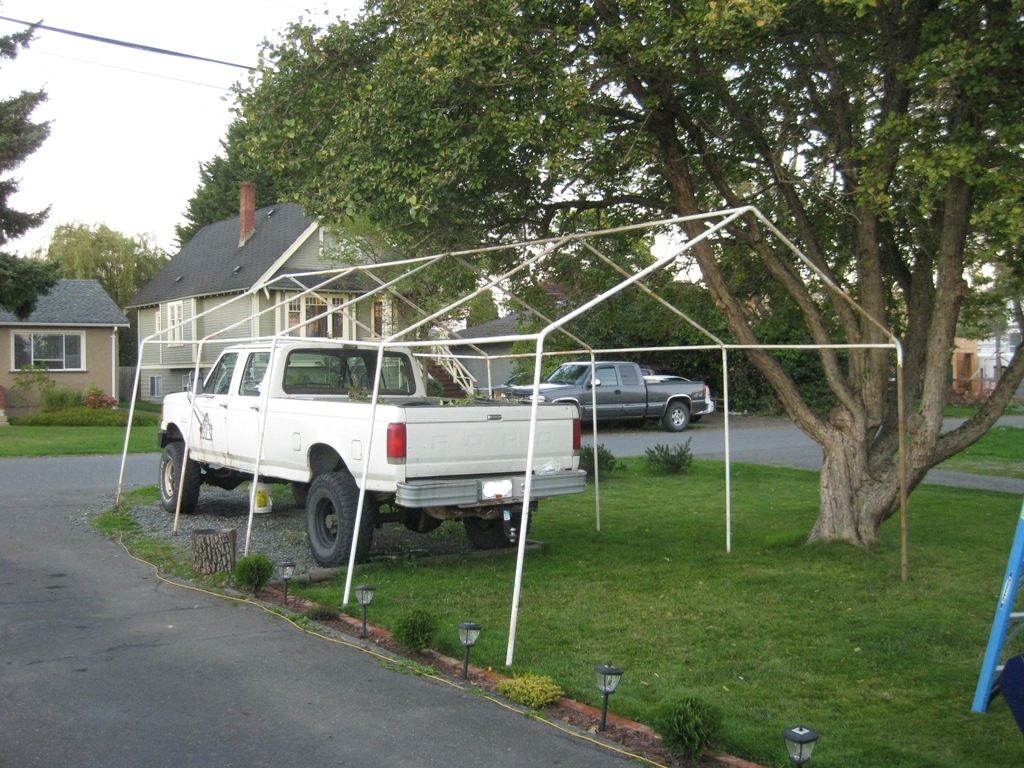
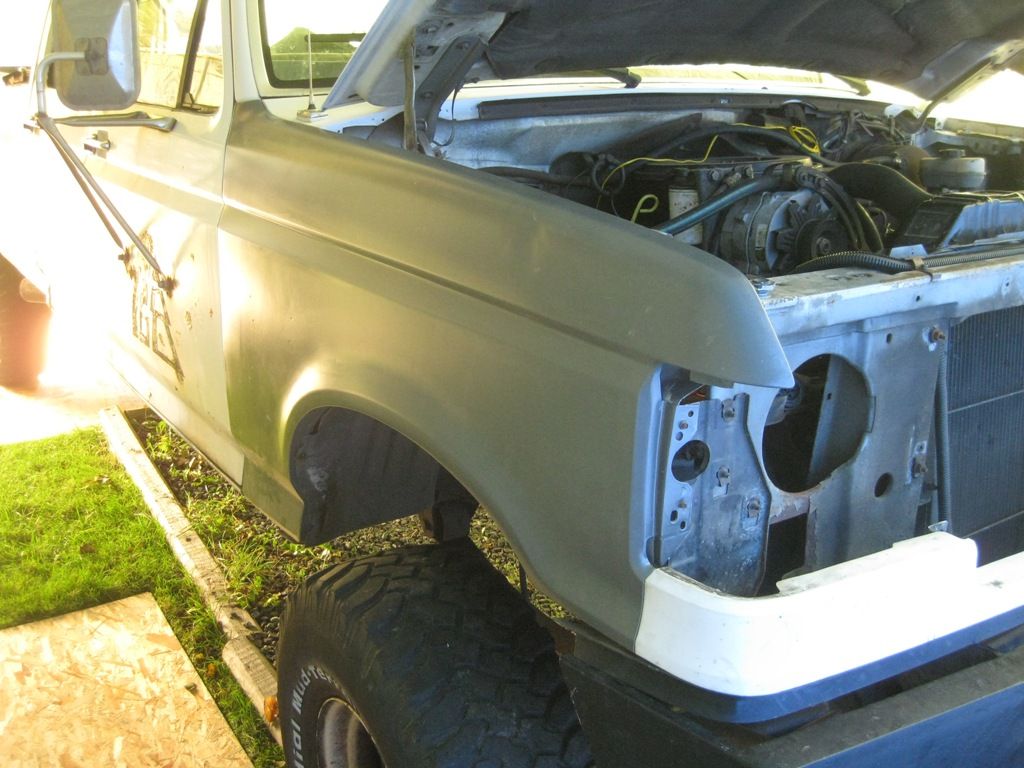
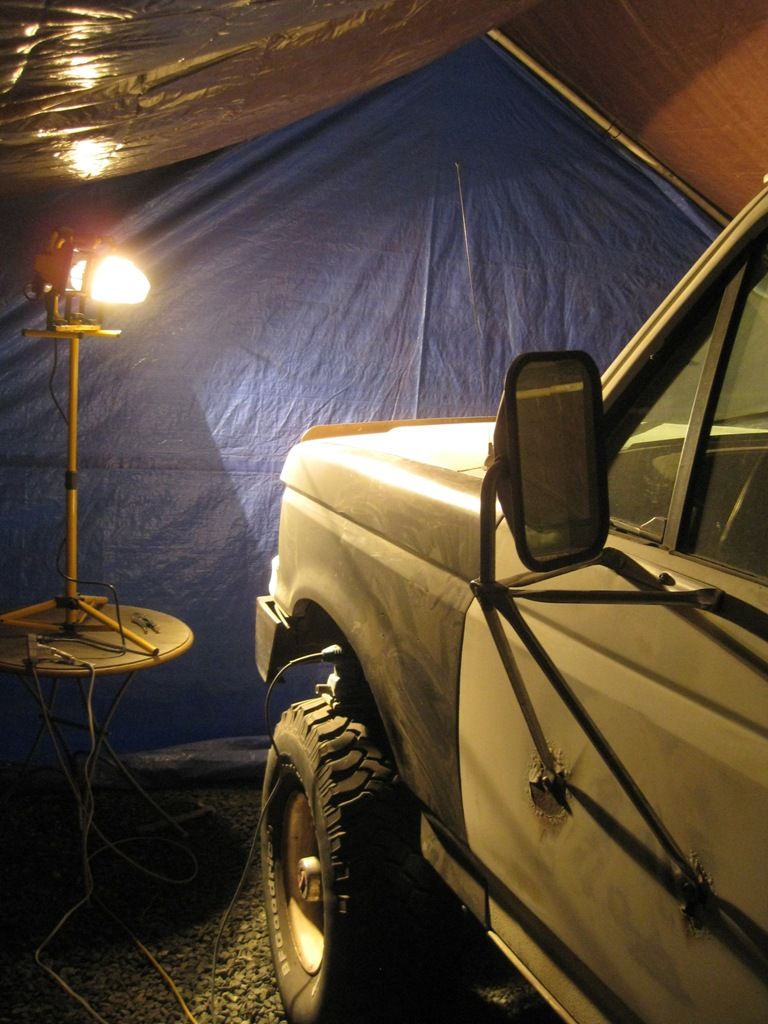
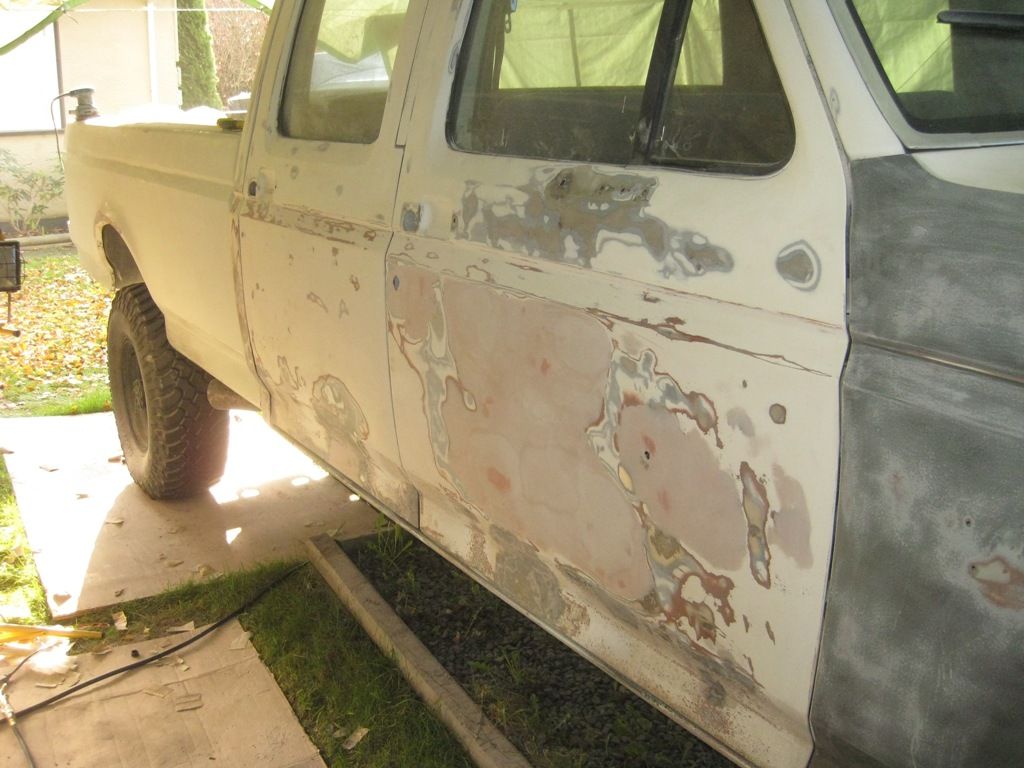
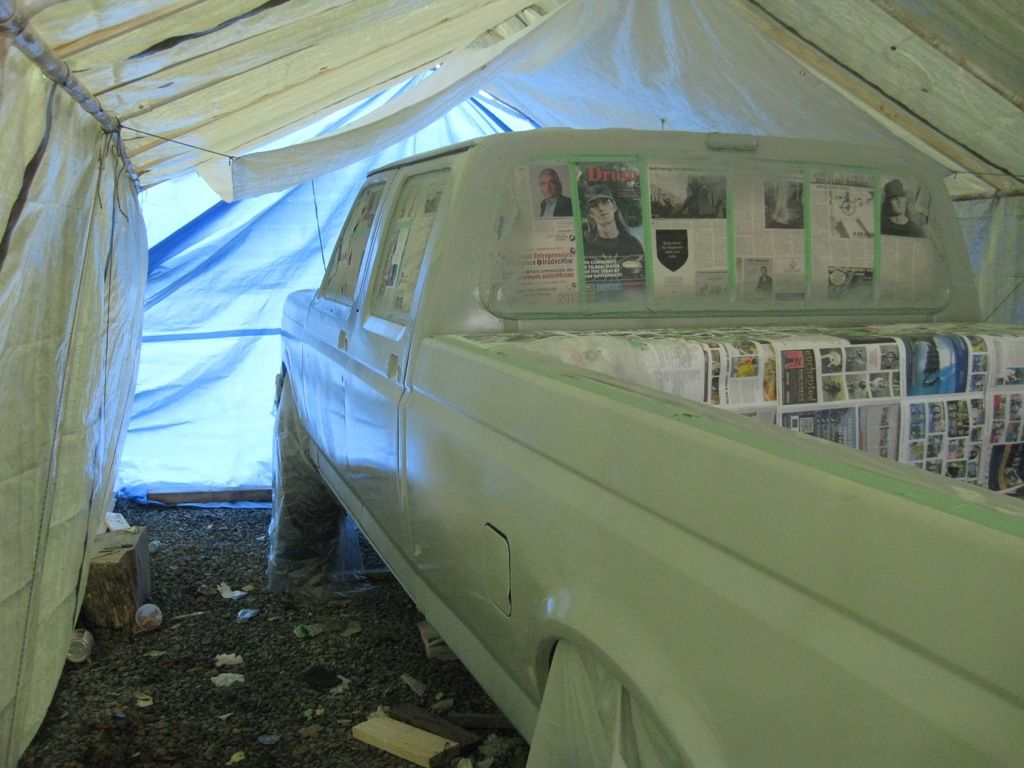
Alright so I finally have had the chance to setup and get into the badly needed paint job on my truck. I snagged a 28' x 12' tent frame from work and put a massive tarp over to make my shelter/paint booth. There was a fair amount of body work needed on the cab but I am almost done and will soon be ready for painting. I am doing a spray gun Rustoleum paint job in a custom dark grey that I am mixing (the smoke and charcoal greys aren't available in Canada). I put on new fenders that were test painted with a single coat in the new colour. The truck used to be a school board plow and salt truck. The box was replaced by the PO and is in good shape thankfully.
Here is the truck

The shelter frame
All tarped up!
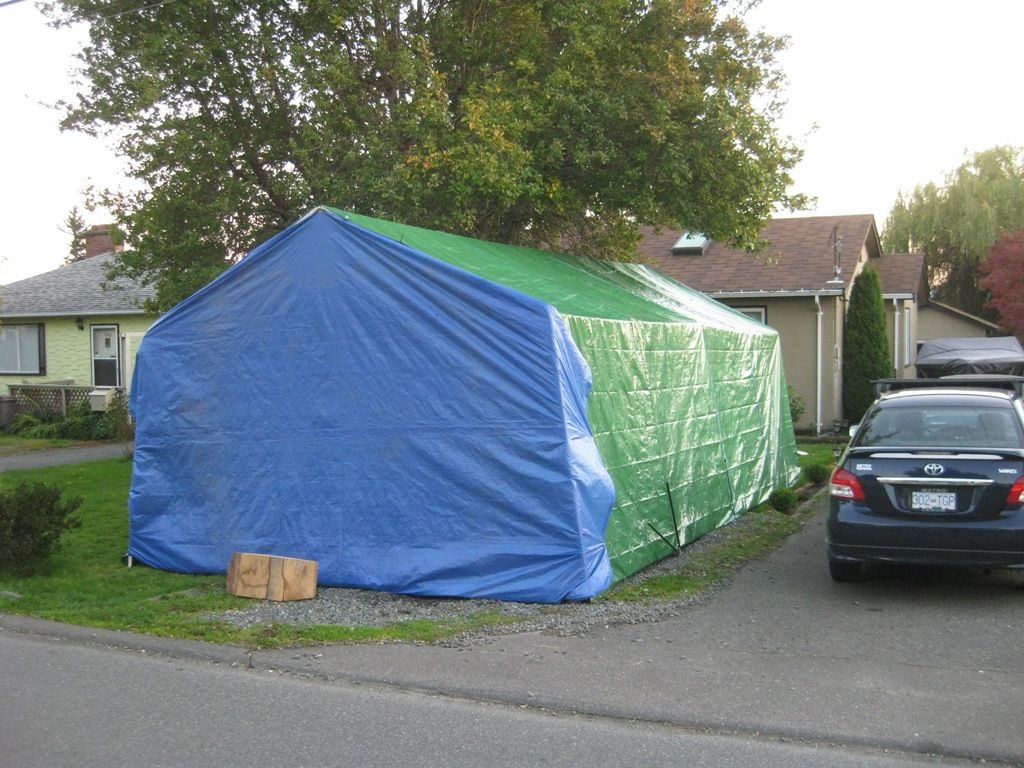
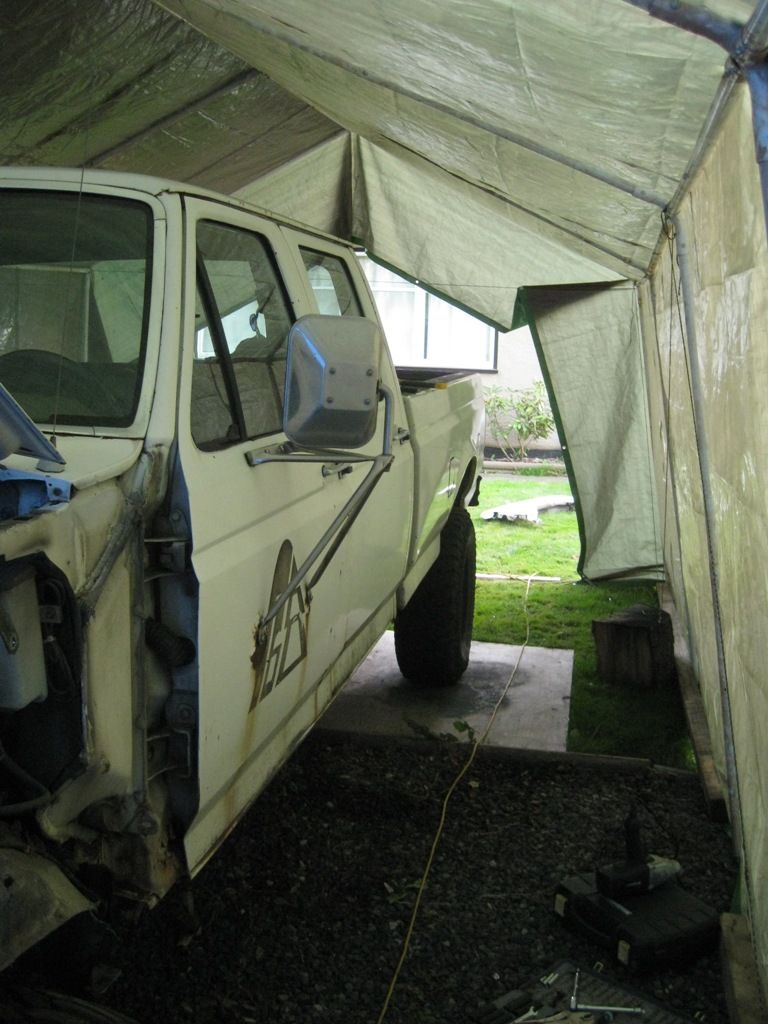
Step into my office. There is a good 3 feet all around the truck. More than enough space to work.

Driver's fender on
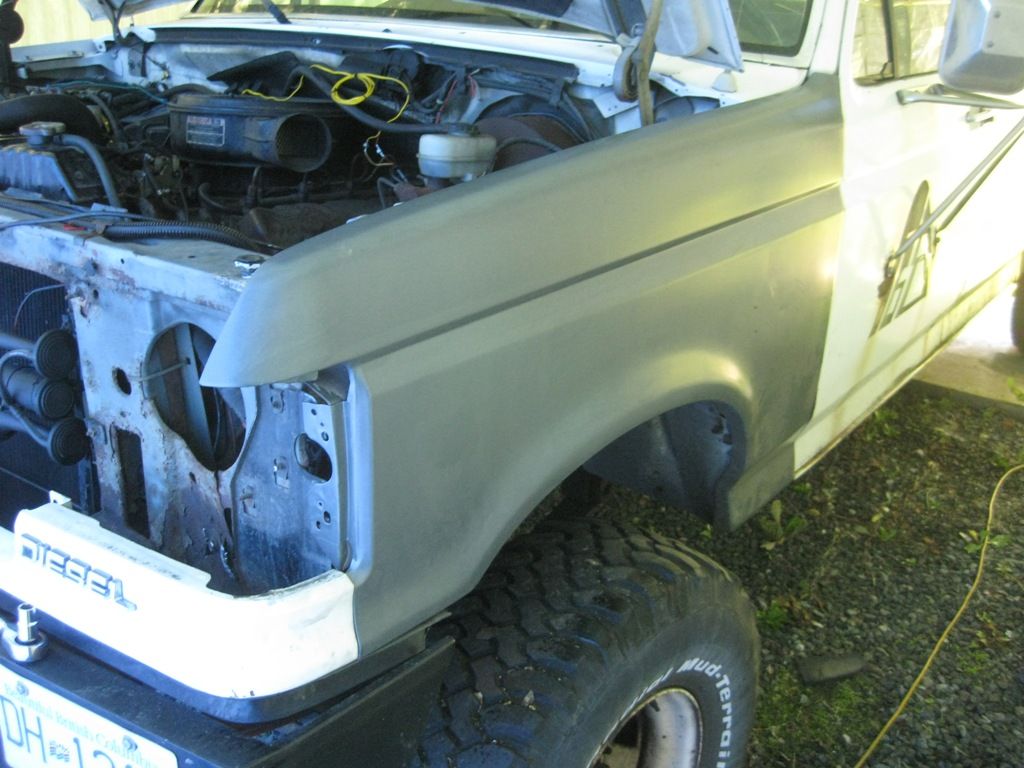
Passenger side fender
Here is the truck
The shelter frame
All tarped up!
Step into my office. There is a good 3 feet all around the truck. More than enough space to work.
Driver's fender on
Passenger side fender
#2
10-28-2013, 02:11 PM


#3
10-28-2013, 02:18 PM

#5
10-28-2013, 02:46 PM
#6
10-28-2013, 02:57 PM
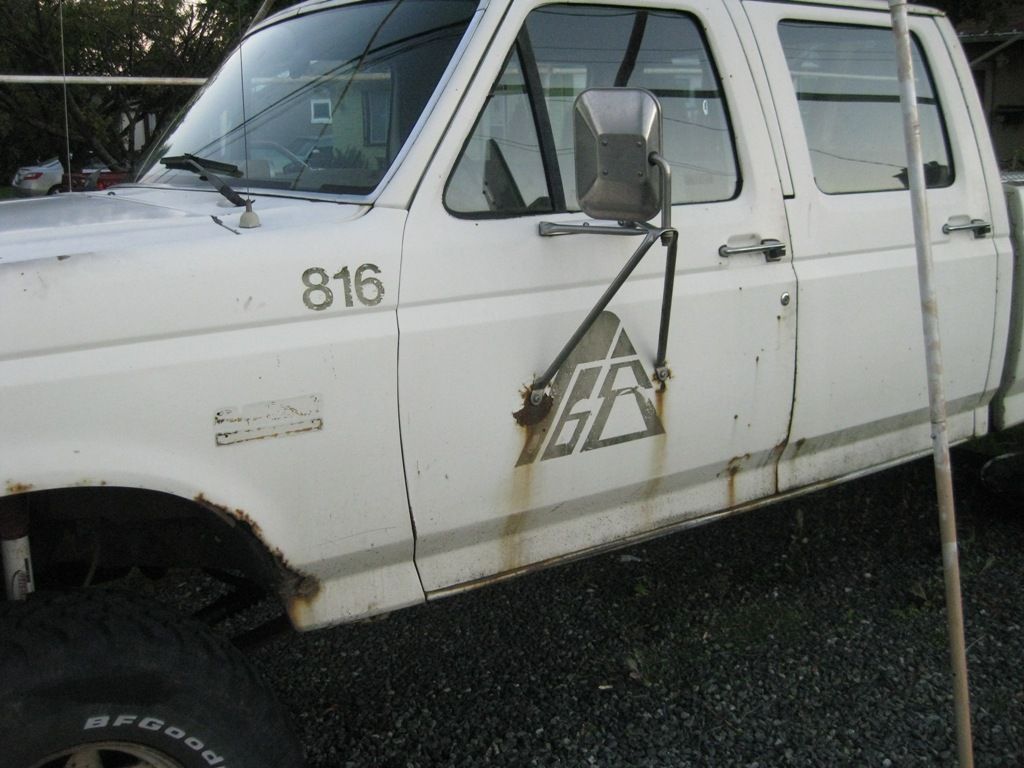
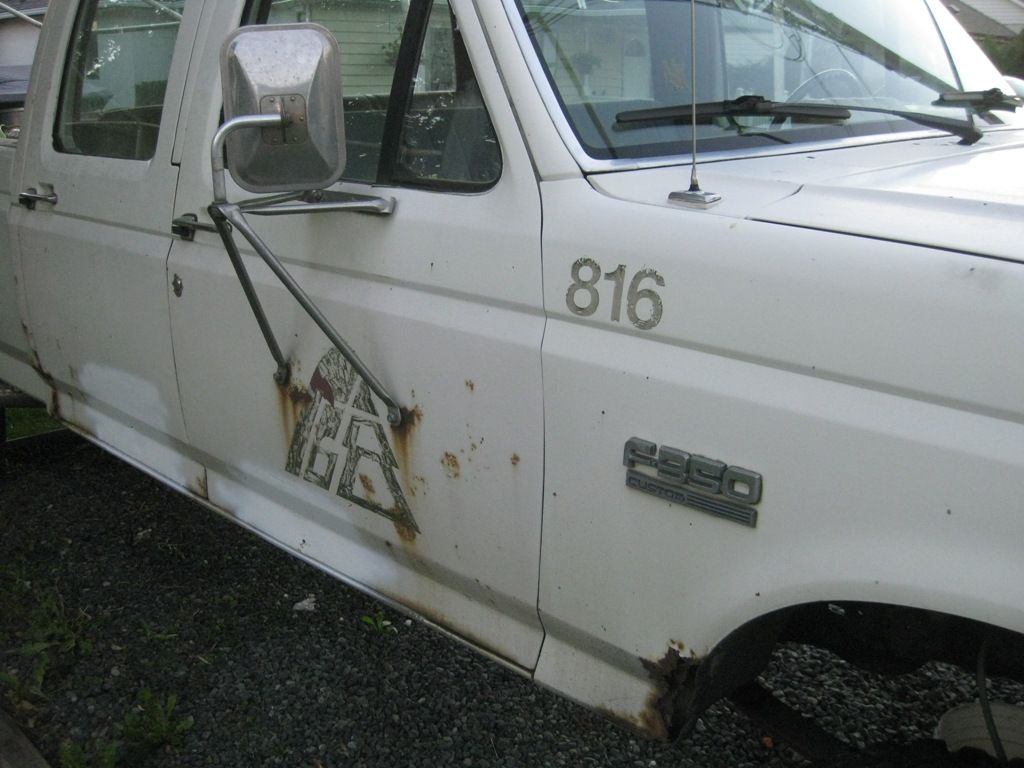
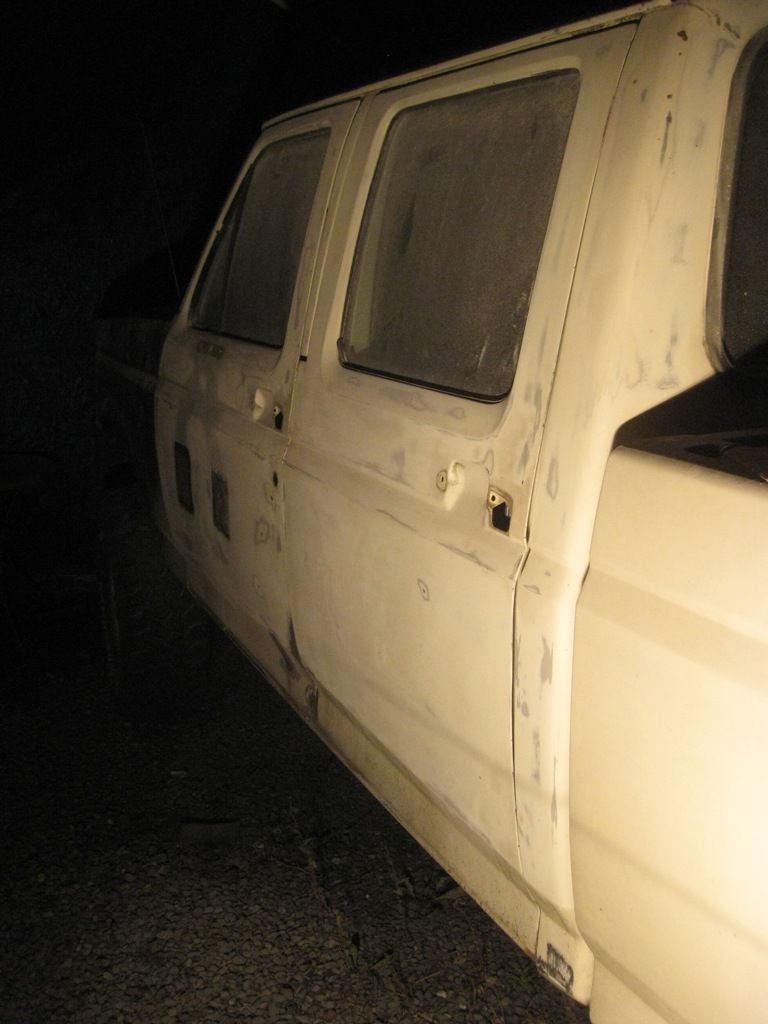
Hah, yeah they are the best. Sorry not for sale. In fact the only good reason I didn't just get new doors is because I wanted to keep the mirrors. I will let you know if I see some.
#7
10-29-2013, 11:14 AM
Trending Topics
#8
10-29-2013, 11:26 AM
#9
10-29-2013, 12:16 PM
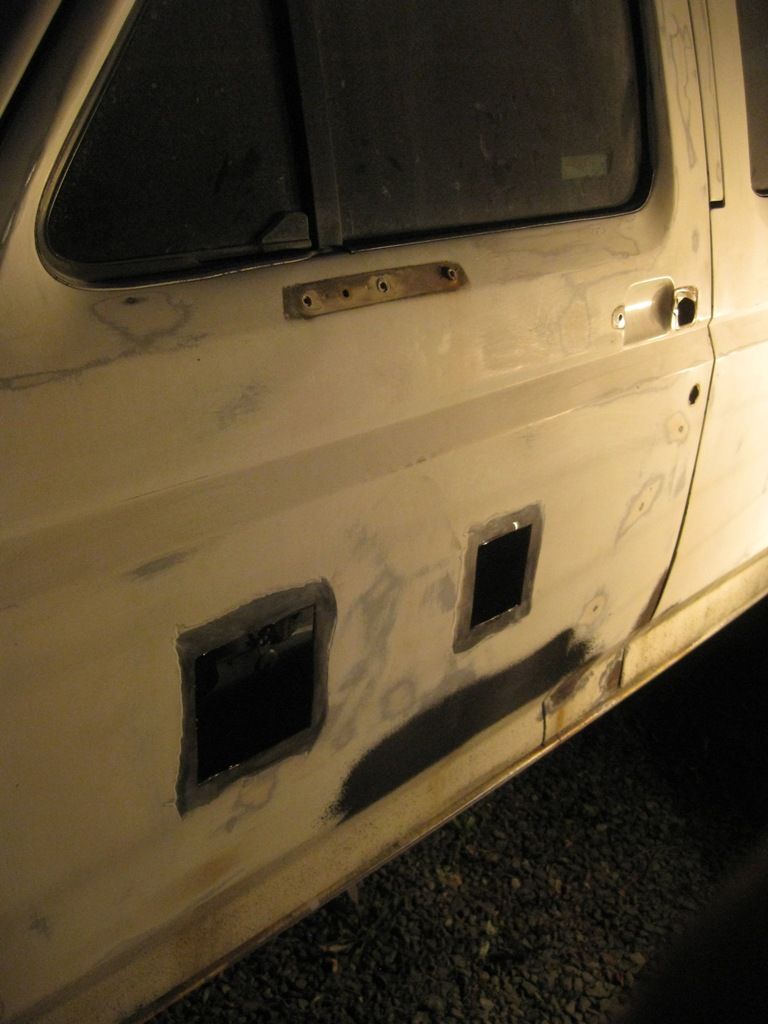
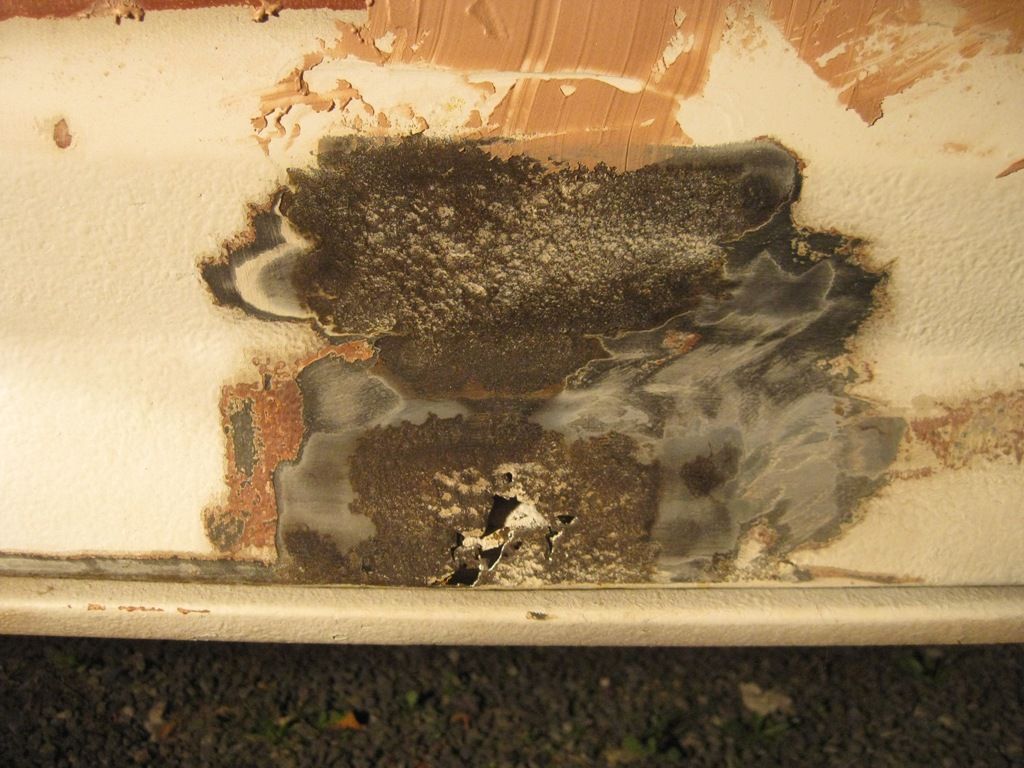
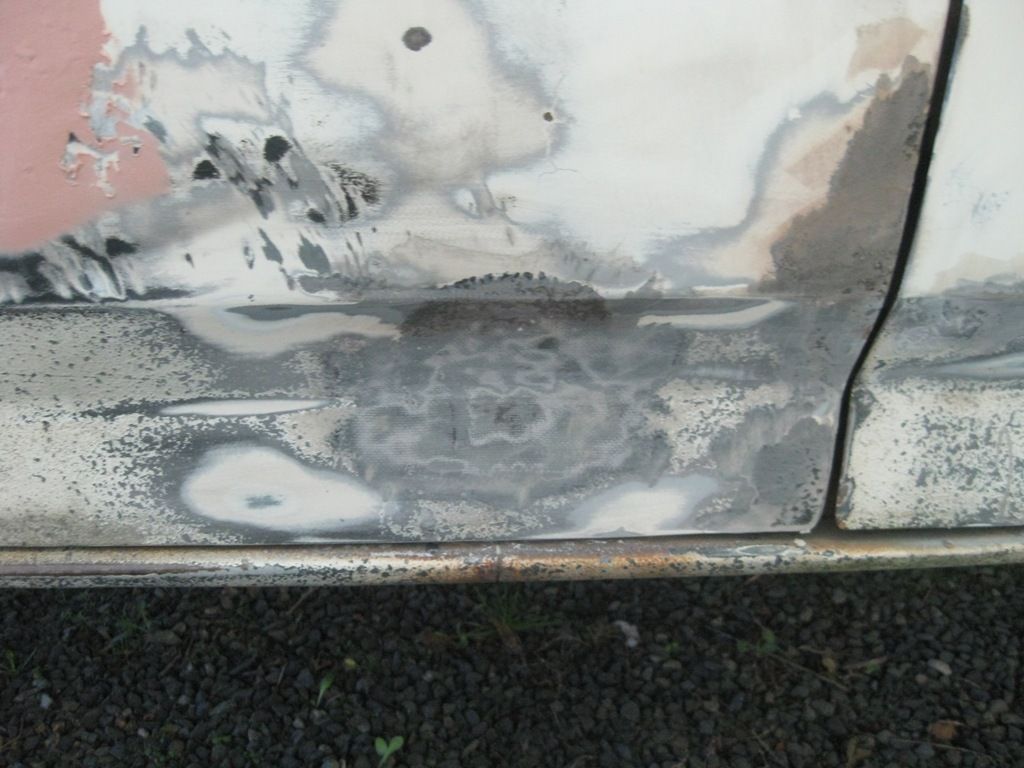
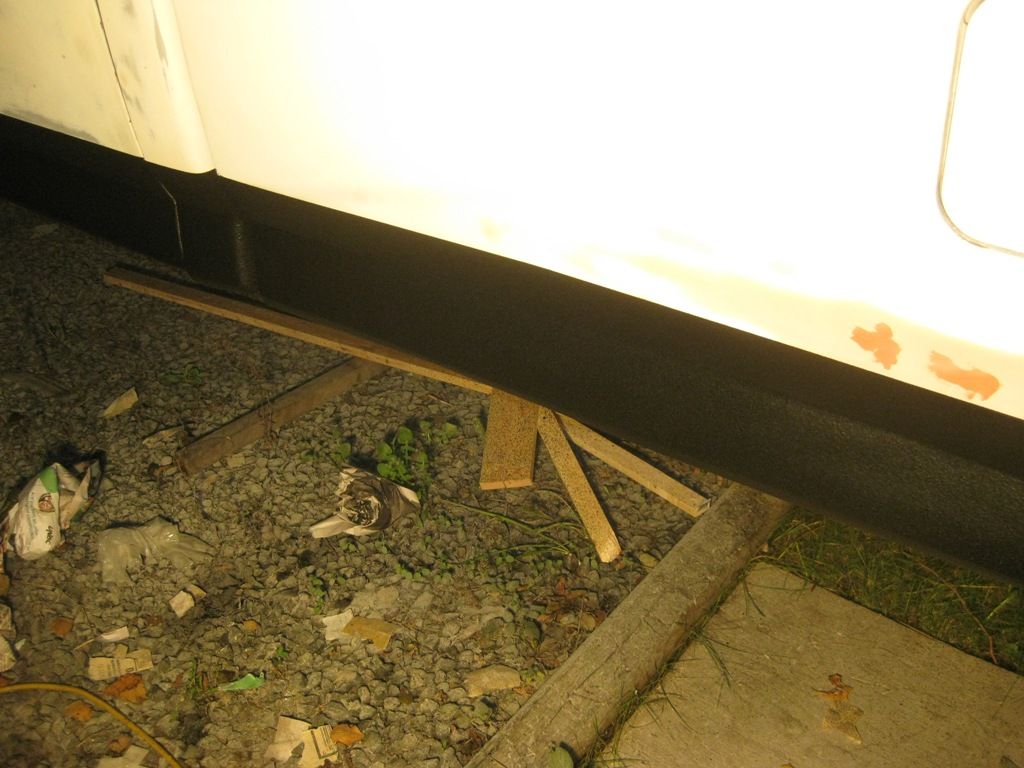
No I didn't. It probably would have been best. I just hit it pretty good with a wire wheel. All the glassed parts are on the bottom where it will be covered with rockerguard though.
#10
12-02-2013, 04:00 PM
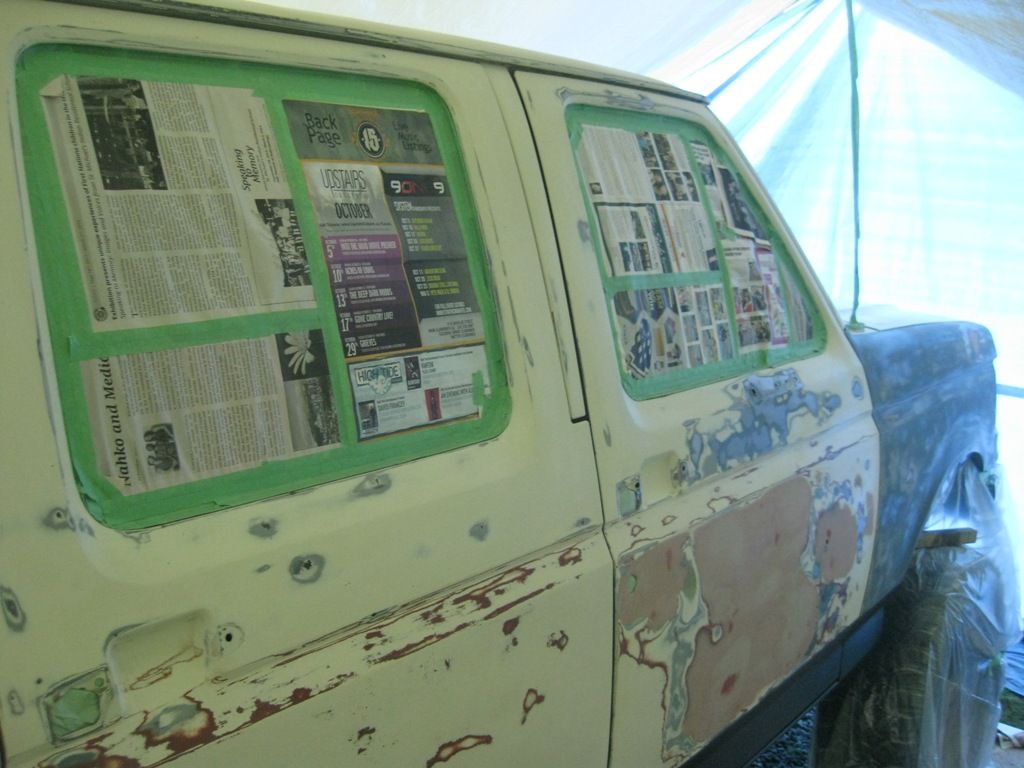
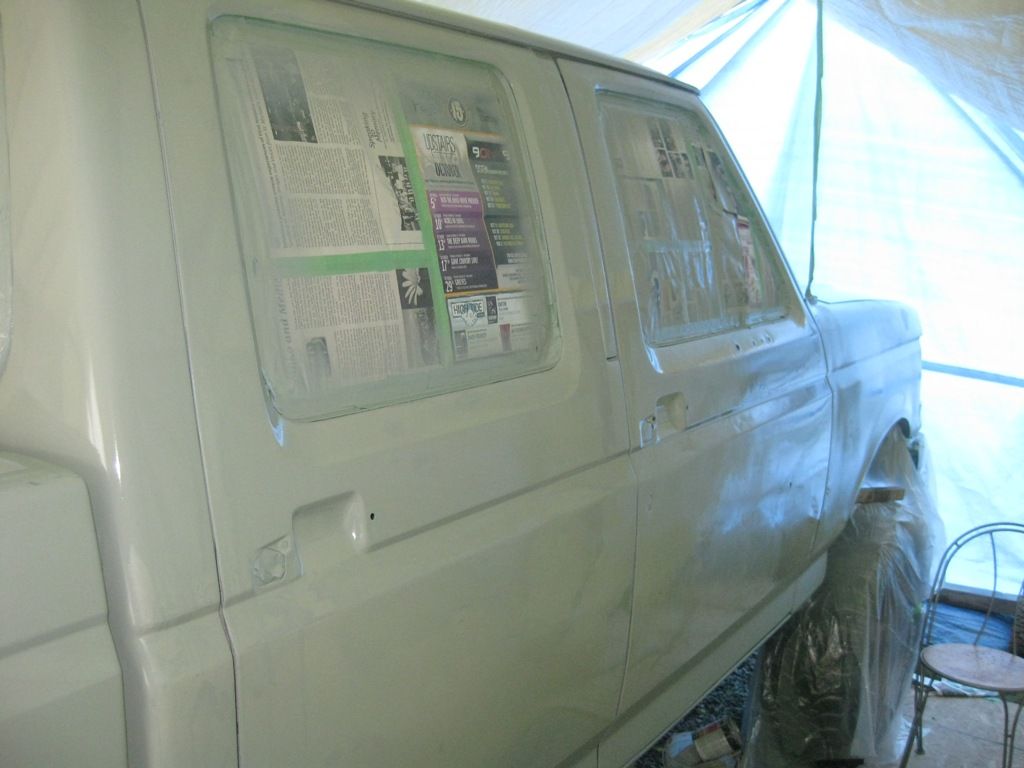
Alright, so it's taken forever to actually get the painting part of this project.  They don't lie when they say prep takes a long time!
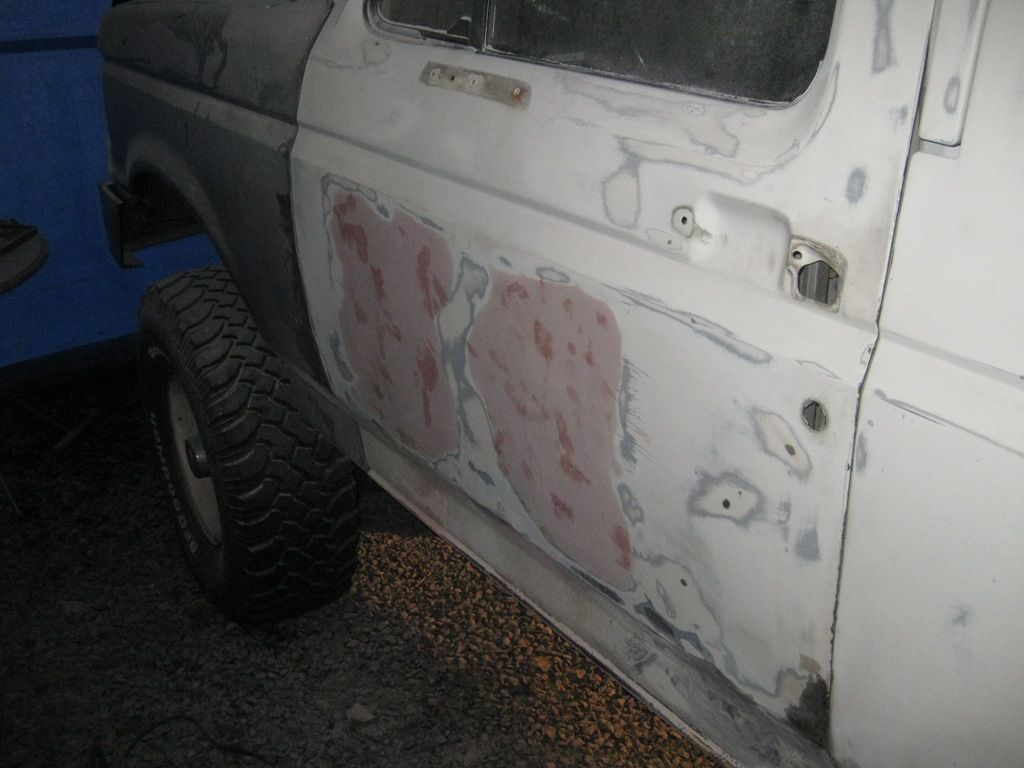
Bodywork is all done, finally ready for some painting.
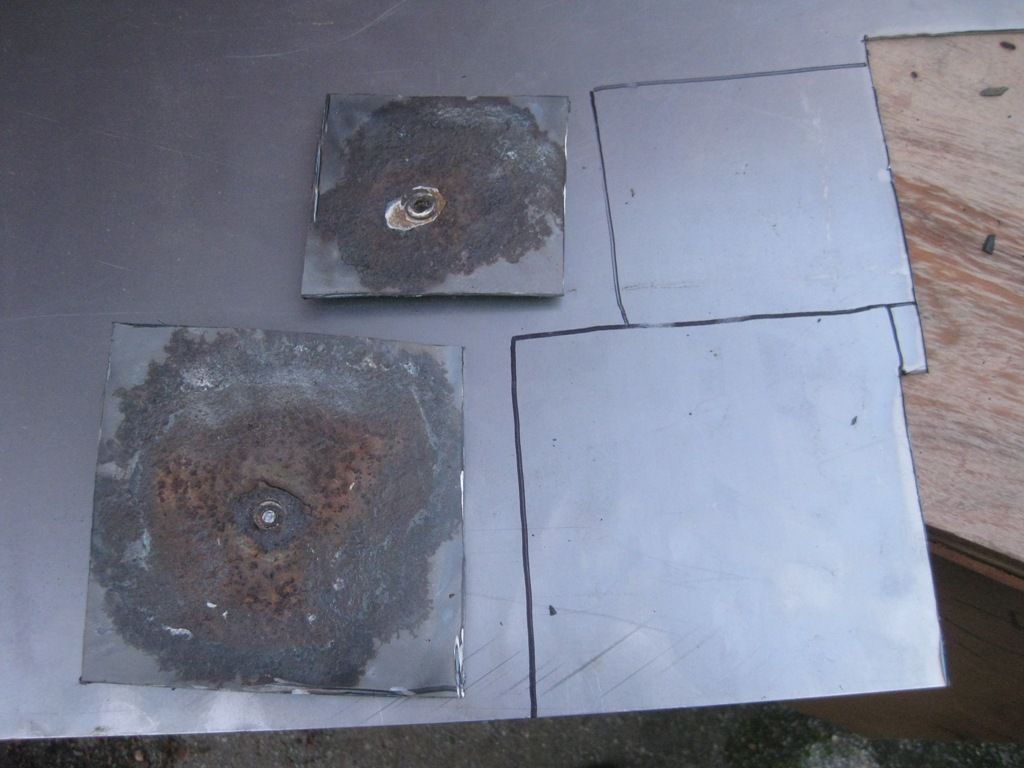
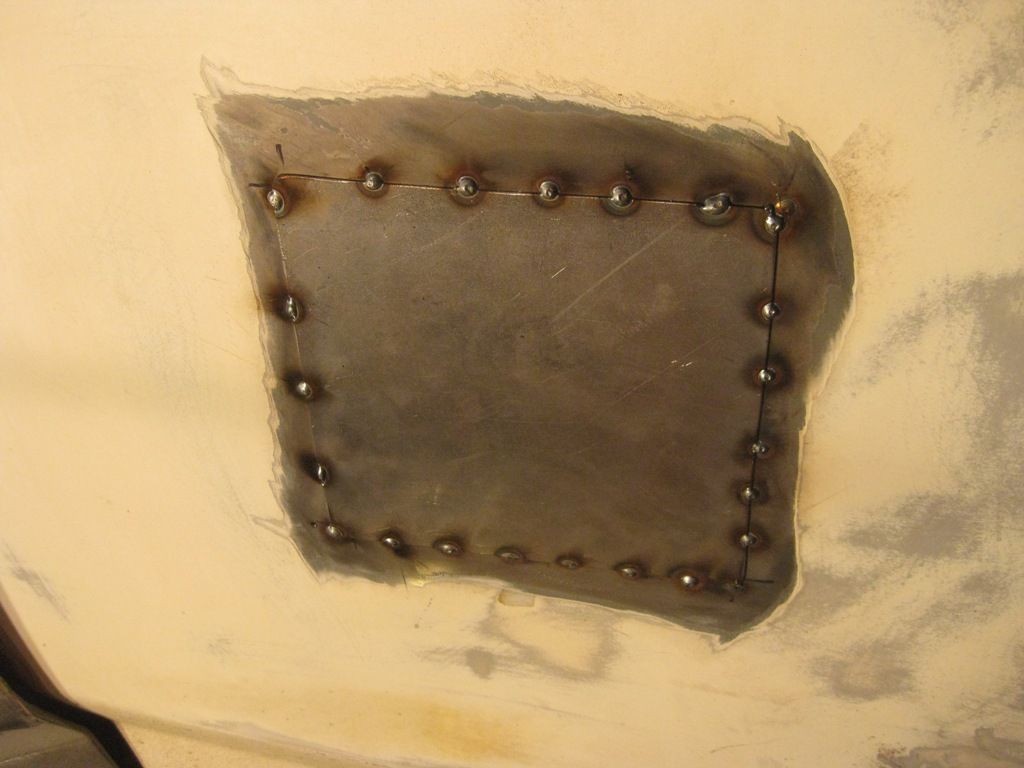
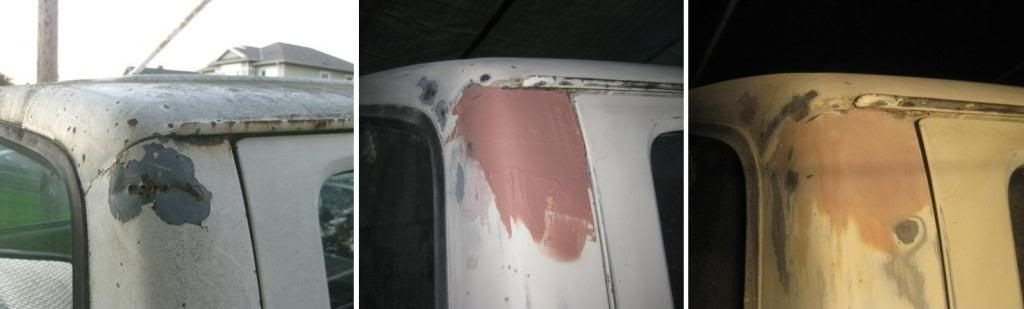
Here is a repair from where I hit the cab on a parking garage. It was dented in pretty badly before I pulled it out.
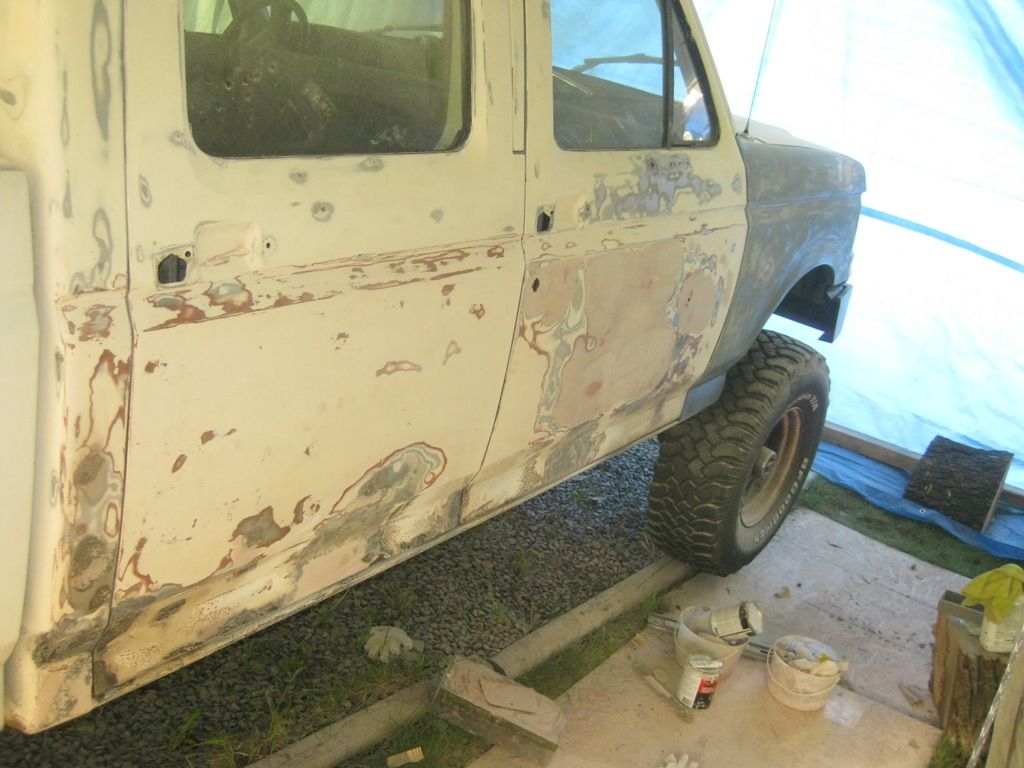
Final sanding done

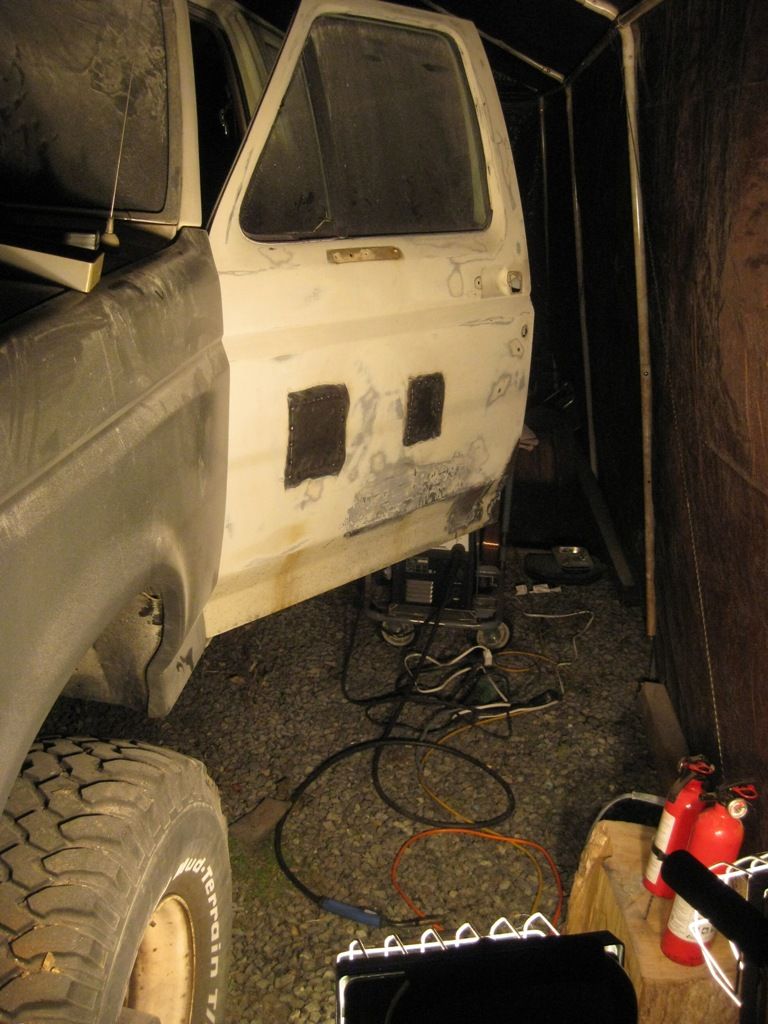
Here is the texturized rocker guard painted on. I will cover it with the grey paint later. I don't want 2-tone paint in the end.
They don't lie when they say prep takes a long time!Bodywork is all done, finally ready for some painting.
Here is a repair from where I hit the cab on a parking garage. It was dented in pretty badly before I pulled it out.
Final sanding done
Here is the texturized rocker guard painted on. I will cover it with the grey paint later. I don't want 2-tone paint in the end.
#11
12-02-2013, 04:10 PM
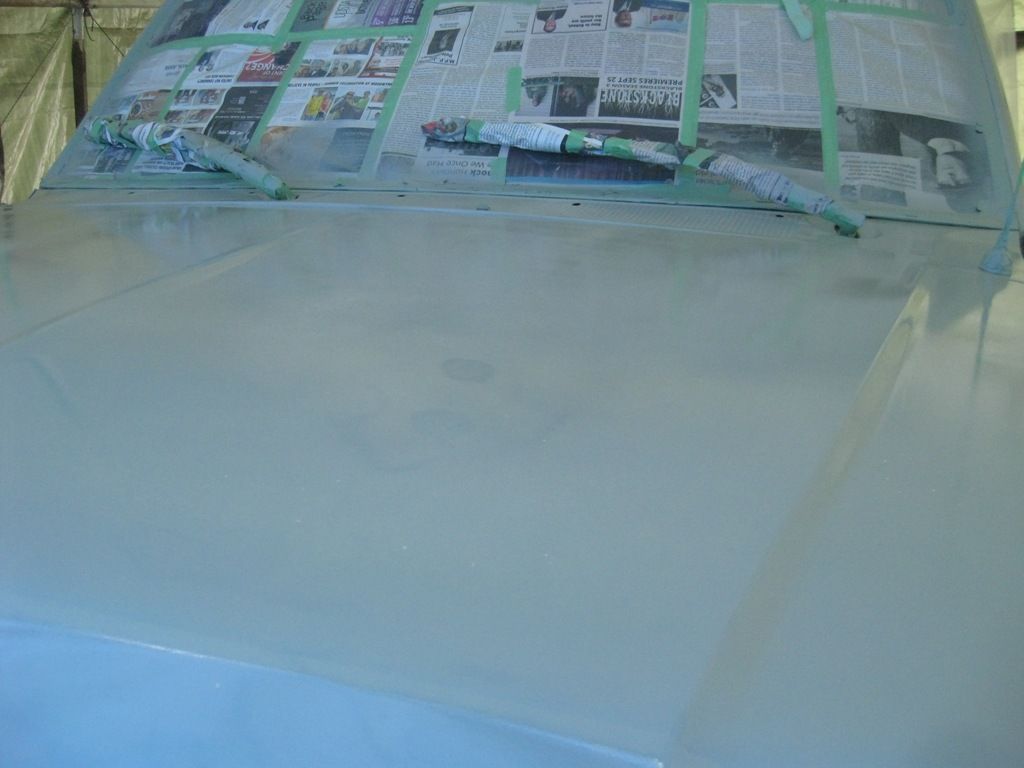
Finally got my first coast of primer on.  Paint went on pretty good. Only had drips at the very start where I was getting used to using the HVLP setup. I will have plenty of time to sand those out.
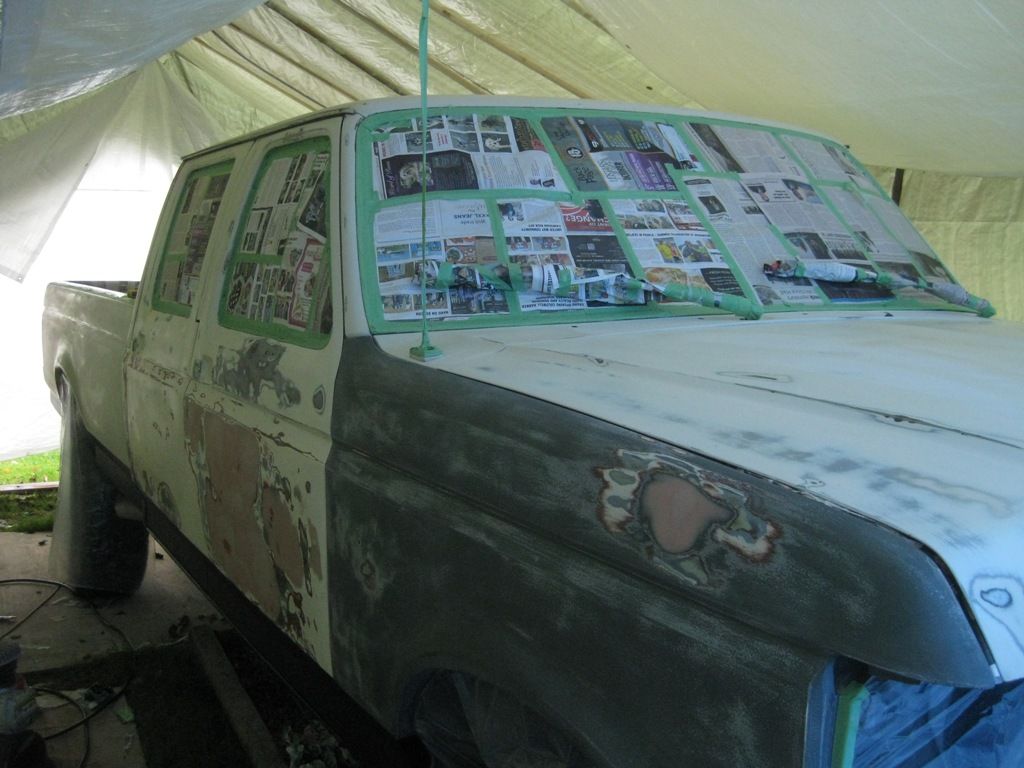

It's gonna take me several weeks to get the next coat of primer and probably 3-5 topcoats of colour on there. I can only paint on the weekends since it's dark before and after work at this time of year.
Paint went on pretty good. Only had drips at the very start where I was getting used to using the HVLP setup. I will have plenty of time to sand those out.It's gonna take me several weeks to get the next coat of primer and probably 3-5 topcoats of colour on there. I can only paint on the weekends since it's dark before and after work at this time of year.


#14
12-04-2013, 09:07 AM
New User
Join Date: Oct 2013
Location: Aumsville, OR
Posts: 3
Likes: 0
Received 0 Likes
on
0 Posts

#15
12-04-2013, 12:40 PM

Senior User
Join Date: Jun 2010
Location: Balt. Co, MD
Posts: 235
Likes: 0
Received 0 Likes
on
0 Posts
Looks great. Did you use an palm sander on the whole body? I'll have to get into a paint project like this on my truck, and I don't have a sander yet. Keep up the good work.