
2002 F250 CCLB Build
#751
 03-07-2016, 10:58 AM

#752
03-14-2016, 08:51 AM
I had the chance to replace the brake pads and the outer front u-joints this weekend. My buddy's dad and brother were a HUGE help. I would've taken me twice as long with out them.
Keep in ind my truck failed inspection due to a brake pad falling apart.
So I started with the driver's side.

Everything looks good so far.

A little rust on the pad backplate, but that is it.
The unit bearing was not cooperating. I got 3 nuts and 1 stud out. The nut on the stud was rusted on there good.
Pulled my ABS sensor and stuck my RiffRaff grease fitting in there to keep unwanted dirt and rust out.

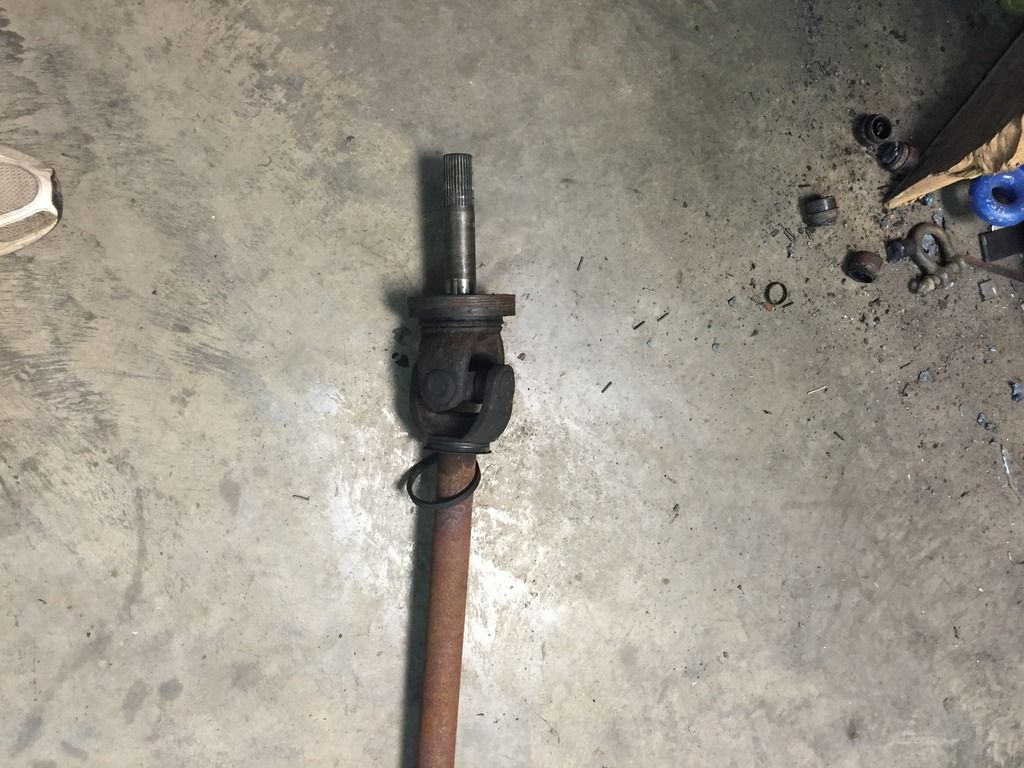
After that, a 3 jaw puller and a few taps from a brass hammer got the bearing out. Then a nice long pry bar (approx 4 ft) popped the axle seal out. Axle assembly slid out right behind it. This u-joint was seized on one axis as I suspected. Definitely time for a replacement. My axle seal and dustboot were in bad shape too. I guess 14 years is a long time for this stuff to go untouched
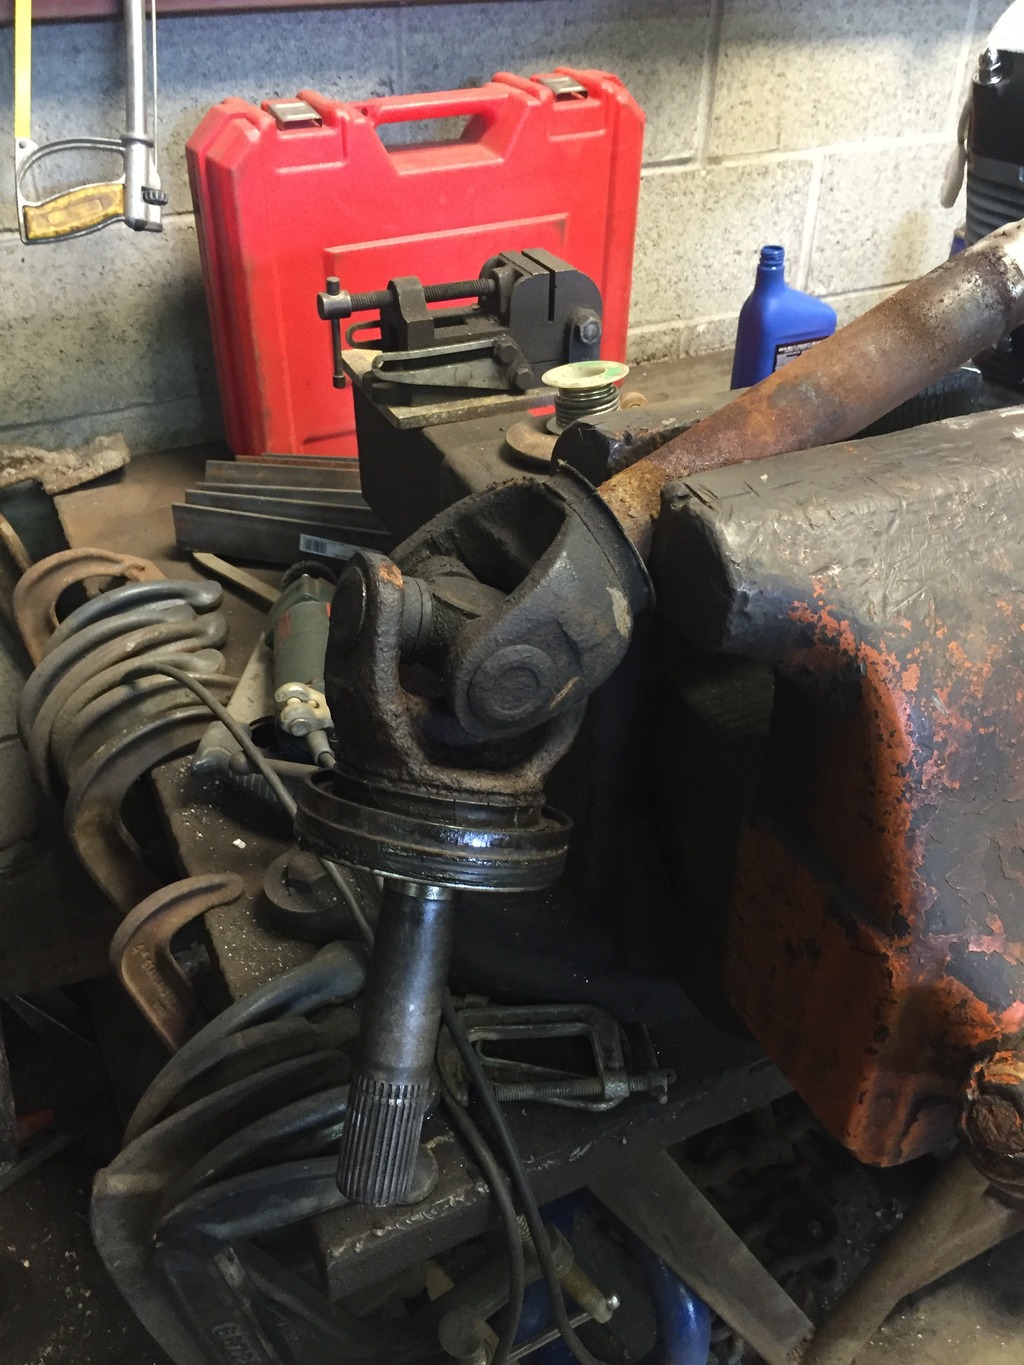
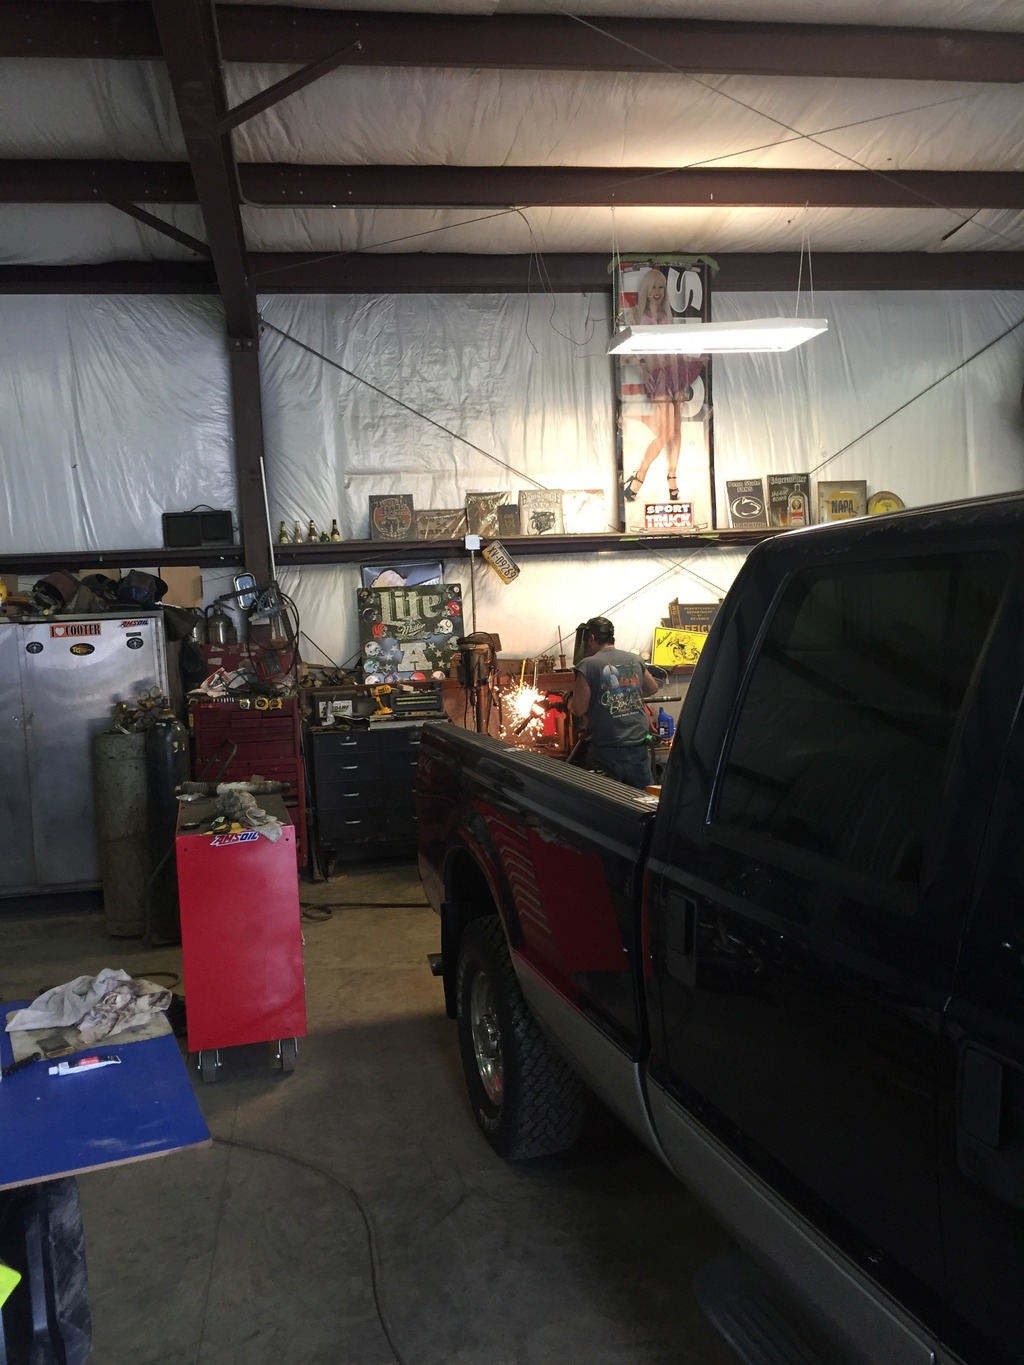
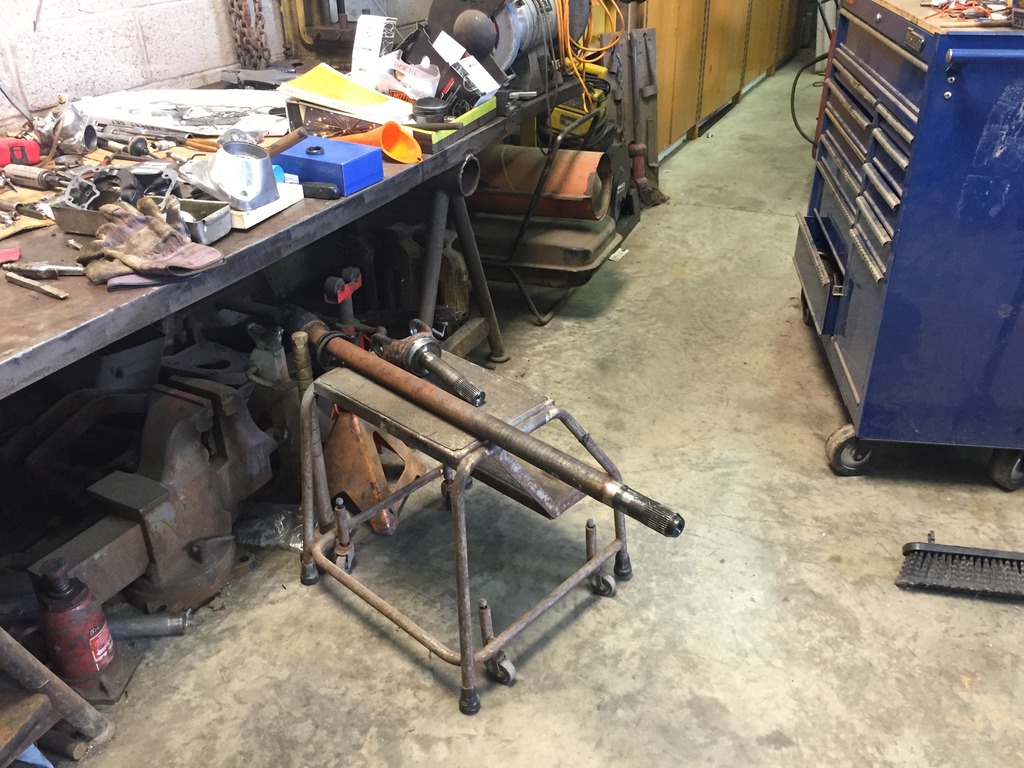
Here is the shaft in the vise. Joe recommended burning the joints out. He does not like to press old rusty joints because they can bend the ears on the yoke. So this was a job for oxyacetylene
So while Joe worked on burning the joint out, I disassembled the other side. It was just as easy as the driver's side except I got all 4 nuts off the bearing this time.
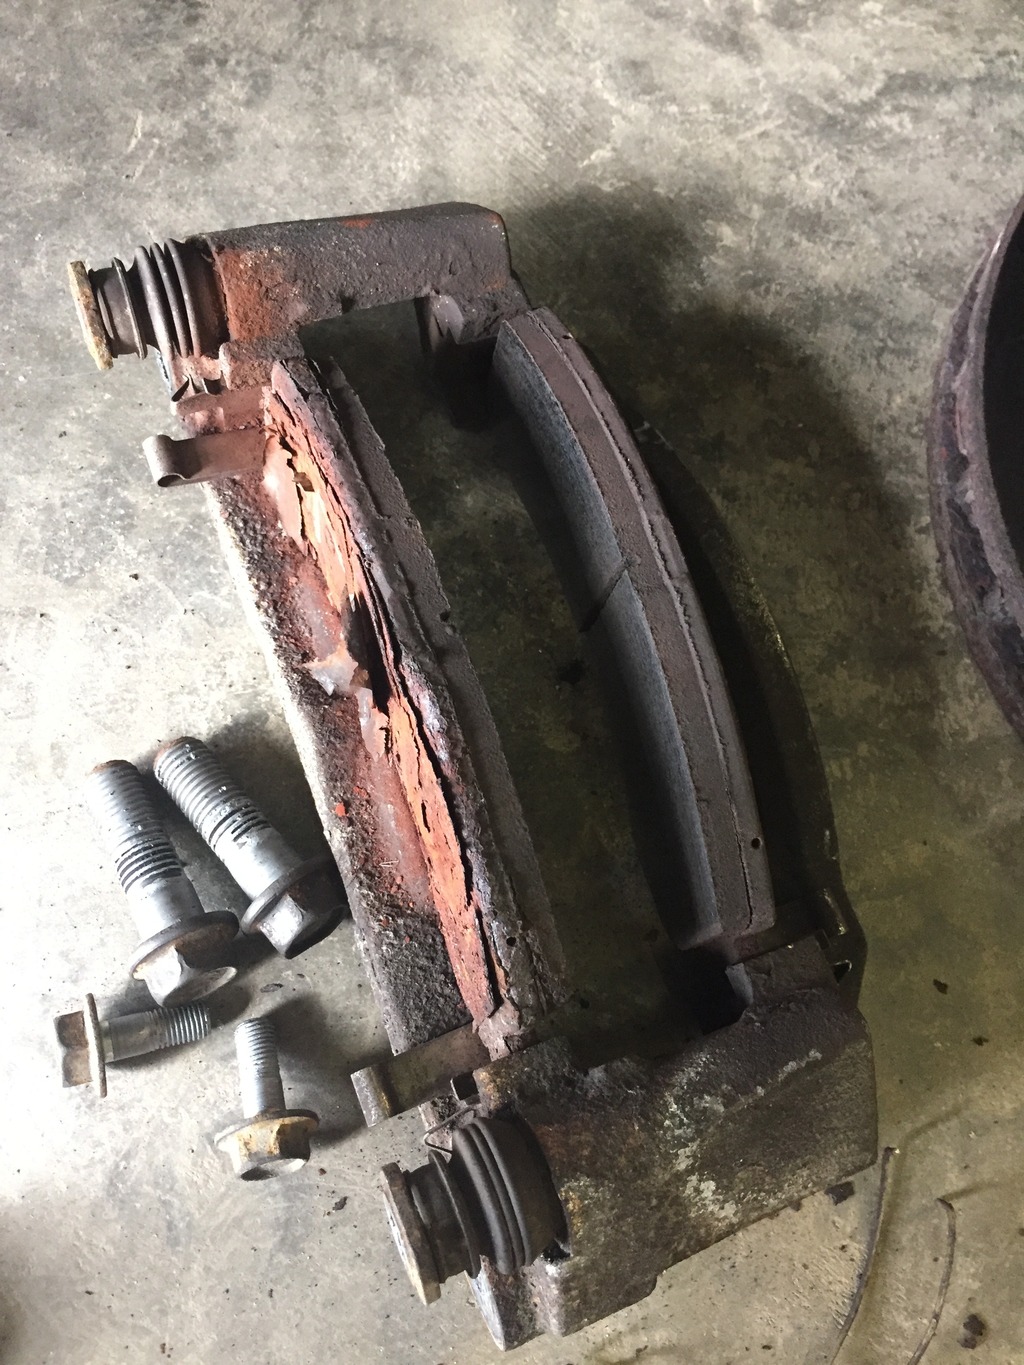
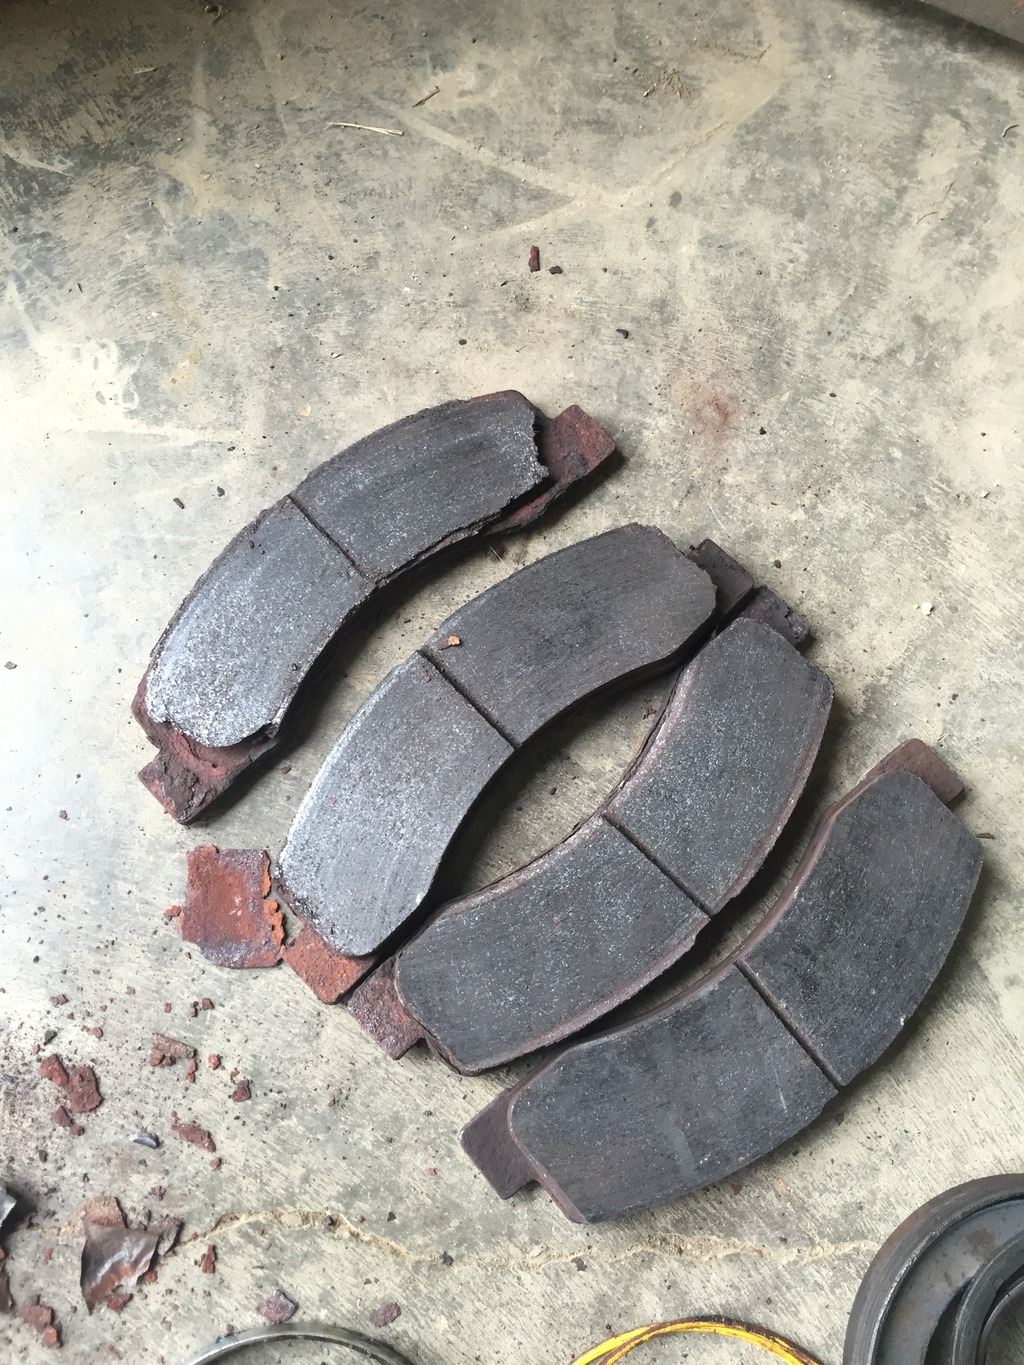
I also discovered why I failed inspection.
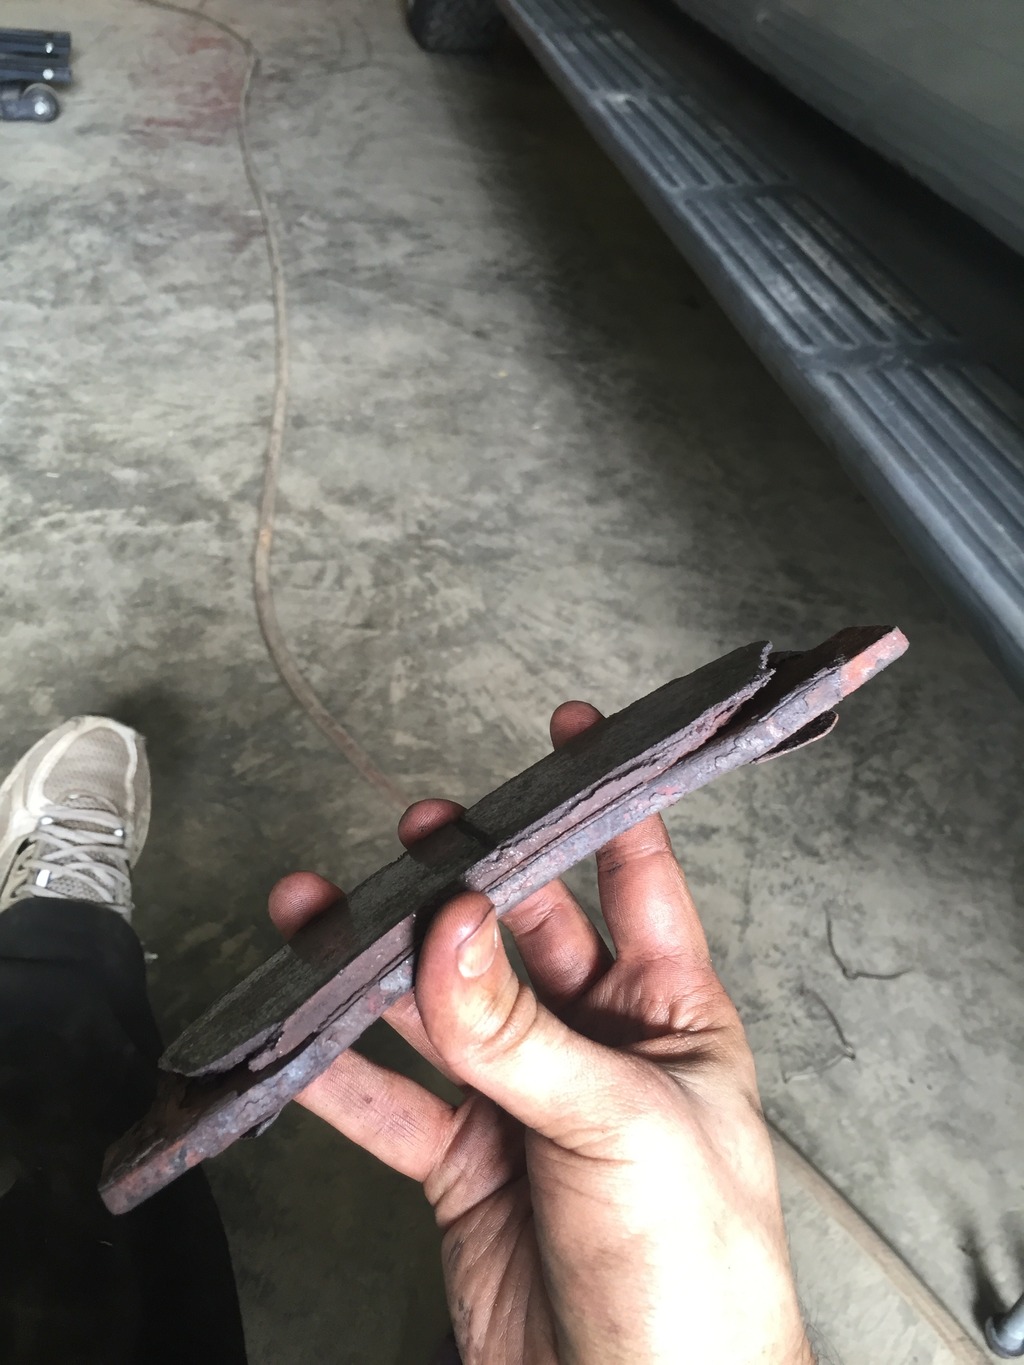
Last May I had a caliper hang up. The brakes got REALLY hot. Apparently, too hot for bonded pads because now they were just falling apart. Lesson learned.... if caliper goes bad.... replace pads at the same time.
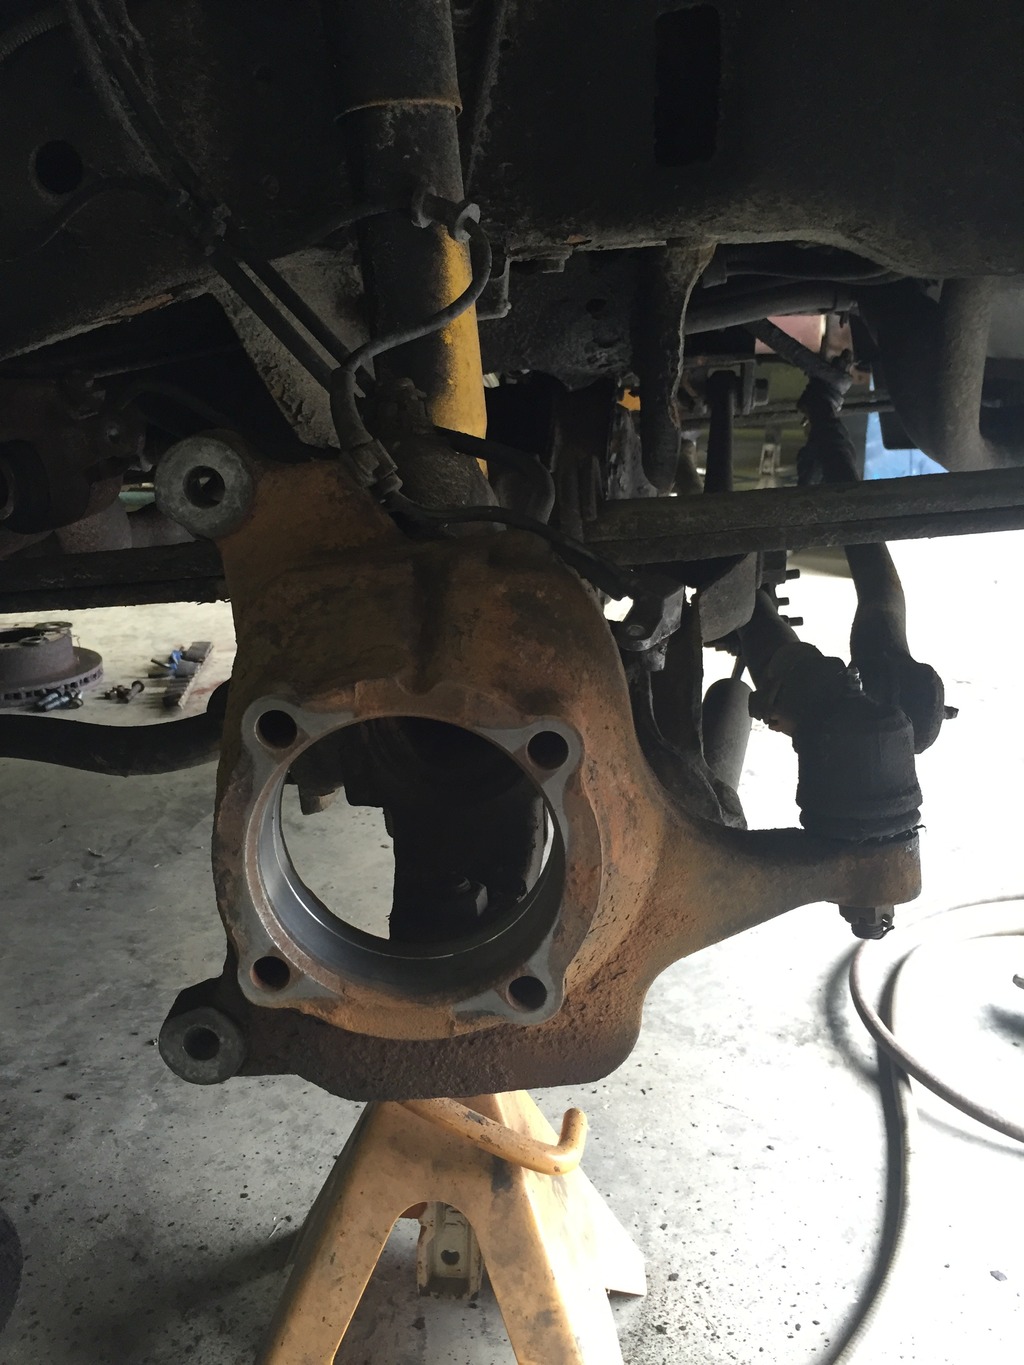
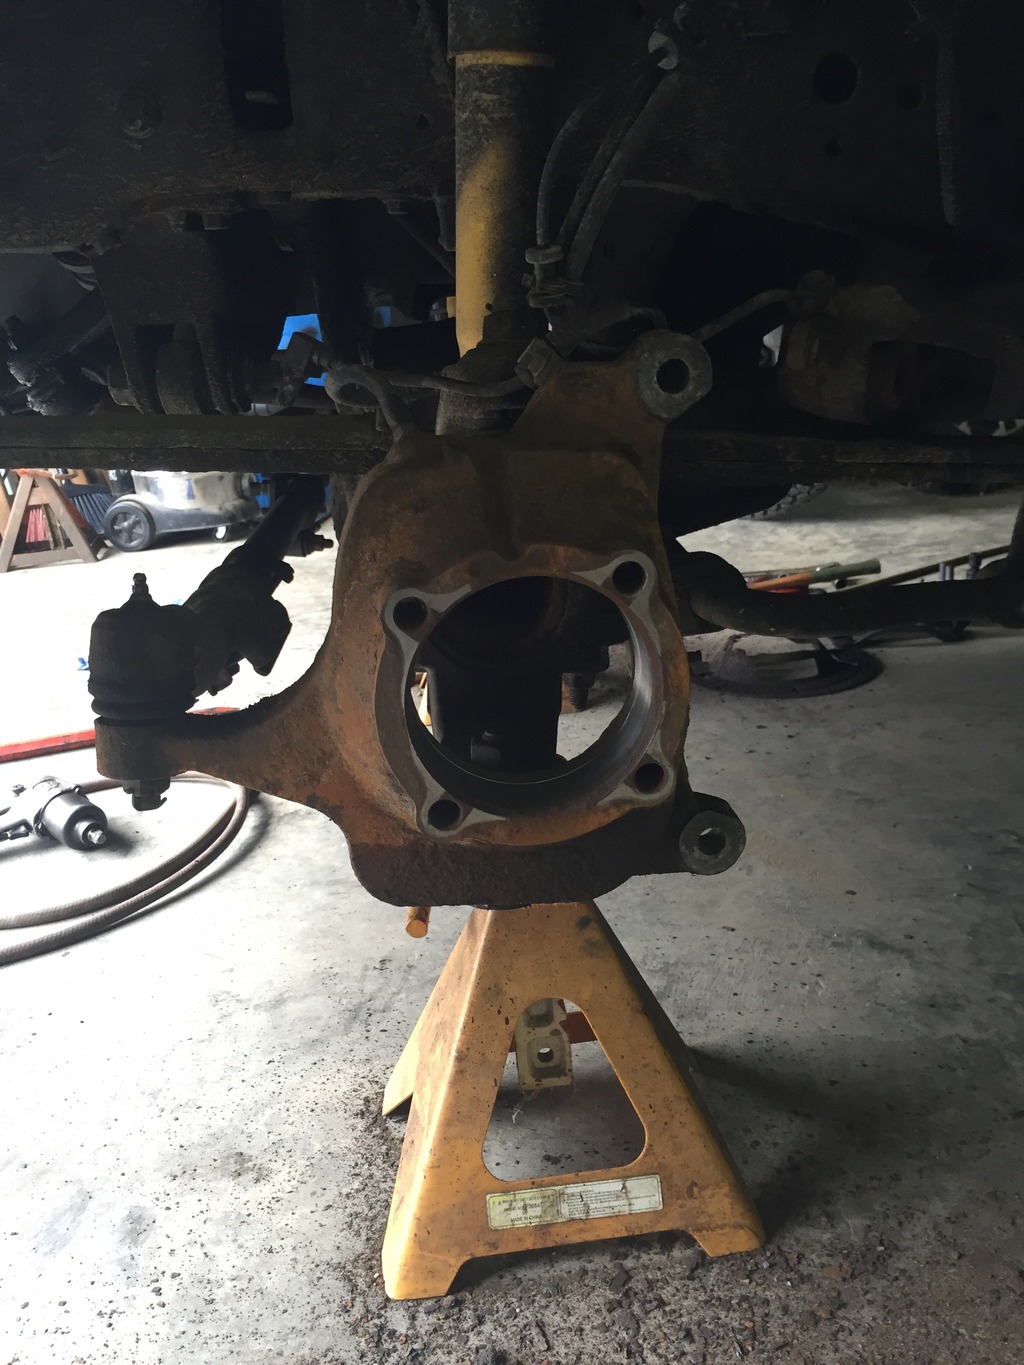
Axle shaft removed. The seal came out in 2 pieces instead of 1 and the axle dust boot was not in good shape.
Joint removal
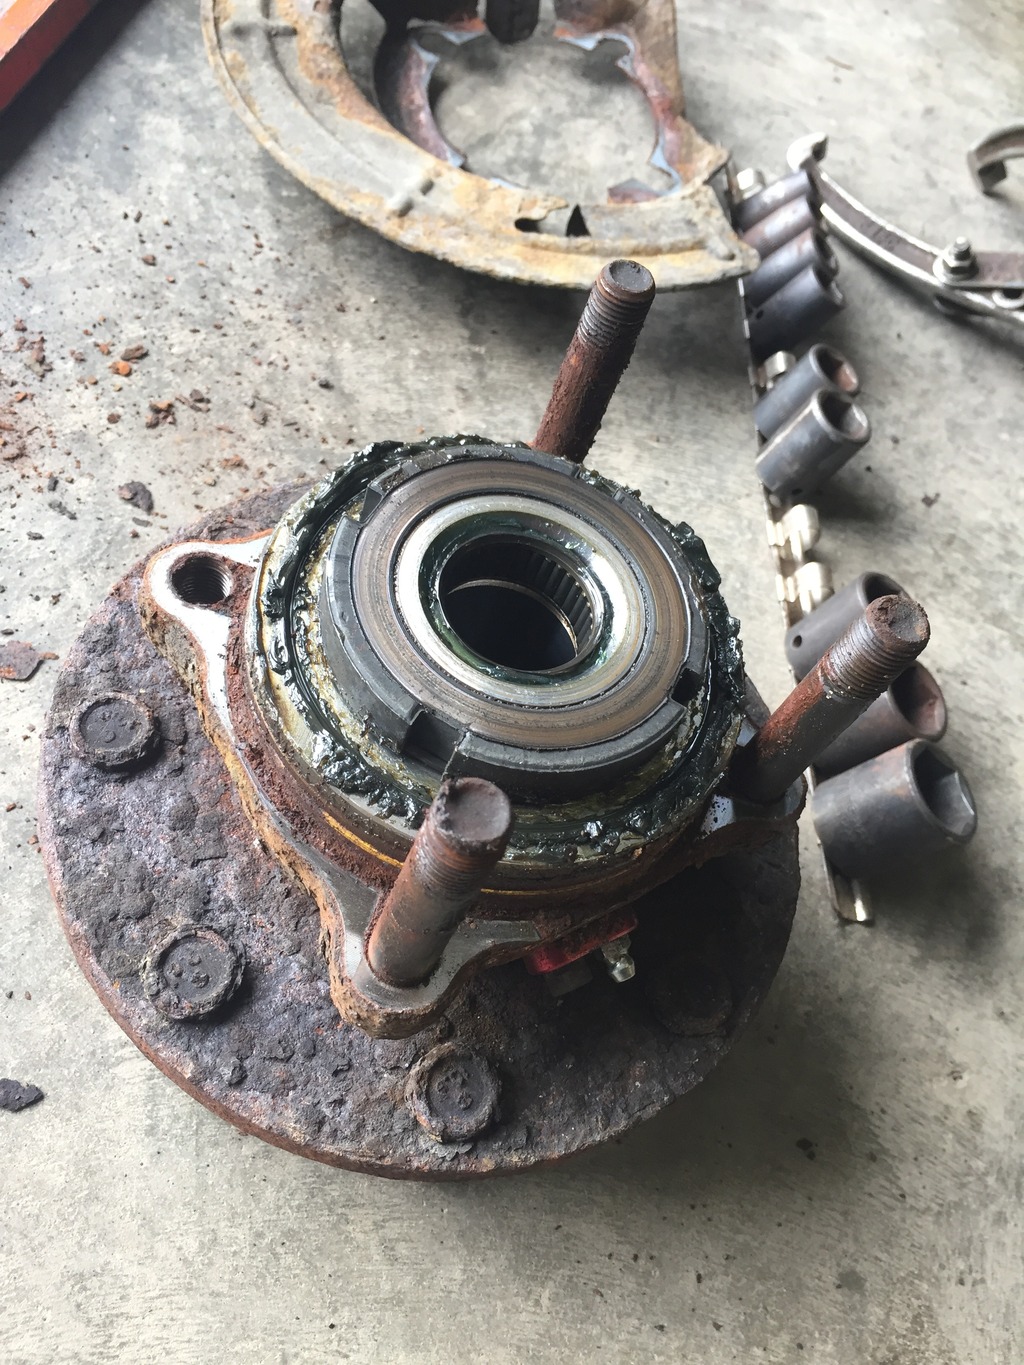
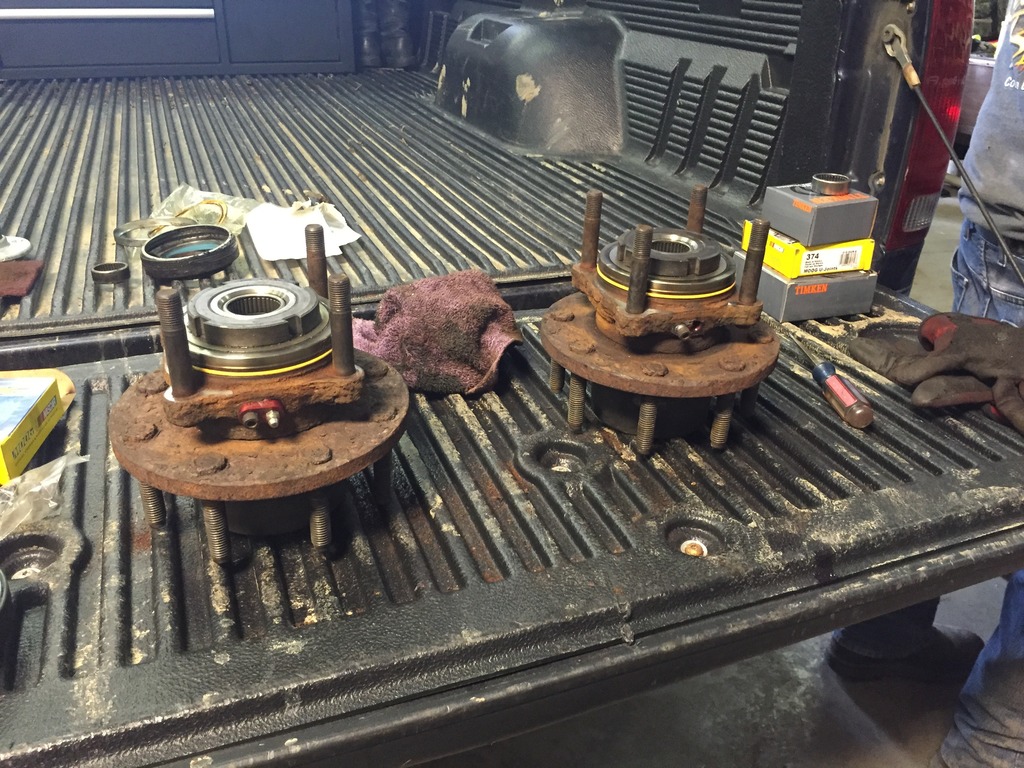
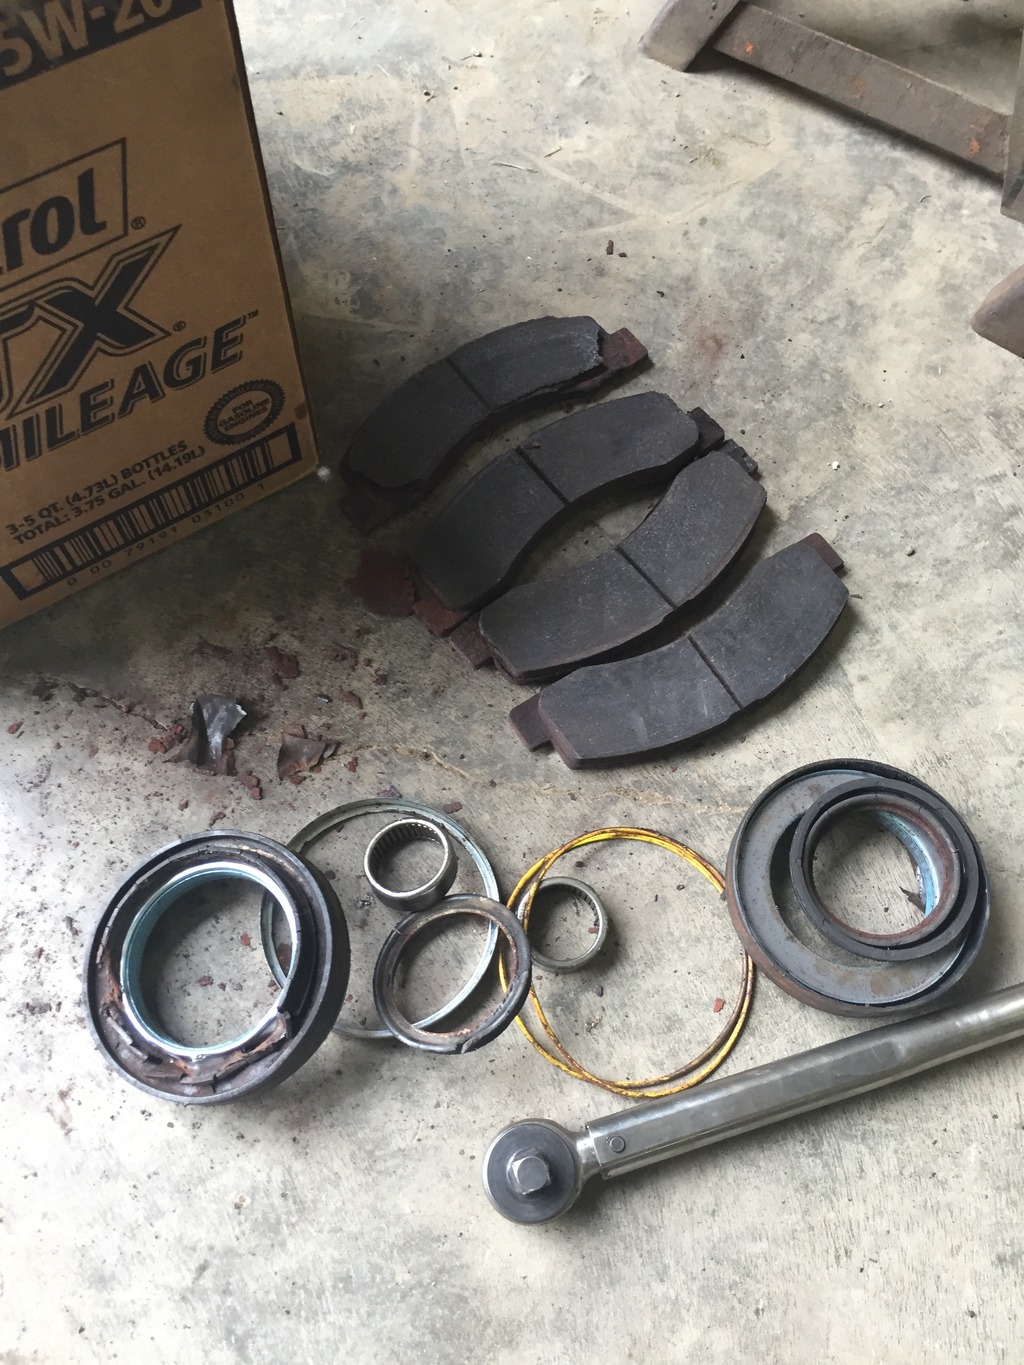
Brushed as much dirt and crap off of the unit bearings as I could and installed new o-rings. The old ones were in OK shape, but I had new ones right there. Also replaced the needle bearings. A little tip here... use the outer stub and yoke to tap the new needle bearing in. It will prevent damaging the cage and ruining the new bearing. Added about 10 pumps of grease to each wheel bearing. They have no play in them, so I do not see the need to replace them. I did notice that both of my bearings were manufactured by Timken. Is this factory?
Then I greased all my fittings really well and cleaned up the knuckles with a wire brush. I also cleaned up the bare metal surfaces with a scour pad at 1975StoppeBaja's recommendation. I'll most likely paint them whenever ball joints need done.
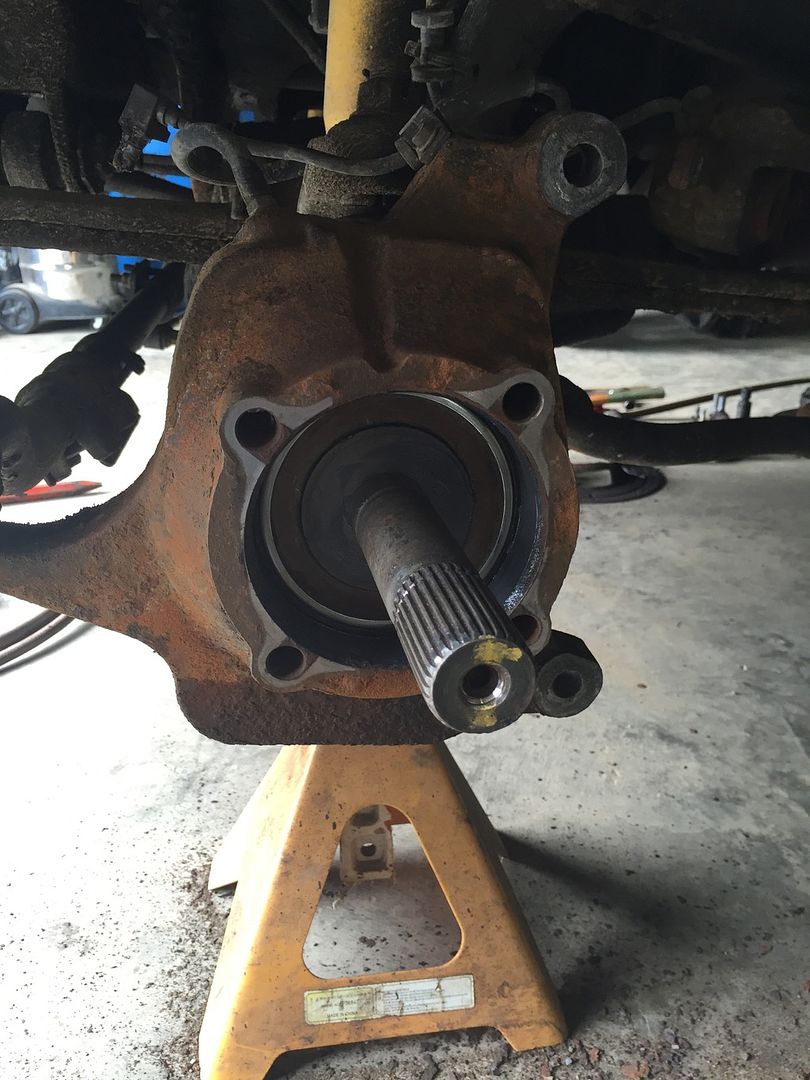
Driver's side re-installed. Put the bearing back in and torqued it down and then realized I forgot the dust shield, so it came back apart...
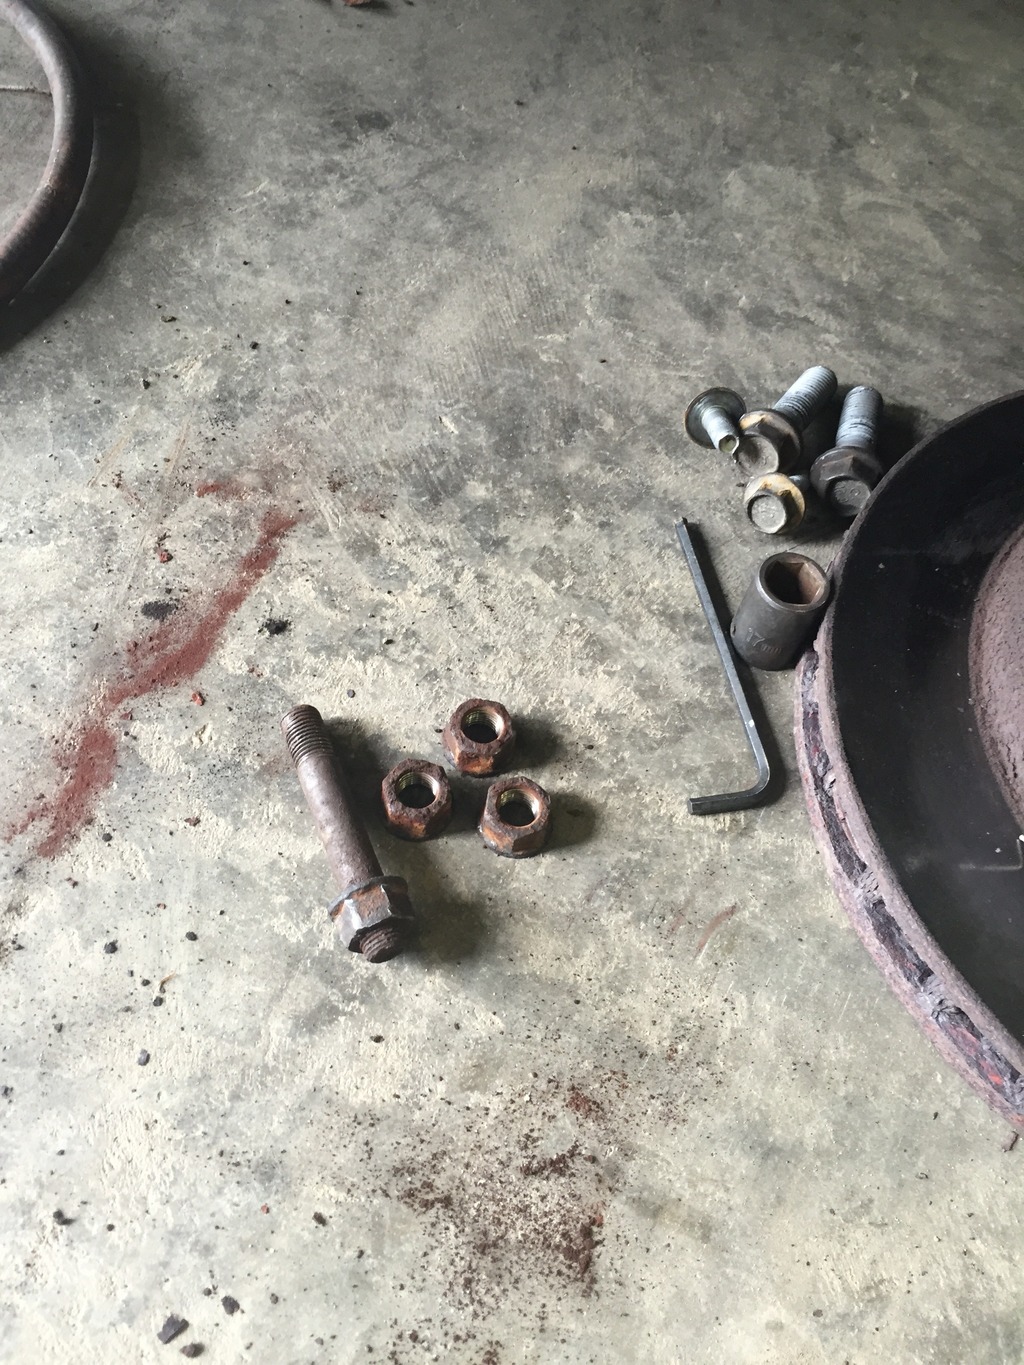
The remains....
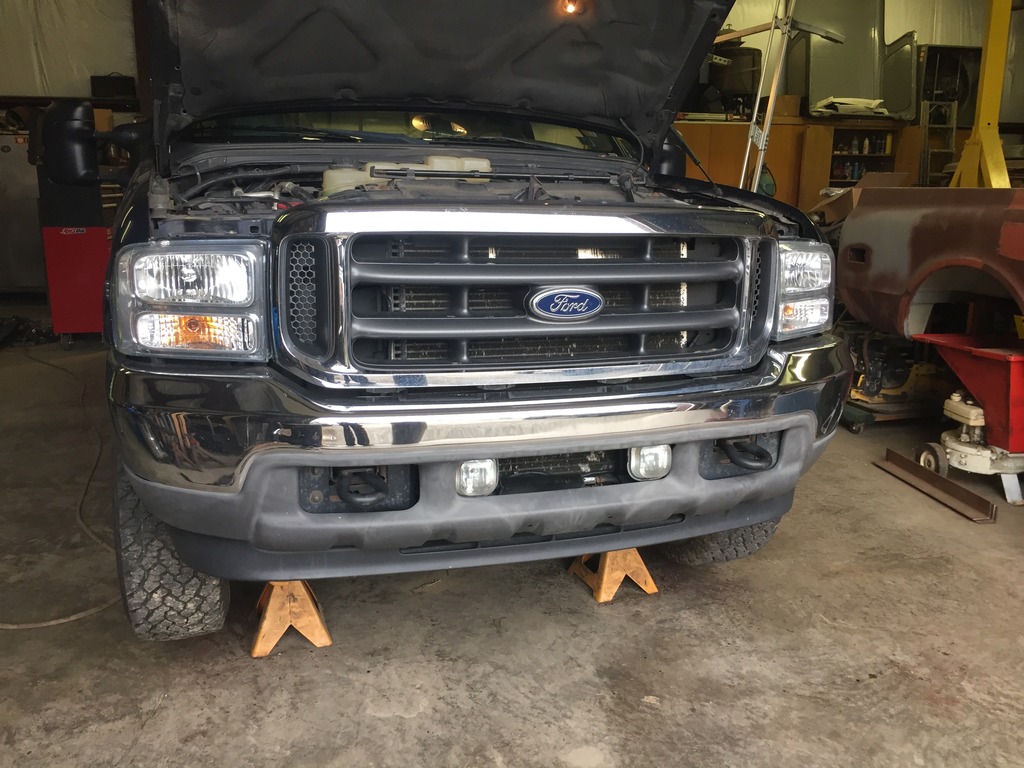
All done....
I realize the only thing I forgot was to get a shot of the new Moog 374 joints. They were very nice quality and loaded with grease when I got them. They are made in Mexico, but I am not disappointed for the price.
Finally, parts and cost...
(1) Wagner MX756 Brake Pads - Advance Auto - $38.93
(2) SKF 4A322 Axle O-Rings - Rock Auto - $8.76
(2) Timken 710413 Axle Dust Boots - Rock Auto - $14.76
(2) Timken 710493 Axle Shaft Seals - Rock Auto - $43.58
(2) Timken B2110 Needle Bearings - Rock Auto - $11.46
(2) Moog 374 U-Joints - Advance Auto - $66.31
Total Cost: $183.80 + Rock Auto Shipping
So I will get the inspection stickers next Monday. In the mean time, we are headed to camp on St. Patty's Day. Should be a nice weekend away from home
Keep in ind my truck failed inspection due to a brake pad falling apart.
So I started with the driver's side.

Everything looks good so far.

A little rust on the pad backplate, but that is it.

The unit bearing was not cooperating. I got 3 nuts and 1 stud out. The nut on the stud was rusted on there good.

Pulled my ABS sensor and stuck my RiffRaff grease fitting in there to keep unwanted dirt and rust out.

After that, a 3 jaw puller and a few taps from a brass hammer got the bearing out. Then a nice long pry bar (approx 4 ft) popped the axle seal out. Axle assembly slid out right behind it. This u-joint was seized on one axis as I suspected. Definitely time for a replacement. My axle seal and dustboot were in bad shape too. I guess 14 years is a long time for this stuff to go untouched

Here is the shaft in the vise. Joe recommended burning the joints out. He does not like to press old rusty joints because they can bend the ears on the yoke. So this was a job for oxyacetylene

So while Joe worked on burning the joint out, I disassembled the other side. It was just as easy as the driver's side except I got all 4 nuts off the bearing this time.
I also discovered why I failed inspection.

Last May I had a caliper hang up. The brakes got REALLY hot. Apparently, too hot for bonded pads because now they were just falling apart. Lesson learned.... if caliper goes bad.... replace pads at the same time.
Axle shaft removed. The seal came out in 2 pieces instead of 1 and the axle dust boot was not in good shape.

Joint removal


Brushed as much dirt and crap off of the unit bearings as I could and installed new o-rings. The old ones were in OK shape, but I had new ones right there. Also replaced the needle bearings. A little tip here... use the outer stub and yoke to tap the new needle bearing in. It will prevent damaging the cage and ruining the new bearing. Added about 10 pumps of grease to each wheel bearing. They have no play in them, so I do not see the need to replace them. I did notice that both of my bearings were manufactured by Timken. Is this factory?

Then I greased all my fittings really well and cleaned up the knuckles with a wire brush. I also cleaned up the bare metal surfaces with a scour pad at 1975StoppeBaja's recommendation. I'll most likely paint them whenever ball joints need done.


Driver's side re-installed. Put the bearing back in and torqued it down and then realized I forgot the dust shield, so it came back apart...

The remains....


All done....

I realize the only thing I forgot was to get a shot of the new Moog 374 joints. They were very nice quality and loaded with grease when I got them. They are made in Mexico, but I am not disappointed for the price.
Finally, parts and cost...
(1) Wagner MX756 Brake Pads - Advance Auto - $38.93
(2) SKF 4A322 Axle O-Rings - Rock Auto - $8.76
(2) Timken 710413 Axle Dust Boots - Rock Auto - $14.76
(2) Timken 710493 Axle Shaft Seals - Rock Auto - $43.58
(2) Timken B2110 Needle Bearings - Rock Auto - $11.46
(2) Moog 374 U-Joints - Advance Auto - $66.31
Total Cost: $183.80 + Rock Auto Shipping
So I will get the inspection stickers next Monday. In the mean time, we are headed to camp on St. Patty's Day. Should be a nice weekend away from home
#753
03-15-2016, 01:12 PM
I forgot to give Jason (1975StroppeBaja) credit for his articles that helped me along.
2004 F250 Ball Joint Replacement
2004 F250 Front Axle U-Joint Replacement
2004 F250 Needle Bearing Replacement
2004 F250 Ball Joint Replacement
2004 F250 Front Axle U-Joint Replacement
2004 F250 Needle Bearing Replacement

#755
03-15-2016, 11:44 PM
I did not think timken would be oem either. But if these were replaced, it was long ago. The rust blends right in... And the abs sensors were frozen when I got it, so they've been there a while. Doesn't make sense with such low miles though. Oh well, they still roll smooth with no play.
What are you replacing on the passenger side?
#756
03-16-2016, 12:51 AM
Lead Driver
I did the driver's unit bearing, seals, ball joints and u-joint last October, still need to finish everything on the passenger side. Driven less than one thousand miles though. Just got a new torque wrench today and will finally break out the Milwaukee 1/2" and torque sticks for the job.
That will come right after my spark plug blowout is fixed next week. Also need to replace the outer tie rods.
That will come right after my spark plug blowout is fixed next week. Also need to replace the outer tie rods.
#757
03-16-2016, 07:06 AM
#759
03-16-2016, 09:32 AM
#761
03-17-2016, 06:18 AM
#762
03-17-2016, 02:06 PM
#763
03-17-2016, 02:19 PM
#764
03-17-2016, 03:02 PM
#765
03-17-2016, 03:16 PM
I got 118k on the truck, but I suspect the plugs were changed once. It was pretty well maintained. My last F250 knock on wood didn't give me any work plug problems. But that was a 2004. What happened with yours Matt? You also have 04