When you click on links to various merchants on this site and make a purchase, this can result in this site earning a commission. Affiliate programs and affiliations include, but are not limited to, the eBay Partner Network.
Sunday I robbed some factory rubber exhaust hangers off a couple parts trucks and loosely pieced my exhaust together.
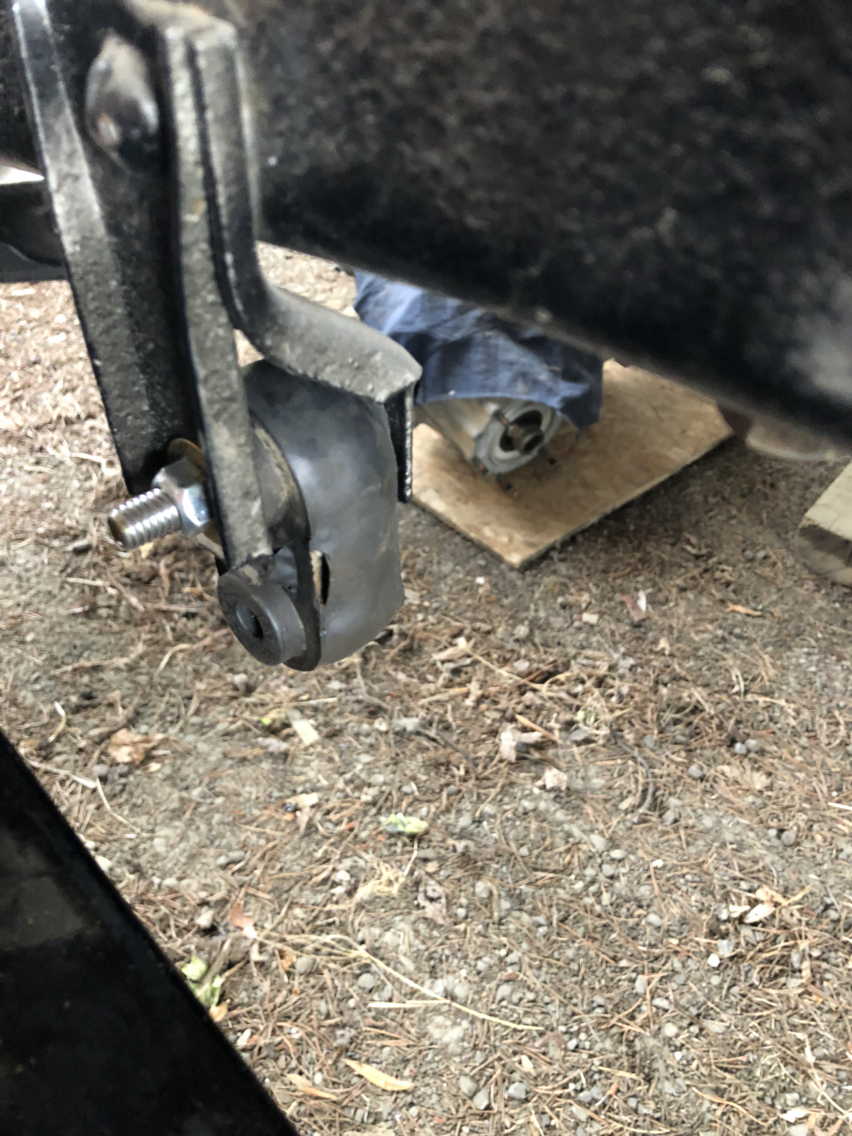
I ran into some rubbing issues with the hitch but that shouldn't be an issue because I'm thinking of using the 2009 frame's hitch because it's got a larger drop which will help when the trucks lifted.
Today my brother and I worked on moving the truck and had to modify the steering shaft to work with the Super Duty steering box. The long bolts and non-stover nuts are only temporary.
After a bunch of screwing around we got it moved.
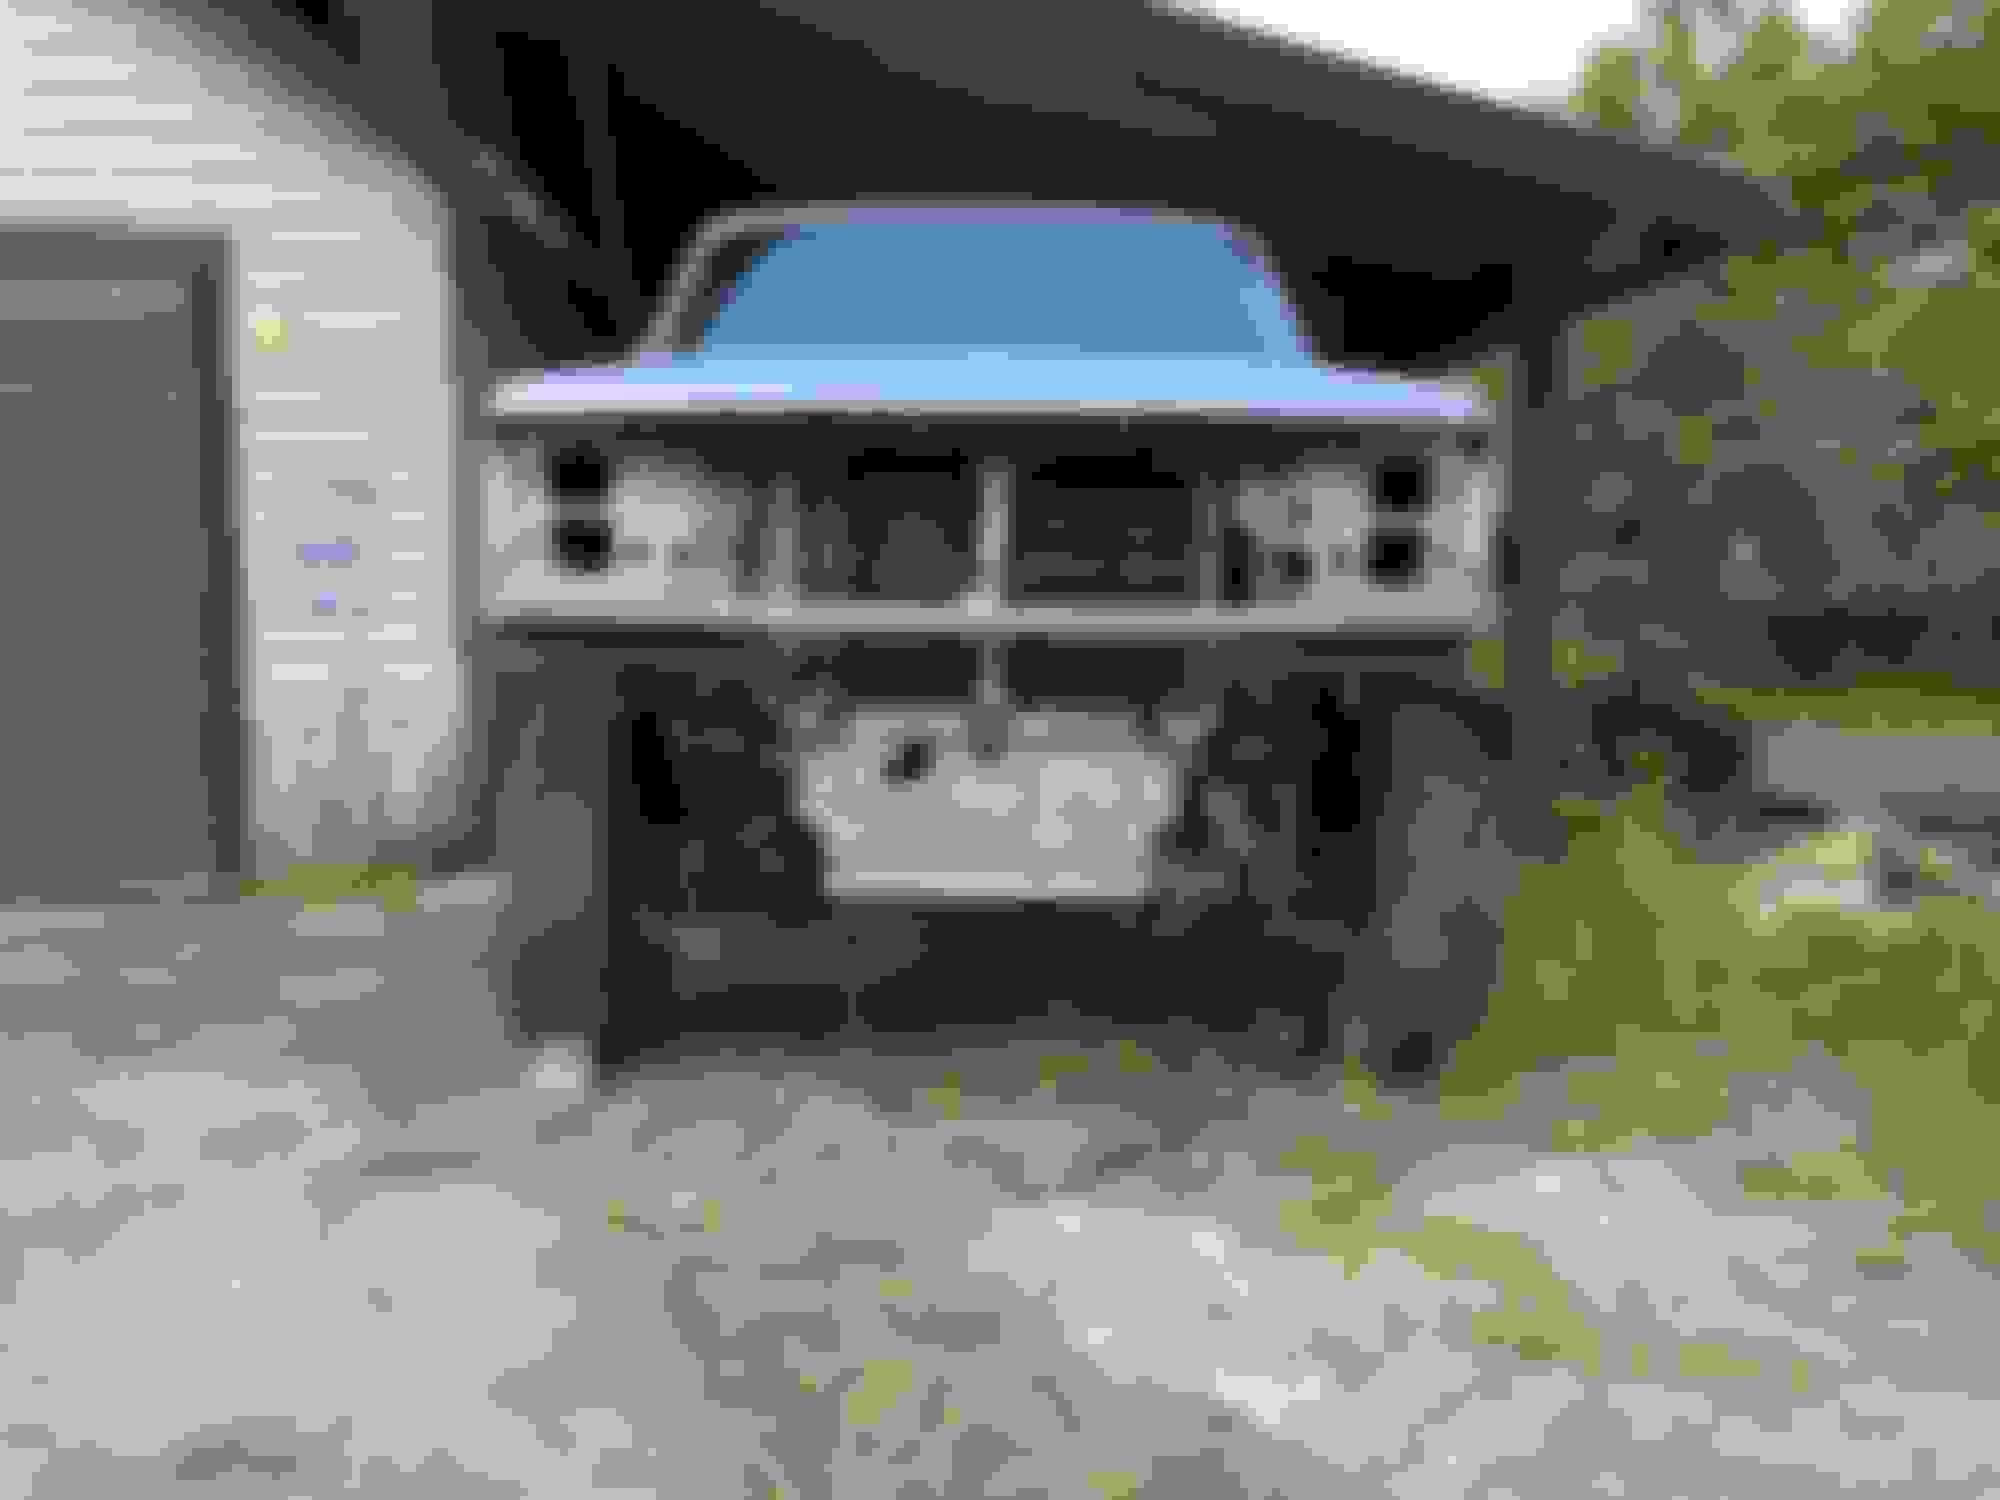
Afterwards we bolted the ac system from the '96 donor that we kept together and charged. Then threw the front clip on and bolted it up roughly to work on fitment.
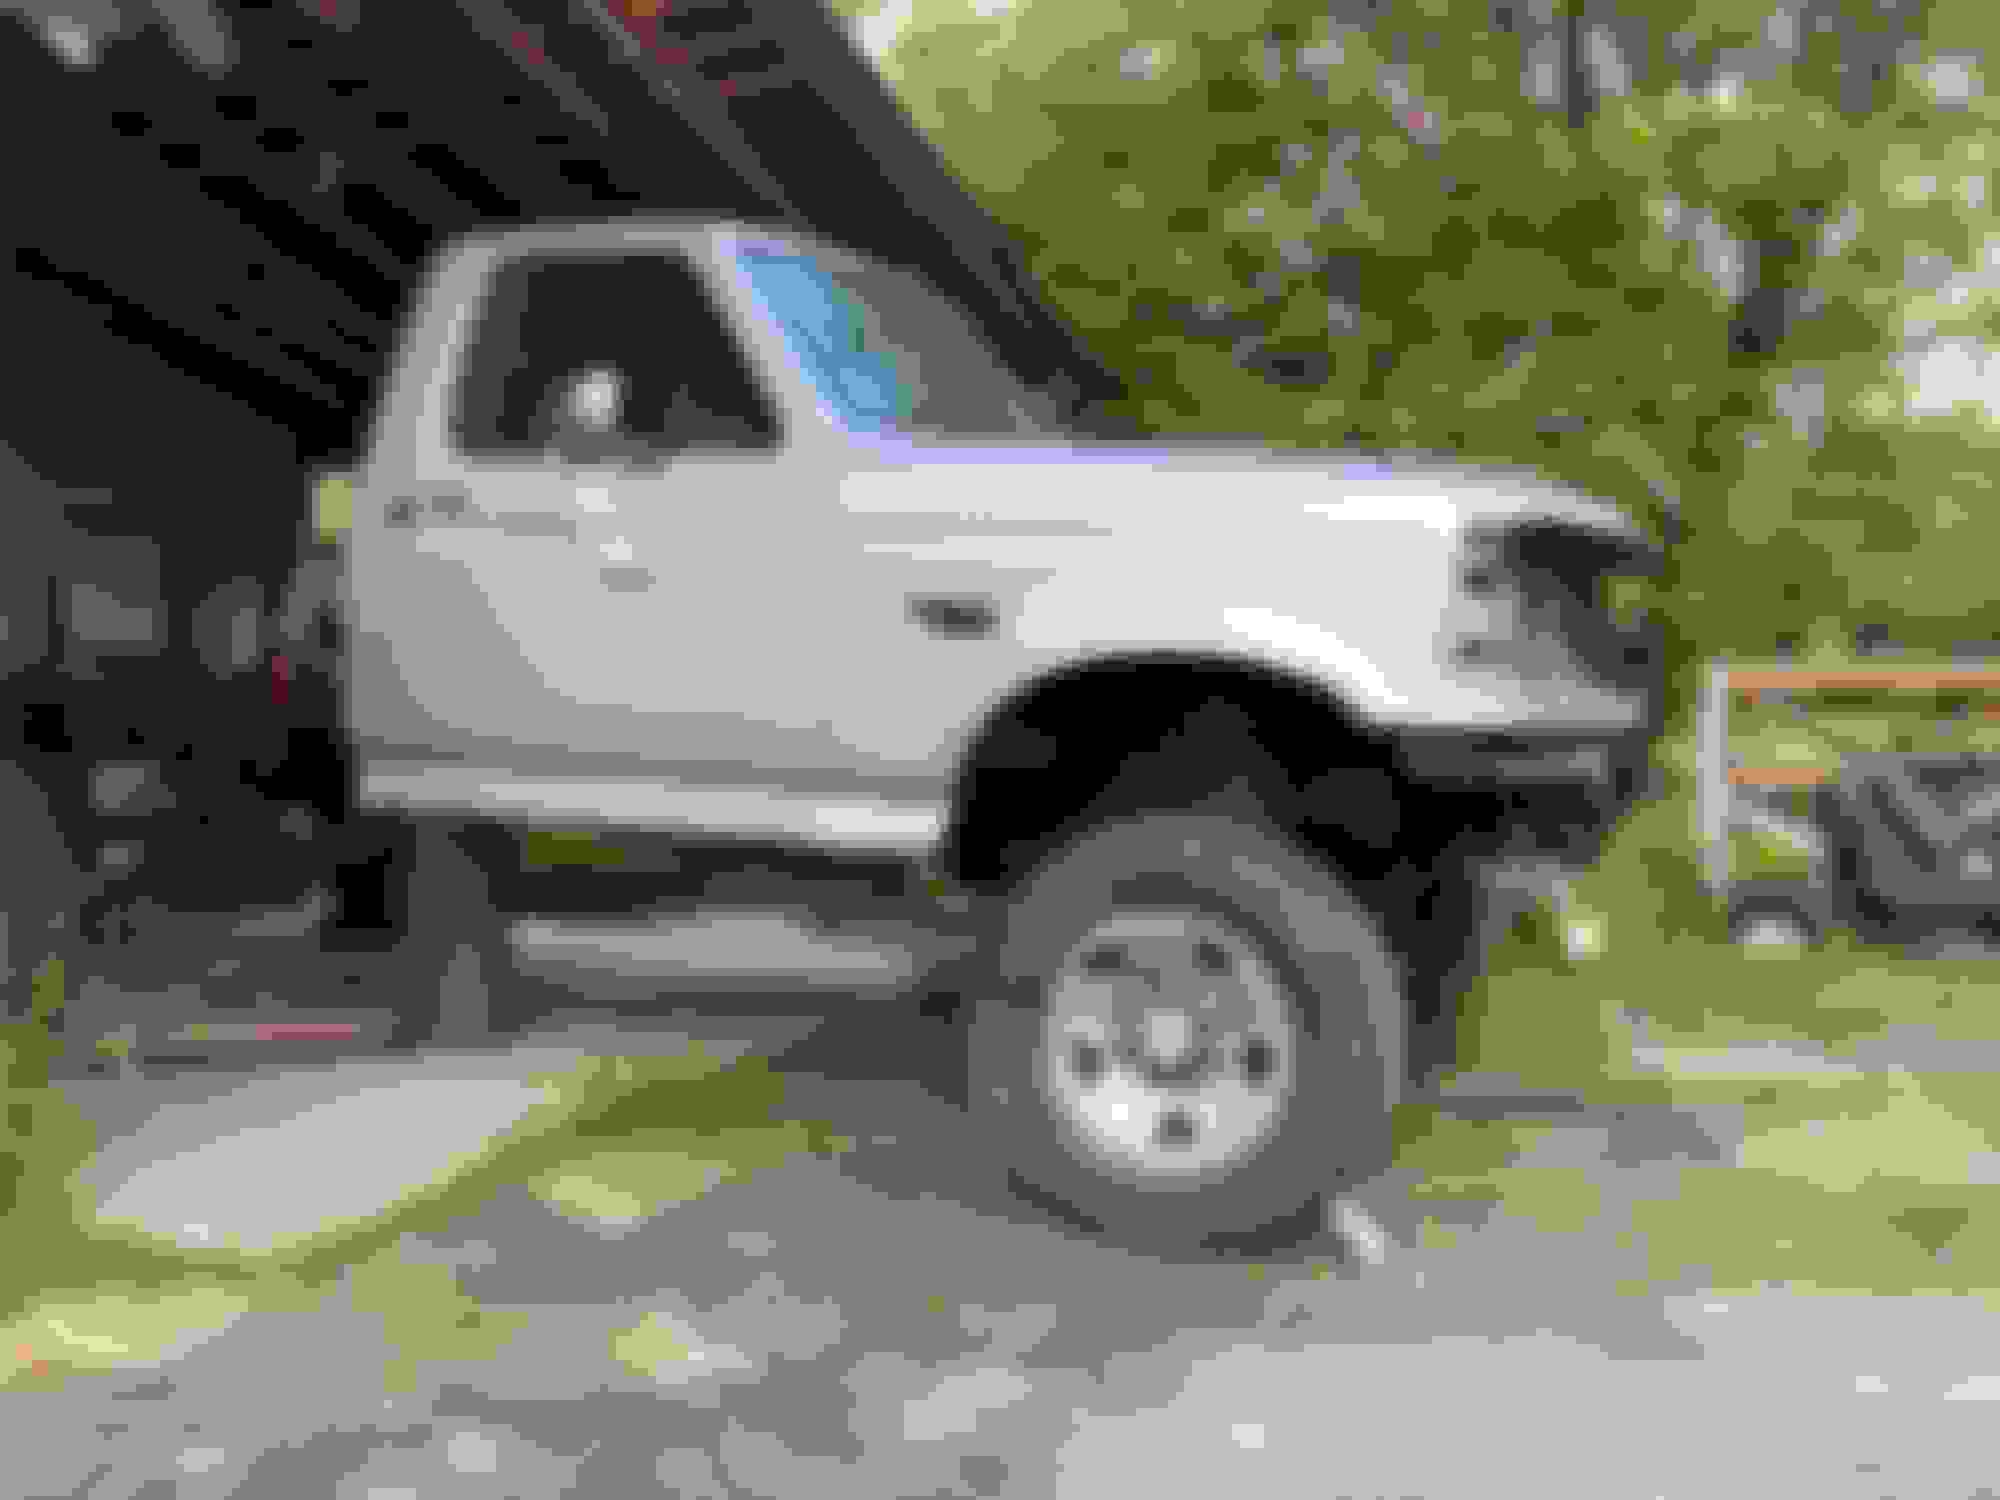
It'll definitely sit nice and hopefully ride great. Ordered the 2.5" coil spacers tonight so the front will be going up a little more in a couple weeks.
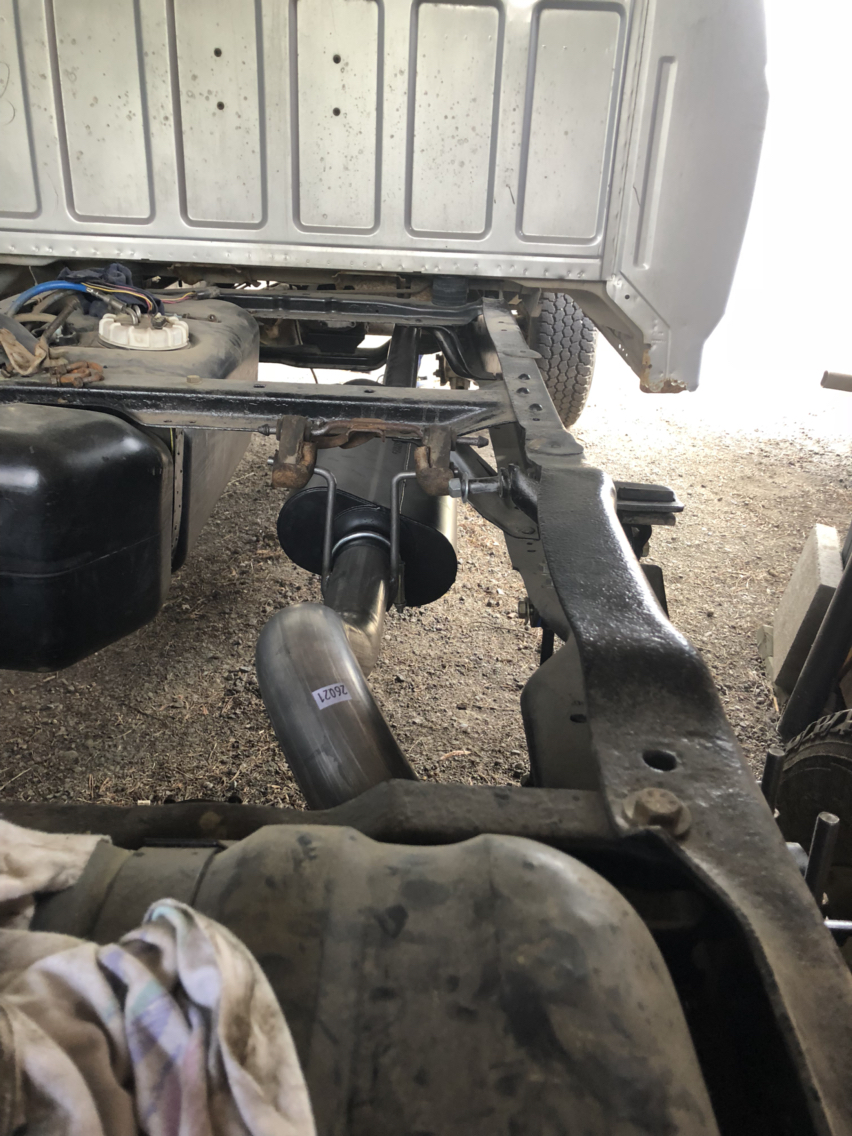
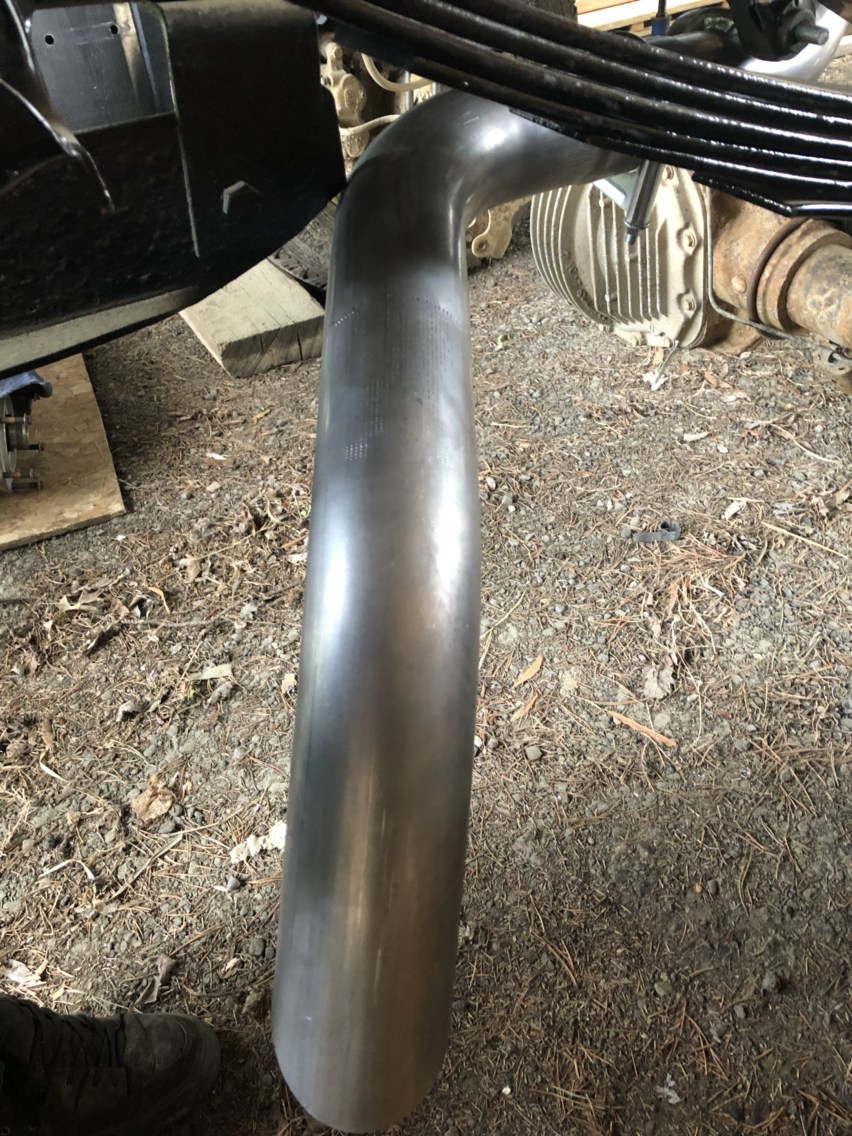
Tonight after work I got a different adaptor piece for the exhaust that actually worked. So I never seized all the clamps and loosely tightened them up. Still waiting on the new slip yoke for the rear driveshaft and see where it sits before tightening everything up.
I also threw the t case back on and fiddled with the '09 front shaft. If I can find a flange for the front of the t case that allows me to bolt the '09 shaft on it looks to be perfect length wise. It's just finding that flange.
After that I just threw the rad in. The engine bay is looking a little more complete now.
Not a big update but my coil spring spacers came in so I figured I'd toss them in and take some before and after shots.
Compared to my brother's truck which also has a 2.5" leveling kit in it, but is a 7.3 IDIT and is on 285/70r17s (~33") while mine only has 265/70r17 (~32"), and mine still sits 1" taller then his does. Been keeping an eye out for some nicer newer OEM take off 18" rims but so far no luck.
Another update.
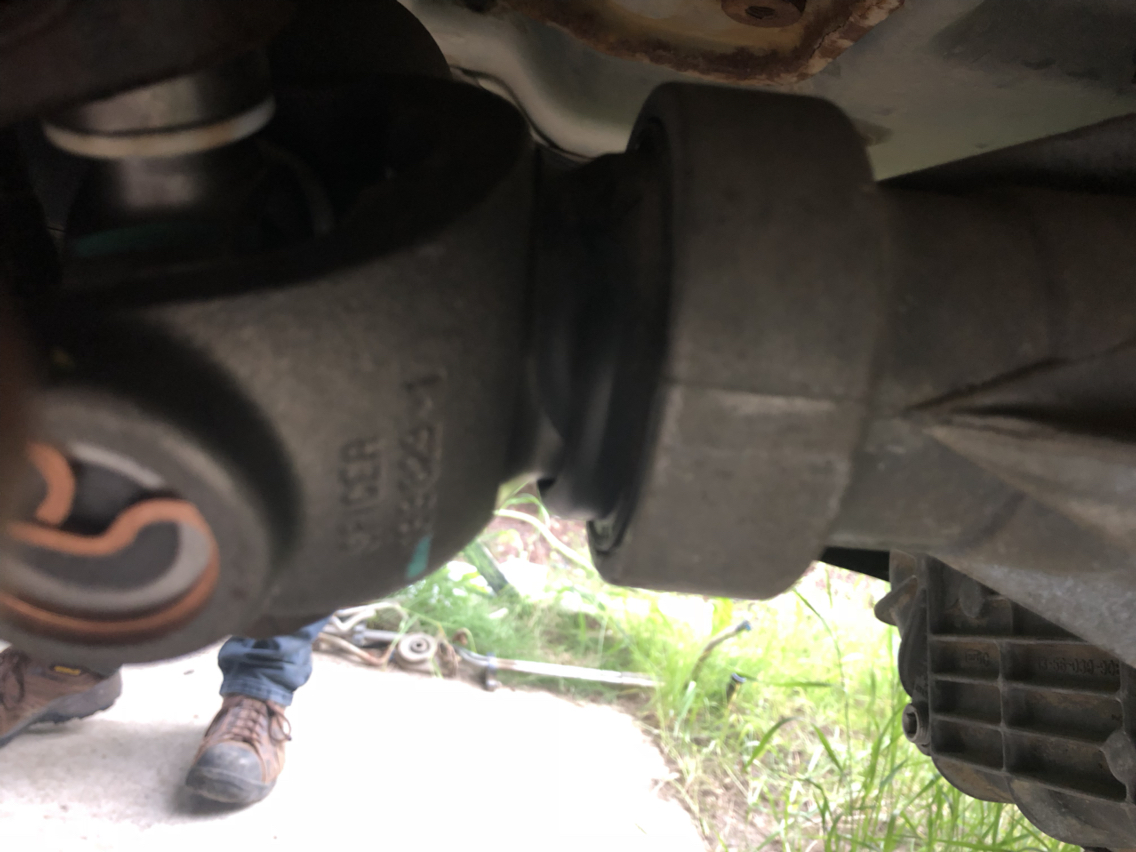
My new slip yoke came in finally for the driveshaft swap. Picked up 2 new non-serviceable Spicer 1410 u joints as well.
Currently have the old snap rings soaking in WD40 as they were rusted in and some of them broke into multiple pieces and some of them pieces are stuck in there.
Took a gamble on the weekend and ordered the DL140 door lock cylinders. Installed them tonight without issues.
I looked into measuring for the ignition cylinder and I'll be ordering a new one this weekend. A Motorcraft one is only 30 bucks.
Some interior progress
Peel & Stick doesn't exist up here so I bought something equivalent and spent the day installing most of it. I still have the firewall and the doors to do yet. I'm waiting on the doors as I have to install all the power options first and it'll probably be loads easier snaking this stuff in with the manual guts out of the way.
This stuff definitely reduced the tin can sound when you bang on the panels but I'd like to try to lower the outside noise a least a bit more. I'm going to look into something foam to hopefully help that out.
Planning on finishing up the firewall sound dampening and the rear driveshaft tomorrow if the weather holds out.
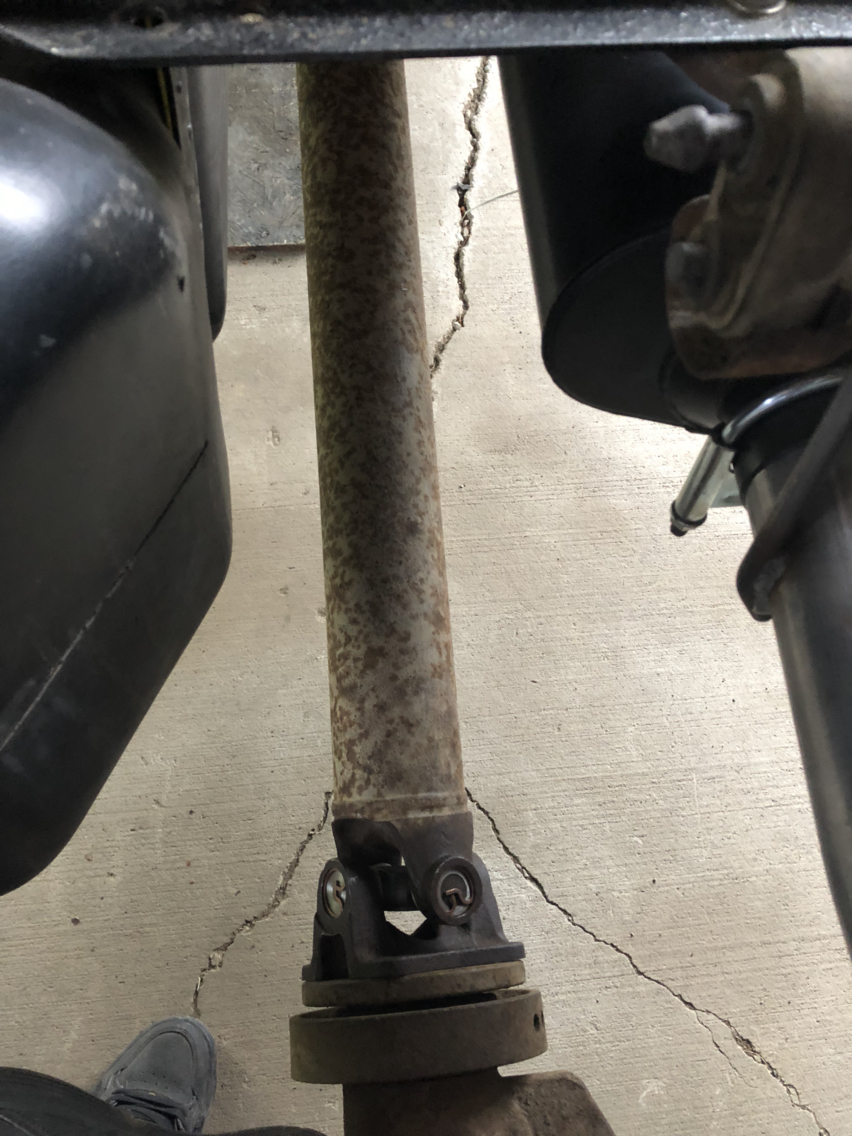
Had some time to work on the rear driveshaft and ran into a few issues. First the rear yoke wouldn't accept both clips in so i machined a few thou off both caps to allow the clips to fit properly. The driveshaft side fit fine.
Then came my next issue. Somewhere in my measuring and comparing of the original shaft and this rear portion of the Super Duty one I must not have accounted for the a) slightly larger u joint side and in turn the larger yoke ends. It ended up too long!
I have to get the box on yet and I may run slightly taller blocks in the rear but I doubt either of those will pull it out to a safe enough amount.
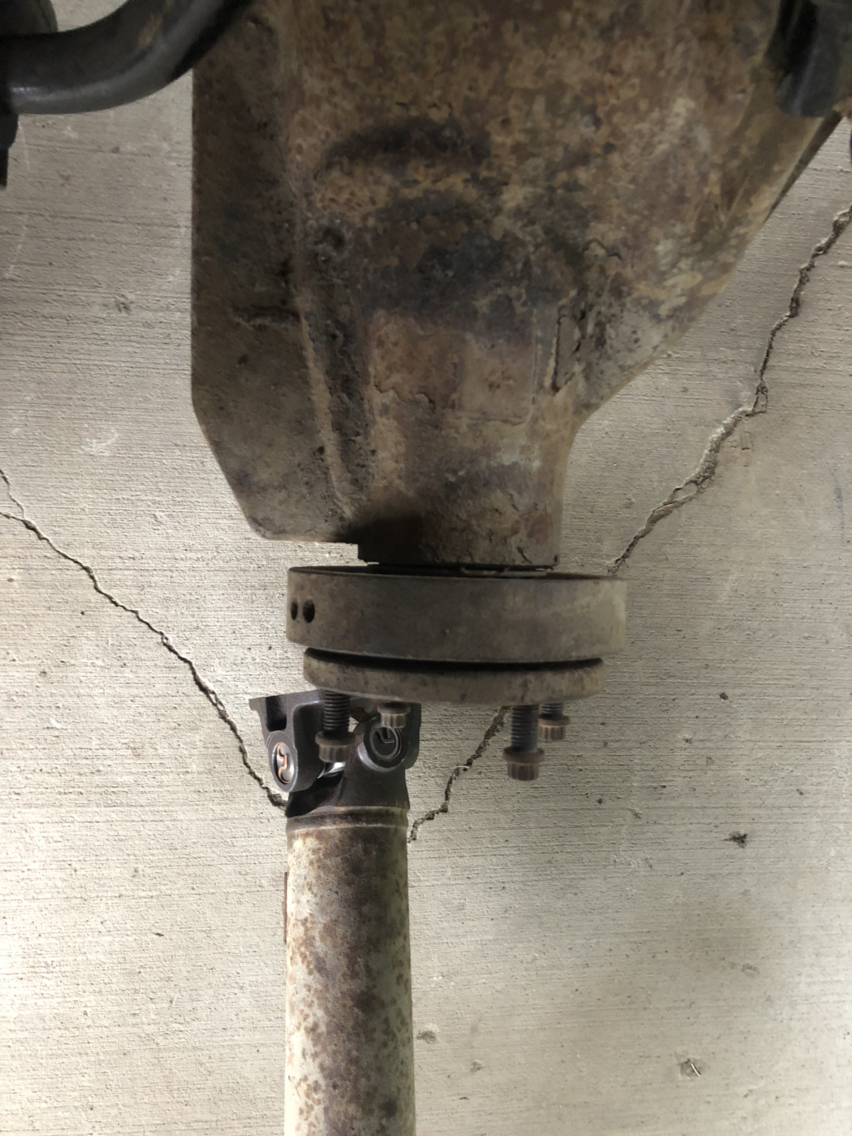
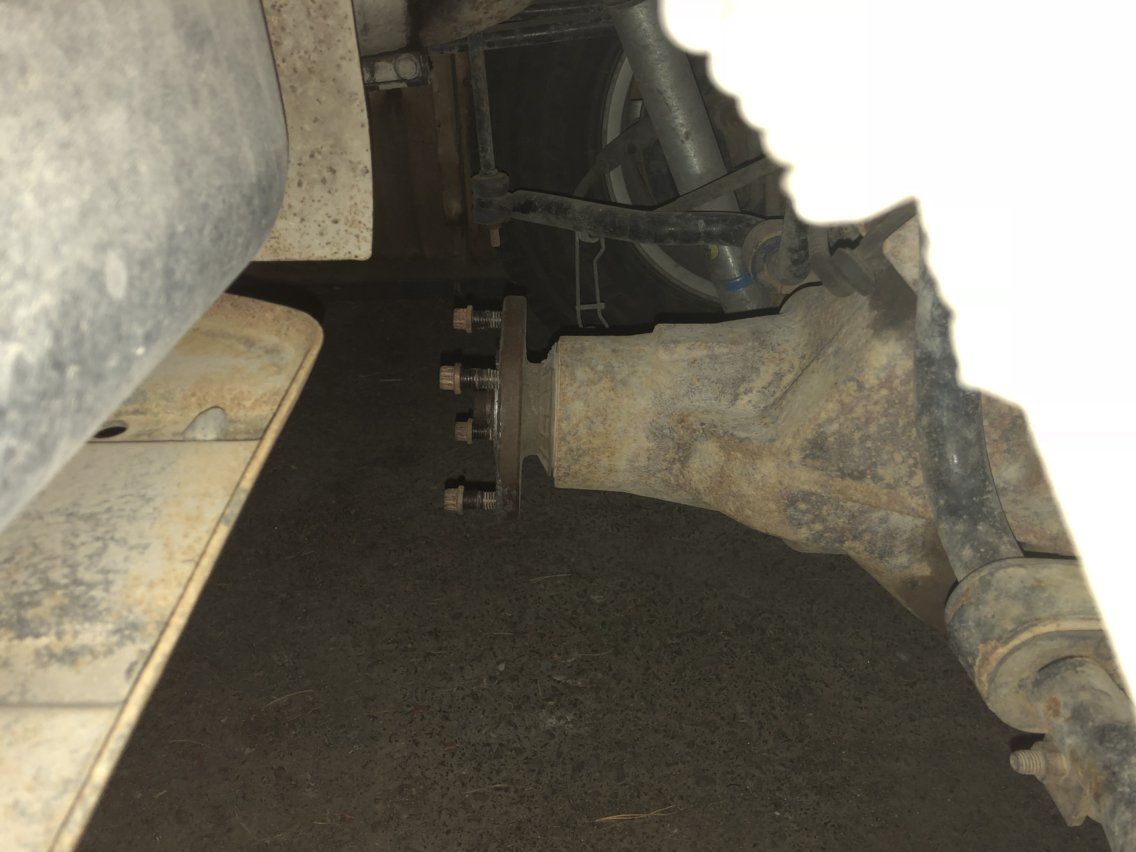
Most likely I'll have to change the diff's flange to a non-balancer one like my brother's has.
Mine
My Bro's
That's probably true but cost wise a different flange would be loads cheaper then shortening the driveshaft. Hoping to find one at the wreckers to keep it really cheap.
Understood, how much do you expect the shaft to cost? Normally 100 or less to balance if you do the shortening
I can't recall off hand but I'm pretty sure I was looking at almost $300 for the front OBS driveshaft to be modified. The shops up here charge a lot. That's why I was trying to make the 2 Super Duty shafts work. If I can get a non-balancer flange for the rear it should allow enough slip.
I've also been working on trying to find a front companion flange to work with the front SD shaft but it's looking like a possible custom made piece. Quoted $150 which is still cheaper then the front OBS shaft to be modified and I wouldn't have to do a conversion u joint.

 05-21-2018, 11:53 PM