WOOD FLATBED BUILD - 3D MODEL AND CONSTRUCTION PLANS
#136
 07-08-2013, 12:11 AM

#137
07-08-2013, 07:53 AM
Well, I do okay with 19. 302 EFI with 2.73 gears and 95% highway use right now. Once I get it on the farm I will have to put higher gears in the rear. I plan at that point to put a limited slip in anyways.
#138
07-08-2013, 07:57 AM
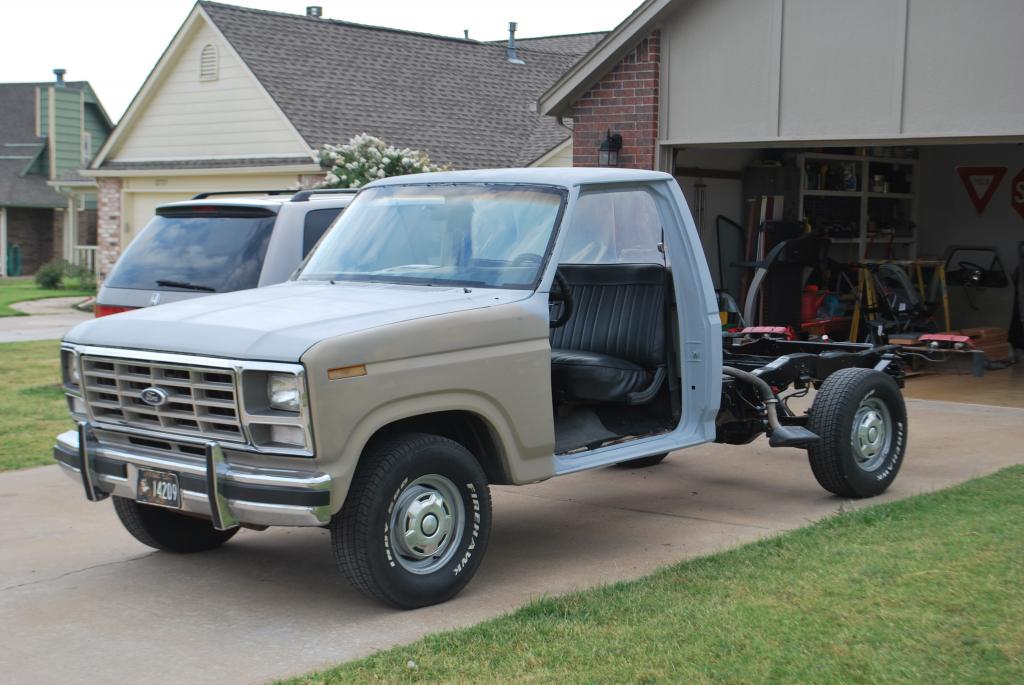
I love the Firehawk tires. They are just small enough to fit on the stock rims but look meaty. Hibdon's (the tire store I bought them at) said they are now either discontinued or they are not carrying them anymore. That's okay because I like BFGoorich's Radial TA's. I've run those on muscle cars, jeeps, trucks and they are a great all around tire for a vehicle that does mostly street.
#139
07-13-2013, 12:12 PM
A FEW PROGRESS PICS
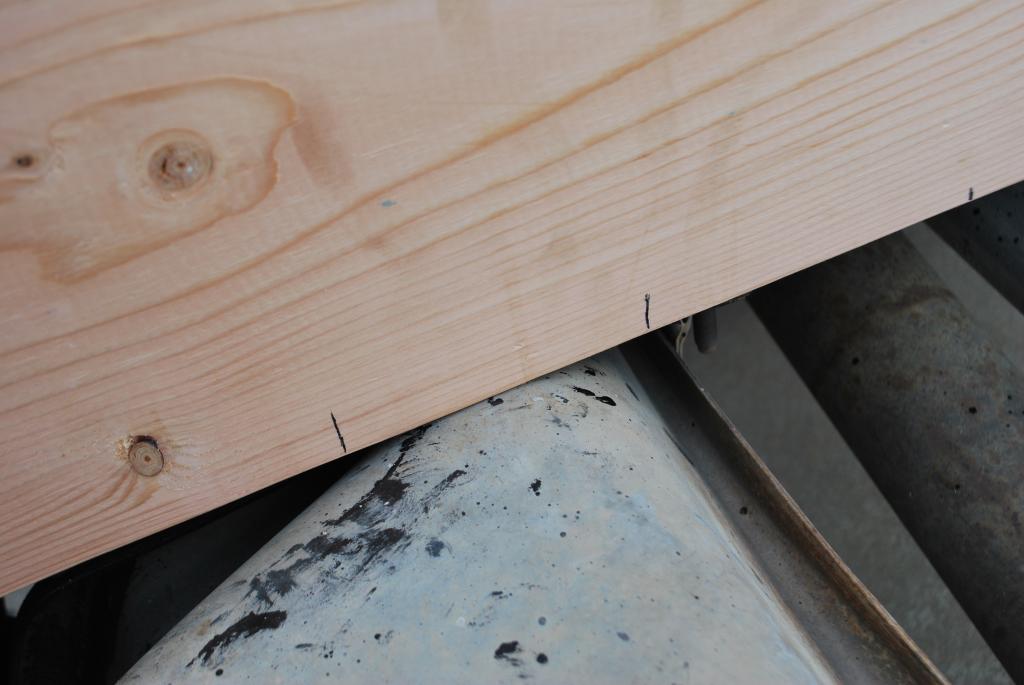
Nala the kitty wanted to help so I let her. She's a sweet little pooty wooty punkin'...lol....Just layin' out the frame. Cut the cross members to length. I will go pick-up the deck boards later, this was all I could slide into the back of the minivan at the moment. All this Douglas Fir plus two boxes of 3.5" deck screws $80 at lowes including tax.
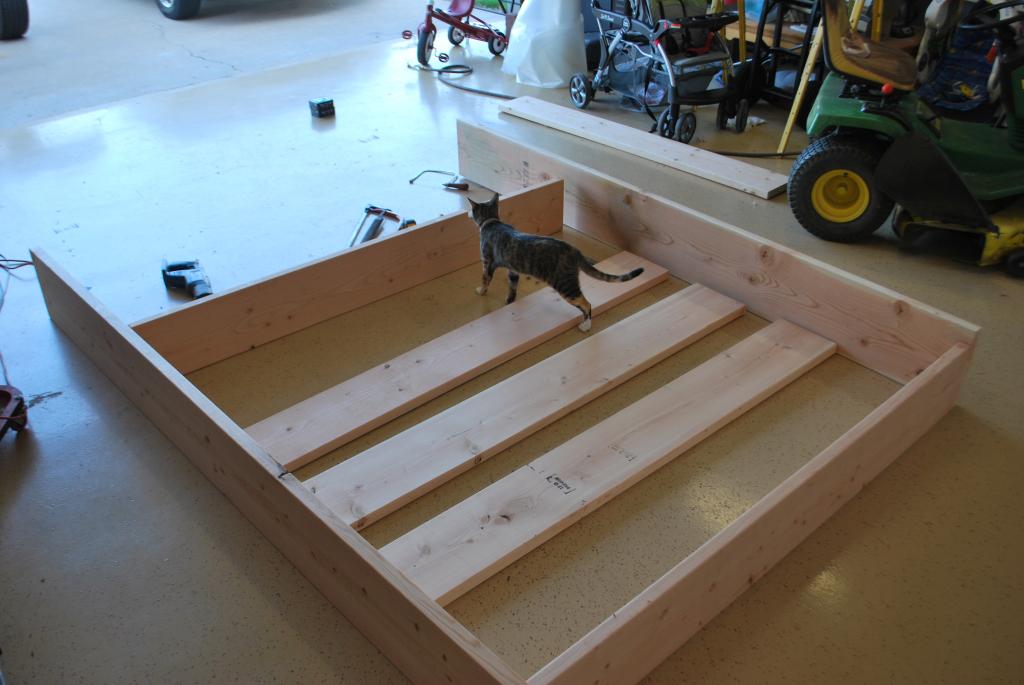
Laying out and cutting the first cross member's notches. The first two members will have roughly 1" x 2.5" notches. 37.5" apart out-to-out.

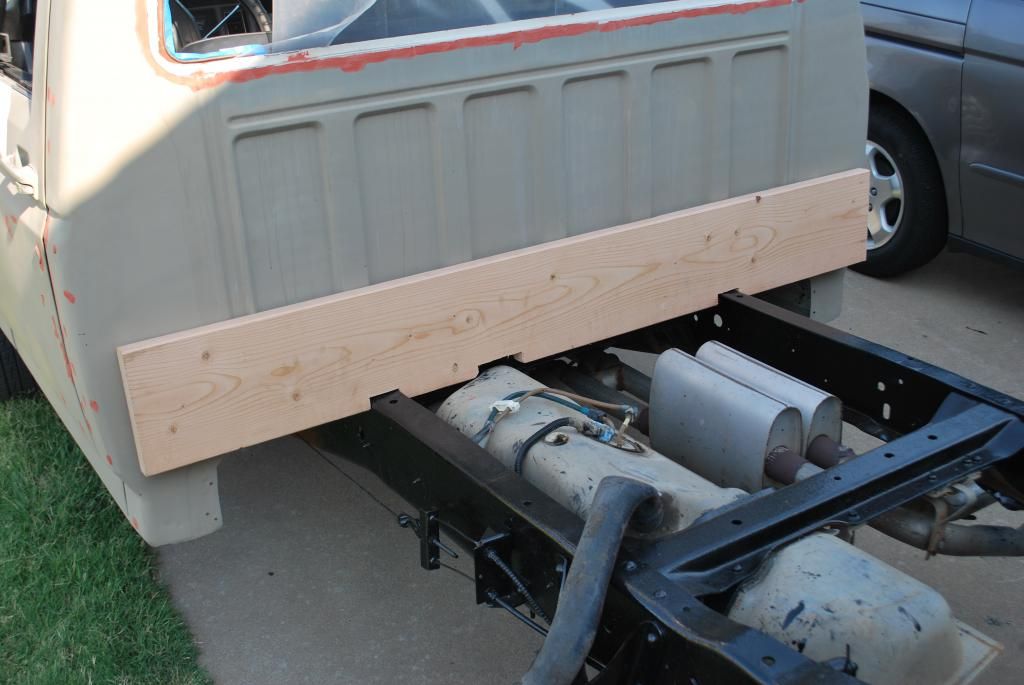
oooops. Gas tank in the way. Needs another notch.

Thats all I got done on the frame of the bed. I am working on the body work now to get it ready to paint. Hopefully I can paint by next weekend and start wet sanding and buffing in two weeks. I will have the window back in and the bed on as soon as I feel the last coat of paint is dry enough to start working around it.

Laying out and cutting the first cross member's notches. The first two members will have roughly 1" x 2.5" notches. 37.5" apart out-to-out.

oooops. Gas tank in the way. Needs another notch.


Thats all I got done on the frame of the bed. I am working on the body work now to get it ready to paint. Hopefully I can paint by next weekend and start wet sanding and buffing in two weeks. I will have the window back in and the bed on as soon as I feel the last coat of paint is dry enough to start working around it.
#140
07-13-2013, 12:45 PM

#141
07-13-2013, 01:32 PM
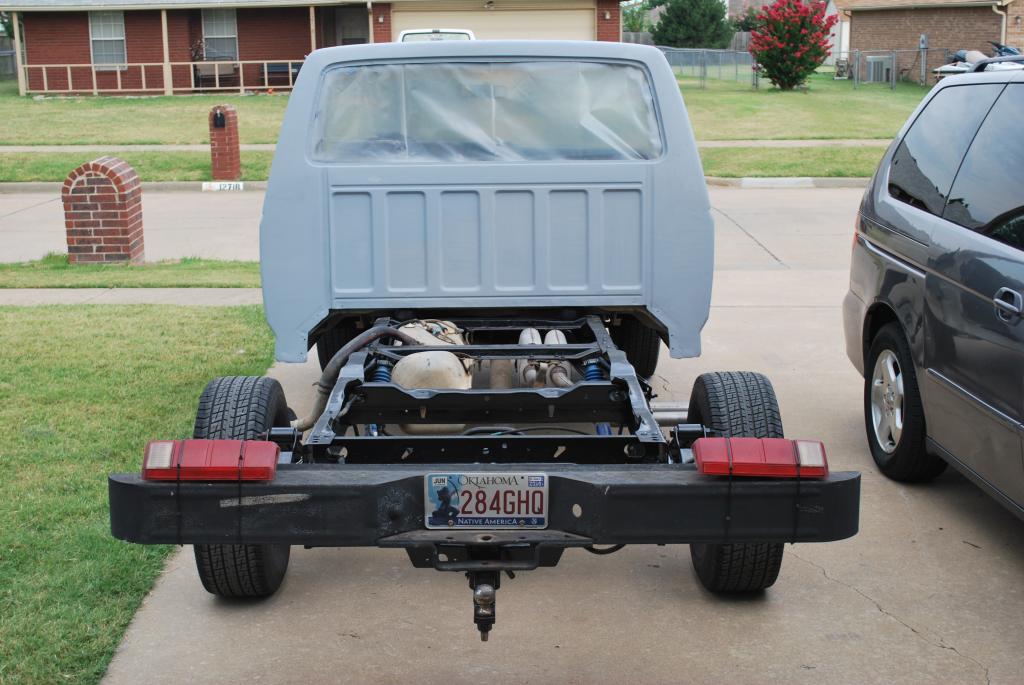
Yeah, we've all discussed various options. I already have problems getting fuel in the tank because someone removed the vent tube that ran up the filler hose back to the filler cap. However, Gary is right down the road and says he has a couple. I'm going to get two from him. Then I will route the filler neck up towards the cab and attach it somehow to the headache rack once I install that. I've also thought about trying to route it straight out the side and think of a better way to vent the tank during fill ups. One option I thought of was to install a second filler neck in the tank at the factory vent location. I could basically have two filler necks. I would take off one cap to fill and the other to vent. However I like the idea of venting through the same filler neck like the factory did, and I wouldn't have to install a second filler hose and neck.
Well, its approaching 100 degrees now, I think I will stay inside until it starts cooling off. I got the driver's door removed and will prep the door jamb tonight. The cab is nearly done with prep minus the jambs and doors. Both sides of the hood are done. Cowl is done. Roof is done. Need to remove the front bumper and grille to prep the front valance and core support. I hate prepping for paint. So much to do.
Well, its approaching 100 degrees now, I think I will stay inside until it starts cooling off. I got the driver's door removed and will prep the door jamb tonight. The cab is nearly done with prep minus the jambs and doors. Both sides of the hood are done. Cowl is done. Roof is done. Need to remove the front bumper and grille to prep the front valance and core support. I hate prepping for paint. So much to do.
#142
07-13-2013, 03:09 PM
Posting Legend
#143
07-13-2013, 03:59 PM
I'll be here all weekend. If you wanna swing by you can. Have I met Marshall? Is he in Collinsville?
#144
07-13-2013, 04:02 PM
Posting Legend
#145
07-13-2013, 04:06 PM
Oh, duh. Marshall is your paint guy right? I thought that name was familiar but I couldn't remember who he was for a minute.
#146
07-14-2013, 10:20 AM
UPDATES
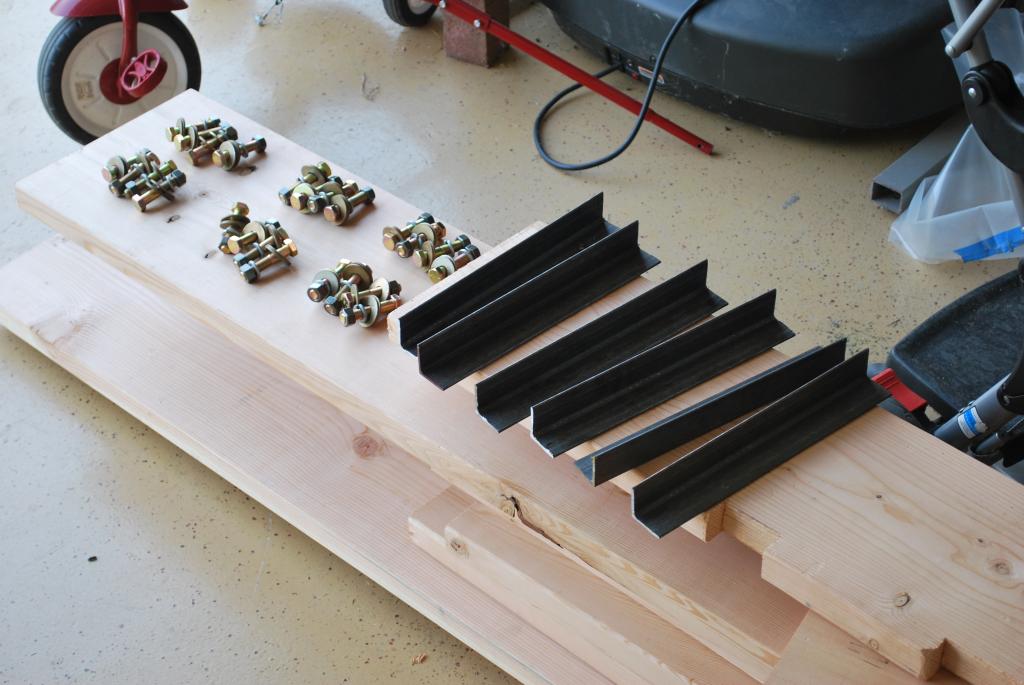
I ran to the hardware store and bought a 6' piece of angle (.125" x 1.5 x 1.5") I thought it might be a little undersized, but all these brackets are going to do is keep the bed from flying off, and keep it in position during braking and accelerating. The load placed on the bed will be carried by the cross members sitting on the frame. Six 1' brackets should do the trick. If it seems like its not enough I still have one more cross member I can bolt to the frame with two more brackets. We'll see how it goes.
Got grade 8 zinc plated 1/2"-13 x 2" hardware with lock washers. I will snug these bolts up initially and let the wood compress some. After a little settling I will have to go back and tighten them back up. At that point i will add loc-tite.
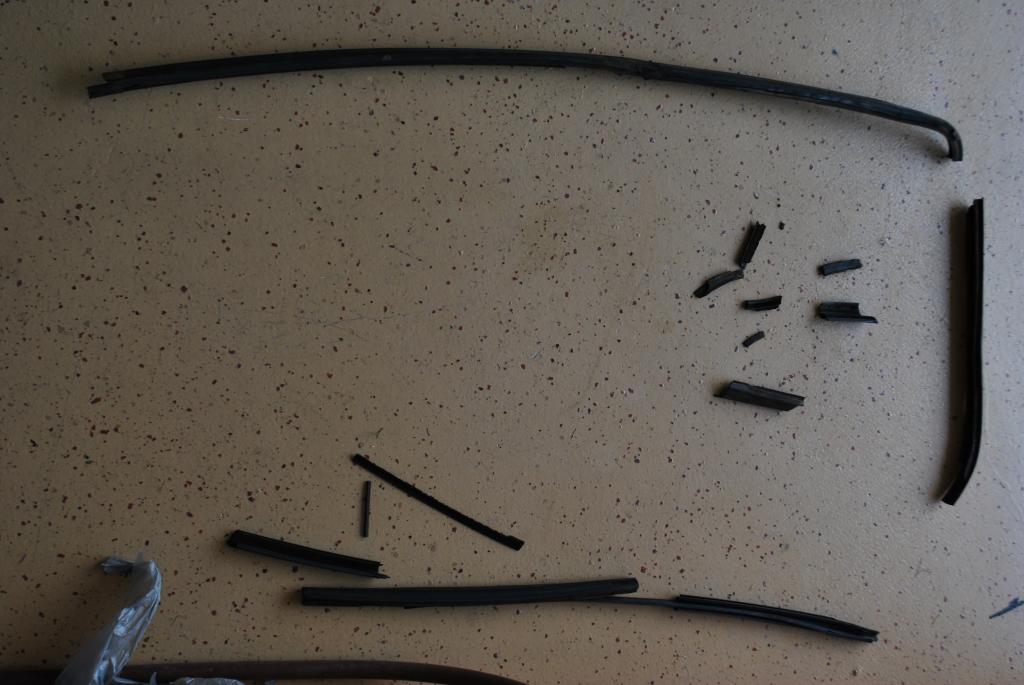
Here are a few body work and paint update pics. The door felts came completely apart when I tried removing them. 27 year old felts get pretty dang brittle. Luckily, someone has replaced the wing window rubber at some point, and I replaced the felts on the bottom (anti-rattler felts) that go on the door panel and opposite the door panel on the door. LMC has replacements for $20 a piece. Unless Gary has some good ones he can spare I will have to order these soon.


#147
07-14-2013, 01:31 PM
Yeah, we've all discussed various options. I already have problems getting fuel in the tank because someone removed the vent tube that ran up the filler hose back to the filler cap. However, Gary is right down the road and says he has a couple. I'm going to get two from him. Then I will route the filler neck up towards the cab and attach it somehow to the headache rack once I install that. I've also thought about trying to route it straight out the side and think of a better way to vent the tank during fill ups. One option I thought of was to install a second filler neck in the tank at the factory vent location. I could basically have two filler necks. I would take off one cap to fill and the other to vent. However I like the idea of venting through the same filler neck like the factory did, and I wouldn't have to install a second filler hose and neck.
I got lazy and just made the vent hose long, looped it up behind the bedside panel, and put a screen over it to keep the bugs out. But if you have the time, and better way to do it is modify your metal filler tube with a fitting coming out of the side just below the fuel filler cap, and it will let it vent out beside the station filler gun while you pumping. Then the fuel tank cap will cover it up when you replace cap after filling.
#148
07-14-2013, 04:24 PM


#150
07-20-2013, 03:00 PM
PROGRESS PICS
Got a little done this fine saturday. Please keep in mind this is my FIRST ever paint job and major body work project. This is Rustoleum Safety Red in a gallon with about 6oz of gloss black added. The safety red was just too bright for my taste.
Anyways, I started practicing with the underside of the hood and the cowl cover. Not really sure what I am doing, but I have learned one thing. Not to paint too light of a coat. There seems to be a happy medium between thinning and how much you lay down. I noticed my first pass was way too conservative and looked very orange peely. Anyways, I turned up the **** that adjusts how much paint comes out and I think I was laying it on better the second pass because it started looking glossy. I will for sure needs lots of wet sanding, but under the hood may not get treated to that. The cowl turned out okay, better that the ugly tan primer I had on it before. It was dry to the touch within 30 minutes, but you can still sort of feel that its soft. So its sitting in the sun baking.

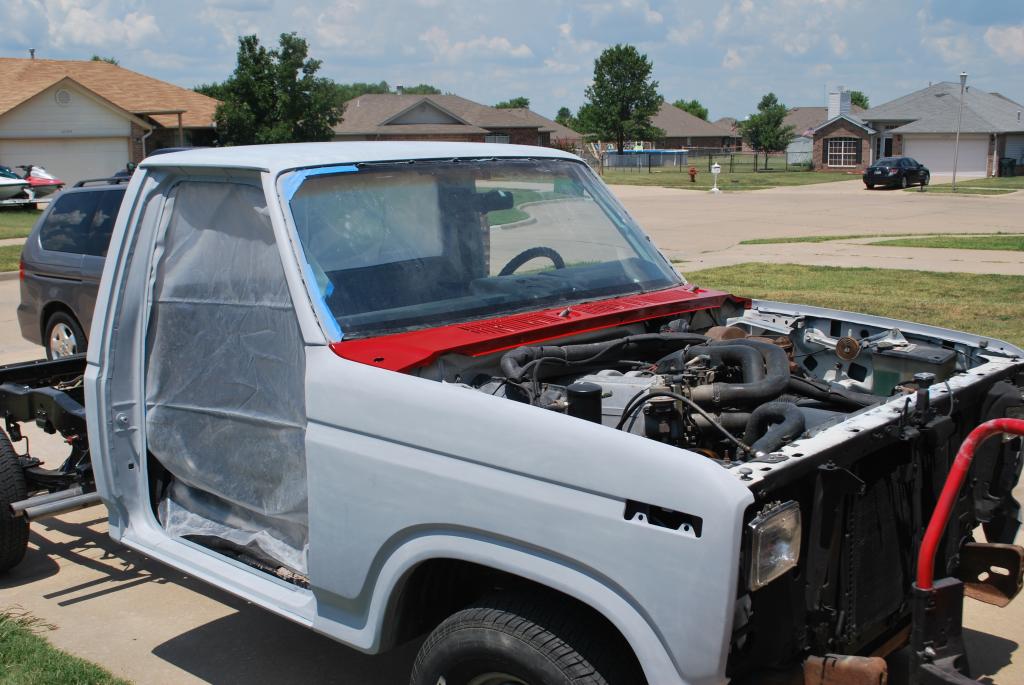
Anyways, I started practicing with the underside of the hood and the cowl cover. Not really sure what I am doing, but I have learned one thing. Not to paint too light of a coat. There seems to be a happy medium between thinning and how much you lay down. I noticed my first pass was way too conservative and looked very orange peely. Anyways, I turned up the **** that adjusts how much paint comes out and I think I was laying it on better the second pass because it started looking glossy. I will for sure needs lots of wet sanding, but under the hood may not get treated to that. The cowl turned out okay, better that the ugly tan primer I had on it before. It was dry to the touch within 30 minutes, but you can still sort of feel that its soft. So its sitting in the sun baking.

