
1977 F150 - 460 Swap and Body Work
#1
 06-09-2013, 10:15 PM

Join Date: Jun 2013
Location: Northern Utah
Posts: 47
Likes: 0
Received 0 Likes
on
0 Posts
1977 F150 - 460 Swap and Body Work
I'm starting this thread to document the progress that I have made on my 1977 F150 Custom (RWD)
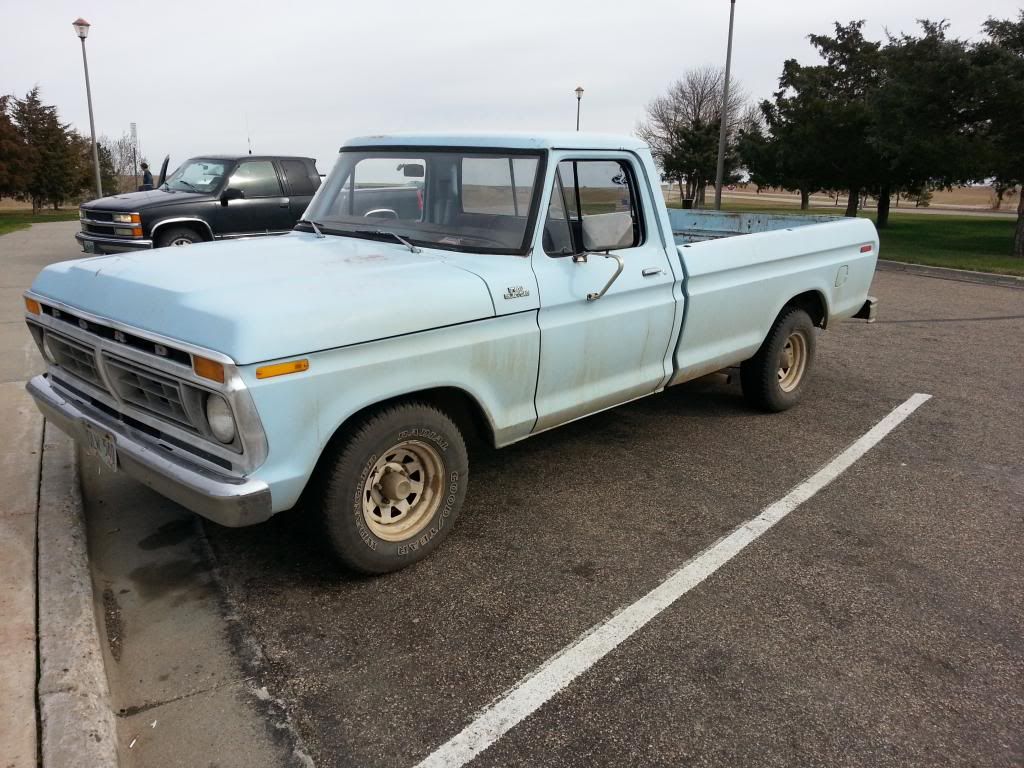
It Currently has a very tired(blowby) 351M with a bad set of main bearings. So I was getting ready to pull the engine that was in the truck and rebuild it when I came across a good 460 from one of my neighbors. Picked it up for a good price and I will take it home next friday.
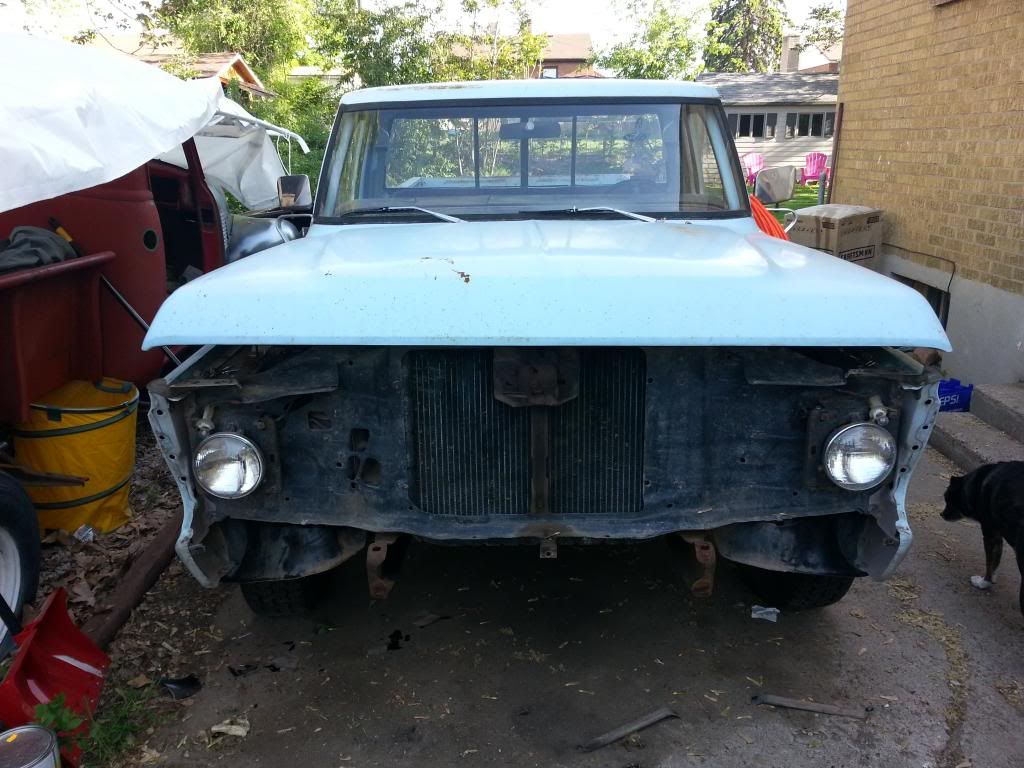
I have already done a lot of prep work to get the engine out, starting with deciding whether or not to pull the grill shell and front bumper.
That would be a big Yes with my lift.
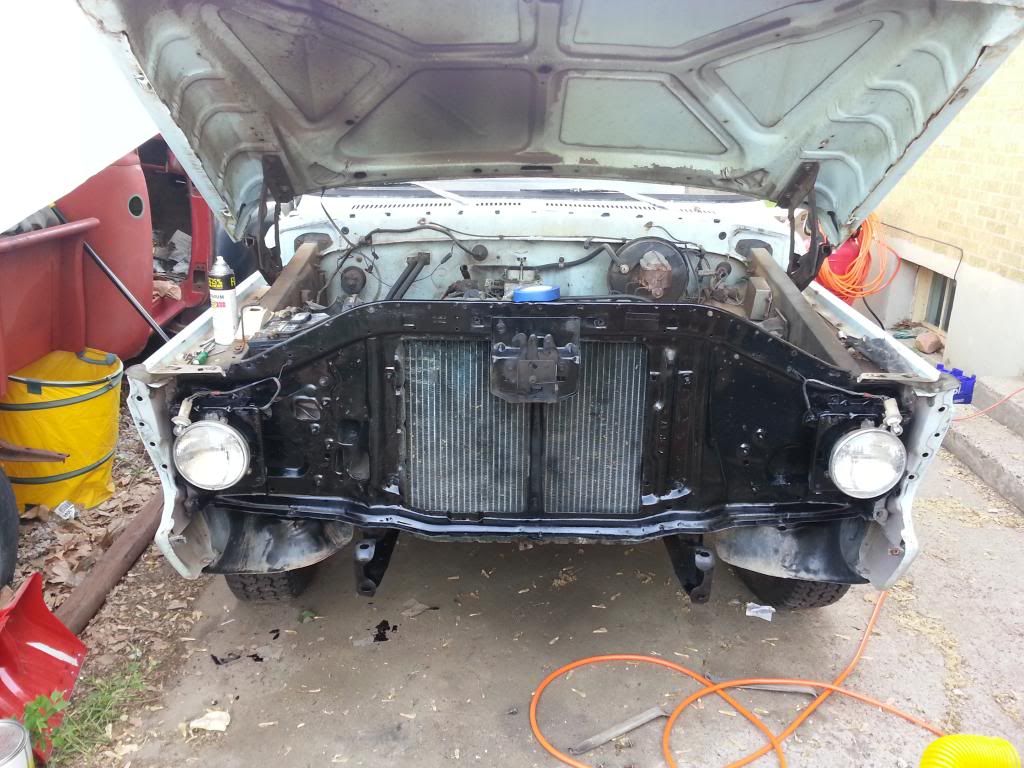
So work began to remove the grill and bumpers. Once that was complete I had plenty of room to get my lift in place to pull the engine.
It seemed like a good time to go ahead and do some quick paint work on the radiator support
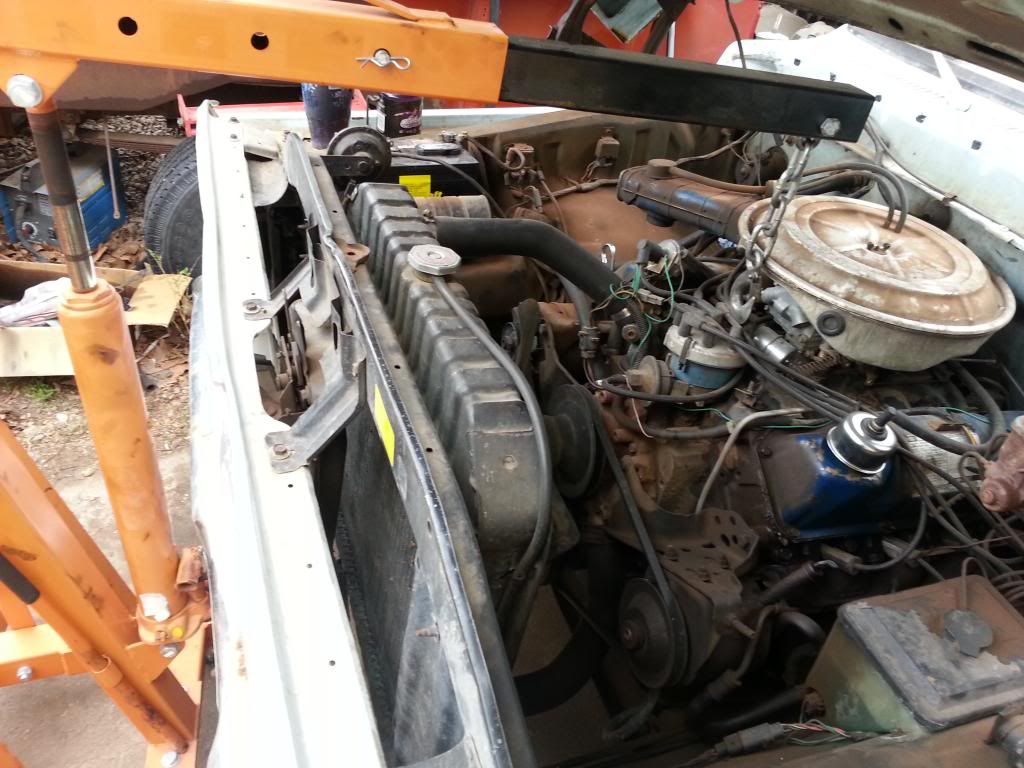
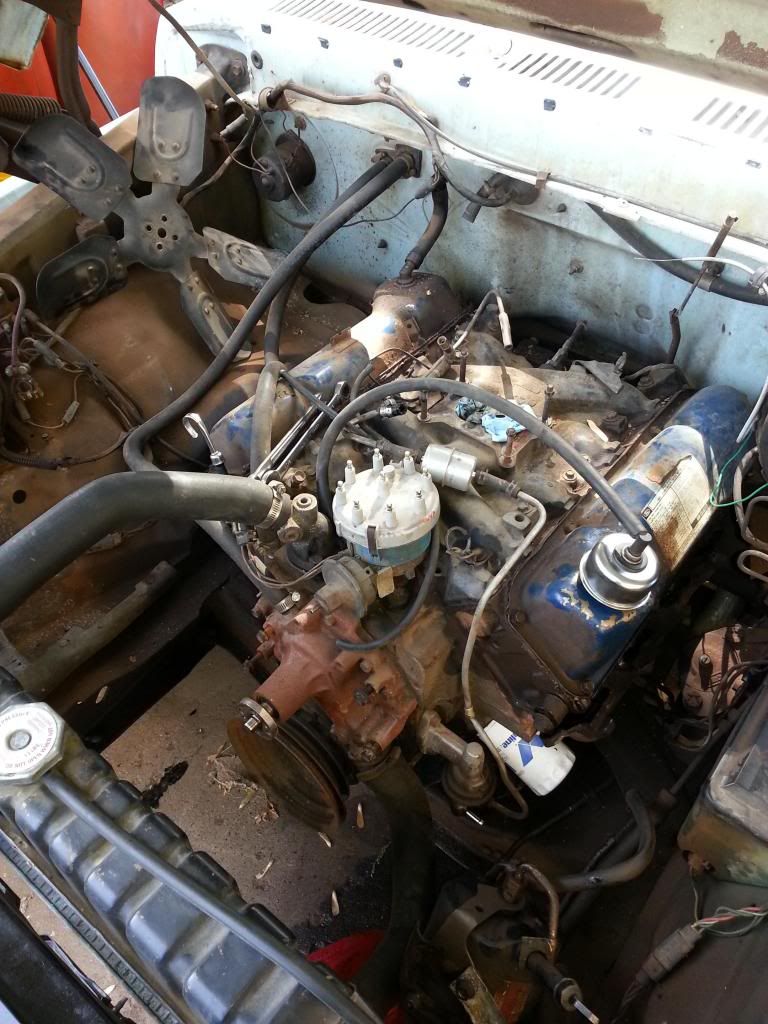
The next day when everything was nice and dry I went ahead and started removing engine accessories and electrical connections.
Since I do not have a garage, and I have to work out in the open, work has halted at this point to make sure the old engine remains rebuild-able if the new 460 turns out to be too far gone.
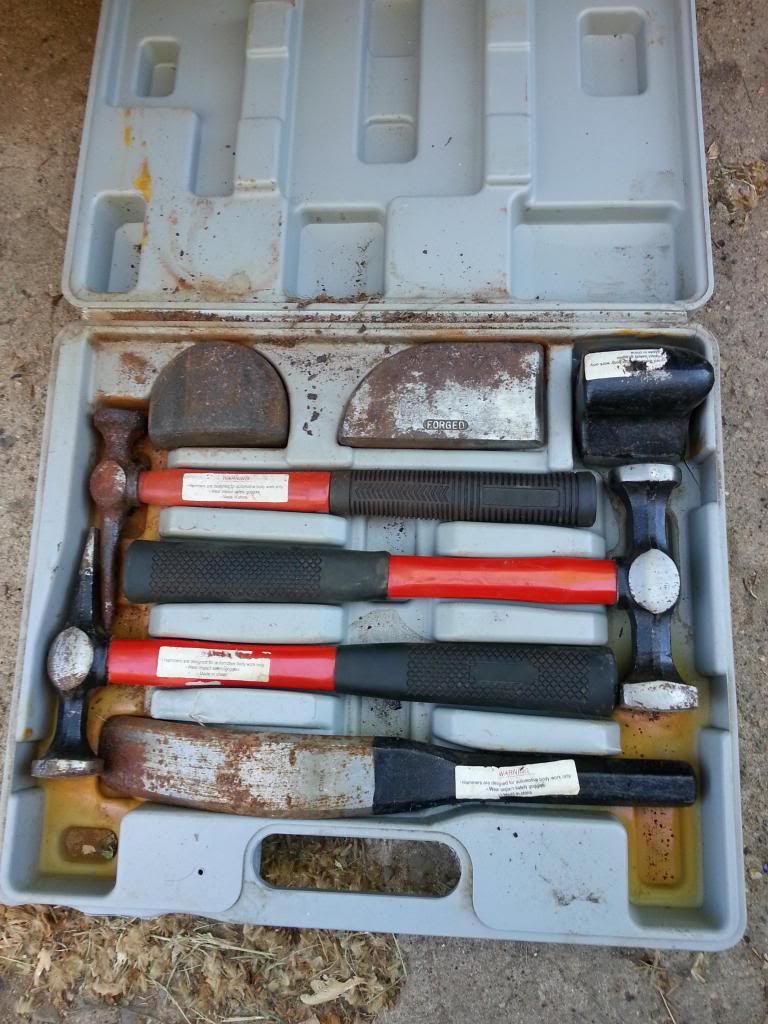
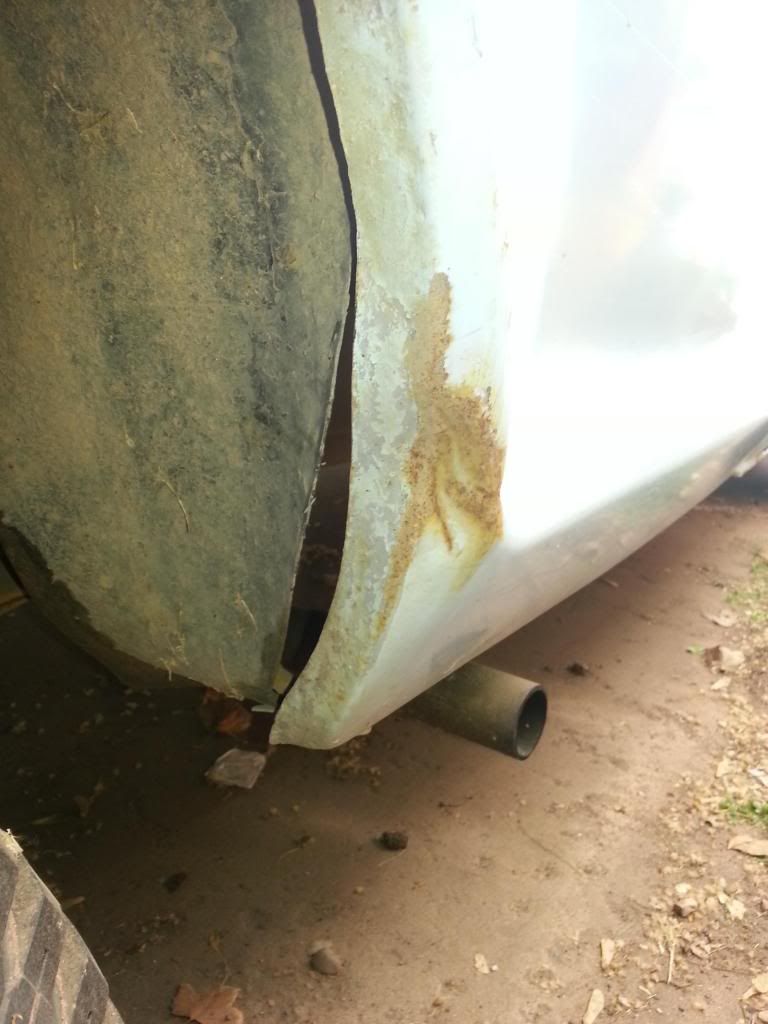
So i turn my attention to some body work that needs to be done.. and break out the old hammer and dolly set.
On the rear passenger side of the truck in the wheel wells had been chewed up from a blow out several years ago.
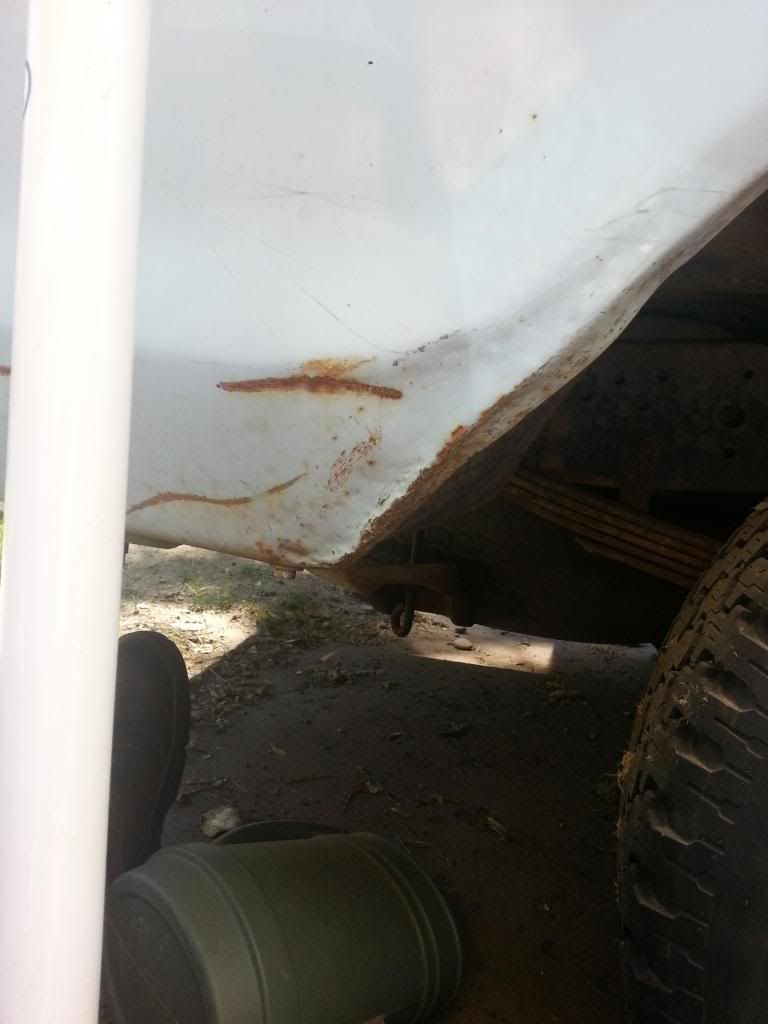
A few hours of work goes by and I feel this panel is ready for a very light coat of filler and primer.
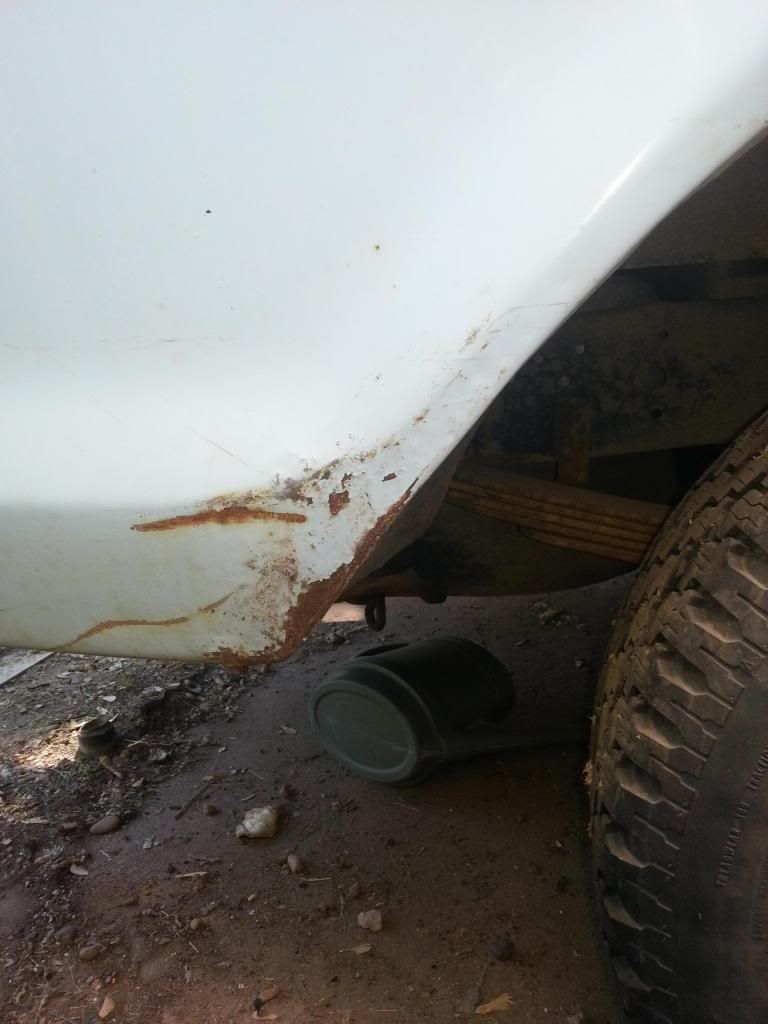
I don't have any images of the front of that fender completed but I do have what It looks like before the work.
More work to come.

It Currently has a very tired(blowby) 351M with a bad set of main bearings. So I was getting ready to pull the engine that was in the truck and rebuild it when I came across a good 460 from one of my neighbors. Picked it up for a good price and I will take it home next friday.
I have already done a lot of prep work to get the engine out, starting with deciding whether or not to pull the grill shell and front bumper.
That would be a big Yes with my lift.

So work began to remove the grill and bumpers. Once that was complete I had plenty of room to get my lift in place to pull the engine.

It seemed like a good time to go ahead and do some quick paint work on the radiator support

The next day when everything was nice and dry I went ahead and started removing engine accessories and electrical connections.

Since I do not have a garage, and I have to work out in the open, work has halted at this point to make sure the old engine remains rebuild-able if the new 460 turns out to be too far gone.
So i turn my attention to some body work that needs to be done.. and break out the old hammer and dolly set.

On the rear passenger side of the truck in the wheel wells had been chewed up from a blow out several years ago.

A few hours of work goes by and I feel this panel is ready for a very light coat of filler and primer.

I don't have any images of the front of that fender completed but I do have what It looks like before the work.

More work to come.
#2
06-09-2013, 10:53 PM

Post Fiend

#3
06-16-2013, 10:27 AM
Join Date: Jun 2013
Location: Northern Utah
Posts: 47
Likes: 0
Received 0 Likes
on
0 Posts


#4
06-16-2013, 12:39 PM
Join Date: Jun 2013
Location: Northern Utah
Posts: 47
Likes: 0
Received 0 Likes
on
0 Posts


#5
06-16-2013, 02:32 PM

Senior User
Join Date: Apr 2013
Location: Nevada
Posts: 115
Likes: 0
Received 0 Likes
on
0 Posts
Should have taken a compression ck before buying engine. too late for that. Before you drop engine into truck at least take one now. should have a least 140# on each cyl.
you'll have a lot better engine with the 460 but also a bigger gas guzzler. I think it would have been easier just to undue the two rad. support bolts, fender bolts on the cowl and inner fenders and lift off the whole front clip. It's not to late. it's how I did mine and you have lots of room to put it all back together.
you'll have a lot better engine with the 460 but also a bigger gas guzzler. I think it would have been easier just to undue the two rad. support bolts, fender bolts on the cowl and inner fenders and lift off the whole front clip. It's not to late. it's how I did mine and you have lots of room to put it all back together.
#6
06-16-2013, 04:07 PM
Join Date: Jun 2013
Location: Northern Utah
Posts: 47
Likes: 0
Received 0 Likes
on
0 Posts
I figured for $100 I would have a good starting point for a rebuild, the plan was to tear it down and re-ring and new bearings if I didn't need anything major.
I never do any engine swaps without first tearing down the engine, this way I make sure i'm not wasting my time by putting in a blown motor.
I never do any engine swaps without first tearing down the engine, this way I make sure i'm not wasting my time by putting in a blown motor.
#7
06-16-2013, 08:12 PM
Join Date: Jun 2013
Location: Northern Utah
Posts: 47
Likes: 0
Received 0 Likes
on
0 Posts
I removed the intake and accessories.
Under the carb I had a 1" spacer, looks like a standard Oreilly's or AutoZone part
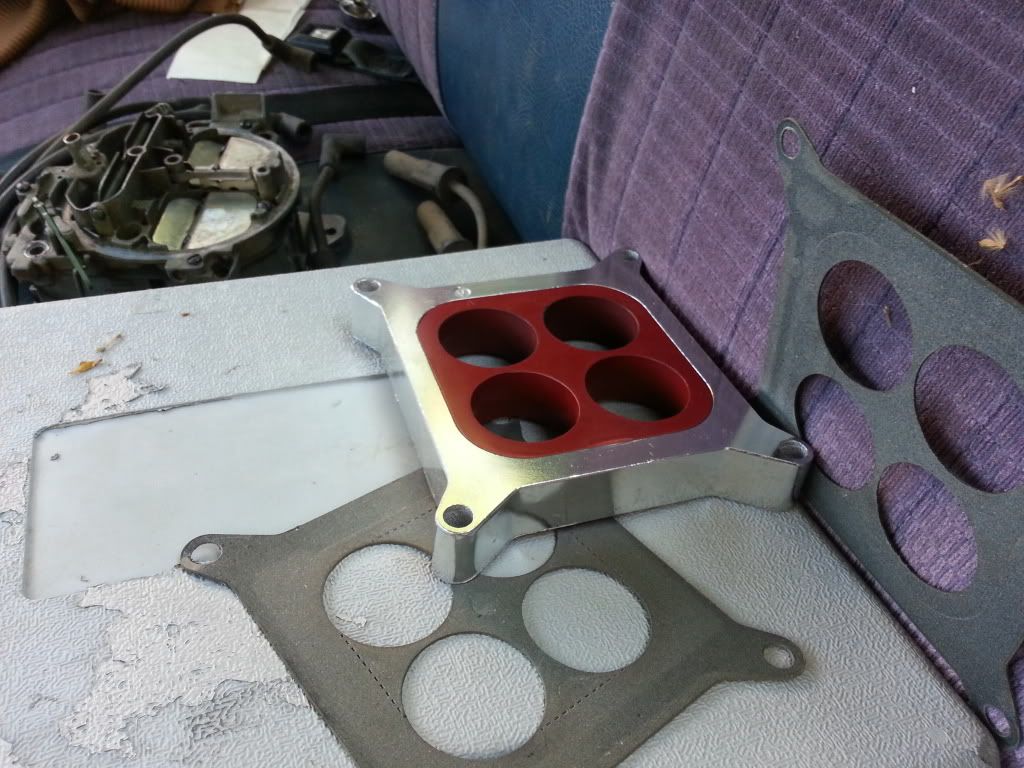
top view with Carb/Distributor removed.

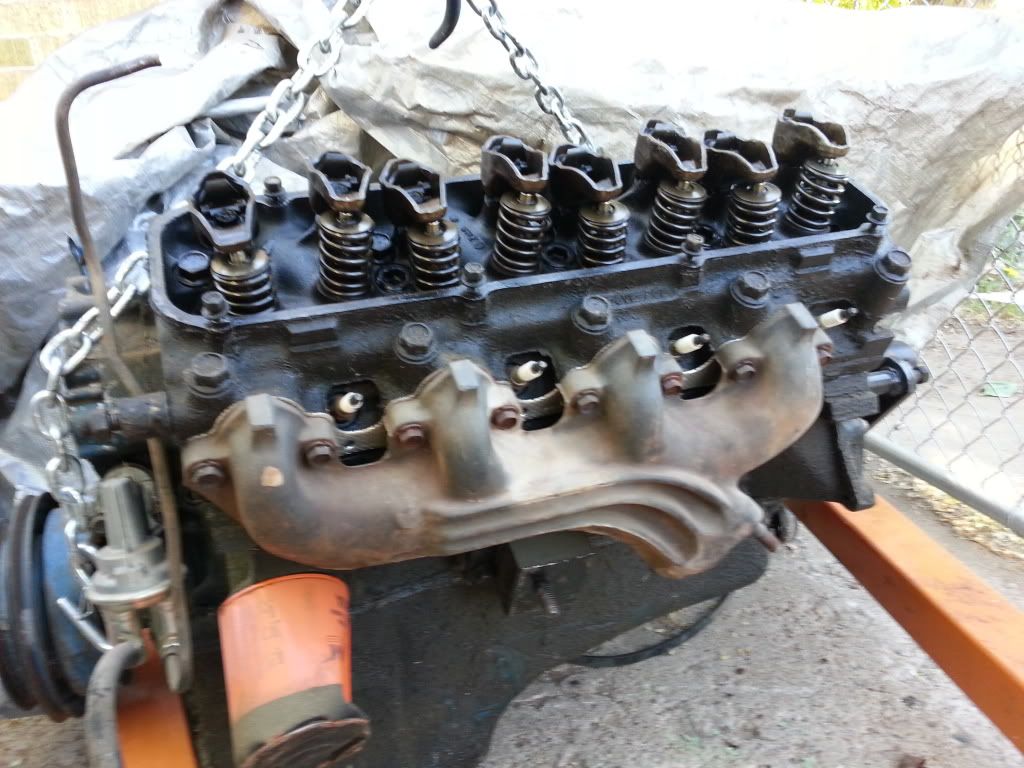
Intake and valve covers removed, pretty standard build by the looks of it. the cam doesn't show too much for wear, It will still be replaced with a Comp Cams XE256H and a double roller timing set
it appears to already have the right exhaust manifolds for the 460 swap.
More work tomorrow!
Under the carb I had a 1" spacer, looks like a standard Oreilly's or AutoZone part

top view with Carb/Distributor removed.

Intake and valve covers removed, pretty standard build by the looks of it. the cam doesn't show too much for wear, It will still be replaced with a Comp Cams XE256H and a double roller timing set

it appears to already have the right exhaust manifolds for the 460 swap.

More work tomorrow!
Trending Topics
#8
06-16-2013, 08:13 PM
Join Date: Jun 2013
Location: Northern Utah
Posts: 47
Likes: 0
Received 0 Likes
on
0 Posts
#9
06-16-2013, 08:19 PM
Post Fiend
Join Date: May 2012
Location: Gods Country, Kansas
Posts: 14,724
Likes: 0
Received 0 Likes
on
0 Posts


#11
06-17-2013, 11:24 AM
Join Date: Jun 2013
Location: Northern Utah
Posts: 47
Likes: 0
Received 0 Likes
on
0 Posts
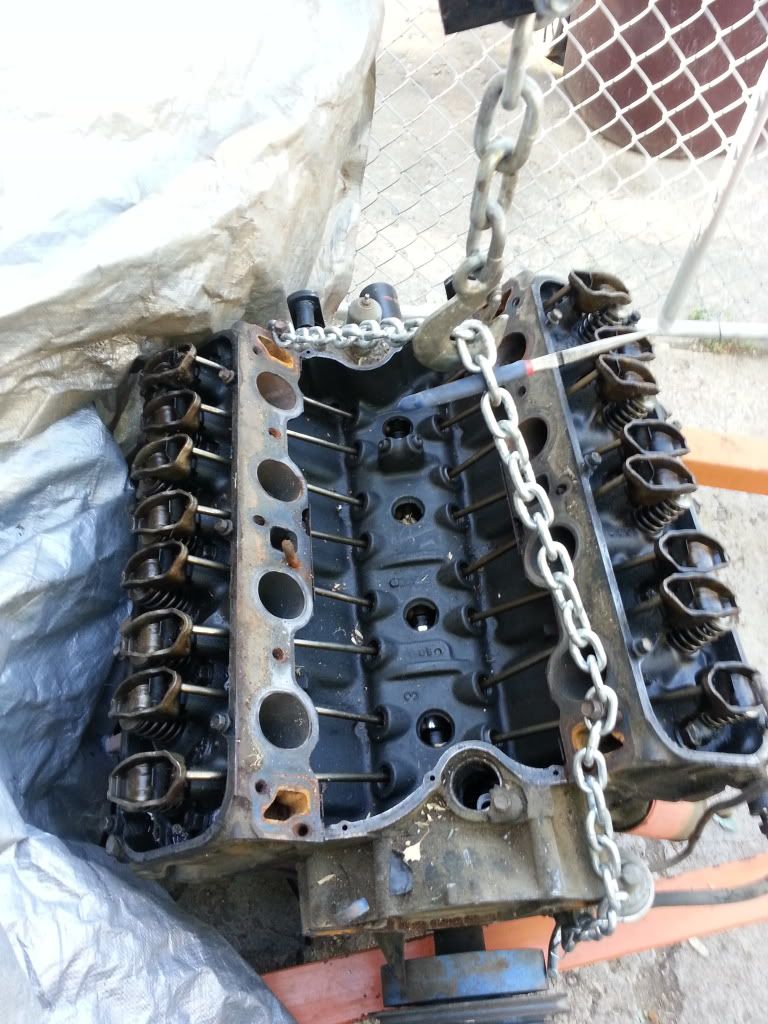
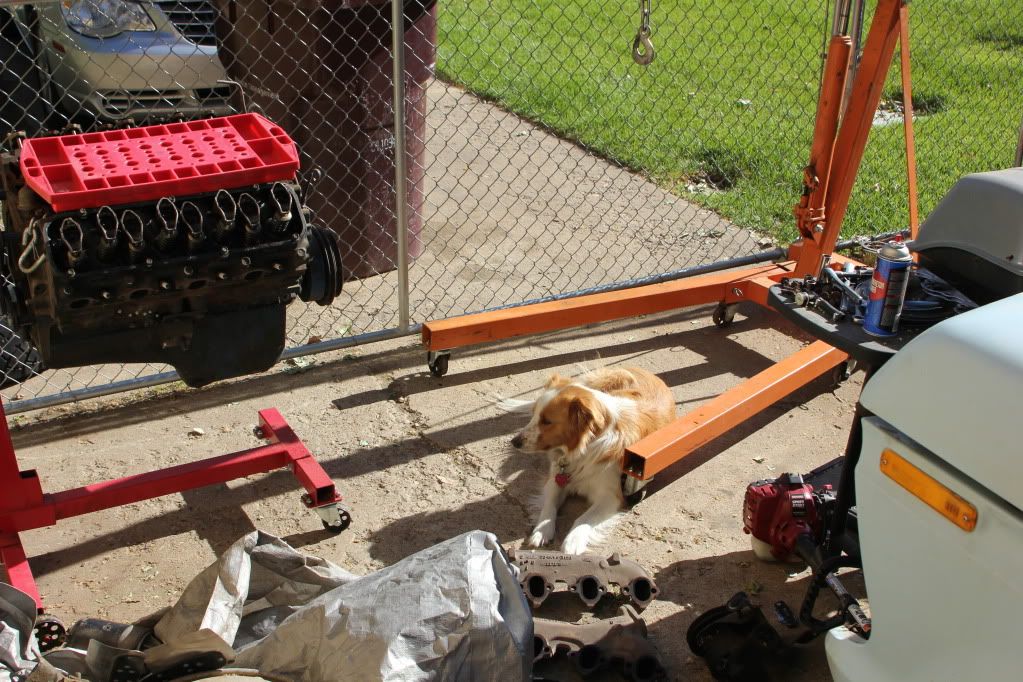
I've started tearing down the 460 today, it all looks pretty good so far, minimal wear but a bit of carbon buildup and some rusty water jackets..
I always have help when I'm working on stuff in the yard. Ginny is never far.
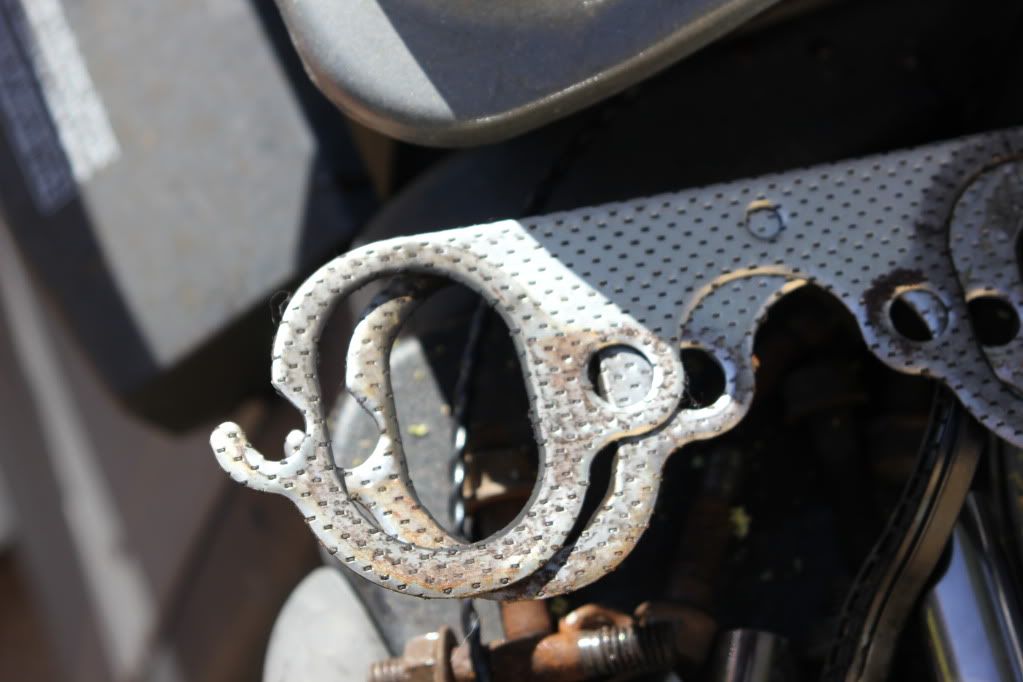
Removing the exhaust manifolds reveal that these gaskets are pretty new.. the bolts were very easy to remove, even though there was no sign of anti-seize.
To remove the heads, i broke out the cylinder head tray to keep my parts in order. It fit quite well in the valley.
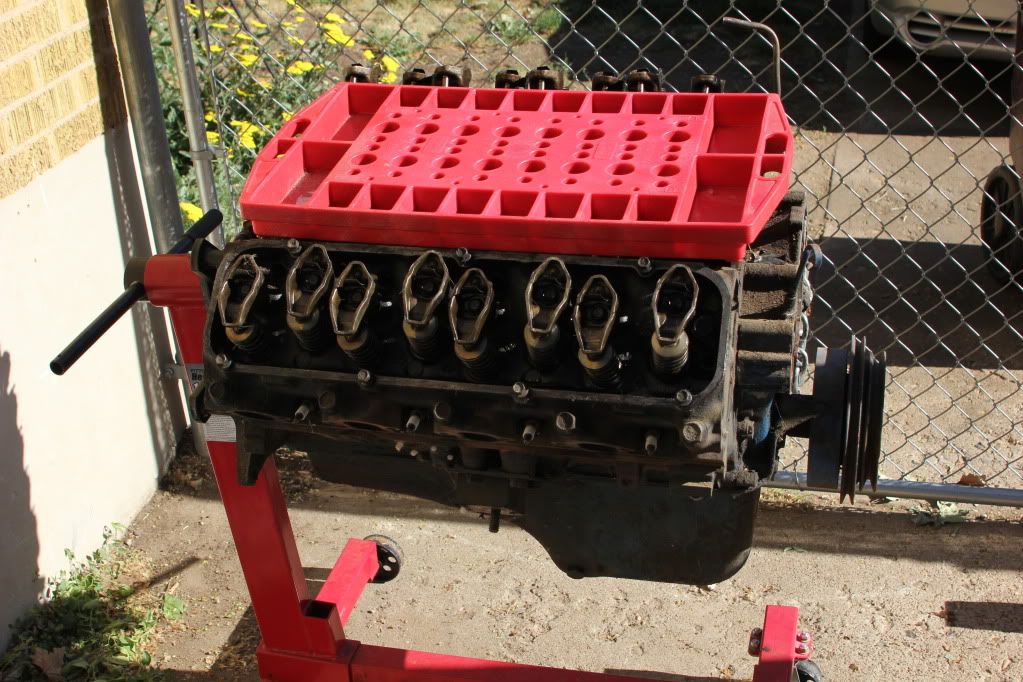
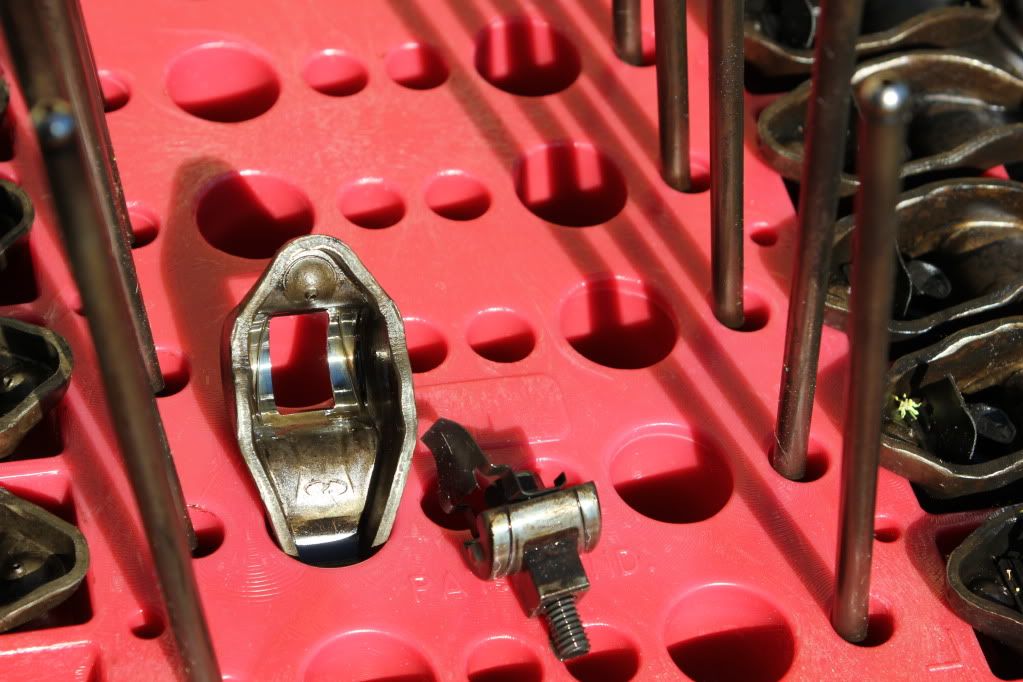
The rocker arms appear to be just standard ford stamped steel.
The tray makes it very nice to keep things organized in the past I have used the old school method of cardboard and wire to keep everything together. I decided to buy these when I did my 350 in my 1967 C20, and I have loved them.
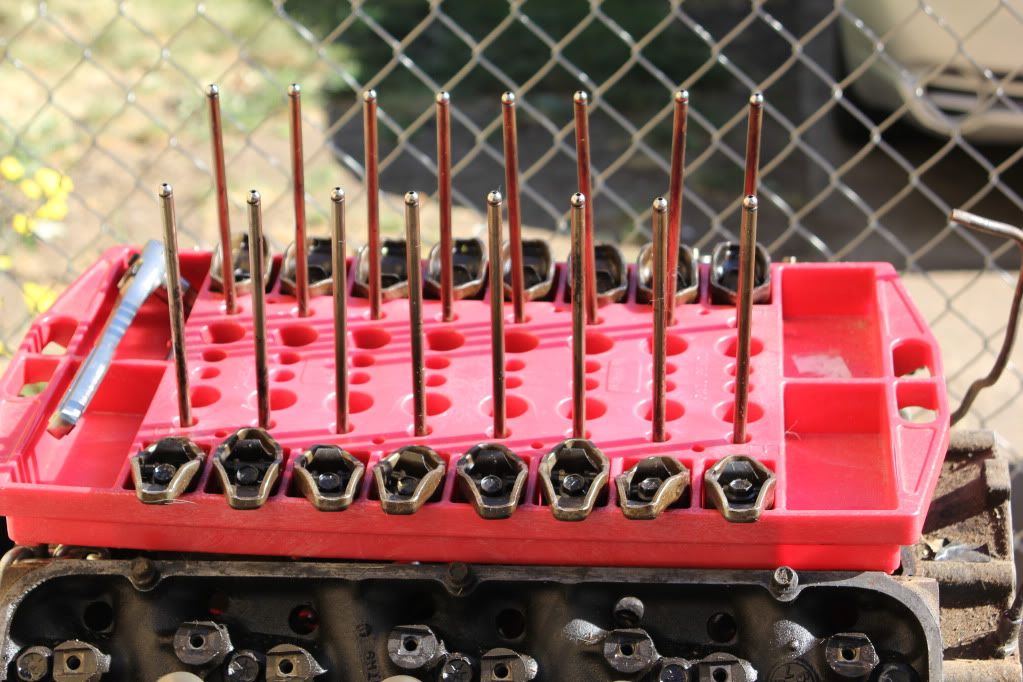
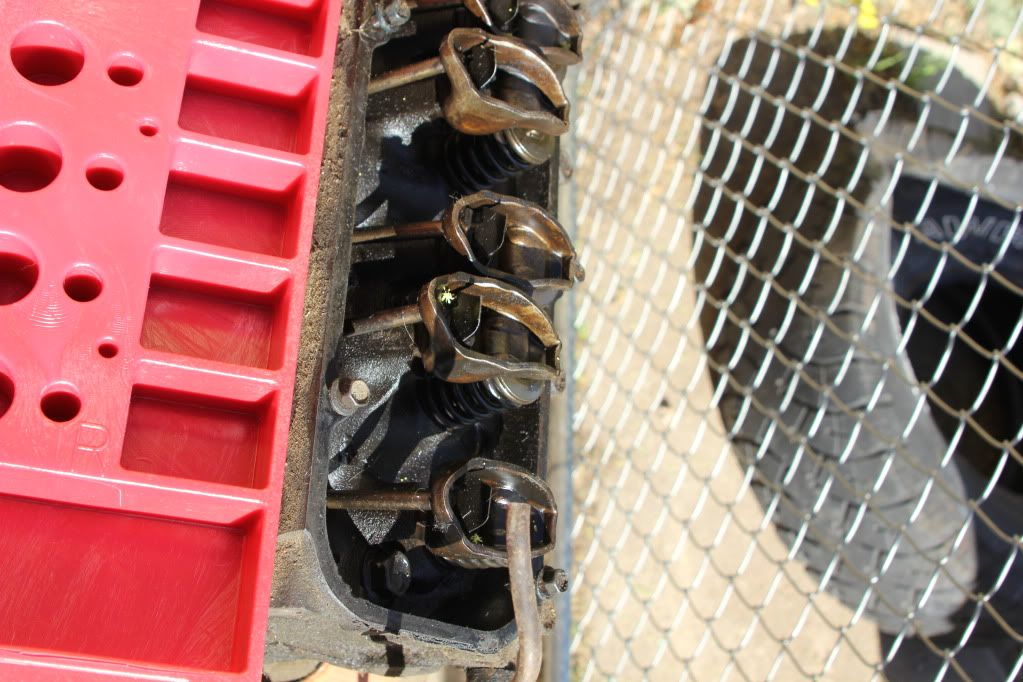
Minimal wear on the Rockers.
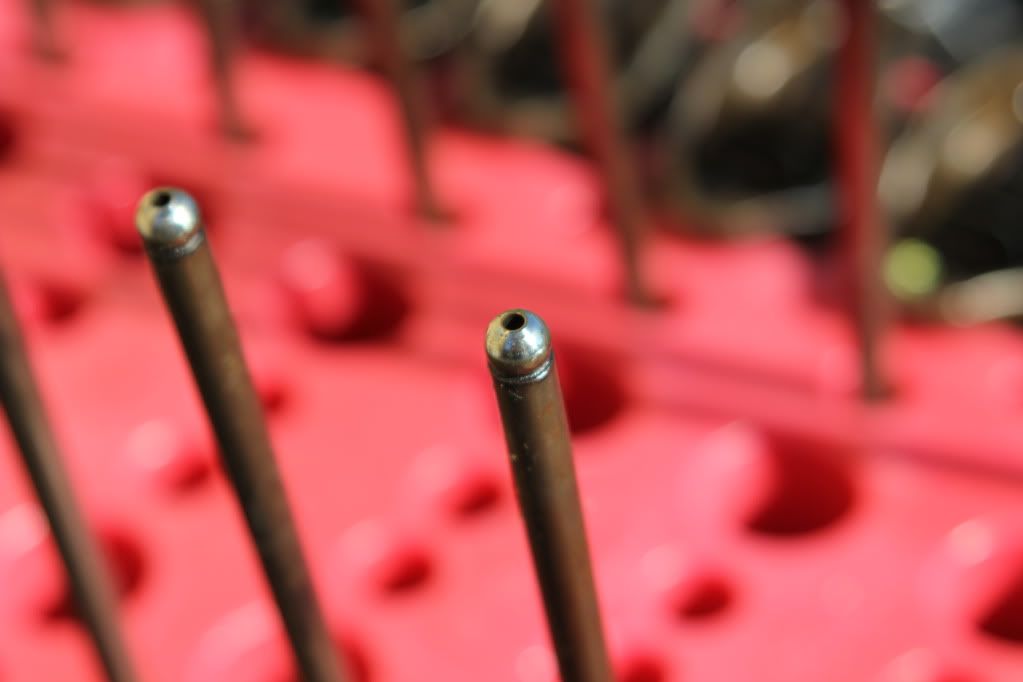
Pushrod wear seems minimal as well
Valves also show minimal signs of wear
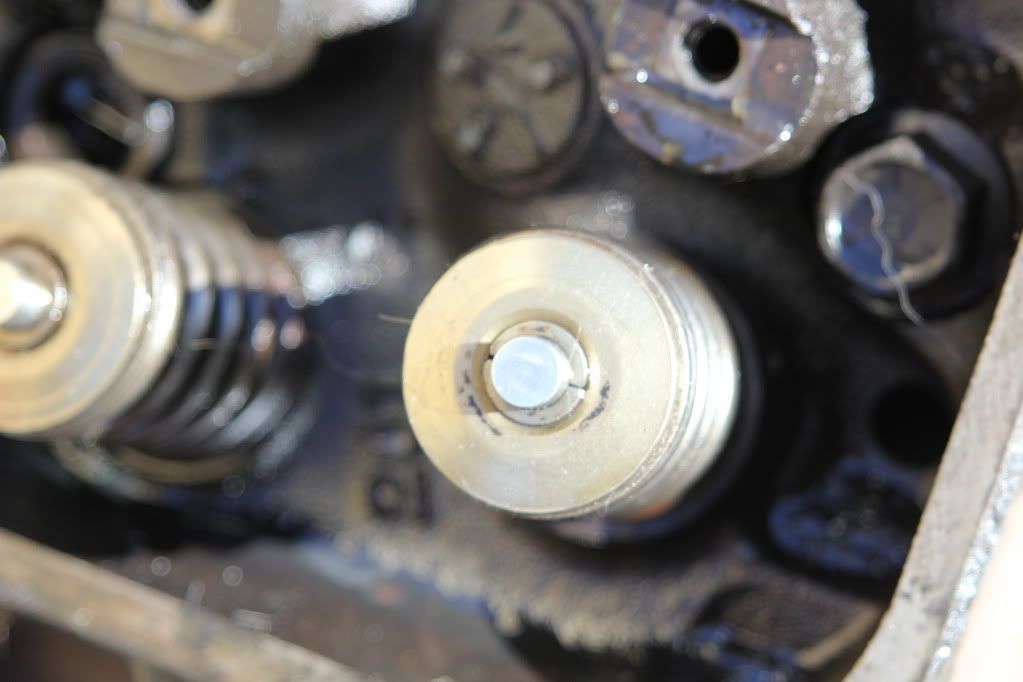
All of the lifters looked like this, the oil in this engine also appears to be clean
Cylinder heads show a lot of carbon buildup, and a bit of rust in the water passage
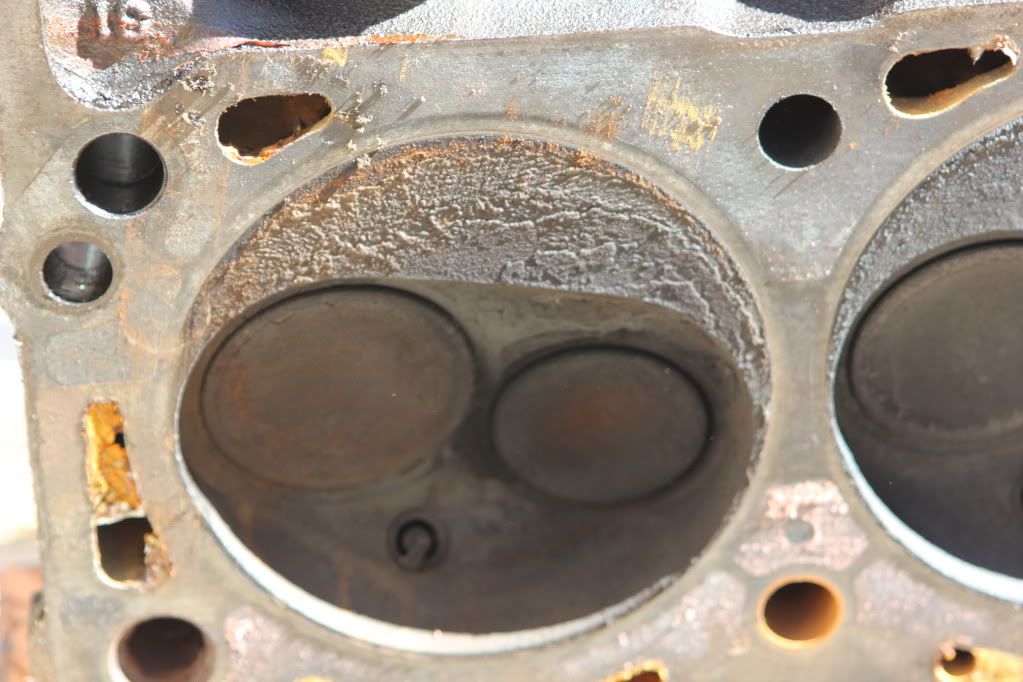
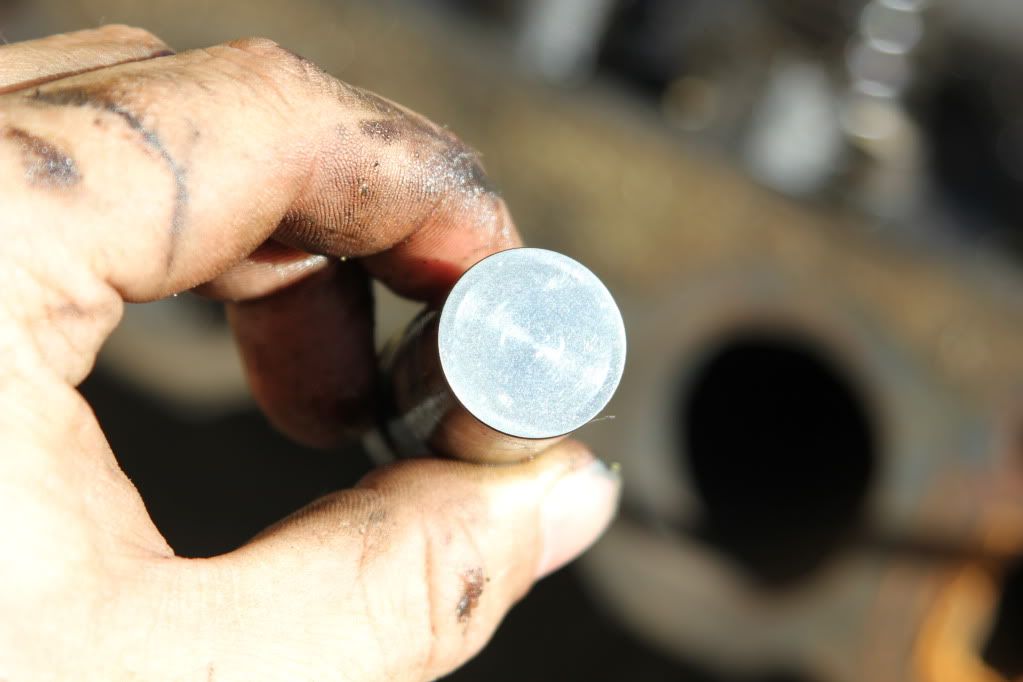
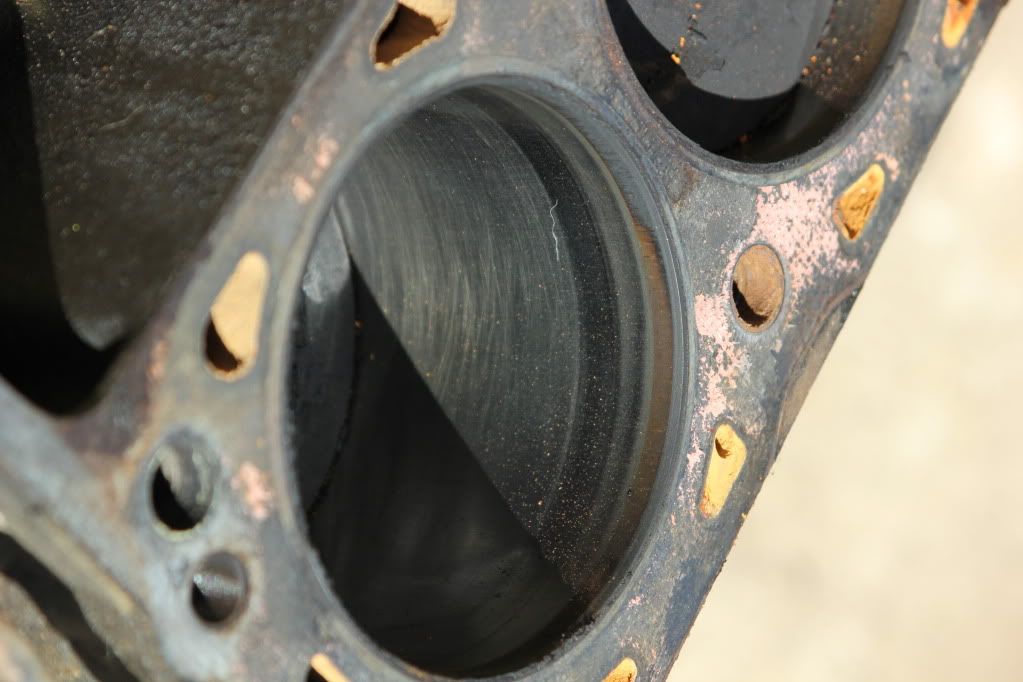
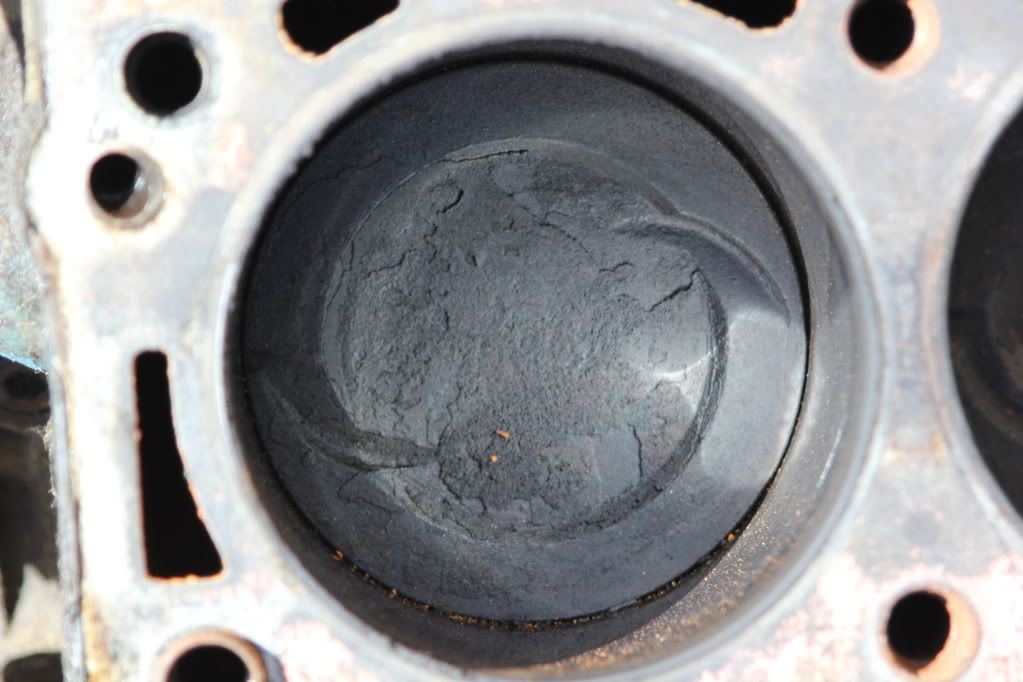
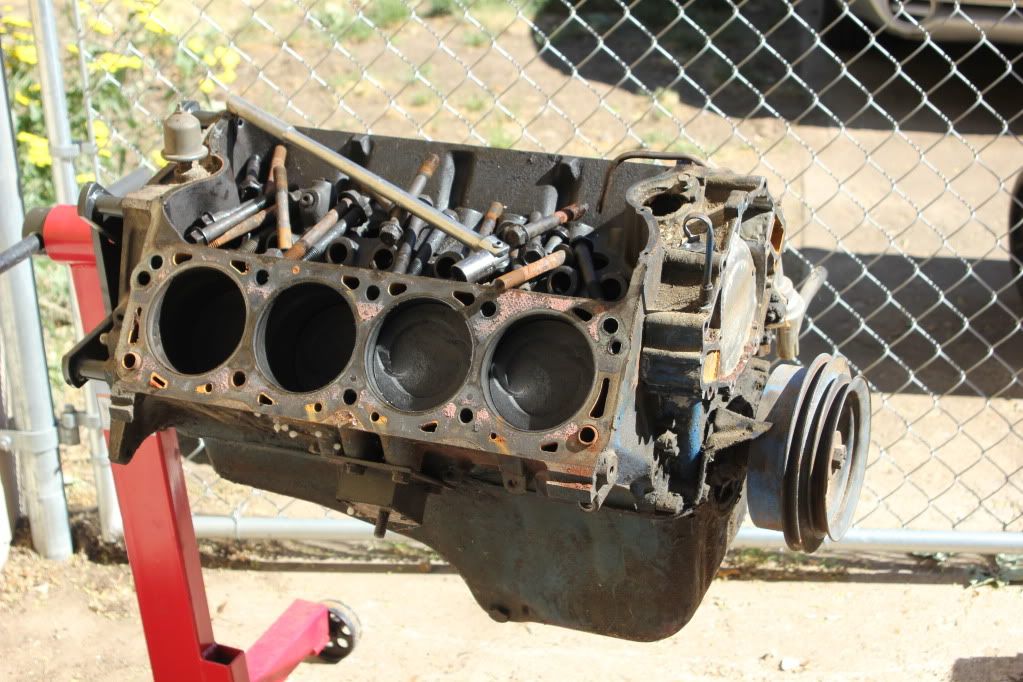
With the cylinder heads removed I now have good access to see into the piston bores. other than a little carbon buildup it looks pretty good. You can still see the crosshatching done when the cylinders were honed
They appear to be standard pistons.
This is where I stop for now, it's going to get really hot outside in the next couple of hours so I will take a break for now.
All the pictures in this post were taken with a Canon Rebel T2i with a Canon EF 28-105mm f3.5:4.5 previous pictures were taken with a Samsung Galaxy S3.
I always have help when I'm working on stuff in the yard. Ginny is never far.

Removing the exhaust manifolds reveal that these gaskets are pretty new.. the bolts were very easy to remove, even though there was no sign of anti-seize.

To remove the heads, i broke out the cylinder head tray to keep my parts in order. It fit quite well in the valley.

The rocker arms appear to be just standard ford stamped steel.

The tray makes it very nice to keep things organized in the past I have used the old school method of cardboard and wire to keep everything together. I decided to buy these when I did my 350 in my 1967 C20, and I have loved them.

Minimal wear on the Rockers.

Pushrod wear seems minimal as well

Valves also show minimal signs of wear

All of the lifters looked like this, the oil in this engine also appears to be clean

Cylinder heads show a lot of carbon buildup, and a bit of rust in the water passage

With the cylinder heads removed I now have good access to see into the piston bores. other than a little carbon buildup it looks pretty good. You can still see the crosshatching done when the cylinders were honed

They appear to be standard pistons.

This is where I stop for now, it's going to get really hot outside in the next couple of hours so I will take a break for now.

All the pictures in this post were taken with a Canon Rebel T2i with a Canon EF 28-105mm f3.5:4.5 previous pictures were taken with a Samsung Galaxy S3.
#12
06-18-2013, 12:38 PM
Join Date: Jun 2013
Location: Northern Utah
Posts: 47
Likes: 0
Received 0 Likes
on
0 Posts


#14
06-18-2013, 06:41 PM
Join Date: Jun 2013
Location: Northern Utah
Posts: 47
Likes: 0
Received 0 Likes
on
0 Posts

#15
06-18-2013, 06:55 PM


 block.
1968/71: 460's only installed in Lincoln/Mark III's initially. 1972 Thunderbird was the first 'Ford' to come with 460.
Better measure the stroke to determine the engine size.
460 not available with 4WD or a M/T until 1983. So, the 460 was swapped into the Bronco, 4WD engine supports bolt to the inner frame rails, not so on 2WD's.
1973/79 F100/350 460:
D3TZ-6028-A Right & D3TZ-6029-A Left .. Engine Supports aka towers/stands/perches.
D3TZ-6030-A Right & D3TZ-6031-A Left .. Brackets-Bolt to block-rubber insulators bolt to these than to supports.
2) D3TZ-6038-A .. R/L Front Rubber Insulators.