
'95 Eddie Bauer ZF 5 speed conversion
#1
 06-07-2013, 09:11 PM


Join Date: Oct 2007
Location: Jacksboro / Knoxville, TN
Posts: 133
Likes: 0
Received 0 Likes
on
0 Posts
'95 Eddie Bauer ZF 5 speed conversion
The E4OD finally crapped itself the other day while I had the truck overloaded with two garbage cans and four bags of trash. 
I guess I shouldn't complain, it lasted 160k. Oh well, out with the old, in with the older: 94 ZF42 from a local salvage yard. $300 bucks later and it's mine! I hope it's functional.
Anyway, here's the beginning of my swap thread.
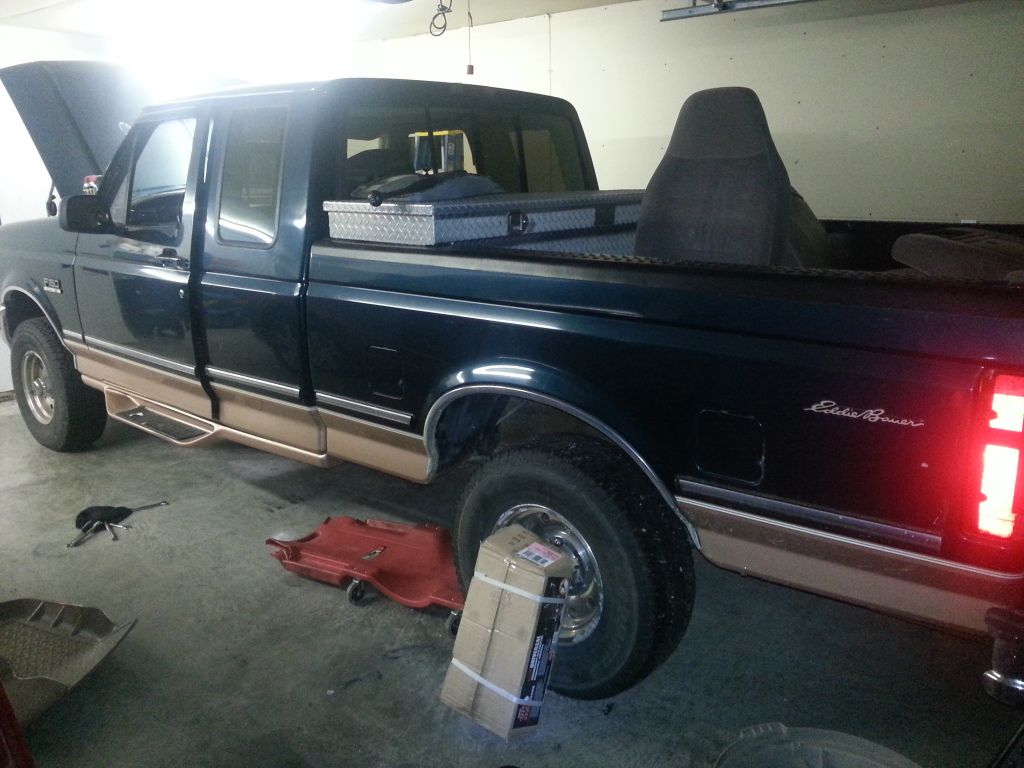
Got the truck in the garage. It's on the shorter side, but the wifey can't pull her van in on that side.
By this point, I had the seats out...
... and the carpet pulled back.
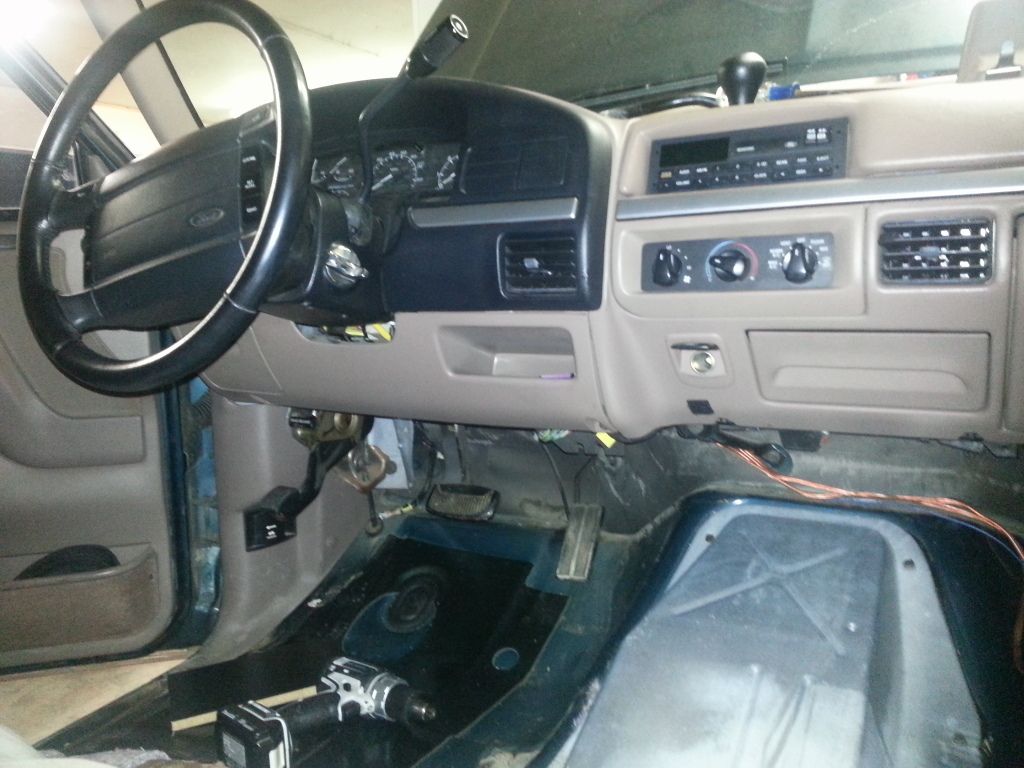
Trans floor pan off.
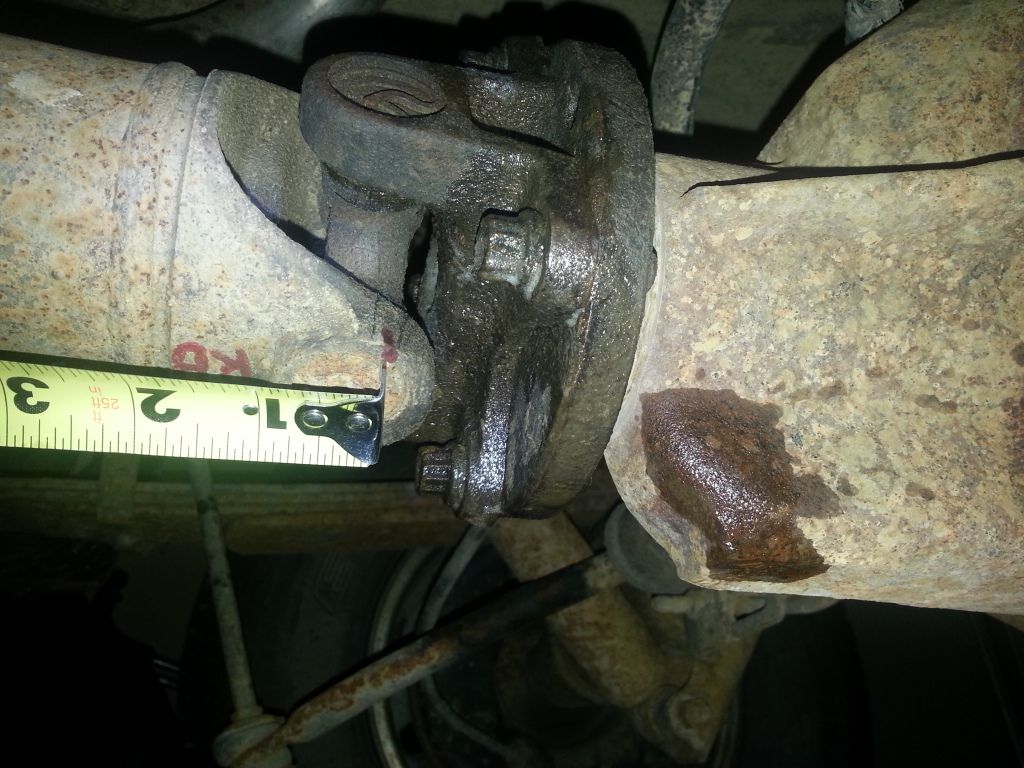
Measured the rear DS.
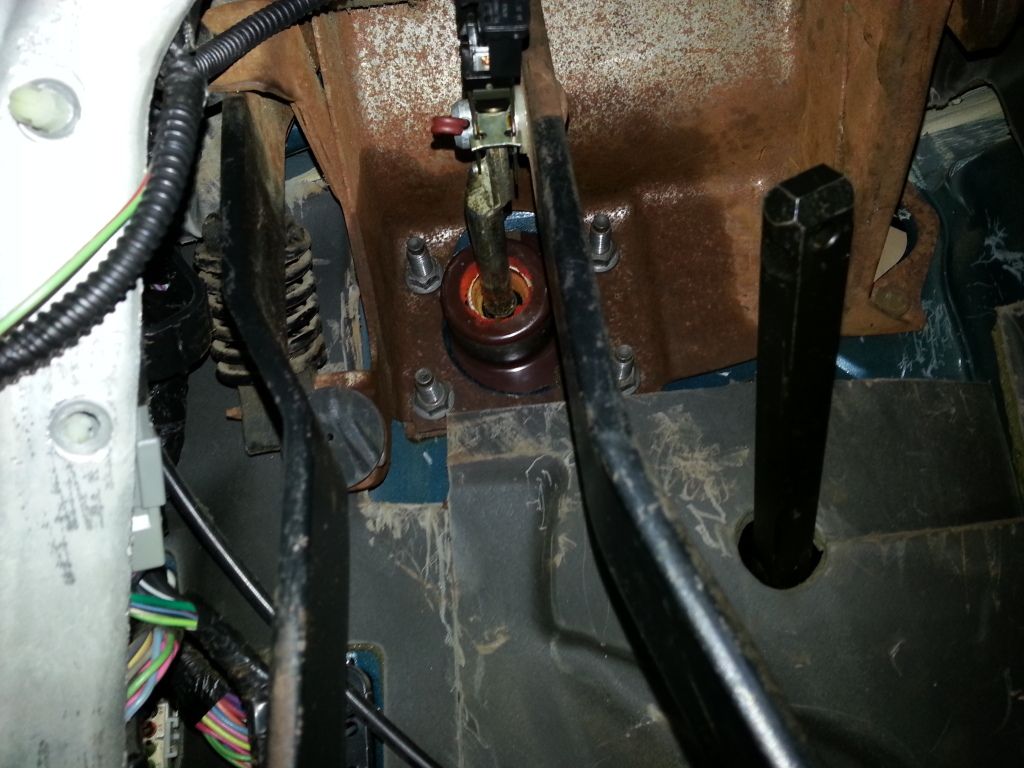
Removed the t-case handle, boot, and bezel. Getting ready to pull the linkage to separate the t-case from the tranny.
Got the t-case out.

Taking tonight off. Had to mow the yard. Tomorrow I pick up the tranny.
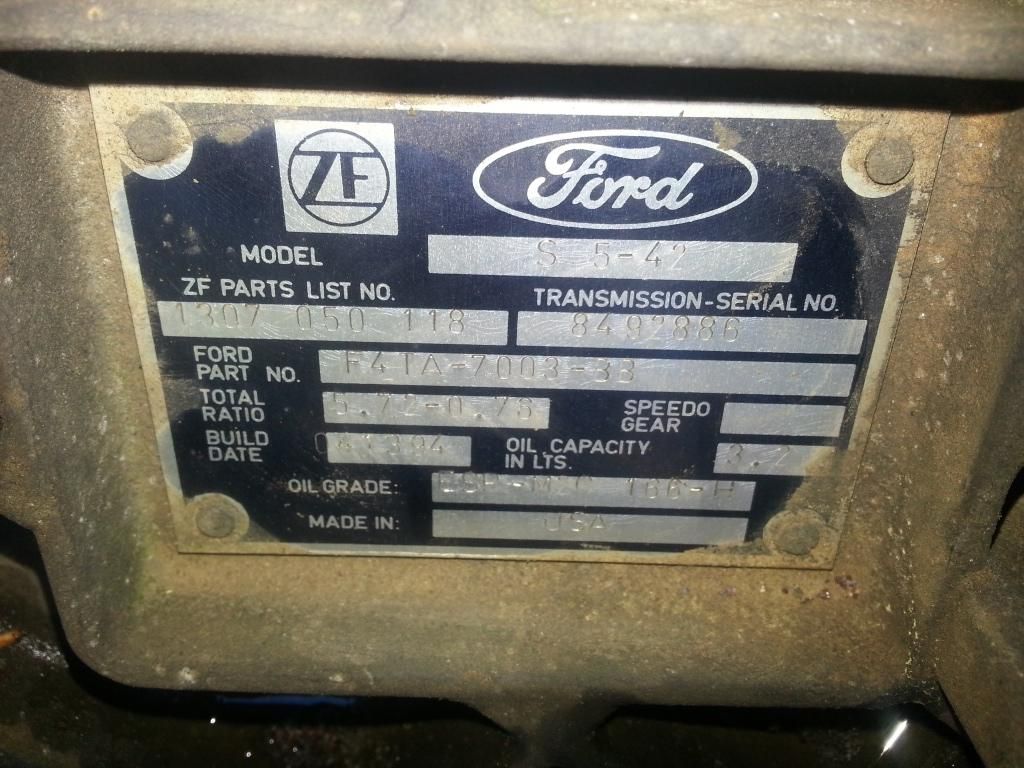
I guess I shouldn't complain, it lasted 160k. Oh well, out with the old, in with the older: 94 ZF42 from a local salvage yard. $300 bucks later and it's mine! I hope it's functional.
Anyway, here's the beginning of my swap thread.
Got the truck in the garage. It's on the shorter side, but the wifey can't pull her van in on that side.
By this point, I had the seats out...

... and the carpet pulled back.

Trans floor pan off.

Measured the rear DS.


Removed the t-case handle, boot, and bezel. Getting ready to pull the linkage to separate the t-case from the tranny.

Got the t-case out.

Taking tonight off. Had to mow the yard. Tomorrow I pick up the tranny.

#2
06-07-2013, 09:16 PM
Join Date: Oct 2007
Location: Jacksboro / Knoxville, TN
Posts: 133
Likes: 0
Received 0 Likes
on
0 Posts
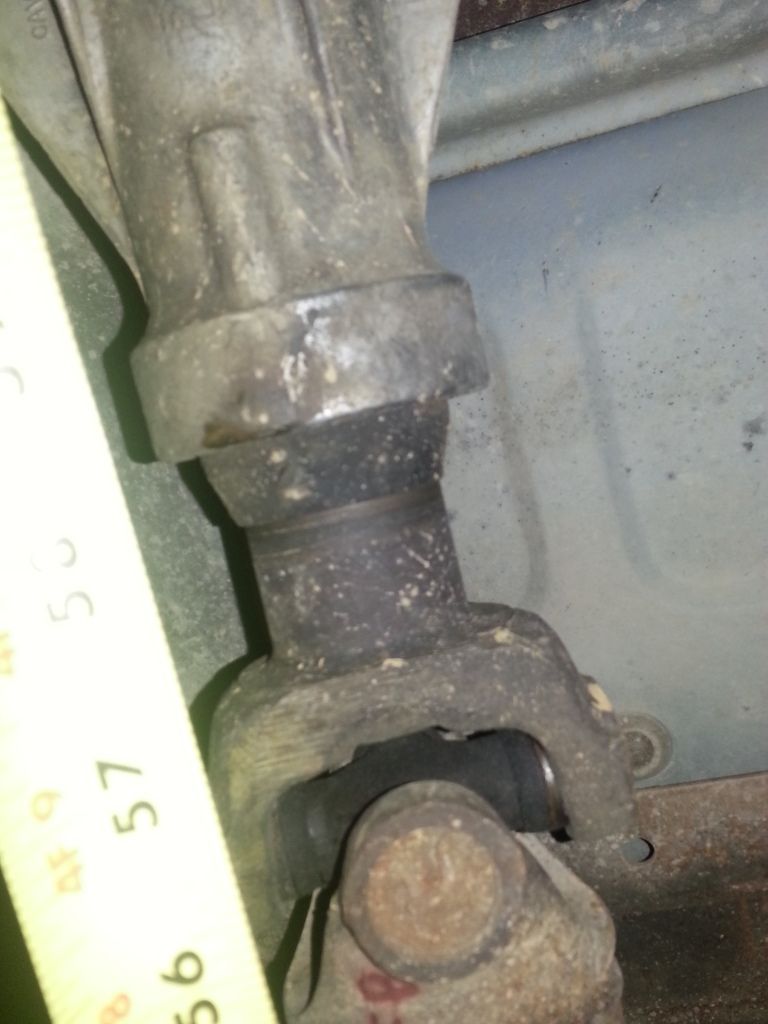
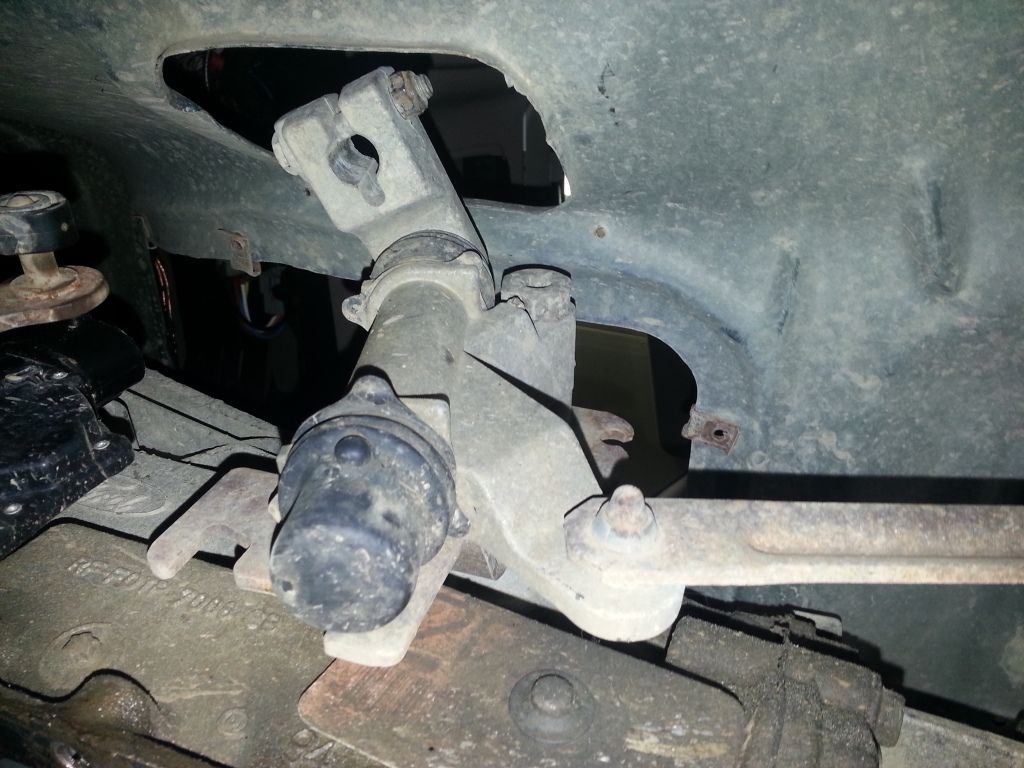
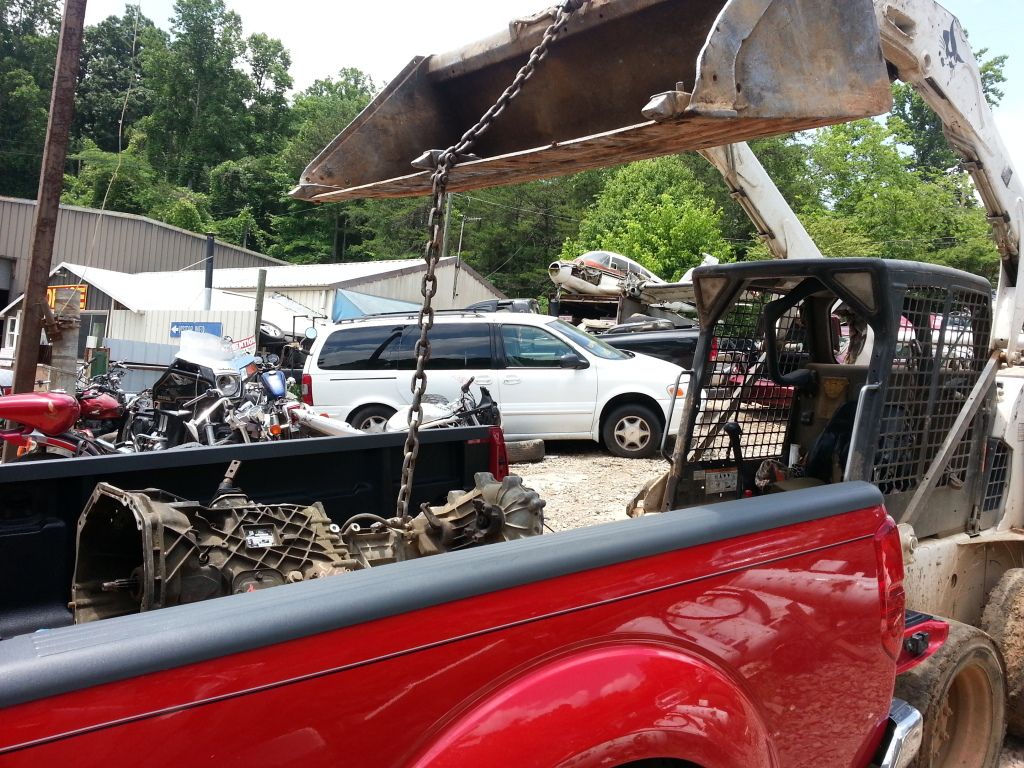
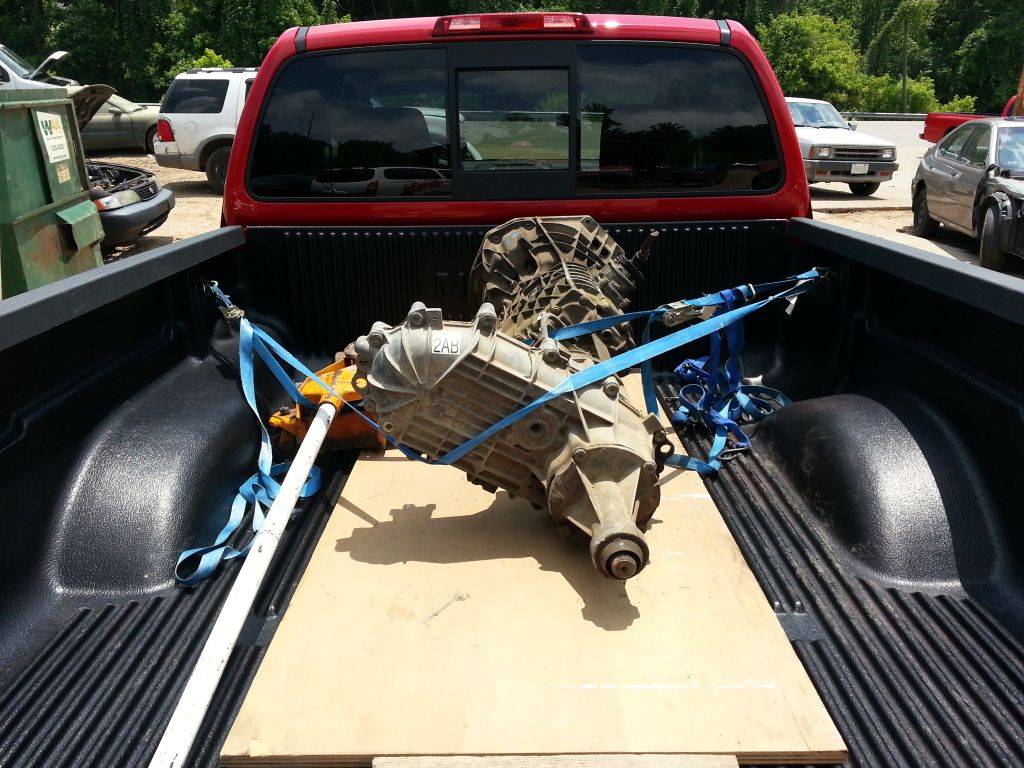
Picked up the tranny today after work.
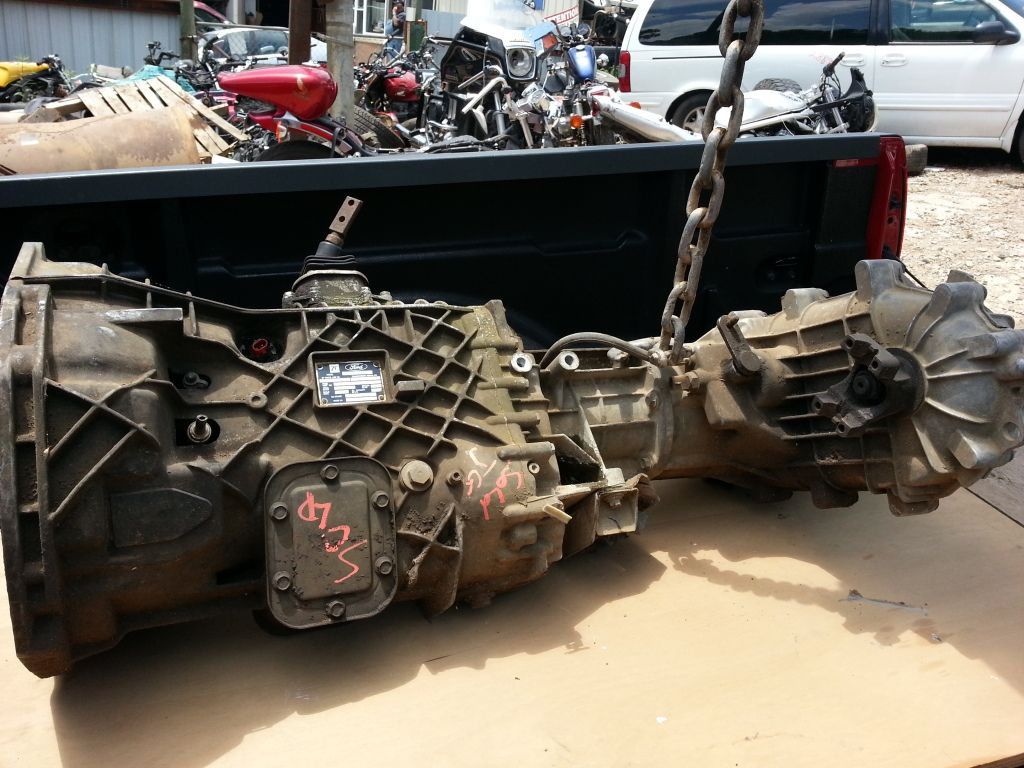
It leaked out quite a bit of what I assume is ATF from the slip yoke. I'm assuming there's a seal here and it shouldn't be leaking? Anyone know?
Also went to a different yard to get pedals and other interior pieces off of an F350 flatbed, but ran out of time. Enough time to get a sunburn on my bald head, though.
I was hoping to use the master cylinder from this 350 but it's an aftermarket one. It doesn't look like a Ford part to me, so I may skip it.
Next on the list is a flywheel, flex plate, and starter.
#3
06-08-2013, 07:03 AM
Lead Driver
#4
06-08-2013, 06:49 PM


#5
06-08-2013, 07:27 PM
Join Date: Oct 2007
Location: Jacksboro / Knoxville, TN
Posts: 133
Likes: 0
Received 0 Likes
on
0 Posts
The tranny / TC combo was already separated from the truck so I have no idea what happened to the rest of it.
I guess it is a Bonanza. This yard is like a plane crash debris field anyway.
Anyway, here's today's results. Sweated like a **** this morning to get the elusive third pedal and the PRNDL cover plate from the cluster.

I've located a 2wd 350 manual. Would the crossmember from the 350 work on my 150? I'd need to get the salvage yard to pull it for me since it's still on the truck. I could use the flywheel and starter from this truck too though, so it would be a nice source of parts.
Here's a shot of the master cylinder from the same truck. Looks way newer than the truck, and not Ford OEM.

How the crap do you disconnect the line from the slave??

#6
06-08-2013, 07:41 PM
Fleet Owner
#7
06-08-2013, 07:41 PM
AP makes decent hydraulics.
Does it have an adjustable pushrod?
I don't know too much about this vintage truck.
Isn't there a tool that you use to push into the fitting and release the hose.
(similar to a fuel line disconnect tool)
Check the pin on the right side of that pedal assembly to see if it has a groove worn in it from the MC.
If so, fix it now while it's out of the truck.
Trending Topics
#8
06-08-2013, 09:31 PM
Lead Driver
The gray collar pushes in towards the slave cylinder to release the line. There is a tool, but a flathead screwdriver can be used instead if you are careful and push evenly around the plastic collar.
A crossmember from an F350 will probably fit the F150 frame, but you will need a 4wd crossmember if I'm not mistaken.
I believe that AP was the OEM supplier for the clutch master cylinder. To my knowledge, the one in my truck is original and is marked AP. Ford changed the master cylinder bore diameter sometime around '93, and may have changed the bolt pattern/orientation where it mounts to the firewall at the same time. The slave cylinder was changed to work with the new master cylinder size at the same time.

#10
06-09-2013, 06:38 AM
Join Date: Oct 2007
Location: Jacksboro / Knoxville, TN
Posts: 133
Likes: 0
Received 0 Likes
on
0 Posts

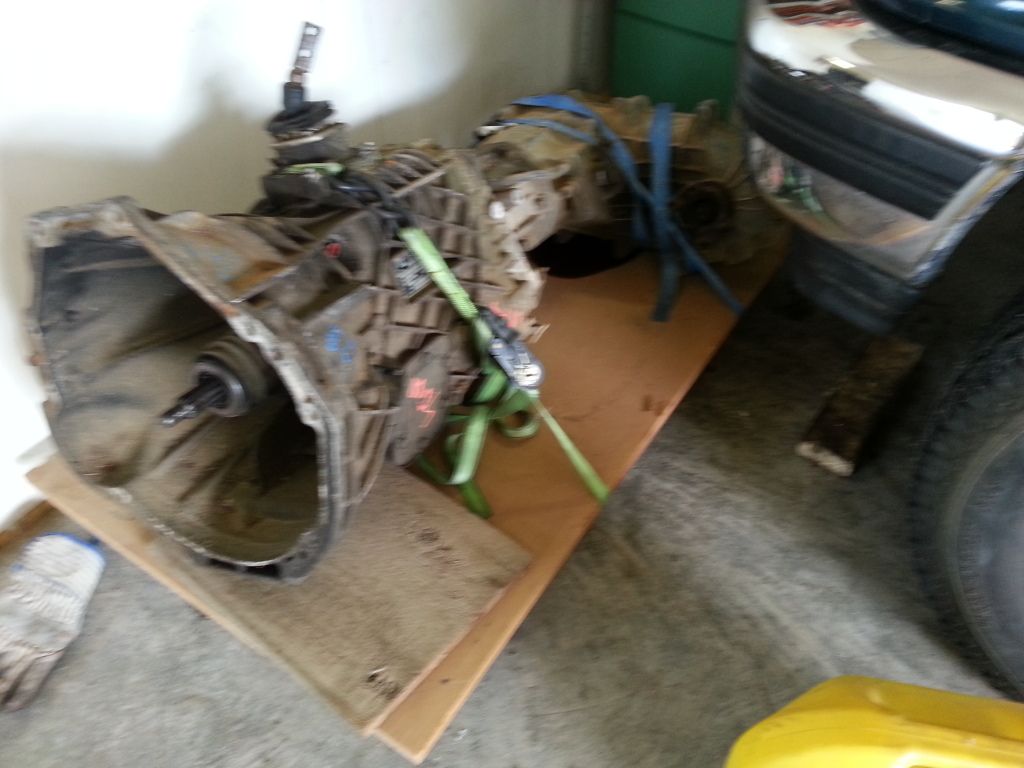
The boneyard cut the line on the ZF that I bought, so I can get some practice on it at least.
#11
06-10-2013, 05:46 AM
Join Date: Oct 2007
Location: Jacksboro / Knoxville, TN
Posts: 133
Likes: 0
Received 0 Likes
on
0 Posts
#13
06-11-2013, 05:01 AM
#14
06-11-2013, 08:02 AM
Join Date: Oct 2007
Location: Jacksboro / Knoxville, TN
Posts: 133
Likes: 0
Received 0 Likes
on
0 Posts
I may give some epoxy a shot - the bits behind the screw holes are still there, maybe I can super glue those to hold them temporarily, then build them up with epoxy or feathers or something.
After tearing apart the interior, I'm finding speaker wire everywhere. I think the previous owner broke at least one of those screw holes since that trim piece was loose before I started this job. I later discovered I should have removed the two trim pieces near the AC vents to get access to the screws.... live and learn.
Last night I worked on the steering column. Took the key cylinder out and removed the column shifter and its "cam" that runs the length of the column. I forgot to snap a pic of it.
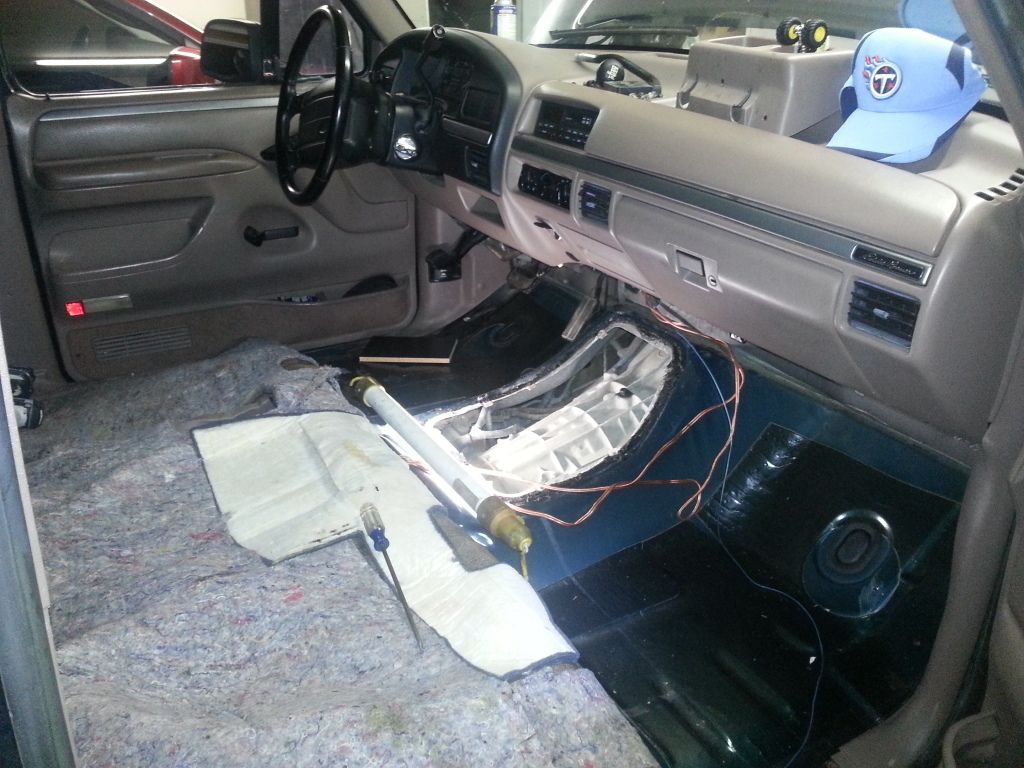
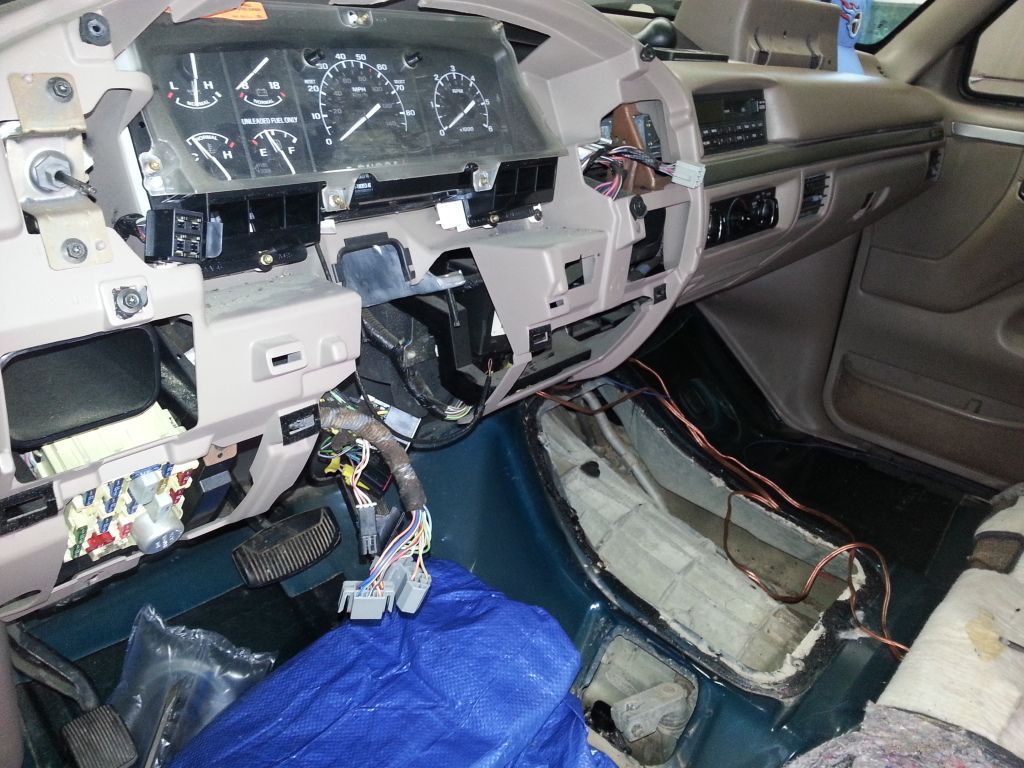
I also got the pedal bracket roughed in. Still need to fiddle with the fitment since I couldn't get the brake booster studs to go back through the firewall. Probably just not lined up perfectly. The wifey was wanting me to come in and spend some time with her so I didn't really try too hard.
This thing is a freakin' rusty razor! It was extremely sharp on several edges and I probably need a tetanus shot after dealing with it. My truck also had some insulation that I had to cut out in this area before it would line up. The 350 I removed it from didn't have the insulation so it kinda surprised me a bit. It's the gray material behind the pedals. It seems to run the full length of the dash, and it picks up where the carpet stops.

Yes, that's a pillow. It's nice to have something soft behind your head. Also, removing the seats sure makes this job 1000% better. I didn't have to remove the big aluminum bracket that the steering column bolts to. I've seen other swap threads where that is removed. I was afraid I'd break more plastic bits in the dash if I removed it.
After tearing apart the interior, I'm finding speaker wire everywhere. I think the previous owner broke at least one of those screw holes since that trim piece was loose before I started this job. I later discovered I should have removed the two trim pieces near the AC vents to get access to the screws.... live and learn.
Last night I worked on the steering column. Took the key cylinder out and removed the column shifter and its "cam" that runs the length of the column. I forgot to snap a pic of it.
I also got the pedal bracket roughed in. Still need to fiddle with the fitment since I couldn't get the brake booster studs to go back through the firewall. Probably just not lined up perfectly. The wifey was wanting me to come in and spend some time with her so I didn't really try too hard.
This thing is a freakin' rusty razor! It was extremely sharp on several edges and I probably need a tetanus shot after dealing with it. My truck also had some insulation that I had to cut out in this area before it would line up. The 350 I removed it from didn't have the insulation so it kinda surprised me a bit. It's the gray material behind the pedals. It seems to run the full length of the dash, and it picks up where the carpet stops.
Yes, that's a pillow. It's nice to have something soft behind your head. Also, removing the seats sure makes this job 1000% better. I didn't have to remove the big aluminum bracket that the steering column bolts to. I've seen other swap threads where that is removed. I was afraid I'd break more plastic bits in the dash if I removed it.
#15
06-11-2013, 09:57 PM
Join Date: Oct 2007
Location: Jacksboro / Knoxville, TN
Posts: 133
Likes: 0
Received 0 Likes
on
0 Posts
Got the pedal bracket buttoned up and brake booster shaft and the brake light switch connected.
The PRNDL indicator in the cluster came out easily.
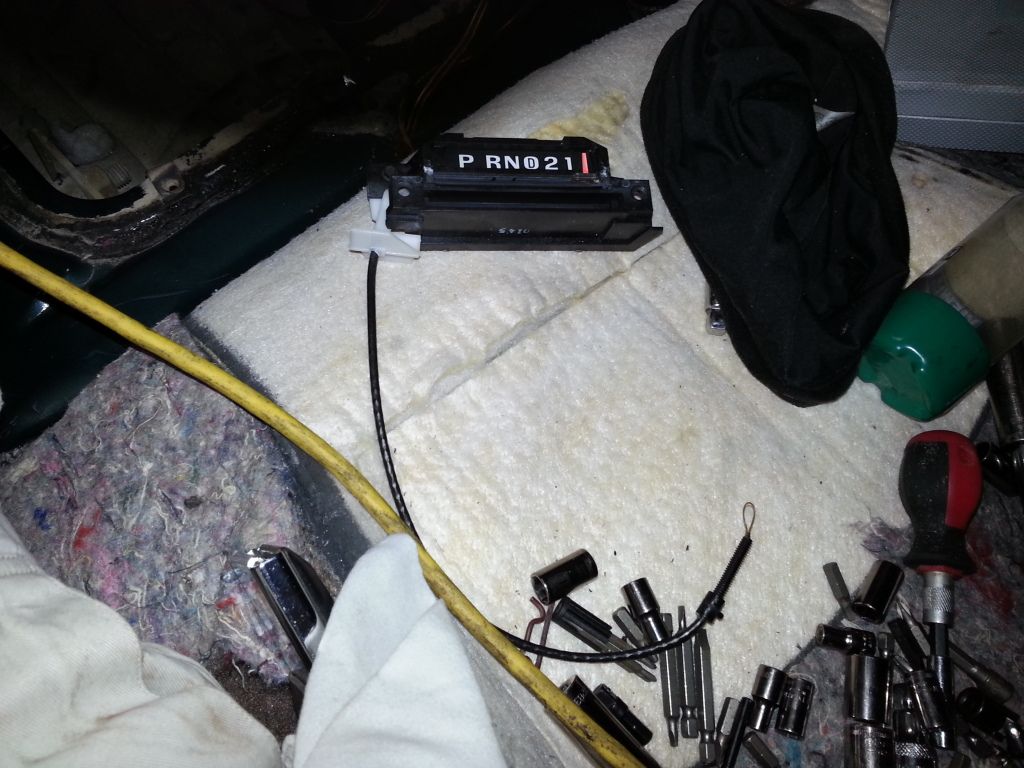
...and the cover plate went in just as easily.
Had some time to check out the slave cylinder on the ZF. EPNCSU2006 gets a cookie, because his suggestion of pushing in the white ring on the fitting was correct. It will pull out also, so don't lose it.

I'm thinking about re-using the slave cylinder that came on the ZF. Some brake fluid came out very clear and it looks clean (on the bottom side). It is very dirty on the bell housing side.
It's also an "AP" part like the MC I found on the truck in the local boneyard.
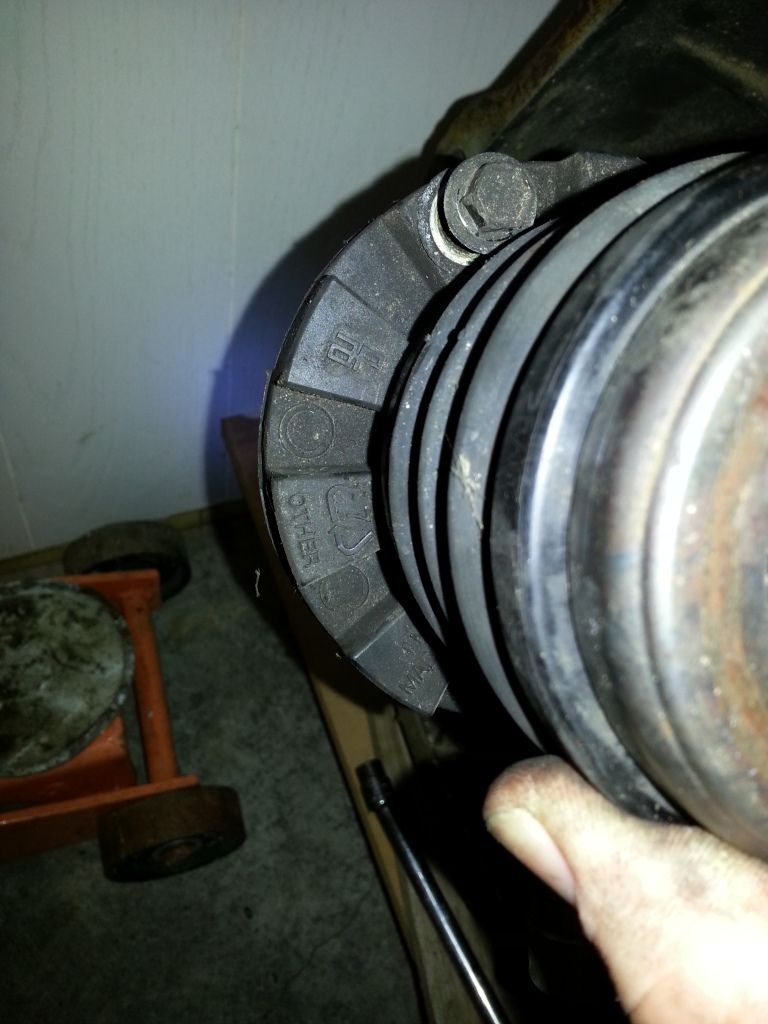
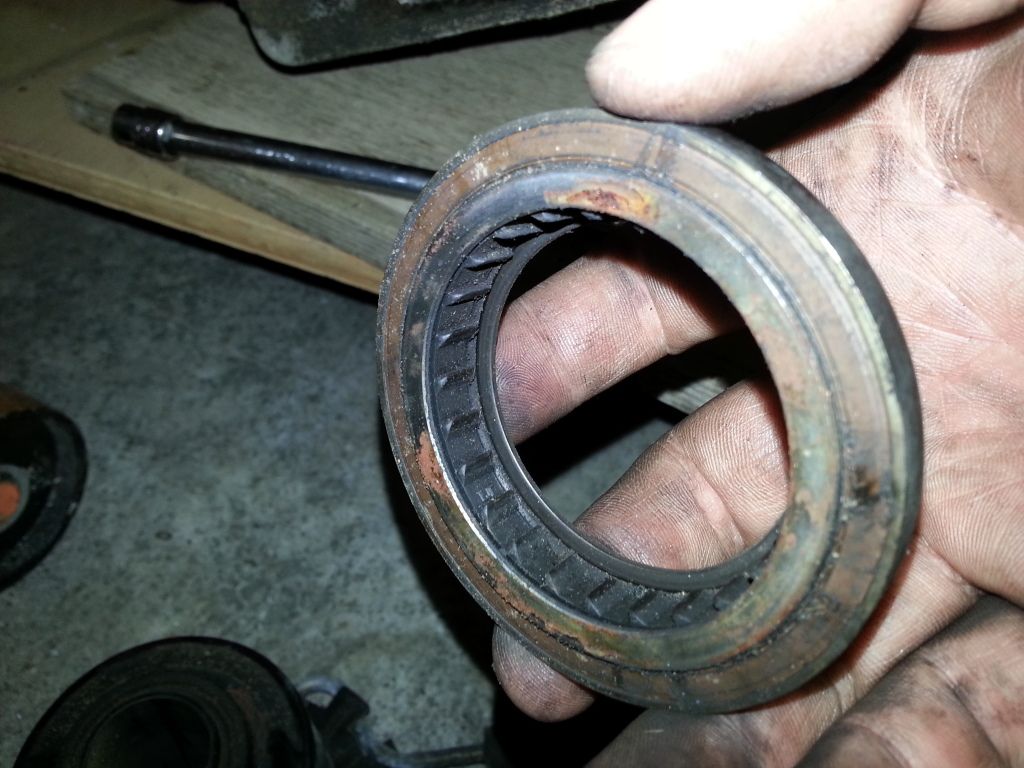
Is this bearing the throw out bearing? It was right on top of the slave. It's got some grit in there so I will need to get a new one.

The PRNDL indicator in the cluster came out easily.

...and the cover plate went in just as easily.

Had some time to check out the slave cylinder on the ZF. EPNCSU2006 gets a cookie, because his suggestion of pushing in the white ring on the fitting was correct. It will pull out also, so don't lose it.

I'm thinking about re-using the slave cylinder that came on the ZF. Some brake fluid came out very clear and it looks clean (on the bottom side). It is very dirty on the bell housing side.
It's also an "AP" part like the MC I found on the truck in the local boneyard.

Is this bearing the throw out bearing? It was right on top of the slave. It's got some grit in there so I will need to get a new one.
