
Badge and Instrument Gauge Restoration Pics Included!
#1
 03-17-2013, 04:59 AM


Join Date: Jul 2012
Posts: 85
Likes: 0
Received 0 Likes
on
0 Posts
Badge and Instrument Gauge Restoration Pics Included!
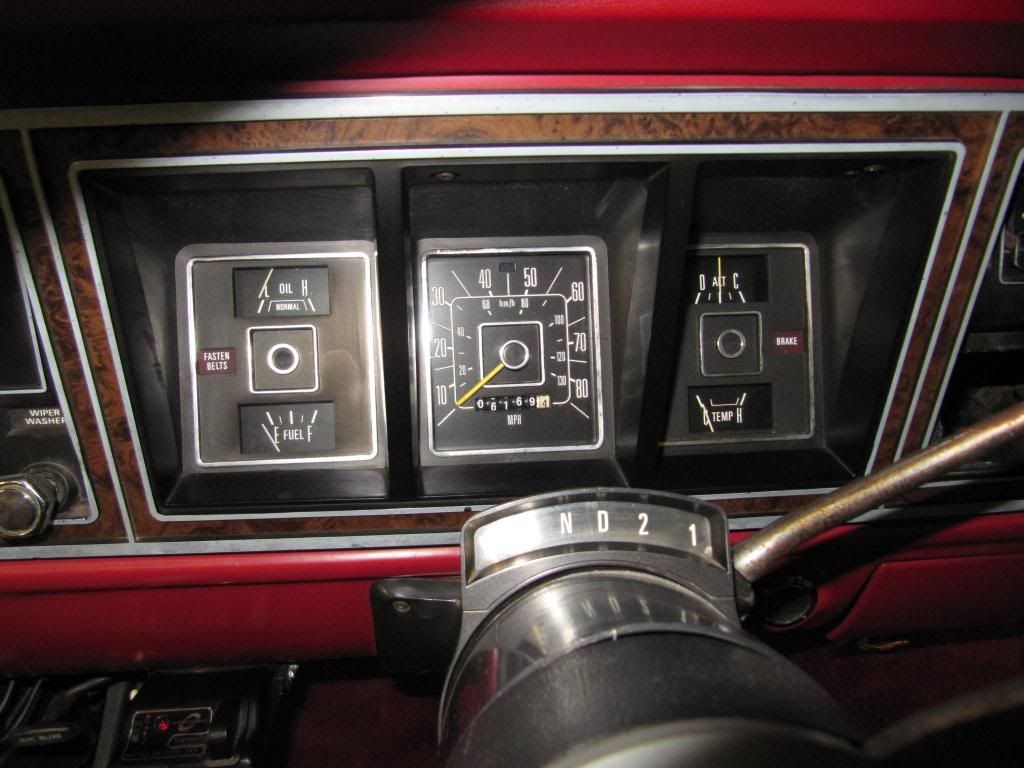
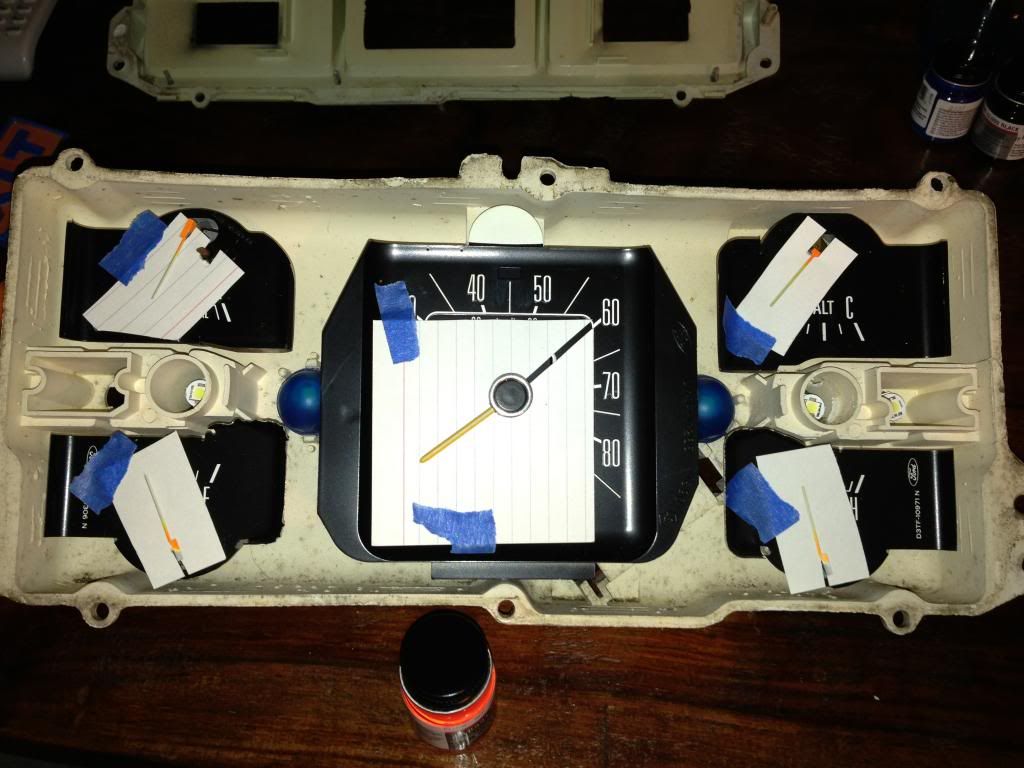
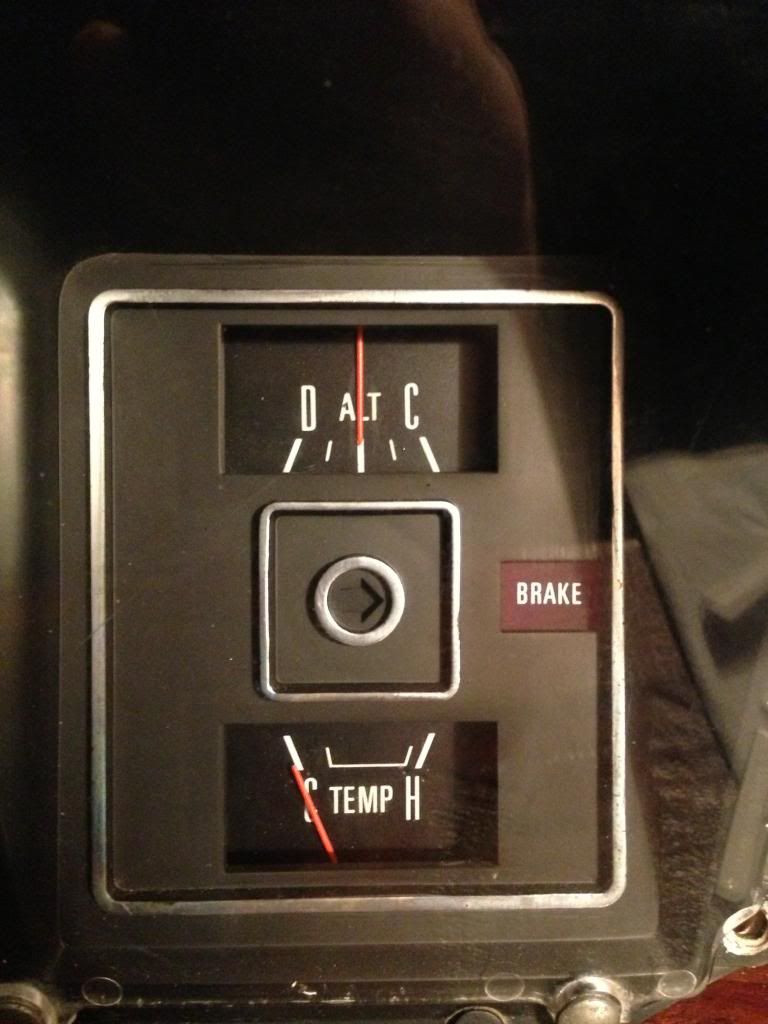
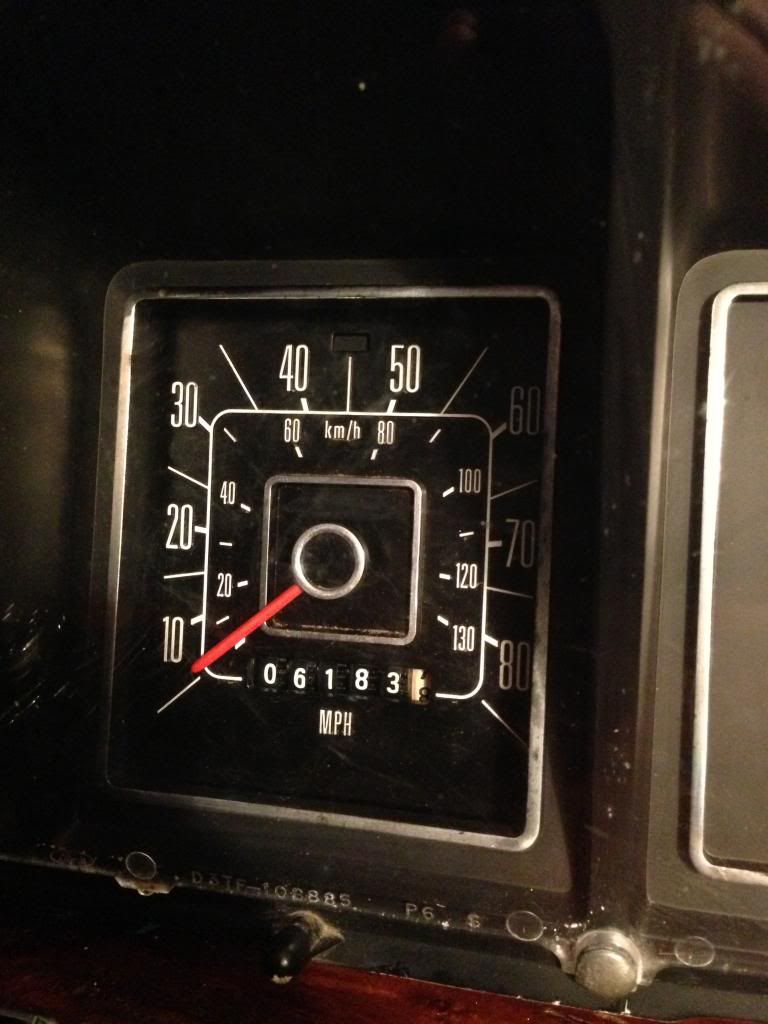
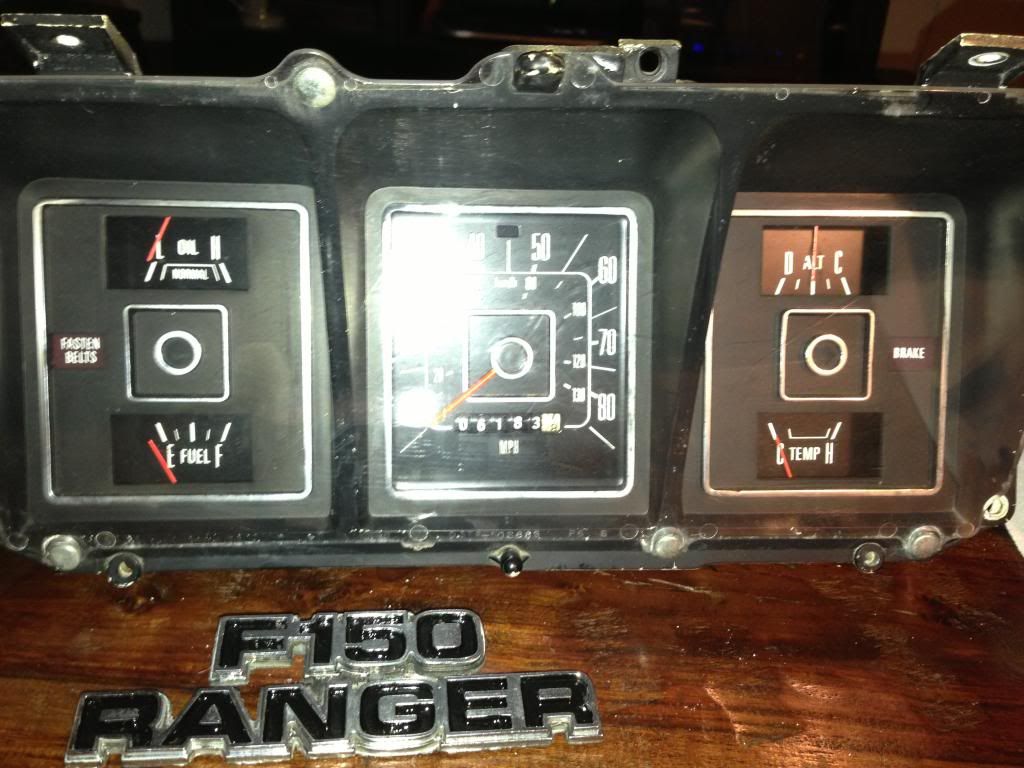
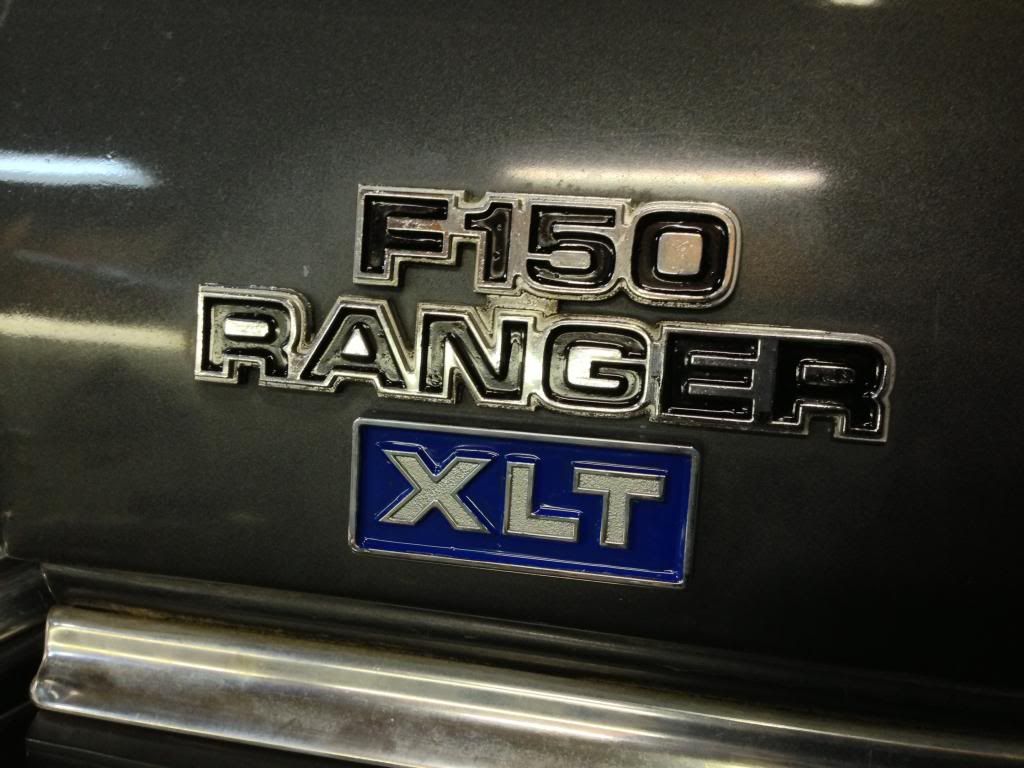
My gauge needles were looking super faded and in need of resto. Decided to do some badge resto while I was at it. Lots of small razor work to get the edges masked correctly. A hobby shop in my area carries a TON of colors for doing models and such for $9 I picked up a couple good colors to refresh everything. Pics Below!
Used note cards to keep the needles in position for paint
The glare is sorta bad but you get the point
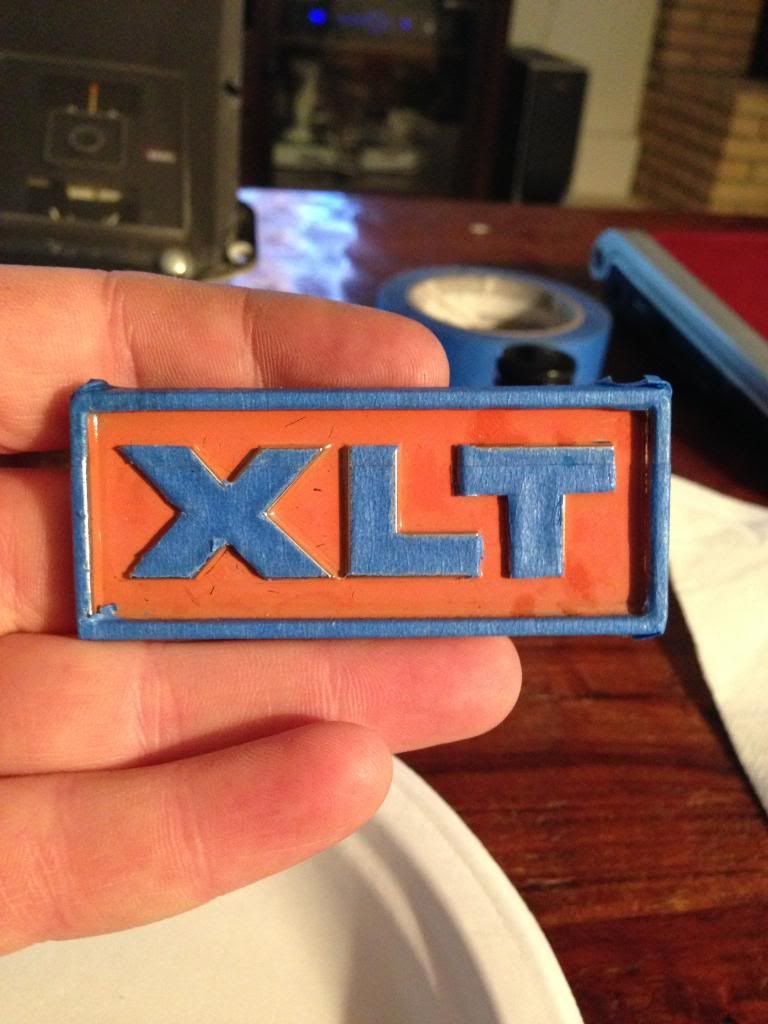
Here's the XLT taped up
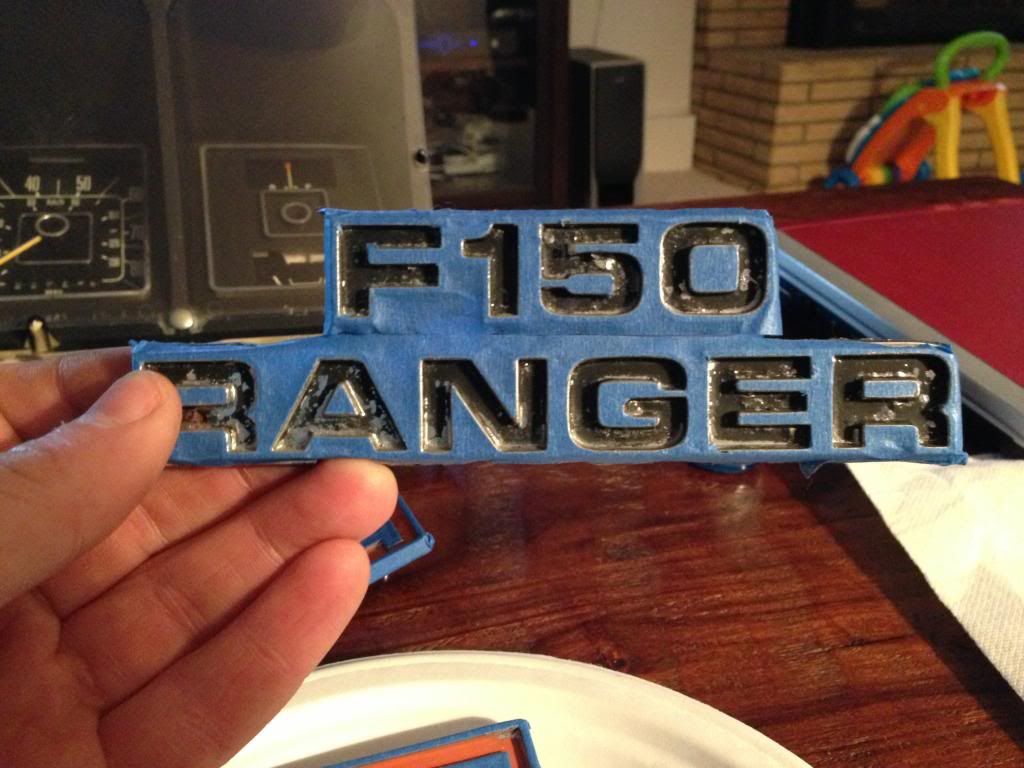
Ranger badge taped up pre-paint man this was a paint to get the edges right!
I decided to change the color from the original orange to Ford Blue
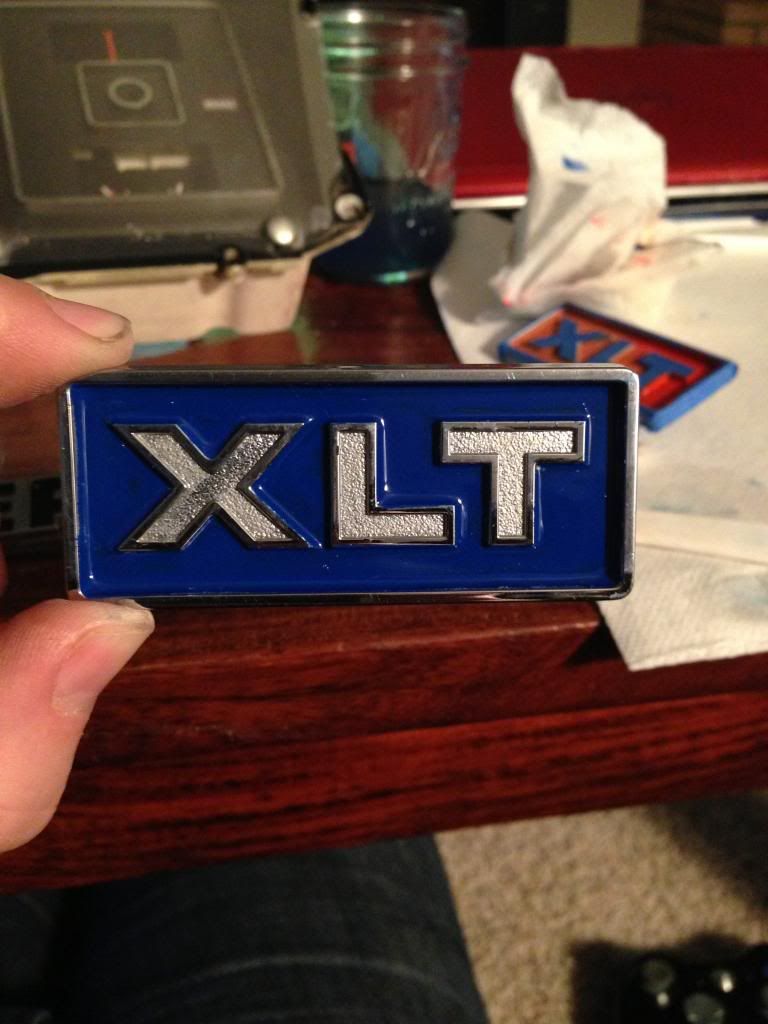
Back on the truck! I think the color combo with the grey works!
Thanks for looking!
Used note cards to keep the needles in position for paint
The glare is sorta bad but you get the point
Here's the XLT taped up
Ranger badge taped up pre-paint man this was a paint to get the edges right!
I decided to change the color from the original orange to Ford Blue
Back on the truck! I think the color combo with the grey works!
Thanks for looking!
#2
03-17-2013, 10:17 AM

#3
03-17-2013, 10:23 AM

#5
03-17-2013, 11:09 AM
#6
03-17-2013, 11:12 AM

My 76 has a few of them with holes and screws drilled directly through the face of them!!!

#7
03-17-2013, 02:44 PM

Elder User
Join Date: Jun 2012
Location: Plant city florida
Posts: 650
Likes: 0
Received 0 Likes
on
0 Posts
Trending Topics
#8
03-17-2013, 05:12 PM
If I remember correctly the clear plastic is held into the gauge cluster by a series of pins. If you press the ends of the pins together, they will pull right out
#9
03-17-2013, 07:38 PM
Join Date: Jul 2012
Posts: 85
Likes: 0
Received 0 Likes
on
0 Posts
@ AK FORD Guy- Yeah most of the pins on one of the badges broke off the back so now I've gotta get creative. I'm thinking JB Weld and rare earth magnets on the back since those things pretty much weld themselves to steel they're so strong!
I used model paint made by Testors the same stuff we all used to paint our model cars with when we were kids. To find the right colors I ended up finding a hobby store near my house that carried every color out there.
I didn't pull the clear plastic off the front I unscrewed the screws from the back of the panel and it comes apart. There are 4 or 5 small 1/4" screws in the back just take them out and you can pull it apart. Just be careful with the needles they're very delicate and easy to bend.
#10
03-17-2013, 07:42 PM
Join Date: Jul 2012
Posts: 85
Likes: 0
Received 0 Likes
on
0 Posts
If you don't have a place nearby that carries the paint here is a place online that does.
Testors Hobby and Model Enamel Paint
I totaled up how much these badges cast from LMC new and it would've cost $140 to replace them! I spend $9 on all my supplies so i figure I win.
Testors Hobby and Model Enamel Paint
I totaled up how much these badges cast from LMC new and it would've cost $140 to replace them! I spend $9 on all my supplies so i figure I win.
#11
03-17-2013, 08:57 PM
Excellent work on the badge restoration, your patience paid off. Not to hijack but if someone wishes to go custom I used these guys: Billet Badges - billet aluminum custom emblems and badges and they do outstanding work, the catch is you can't get copyright names. The badges used 2-sided tape which has held up for years, it may be an option for broken pins.

Thread
Thread Starter
Forum
Replies
Last Post
1956lando
1948 - 1956 F1, F100 & Larger F-Series Trucks
5
01-21-2013 08:21 AM
GotFord83
1980 - 1986 Bullnose F100, F150 & Larger F-Series Trucks
16
11-22-2010 08:16 PM