1957 F100 build thread
#31
 12-03-2012, 02:16 PM

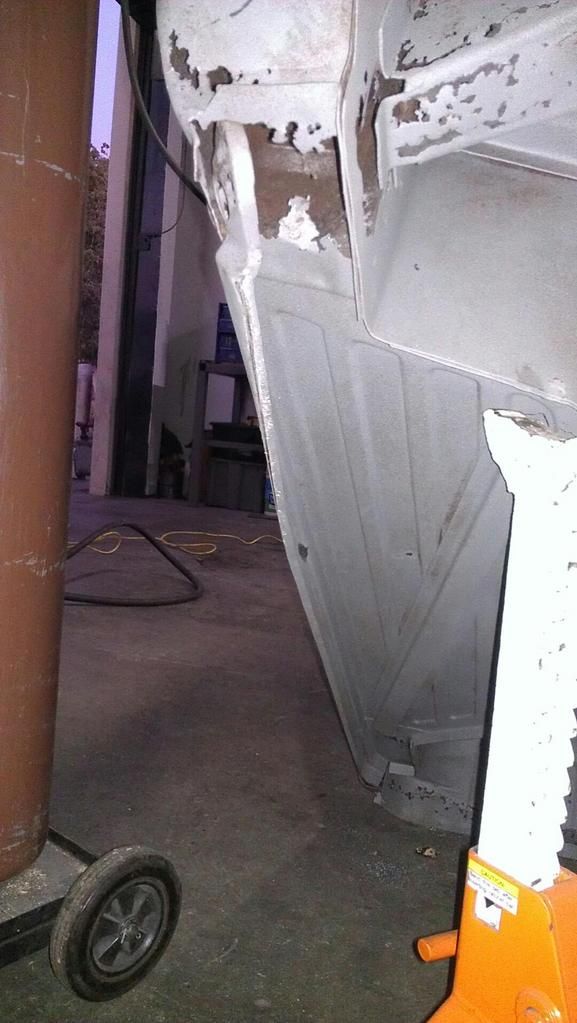
We put some braces underneath, and raised the bed mounts on the frame. It is a chevy bed floor and didn't match up exactly so we took the opportunity to add an inside bed wall and carry that down and then return into the bed floor as it wasn't quite wide enough. All the bedsides are now doubled.
Here you can see the new bedsides and then the return towards the bed floor, Mike the fab guy put a nice roll on the inner bed sides for strength

Here are some of the bed mounts raised up four inches
And more up towards the front
Here are the raised bed mounts above the battery (on both sides)
RYan
Here you can see the new bedsides and then the return towards the bed floor, Mike the fab guy put a nice roll on the inner bed sides for strength
Here are some of the bed mounts raised up four inches
And more up towards the front
Here are the raised bed mounts above the battery (on both sides)
RYan

#33
12-03-2012, 08:52 PM
#34
12-04-2012, 02:36 AM

Must have been a ton of work to put in the double wall bed sdes. I guess along with the hitch reinforcements on the frame you're still planning to use it as a truck. I'm building mine to be able to haul and tow also. Even though it will be a hot rod it will still be used as a truck! Why did you use the Chevy floor instead of the original Ford? It looks great, I'm just curious.
#35
12-04-2012, 07:06 AM
#37
12-04-2012, 10:07 PM
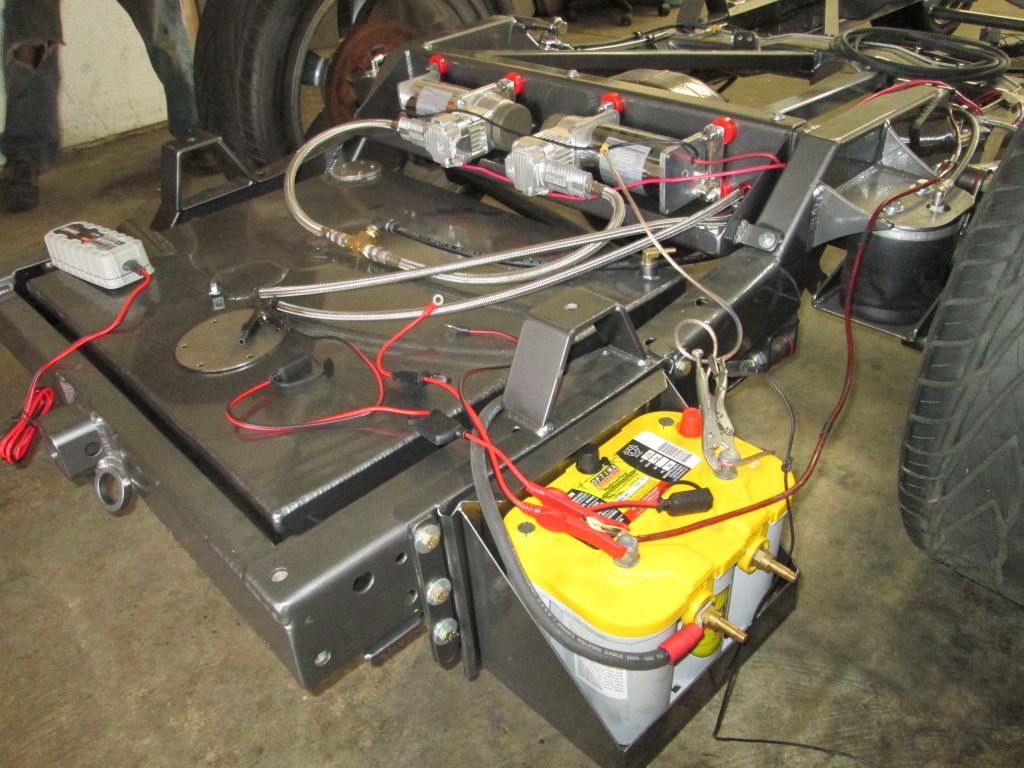
Again, no limit engineering in San Bernardino for the pump, and thats (vise grip) all temporary so i can go up and down, lol
The pump has a return as well, which I ran just for assurance of no vapor lock.
I think they are at No Limit Engineering
Not a single bad thing to say bout those guys!!!!
Ryan
The pump has a return as well, which I ran just for assurance of no vapor lock.
I think they are at No Limit Engineering
Not a single bad thing to say bout those guys!!!!
Ryan
#38
12-07-2012, 09:03 PM
Well not a lot of progress today, actually I worked steady all day and made sure everything was as instructions stated.
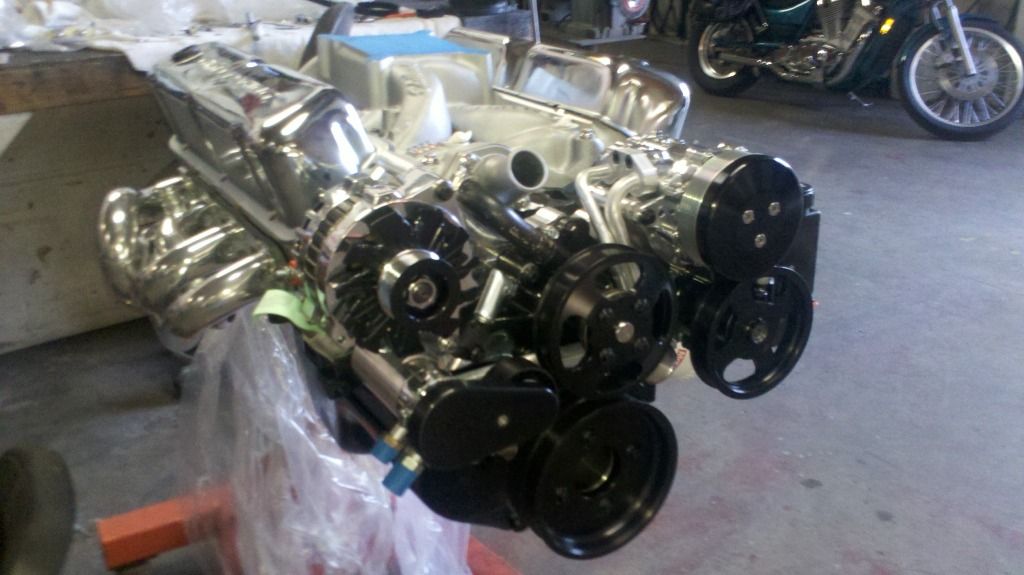
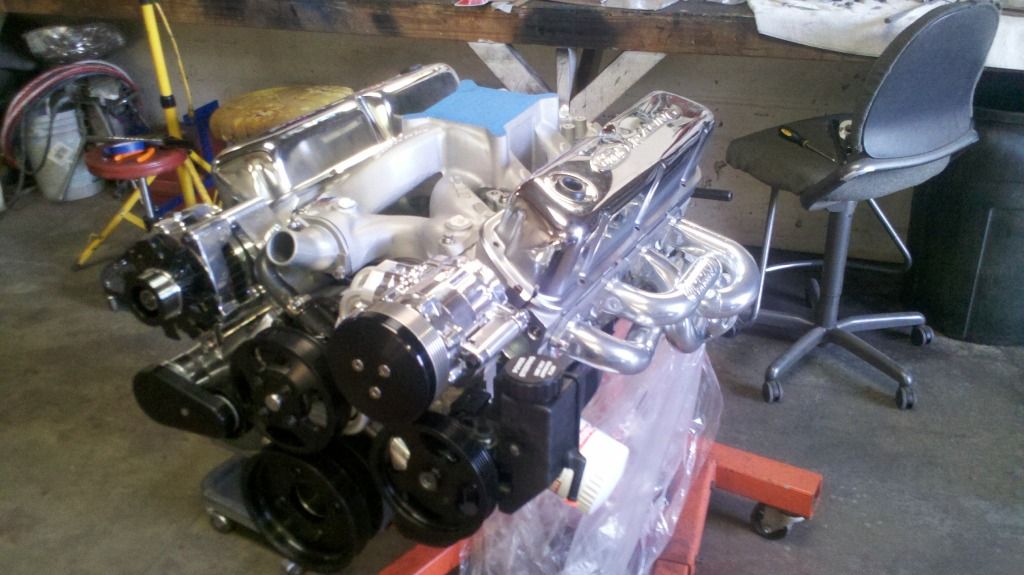
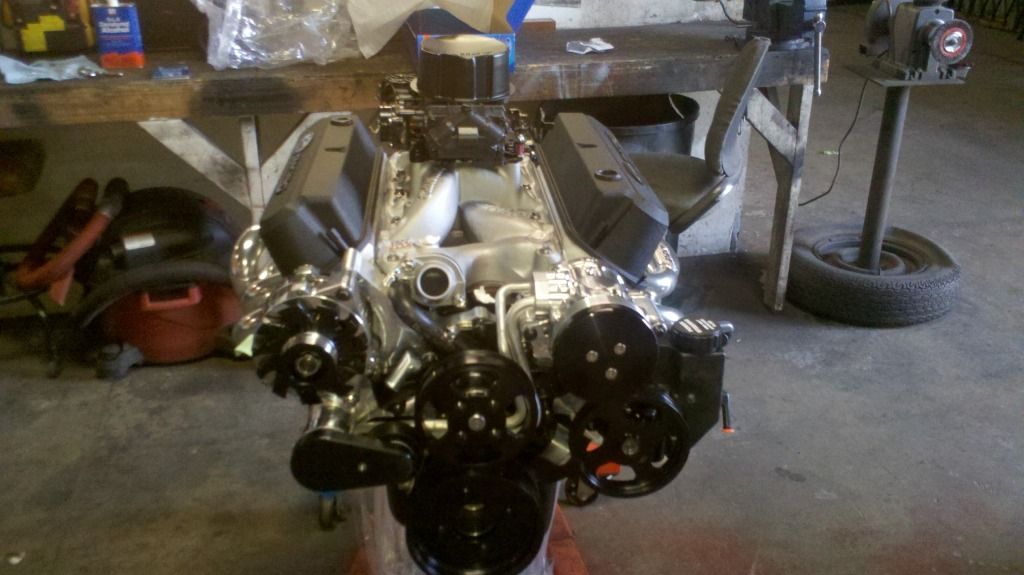
I mounted up every component on the Vintage air frontrunner and fit the serpentine belt. I need to figure out how to run the motor on the run stand without turning the power steering pump, going from a 60 inch belt to a 57 and half inch belt will do the trick.
Helped drop a 408 into a 66 mustang coupe too.
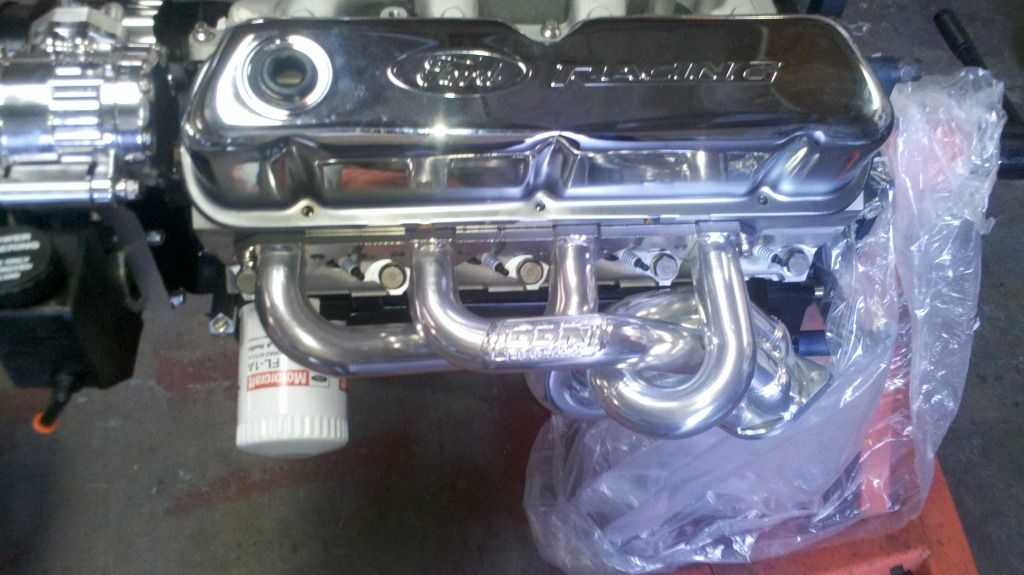
Also put on the headers that I may go with
Anti seize... then bolt
Anti seize... then bolt
Anti seize... then bolt
Anti seize... then bolt
Anti seize... then bolt...............LOL
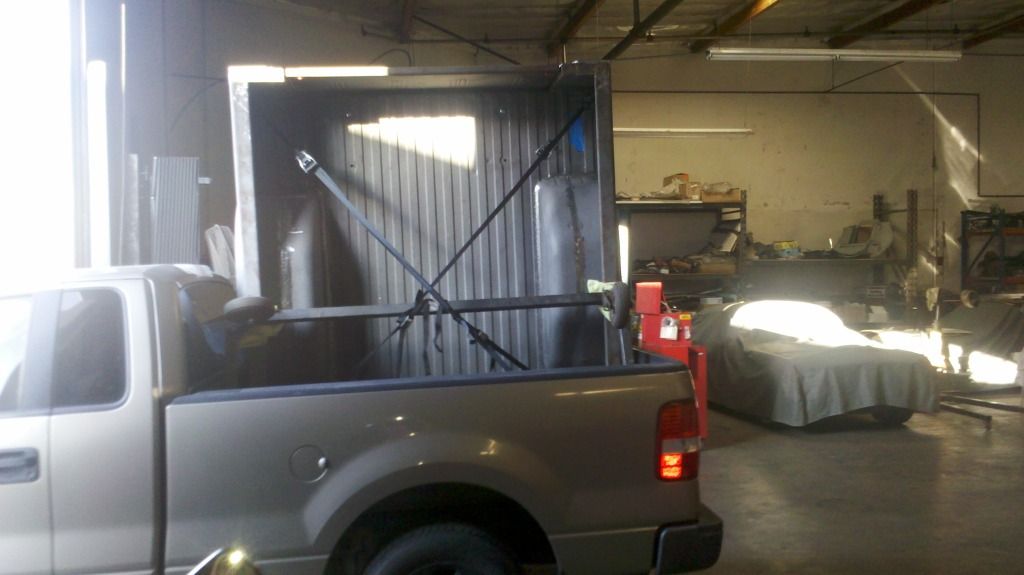
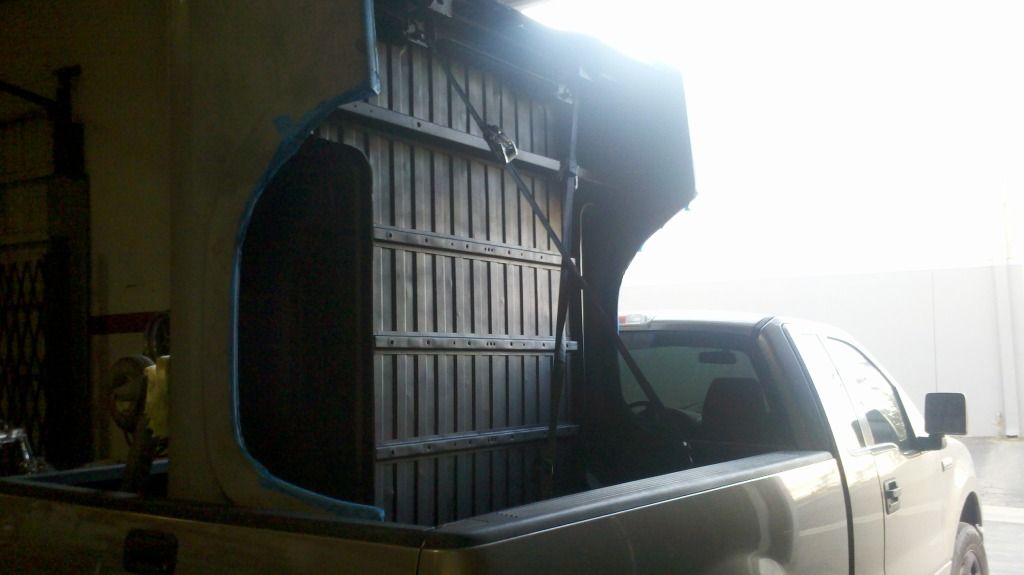
Here are some pics for your enjoyment....oh yeah I loaded up the bed to take home so that I can attempt to massage the tubbed fender wells before it gets professionally bed lined..
PICS
TAKIN THE BED HOME MISSOURI STYLE LOL
MOTOR
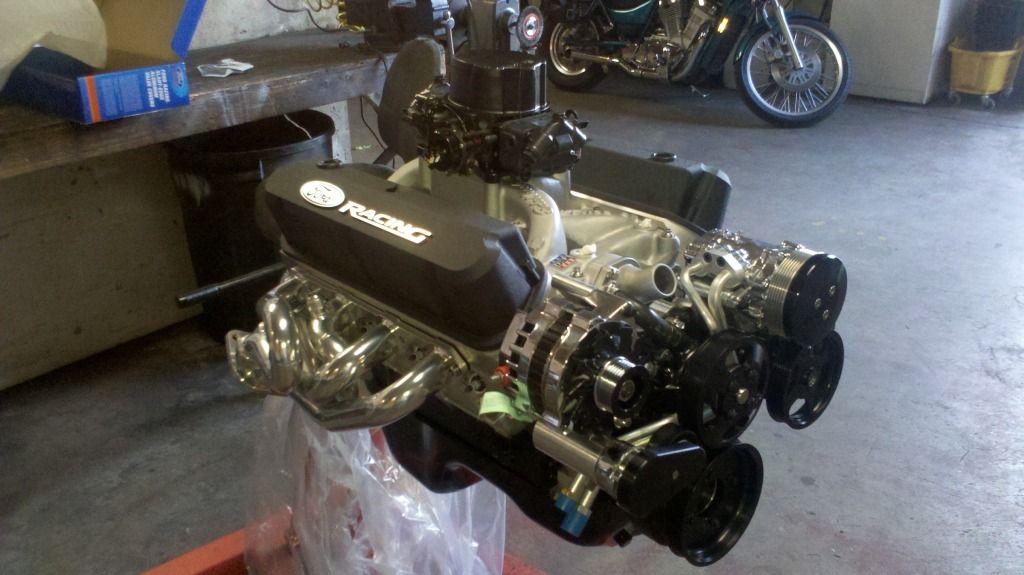
PARTS ON AND THE CHEESY VALVE COVERS THAT CAME WITH THE MOTOR

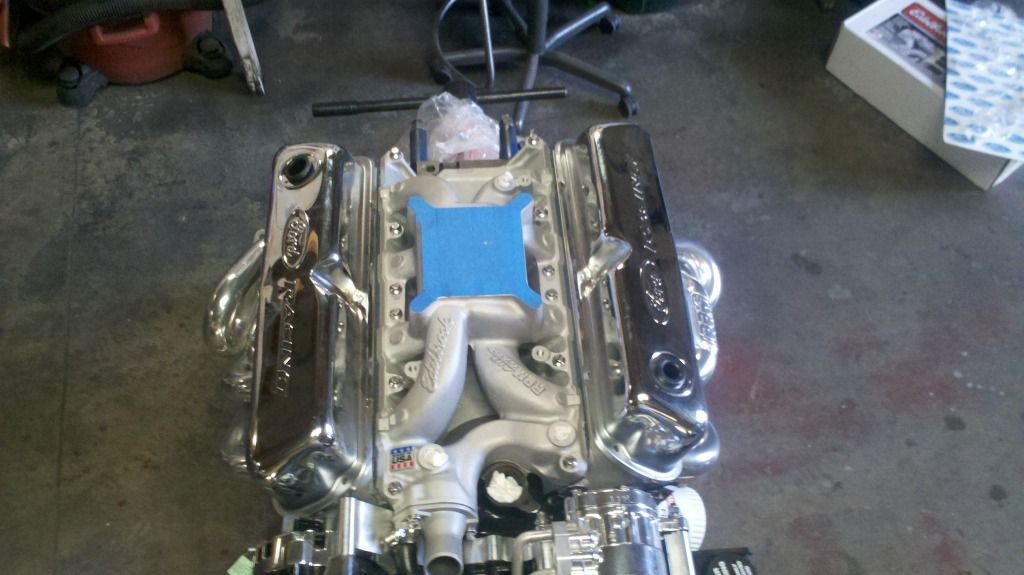
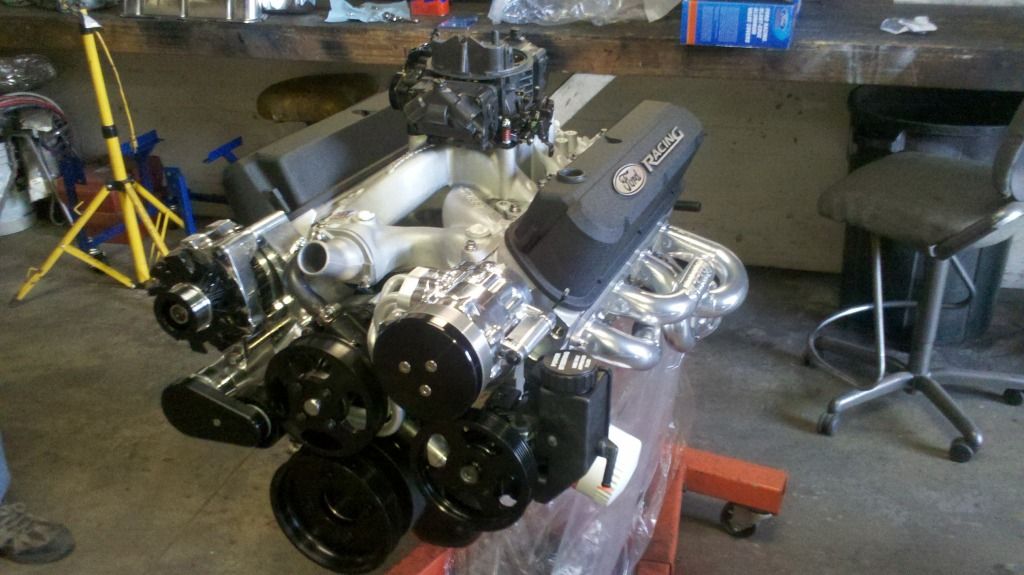
MOTOR WITH GOOD VALVE COVERS AND CARB
HOPE TO LAY HER ON THE CHASSIS NEXT WEEK AND LOOK AT ANY POSSIBLE ISSUES, EVEN THOUGH I DONT HAVE THE CAB, JUST CHECK THE HEADERS ETC
STAY TUNED ....RYAN
I mounted up every component on the Vintage air frontrunner and fit the serpentine belt. I need to figure out how to run the motor on the run stand without turning the power steering pump, going from a 60 inch belt to a 57 and half inch belt will do the trick.
Helped drop a 408 into a 66 mustang coupe too.
Also put on the headers that I may go with
Anti seize... then bolt
Anti seize... then bolt
Anti seize... then bolt
Anti seize... then bolt
Anti seize... then bolt...............LOL
Here are some pics for your enjoyment....oh yeah I loaded up the bed to take home so that I can attempt to massage the tubbed fender wells before it gets professionally bed lined..
PICS
TAKIN THE BED HOME MISSOURI STYLE LOL
MOTOR
PARTS ON AND THE CHEESY VALVE COVERS THAT CAME WITH THE MOTOR
MOTOR WITH GOOD VALVE COVERS AND CARB
HOPE TO LAY HER ON THE CHASSIS NEXT WEEK AND LOOK AT ANY POSSIBLE ISSUES, EVEN THOUGH I DONT HAVE THE CAB, JUST CHECK THE HEADERS ETC
STAY TUNED ....RYAN
#39
12-08-2012, 10:09 AM

#40
12-15-2012, 02:06 PM
Shelly
No real pictures this week....
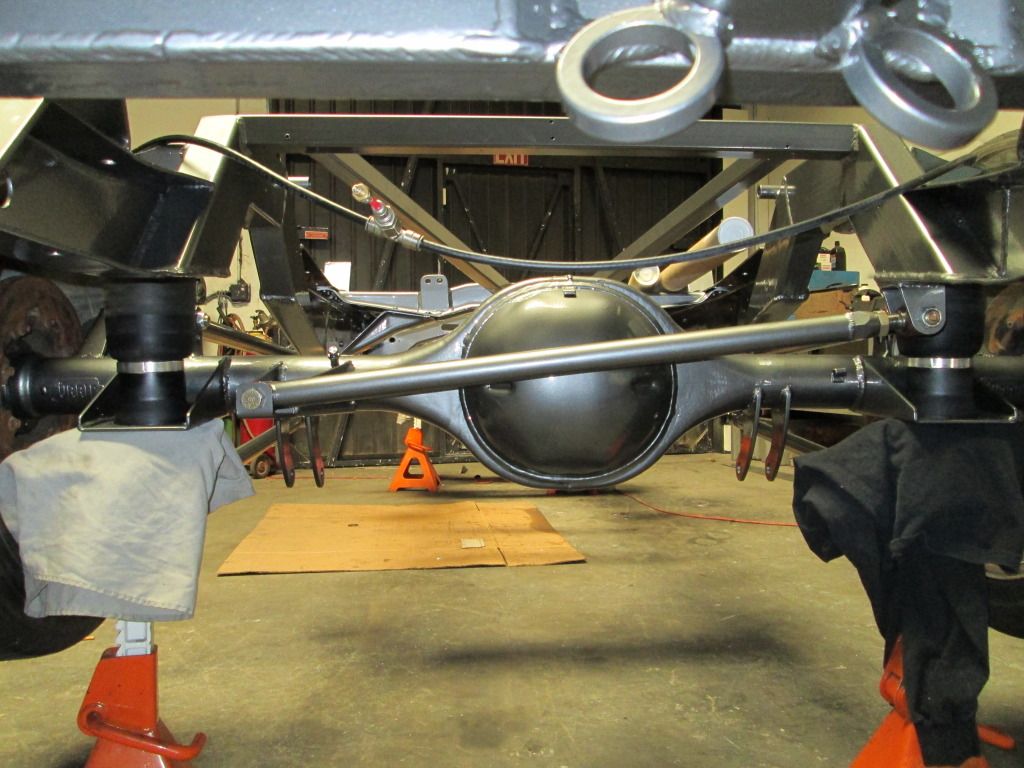
Finally a rack cleared at the shop and I rolled the chassis up. I took the rear end off of the truck as it was never cleaned (after sandblasting and powder coating)before we made it a roller......So I took down the housing and disassembled the 3rd member and axles and took it all to the WORLD FAMOUS BILL THOMAS ENTERPRISES (San Bernardino Ca) for a complete overhaul and a new 3rd member.
A couple of things I learned about the rear end. It is an original 1957 truck housing so the bearings are tapered and lubricated by the rear end gear oil? And the races are not "set" so to speak in the axle tubes. And the axles are the same length.
Bill checked out the bearings and said they were great and this style bearing last under extreme loads and for over 200k miles.
The truck already had Currie 28 spline axles. I went with a 3.70 gear since my OD is .67 final drive. Should be good to go around town and more importantly a good freeway cruiser. Almost every weekend we go at least 150 to 200 miles on a cruise or to a car show, and I hope to drive "Shelly" to Missouri one day.
Thats right she has officially been named "Shelly" it is
Hope to have motor trans and rear end in next week and get a measurement for the drive shaft
Have a good weekend see you next Friday
Ryan
#41
12-21-2012, 07:37 PM
Friday update
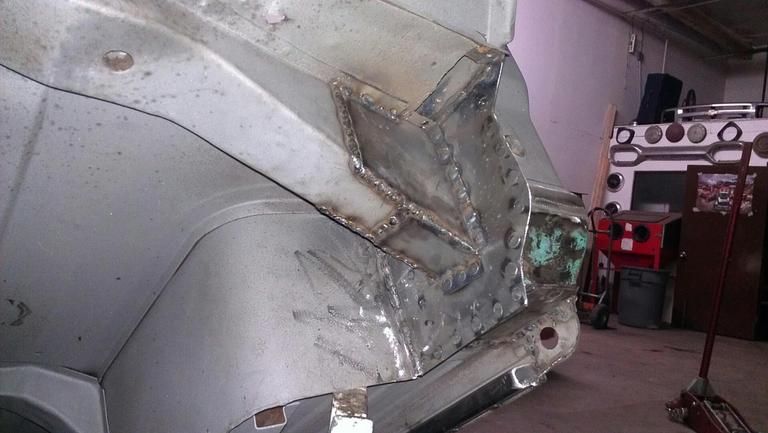
Well the cab was not as great as i thought after sandblasting, so we bought a donor cab with a crushed top that had good cab corners and good cab mounts............so we thought. Mike got to the dis-ssembly part of the donor cab, and the donor cab mounts had a few too many pinholes than he like so he began to do what he does best.....fabricate. Here are a few pics of the cab corners and the repaired/fabricated cab mounts.....better than new, lol
Also we are going to fill in the steps on the floor cab to extend the floor all the way to the doors, maybe have pics of that tomorrow.
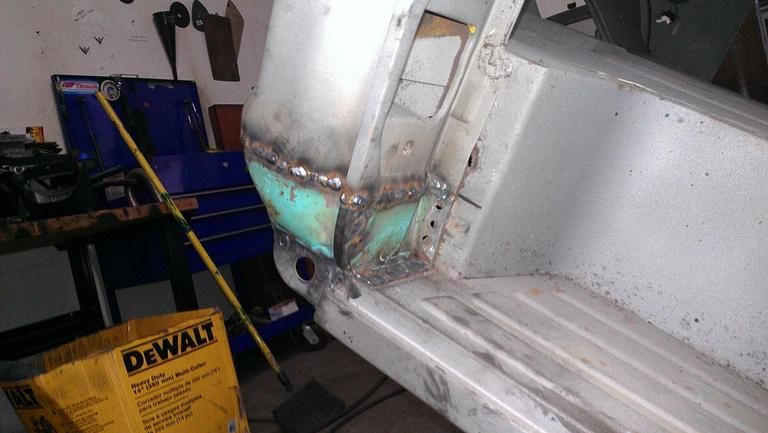
Here are some pics of Mikes handy work
Not so good spots, lol
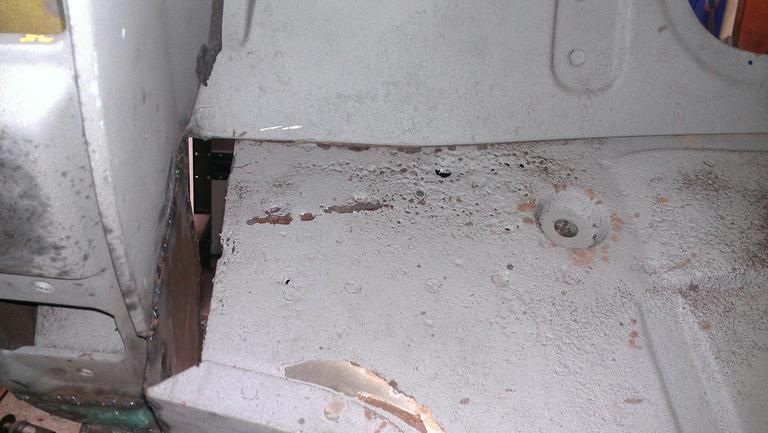
This is actually where the cab mounts meet the air intake (bottom of cowl) that rust just a tic,lol
BAr on the bottom of the rocker to keep everythign in the right place, rocker were actually pretty good
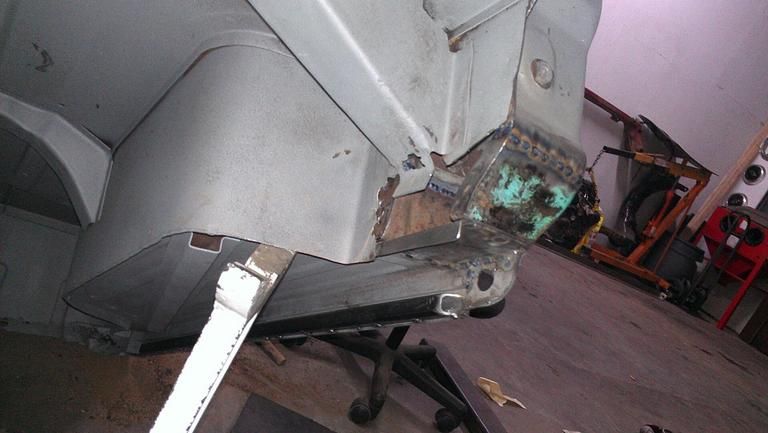
Misc pics of the bottom of the cowl repair and the cab mount repair
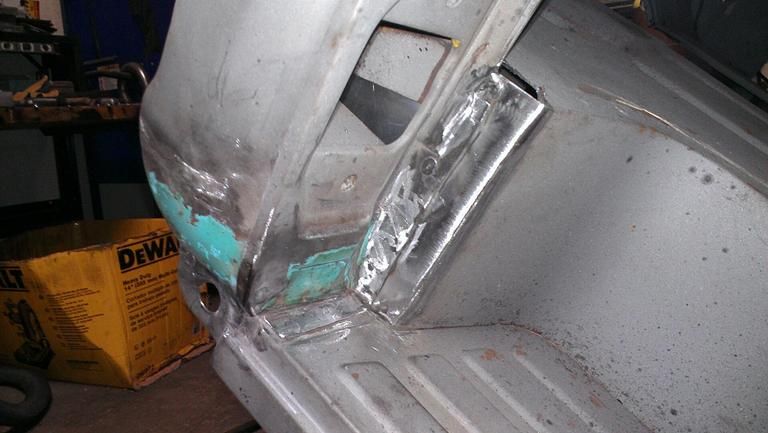
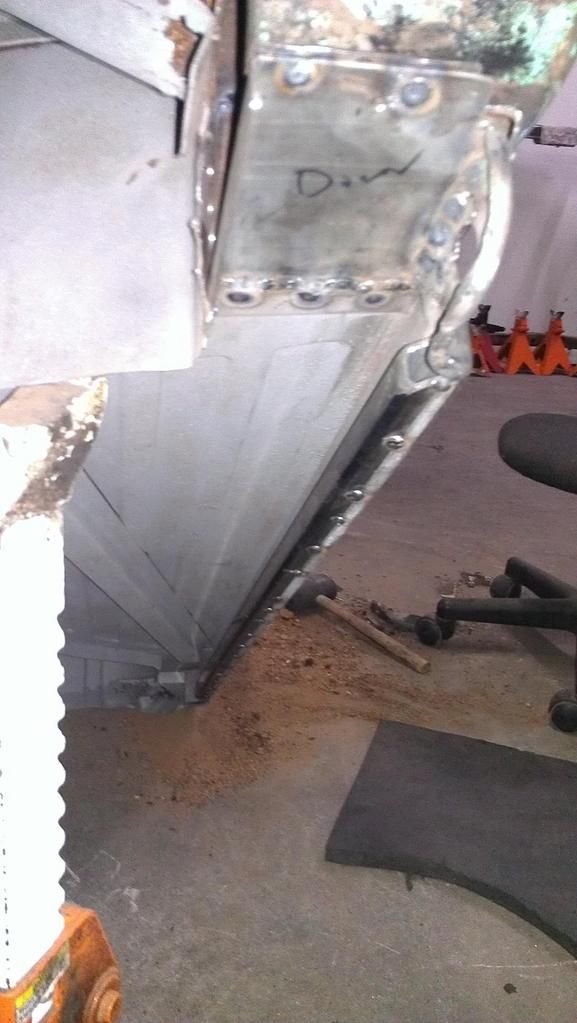
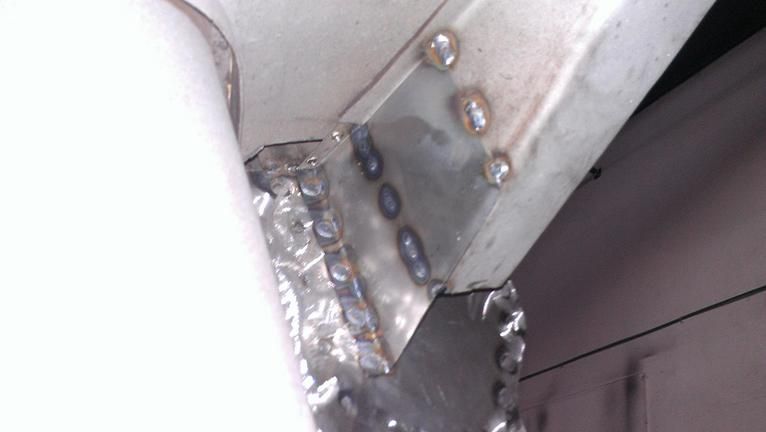
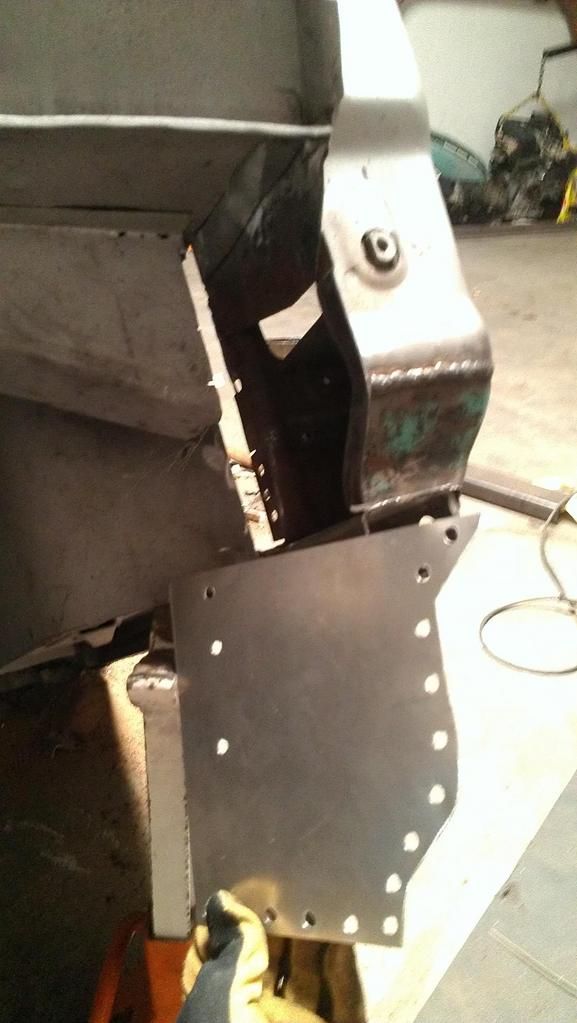
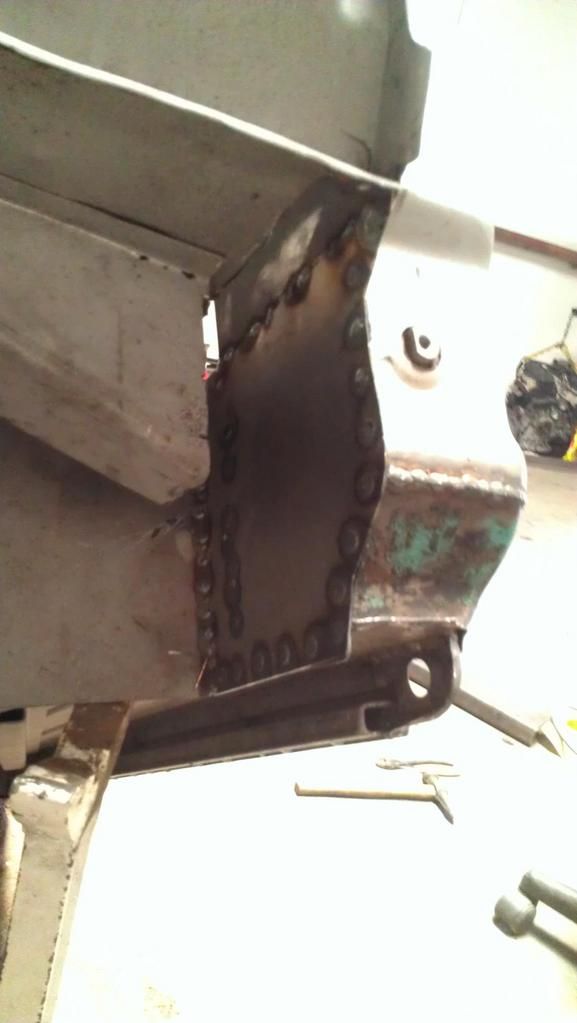
COMPLETED
The motor is in the chassis too, I just have to down load those pics and I will put em on the site.
Merry Christmas and Happy New year!!
Ryan
Also we are going to fill in the steps on the floor cab to extend the floor all the way to the doors, maybe have pics of that tomorrow.
Here are some pics of Mikes handy work
Not so good spots, lol
This is actually where the cab mounts meet the air intake (bottom of cowl) that rust just a tic,lol
BAr on the bottom of the rocker to keep everythign in the right place, rocker were actually pretty good
Misc pics of the bottom of the cowl repair and the cab mount repair
COMPLETED
The motor is in the chassis too, I just have to down load those pics and I will put em on the site.
Merry Christmas and Happy New year!!
Ryan
#42
12-22-2012, 02:06 AM
Actually those cab mounts don't look too bad compared with what mine looked like! I don't think I've ever seen a junkyard fridge that dosen't have rust issues there. Nice repairs though.
I ended up making mine out of rectangular tubing since there was nothing left of the stock ones. I wasn't sure if the replacements I saw in some supplier's catologs would be as strong as the stock pieces, so I over built them!
I'm curious about the wheel and tire combo you're going to be using. I'm thinking about 20s in a torque thrust style wheel, which looks close to what I am seeing in your mock ups. Is that what you're going to use?
#43
12-22-2012, 08:30 AM
The following users liked this post:
#44
12-22-2012, 10:14 AM
D57,
I too am using 20's in the rear and 18s in the front. They are a FOOSE wheel I am unsure of the model, they came with the truck. I may very well go with 18s in a steel wheel in the rear for certain shows cruises.
Iam only able to accommodate the 20s in the rear with the mini tubs. I hope to run at least a 315 maybe a 335 in the rear eventually.
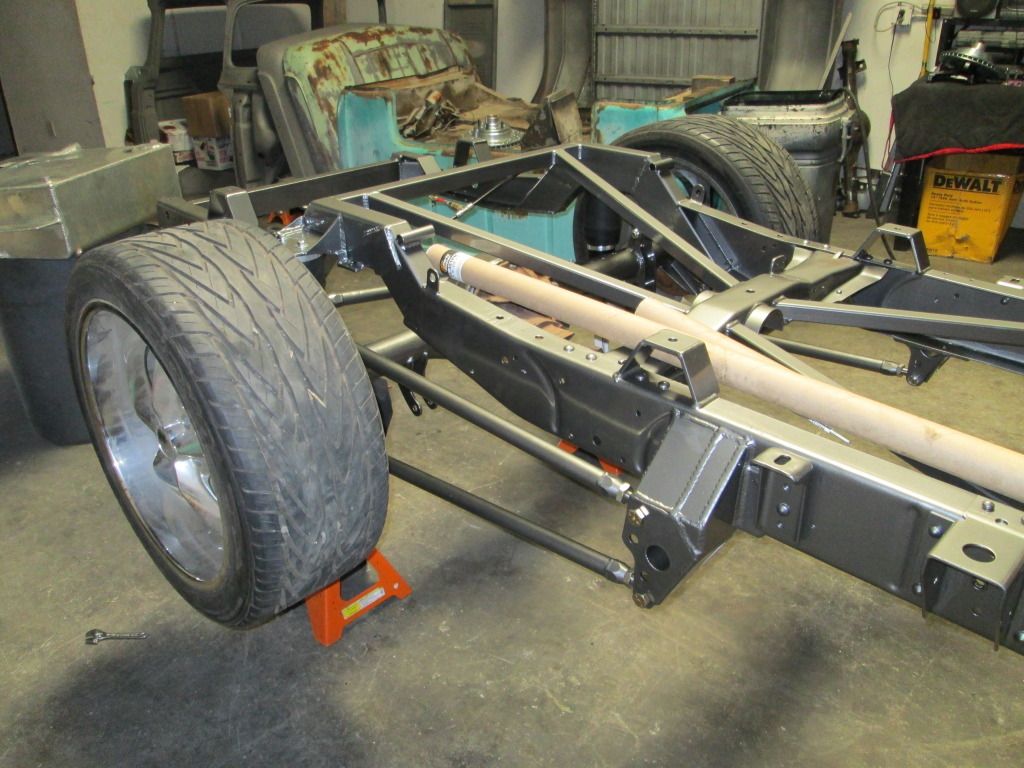
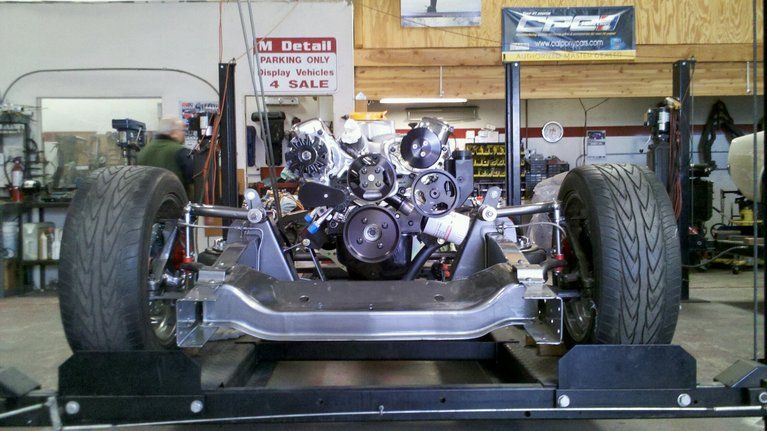
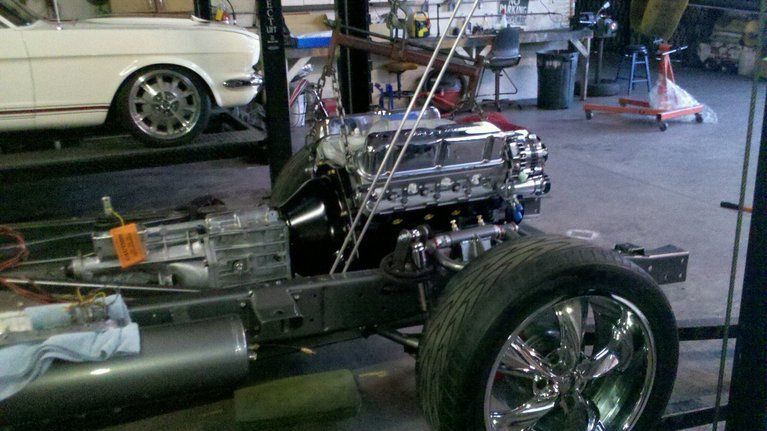
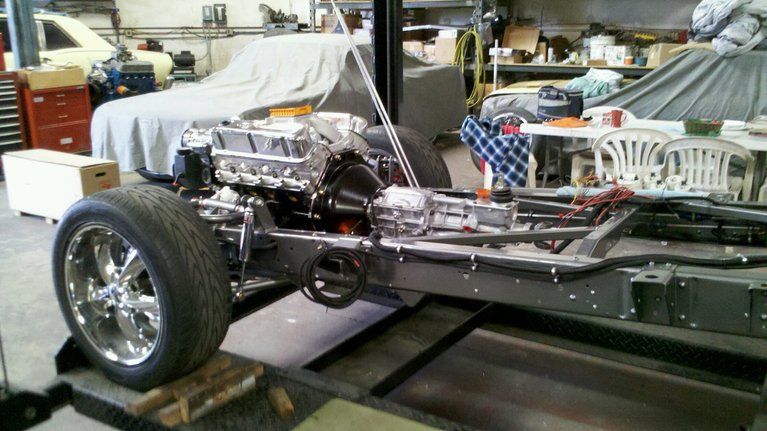
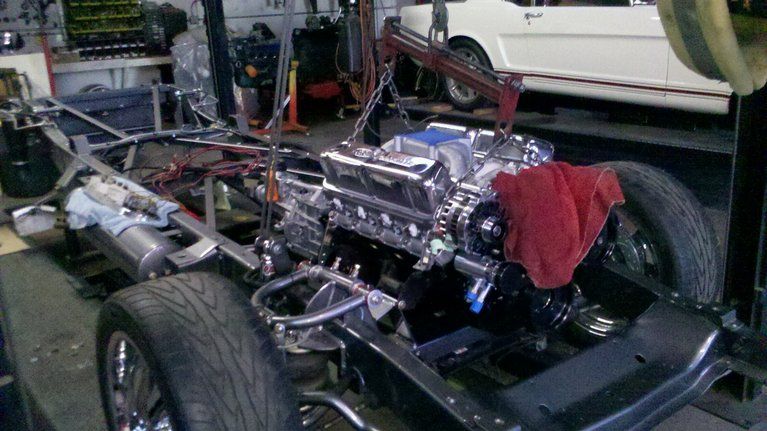
Here are the pics of the motor and 5 speed sitting in chassis. Just a quick note...I installed a Quick time blow proof Bell housing as I thought I could always use it if I moved up to real horsepower. When we mated the trans up to the bell housing it was a really tight fit, to say the least,I only mention this because after I read the instructions I saw that I installed the throwout bearing wrong on the Lakewood Clutch fork.....So I had to take off the entire Bell housing because the trans would have been tough to separate. All went back together no problem!!! THanks goodness lol
Here are some pics of the drive train in the chassis as promised, lol
Ryan
Merry Christmas!!
I too am using 20's in the rear and 18s in the front. They are a FOOSE wheel I am unsure of the model, they came with the truck. I may very well go with 18s in a steel wheel in the rear for certain shows cruises.
Iam only able to accommodate the 20s in the rear with the mini tubs. I hope to run at least a 315 maybe a 335 in the rear eventually.
Here are the pics of the motor and 5 speed sitting in chassis. Just a quick note...I installed a Quick time blow proof Bell housing as I thought I could always use it if I moved up to real horsepower. When we mated the trans up to the bell housing it was a really tight fit, to say the least,I only mention this because after I read the instructions I saw that I installed the throwout bearing wrong on the Lakewood Clutch fork.....So I had to take off the entire Bell housing because the trans would have been tough to separate. All went back together no problem!!! THanks goodness lol
Here are some pics of the drive train in the chassis as promised, lol
Ryan
Merry Christmas!!
#45
12-22-2012, 09:28 PM

What is that fuel filler out of you will be installing in the floor? I am just to the point of figuring this out on my 60.
This was an idea we had for the fuel door, instead I will will this style fuel lid but it will be on the bed floor on the drivers side.
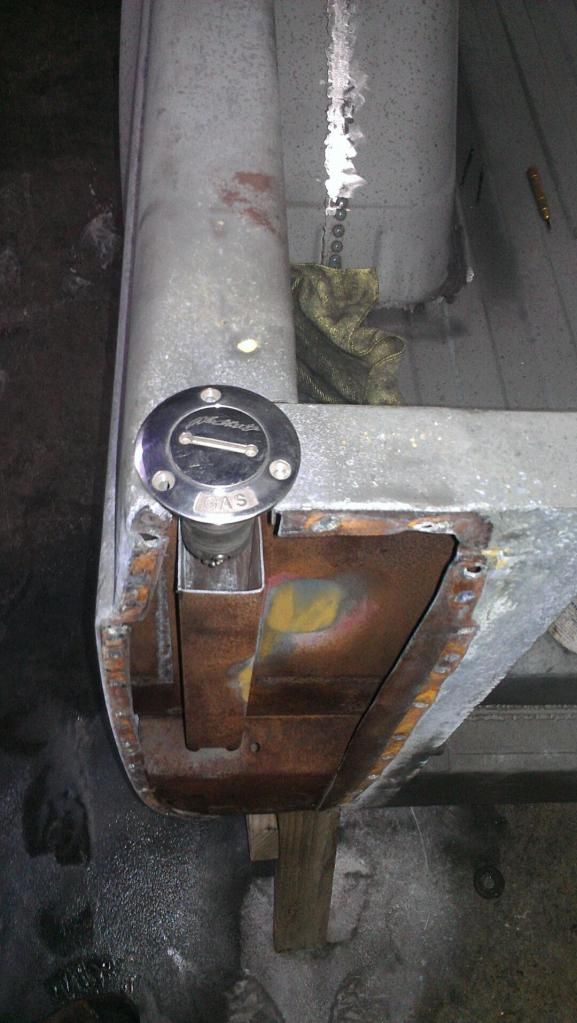
The stake pockets will be welded closed. I will have tie downs similar to the chain hook on the hitch welded onto plates in each corner of the bed.... this theme anyway, like these (simple cut pipe and softened edges
Ryan
The stake pockets will be welded closed. I will have tie downs similar to the chain hook on the hitch welded onto plates in each corner of the bed.... this theme anyway, like these (simple cut pipe and softened edges
Ryan