Rebirth of a 1990 F250
#1
 04-26-2012, 03:04 PM

Rebirth of a 1990 F250
Alright, this will be my official restoration thread of the 1990 F250, where I will update with info and pictures along the way of progress. Spring has sprung 
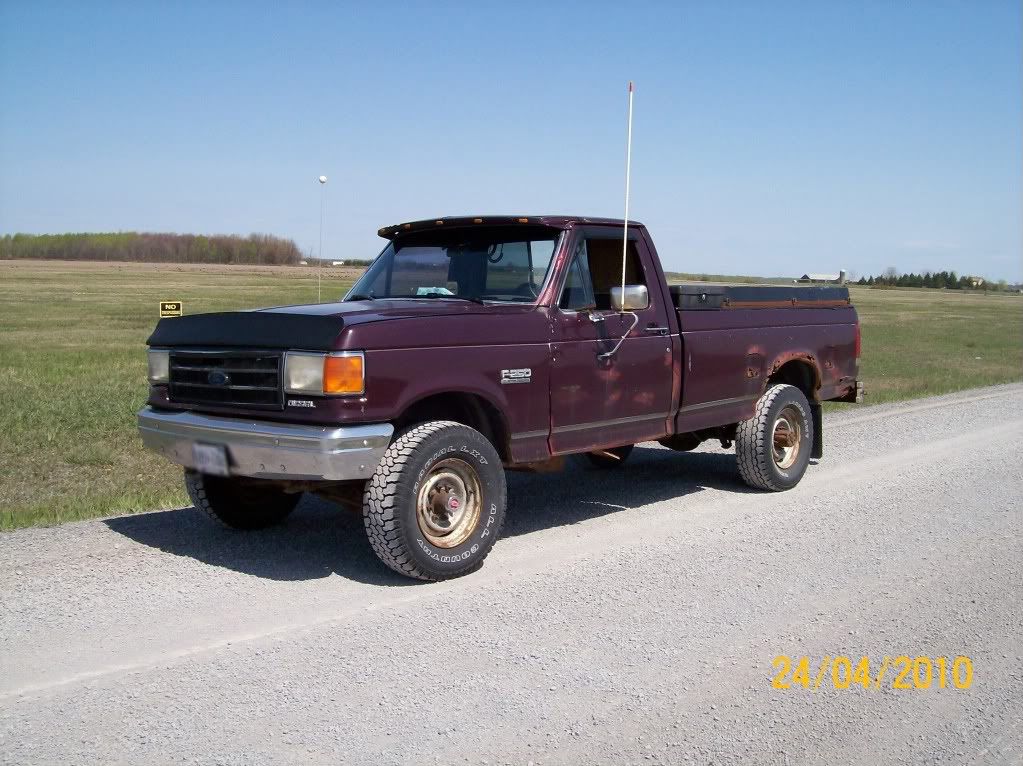
Heres the run down for now. Truck was retired April 24th 2010 do to rust. Still mechanically running great, all original 568k km (377k miles).
This is it's last day on the road, I drove out here just to take pictures, as I wanna use these for my album once it's gonna be done, to use as a "before" pic.
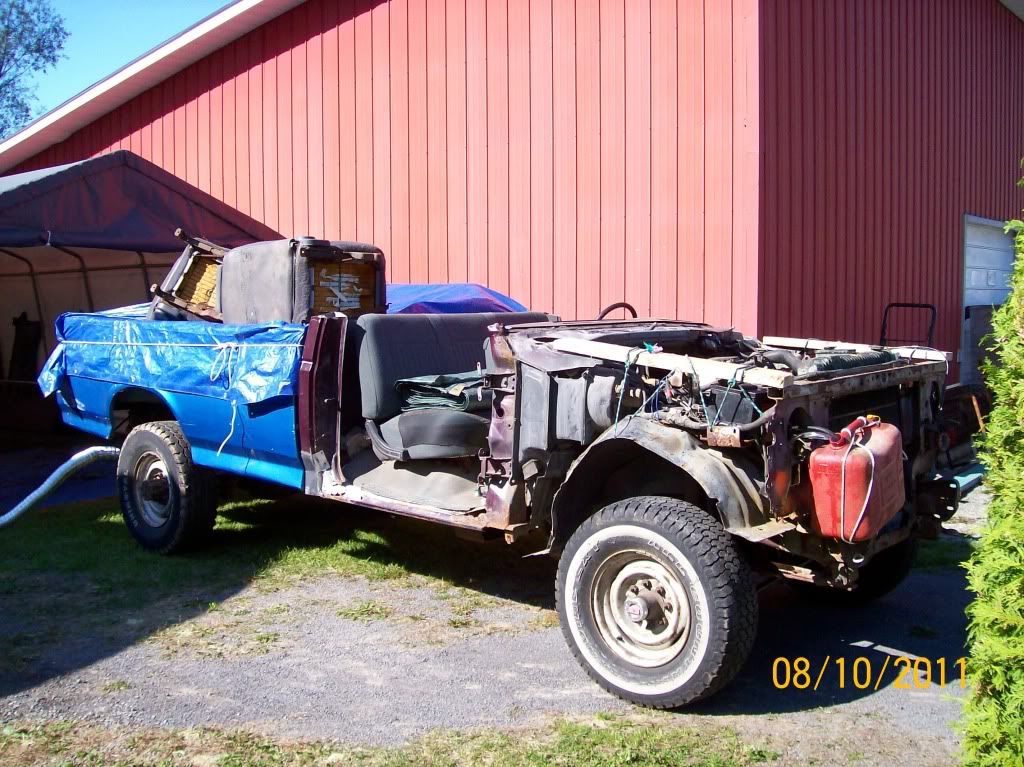
Currently looking like this
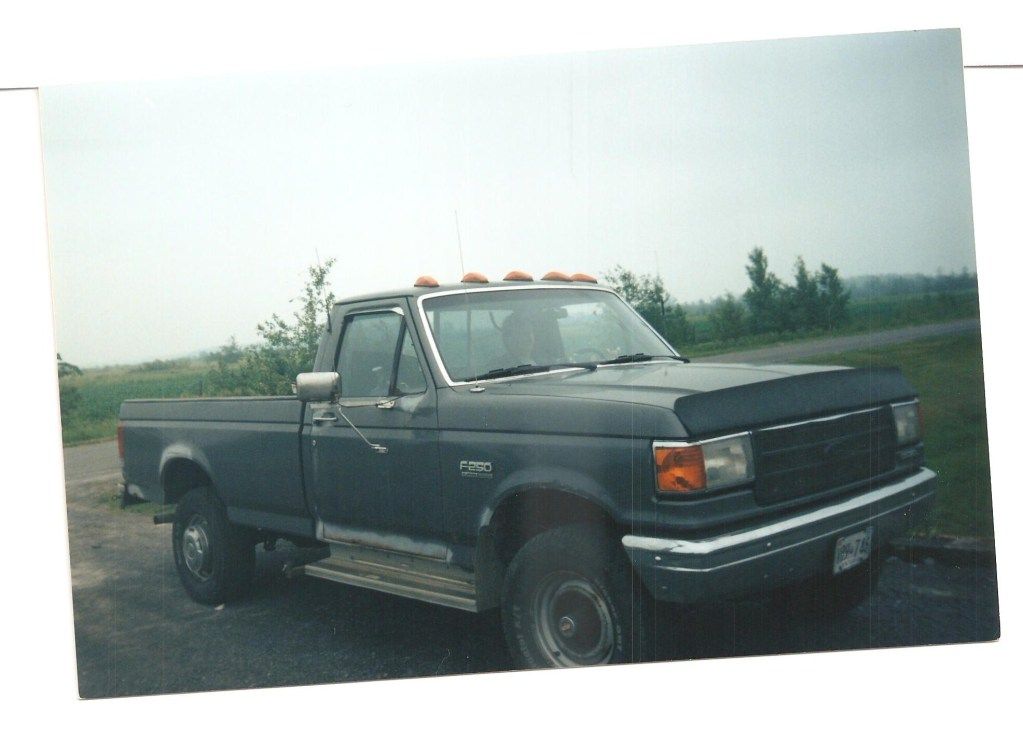
This is the trucks original color, pic was taken in the late 90's. It will basiclly look like this all finished. It will be restored to all original specs, right down to the tire size and dog dish hubcaps
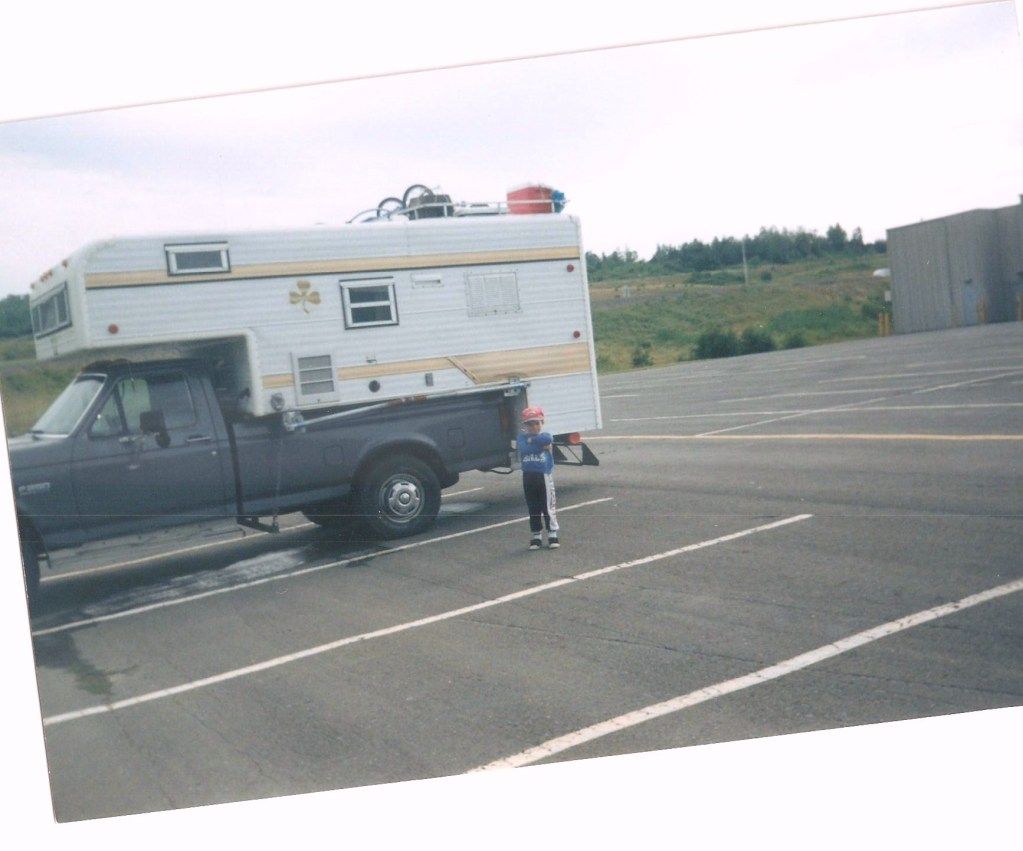
Me standing next to the truck at the age of 4 in 1996.
The blue box you see sitting on it is my rust free northern box for it, and I have a florida cab for it. I am still missing a couple odd parts, but those will come along later on. Those are the dog dish hubcaps, tall/narrow non A/C rad support, and Radiator, and gray color keyed vinyl flooring.
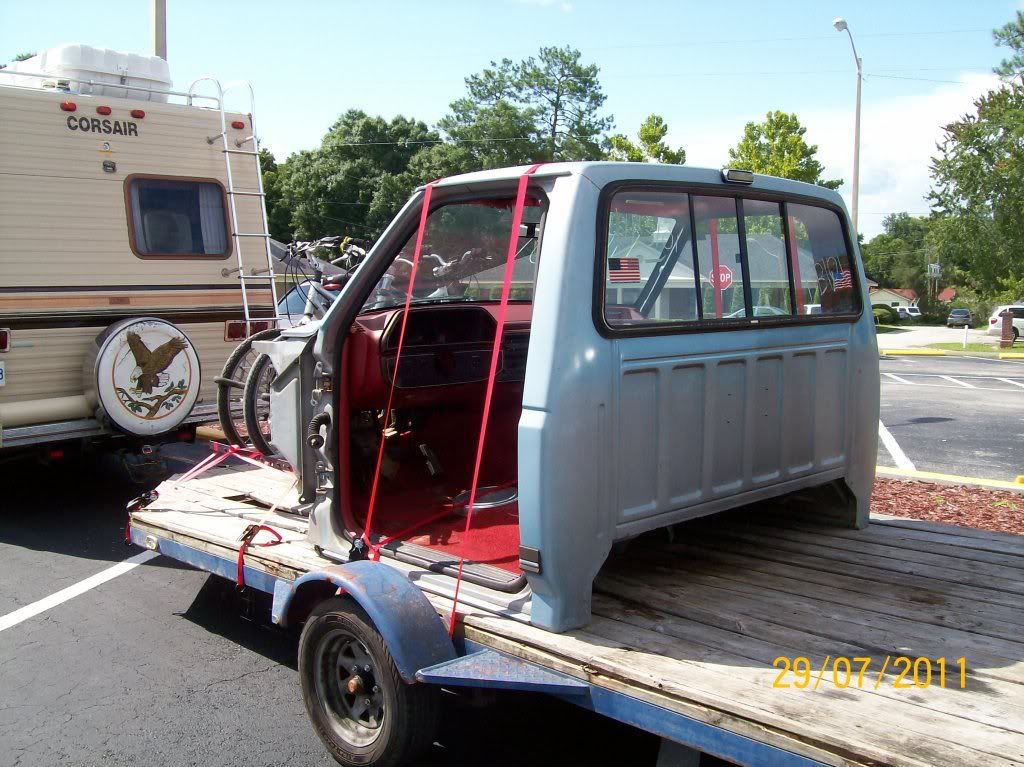
Heres the cab, it's a 1991 F150 XLT cab, witch will be turned into a super basic Custom cab.
-----------------------
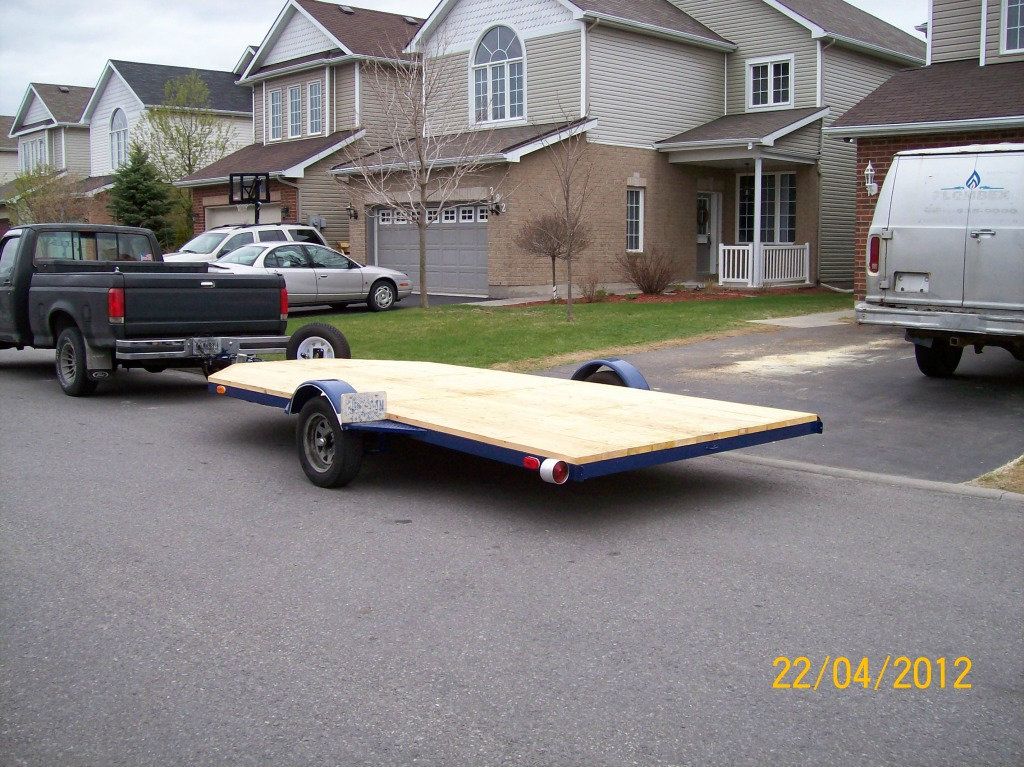
Last weekend (April 21st-22nd) we restored our trailer we bought in Florida to bring the cab up here, we will need this trailer to transport the body parts to paint shop, and to get Line-Xed underneath and frame to get sand blasted and also Line Xed.
Heres a quick shot of that. Fresh blue rust paint, all new lights and a clean wiring job, wood and bearings!
I will have a update this weekend, I am currently making a home made hoist to lift the cab up, to back the trailer up under it, and drop it on it. I also had some big steel plates bend perfectly to fit around the roof where the door closes to lift the cab up without damaging or denting anything.
Heres the run down for now. Truck was retired April 24th 2010 do to rust. Still mechanically running great, all original 568k km (377k miles).
This is it's last day on the road, I drove out here just to take pictures, as I wanna use these for my album once it's gonna be done, to use as a "before" pic.
Currently looking like this
This is the trucks original color, pic was taken in the late 90's. It will basiclly look like this all finished. It will be restored to all original specs, right down to the tire size and dog dish hubcaps
Me standing next to the truck at the age of 4 in 1996.
The blue box you see sitting on it is my rust free northern box for it, and I have a florida cab for it. I am still missing a couple odd parts, but those will come along later on. Those are the dog dish hubcaps, tall/narrow non A/C rad support, and Radiator, and gray color keyed vinyl flooring.
Heres the cab, it's a 1991 F150 XLT cab, witch will be turned into a super basic Custom cab.
-----------------------
Last weekend (April 21st-22nd) we restored our trailer we bought in Florida to bring the cab up here, we will need this trailer to transport the body parts to paint shop, and to get Line-Xed underneath and frame to get sand blasted and also Line Xed.
Heres a quick shot of that. Fresh blue rust paint, all new lights and a clean wiring job, wood and bearings!
I will have a update this weekend, I am currently making a home made hoist to lift the cab up, to back the trailer up under it, and drop it on it. I also had some big steel plates bend perfectly to fit around the roof where the door closes to lift the cab up without damaging or denting anything.
#2
04-26-2012, 03:41 PM

#3
04-26-2012, 04:59 PM

#5
04-27-2012, 05:09 AM

Senior User
Join Date: Dec 2011
Location: Rockland Ontario
Posts: 484
Likes: 0
Received 0 Likes
on
0 Posts
#6
04-27-2012, 10:20 AM
Posting Guru
Join Date: Dec 2010
Location: Dallas, TX
Posts: 2,100
Likes: 0
Received 0 Likes
on
0 Posts
#7
04-27-2012, 03:42 PM
More pics from today.
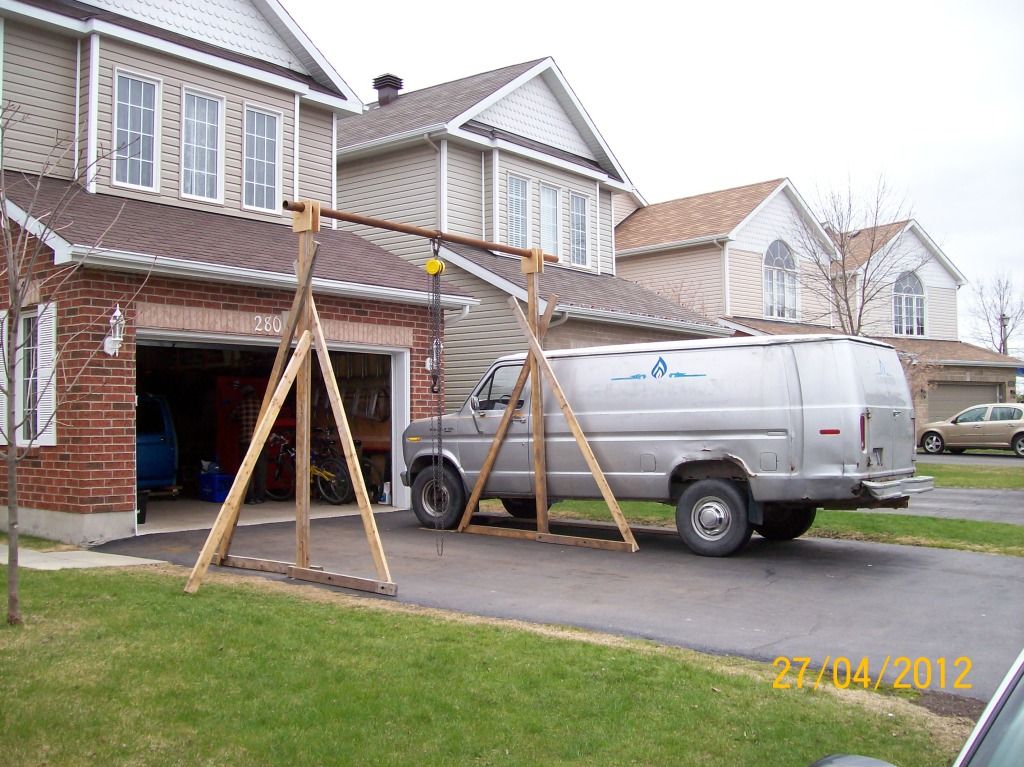
I tell ya the neighbors love me
Chain hoist.
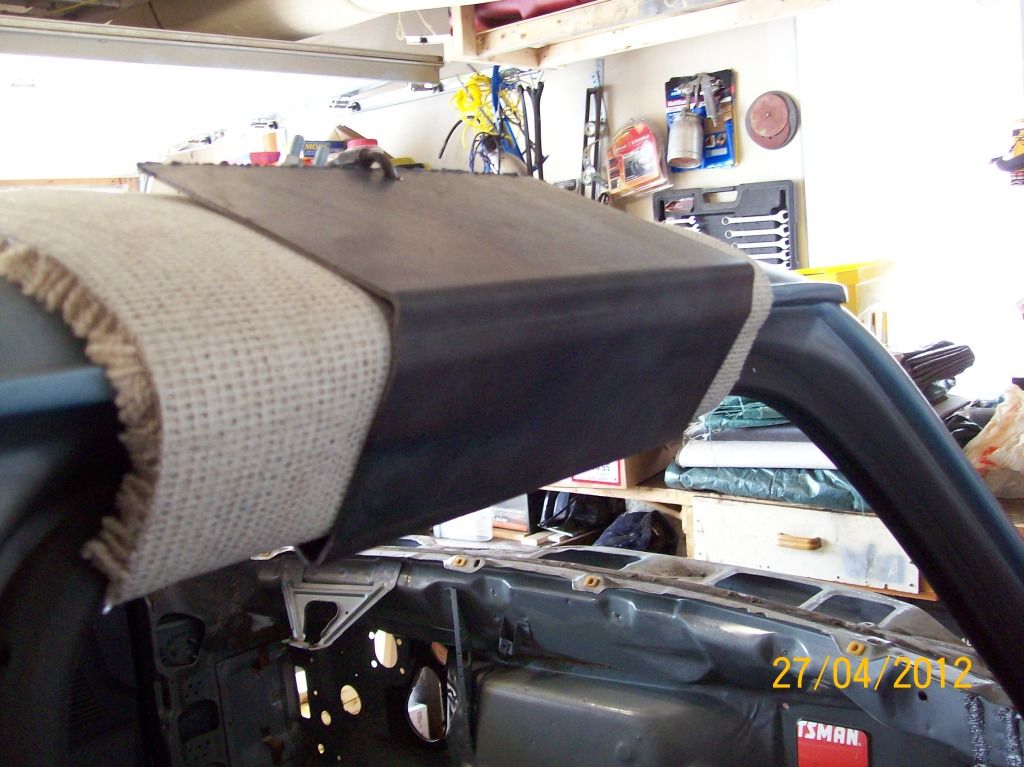
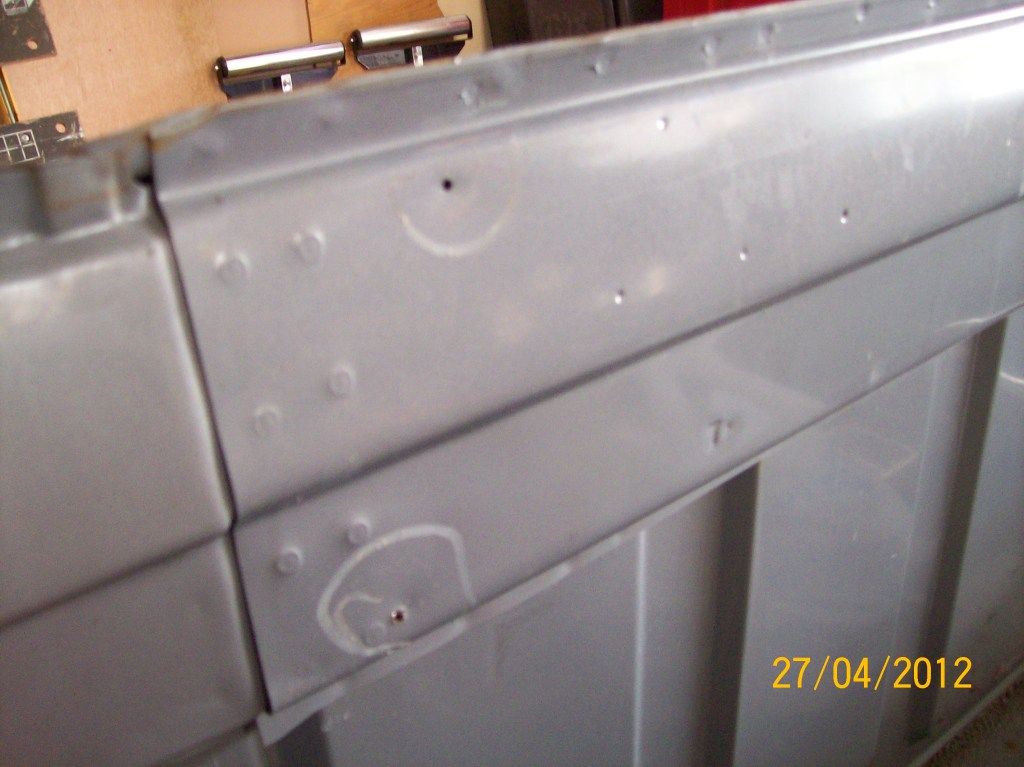
The plates I had bend to wrap around the roof of the cab to lift it up.

Tomorrow morning, i'm heading to a good welding shop, to have all these screw holes spot welded. I do have a welder, and have welded, but I ain't the best, I want 0 mistakes done, so I'm gonna have it done by someone pro.
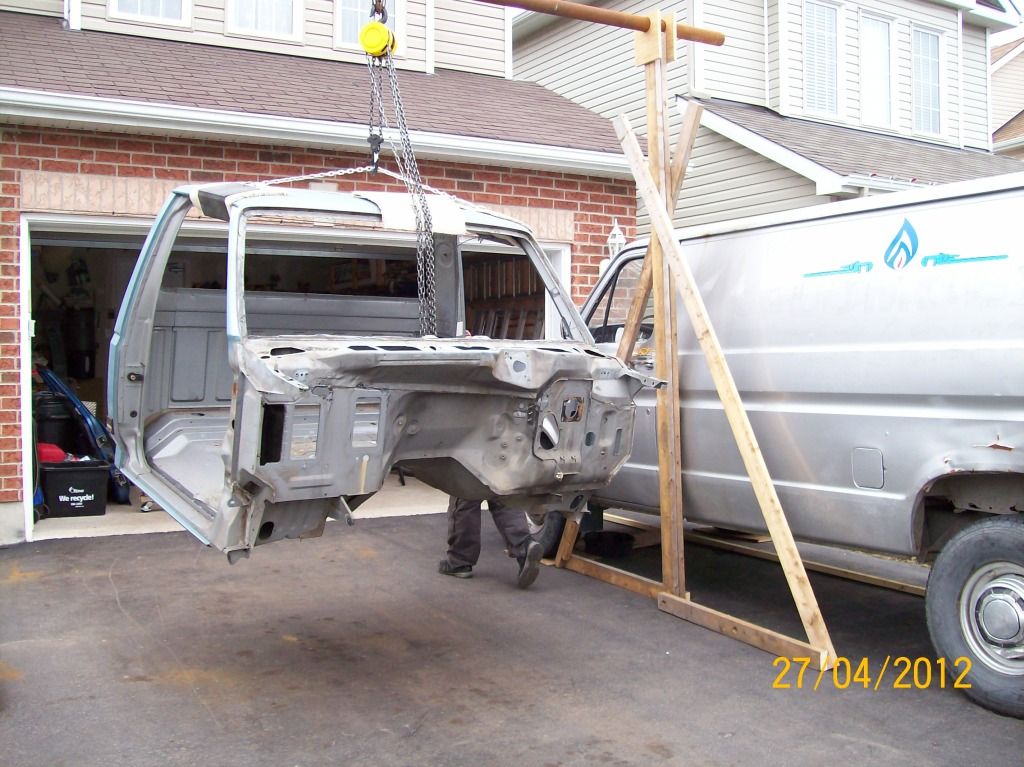
Getting ready to lift off.
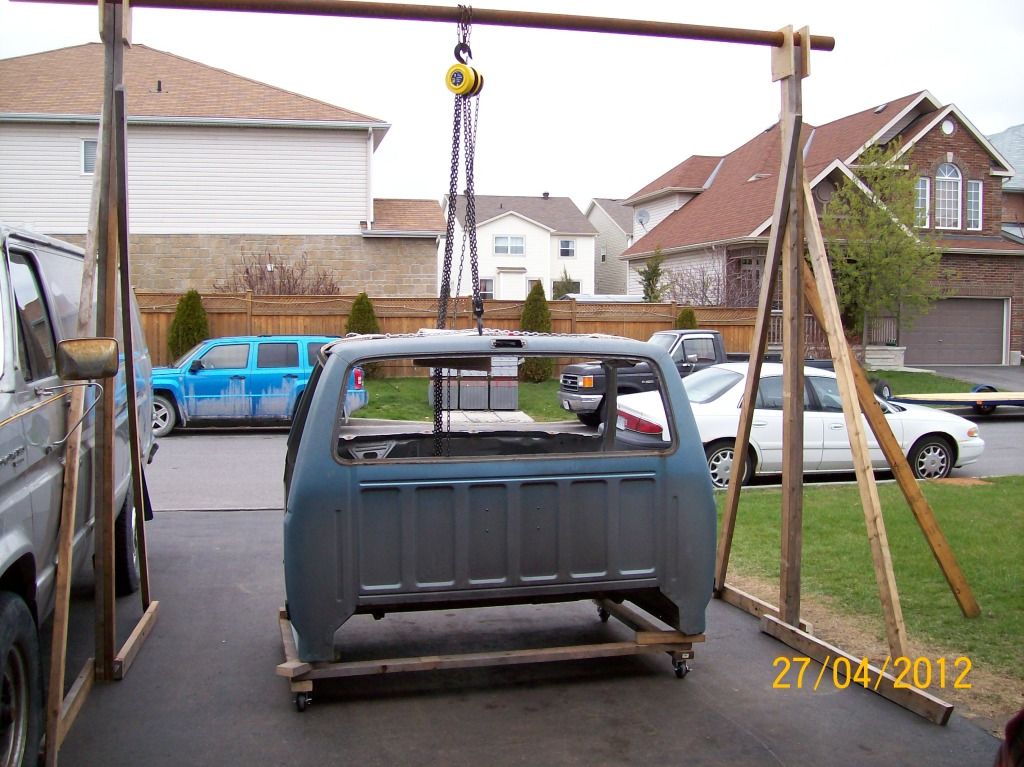
In flight
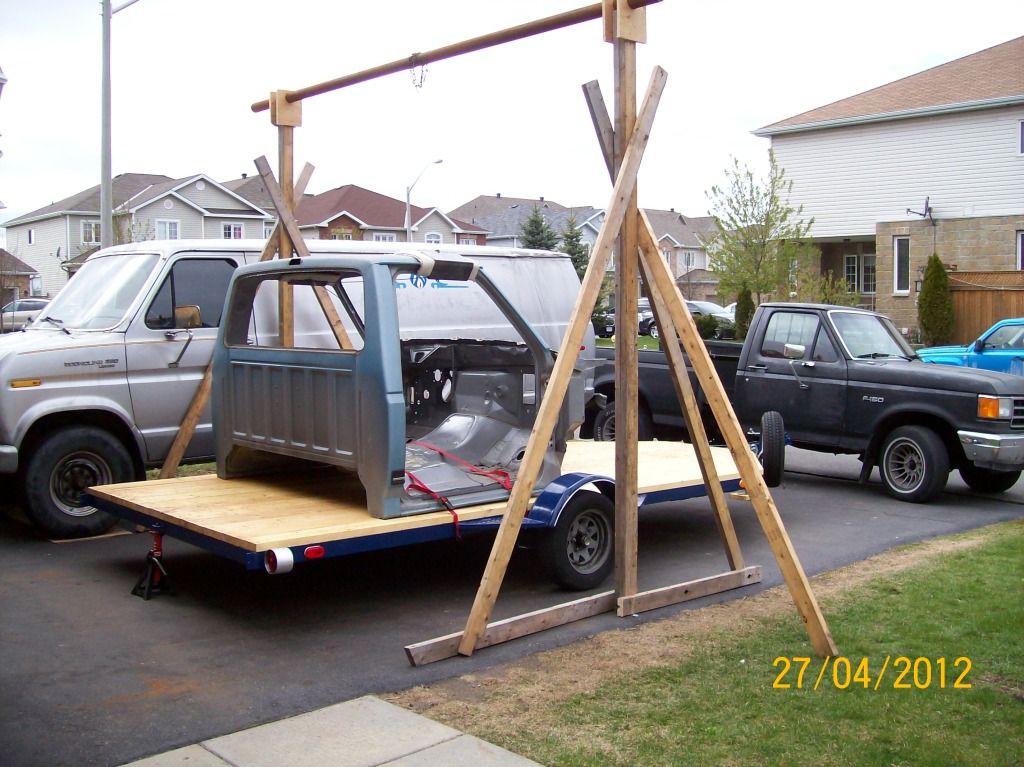
All strapped in, and ready to roll tomorrow morning (April 28th 2012).
I tell ya the neighbors love me
Chain hoist.
The plates I had bend to wrap around the roof of the cab to lift it up.
Tomorrow morning, i'm heading to a good welding shop, to have all these screw holes spot welded. I do have a welder, and have welded, but I ain't the best, I want 0 mistakes done, so I'm gonna have it done by someone pro.
Getting ready to lift off.
In flight
All strapped in, and ready to roll tomorrow morning (April 28th 2012).
Trending Topics
#8
04-27-2012, 07:18 PM
#9
04-27-2012, 08:24 PM


#11
04-27-2012, 09:13 PM
Back glass doesn't even take 5 min to get it out, and even less time putting it back in, but to put it back in, you need a rope all around the frame.
The front glass, I have a roll of glass remover wire, it's a cutting steel cable, you pull in and out in the seam, cutting it as you go, and you can lift off the entire windshield without breaking or cracking it. It's the same kind of stuff glass and windshield repair shops use.
And i've added that pic of me at the age of 4 beside the F250 with our old slide in camper.

#13
04-28-2012, 04:23 AM
Senior User
Join Date: Dec 2011
Location: Rockland Ontario
Posts: 484
Likes: 0
Received 0 Likes
on
0 Posts
Ingenious,  , I can just imagine what the neighbor's are saying, ("what is he doing now
 ")
")
As for those hole's, it's pretty easy, but if you think your not ready yet, ya, have someone else do it for ya.
It's better to use a mig on those, usually I put a nail head in first, then spot weld it in with a mig.
Rick.
, I can just imagine what the neighbor's are saying, ("what is he doing now")As for those hole's, it's pretty easy, but if you think your not ready yet, ya, have someone else do it for ya.
It's better to use a mig on those, usually I put a nail head in first, then spot weld it in with a mig.
Rick.

#15
04-28-2012, 06:41 PM
Alright, holes are welded up, and a fantastic job was done. Real simple.
Used a heating torch, and a brass rod to melt it in the holes.
I grinded them down once back home, and a quick shot of primer on 'em to keep it from oxidizing.
Dropped it off the trailer, and back on it's dolly, and back in the corner in the garage. Next will be for sand blasting around where the windshield use to be. I'll be doing that my self, with my small sand blaster.