1970 F250 4x4 Cummins Conversion Build Thread - Lots of Pics!
#226
 10-05-2015, 06:52 PM

Cargo Master
Join Date: Nov 2005
Location: La Ribera, Baja, Mexico
Posts: 2,694
Likes: 0
Received 43 Likes
on
25 Posts
When I had my cab off, I pressure washed it with 3600 psi, which removed all the paint, without denting the metal. Was a bit tricky, but I got the hang of it quickly.. Primed it with a Marine epoxy primer, and then 2 coats of epoxy bilge paint. Then, under, inside, and firewall was coated with 'Chapapote' (Mexican Rhino Liner), before the paint process. Also put Chapapote on the entire chassis, & running gear, after it got primed & painted with Marine epoxy too.. "Death to Rust Forever" is my beach motto.
Good luck with your cab, and if it is anything like the rest of your work amigo, it will be "Over the Top"..
Baja
Good luck with your cab, and if it is anything like the rest of your work amigo, it will be "Over the Top"..
Baja
#227
10-16-2015, 11:04 AM

Elder User
Join Date: Dec 2010
Location: Liberty Hill, Tx
Posts: 618
Likes: 0
Received 0 Likes
on
0 Posts
#228
10-16-2015, 02:26 PM
Cargo Master
Join Date: Nov 2005
Location: La Ribera, Baja, Mexico
Posts: 2,694
Likes: 0
Received 43 Likes
on
25 Posts
Hope it is still warm enough to paint your cab, amigo. I just noticed how much your shift cables, look like marine shift/throttle cables. Also, if you ever have cable trouble, AW Direct, has all sorts of PTO cables, at reasonable prices.. just saying...
Hope you have some photos soon.. you have followers..
Baja
Hope you have some photos soon.. you have followers..
Baja
#229
10-25-2015, 11:22 PM
Join Date: Oct 2011
Location: Willard
Posts: 207
Likes: 0
Received 0 Likes
on
0 Posts
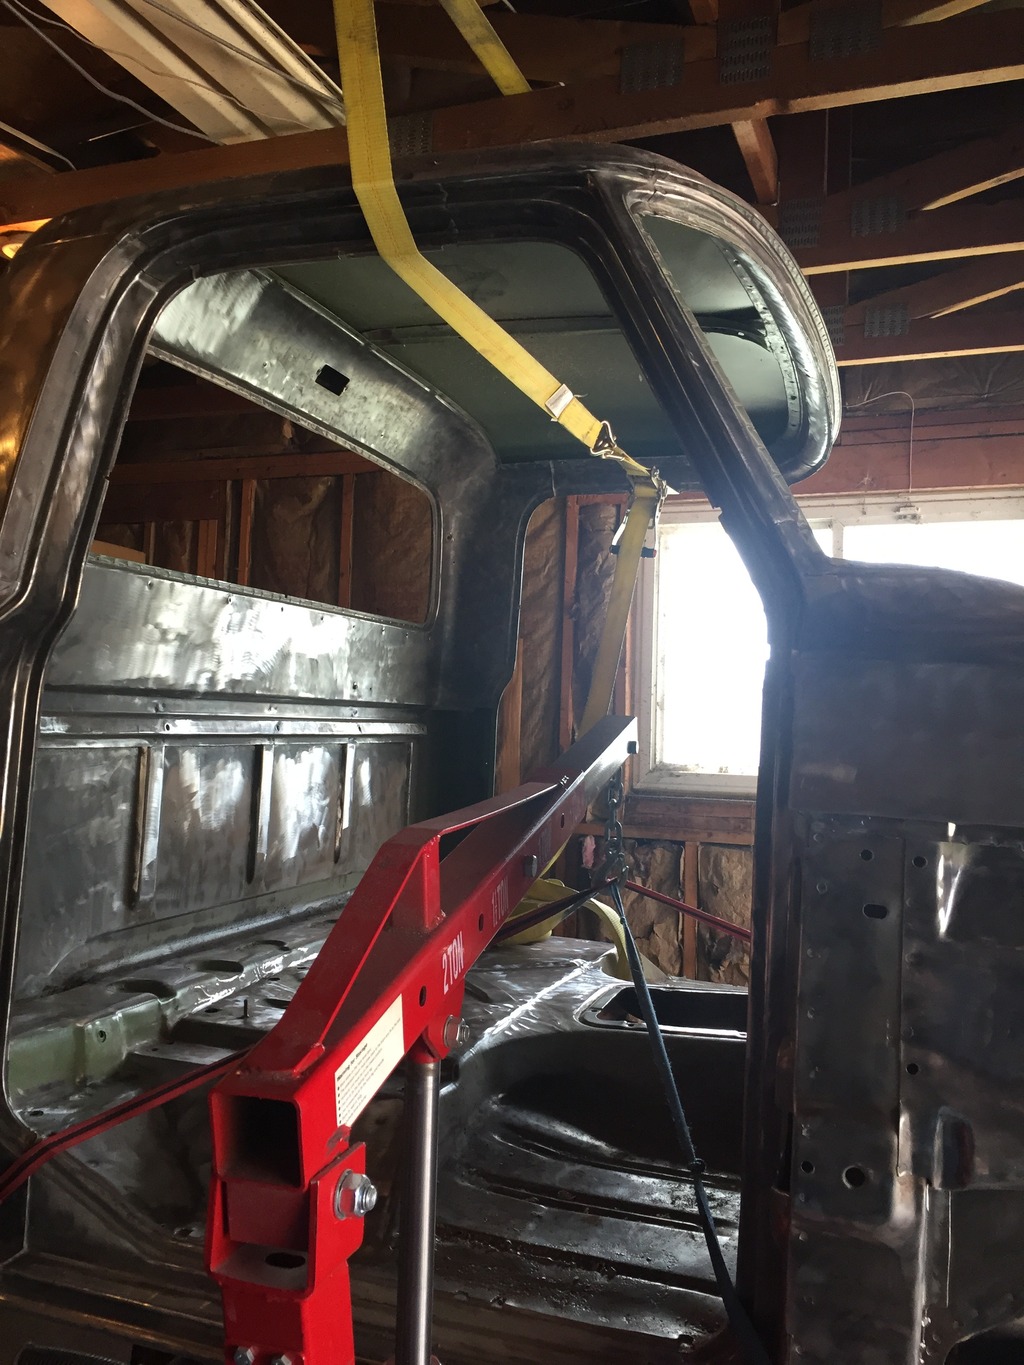
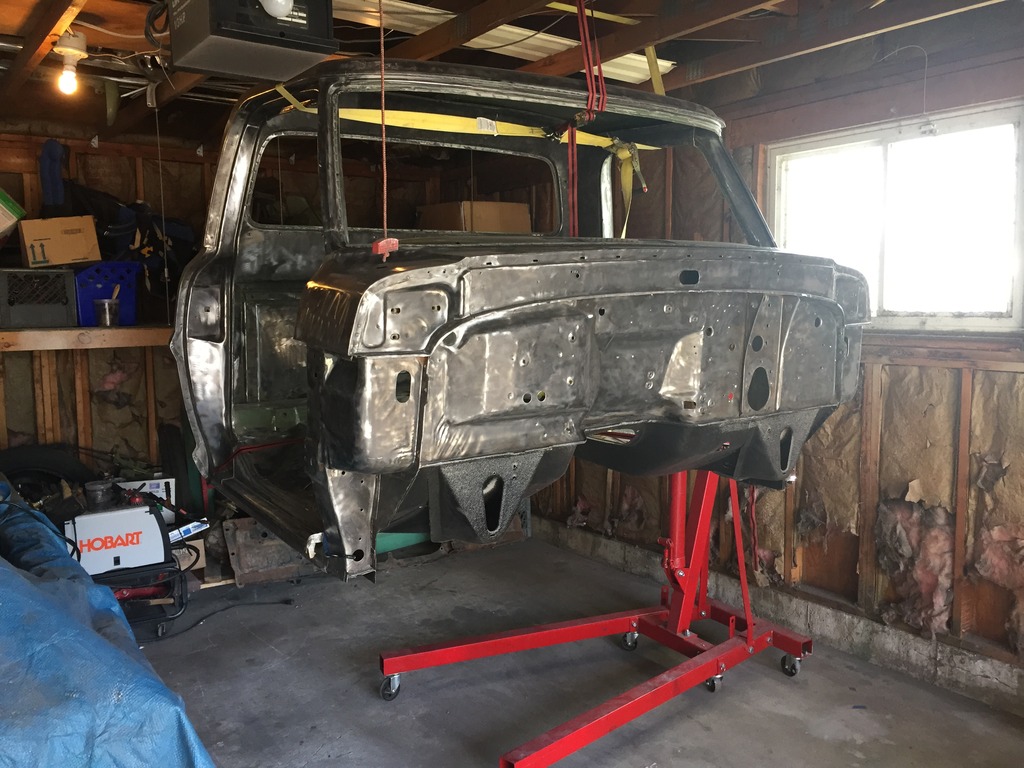
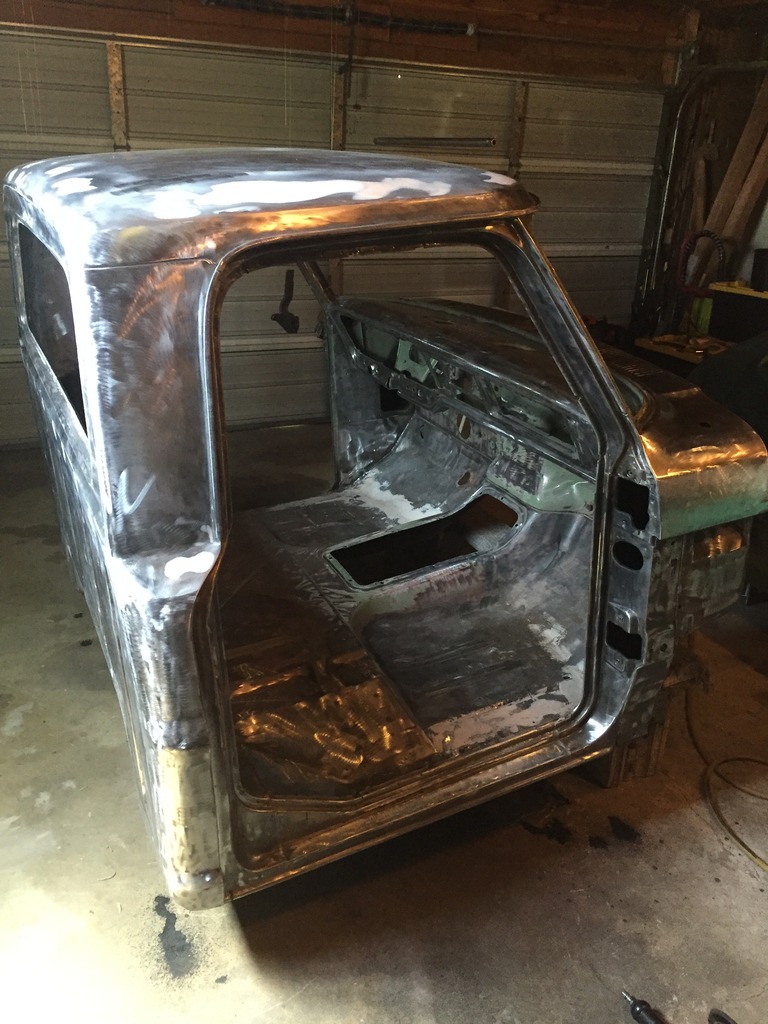
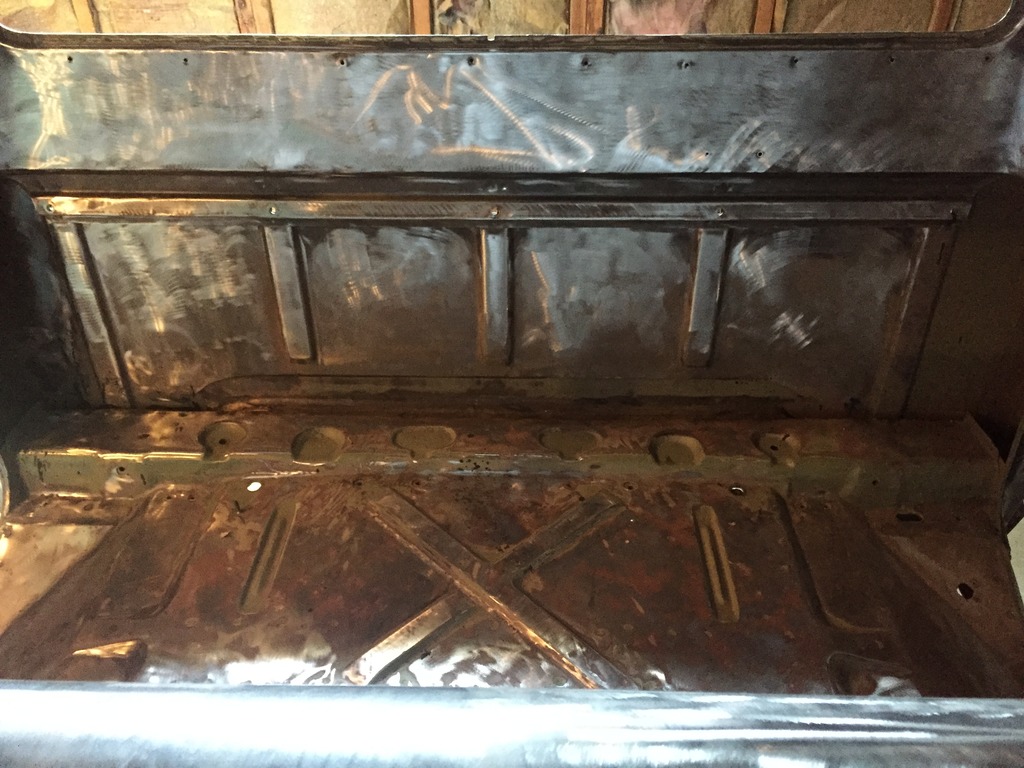
I am determined to get this cab painted ASAP. I took the cab completely off the frame so that I could have good access to paint it.
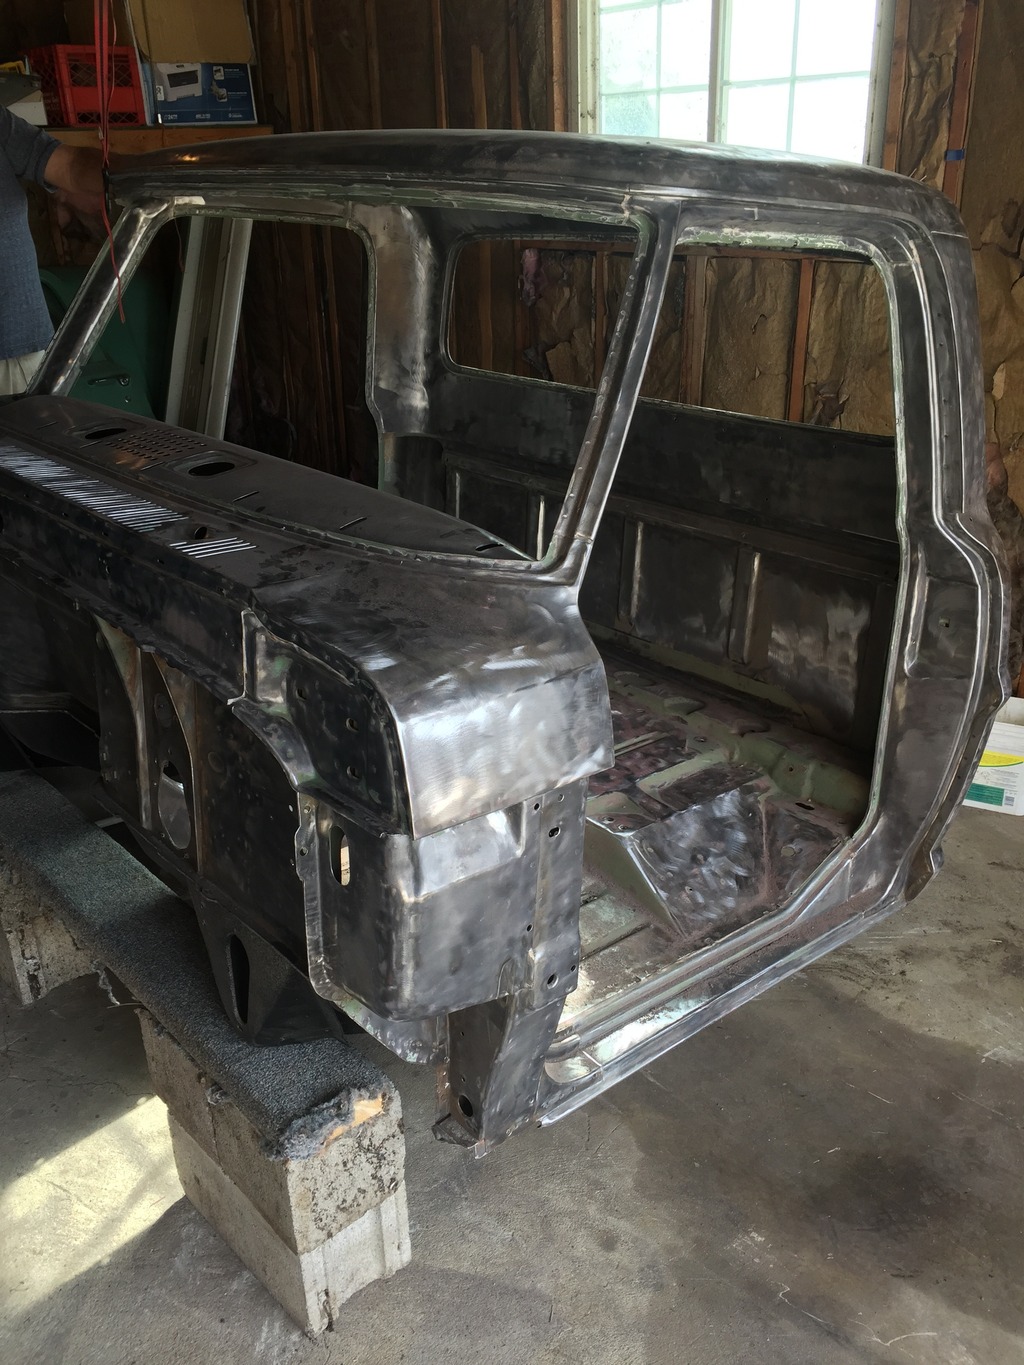
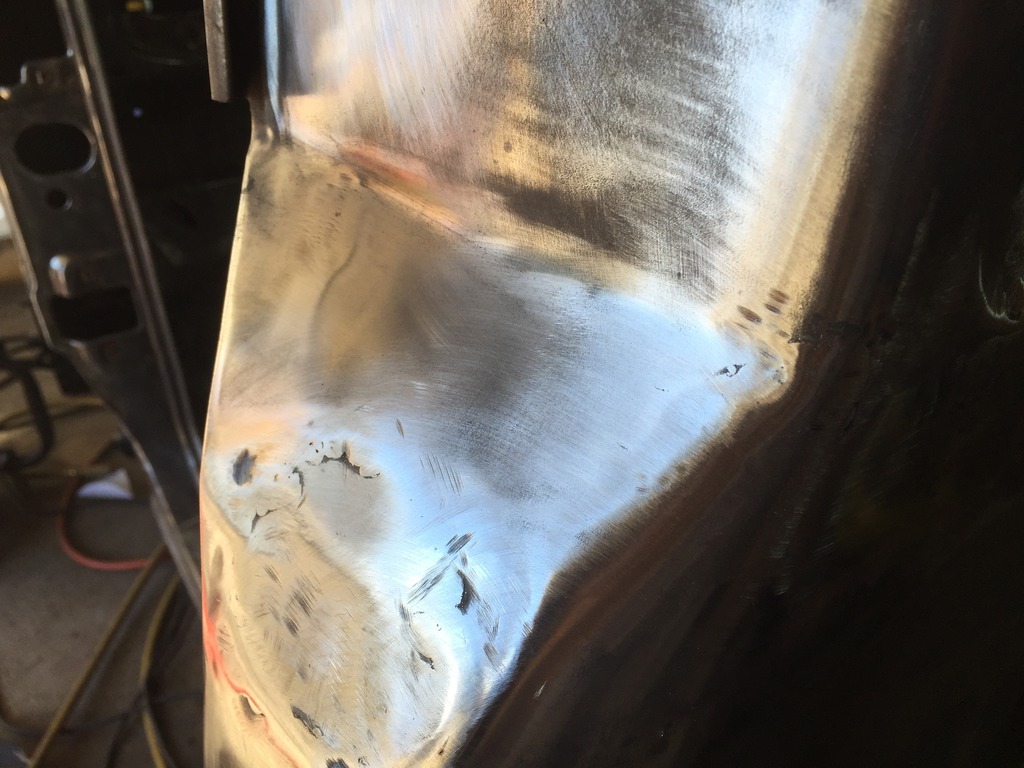
I had some body work to finish up. I have a cheap harbor freight stud gun. Gun works perfect, but the slide hammer is junk. I had to buy a $100 premium stud slide hammer to get everything to work right.
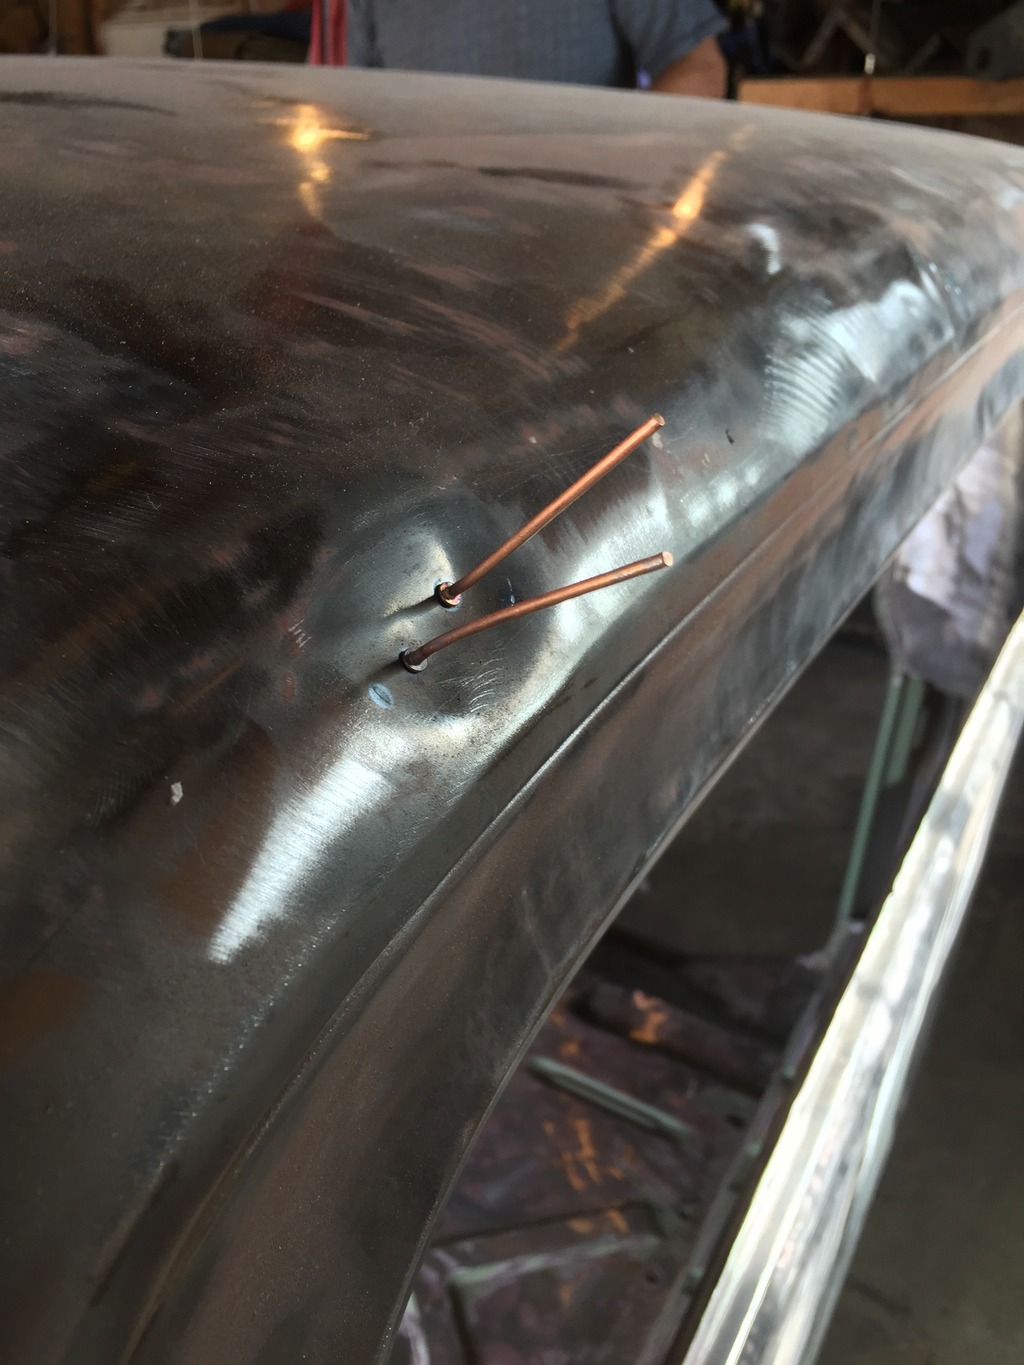
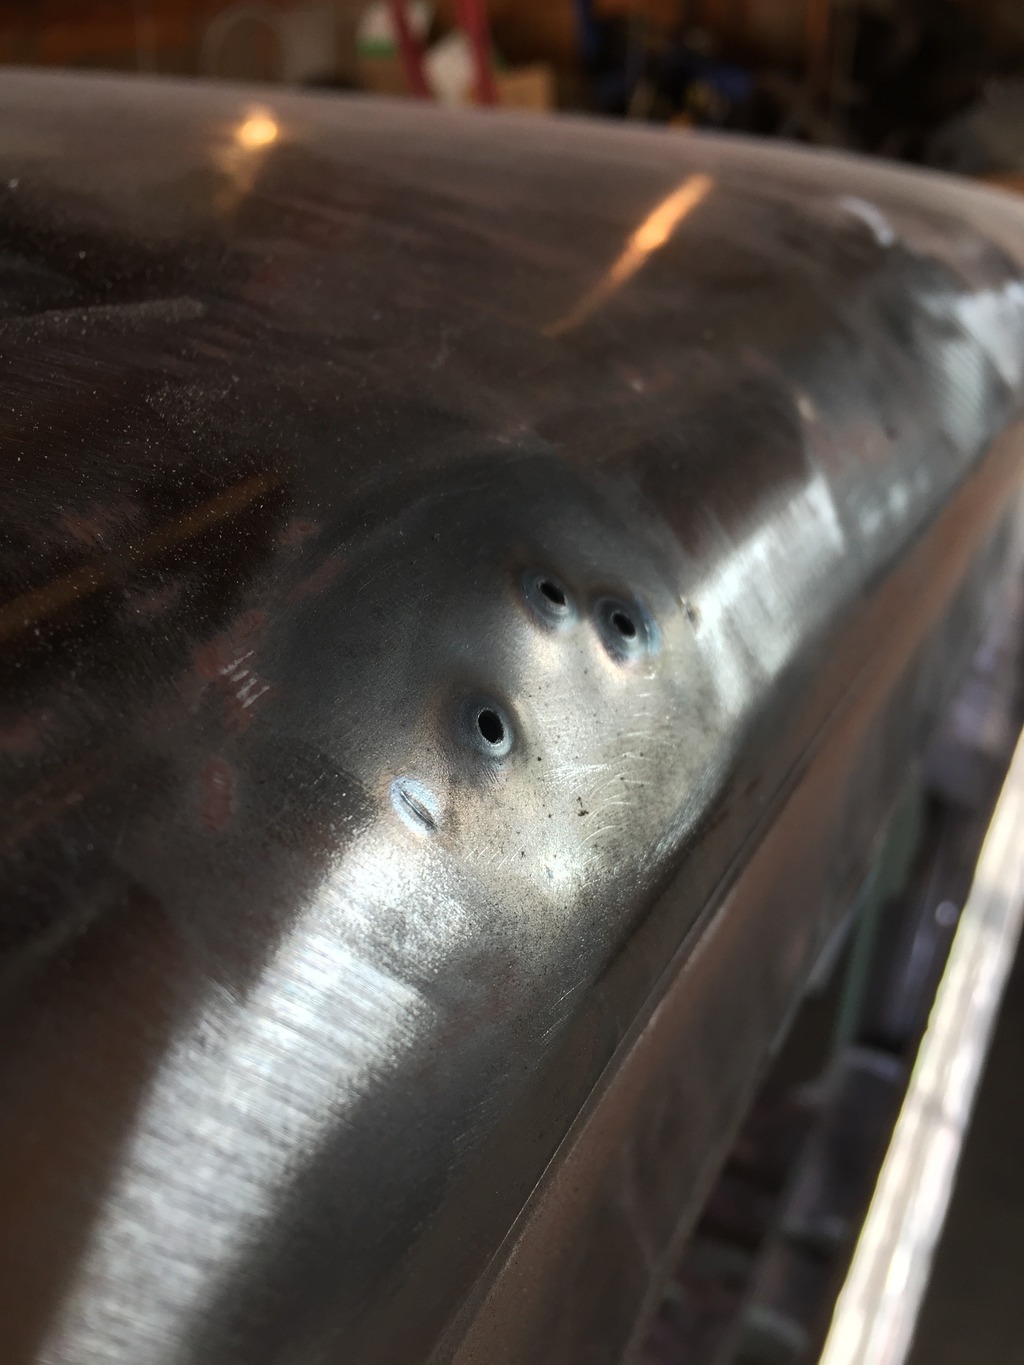
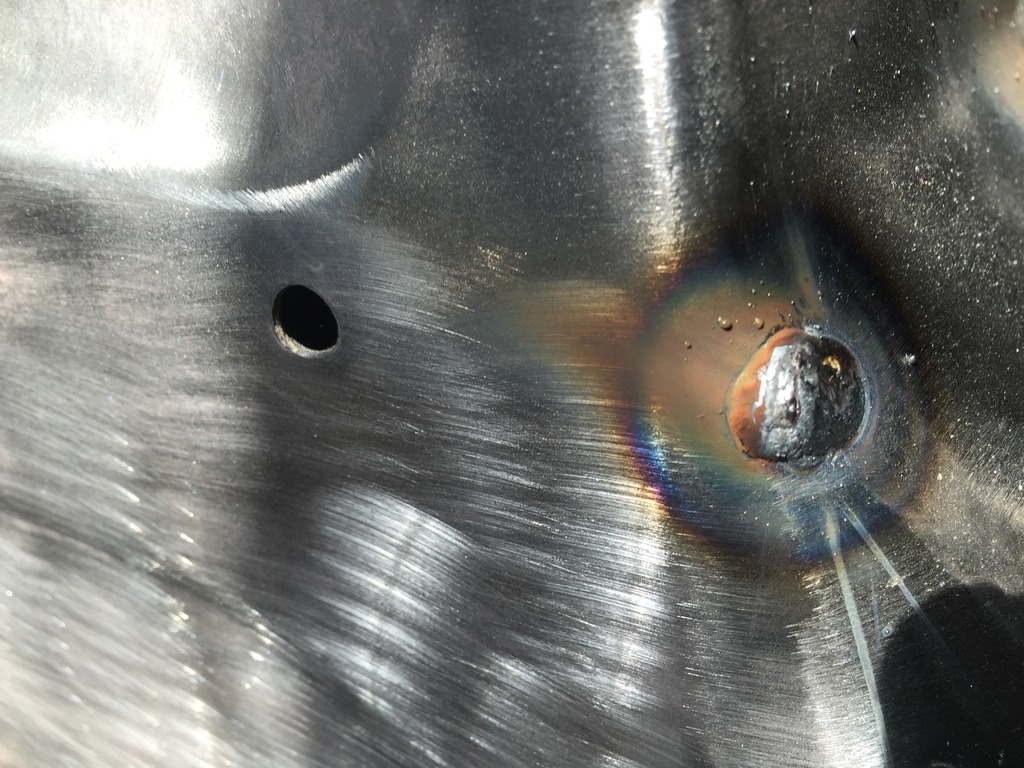
I began filling the old trim holes.

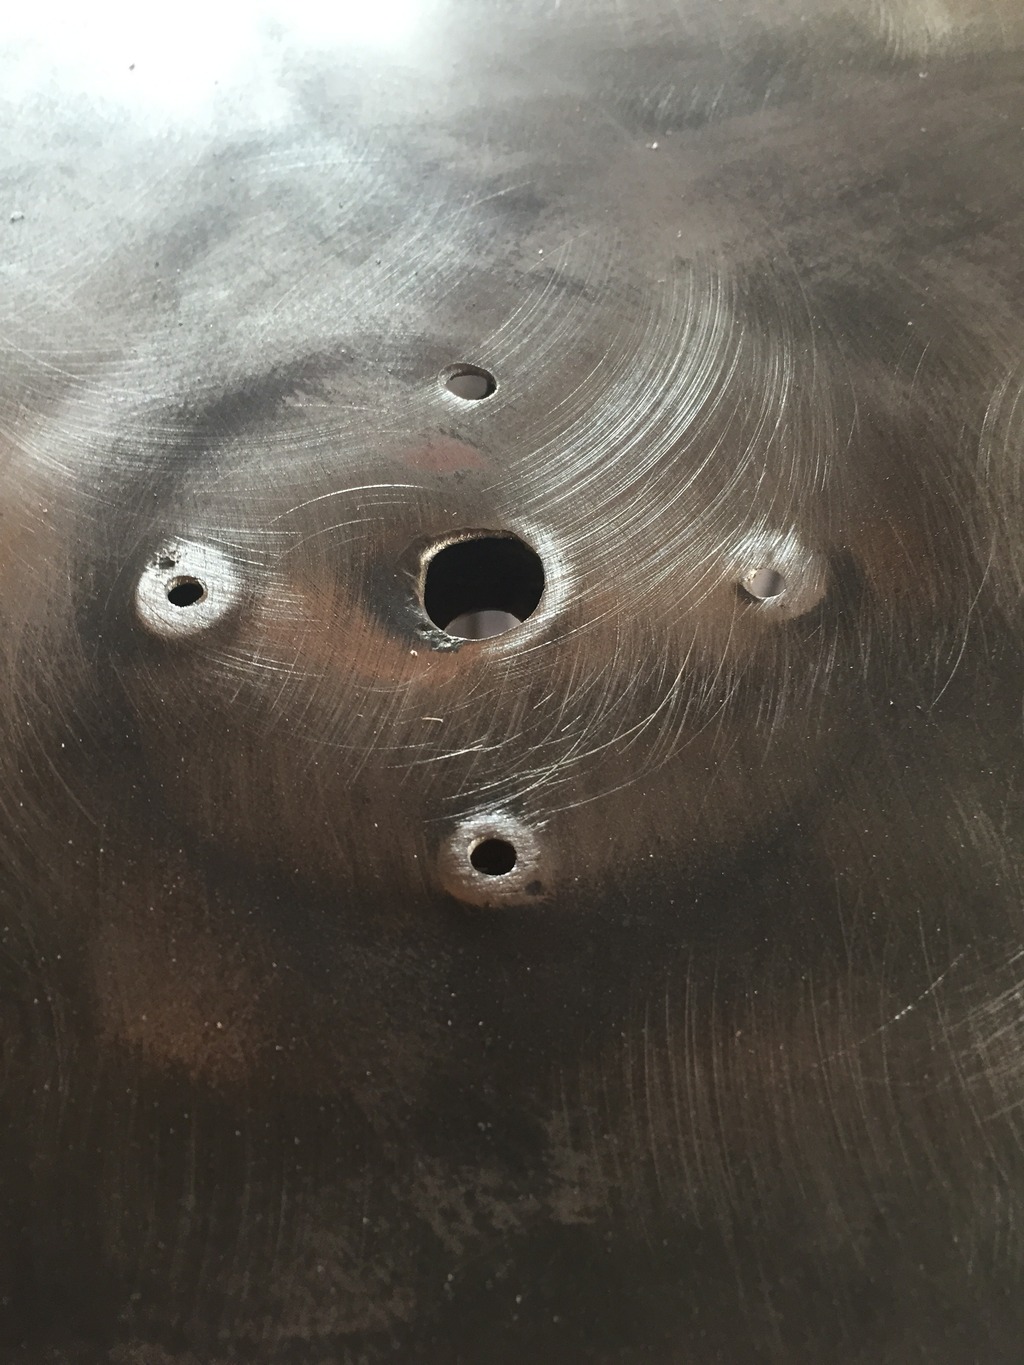
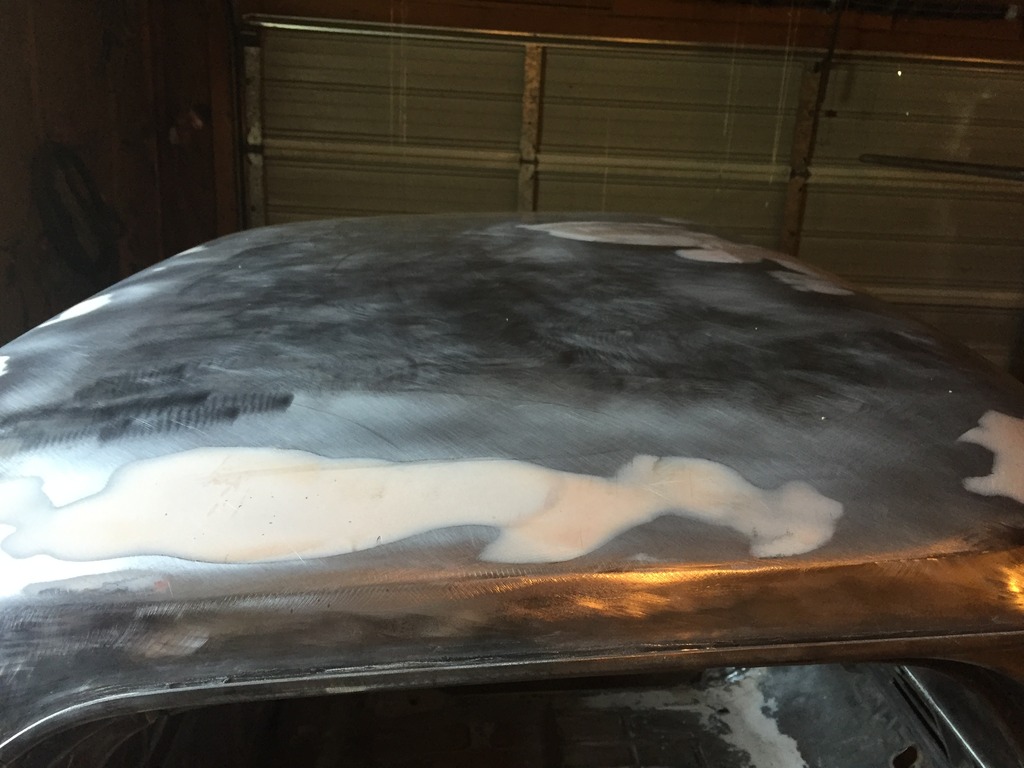
I had to fill a big old gigantic hole roof where something was mounted.
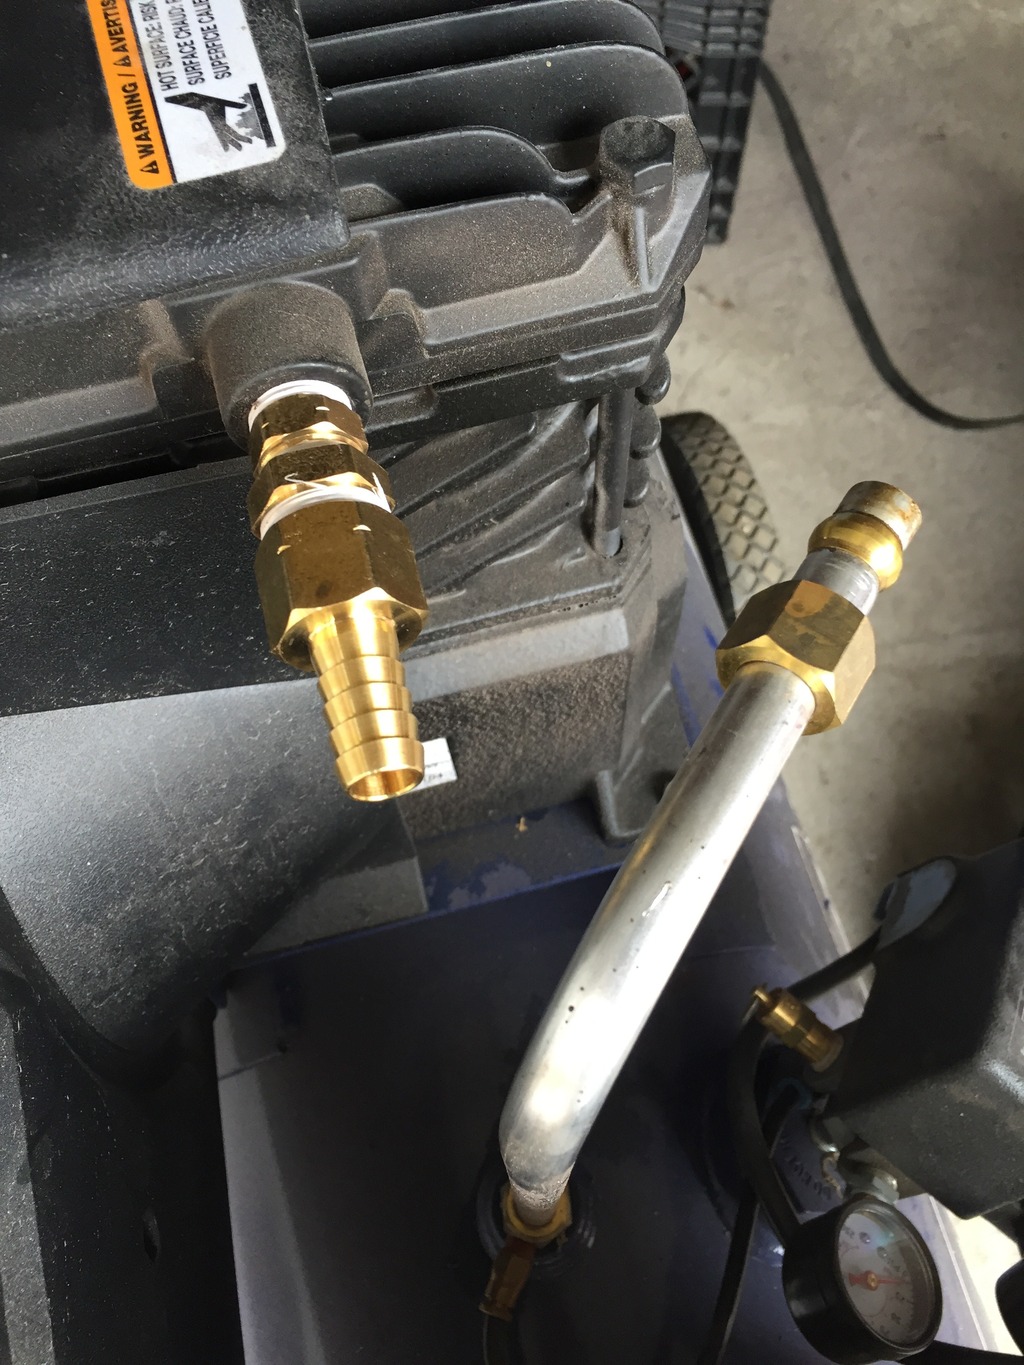
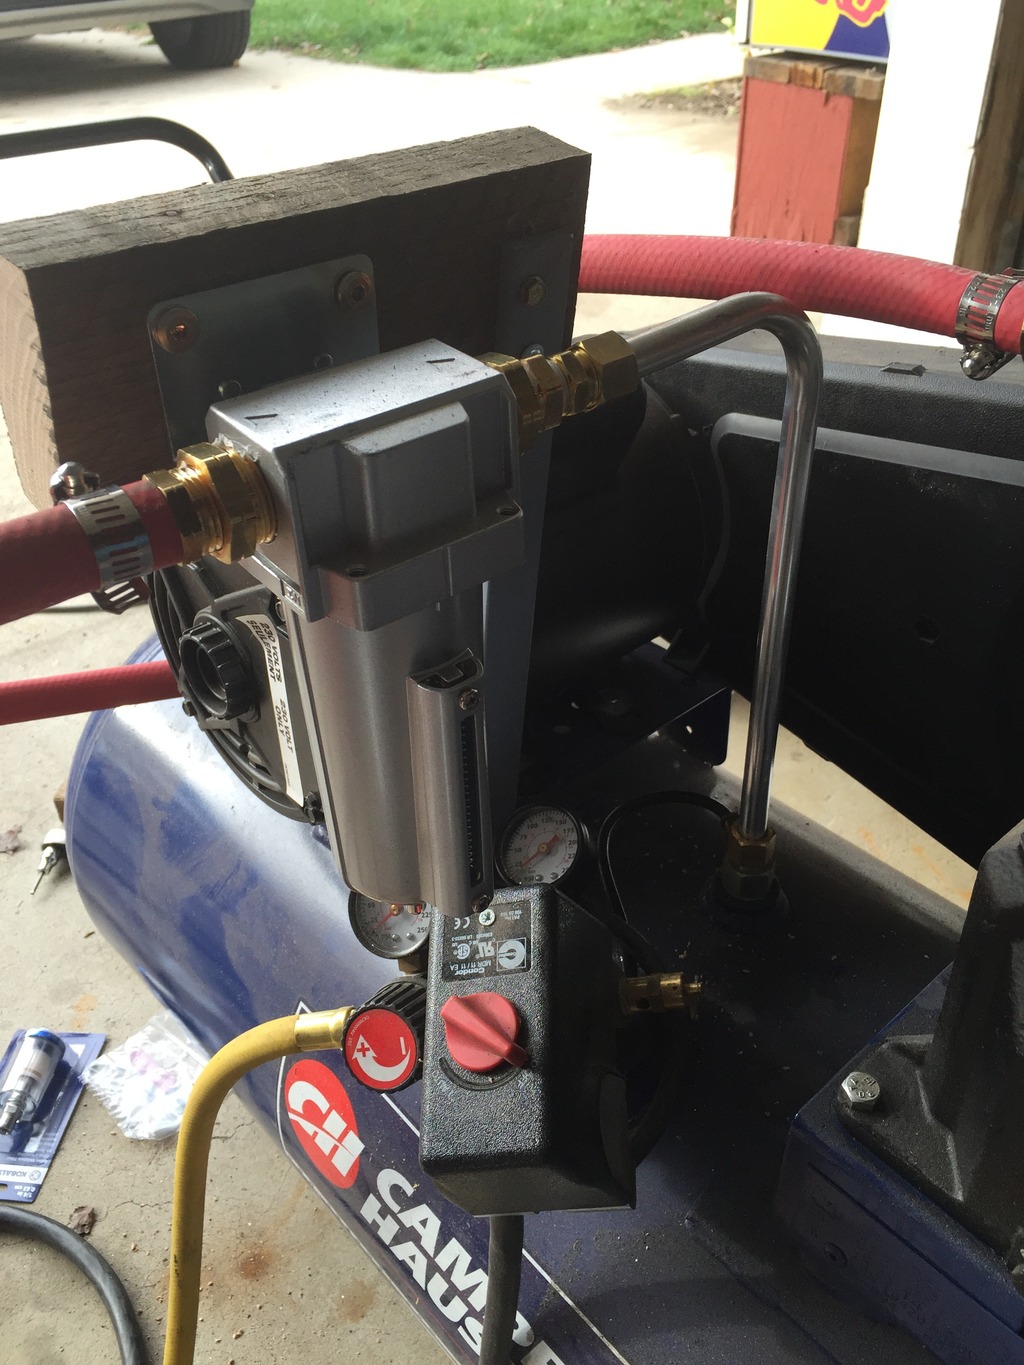
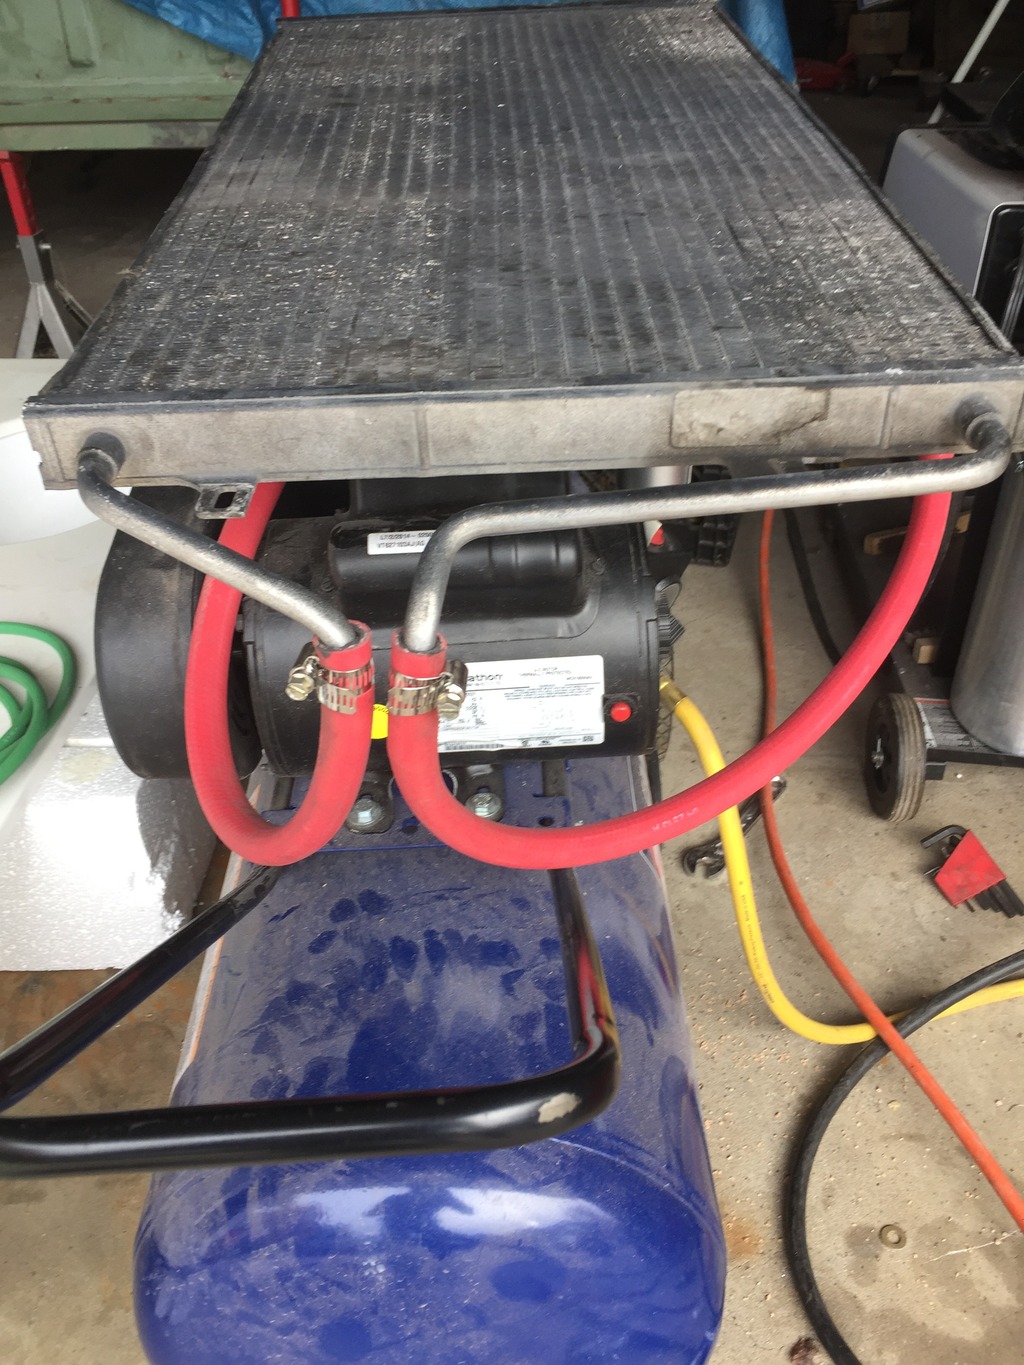
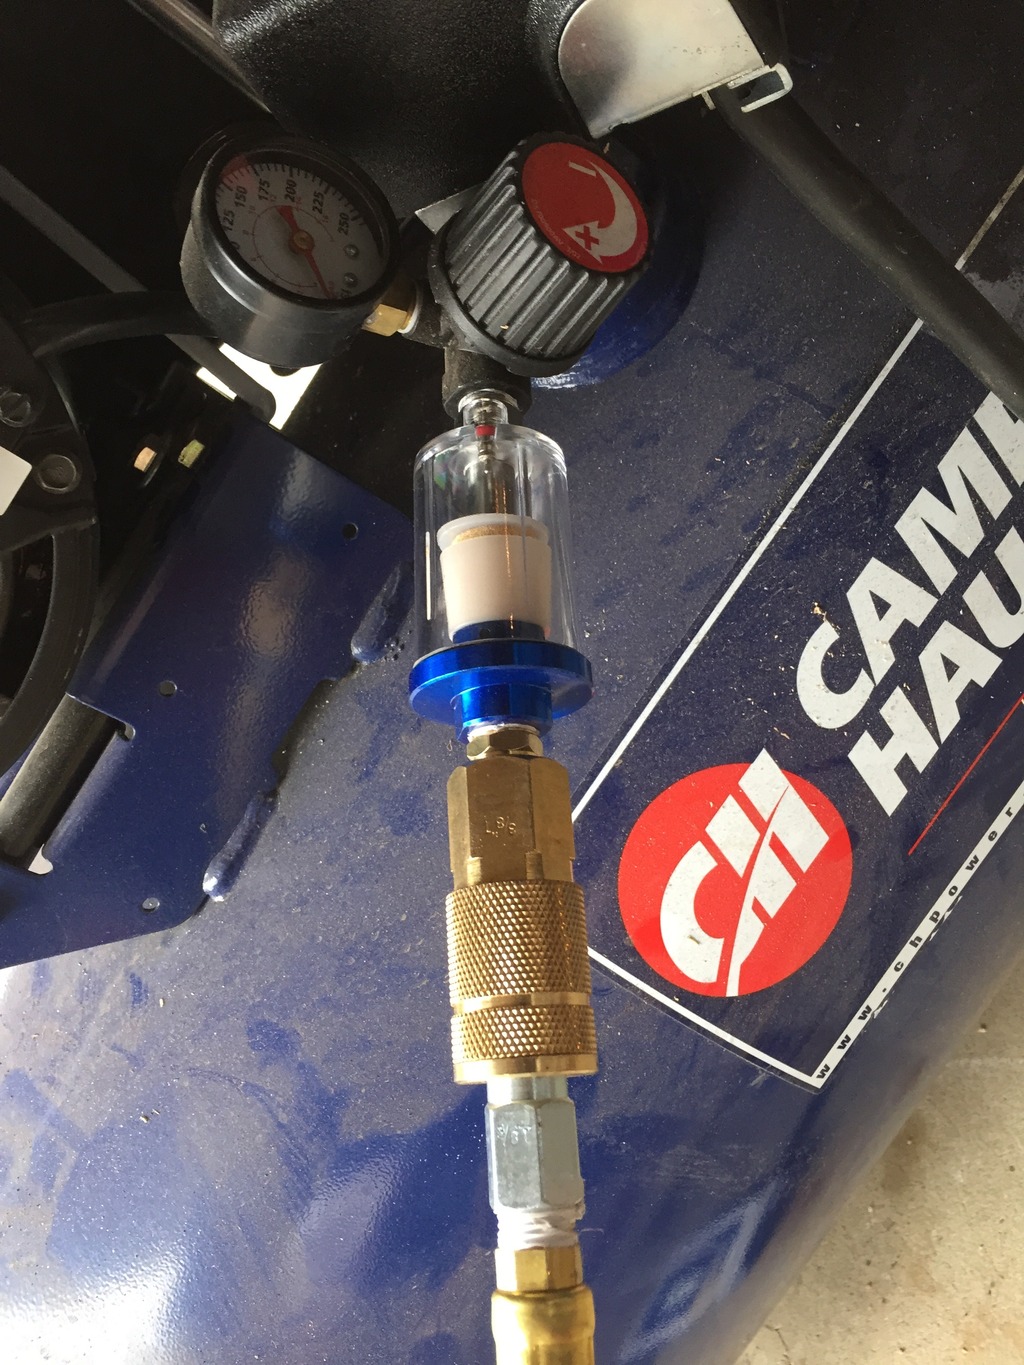
With bodywork still underway, I realized that I needed to address a water issue with my compressor. I had been getting a lot of water through my air line recently, and with auto paint that is no bueno. So I tried to find a solution that wouldn't break the bank. Here is what I did - got a used ac condenser out of a newer Cadillac, ordered a water trap, and hooked both in line before the air entered the compressor tank. Basically the condenser cools the air which causes the moisture to liquify before it hits the water trap. I also added a cheap filter at the hose connection for backup sanity sake.
The temperatures are still in the 60's out here in Utah, so I think I still will get this paint job done. I have a lot of light weight body filler to sand, and lots of final prep, but this thing is going to happen soon.


I had some body work to finish up. I have a cheap harbor freight stud gun. Gun works perfect, but the slide hammer is junk. I had to buy a $100 premium stud slide hammer to get everything to work right.


I began filling the old trim holes.


I had to fill a big old gigantic hole roof where something was mounted.


With bodywork still underway, I realized that I needed to address a water issue with my compressor. I had been getting a lot of water through my air line recently, and with auto paint that is no bueno. So I tried to find a solution that wouldn't break the bank. Here is what I did - got a used ac condenser out of a newer Cadillac, ordered a water trap, and hooked both in line before the air entered the compressor tank. Basically the condenser cools the air which causes the moisture to liquify before it hits the water trap. I also added a cheap filter at the hose connection for backup sanity sake.


The temperatures are still in the 60's out here in Utah, so I think I still will get this paint job done. I have a lot of light weight body filler to sand, and lots of final prep, but this thing is going to happen soon.
#230
10-26-2015, 09:24 AM
Cargo Master
Join Date: Nov 2005
Location: La Ribera, Baja, Mexico
Posts: 2,694
Likes: 0
Received 43 Likes
on
25 Posts
I know that a lot of older trucks, take on an individual personality, with little quirks, that are unique to the truck, and hence get appropriate nick names. Mine is Ol' Ralph, named after the first owner, I got the truck from. What on Earth are you going to call your truck, after all the magic you have worked on it? 'Houdini' ? James Bondo? 'bout JB for short...?
Baja
Baja
#231
01-10-2016, 11:38 PM
Join Date: Oct 2011
Location: Willard
Posts: 207
Likes: 0
Received 0 Likes
on
0 Posts
Well I didn't get it painted before winter, but I am still making progress.
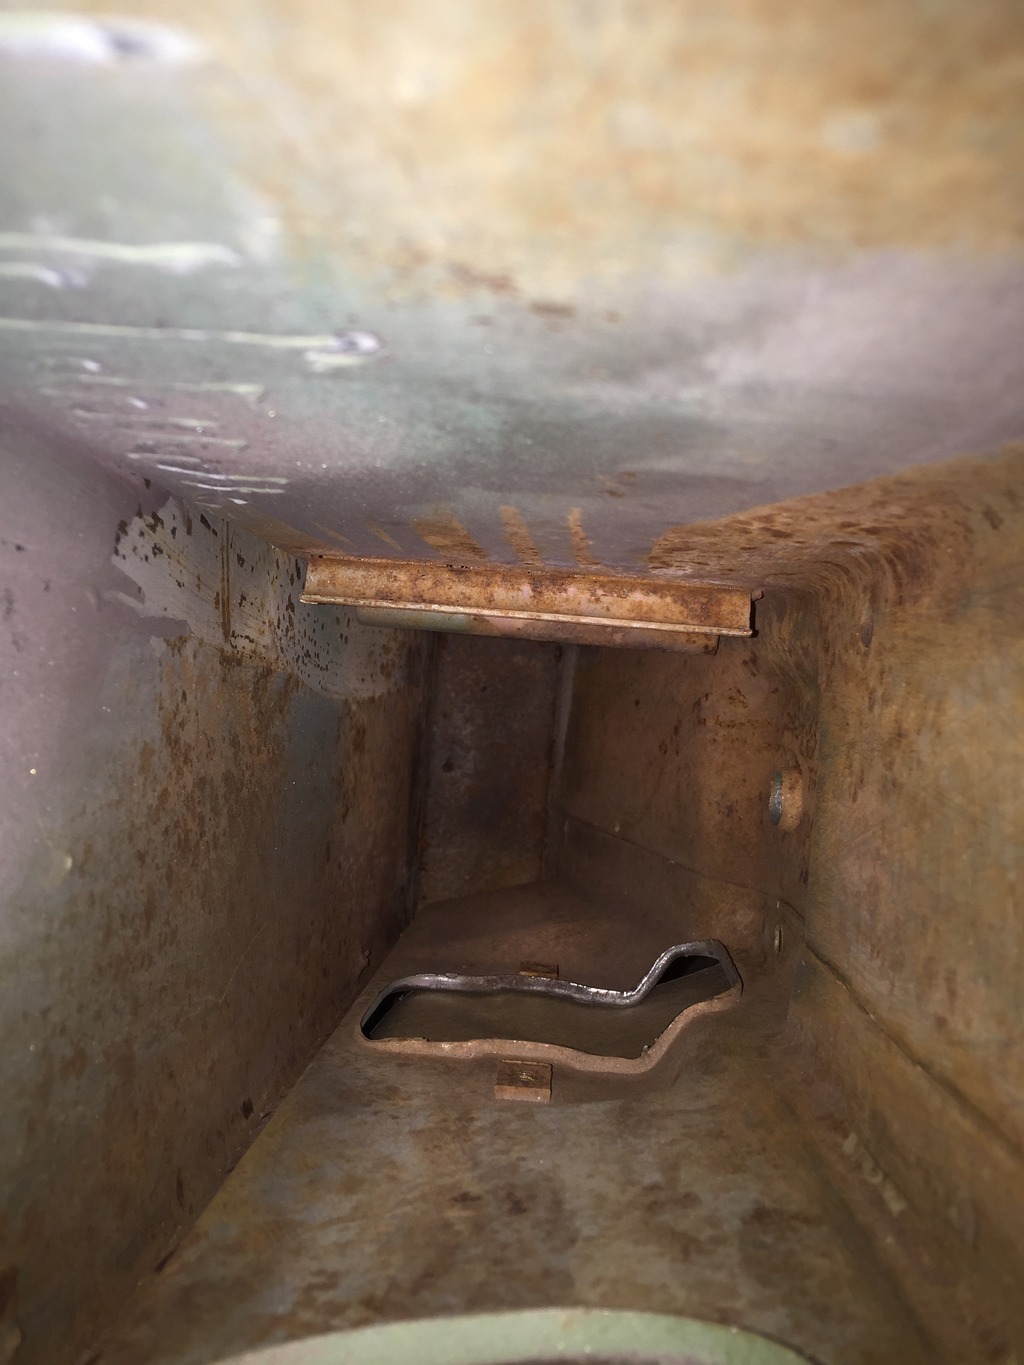
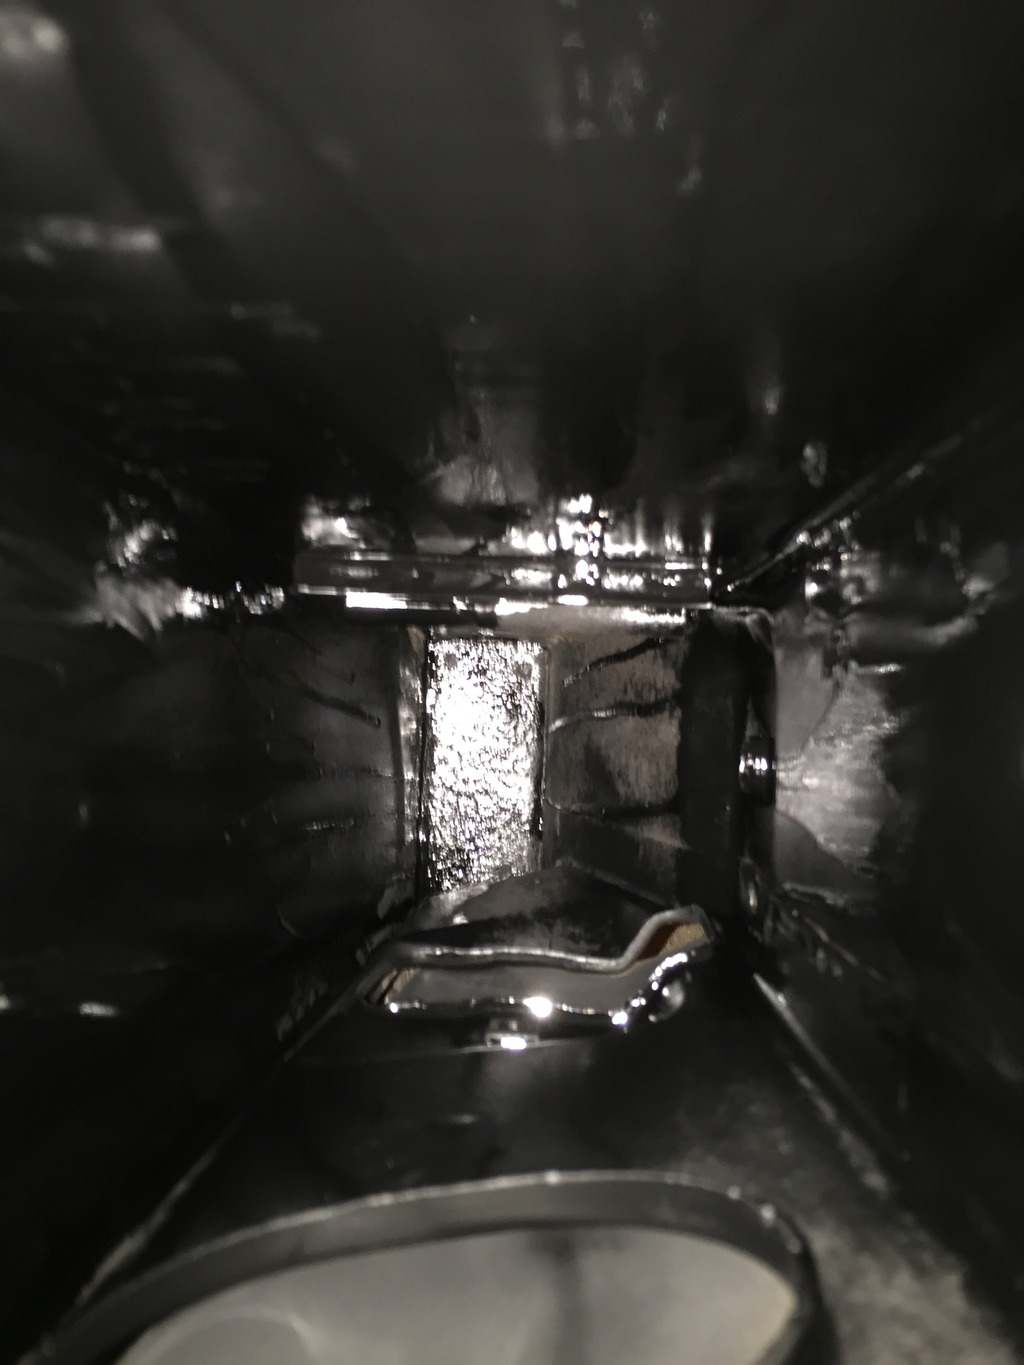
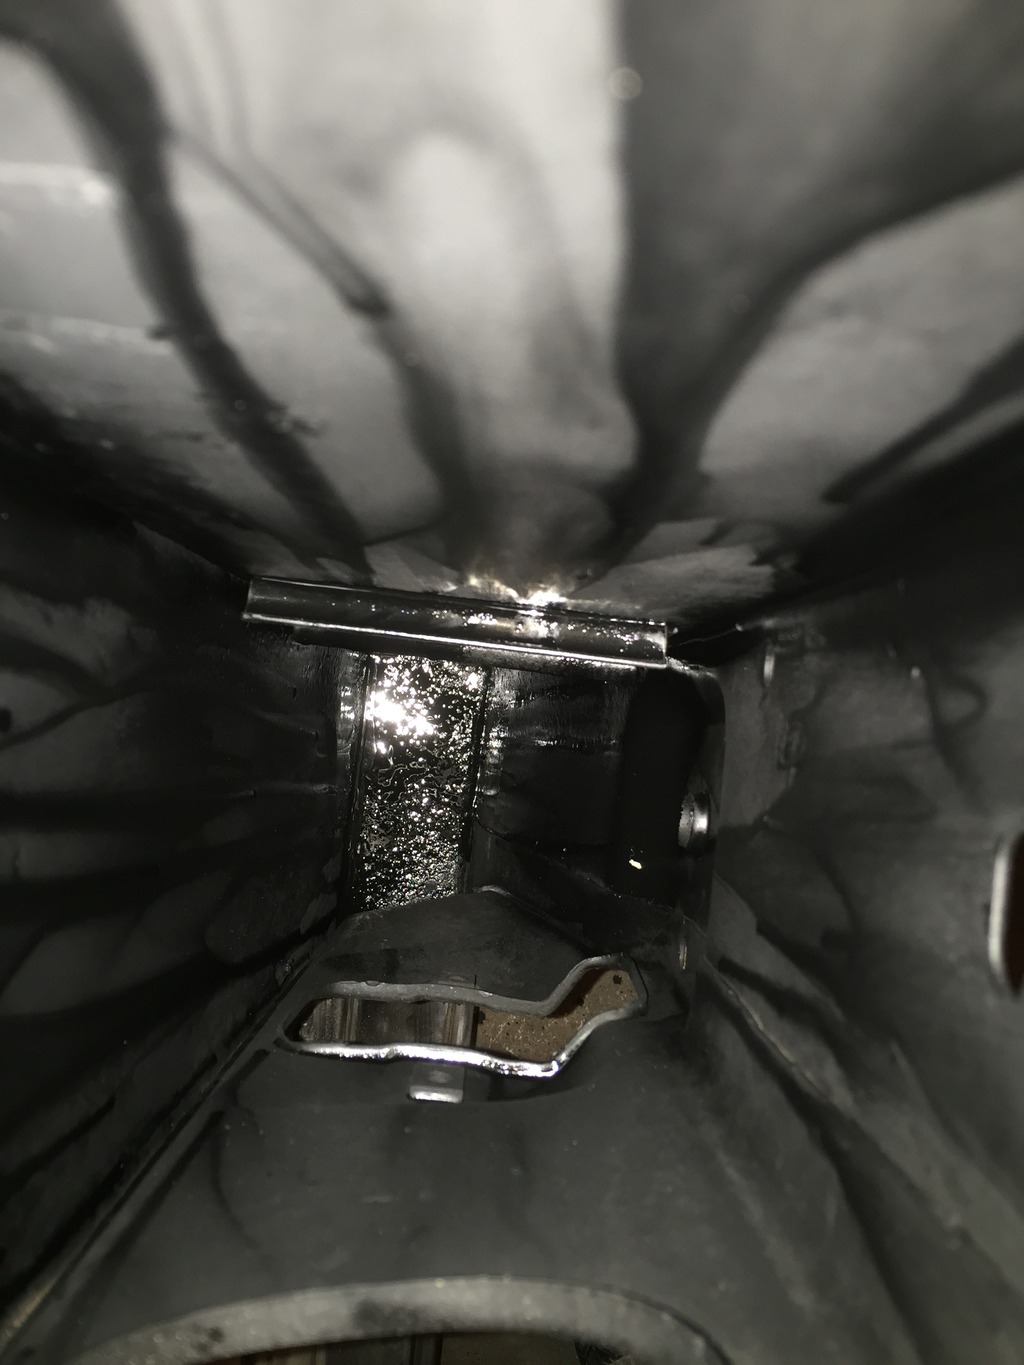
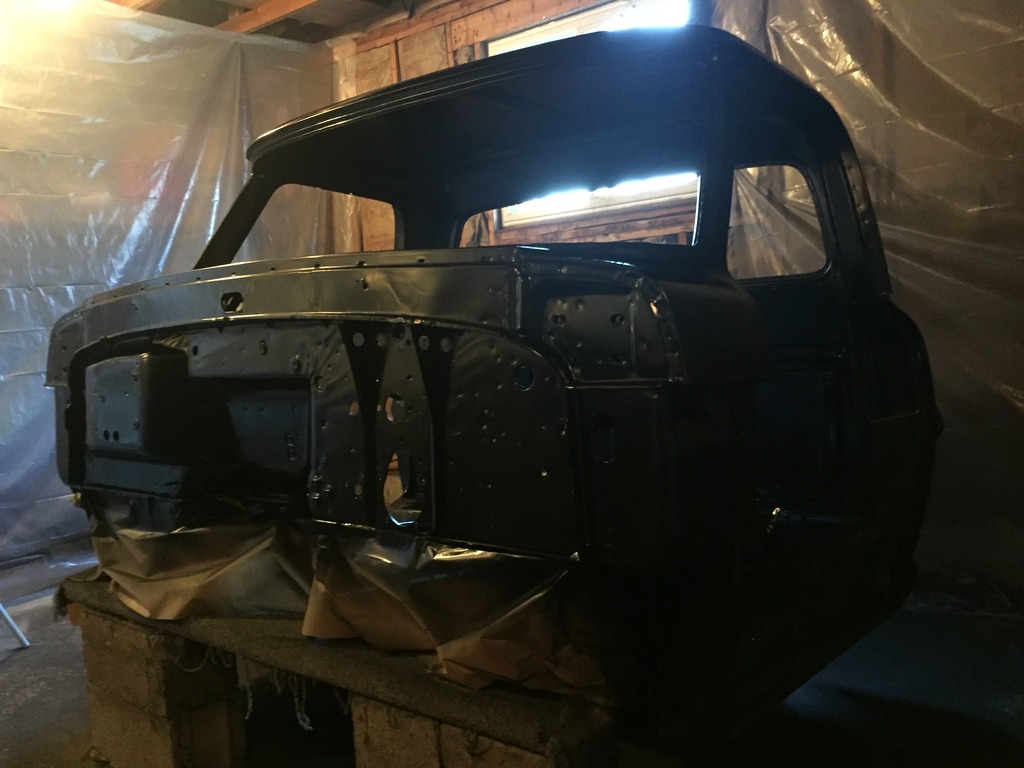
used some Eastwood internal frame coating spray. It comes with a flexible spray adapter that worked pretty well. I coated the inner cowl area and a couple of other hidden nooks and crannies on the cab. Don't bother spending too much time masking other things off. You have pretty good control of the spray and it's going to run down the sides anyway.
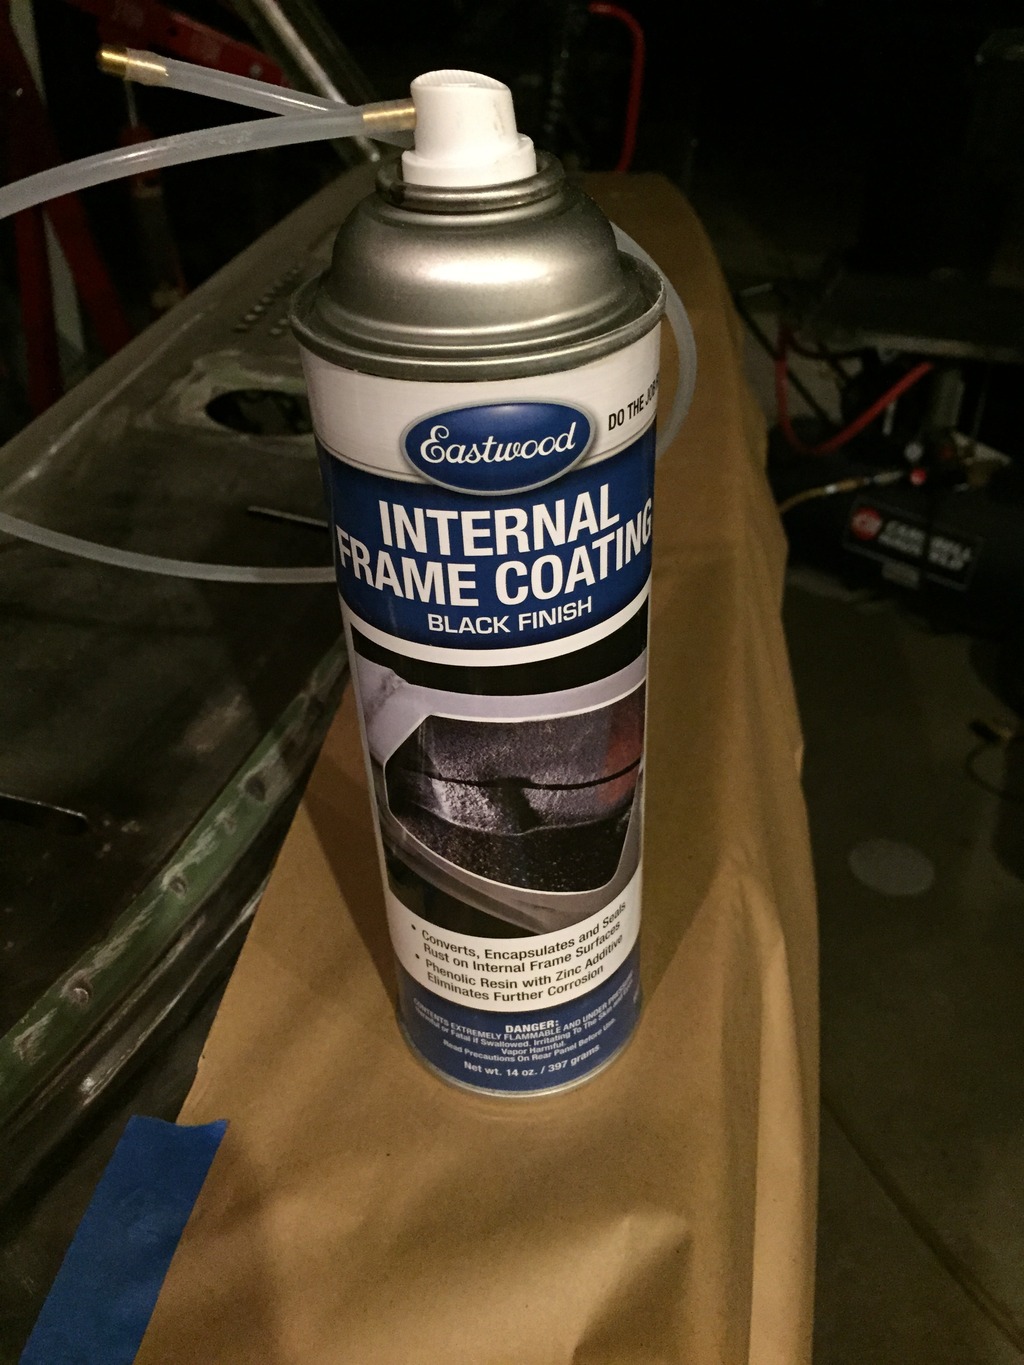
The stuff was pretty runny, but seemed to cover things well. I needed three cans to get good coverage on the hidden crevices on my cab. Did I mention that it is expensive? I tried hooking up the flexible adapter that came with the frame coating to some flat black spray paint, but the paint was too thick and the adapter was not a direct fit - fail.
Over all, it seemed to do a good job. You be the judge.
I have been sanding a lot of body filler lately. I am hoping on heating up my garage with space heaters and painting soon
used some Eastwood internal frame coating spray. It comes with a flexible spray adapter that worked pretty well. I coated the inner cowl area and a couple of other hidden nooks and crannies on the cab. Don't bother spending too much time masking other things off. You have pretty good control of the spray and it's going to run down the sides anyway.

The stuff was pretty runny, but seemed to cover things well. I needed three cans to get good coverage on the hidden crevices on my cab. Did I mention that it is expensive? I tried hooking up the flexible adapter that came with the frame coating to some flat black spray paint, but the paint was too thick and the adapter was not a direct fit - fail.
Over all, it seemed to do a good job. You be the judge.


I have been sanding a lot of body filler lately. I am hoping on heating up my garage with space heaters and painting soon
#232
06-12-2016, 08:49 PM
#233
06-12-2016, 09:24 PM
Join Date: Oct 2011
Location: Willard
Posts: 207
Likes: 0
Received 0 Likes
on
0 Posts
Read through your posts on your project - great job. Would love to see it sometime. I'm in West Point. I am attempting to build my dream "bump side" truck again. This will be the third time. I have a '67 F250 2WD that I want to put Super Duty axles on with a Cummins/NV4500 powertrain.
#234
06-12-2016, 10:54 PM
Join Date: Oct 2011
Location: Willard
Posts: 207
Likes: 0
Received 0 Likes
on
0 Posts
So I know I haven't been making as much progress on this thing as I had hoped, but don't give up on me  . I really haven't had much time to work on this thing. Full time job, 4 kids, working on a doctoral degree, house renovation, my wife works full time also... You get the picture. The good thing is that with my wife working full time, I have a lot more money for the project coming in
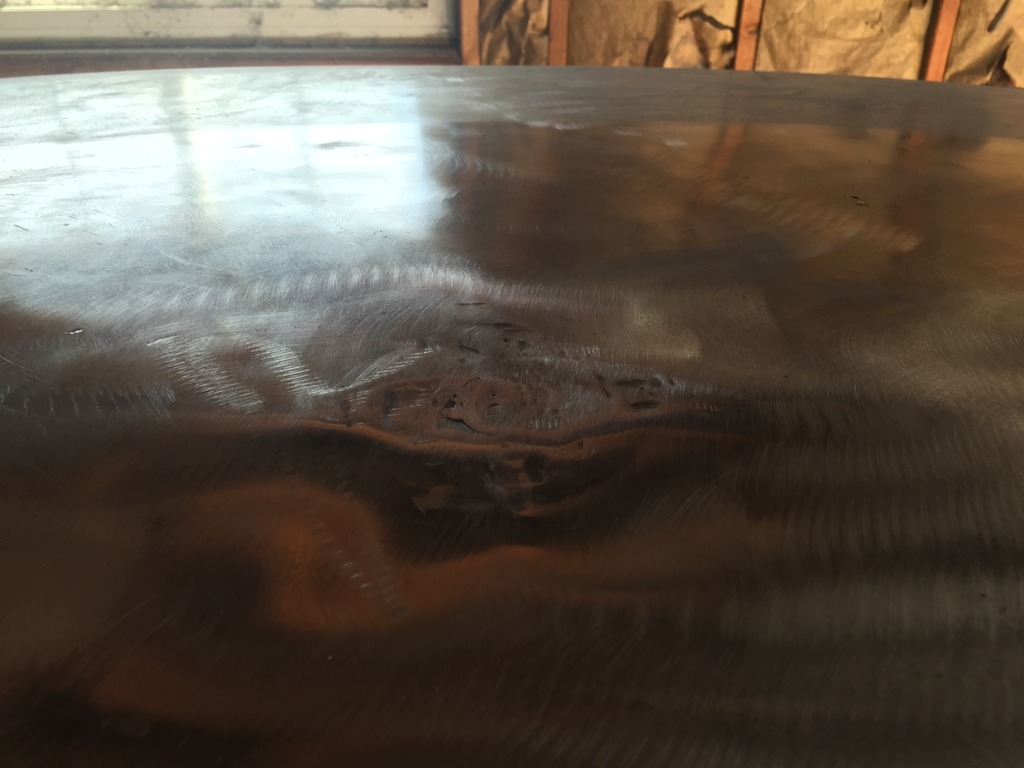
Ok, Time to get this thing painted. I have invested a huge amount of time preping the cab down to bare metal. This paint job better be perfect

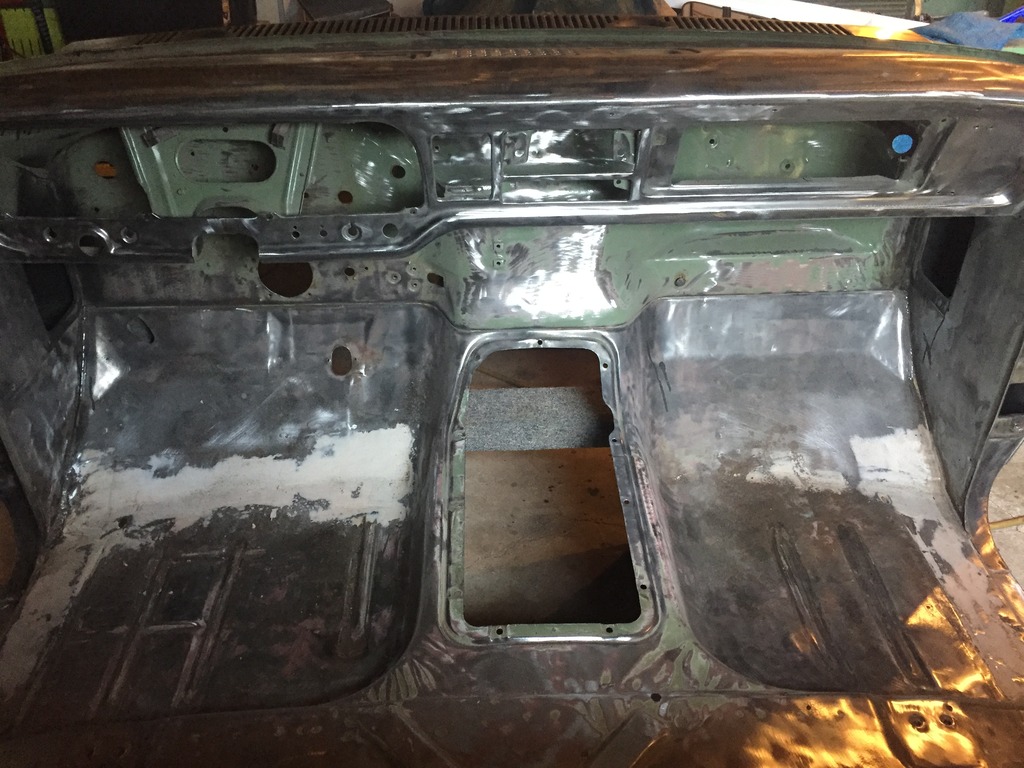
And now for the epoxy primer I am using DuPont 2590S LF Epoxy DTM Primer/Sealer Black. You have to mix it 2/1 with with the Activator (DuPont 2505S). I really like this stuff
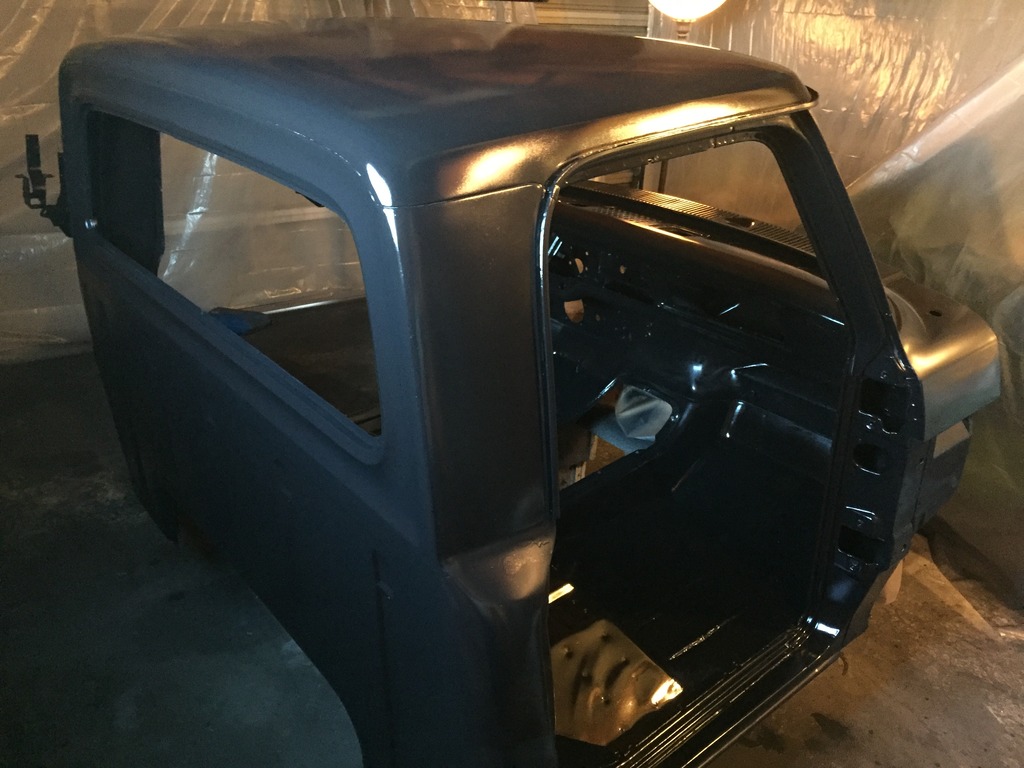
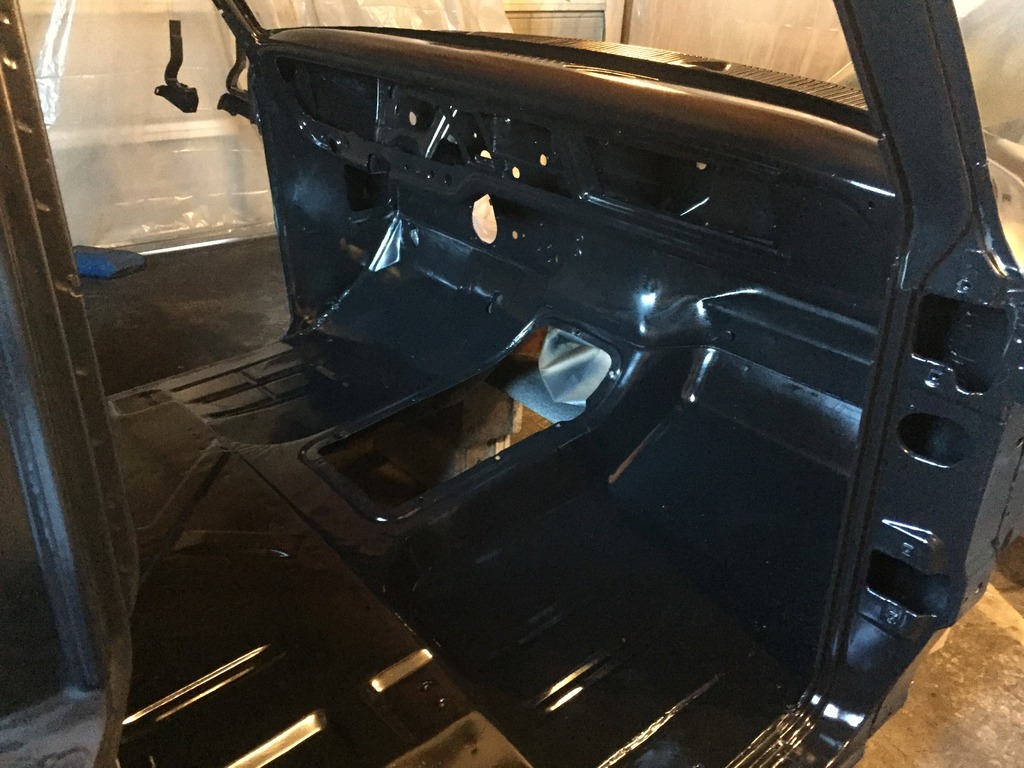

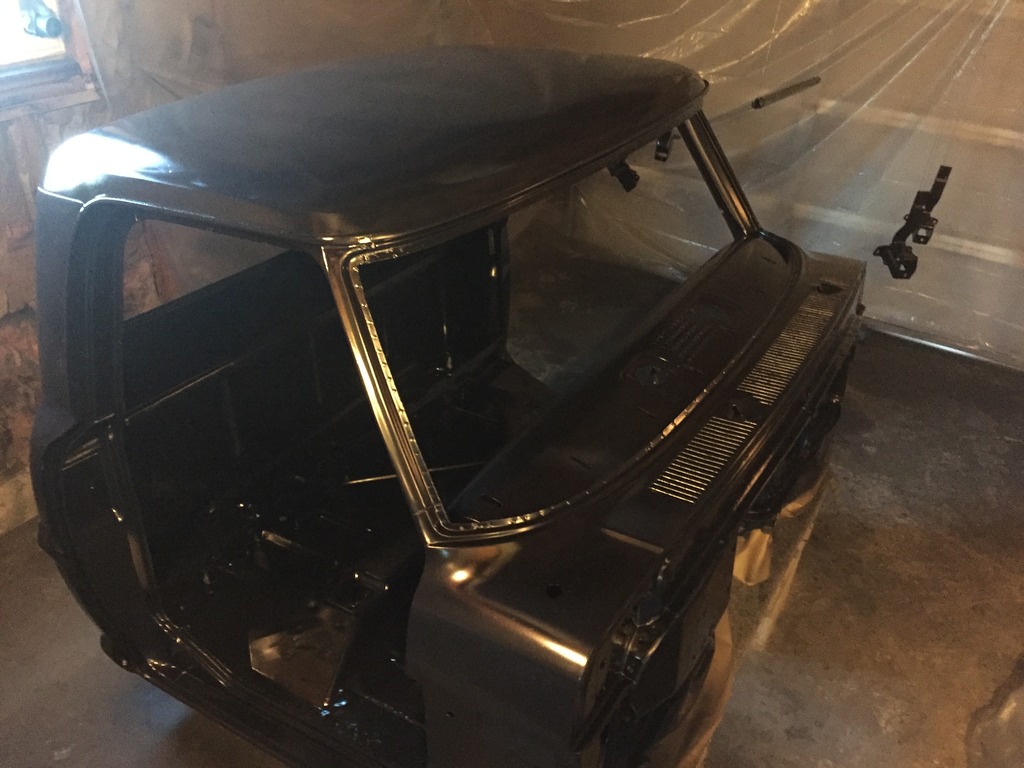
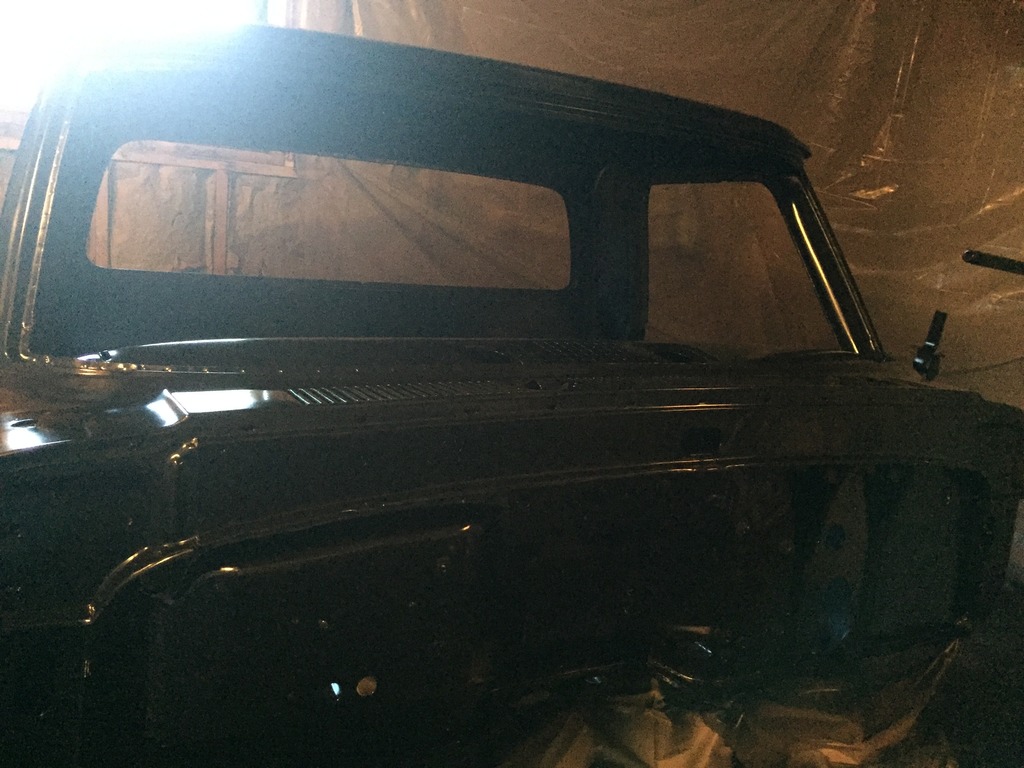
I hooked up my shop vac to a window opening in the garage for some getto exhaust. It worked ok. Better than nothing. Overall I am happy with the results. I hope to have this thing completely painted this week.
. I really haven't had much time to work on this thing. Full time job, 4 kids, working on a doctoral degree, house renovation, my wife works full time also... You get the picture. The good thing is that with my wife working full time, I have a lot more money for the project coming in Ok, Time to get this thing painted. I have invested a huge amount of time preping the cab down to bare metal. This paint job better be perfect


And now for the epoxy primer
I am using DuPont 2590S LF Epoxy DTM Primer/Sealer Black. You have to mix it 2/1 with with the Activator (DuPont 2505S). I really like this stuff 


I hooked up my shop vac to a window opening in the garage for some getto exhaust. It worked ok. Better than nothing. Overall I am happy with the results. I hope to have this thing completely painted this week.

#237
06-13-2016, 08:50 AM
Cargo Master
Join Date: Nov 2005
Location: La Ribera, Baja, Mexico
Posts: 2,694
Likes: 0
Received 43 Likes
on
25 Posts
My sombrero is off to you amigo, and a deep bow. You are tenacious, and talented. I am following your build to the finish. You have a ways to go, but progress, good progress takes time. I am fond of saying, "Proceed at the Speed of Right".. and it appears that you are.
Oh, and congratulations, on the family, & the PHD work..
Baja
Oh, and congratulations, on the family, & the PHD work..
Baja
#238
06-16-2016, 05:34 AM
Join Date: Oct 2011
Location: Willard
Posts: 207
Likes: 0
Received 0 Likes
on
0 Posts


#239
06-16-2016, 09:20 AM
Cargo Master
Join Date: Nov 2005
Location: La Ribera, Baja, Mexico
Posts: 2,694
Likes: 0
Received 43 Likes
on
25 Posts
Sweet looking amigo, I almost want to lick it to taste that color... I know that you plan on some sound proofing, probably inside the cab, and under the carpet. May I suggest that you check out a company called Quiet Ride, and look at their firewall insulation, for inside the engine compartment? You are doing such a thorough job, now might be the time to order some, well before re-assembly starts in earnest. You are building an "Over the Top" ride here... Congratulations on your work...
Baja
Baja
#240
06-16-2016, 07:25 PM
Join Date: Oct 2011
Location: Willard
Posts: 207
Likes: 0
Received 0 Likes
on
0 Posts
Sweet looking amigo, I almost want to lick it to taste that color... I know that you plan on some sound proofing, probably inside the cab, and under the carpet. May I suggest that you check out a company called Quiet Ride, and look at their firewall insulation, for inside the engine compartment? You are doing such a thorough job, now might be the time to order some, well before re-assembly starts in earnest. You are building an "Over the Top" ride here... Congratulations on your work...
Baja
Baja
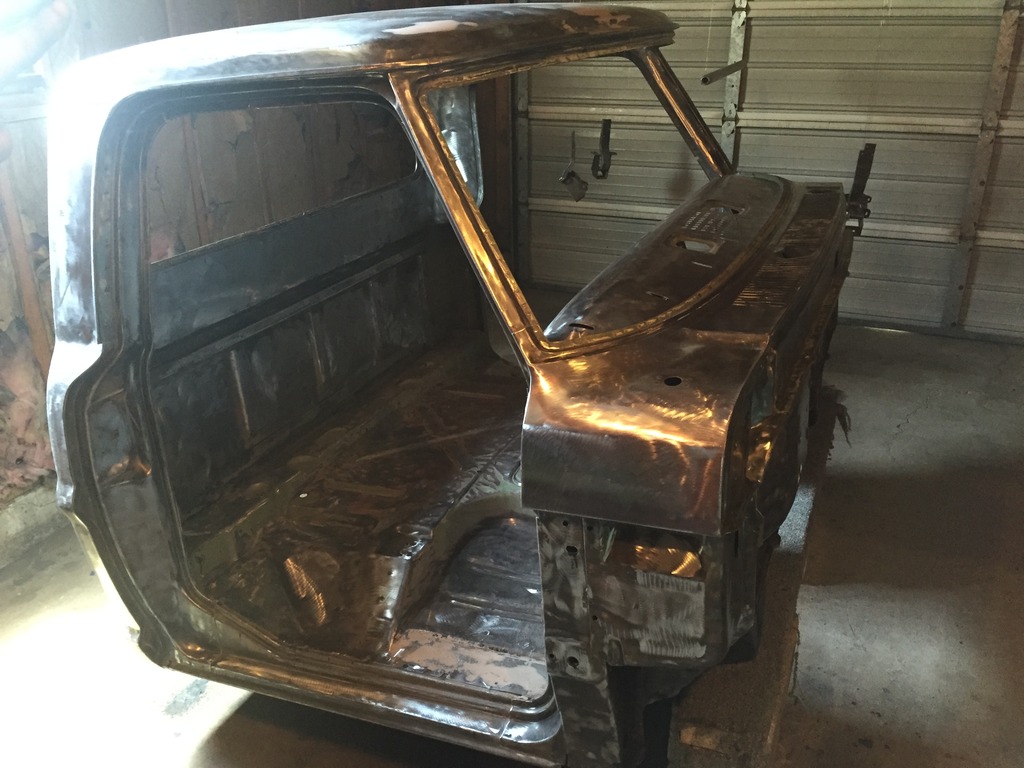
I am planing on using some Dynamat on the interior firewall, ceiling and inner door panels. I already used Al's Liner Heat and Noise Reducer on the underside floor pan before coating it with bedliner.

As far as carpet goes... I coated the floor with more of Al's Liner
. Here it is all masked off...


And the Al's Liner sprayed on...


I have found that the key with Al's Liner is to: #1 - DON'T SPILL THE CONTENTS WHEN IT IS FULL
#2 Remove the masking paper and tape carefully immediately after spraying. When you carefully remove the masking tape right after spraying, it leaves a nice line and pulls off easy. The only hard part is making sure you don't get the wet liner on the masking tape on your paint job when you are removing it. Luckily, I had no issues this go around and it turned out really nice

