
Front Sway Bar Bushing Replacement (with pics)
#1
 02-26-2012, 10:52 PM


Front Sway Bar Bushing Replacement (with pics)
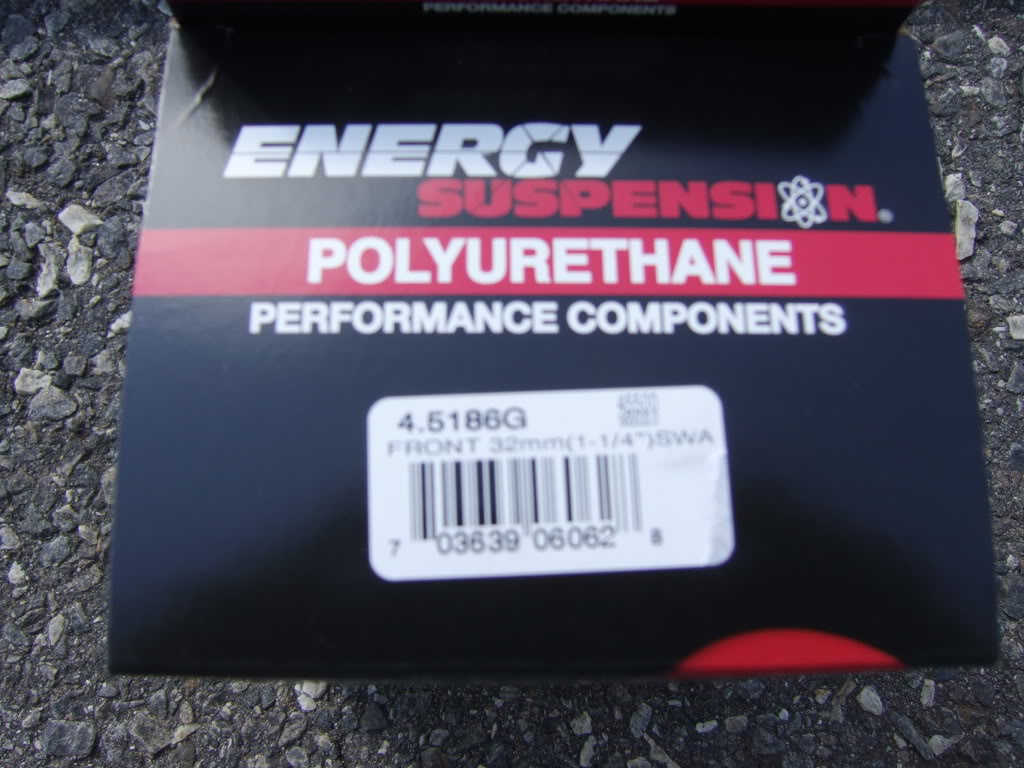
After tracking down some creaks and clunks that I swore were comming from the rear suspension I determined that they were actually comming from the worn front sway bar bushings. With both end links disconnected the noises disappeared, So an Energy Suspension poly kit #4.5185G ($40)was ordered from Amazon. The "G" in the kit # is supposed to denote that it is the greaseable model. Even though the box was labled with the "G" my kit wasn't the greaseable style, Oh well, I didn't want to put this job off any longer and we had some very nice weather so I installed it anyway. I was disappointed in the very basic and generic instructions included with the kit as well as the mislabeling. In the past I had put Energy poly bushings on a '79 El Camino for the entire front/rear suspensions and the literature included was better then. I am hopeful that I'll be as happy with the parts this time around as I was on the Chebby.
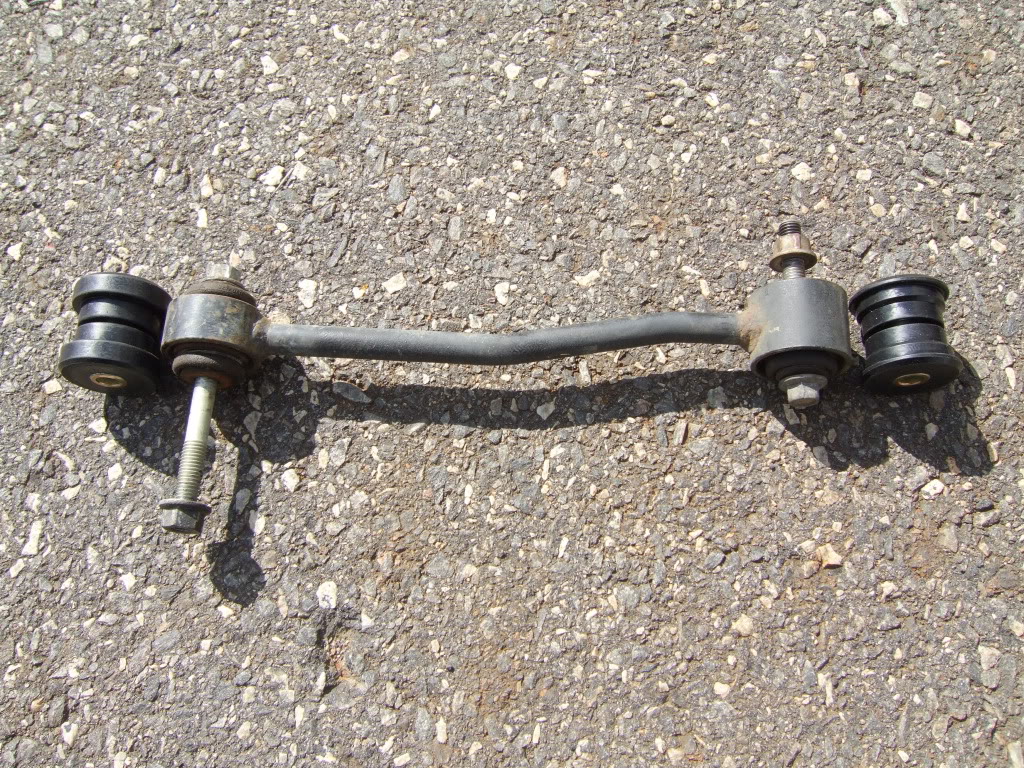
I don't have any before pics but it was obvious that the bar was moving side to side in very worn/loose bushings.
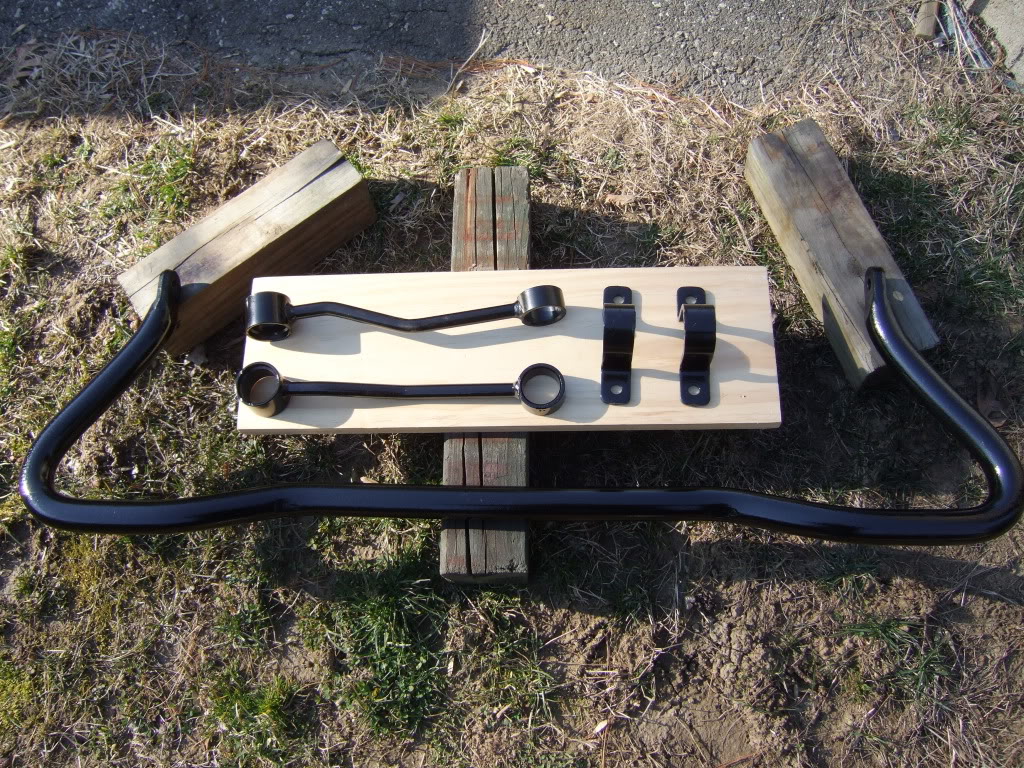
Everything comes off quickly and easy with minimal tools.

The kit I used, labeled as greaseable but not supplied as such.
Kit contents.
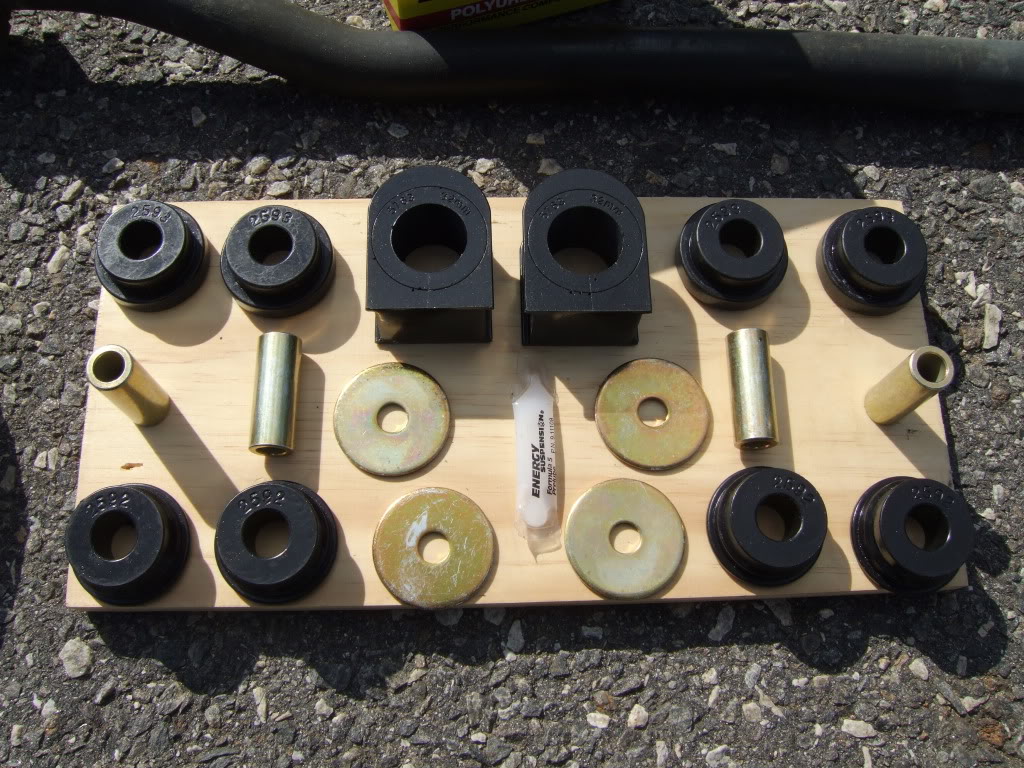
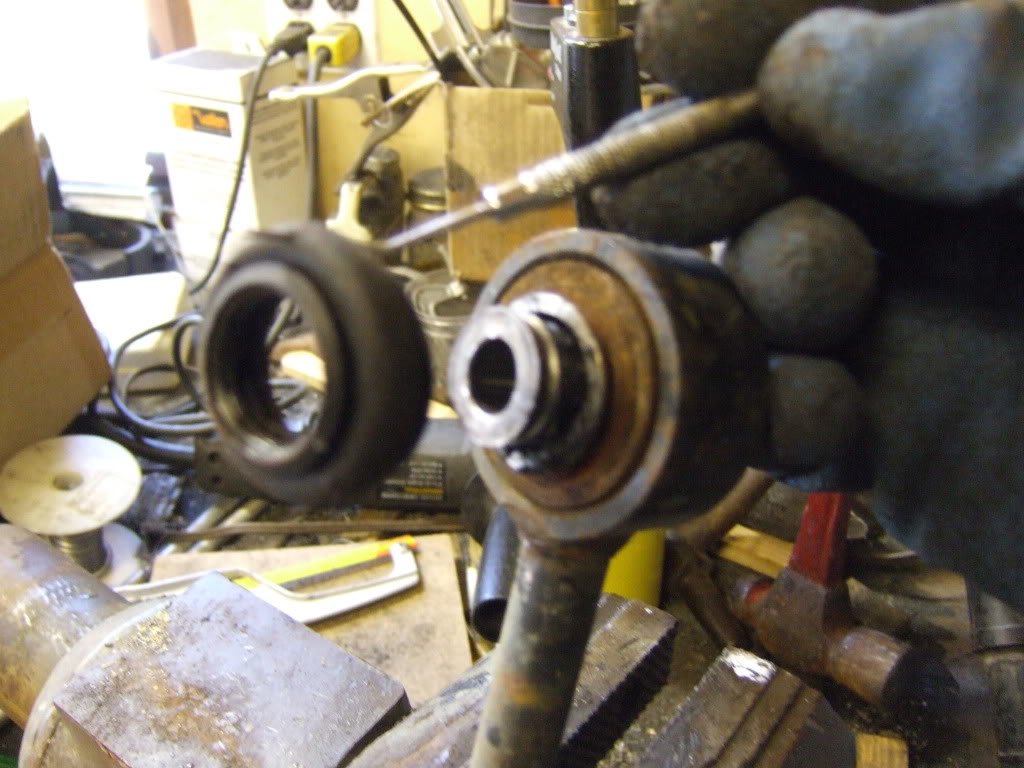
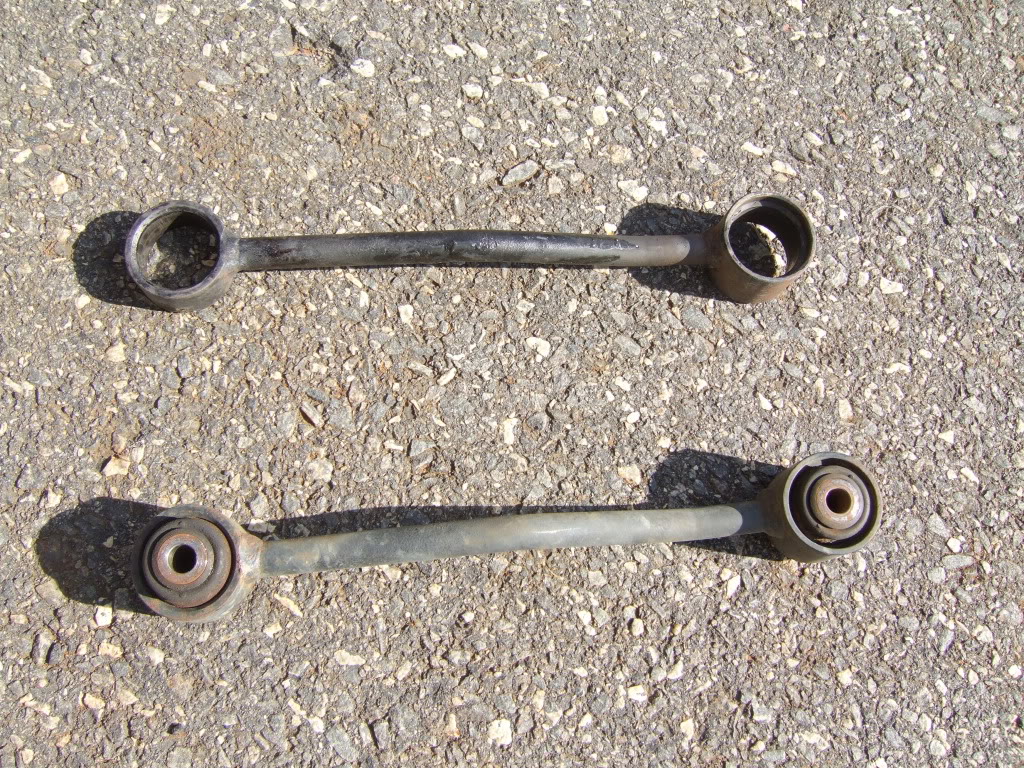
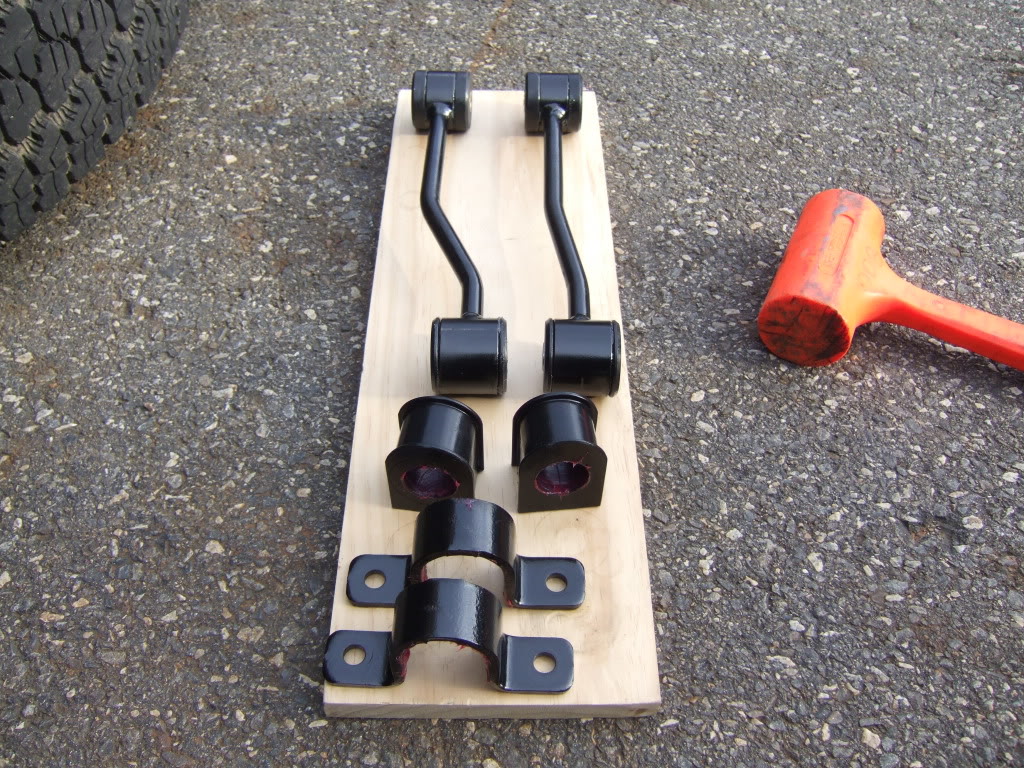
Old vs new type bushings.
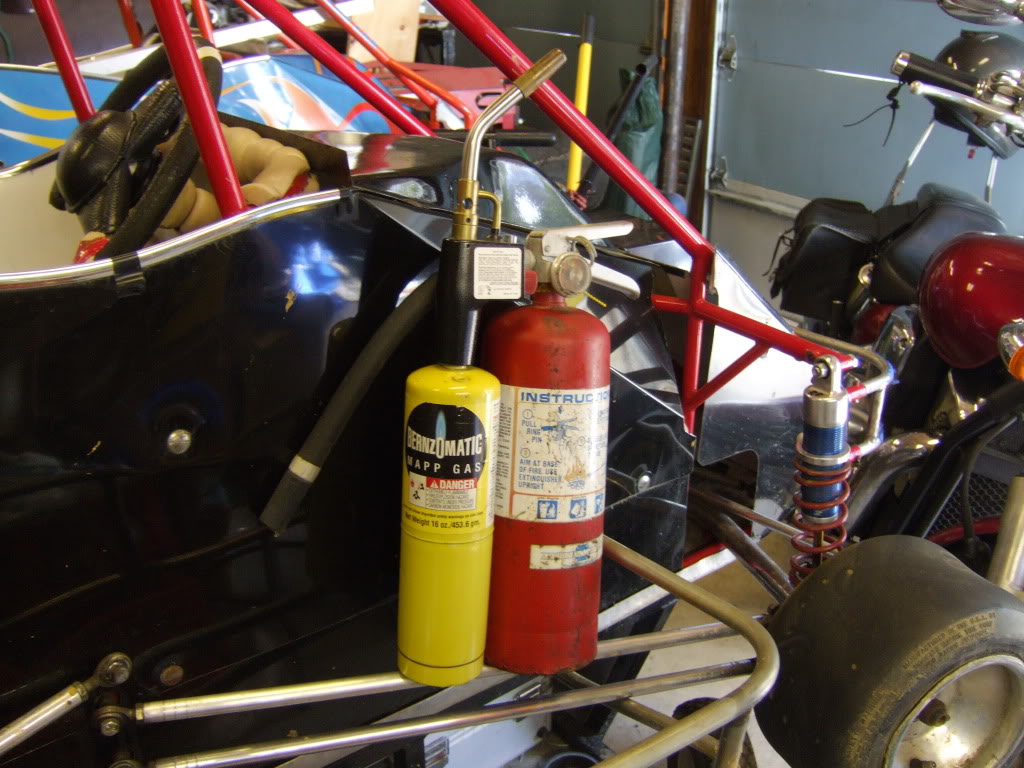
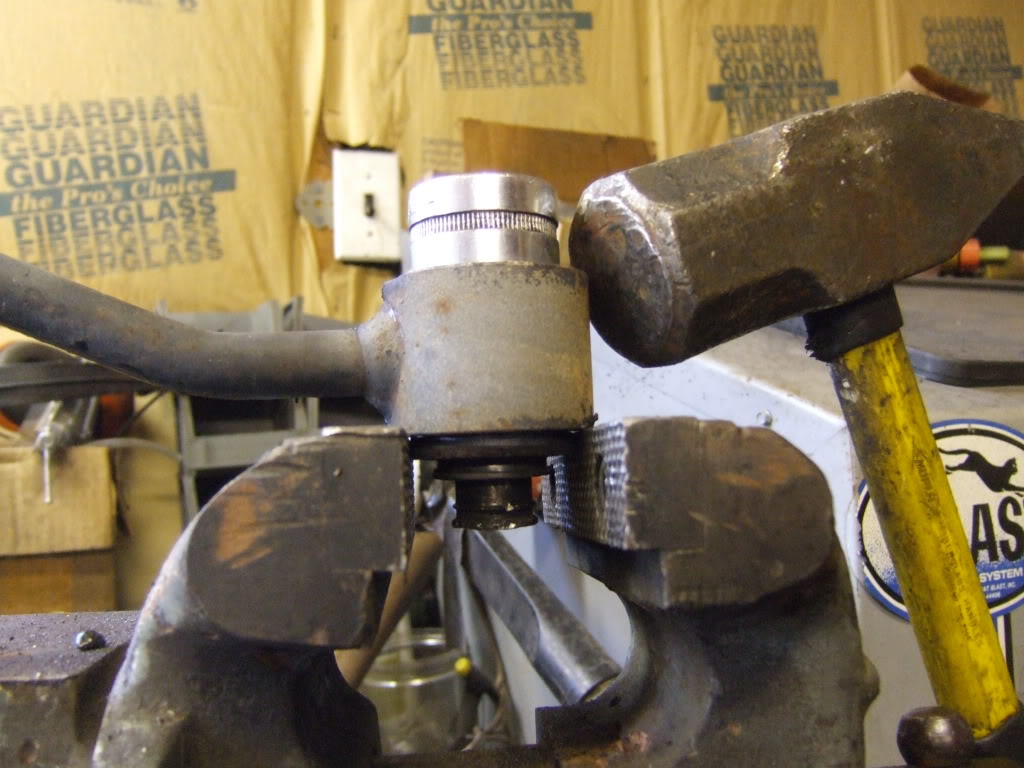
I don't have a shop press so my plan was to heat-n-beat the old bushings out. If you go this route just remember that these two tools should always travel together.
I don't have any before pics but it was obvious that the bar was moving side to side in very worn/loose bushings.
Everything comes off quickly and easy with minimal tools.
The kit I used, labeled as greaseable but not supplied as such.
Kit contents.
Old vs new type bushings.
I don't have a shop press so my plan was to heat-n-beat the old bushings out. If you go this route just remember that these two tools should always travel together.
#3
02-26-2012, 11:11 PM
#4
02-26-2012, 11:12 PM
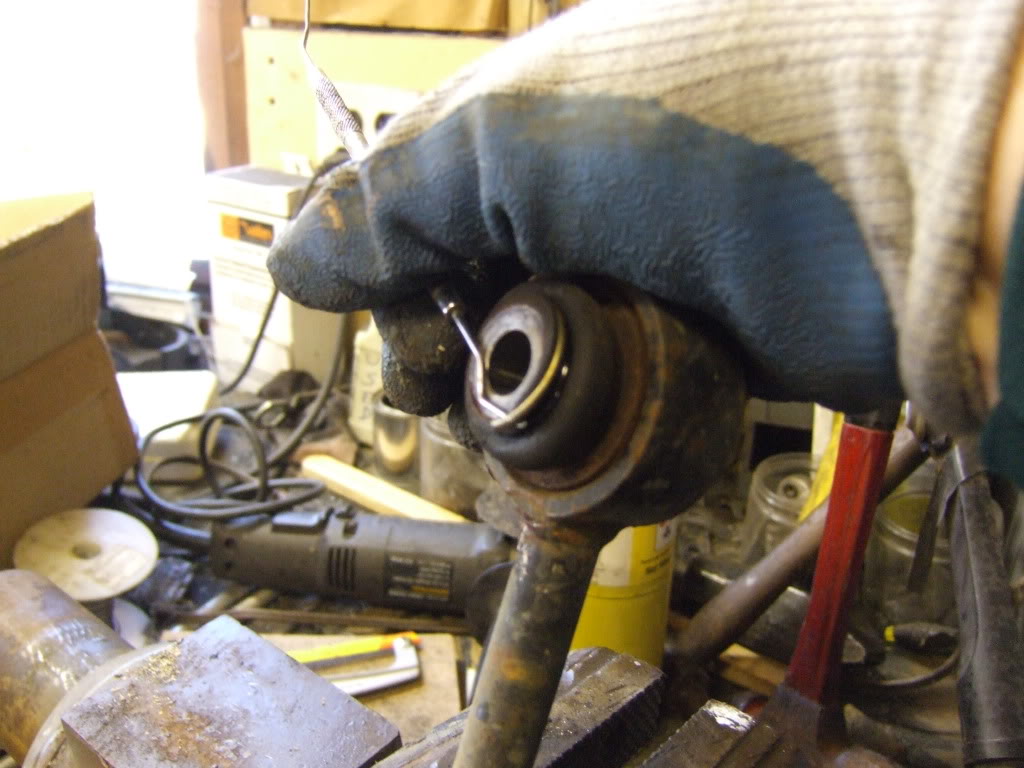
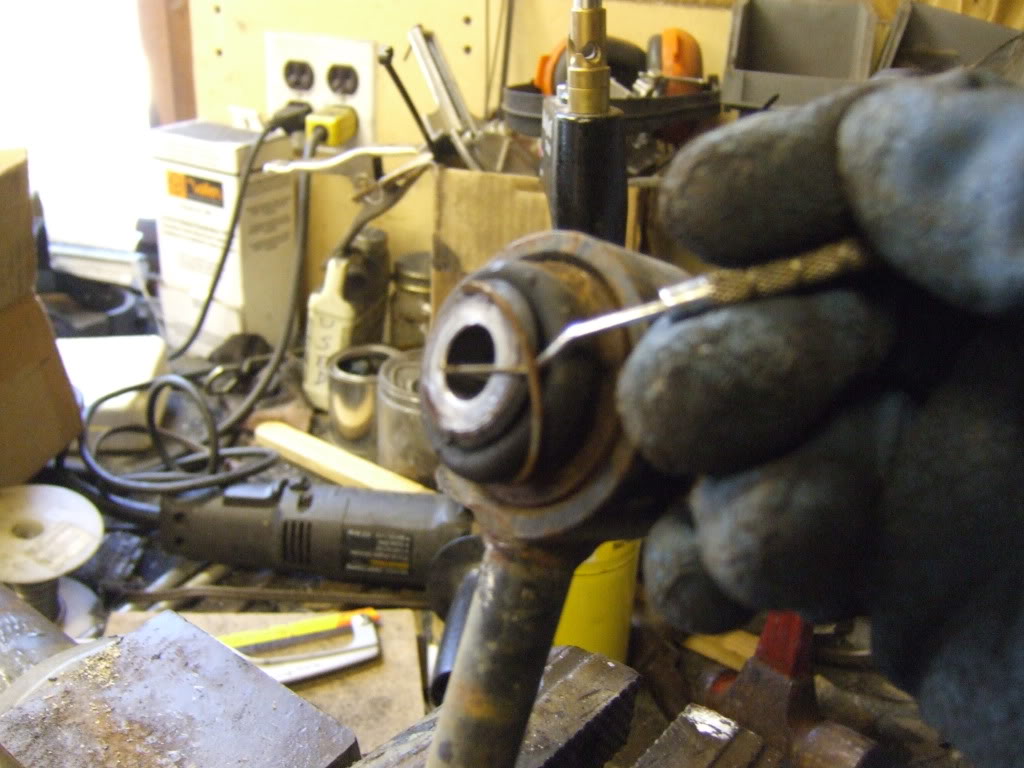
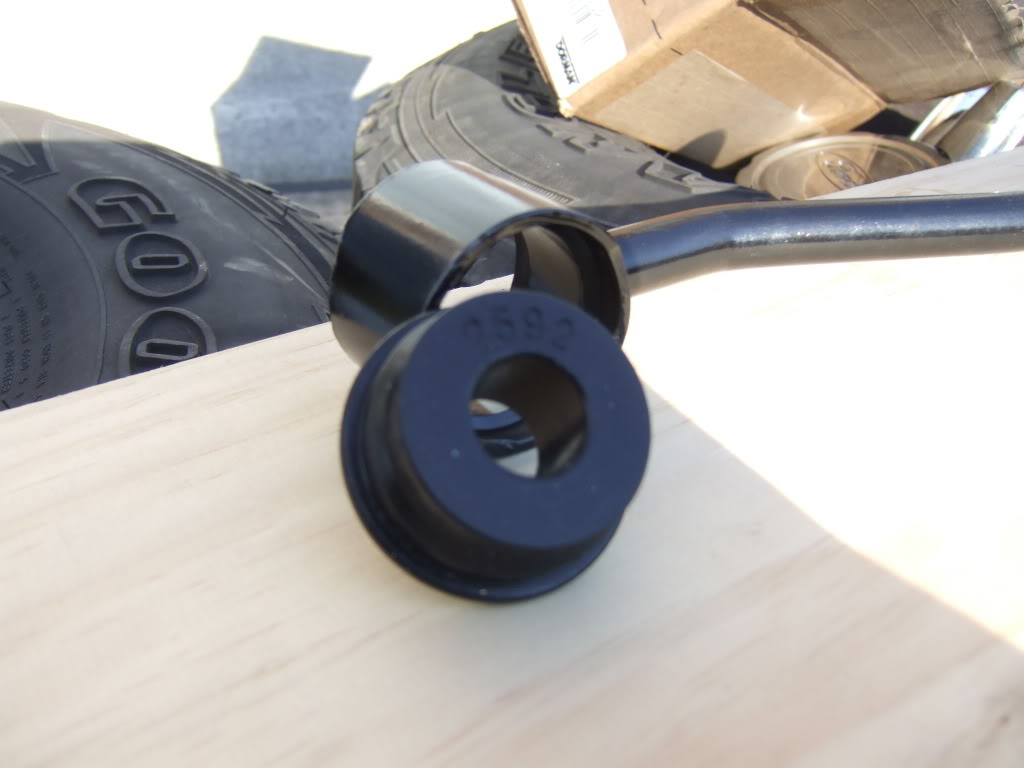
Before any heating I took off the old bushing's rubber boots, they have a metal ring holding the small end and a flat spiral coil fastening the larger inboard side.
I don't know if the heat really helped or not, I didn't try to beat them out before heating.

Of coarse without the torch I wouldn't have this great shot.
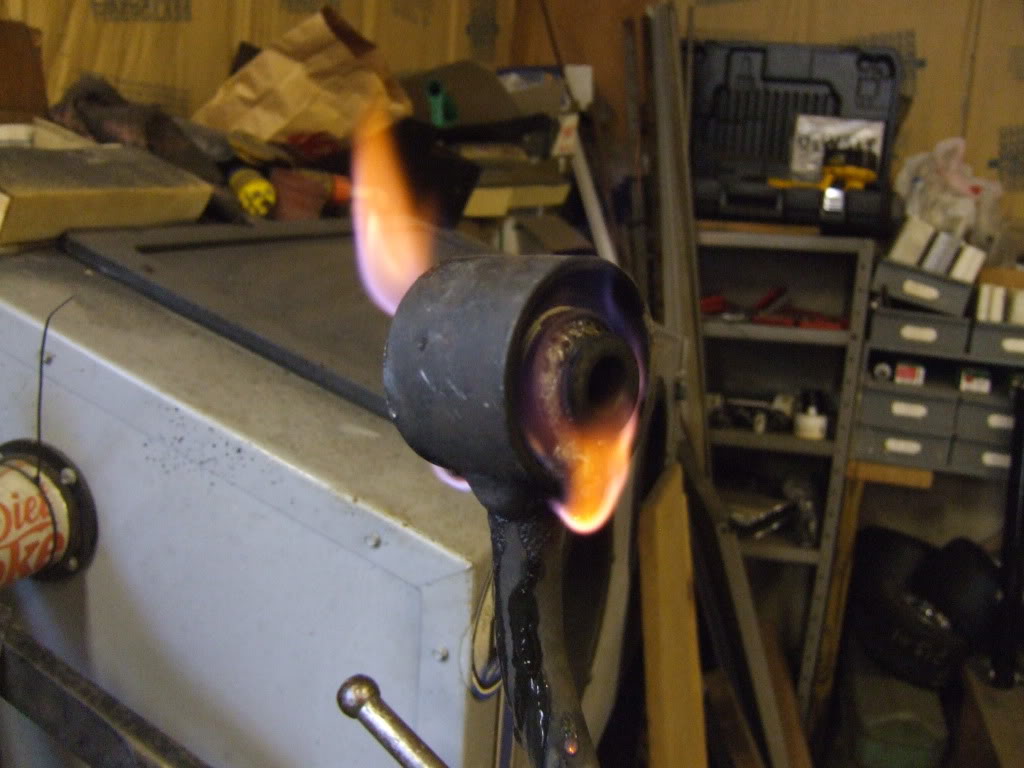
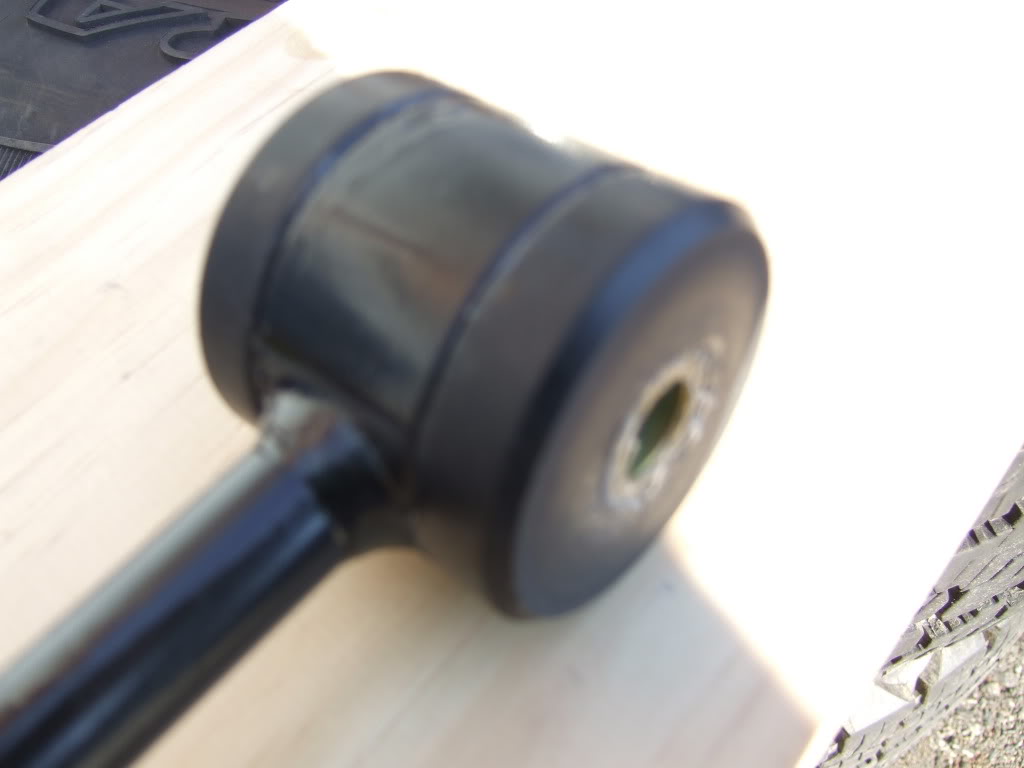
Once the guts burned out, about 2 minutes, and the ends were hot but not overheated (no where near cherry) I found that my 1 1/8" socket was the perfect size to drive the bushing out through the dogbone's end ring.
I don't know if the heat really helped or not, I didn't try to beat them out before heating.
Of coarse without the torch I wouldn't have this great shot.
Once the guts burned out, about 2 minutes, and the ends were hot but not overheated (no where near cherry) I found that my 1 1/8" socket was the perfect size to drive the bushing out through the dogbone's end ring.
#5
02-26-2012, 11:57 PM
Progress! Using the heat-n-beat method I had all of the old bushing out in about an hour or so, that includes all these swell pics too. 
Once everything was cooled down I rattle canned all the parts gloss black.
To prevent squeaks and ensure long life apply a thin coating of the supplied lube to all poly surfaces that will be in contact with metal parts.
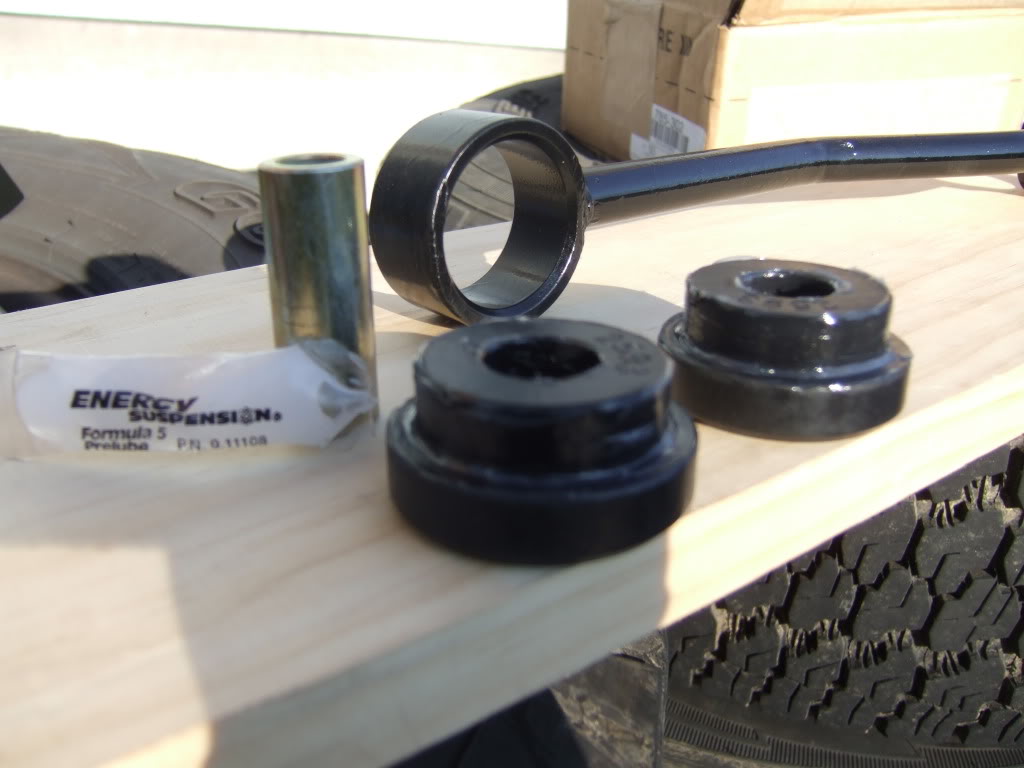
The single shouldered poly bushings shown above go in the narrow (lower) dogbone end and the double stepped bushings are for the wide (upper) ends. The generic directions don't cover this but it will be pretty obvious once you have everything apart.
Poly bushings in the upper end.
A finished dogbone, the plastic deadblow hammer helped to drive the center metal tubes through the new bushings.

Everything is now ready to go back on!
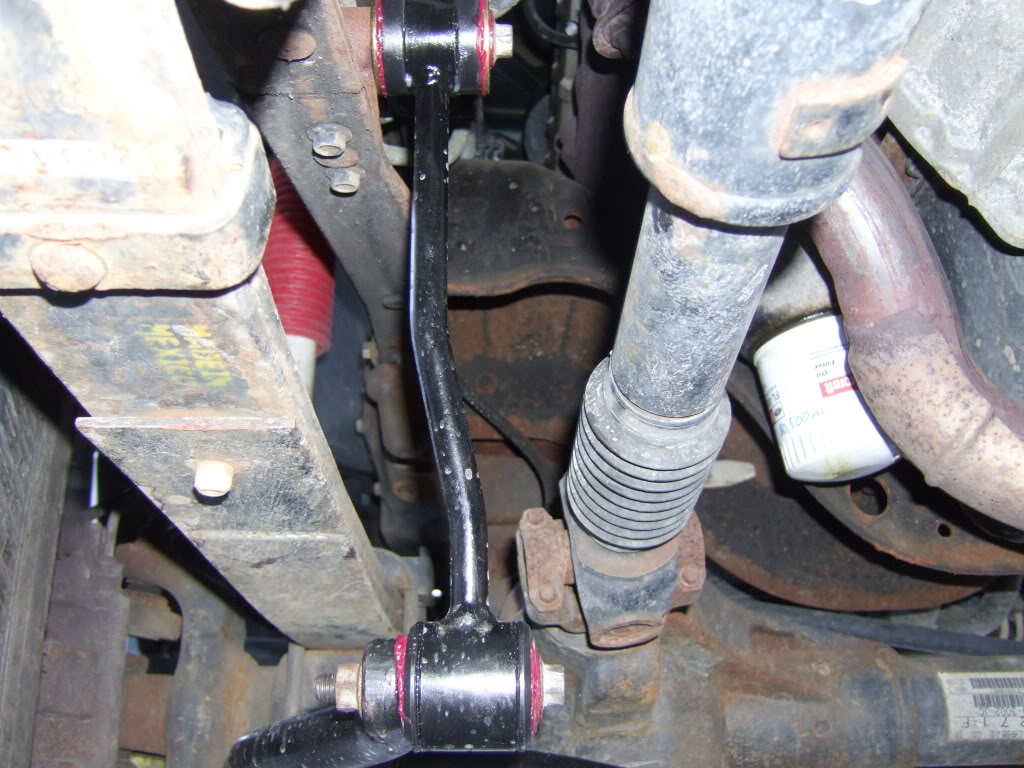
I didn't like the extra room/play where the top ends attached to the frame mounted brackets so I used a large washer (supplied in the kit) on both sides of the top ends, seems more stable to me. I don't know what Energy's plan here is because they don't mention anything about it in the poor excuse for instructions they provide. You can see the large gold washers on each side of the top end here.

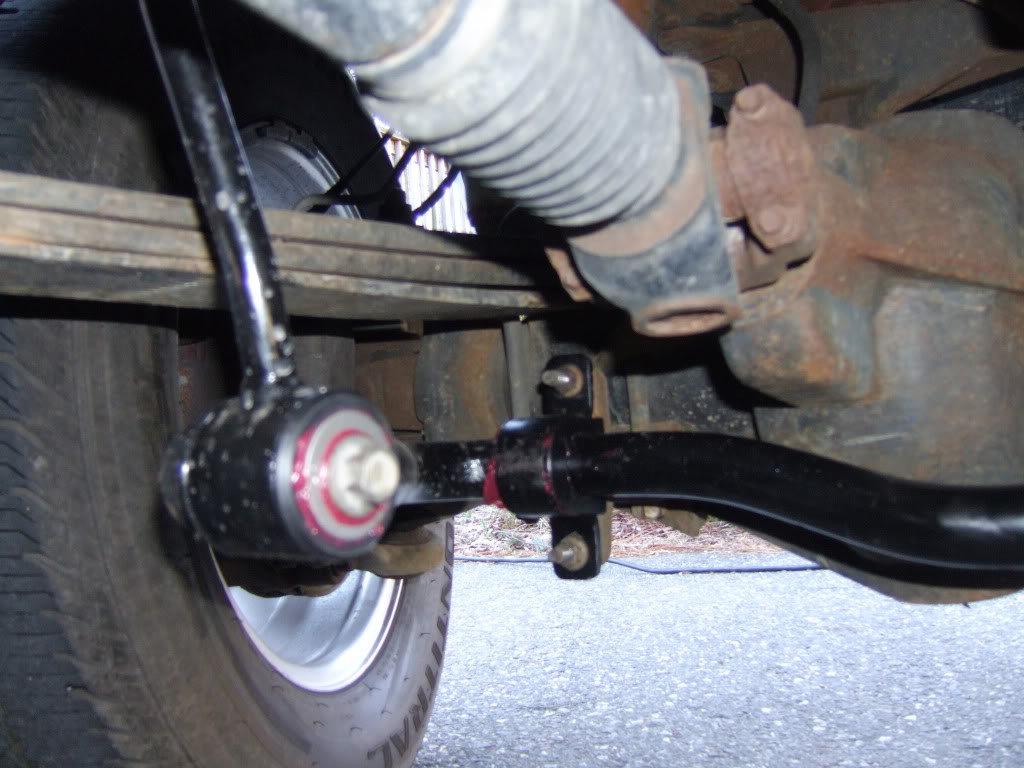
On the bottom end of the dogbones I used a stainless washer (not in the kit) on both sides of the endlinks, just seems to make a more complete assembly to me, but what do I know?.....
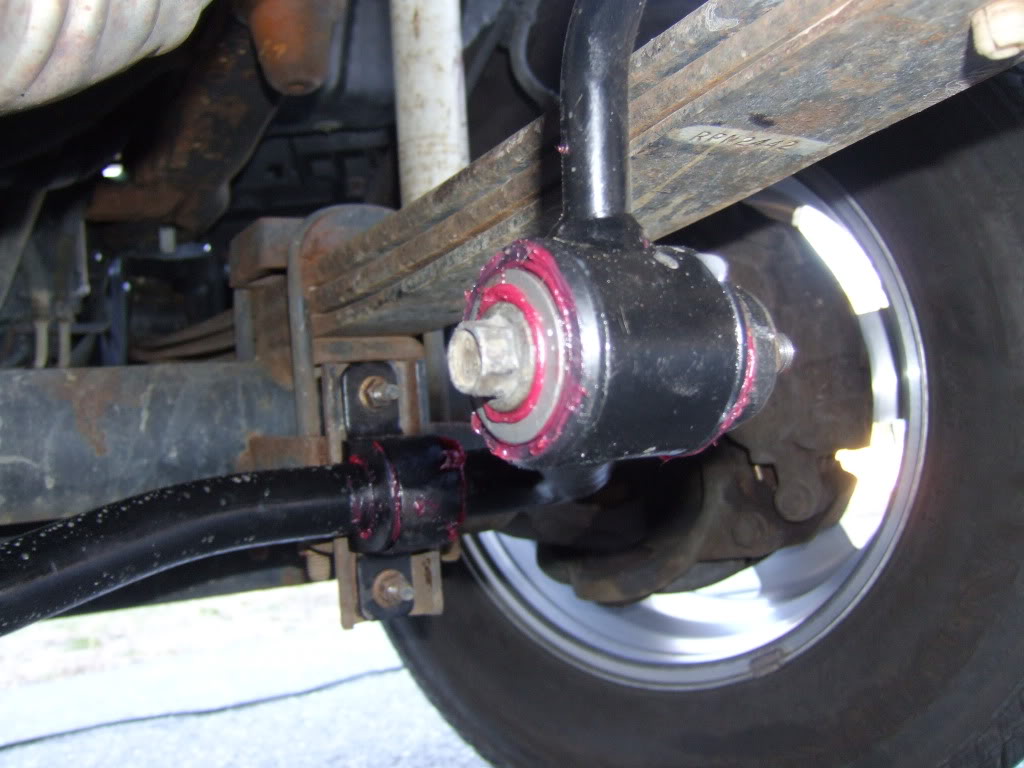
As you can see I also used a liberal amount of Mobil 1 synthetic grease during installation on both ends of the dogbones and the axle mounted bar bushings. I should buy stock in Mobil.
The axle mounted U-strap brackets that go over the bar bushings are tough to re-install. The new bushings are so tight to the bar that the split ends stay open a certain amount and it takes a good amount of pressure to force the bracket over them enough to get the nuts started so they can be tightened up. I had started to use a C-clamp to pull them in but then my wife dove under the truck and got the nuts started while I applied pressure to the brackets. She's a keeper! But she wouldn't allow any pics, sorry.
So far I am very pleased with the new bushings, I have put about 100 miles on them and most of my noises are gone, I think there is still some spring squeaking and a few pops to address yet, But thats for another day.
Hopefully this thread will be helpful to folks in need of new bushings.
I knocked this project out between 3 and 5 O'Clock before I had to get to work, with just a handful of simple hand tools, propane torch and a bench vice. It's a fairly easy job almost any EX owner can do to upgrade their ride.
Once everything was cooled down I rattle canned all the parts gloss black.
To prevent squeaks and ensure long life apply a thin coating of the supplied lube to all poly surfaces that will be in contact with metal parts.
The single shouldered poly bushings shown above go in the narrow (lower) dogbone end and the double stepped bushings are for the wide (upper) ends. The generic directions don't cover this but it will be pretty obvious once you have everything apart.
Poly bushings in the upper end.
A finished dogbone, the plastic deadblow hammer helped to drive the center metal tubes through the new bushings.
Everything is now ready to go back on!
I didn't like the extra room/play where the top ends attached to the frame mounted brackets so I used a large washer (supplied in the kit) on both sides of the top ends, seems more stable to me. I don't know what Energy's plan here is because they don't mention anything about it in the poor excuse for instructions they provide. You can see the large gold washers on each side of the top end here.
On the bottom end of the dogbones I used a stainless washer (not in the kit) on both sides of the endlinks, just seems to make a more complete assembly to me, but what do I know?.....
As you can see I also used a liberal amount of Mobil 1 synthetic grease during installation on both ends of the dogbones and the axle mounted bar bushings. I should buy stock in Mobil.
The axle mounted U-strap brackets that go over the bar bushings are tough to re-install. The new bushings are so tight to the bar that the split ends stay open a certain amount and it takes a good amount of pressure to force the bracket over them enough to get the nuts started so they can be tightened up. I had started to use a C-clamp to pull them in but then my wife dove under the truck and got the nuts started while I applied pressure to the brackets. She's a keeper! But she wouldn't allow any pics, sorry.
So far I am very pleased with the new bushings, I have put about 100 miles on them and most of my noises are gone, I think there is still some spring squeaking and a few pops to address yet, But thats for another day.
Hopefully this thread will be helpful to folks in need of new bushings.
I knocked this project out between 3 and 5 O'Clock before I had to get to work, with just a handful of simple hand tools, propane torch and a bench vice. It's a fairly easy job almost any EX owner can do to upgrade their ride.
The following users liked this post:


#7
02-27-2012, 01:57 PM
Junior User
Join Date: Jul 2009
Location: Cartersville, GA
Posts: 92
Likes: 0
Received 0 Likes
on
0 Posts
Used the same components and did the change on mine a year or so ago and really make a huge difference, eliminated all the clunking I was having under the truck and handles well!
They do squeek though and you would need to dissassemble and regrease often, so I just lube them up with spray every now and then.
They do squeek though and you would need to dissassemble and regrease often, so I just lube them up with spray every now and then.
Trending Topics
#8
02-27-2012, 05:38 PM

#10
02-27-2012, 07:04 PM
Elder User
Join Date: Dec 2006
Location: Hattiesburg, MS
Posts: 674
Likes: 0
Received 0 Likes
on
0 Posts
#11
02-27-2012, 09:30 PM
It was reports on the Moogs like this that convinced me to go with the Energy kit.
#12
02-27-2012, 09:42 PM

Senior User
Join Date: Jun 2005
Location: Oregon
Posts: 242
Likes: 0
Received 0 Likes
on
0 Posts
It looks like the Energy 4.5186G bushings that you bought are only 32mm. I believe from other threads that the correct part for the bushings is 4.5180G which are 36mm. That is probably why they clamps were not able to close over the bushings correctly. I purchased the 36mm bushings but have not put them on yet so I cannot say for sure which is the correct part #.
See post #4 from this thread: https://www.ford-trucks.com/forums/1...s-rebuild.html
See post #4 from this thread: https://www.ford-trucks.com/forums/1...s-rebuild.html
#13
02-27-2012, 10:11 PM
It looks like the Energy 4.5186G bushings that you bought are only 32mm. I believe from other threads that the correct part for the bushings is 4.5180G which are 36mm. That is probably why they clamps were not able to close over the bushings correctly. I purchased the 36mm bushings but have not put them on yet so I cannot say for sure which is the correct part #.
See post #4 from this thread: https://www.ford-trucks.com/forums/1...s-rebuild.html
See post #4 from this thread: https://www.ford-trucks.com/forums/1...s-rebuild.html
LOL!
 No wonder they were so tight! Well they are on there now, I'll have to see if they keep looking OK, if they start to squish out or something I'll order up the 4MM larger ones.
#15
03-09-2012, 06:00 PM

I can confirm the "reports". I hit the sway bar with my open hand
and visually see the end link move where the top bolt is.
I will be putting the originals back on - my first "undo-mod".


