When you click on links to various merchants on this site and make a purchase, this can result in this site earning a commission. Affiliate programs and affiliations include, but are not limited to, the eBay Partner Network.
Welcome to FTE! It's exciting getting a truck. I would suggest getting the most you can for the money you have. Doing what I am doing is a LONG SLOW process with the budget and skills I have.
If you have questions while looking for a truck, be sure to start a thread with questions and pictures of what you are looking at. Even with just pictures, our resident experts can tell you a lot about a truck.
Also be patient about finding one.
Edit: Wow! That's a lot of reading!!
LOL! Thanks for the greetings Joe! I would love to go down the route you're taking in rebuilding. But having a 11, 8 and 3 year old, I know my project will end up a jack stand model for a long time!
I'm looking for a project that someone gave up on. Main requirement would be the body and paint(optional) somewhat finished. Engine and suspension is my forte, so I'll be doing that.
Well enough about me... back to reading everyone's projects...
Aloha-boy, Yeah, I now have a 20, 16 and 10 year old. I bought the truck in late 2002. Then the 10 year old was born and life happened......
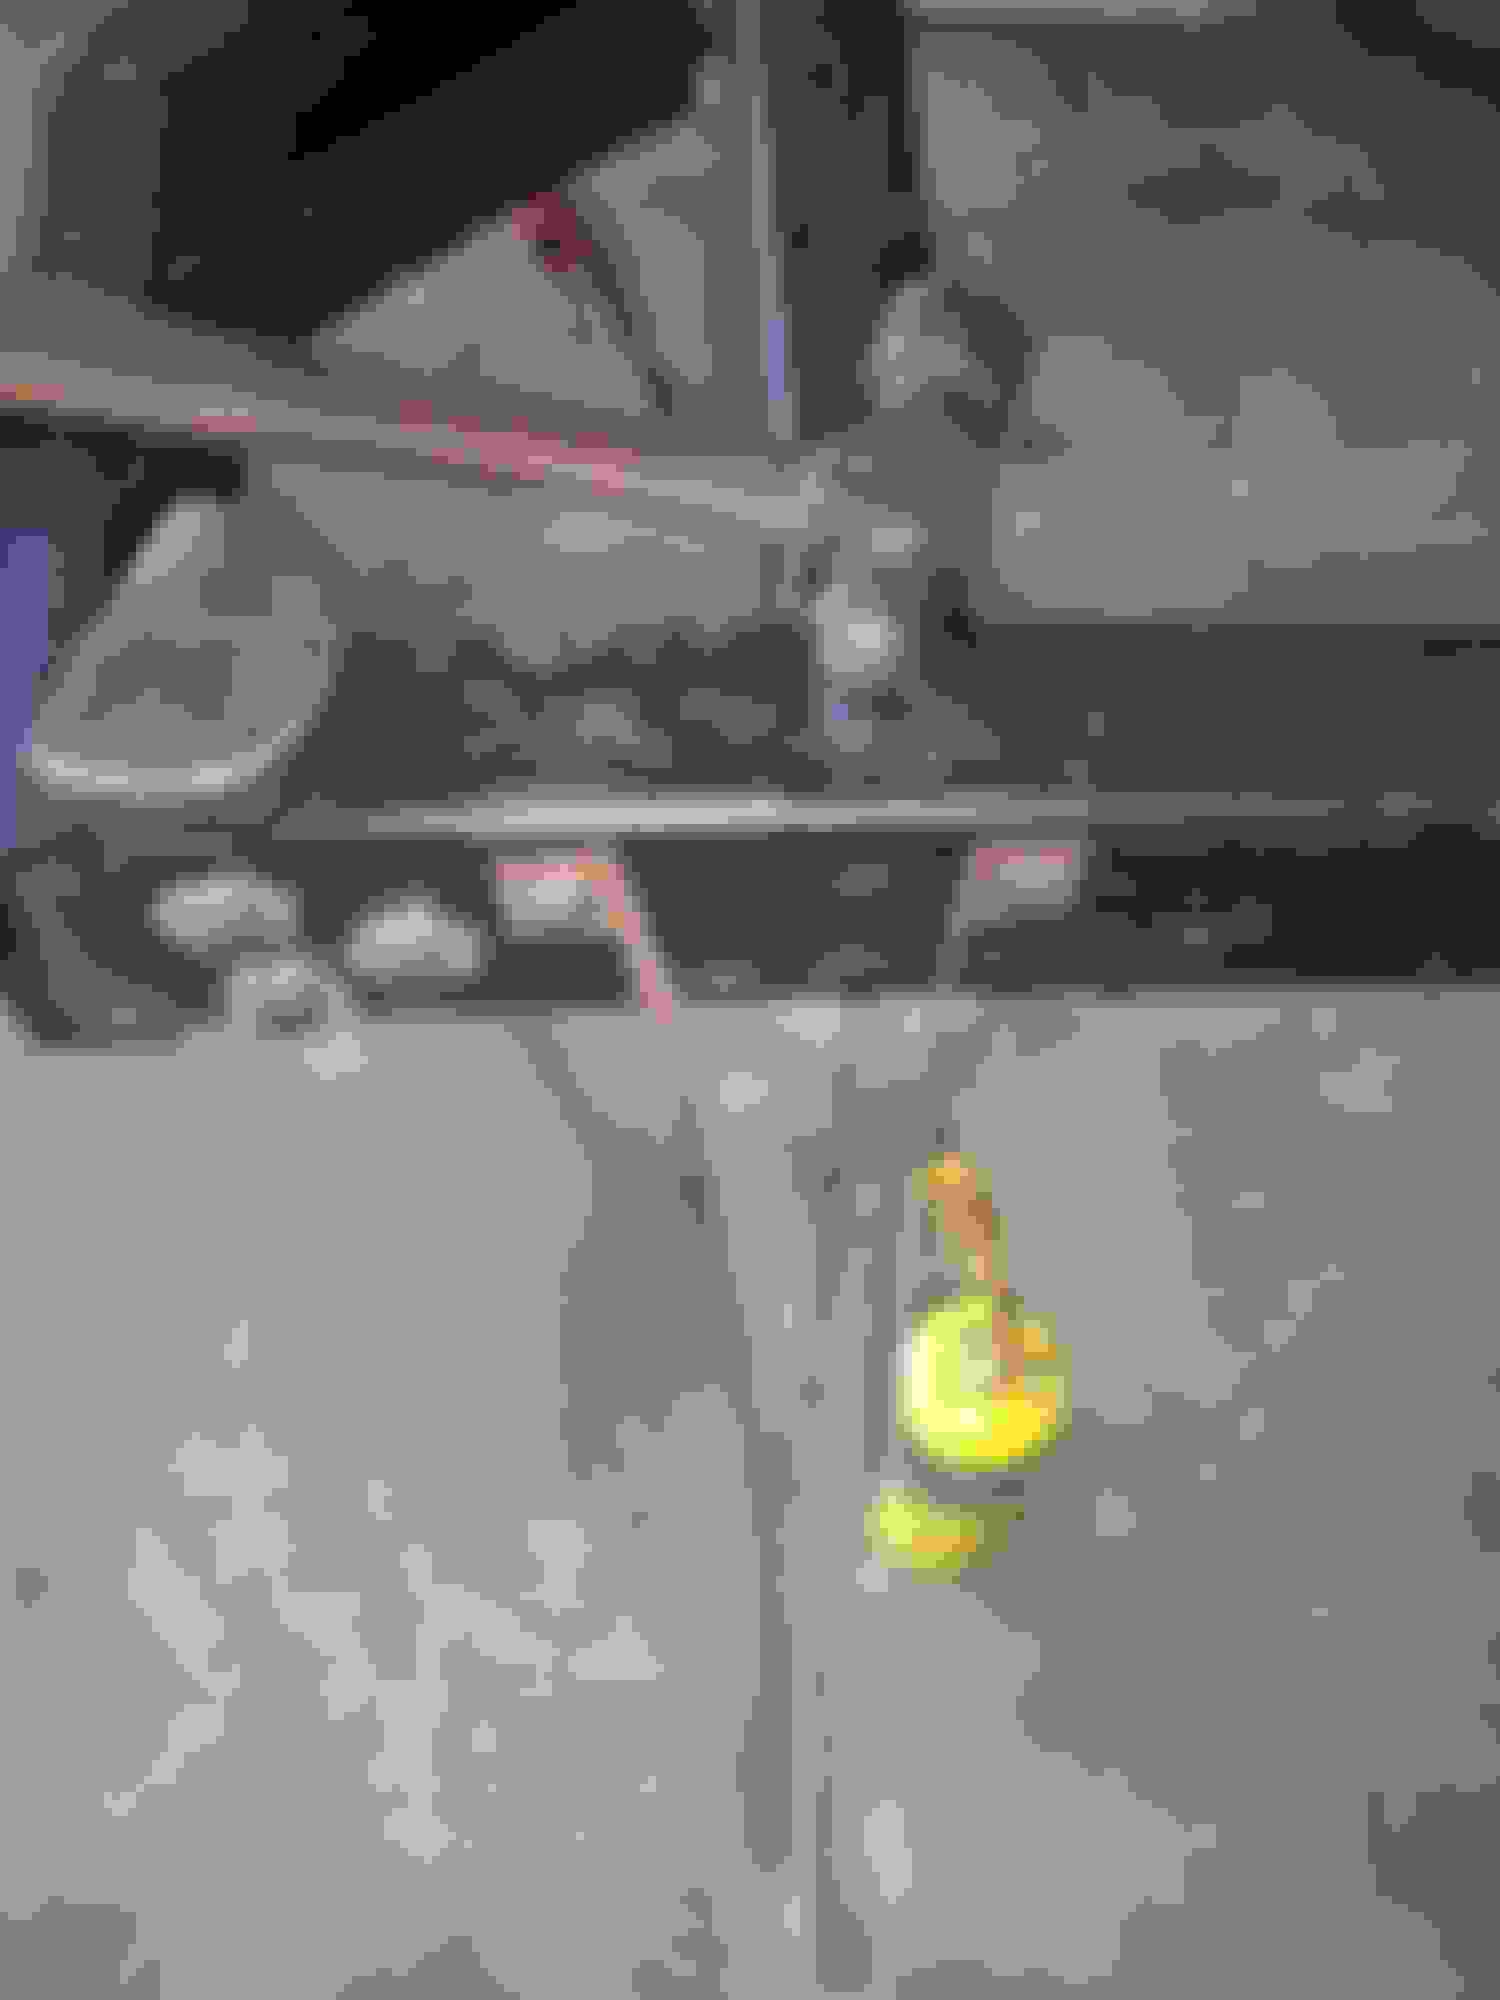
So, I did get out a little bit. I have been thinking about wiring a lot, then I realized I need headlights and tail lights. So I started working on the tail lights.
Here is what they started out like. I will need to replace the tail light bodies, they are bent up and one has a nice hole in it...
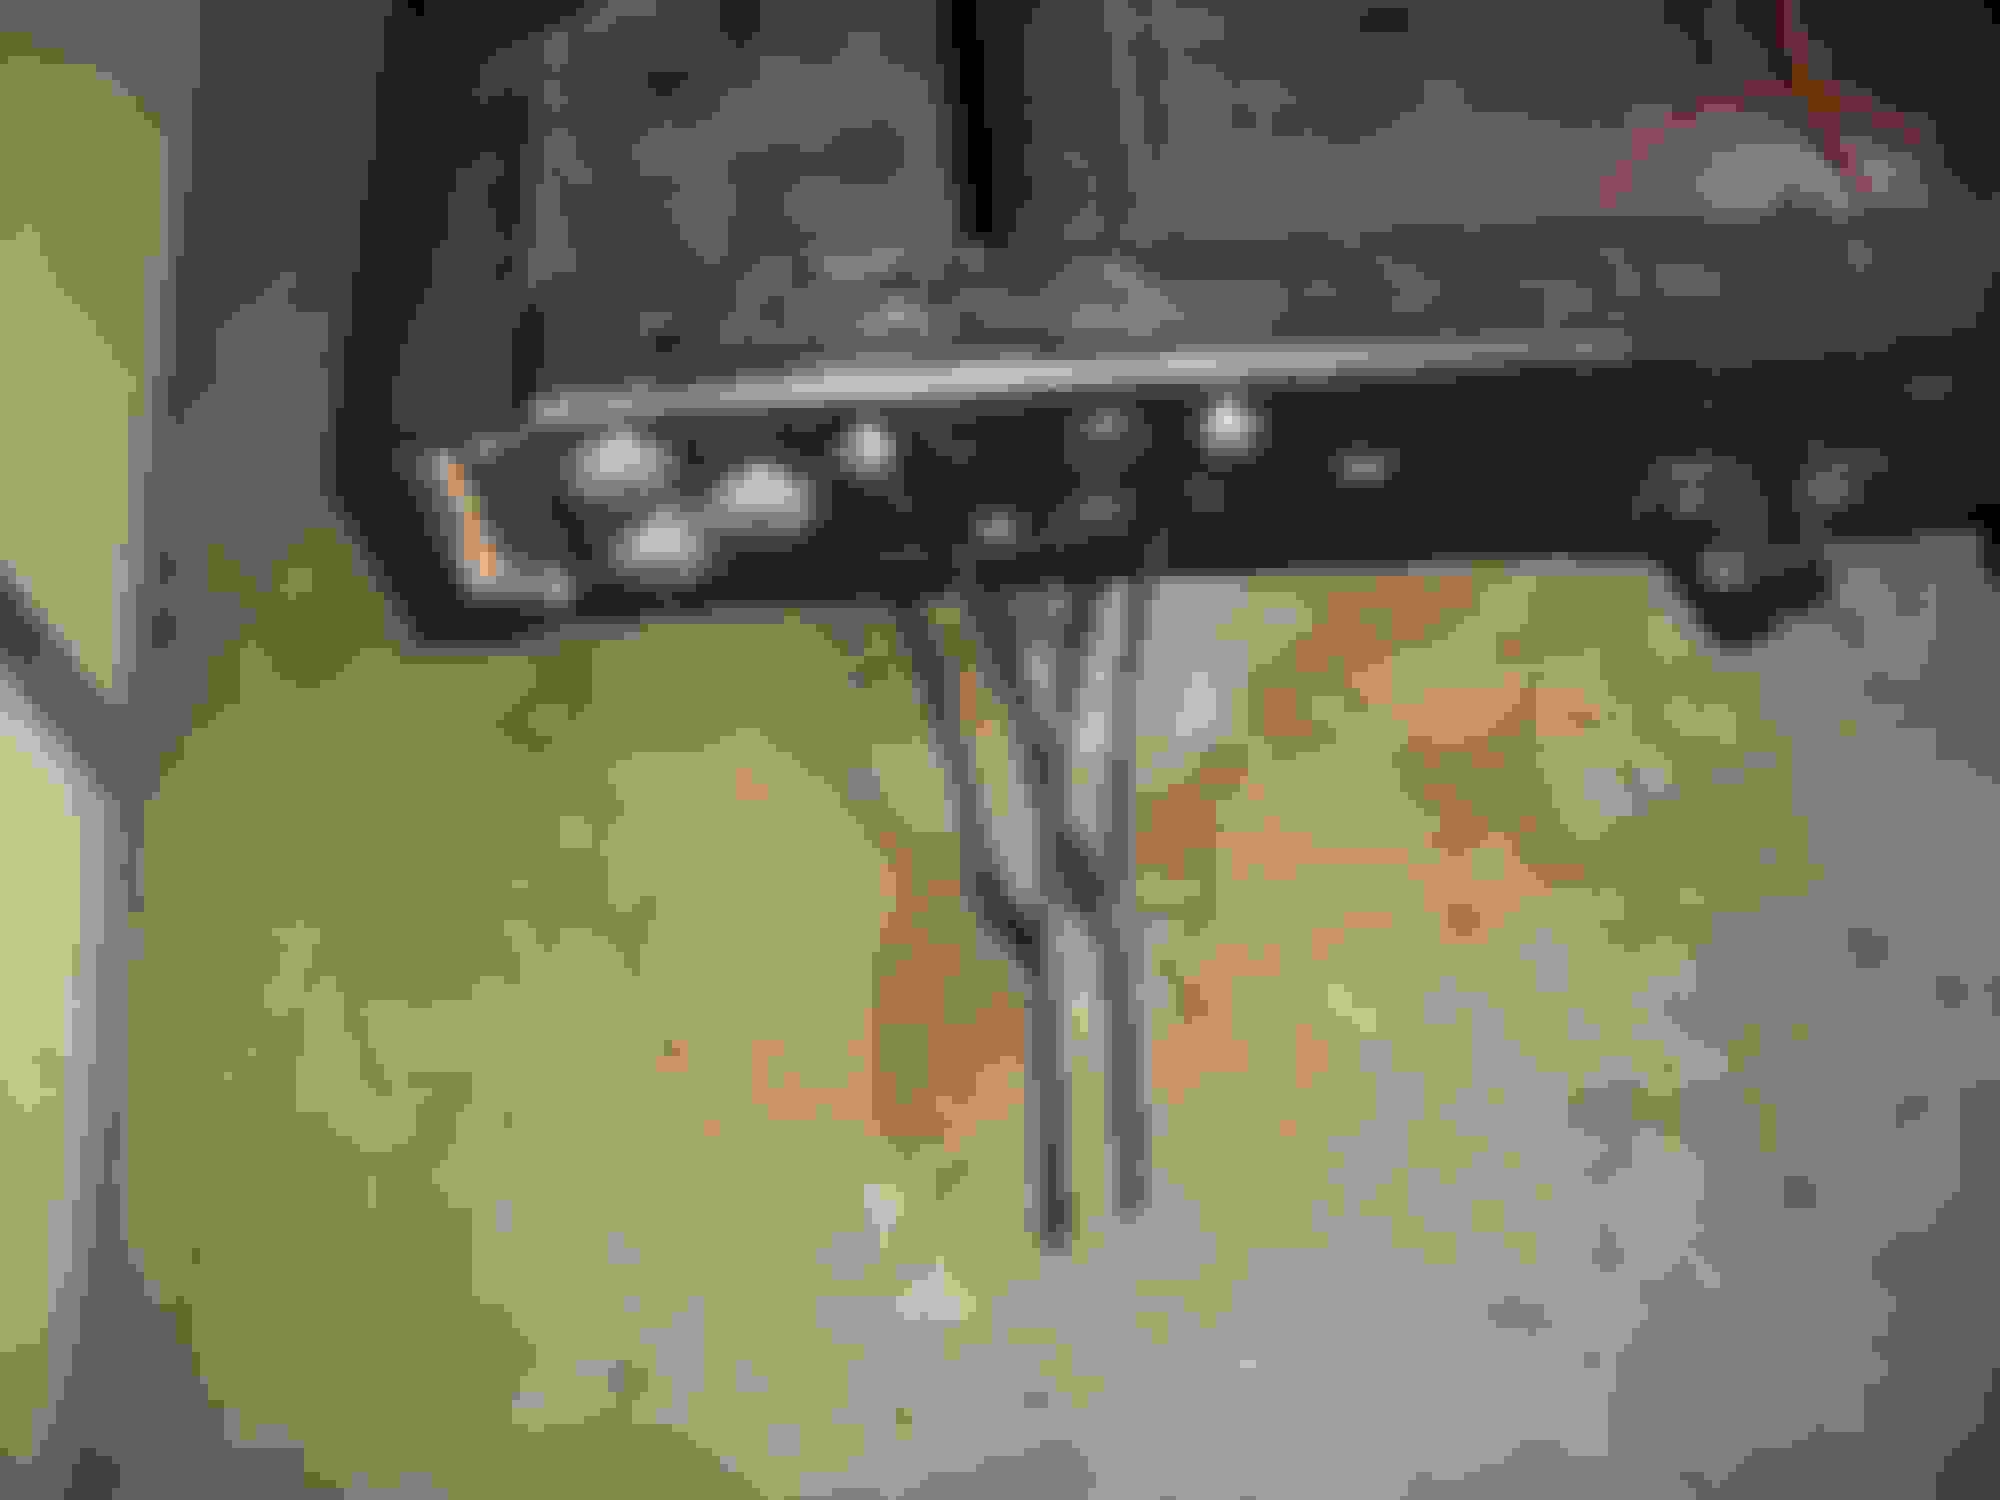
Well with the tools pictured, I got the passenger side passable. It was hard straightening them out because I couldn't get to the bends real well since they were attached. In this picture I figured out I actually attached the bracket backwards. I also used the frame as an anvil some. I will need to touch up some frame paint one of these days.
Then I painted this one and put it on for show. The other one is being a booger and the nuts holding the drivers side tail light don't want to loosen up.
It's not pretty, but it will point the tail light in the right direction.
I bought the wiring diagram from here: 1955 Ford Pickup Truck Wiring Diagram - ClassicCarWiring
It is nicer than the one from the manual. Jolly Rodger Joe gave me some advice and then I pondered and pondered. Today, it hit me how to draw these out in sections so I can work on a section at a time. I will share some of those here soon for critique.
OK, so as to wiring diagrams. Here is what I have put together so far.
In all the drawings I put the wire size I think it should be on all the lines.
I did this in Visio if anyone would like a copy of that.
I'm adding a fuse block, the first drawing shows how I plan to hook up the lights to the fuse block. It looks like from the wiring diagrams I have, all lights will need to be on one fuse. If you see another way to separate the headlights from others, I'm all ears.
Here is the section for the Headlights and parking lights through the dimmer switch.
And finally here are the taillights:
This way, I can break out all my wiring into sections. I will need to figure out where they run and how they are grouped when I start running the wire.
If I missed anything, let me know and I can correct the drawings. I will look at the generator system, Ignition, and dash systems next. Not sure how many different drawings that will be. And since I don't have a fancy dancy truck, I'm not doing the dome light.
Pretty nice drawings Joe! How are you running your turn signals? Seems to me folks had problems witht the front directionals back feed when the brakes are applied.
Pretty nice drawings Joe! How are you running your turn signals? Seems to me folks had problems witht the front directionals back feed when the brakes are applied.
Shoot!!!!! My wiring diagrams don't have turn signals and I forgot about them. I know I have some info on hooking them up. Well I will need to incorporate that into my drawings.
Here is something on it from MidFifty: Instructions - Mid Fifty F-100 Parts
I don't see anything about front vs rear directionals. The original lights up front were only running lights. One thing you Need to change is the sockets for double filament bulbs. But I don't recall the correct wiring.
Did a quick study and found the 56 turn signal wiring from Earl's World. Looking at this diagram, in 56 the front lights were still just running lights. I'm wondering how much benefit there would be to making the front lights turn signals as well. It wouldn't be required, but it also would be an extra safety feature....
Pilot lights = Dash Indicator Lights. Some of the old systems didn't have a light on the inside to let you know your turn signal was on.
I think I see some new cars on the road that must still have that problem.
Did a quick study and found the 56 turn signal wiring from Earl's World. Looking at this diagram, in 56 the front lights were still just running lights. I'm wondering how much benefit there would be to making the front lights turn signals as well. It wouldn't be required, but it also would be an extra safety feature....
By the way, what the heck are the pilot lights?
I disagree Joe. I read that schematic as turning on both the park lights and the brake lights when the flasher is in the circuit.
Did you check MidFifty? Maybe they have a schematic. I'm heading out the door or I'd check. Wonder where the MidFifty crew went? I thought they joined us.
Switch position for left turn signal, triangle moves up to align 2nd circle down on right side to 3 and 4 circles on left side feeding power from blue wire to turn left signals (park lights in front and tail lights rear). Power to stop lights at this time is fed from 1st circle at top.
Switch position for right turn signal, triangle moves down to align 2 and 3 circles on left with top circle on right, allowing power from blue wire to right front park and rear tail lights. Power to stop lights then come from 5 circle on bottom.
Now, I'm looking at replacing the wires on the back of the instrument cluster. I just need to find the little crimp ends for the lights. I would think the auto parts store will have them.
I got to looking at the charge indicator. Do you have any tips on which way the wire should go through the loop? The manual says if the meter points to the "C" when headlights are turned on the wire passes through the loop in the wrong direction.
Well, that would suck trying to switch that around once everything is wired....
I'm thinking the side not in the loom goes to the solenoid. Thoughts?
 01-21-2015, 03:49 PM