1952 Ford F-3 Build


#107
 02-16-2012, 09:03 AM
Join Date: Jan 2012
Posts: 121
Likes: 0
Received 0 Likes
on
0 Posts
I have a line I will not cross and that engine will be staying. haha.
I havent crossed to far ... yet . haha. I am building it for me so I am trying to get the best of both worlds with still keeping what I can stock.
Though cutting the frame was not in my origonal plan... haha


#108
02-18-2012, 01:19 PM
Join Date: Jan 2012
Posts: 121
Likes: 0
Received 0 Likes
on
0 Posts
Hey all.
Well I got my new fuel pump in there and it's running good I've run into a problem with the brakes no pictures in Manuel I know I'm dumb but the bleeder okay found that attached my hose and though hmm . Now what do I lossen to let the fluid come out ?!?? Is it the bolt to the right of the bleeder that I lossen or what it says screw in the Manuel I'm lost !! On my way to get new fuel lines hopefully some jumps right on this for me
Thanks !!
#109
02-18-2012, 01:27 PM

https://www.ford-trucks.com/forums/9...-and-help.html
there is a picture in this thread, might help ya.
there is a picture in this thread, might help ya.
#110
02-18-2012, 01:30 PM

#111
02-18-2012, 01:37 PM
Join Date: Jan 2012
Posts: 121
Likes: 0
Received 0 Likes
on
0 Posts
#112
02-18-2012, 01:37 PM
Chances are, the bleeders are rusted up so bad you can't get them loose woithout destroying them. For the low cost of a complete new/rebuilt wheel cylinder, I just replace them if they won't come loose. baby those bleeders, because they break off sometimes. and then you have no choice but to replace the wheel cylinders.
#113
02-18-2012, 01:39 PM
#114
02-18-2012, 01:47 PM
I spray them with penetrating oil and then, with a 1/4" drive ratchet and 6 point socket....6 POINT SOCKET...not a 12 point....USE A 6 POINT SOCKET
12 point rounds them off too easily. Did I say 6 POINT ????
I try to loosen just a little, then try to tighten, and then loosen again. little at a time. each way. If you loosen and it starts to get tight, stop. respray and tighten some...then loosen...the best way I have found to be successful. Good luck!
#115
02-18-2012, 10:04 PM
Join Date: Jan 2012
Posts: 121
Likes: 0
Received 0 Likes
on
0 Posts
I spray them with penetrating oil and then, with a 1/4" drive ratchet and 6 point socket....6 POINT SOCKET...not a 12 point....USE A 6 POINT SOCKET
12 point rounds them off too easily. Did I say 6 POINT ????
I try to loosen just a little, then try to tighten, and then loosen again. little at a time. each way. If you loosen and it starts to get tight, stop. respray and tighten some...then loosen...the best way I have found to be successful. Good luck!
12 point rounds them off too easily. Did I say 6 POINT ????
I try to loosen just a little, then try to tighten, and then loosen again. little at a time. each way. If you loosen and it starts to get tight, stop. respray and tighten some...then loosen...the best way I have found to be successful. Good luck!
Thanks again eh .
#116
02-18-2012, 10:21 PM
You are certainly welcome, but I wouldn't get too disappointed if they break. It happens on alot of vehicles way newer. If you do get them loose, you can buy new bleeders and replace them. But honestly I would plan to replace the wheel cylinders eventually. I consider them a wear item, new ones are cheap piece of mind when it comes to safety.
#117
02-18-2012, 11:20 PM
Join Date: Jan 2012
Posts: 121
Likes: 0
Received 0 Likes
on
0 Posts
Well after 4 trips to the local Nappa Auto Parts store the fuel system is complete from front to back.
Got my new:
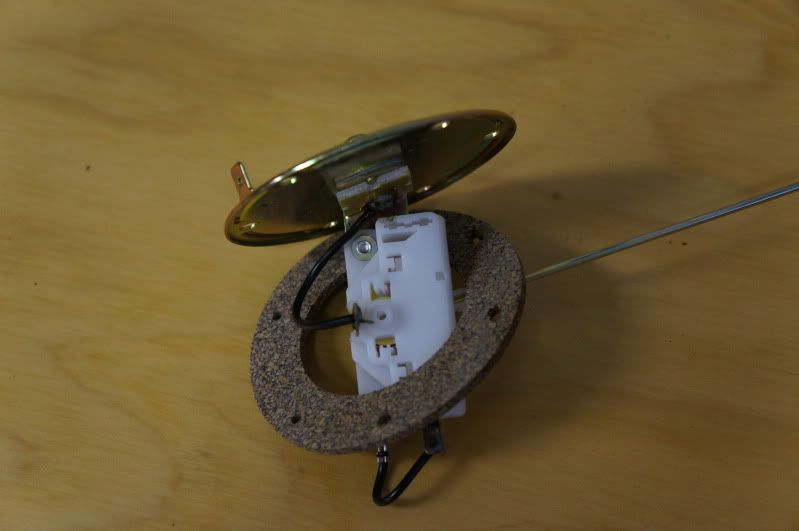
-Sending Unit with float (weird how the newer style ones have a ground and the stock old school one didnt)
-Fuel pump
-Hoses

-Fuel Lines
-An assortment of brass fittings
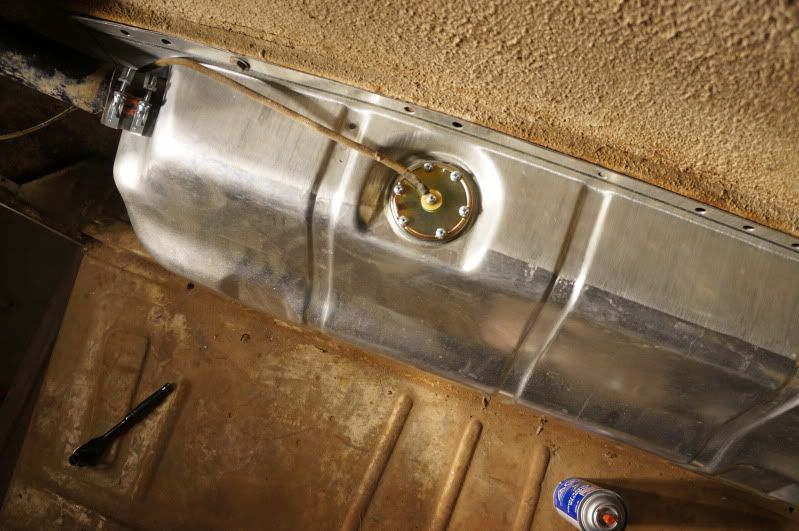
I went to throw the tank in the truck to find out my brass fitting was to short and sat to close to the truck making it impossible to attach. Decided to make my first trip to my Nappa store to get new fuel lines just since I changed everything else why not complete the job. Got the Fuel lines and rubber hose to make my fuel line system.
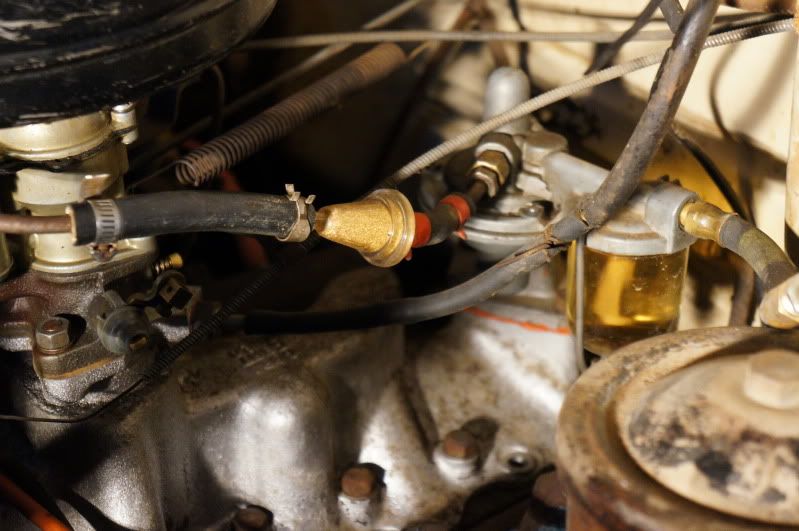
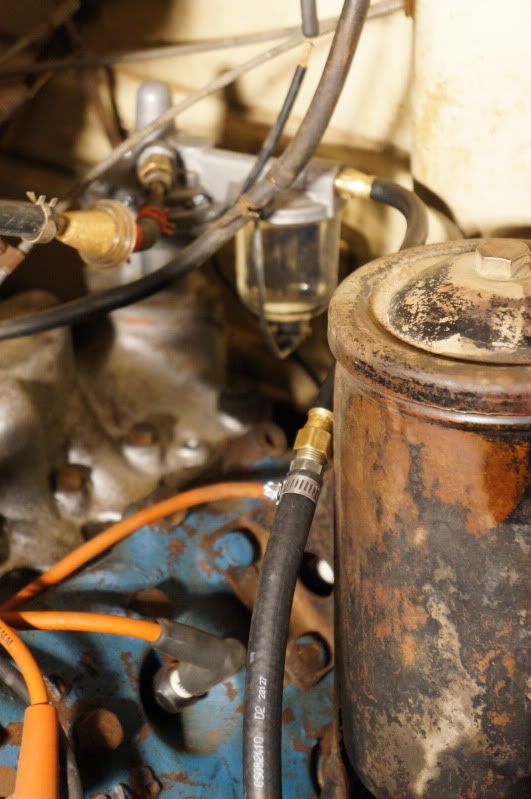
I attached a flare adapter at both ends so that the fittings wouldnt slide back and for possibly causing a leak. From there I went back and forth to the Nappa store trying to get the correct fittings and correct fitting lengths to make everything fit together nicely. Ended up going with a elbow at the tank side with an adapter to lengthen it so it sits far enough out the bottom to connect to the fuel lines without much or any bend in the lines. And for the other end I got a barb fitting to go into my rubber hose and two clamps one for each side of the rubber hose to secure it in place.
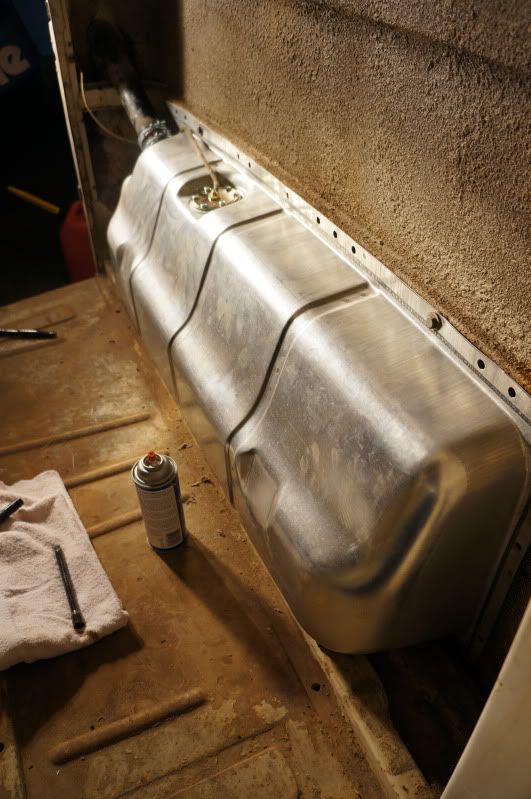
Got home pulled out my old fuel line and began bending the new one to match. Once that was finished I attached my barb fitting the rubber hose and then installed it back under neath the truck.
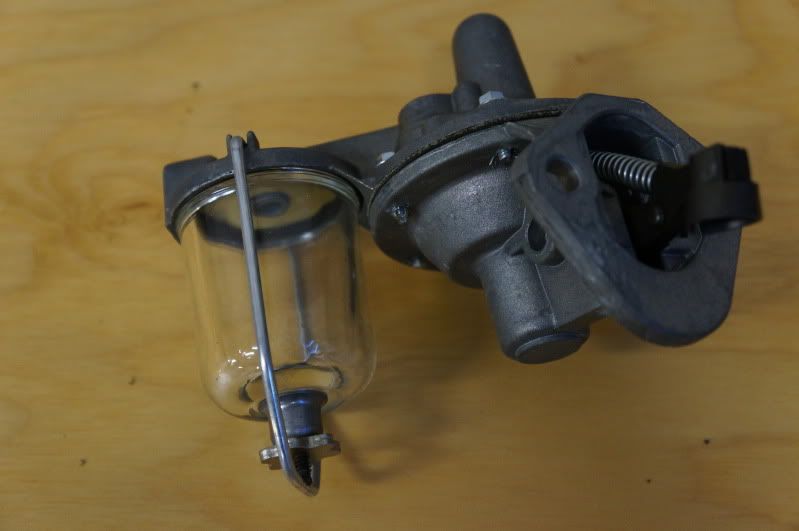
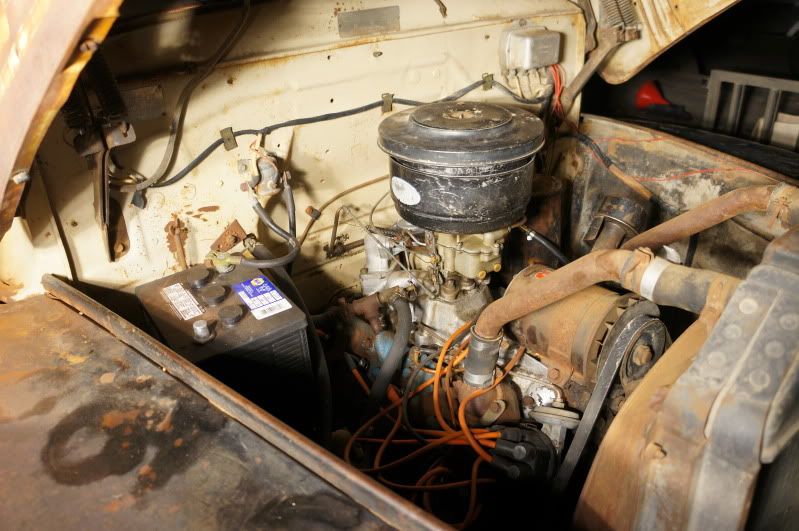
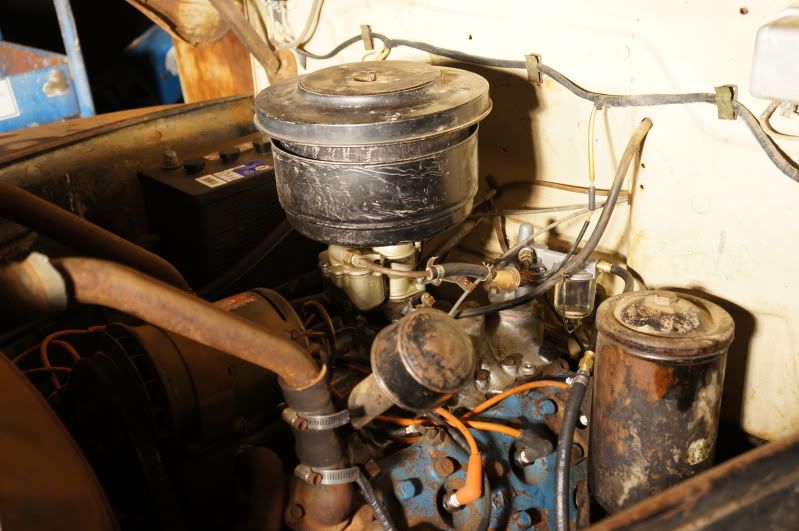
Then took off the origonal fuel pump which when removed actually looked quite nice. Either way I replaced it with a new one. Attached my rubber hose to the end of it and connected the whole system together. Filled the tank half with fuel letting it sit overnight to look for any leaks . If non time for a test drive.
Old Fuel Pump
New Fuel Pump
Lastly removed the master cylinder cap located beneath the floor board to fill up the cylinder, I have some sort of brakes but nothing to great. Yet it will be enough to take it for a test drive since I will be replacing the brake system eventually as well no need to go to crazy with it right now.
Little by little, things will get done..
**Again thanks for the tip on the brake bleeders because if I woulda broke those off I woulda been forced to replace them!
Got my new:
-Sending Unit with float (weird how the newer style ones have a ground and the stock old school one didnt)
-Fuel pump
-Hoses
-Fuel Lines
-An assortment of brass fittings
I went to throw the tank in the truck to find out my brass fitting was to short and sat to close to the truck making it impossible to attach. Decided to make my first trip to my Nappa store to get new fuel lines just since I changed everything else why not complete the job. Got the Fuel lines and rubber hose to make my fuel line system.
I attached a flare adapter at both ends so that the fittings wouldnt slide back and for possibly causing a leak. From there I went back and forth to the Nappa store trying to get the correct fittings and correct fitting lengths to make everything fit together nicely. Ended up going with a elbow at the tank side with an adapter to lengthen it so it sits far enough out the bottom to connect to the fuel lines without much or any bend in the lines. And for the other end I got a barb fitting to go into my rubber hose and two clamps one for each side of the rubber hose to secure it in place.
Got home pulled out my old fuel line and began bending the new one to match. Once that was finished I attached my barb fitting the rubber hose and then installed it back under neath the truck.
Then took off the origonal fuel pump which when removed actually looked quite nice. Either way I replaced it with a new one. Attached my rubber hose to the end of it and connected the whole system together. Filled the tank half with fuel letting it sit overnight to look for any leaks . If non time for a test drive.
Old Fuel Pump
New Fuel Pump
Lastly removed the master cylinder cap located beneath the floor board to fill up the cylinder, I have some sort of brakes but nothing to great. Yet it will be enough to take it for a test drive since I will be replacing the brake system eventually as well no need to go to crazy with it right now.
Little by little, things will get done..
**Again thanks for the tip on the brake bleeders because if I woulda broke those off I woulda been forced to replace them!
#118
02-20-2012, 12:50 AM
Join Date: Jan 2012
Posts: 121
Likes: 0
Received 0 Likes
on
0 Posts
Well got everything all hooked up dumped my first full can of fuel into my Ford drove it about 600 meters and got it stuck in the snow. The feilds here are to drifted over and the roads where crazy icy drove it down the drive way a few time back and fourth runs good but accelerator sticks at the carb end. But since im running a new carb im not going to worry about it to much right now.
TRUCK FORUM :: 20120218225929.mp4 video by mattie2294 - Photobucket
Link of it just idling sounds pretty strong for a 60 year old truck
Then I moved onto the long long process of sanding everything down started with the hood got about half of it done. Gonna try and finish the other half tomorrow then its the wait for the welder to come in to fix the rust hole on the hood.
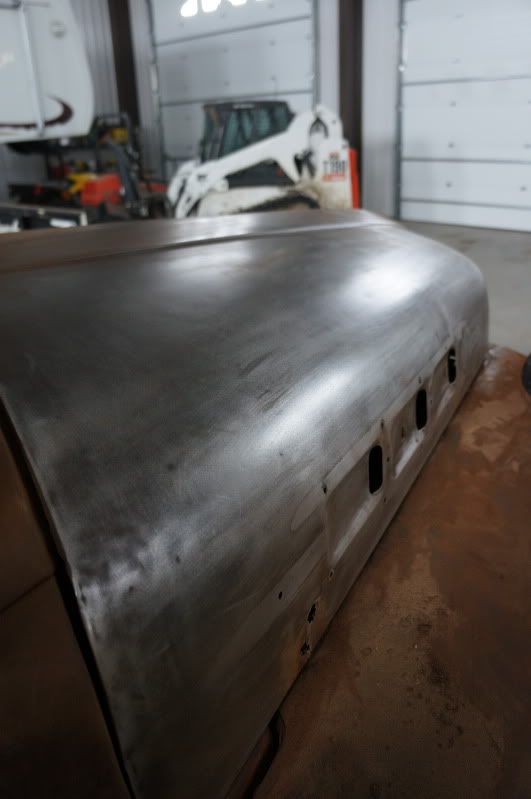
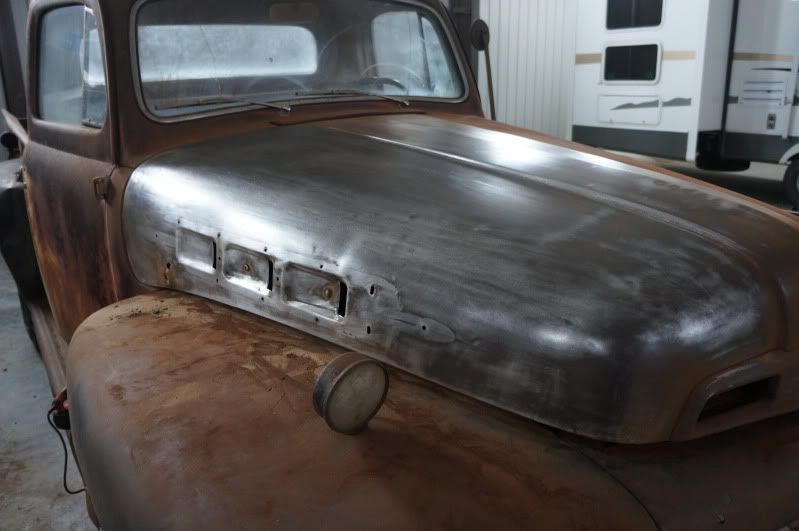
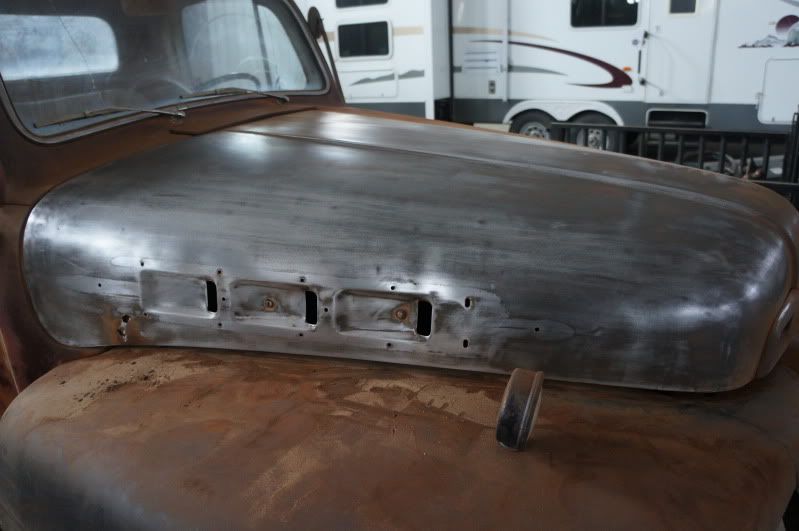
In need of a good orbital sander though hand sanding the whole hood is about all the hand sanding I can handle.
Edit*** Also forgot did a compression test today though the compression tester I used was about as old as the truck almost. haha I got the same results on each cylinder which is a very good sign, not sure exactly what rpms I was running at it was just at idle when I did the test cylinder by cylinder each getting around 85 to 95 psi compression which in the manuel it says it should be around 110 psi but at 90 rpms or so, so im not quite sure but if all the cylinder check out the same theres not way there all low and have problems so im going with the assumption im good to go.
UNLESS anyone here figures different?
TRUCK FORUM :: 20120218225929.mp4 video by mattie2294 - Photobucket
Link of it just idling sounds pretty strong for a 60 year old truck
Then I moved onto the long long process of sanding everything down started with the hood got about half of it done. Gonna try and finish the other half tomorrow then its the wait for the welder to come in to fix the rust hole on the hood.
In need of a good orbital sander though hand sanding the whole hood is about all the hand sanding I can handle.
Edit*** Also forgot did a compression test today though the compression tester I used was about as old as the truck almost. haha I got the same results on each cylinder which is a very good sign, not sure exactly what rpms I was running at it was just at idle when I did the test cylinder by cylinder each getting around 85 to 95 psi compression which in the manuel it says it should be around 110 psi but at 90 rpms or so, so im not quite sure but if all the cylinder check out the same theres not way there all low and have problems so im going with the assumption im good to go.
UNLESS anyone here figures different?
Last edited by Mattie2294; 02-20-2012 at 01:02 AM. Reason: Added Information
#119
02-20-2012, 09:59 AM
Post Fiend
Having that kind of compression numbers is normal for a 60 year old engine that may have not been rebuilt or has been sitting for a while. I wouldn't worry too much about it now unless you want to spend at least $3-4k rebuilding it.
As for the hood, it looks like the rust hole is in the same spot as on most hoods, at the rear hood brace. To repair that section correctly and eliminate the problem from reocurring in the future, the best thing is to remove the hood brace (drill out the spot welds holding it in place), repair the rust through in the hood, coat the area with a rust inhibitor/preventative and re-weld the brace back into place.
One tip, if you remove the hood brace, make sure that you weld in a temporary brace across the hood before removing the factory brace in order to keep your hood's shape and making it easy to remove and install the factory brace.
#120
02-20-2012, 10:20 AM
Join Date: Jan 2012
Posts: 121
Likes: 0
Received 0 Likes
on
0 Posts
As for the engine you really think it would cost 3000 or 4000 to rebuild that engine why is that ? Due to the fact the valves are not in the head as like new engines ? Or what is the deal there ?
Thanks again