When you click on links to various merchants on this site and make a purchase, this can result in this site earning a commission. Affiliate programs and affiliations include, but are not limited to, the eBay Partner Network.
$1,000.00 dollars... I guess that is about right if someone else does it.
I did my upper control arm (passenger side) with the help of RojoStar and it cost me less than $240.00 with all parts and tools needed, including sub-contracting the pressing of the bushings and ball joint labor to my nephew who did it at the Honda dealership where he works, I did all the disassembly and reassembly.
purchased 3 new long bolts at FASTENAL, used same nuts, The worst part was loosening the three 24mm nuts, it took soaking them with Numb Nuts spray, the only thing that did it, and a 4 feet, ˝" cheater bar with the 24mm socket.
you need a 21mm open-end wrench for the upper bolt heads, a 24mm long socket for the three nuts, you need 8mm socket for the small bolt, and I already forgot the size of the short bolt.
you will be sore for 3 weeks after the job. Let them do it!
so one of the three long bolts at the upper control arm brackets broke? Chances are the other two are on the way.
but I don't understand why you would need to cut a hole if the bolt is broken, (those bolts do rust and become dust, but once broken, just pull them out).
frankly, I would not do any destructive fix, do it the right way.
I don't feel comfortable about cutting a hole through any frame structure, especially in that area where there are 3 large bolts clamping down hard.
You said you have a broken front bolt. I don't suppose there is a way to get a right-angle drill in there and try to drill a hole into the bolt for an extractor?
It’s an 87 but it’s the same as my 97. I think all 2WDS are the same.
I guess you didn’t read my earlier post on this thread. The short bolt that goes in the threaded hole shown on post number 6 of this thread is broken off flush. The part of the bolt where it goes through the bracket had rusted down to 1/8 inch diameter. The other side will probably break also. I can’t see any other options.
I don't feel comfortable about cutting a hole through any frame structure, especially in that area where there are 3 large bolts clamping down hard.
You said you have a broken front bolt. I don't suppose there is a way to get a right-angle drill in there and try to drill a hole into the bolt for an extractor?
I think an extractor would be an exercise in futility. It's been in there rusting for 28 years.
BTW I've been driving it since August with the broken bolt. Not over 30 but if I'm going to keep it the bushings will have to be replaced and the bolt fixed.
Looking at post 29 by Rojostar, it looks like the front hole is threaded into a reinforcement plate that's welded inside the box frame. You can see it better if you remove the upper control arm. In any case, what ever you try to do to remove it may require drilling it out.
If you (or your mechanic) can drill the old bolt out, you can try putting a nut in from the inside of the box frame. Toward the lower front of the frame, there is a slot cut by the factory, probably for chaining down the frame during shipping. It's big enough to slip a big nut in, but you will need to manipulate it up to the front control arm hole somehow, and put a new bolt through to fasten to it.
On the other hand, that little bolt is probably only for locating the upper control arm, and provide very little clamping force compared to those 3 long ones, which hold the upper control arm assembly AND the engine cross member to the frame. So it may be OK to drive around with out the little bolt.
It’s an 87 but it’s the same as my 97. I think all 2WDS are the same.
I guess you didn’t read my earlier post on this thread. The short bolt that goes in the threaded hole shown on post number 6 of this thread is broken off flush. The part of the bolt where it goes through the bracket had rusted down to 1/8 inch diameter. The other side will probably break also. I can’t see any other options.
thanks, I see now.
Having just done this job a month ago in the front passenger side, I know about that big-short bolt. If you look at the bolt hole on the foot of the front bracket, it is an "oblong" hole, not round. I believe it serves as redundant "security" for the front bracket, i.e., not so "critical" as the 3 long bolts which are torqued to between 130 to 196 lbs. ft.. I torqued mine to 160 lbs. ft.
you say the bolt broke flush with the bracket:
the bracket itself is about ˝" high, so once you remove the 3 long bolts. the small 8mm bolt, and the 2 thin metal plates, and the upper control arm assembly from the van, you will have about ˝" of the broken bolt thread sticking out which you can soak with Numb Nuts spray for a few days, then grab it with large vise grip locking pliers and turn it.
Note you need to "scribe" the positions of the two thin metal plates before you loosen and remove the 3 long bolts. You want them back exactly where they were.
I don't know what RojoStar did to reuse the "toothed" washer from that bolt (picture shown above). I couldn't get mine out off the bolt, so I just used two hardened steel washers and a lock nut.\
I have extras of those big-short bolts if you need one, same thread, same torque capacity 9/8, and hardened steel. Fastenal supplied a whole packet of them.
I’ve been thinking about this almost daily since back in August and decided that because of my age, this job is more than I wanted to undertake. Also I don’t have all the tools that would be necessary to complete the job.
However, the local tire shop hired a new mechanic that had worked for a Ford dealer and claims to have done several of these where that broken bolt wasn’t replaced. I had been driving it all over town at speeds up to 60mph and nothing had moved.
I decided to bite the bullet and go ahead and let them fix it. They replaced the upper control arm bushings and the ball joints. Both sides
I got it back two days ago and have driven it 60miles. So far everything feels right. I just looked at it and everything is still where it’s supposed to be.
It was a little pricey but I feel it was worth it.
Just thought you guys might want to know the outcome. Thanks to everyone for their input.
Last edited by 87&97Aerostrar; 06-21-2015 at 03:22 PM.
Reason: Additional info
I did it by myself and it left me worn out for two weeks, but I did it. my nephew took the control arm and did the removal of old bushings and pressing of new ones, I did the rest with the help of Rojostar via e-mails.
No air tools were needed, only a very large cheater bar, a 24mm long socket, open end wrench, and a large torque wrench. Miscelaneous tools were a 8mm socket and 1/4" ratchet. I did not break any bolts, they were soaked everyday for a week with a spray called "Numb Nuts" that my nephew uses at the Honda dealership. .
I didn't use air tools either when I worked on mine. But one thing I did was to liberally grease all the nuts and bolts when assembling as an attempt to prevent them from corroding, in case I ever have to take them apart again.
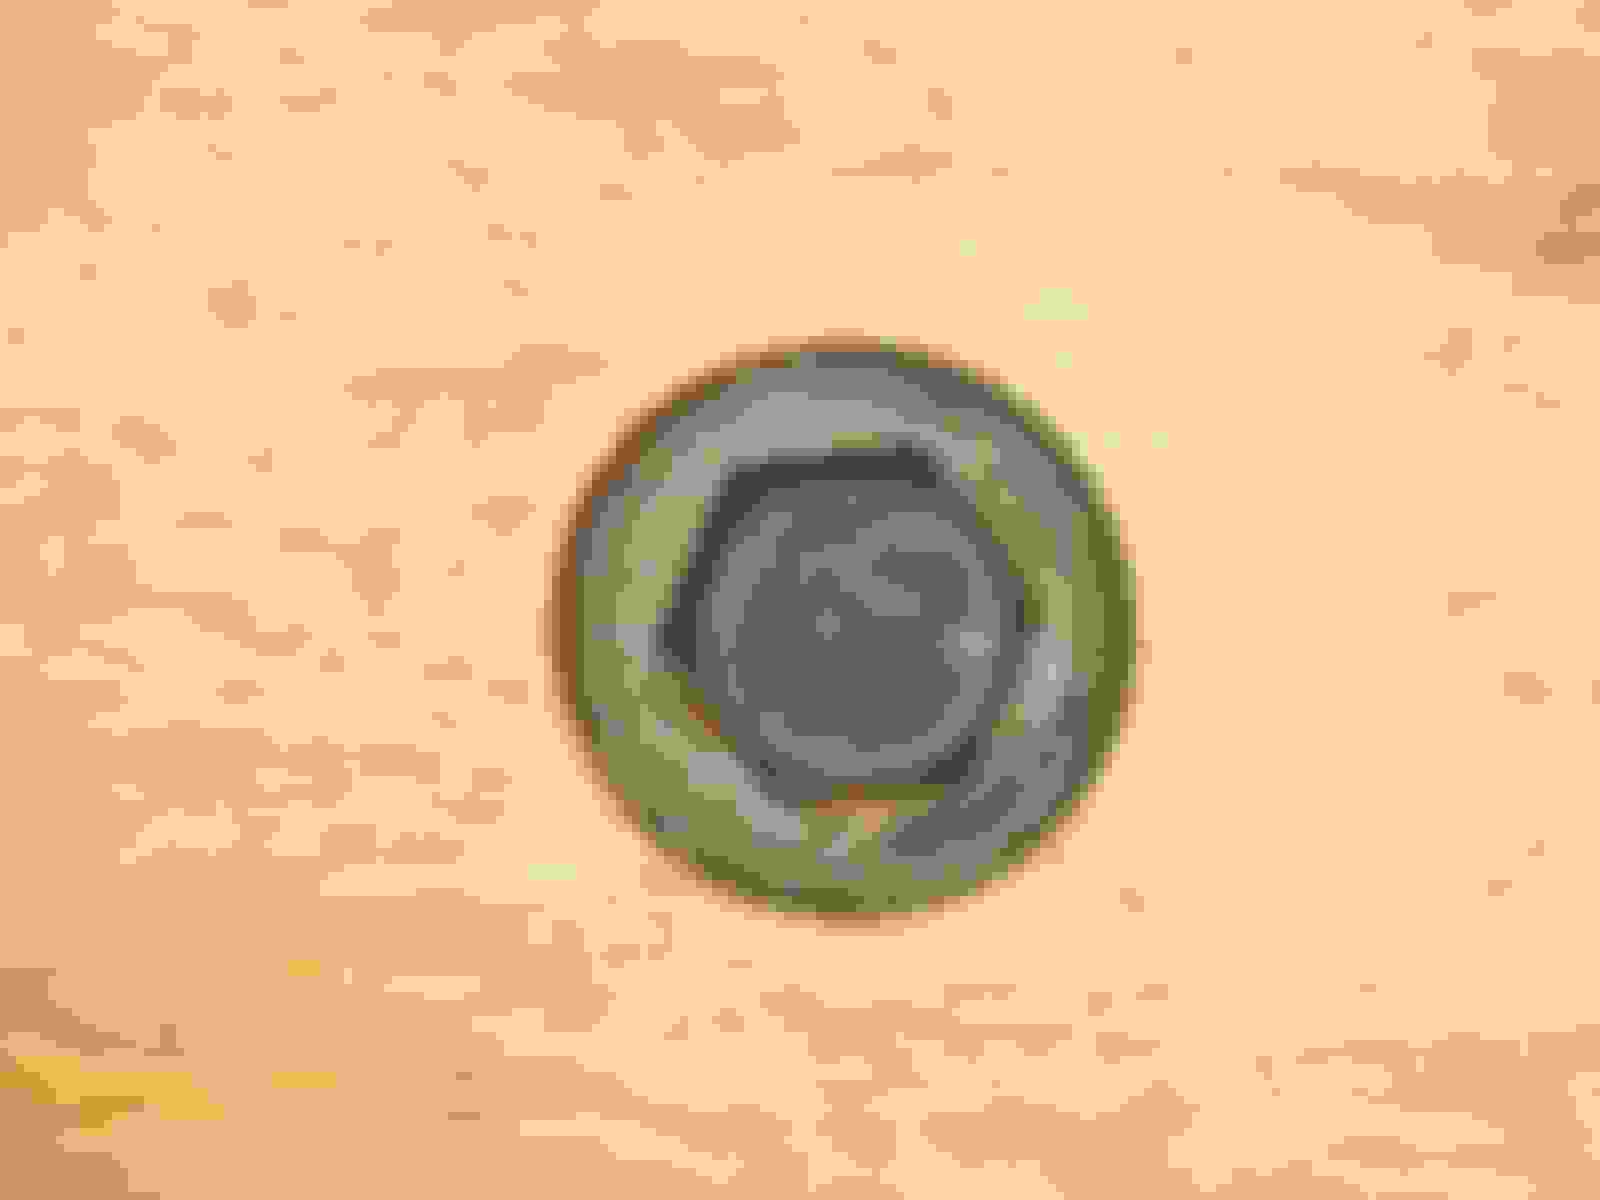
This is the head of the broken front bolt on the passenger side (souvenir). Not sure what the 10.9 means or the three marks above that but the wrench size is 17mm. The washer feels like it's welded to the head. In the other picture the little light colored spot is all that was left of the shank. With a caliper it measures just under 3/16 of an inch. The AC drains right down onto it.
 02-16-2015, 01:57 PM