Shop truck transformation starts

#32
 04-22-2012, 09:19 PM
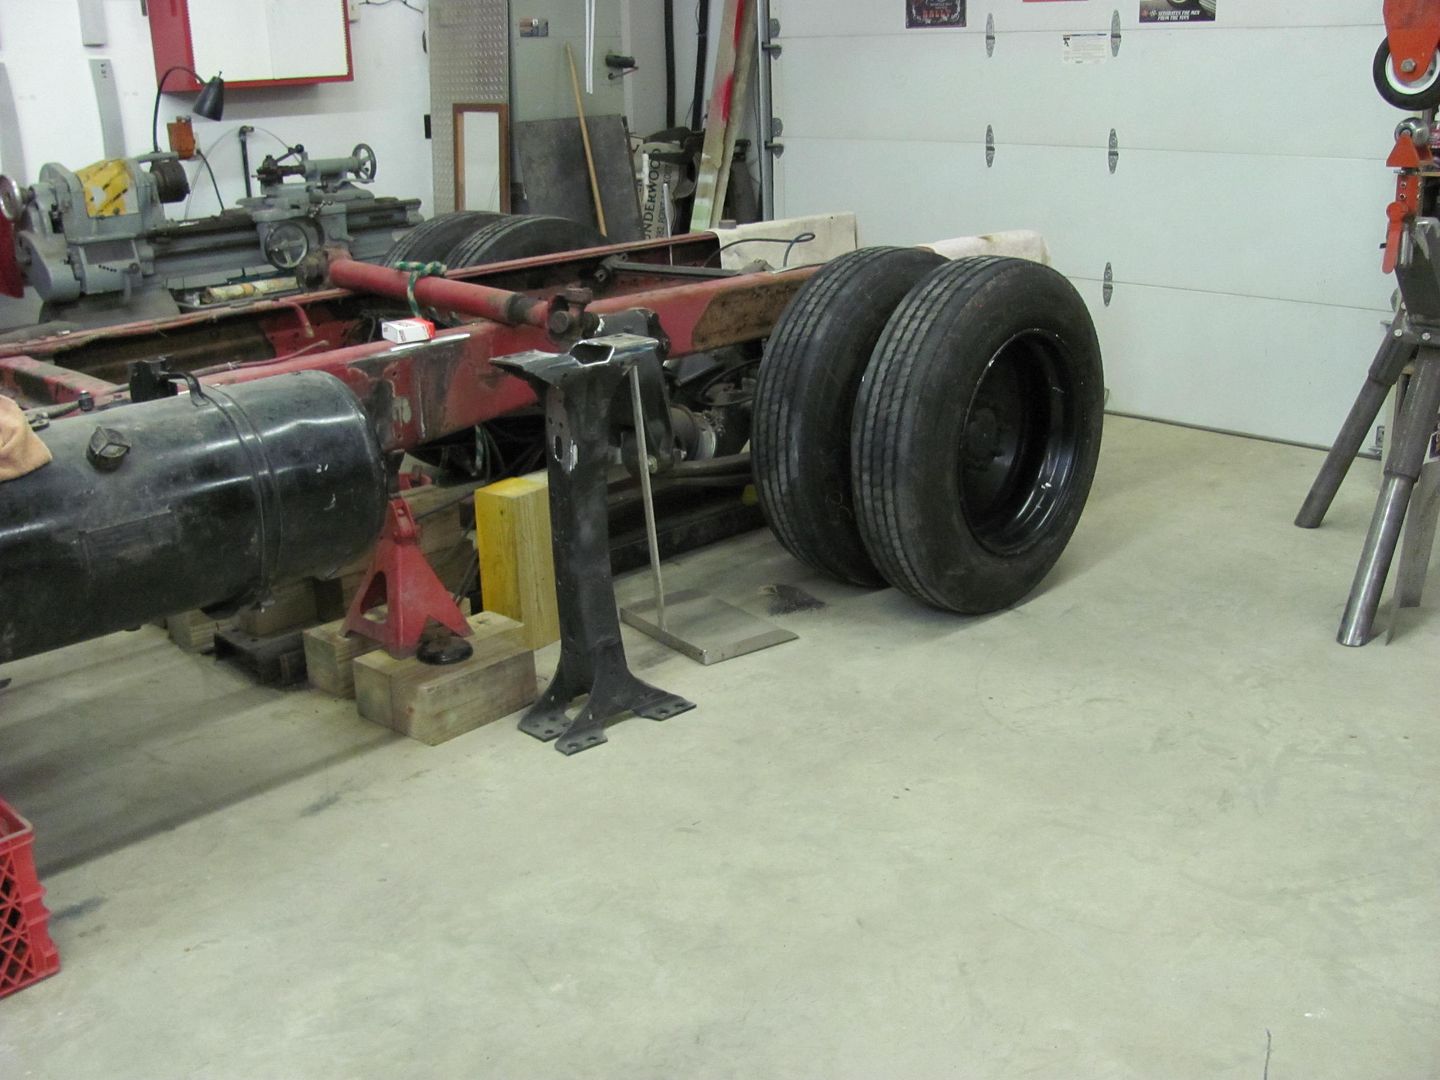
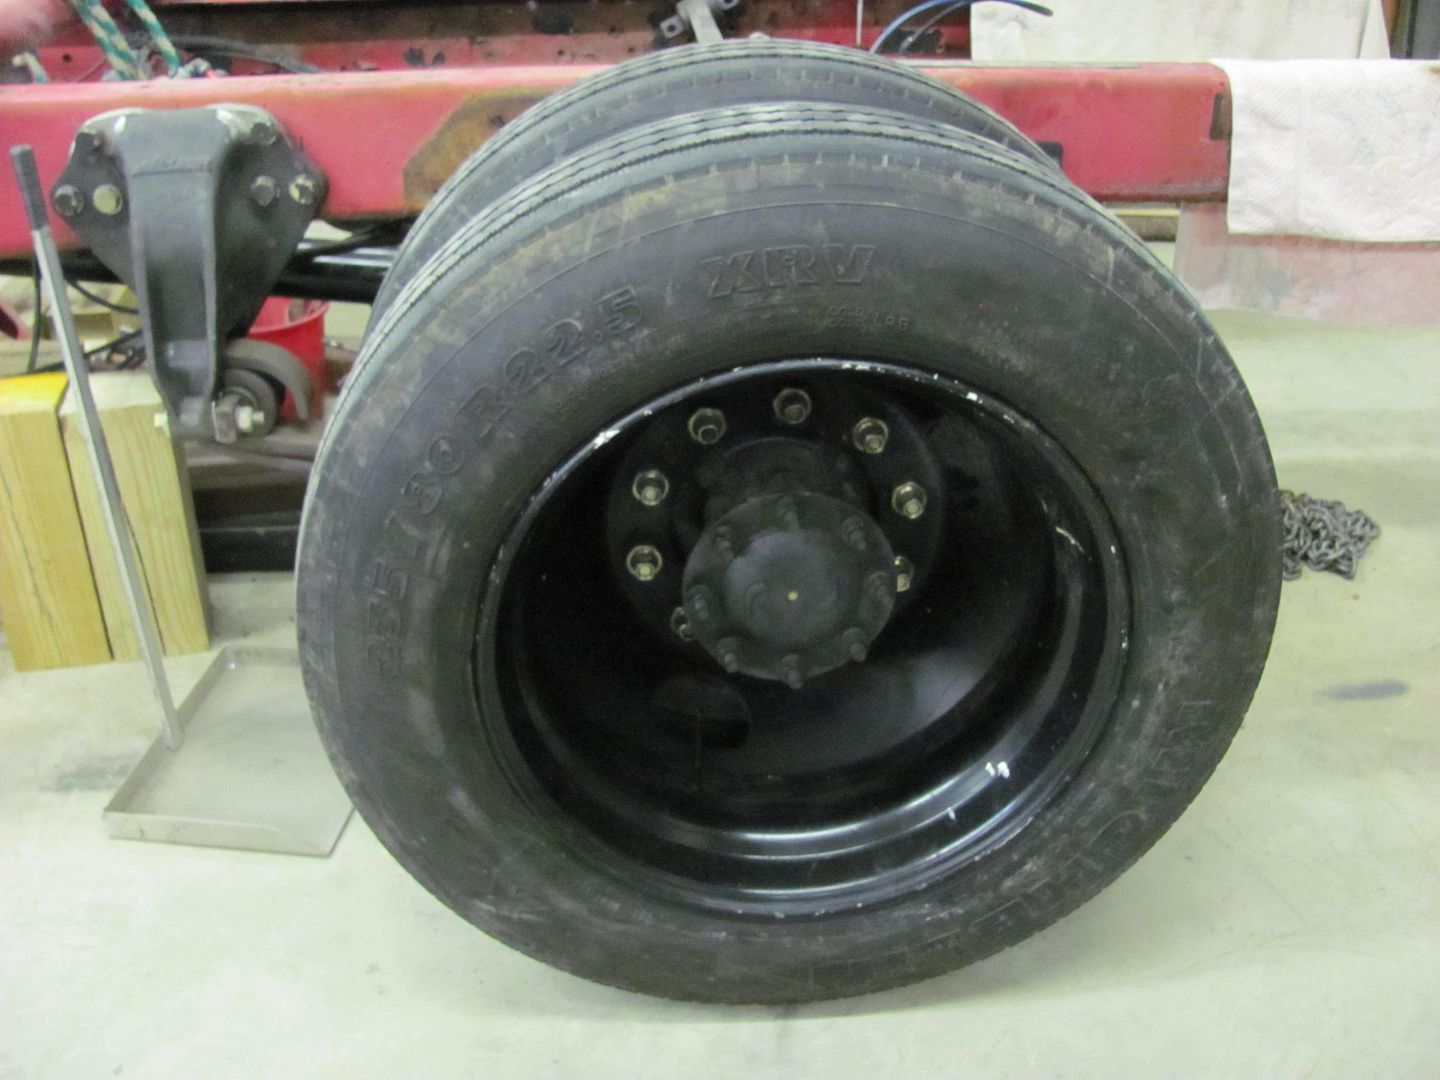
Not much to show but the truck did get some "new" shoes this weekend. I picked up some used RV tires for setup/fitment purpose. I plan on using 255/70R22.5's (eventually) but at about 400+ per tire new, these will fit the bill while finishing the project. Where these are 235/80's, the diameter is close enough to get all the suspensions set up.

#33
04-08-2013, 09:56 PM
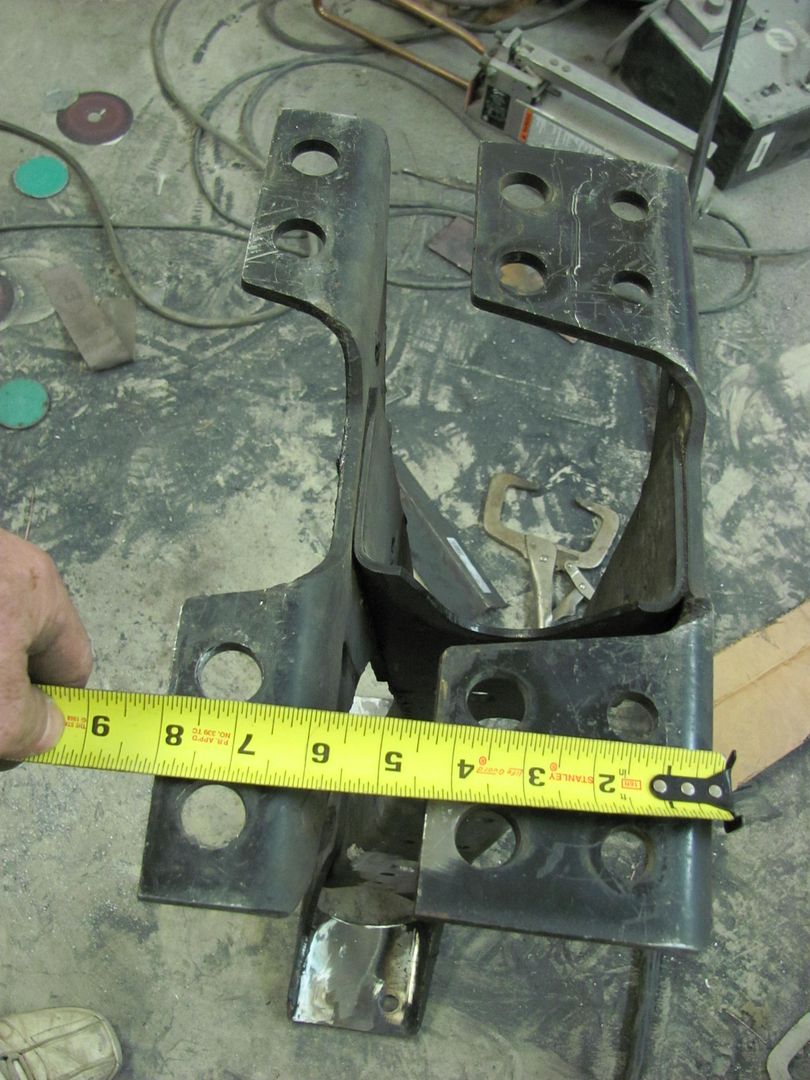
I did get some more accomplished on the shop truck, this is from yesterday evening. The bracket for the passenger side was drilled for the compressed bolt pattern and then the old holes welded in. I learned from the last time, welds are tougher to drill, so weld afterward. Looks like I forgot pics of the final welded up version.....
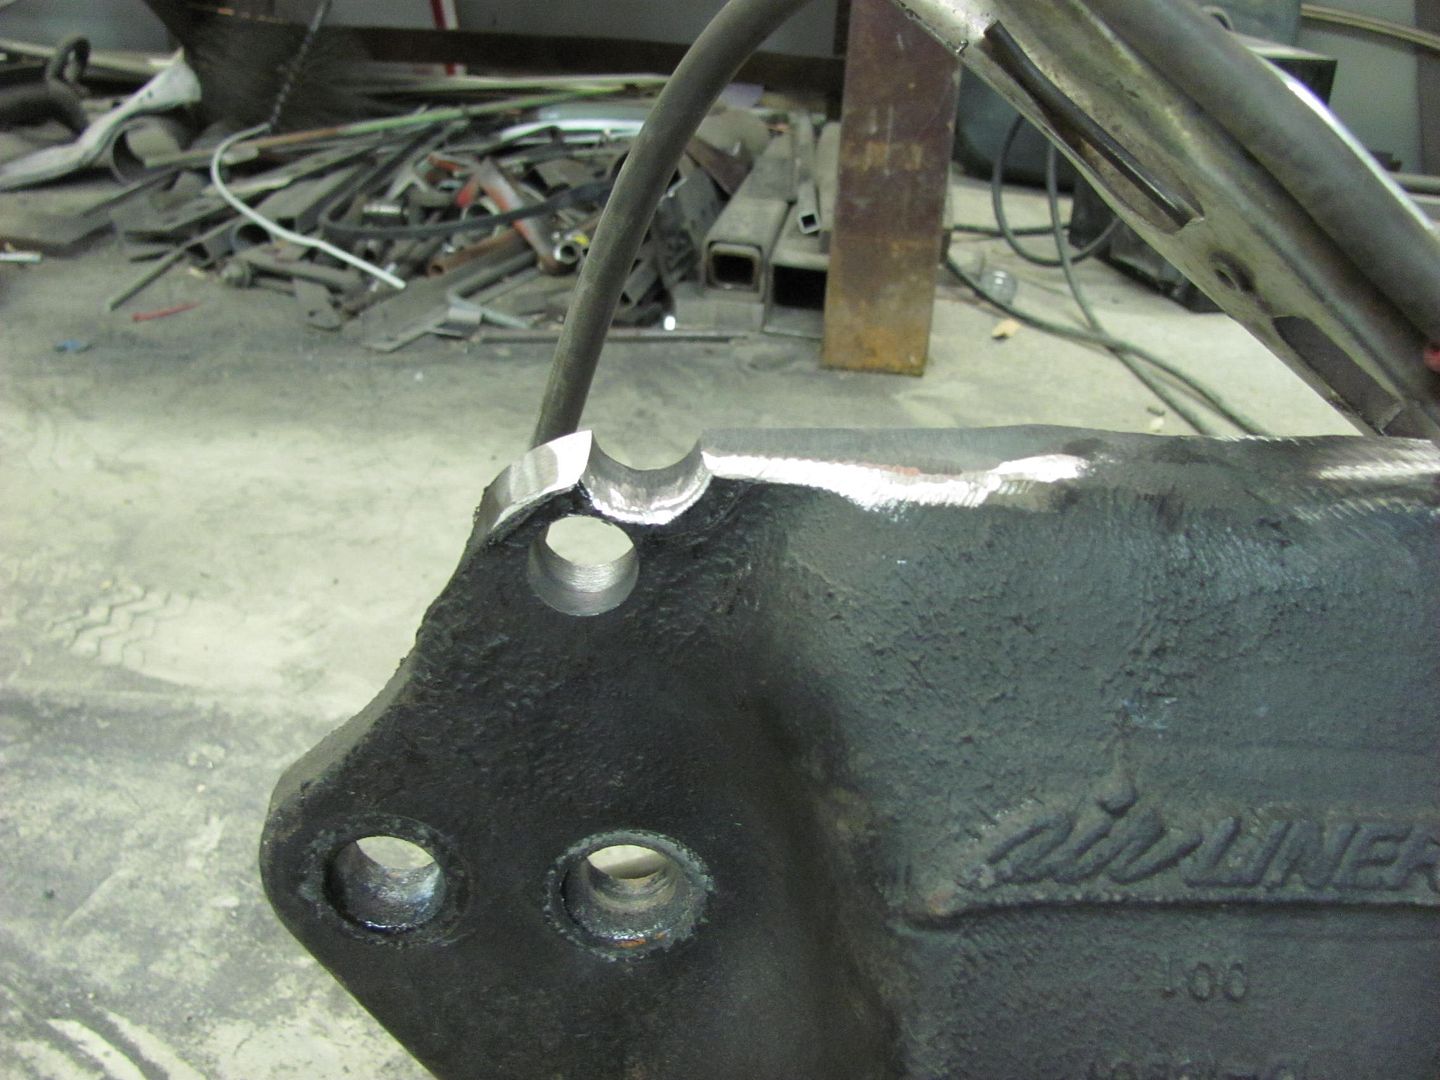
Then, back to the crossmember that bolts between these brackets, the original frame rails on the donor school bus was 11" high, where the factory rails are about 6.. This requires a slight mod to the crossmember, and explains the compressed bolt pattern..

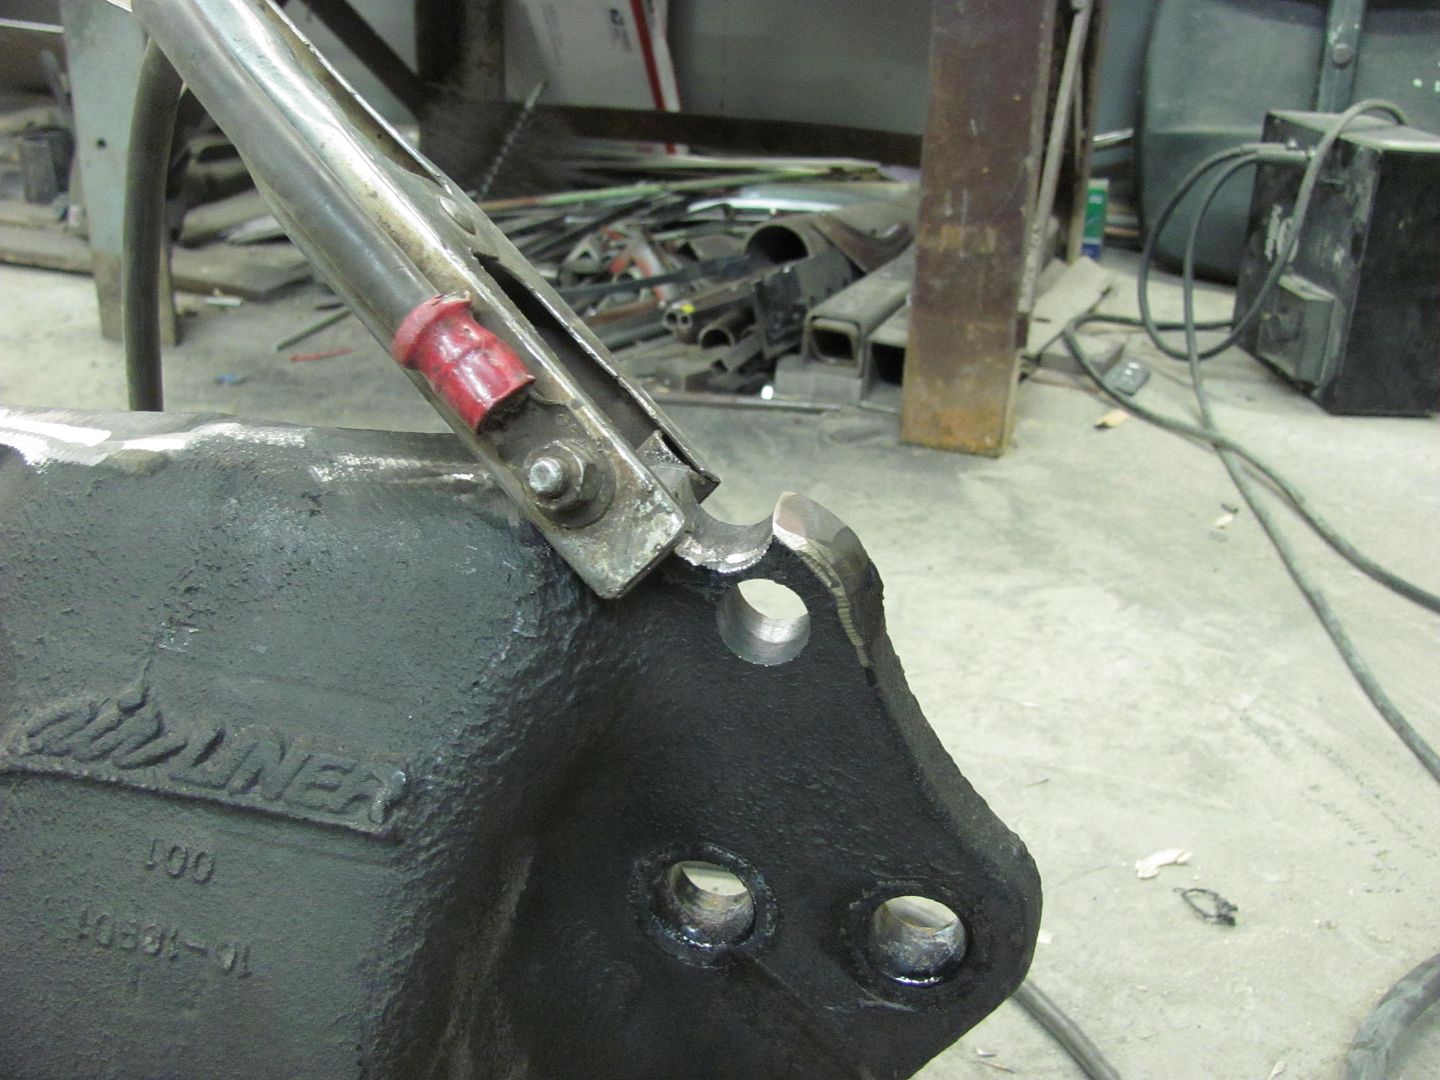
Modifying the final end...here's the cut line....


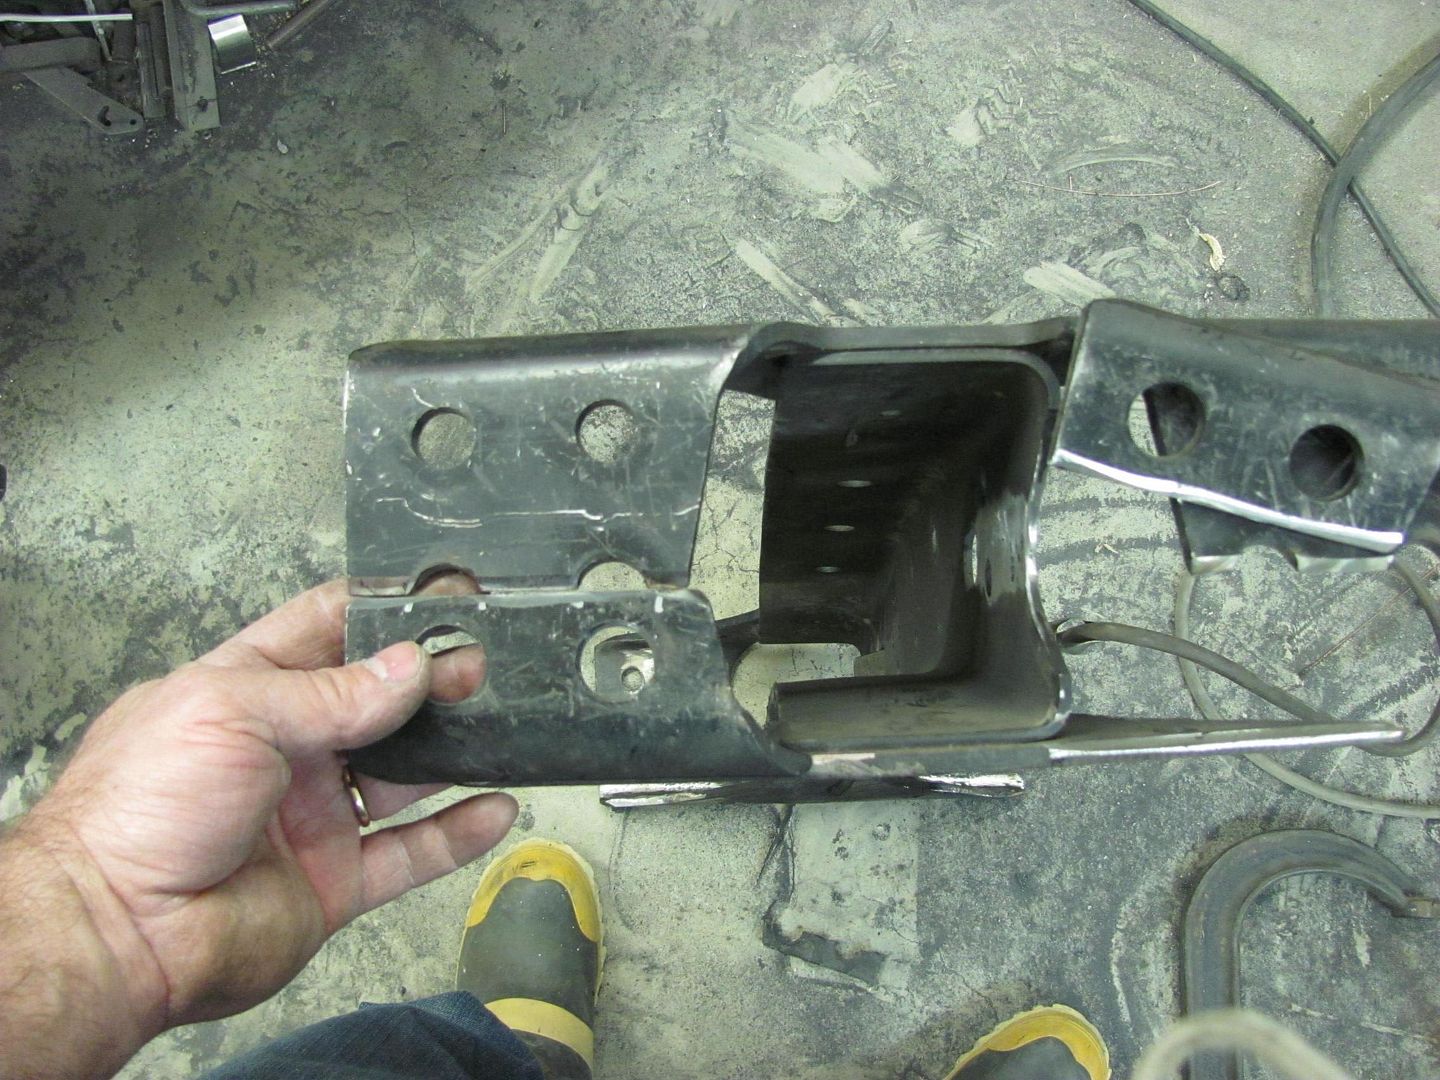
Welded in........


All ready for install.

Then, back to the crossmember that bolts between these brackets, the original frame rails on the donor school bus was 11" high, where the factory rails are about 6.. This requires a slight mod to the crossmember, and explains the compressed bolt pattern..
Modifying the final end...here's the cut line....
Welded in........
All ready for install.
#34
04-08-2013, 09:58 PM
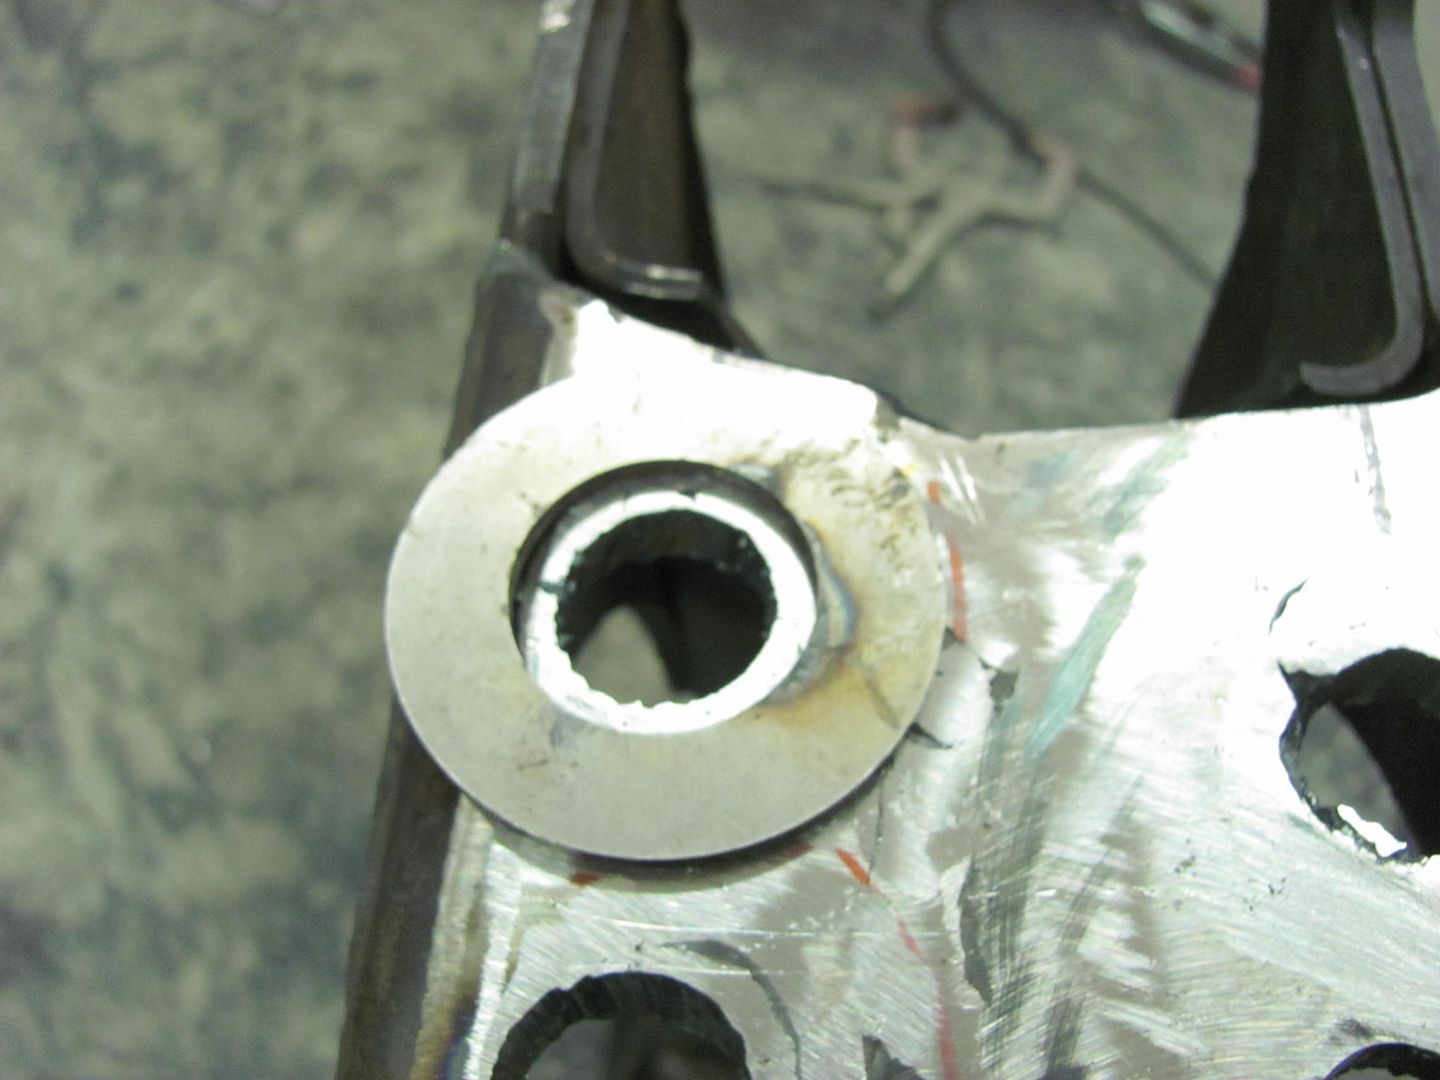
Then tonight, I went to my BIL's and borrowed his plasma cutter to put the new holes in the mounting flanges of the crossmember. After all that welding, drill bits do not play nicely. Holes added....

Used a washer with a 1-1/4 hole, which worked just about right as a template for the plasma torch to provide a 3/4 clearance hole....
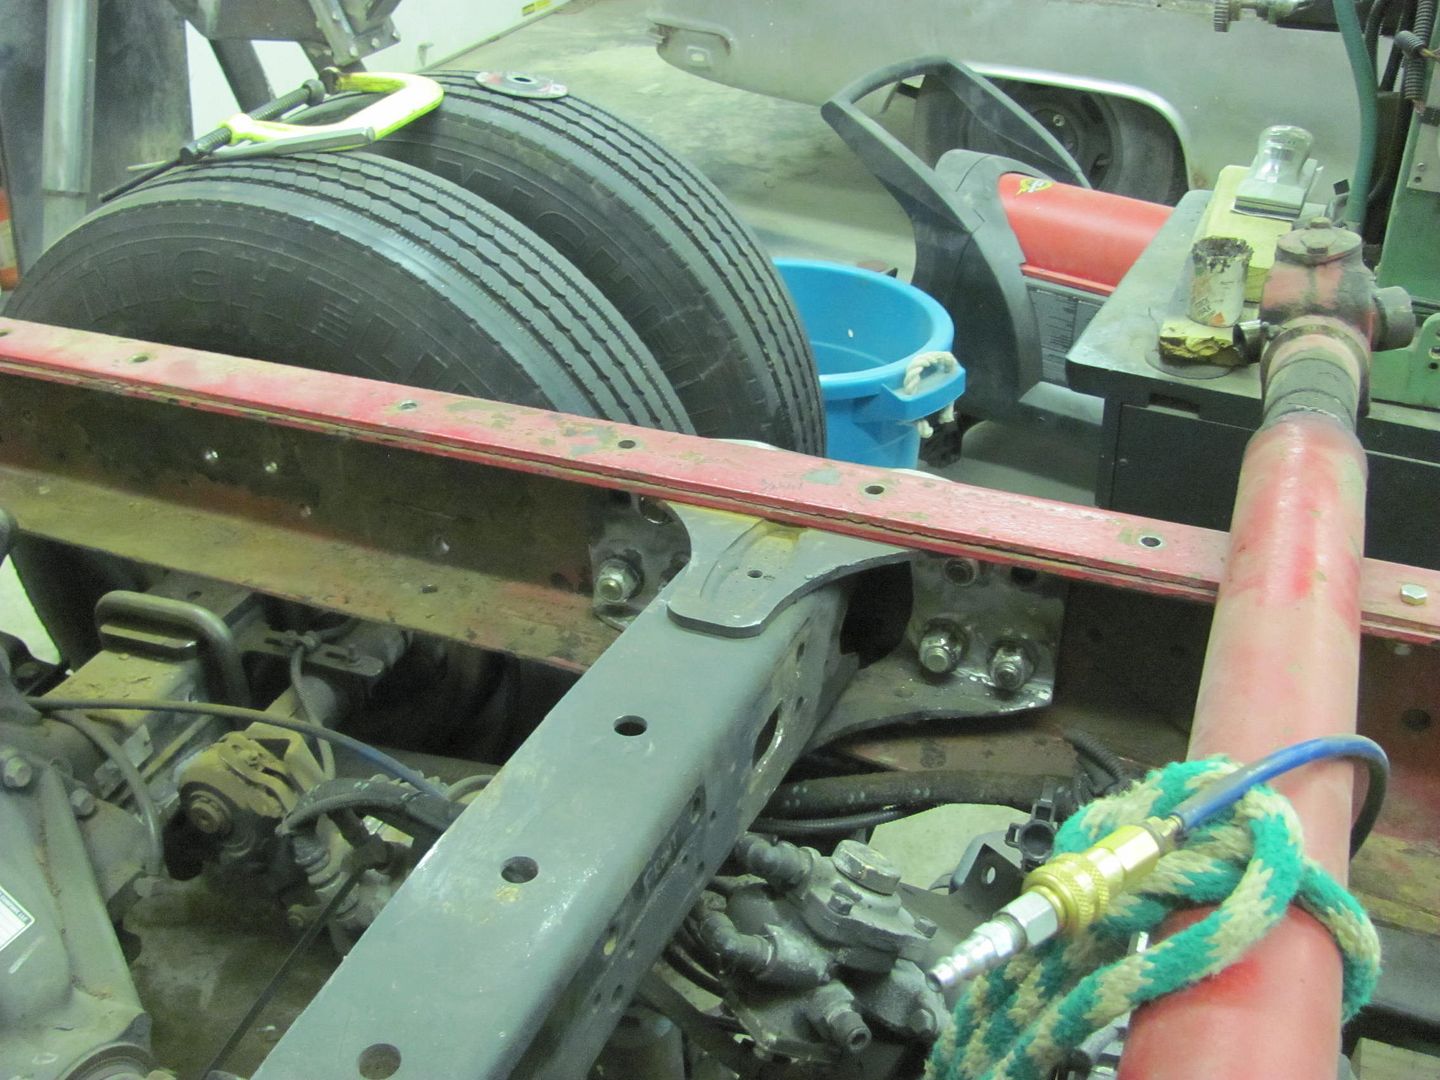
And now some progress you can actually see, the crossmember installed. Still need to lay out and drill the other passenger side.


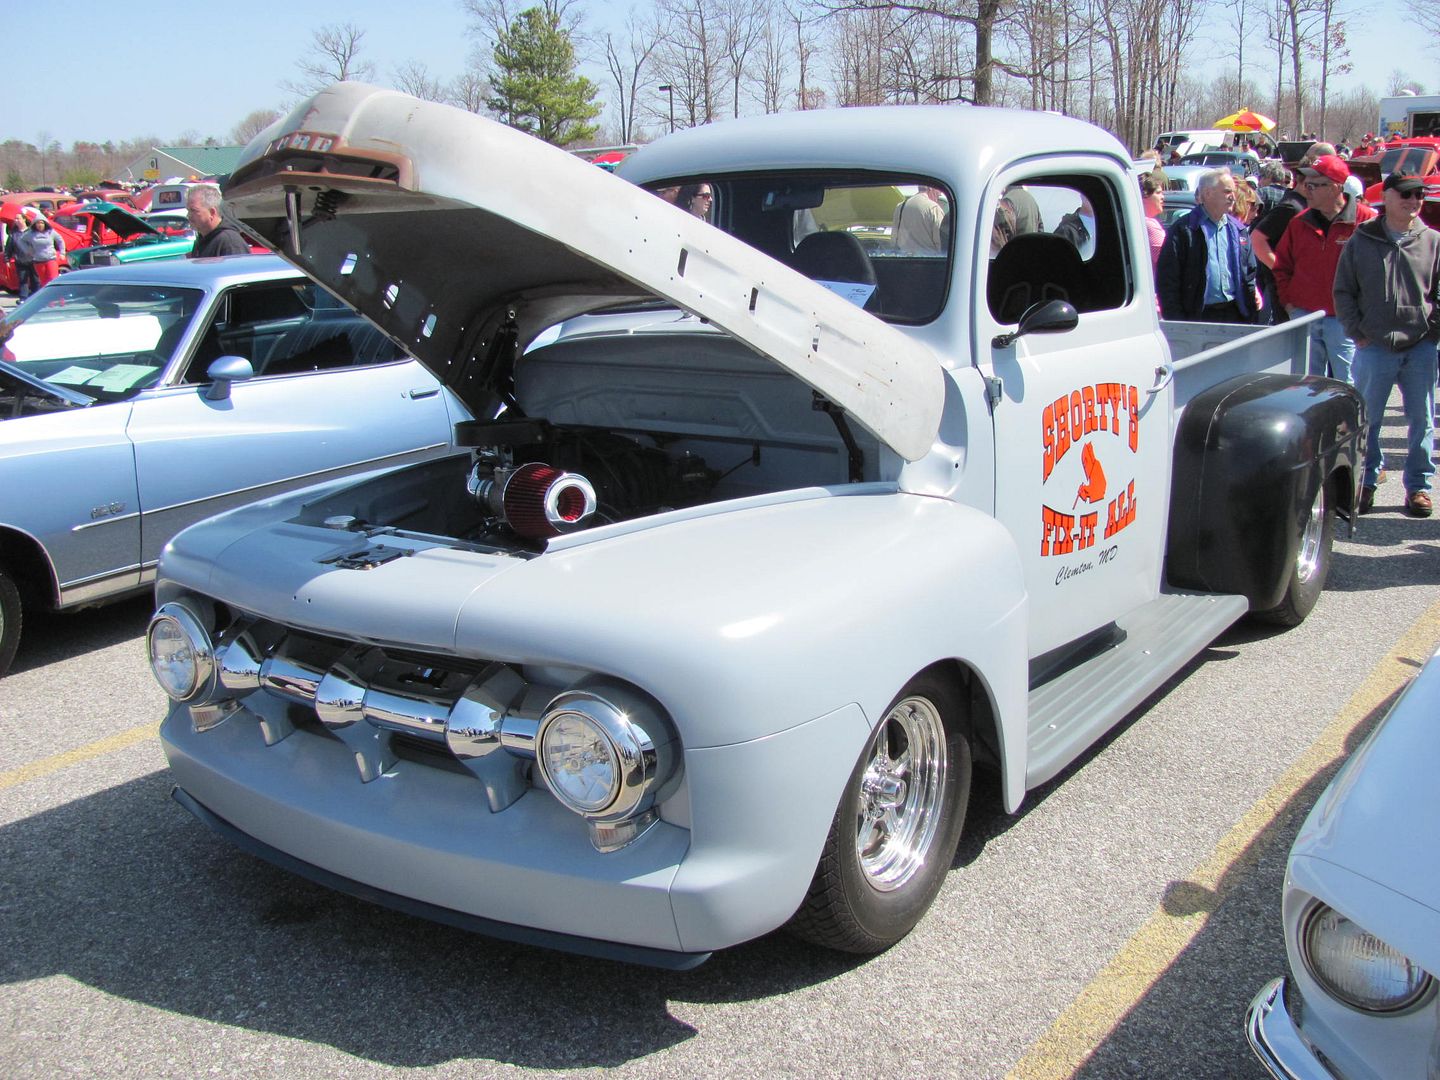
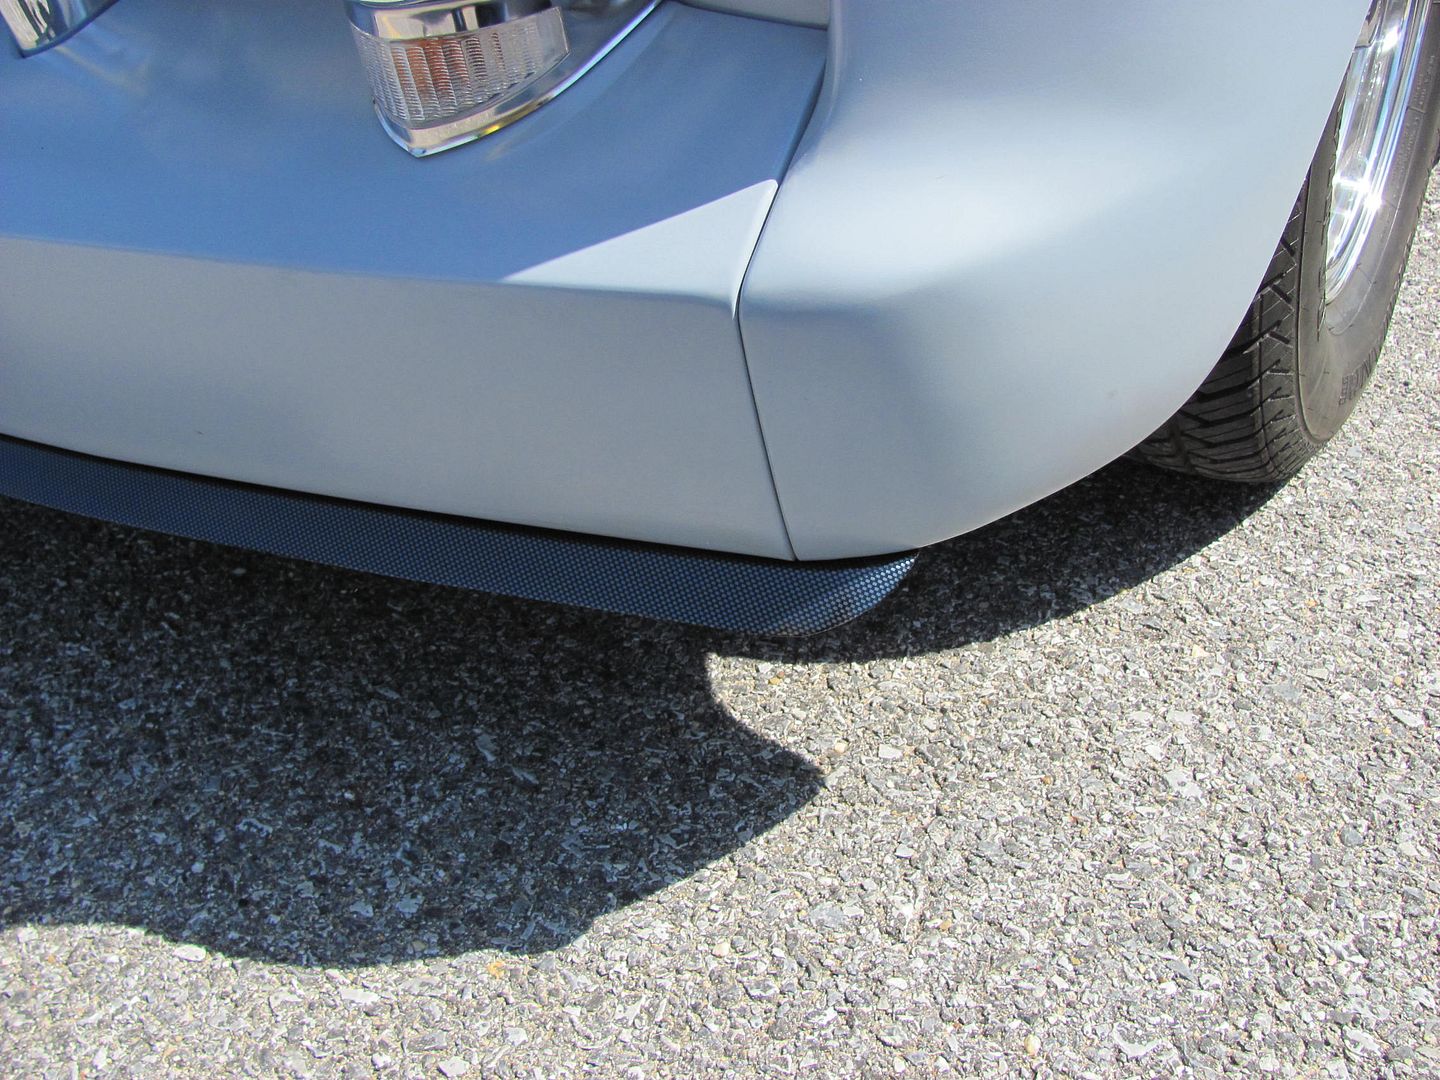
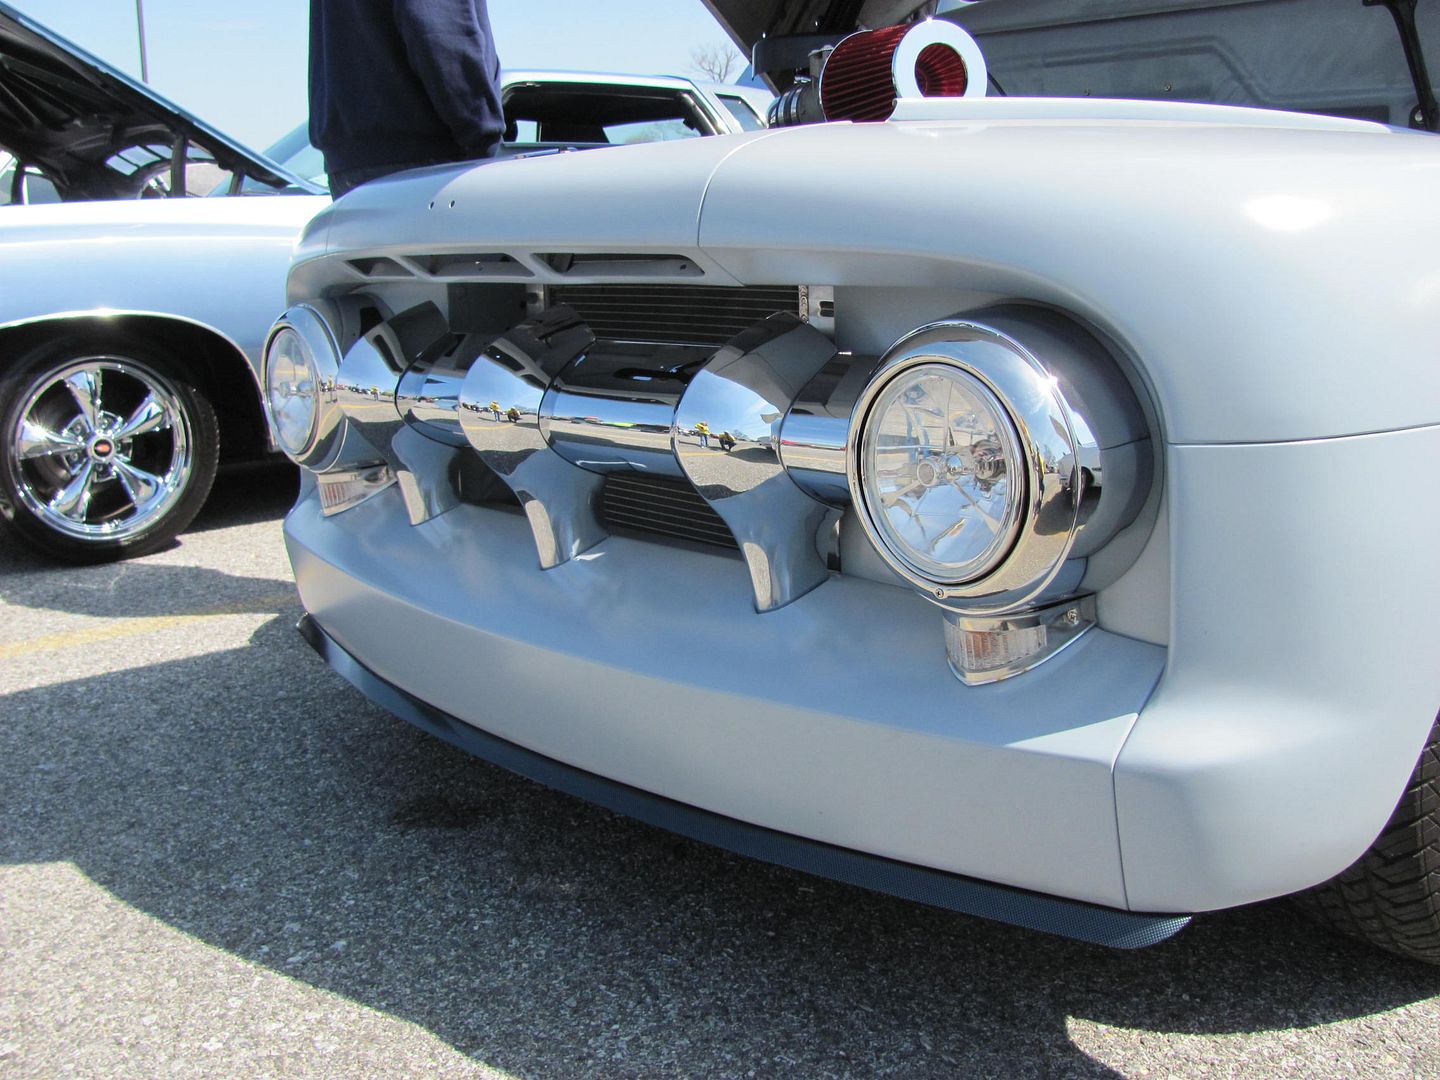
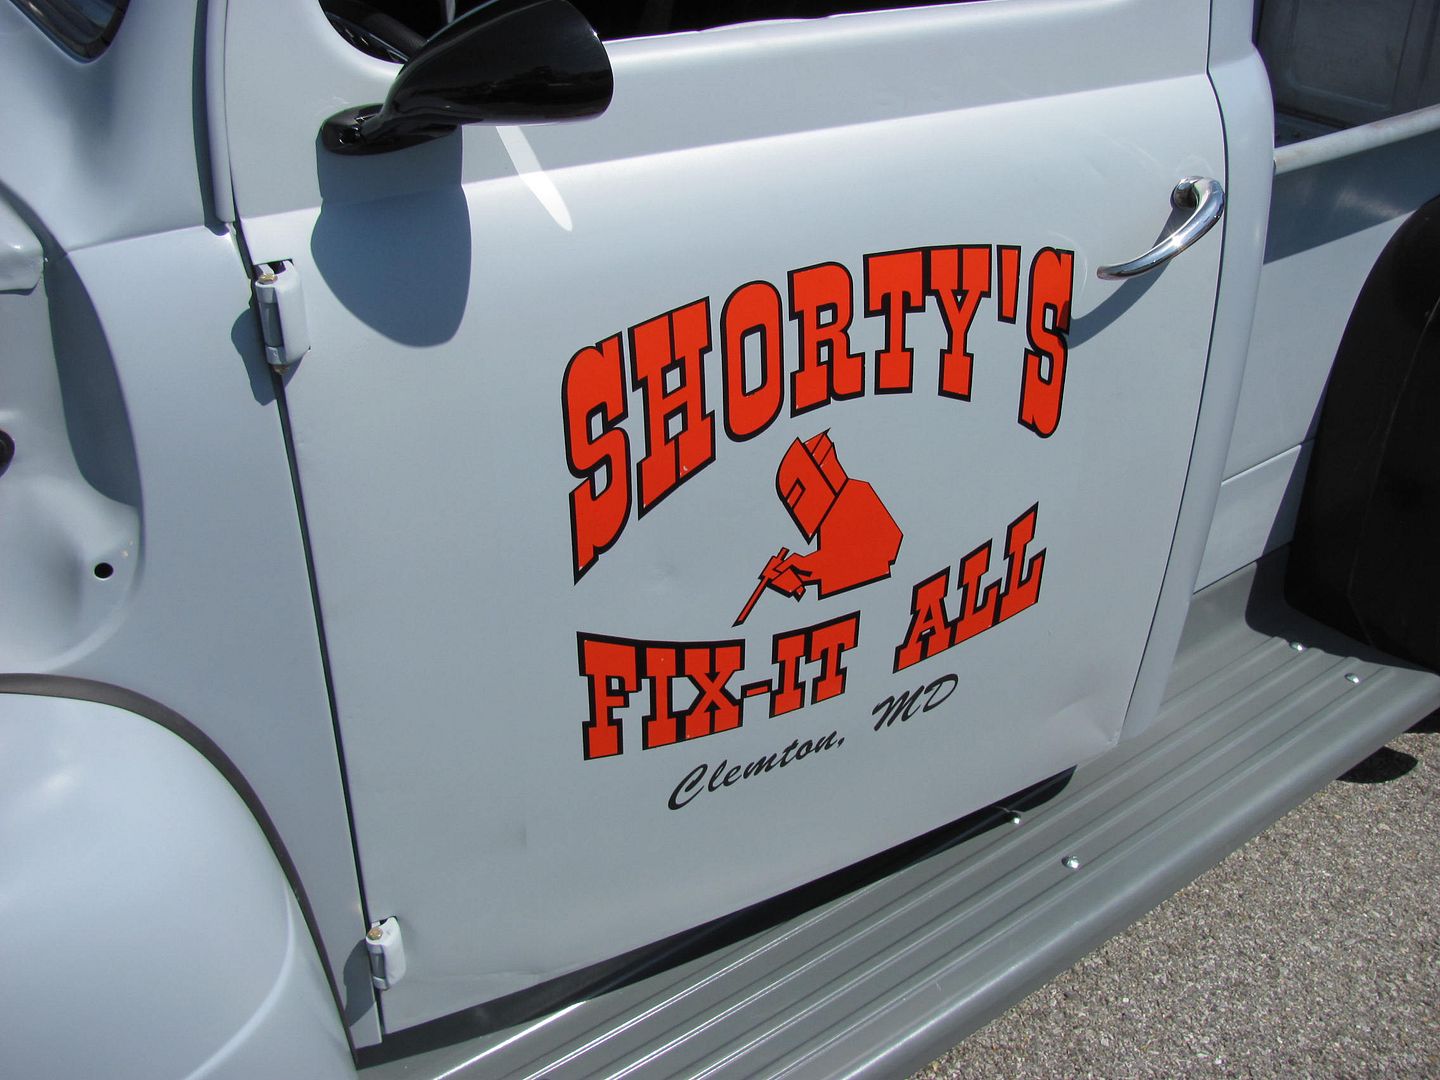
And now, just to show some eye candy, here's a truck that a high school buddy is restoring, it was his father's as we were coming up, and he inherited the truck a few years back when his father passed. He and his brothers have been working the past couple years to get it back together, and this weekend marked the start of its shake-down season...
Used a washer with a 1-1/4 hole, which worked just about right as a template for the plasma torch to provide a 3/4 clearance hole....
And now some progress you can actually see, the crossmember installed. Still need to lay out and drill the other passenger side.
And now, just to show some eye candy, here's a truck that a high school buddy is restoring, it was his father's as we were coming up, and he inherited the truck a few years back when his father passed. He and his brothers have been working the past couple years to get it back together, and this weekend marked the start of its shake-down season...


Thread
Thread Starter
Forum
Replies
Last Post
Dan F-6
1948 - 1956 F1, F100 & Larger F-Series Trucks
78
10-09-2019 09:24 AM
mtorg
1967 - 1972 F-100 & Larger F-Series Trucks
12
03-31-2017 07:05 AM