Receiver hitch "no drilling required"?
#106
 02-09-2013, 09:29 PM


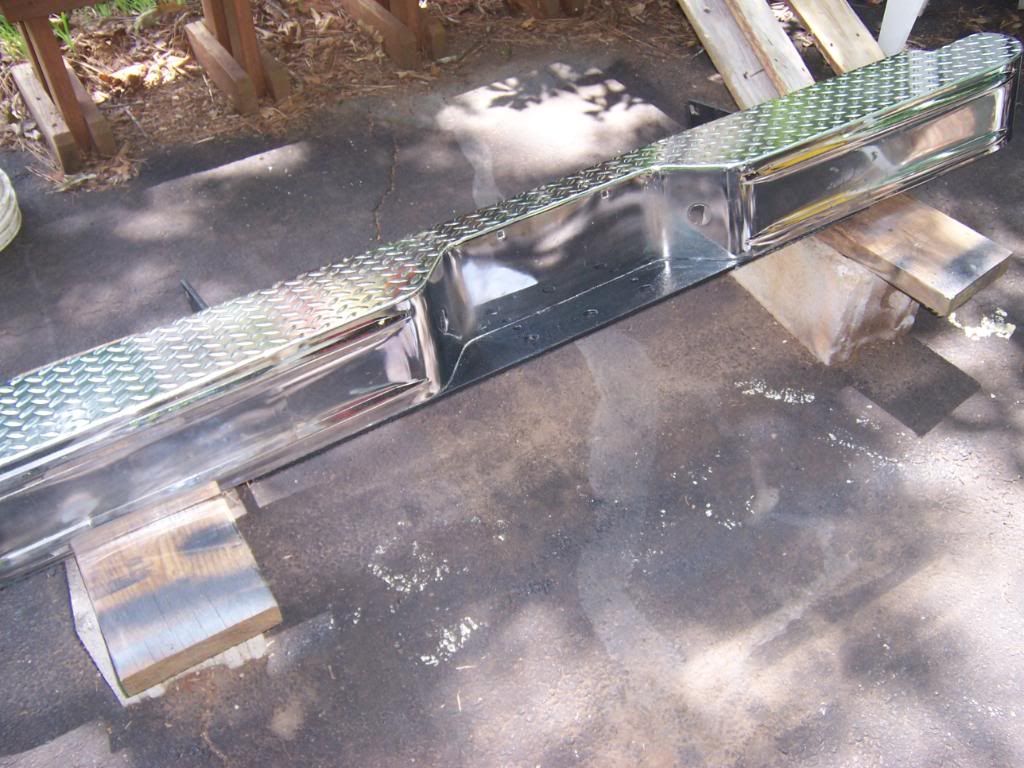
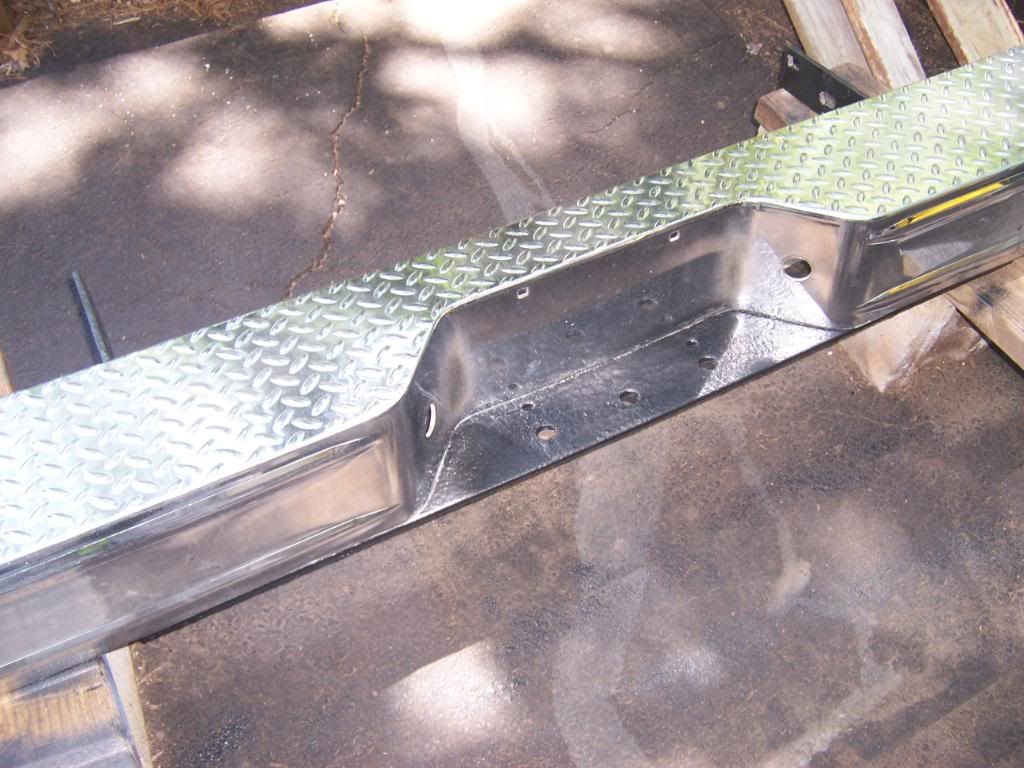
What do I do about the hole in my bumper? There was some (gasp) rust under that ball. Not anymore though (NevR-Dull).
#107
02-09-2013, 09:41 PM
Posting Legend
I see what you mean about the flats. Easy fix. As for the hole, I hadn't thought about it but I have the same problem. I'd bet there are filler plugs that'll go into the hole, which is probably 1". If the parts store doesn't have them I'd think a body shop would or could get them. Something like this: Rick's Automotive Hardware. I just guessed on the 1", but they have other sizes. And you might have to glue it in.
#108
02-09-2013, 09:45 PM
I see what you mean about the flats. Easy fix. As for the hole, I hadn't thought about it but I have the same problem. I'd bet there are filler plugs that'll go into the hole, which is probably 1". If the parts store doesn't have them I'd think a body shop would or could get them. Something like this: Rick's Automotive Hardware. I just guessed on the 1", but they have other sizes. And you might have to glue it in.
#109
02-09-2013, 09:45 PM

I'd bet there are filler plugs that'll go into the hole, which is probably 1". If the parts store doesn't have them I'd think a body shop would or could get them. Something like this: Rick's Automotive Hardware. I just guessed on the 1", but they have other sizes. And you might have to glue it in.

Hardware store might have 'em, too.
#111
02-12-2013, 08:35 AM
#112
02-12-2013, 08:46 AM
Posting Legend
#113
02-13-2013, 03:35 PM
Fleet Owner
That would definitely help the appearance. The step portion looks to be grayish paint. I also thought to maybe cover the step portion (thus hiding the hole) with a trimmed piece of this: Amazon.com: Heavy-Duty 4" x 15" Self-Adhesive Rubber Safety Tread: Home Improvement

#115
02-14-2013, 07:48 AM
This is what I did to my bumper. After cleaning it up real good and getting rid of the rust, I epoxy primed the back and the step where the ball was. Once that was done I used some undercoat spray on both places. I will admit that it is not a show quality look, but the bumper was used when it was given to me by another member on here. It does, however, serve it's purpose well.

#116
02-14-2013, 09:13 AM
Posting Legend
#117
02-14-2013, 10:13 AM
Yeah, mine was kind of rusty too when I got it. It was also bent up a little and I had to beat it back into submission. I also did the same thing to the front bumper. Both of those places seem to collect a lot of mud and road grime (and salt up north) that tend to cause deterioration. I thought it would be just a little preventive maintenance.
#118
02-14-2013, 10:09 PM
Dave, your step bumper looks like it might be the 7" tall variant, as opposed to the 5" tall lighter version that my truck has. Your painting looks good and utilitarian. And Brad, I don't think the adhesive rubber step would look cheap if it was trimmed nicely to fit and didn't peel up at the edges. But I agree that just carefully repainting the step by itself would serve to make mine look better.
#120
02-18-2013, 10:16 AM
Dave, your step bumper looks like it might be the 7" tall variant, as opposed to the 5" tall lighter version that my truck has. Your painting looks good and utilitarian. And Brad, I don't think the adhesive rubber step would look cheap if it was trimmed nicely to fit and didn't peel up at the edges. But I agree that just carefully repainting the step by itself would serve to make mine look better.
Thanks, I got it from someone on here. I can't recall his name at this time, but he lived on the other side of Atlanta from me. He had a bunch of extra stuff left over from his truck rebuild and offered it to me before he hauled it to the dump. I took everything that I thought I might use. I thank him for all of the extra stuff that I he gave me.

Thread
Thread Starter
Forum
Replies
Last Post
pacecar1979
1987 - 1996 F150 & Larger F-Series Trucks
12
12-09-2009 04:52 PM
DieselRunner
Other; Brakes, Electrical, Hitches, Weight Distribution & CDL Discussion
7
07-05-2007 11:07 PM
SoTX yellow
1961 - 1966 F-100 & Larger F-Series Trucks
2
05-19-2004 09:49 PM
Cfidave
Other; Brakes, Electrical, Hitches, Weight Distribution & CDL Discussion
6
05-18-2004 03:20 PM