'54 Panel, Road to recovery
#106
 06-09-2013, 09:04 PM

Join Date: Apr 2009
Location: orange county, ca.
Posts: 746
Likes: 0
Received 0 Likes
on
0 Posts

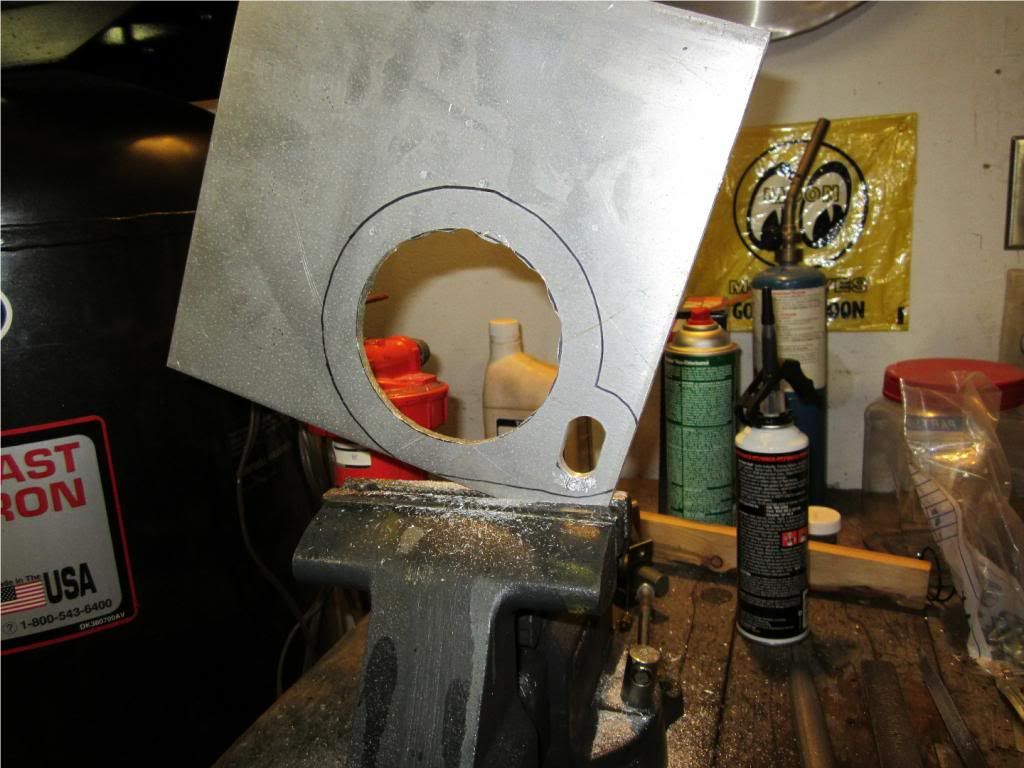
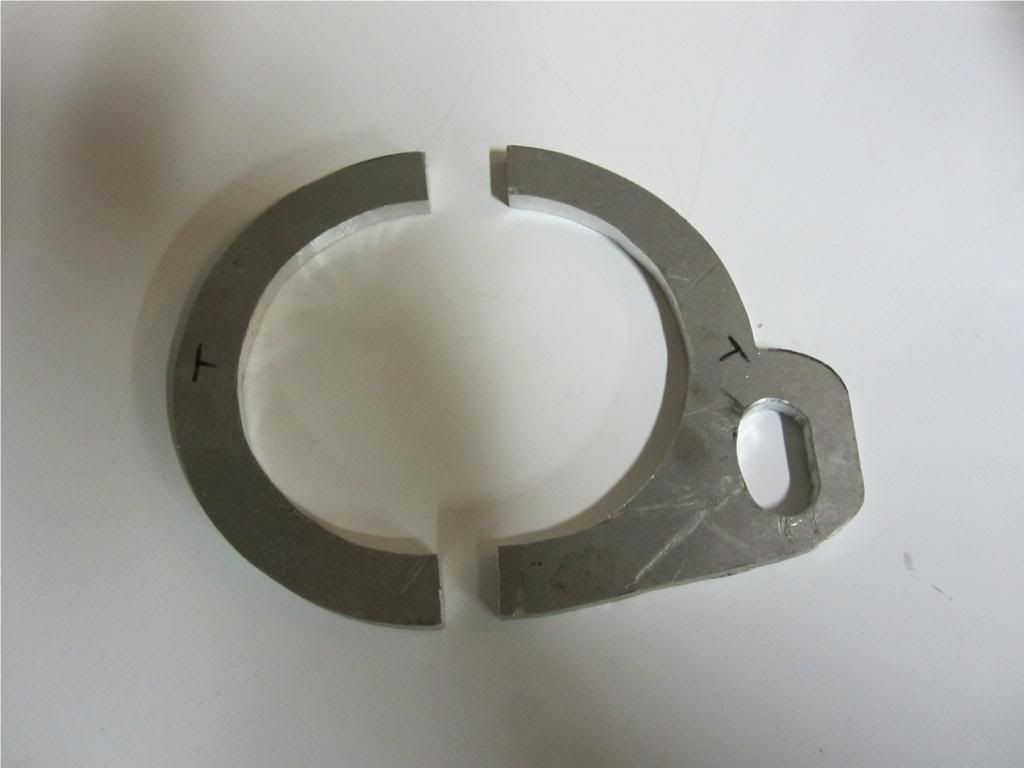
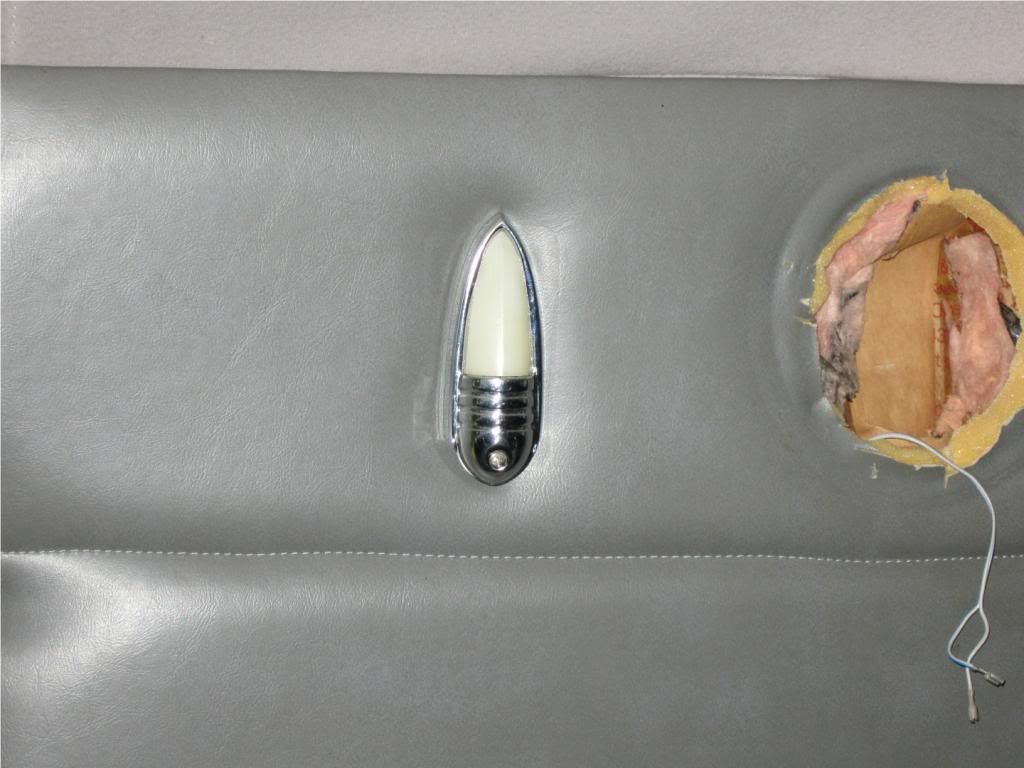
Next step is a trailer hitch, speakers and interior lights.
#107
06-10-2013, 10:27 AM
What keeps the hood pin from rattling out? I'd use a hairpin clip like racers use for their hoods, or a push button quick release pin (I don't know if they come 1/4" diameter check in the specialty hardware drawers at you local DIY store or a farm supply store for a selection of pins and clips)
#108
06-10-2013, 12:40 PM
Join Date: Apr 2009
Location: orange county, ca.
Posts: 746
Likes: 0
Received 0 Likes
on
0 Posts
What keeps the hood pin from rattling out? I'd use a hairpin clip like racers use for their hoods, or a push button quick release pin (I don't know if they come 1/4" diameter check in the specialty hardware drawers at you local DIY store or a farm supply store for a selection of pins and clips)
#109
06-10-2013, 12:54 PM
#110
06-18-2013, 01:17 AM
Join Date: Apr 2009
Location: orange county, ca.
Posts: 746
Likes: 0
Received 0 Likes
on
0 Posts

#111
06-18-2013, 01:20 AM
Join Date: Apr 2009
Location: orange county, ca.
Posts: 746
Likes: 0
Received 0 Likes
on
0 Posts

#113
07-06-2013, 05:29 PM
Join Date: Apr 2009
Location: orange county, ca.
Posts: 746
Likes: 0
Received 0 Likes
on
0 Posts
Getting ready to pull the out of the garage and see if I need to rebuild them. I'm still running the 3.00 now, I figure the 2.47 will be fine around town with the 390 and even better on the freeway.
#114
07-08-2013, 05:10 PM

#116
08-18-2014, 01:18 PM


Just found your build thread. You can tell it is a labor of love for ya. Nice work. Paid particular close attention to the side interior panel, the way it went straight across at the b pillar instead of dipping. A new way for me to look into. Question Is your headliner one pc made with metal bows?
#117
08-19-2014, 12:32 AM
Join Date: Apr 2009
Location: orange county, ca.
Posts: 746
Likes: 0
Received 0 Likes
on
0 Posts
Just found your build thread. You can tell it is a labor of love for ya. Nice work. Paid particular close attention to the side interior panel, the way it went straight across at the b pillar instead of dipping. A new way for me to look into. Question Is your headliner one pc made with metal bows?
The interior was in the panel when I got it, the PO said his friend that did the work was a boat interior builder. It is one piece and looks to be bows, but I'm not sure on how they attached them to the sides.
#118
10-03-2015, 01:54 AM
Join Date: Apr 2009
Location: orange county, ca.
Posts: 746
Likes: 0
Received 0 Likes
on
0 Posts
Been working on the Model A and just got the girlfriend a new car.....1960 Studebaker Lark Wagon, so now working on that too. I need to reseal the intake manifold as both ends are leaking. I did manage to replace the air filter with a regular size one and replaced the cooked oe starter with a mini unit from powermaster.
Now it sounds like an old Dodge when it starts.
Now it sounds like an old Dodge when it starts.

Thread
Thread Starter
Forum
Replies
Last Post
Keystoner16
1968-Present E-Series Van/Cutaway/Chassis
20
11-27-2019 01:19 AM