When you click on links to various merchants on this site and make a purchase, this can result in this site earning a commission. Affiliate programs and affiliations include, but are not limited to, the eBay Partner Network.
Originally when I started reading this thread, I thought to myself 'another big idea that won't get completed...' but you sir have made huge strides. Then I saw that you rebuilt the original master cylinder and I thought to myself 'that's going to suck with the factory brakes and original running gear...' then the crown vic showed up and you got my attention. I also now understand why you bolted the 2 frame sections together instead of welding, this way you could adjust to fit the cabs - also a great methodology. When I first saw that it was spliced together with 3/8" bolts I was dubious.
I got a 2007 P71 Crown Vic over the holidays and plan to do the suspension and power train swap as you did but I am going to keep the automatic transmission. I have put nearly 1000 miles on the cop car and it runs excellent and has plenty of 'jam' especially considering my 53 Merc M-100 weights ~1000 lbs less than the crown vic does. I like the simplicity of the way that you mounted the front end and will likely do something similar. Are you happy with the front end height? Why do you think the driveshaft interfered with the cross member? I haven't heard of people having this issue before but then no many people run the crown vic / 4.6 engine mounts with the front end swap. Do you plan to C-notch the rear? Are you going to run an explorer rear diff or narrow yours or widen your rear fenders?
Olboy, Thanks for the kind words.
Things have been slow the past year or so due to just simply too many projects. I actually worked on the truck a bit today, but nothing to really show or talk about.
I suspect the interference I had with the cross member is due to my transmission choice, coupled with the height I set the cv suspension in the 56 suspension.
The truck is currently sitting on a explorer disc rear end. Right now no C notch is in the plans. But once its a running driving vehicle I may decide to put in the four link I was planning on. At that point the c notch will be required.
As you can see there are some reinforcements on the original fenders that were not duplicated on the aftermarket duplicates.
You will also come to find that all the bolt holes don't line up. That the pieces may be slightly different than your originals. That they are much thinner than the stock pieces.
marked them using the original fenders I already cut as a template and cut out the openings for the crown vic suspension.
started installing the dieted crown vic wiring harness.
bolted both sets of harness' together at the firewall.
then ran them under the dash to start routing them.
Hung the fuse panel in approximately its new location
Ran all these under the dash to the center and over to the passenger side kick as needed.
The wiring that will be heading to the back of the truck for things like window switches, tail light wiring, fuel pump, etc were all ran to the center of the dash so it could be hidden under the center console and dropped thru the floor.
Made a simple bracket for the fuel line an fitting to mount to the chassis. Cut a section of fuel line. installed the an fittings and ran the line to the fuel rail.
Ran the wiring for the lights, horn, electric fan, and other components down the inner fender and up around it.
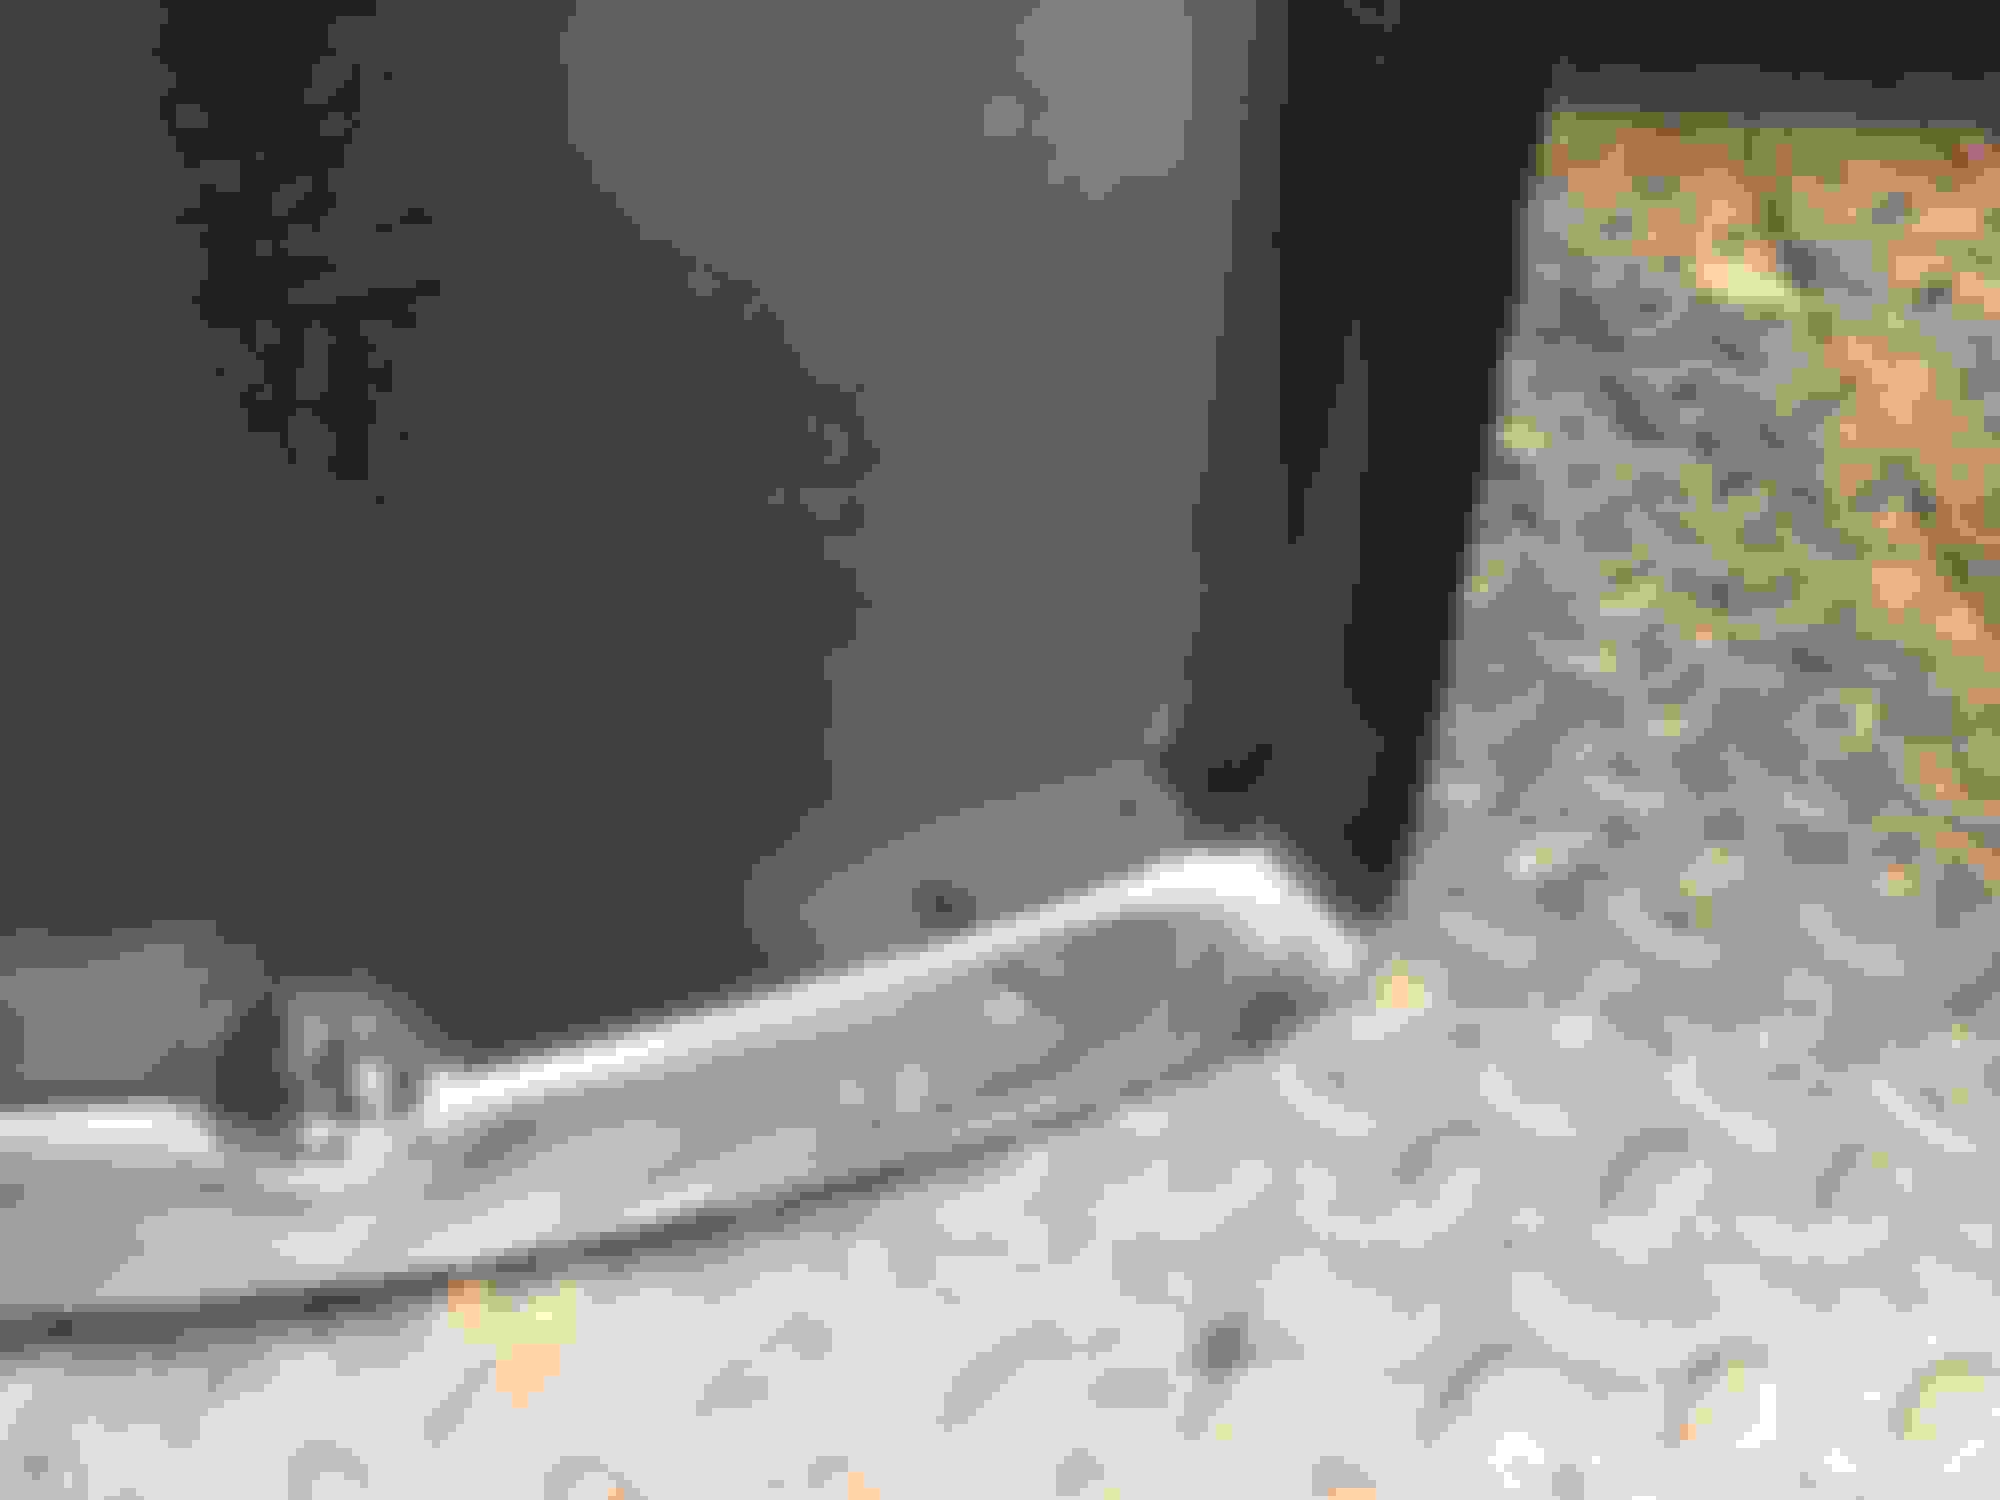
I cannot remember what the hell bolts to the lowest hole on the inner fender.
Can some one post a picture?
wires run high up under inner fender.
Had to make a transition from inside the inner fender to across the front of the truck. I didn't want to see any wires behind the grill other than needed wires. so...
I cut a hole at the bottom of the inner fender where the front cross member is. This area will be covered with the new radiator support hanger bracket.
wires run thru hole heading to passenger side mirrored hole.
Under hood fuse panel will go on passenger fender. Just have to decide where.
On your inner fender lower rear mounting holes. I believe on the 53-55's, the bracket that you have the upper bolt mounted to extends down to the lower bolt hole too. I'm not sure how it was on the 56's. It's been almost 10 years since I had one.


 01-08-2018, 04:45 PM