When you click on links to various merchants on this site and make a purchase, this can result in this site earning a commission. Affiliate programs and affiliations include, but are not limited to, the eBay Partner Network.
I highly recommend Inline Tube; they sell several common kits for these trucks. I used their custom duplication service for another project, and the serivice was phenomenal.
I highly recommend Inline Tube; they sell several common kits for these trucks. I used their custom duplication service for another project, and the serivice was phenomenal.
not sure I'm following, are you talking about the straight tubing you get from autozone and bending it yourself?
No - there's a company whose name is Inline Tube. They sell many sets for these trucks. They also have a service where you send in your original lines, and they duplicate them with new lines. This is handy for custom or hard-to-find applications. Because of my positive experience with Inline Tube, I'd see if they have what you're looking for.
I also used Inline Tube for all the hard lines on my project, a '73 F100.
I had the brake, fuel, trans. and emission lines done in stainless steel.
I couldn't have been more pleased with the fit and quality of the lines.
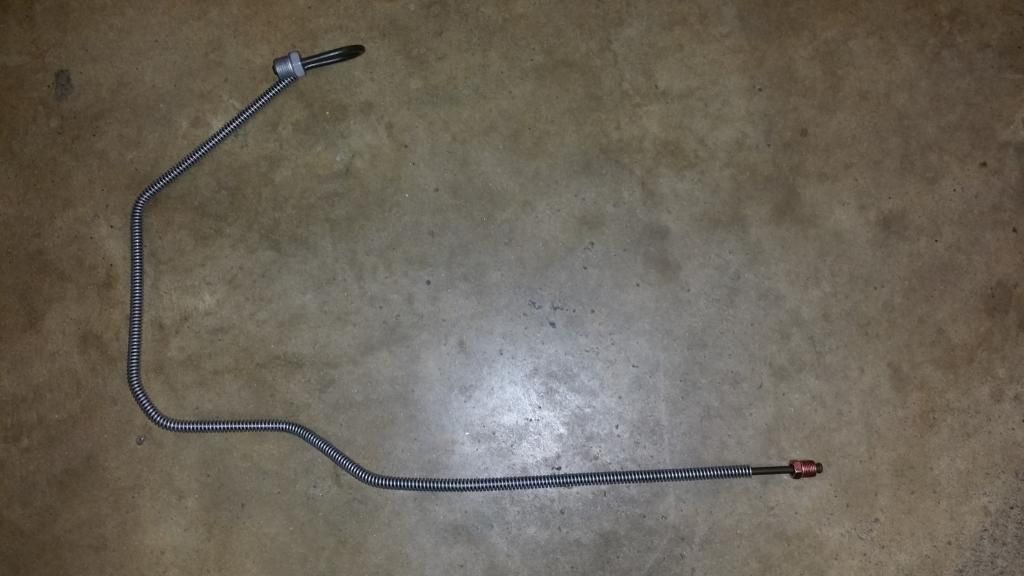
Two of the lines, the fuel and emission lines, that run along the frame are very long. These come with 180 degree "shipping bends" in them to reduce shipping costs. Clearly marked and easily straightened.
I couldn't recomend them more highly.
It was a couple of years ago but IIRC everything including shipping was around $600.00.
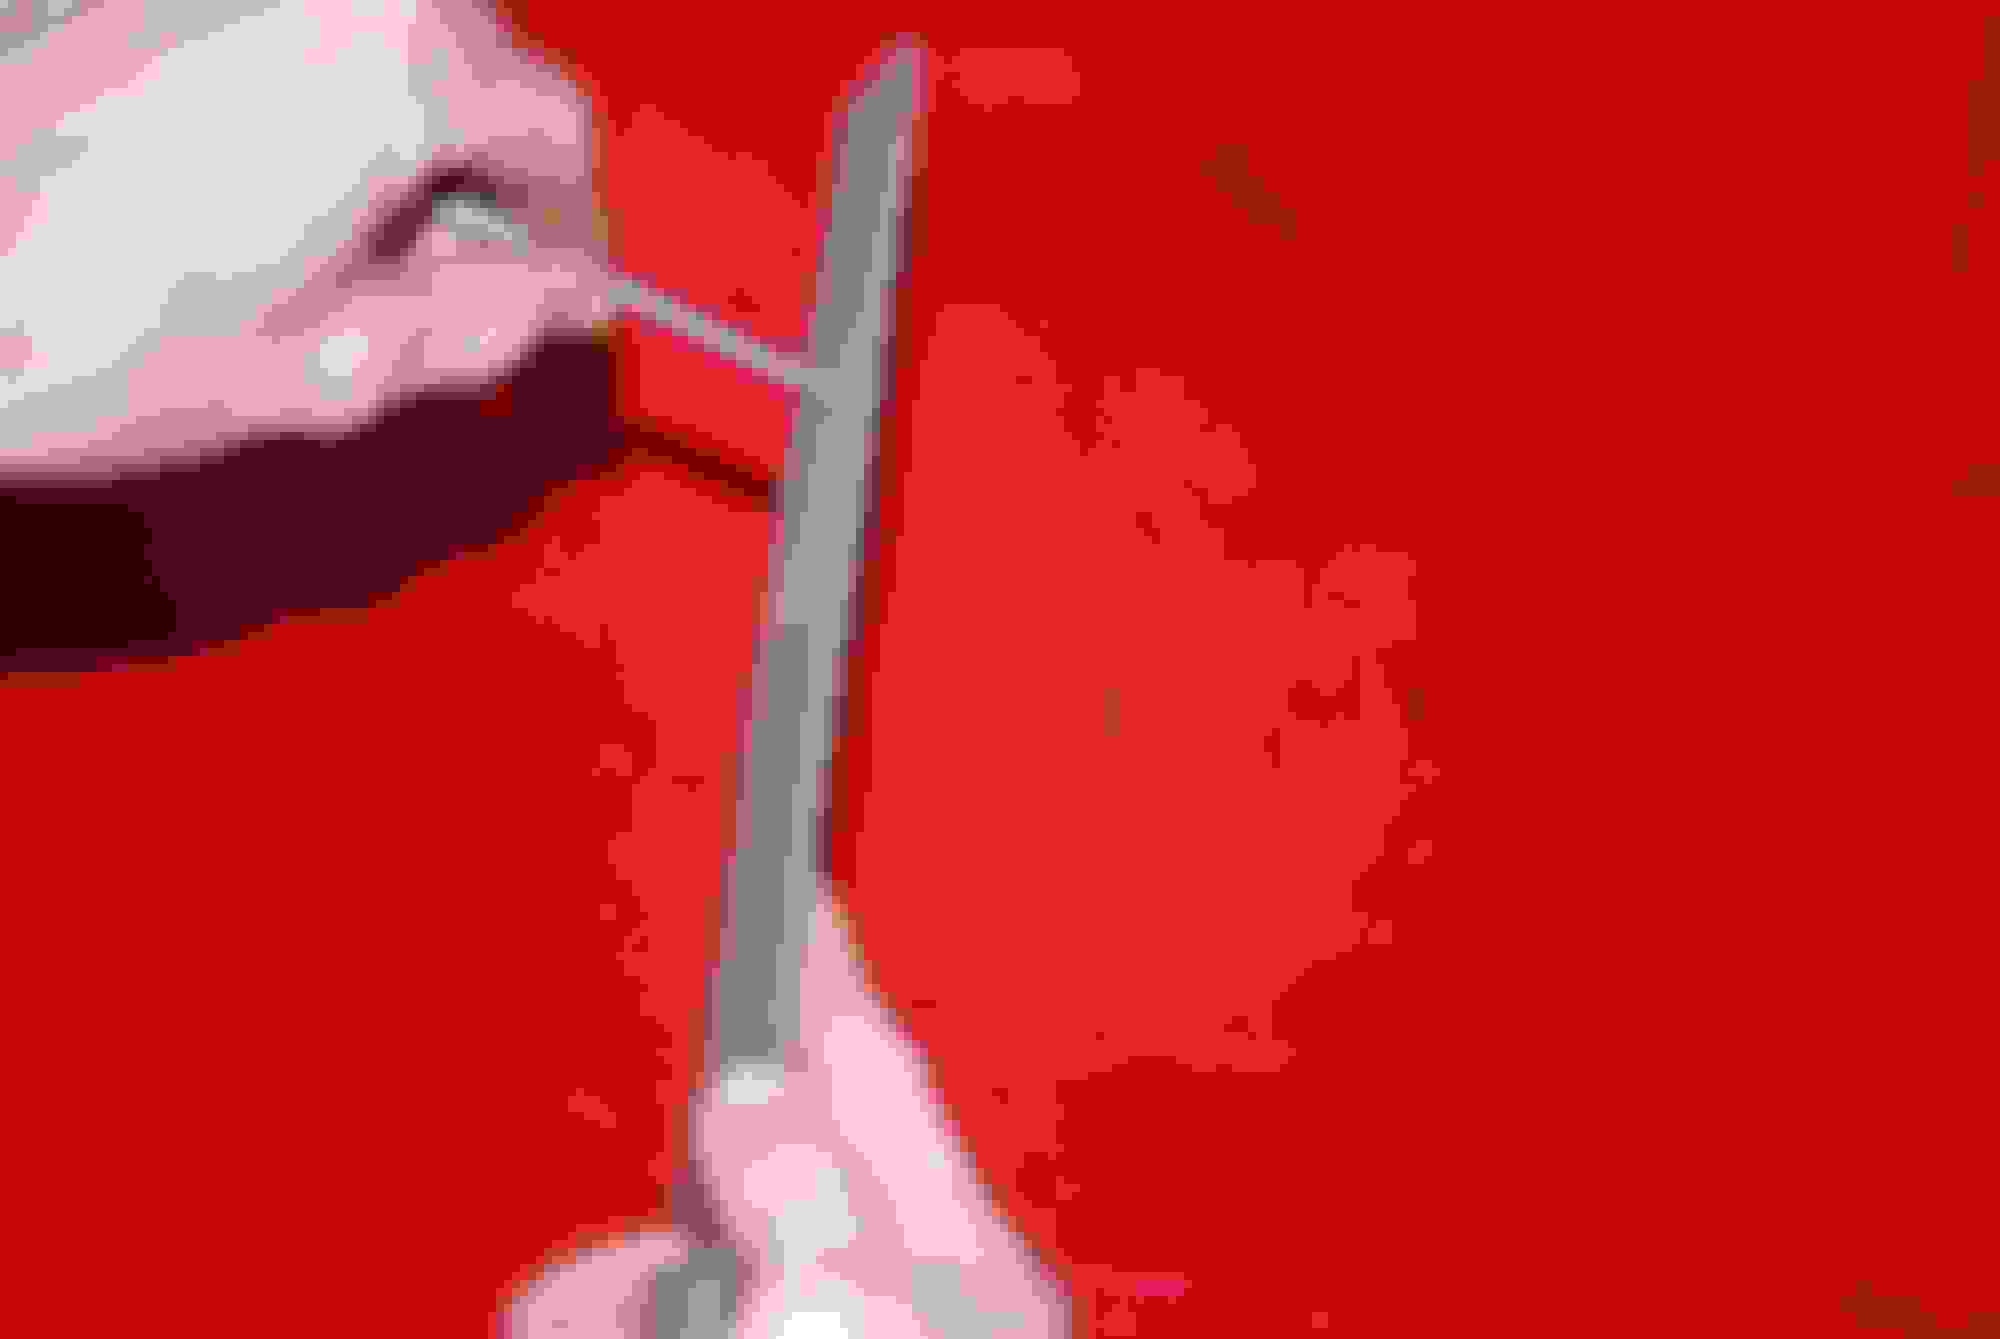
Here are a couple of pictures of the lines before and after installation.
Is it really cost effective to buy the prebent lines vs. bending and flaring your own? I'm getting to the point in my project where I need to figure out what I want to do with the lines. Definaly looking into the Inline Tube and have only heard good things.
It's of course much cheaper to buy bulk line and bend/flare your own, but I think it's very difficult to get a good double flare by hand with most flare tools. It's even harder to get a smooth barb on a fuel line by hand. Not to mention the fact that it takes a lot of trial and error to get the bend right. Nothing is more frustrating then having a line almost done, only to make that last bend incorrectly. Inline Tube's are all done on the computer. Considering all the labor and effort involved, I think it's much better to buy the lines as a kit, than make your own.
If you don't care how it looks, then it's more straightforward to do it yourself with the pre-flared straight lines at the store.
I bought pre-bent fuel lines from Bronco graveyard and they came in a box that said Inline tube so I'm guessing bronco graveyard and LMC get there lines from inline.
I bent my own brake lines and I'm 18 years old and it took maybe 2 hours, its nice because you can bend them the way you want them. IT cost around 20-30 for regular steel lines from the parts store and then I rented the double flaring kit and tubing bender.
Pre-bent lines are based on a vehicle with all OEM brake components and no deviation from the way it came from the factory. If you've changed things up (anything), the prefabbed lines aren't going to line up with the ports/connections on the components.
If you make you're own lines though, it doesn't matter what components you have or where you have them located, you can fabricate the lines custom to your specific application.
My truck is a '69 F100 Ranger. No pre-'73 F100 came from the factory with disc brakes. My truck also had manual brakes. I have a '77 F100 disc brake front suspension, '75 F350 dual diaphragm brake booster, an '84 Ford truck brake valve that I mounted on top of the Saginaw PS gear box and I have a 'modern' MC for a '95 Ford Explorer with metric ISO bubble flare ports.
There are no aftermarket prefabbed lines that would come anywhere close to working with this arrangement. --that's ok. I have my own flaring tools and tubing benders so, I didn't need any prefabbed lines.
Quality flaring and bending tools will produce much better and consistent flares and bends than cheap tools will.
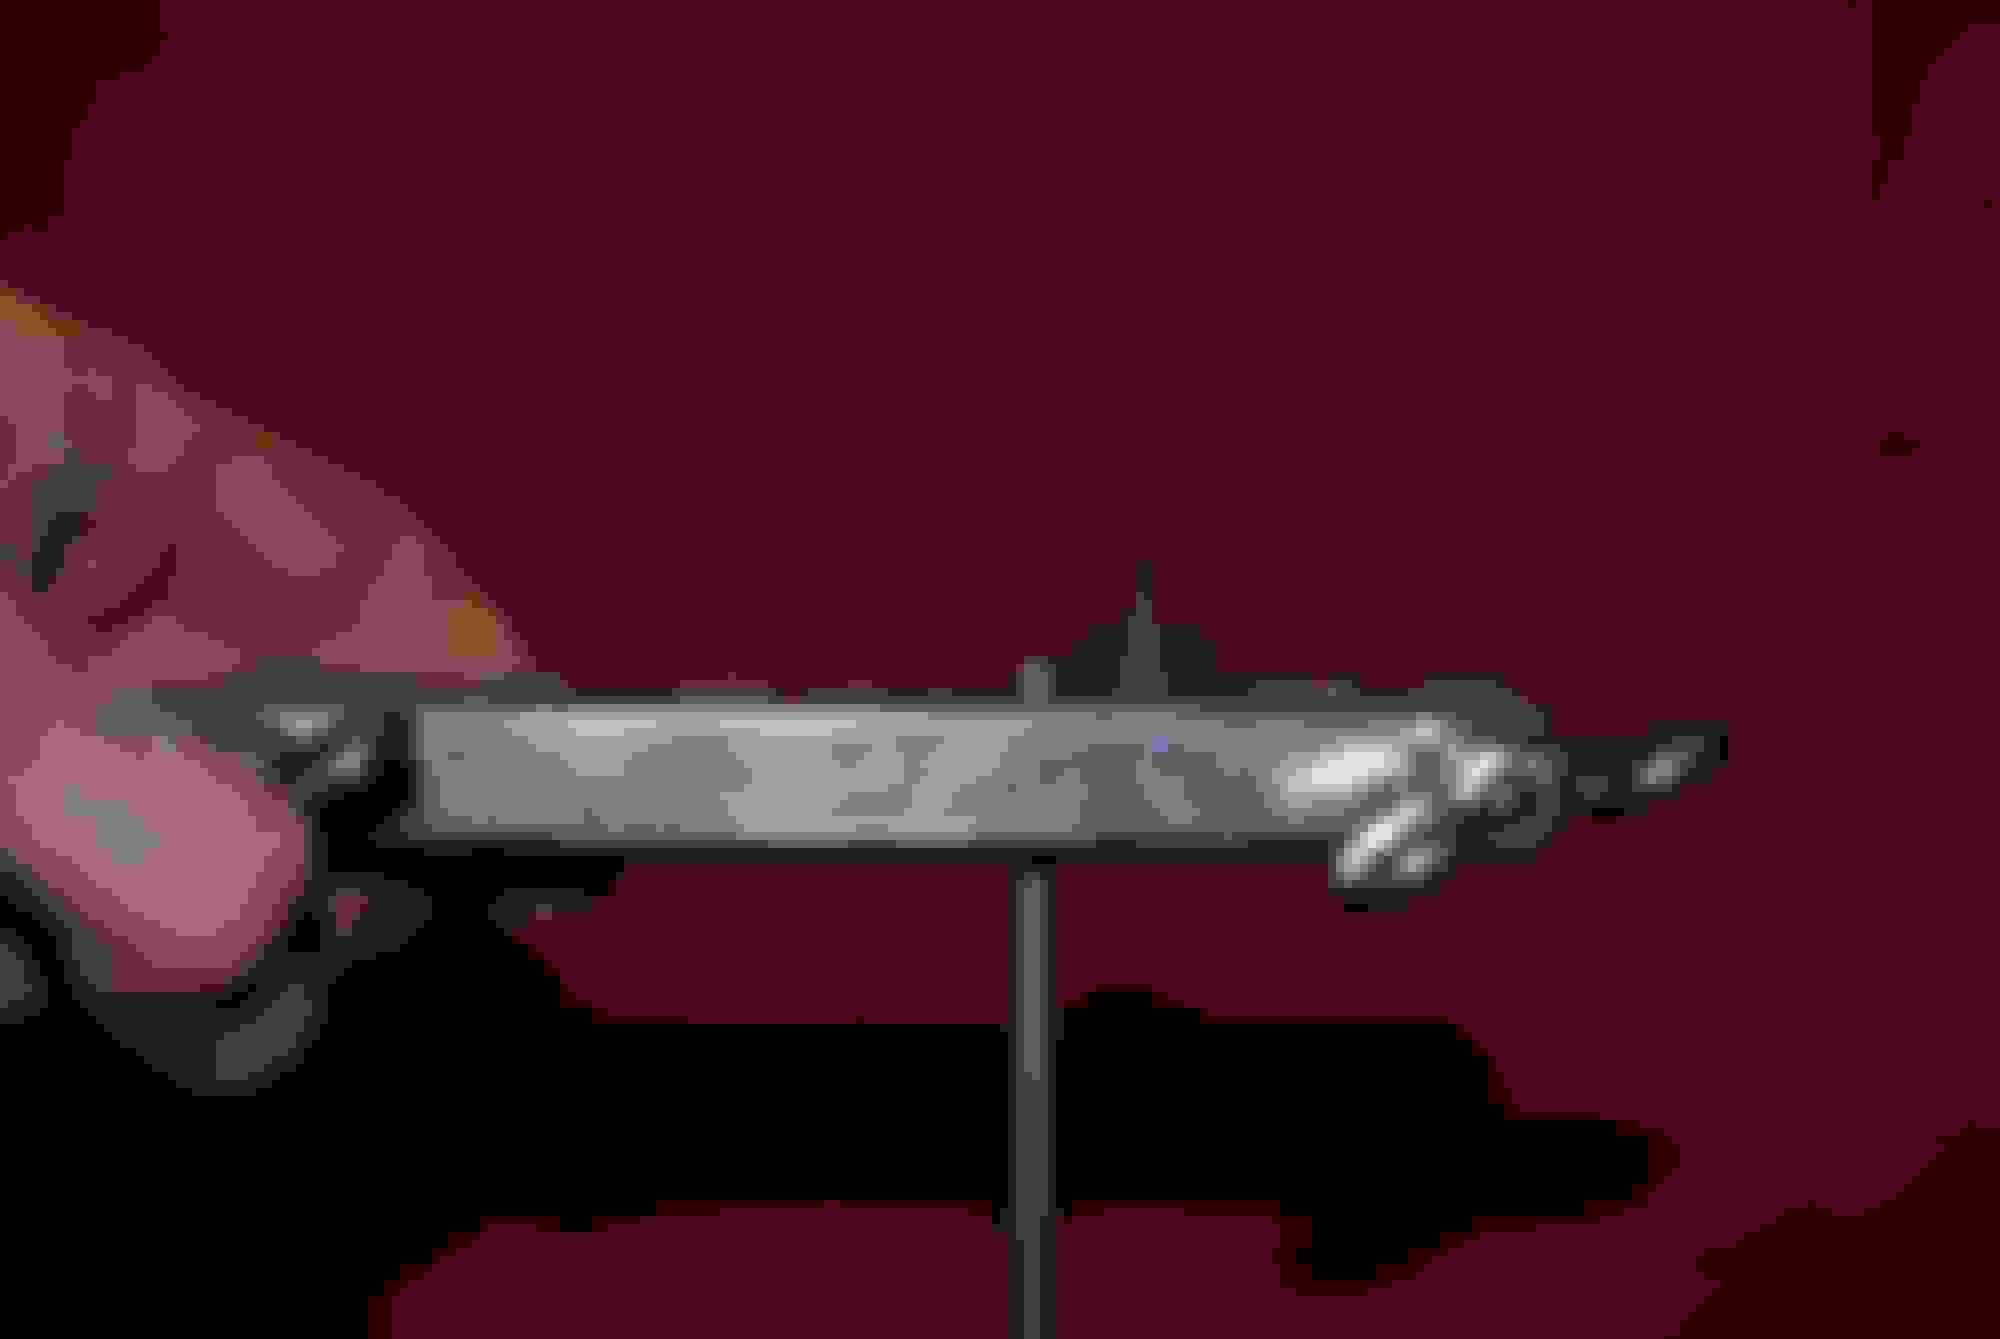
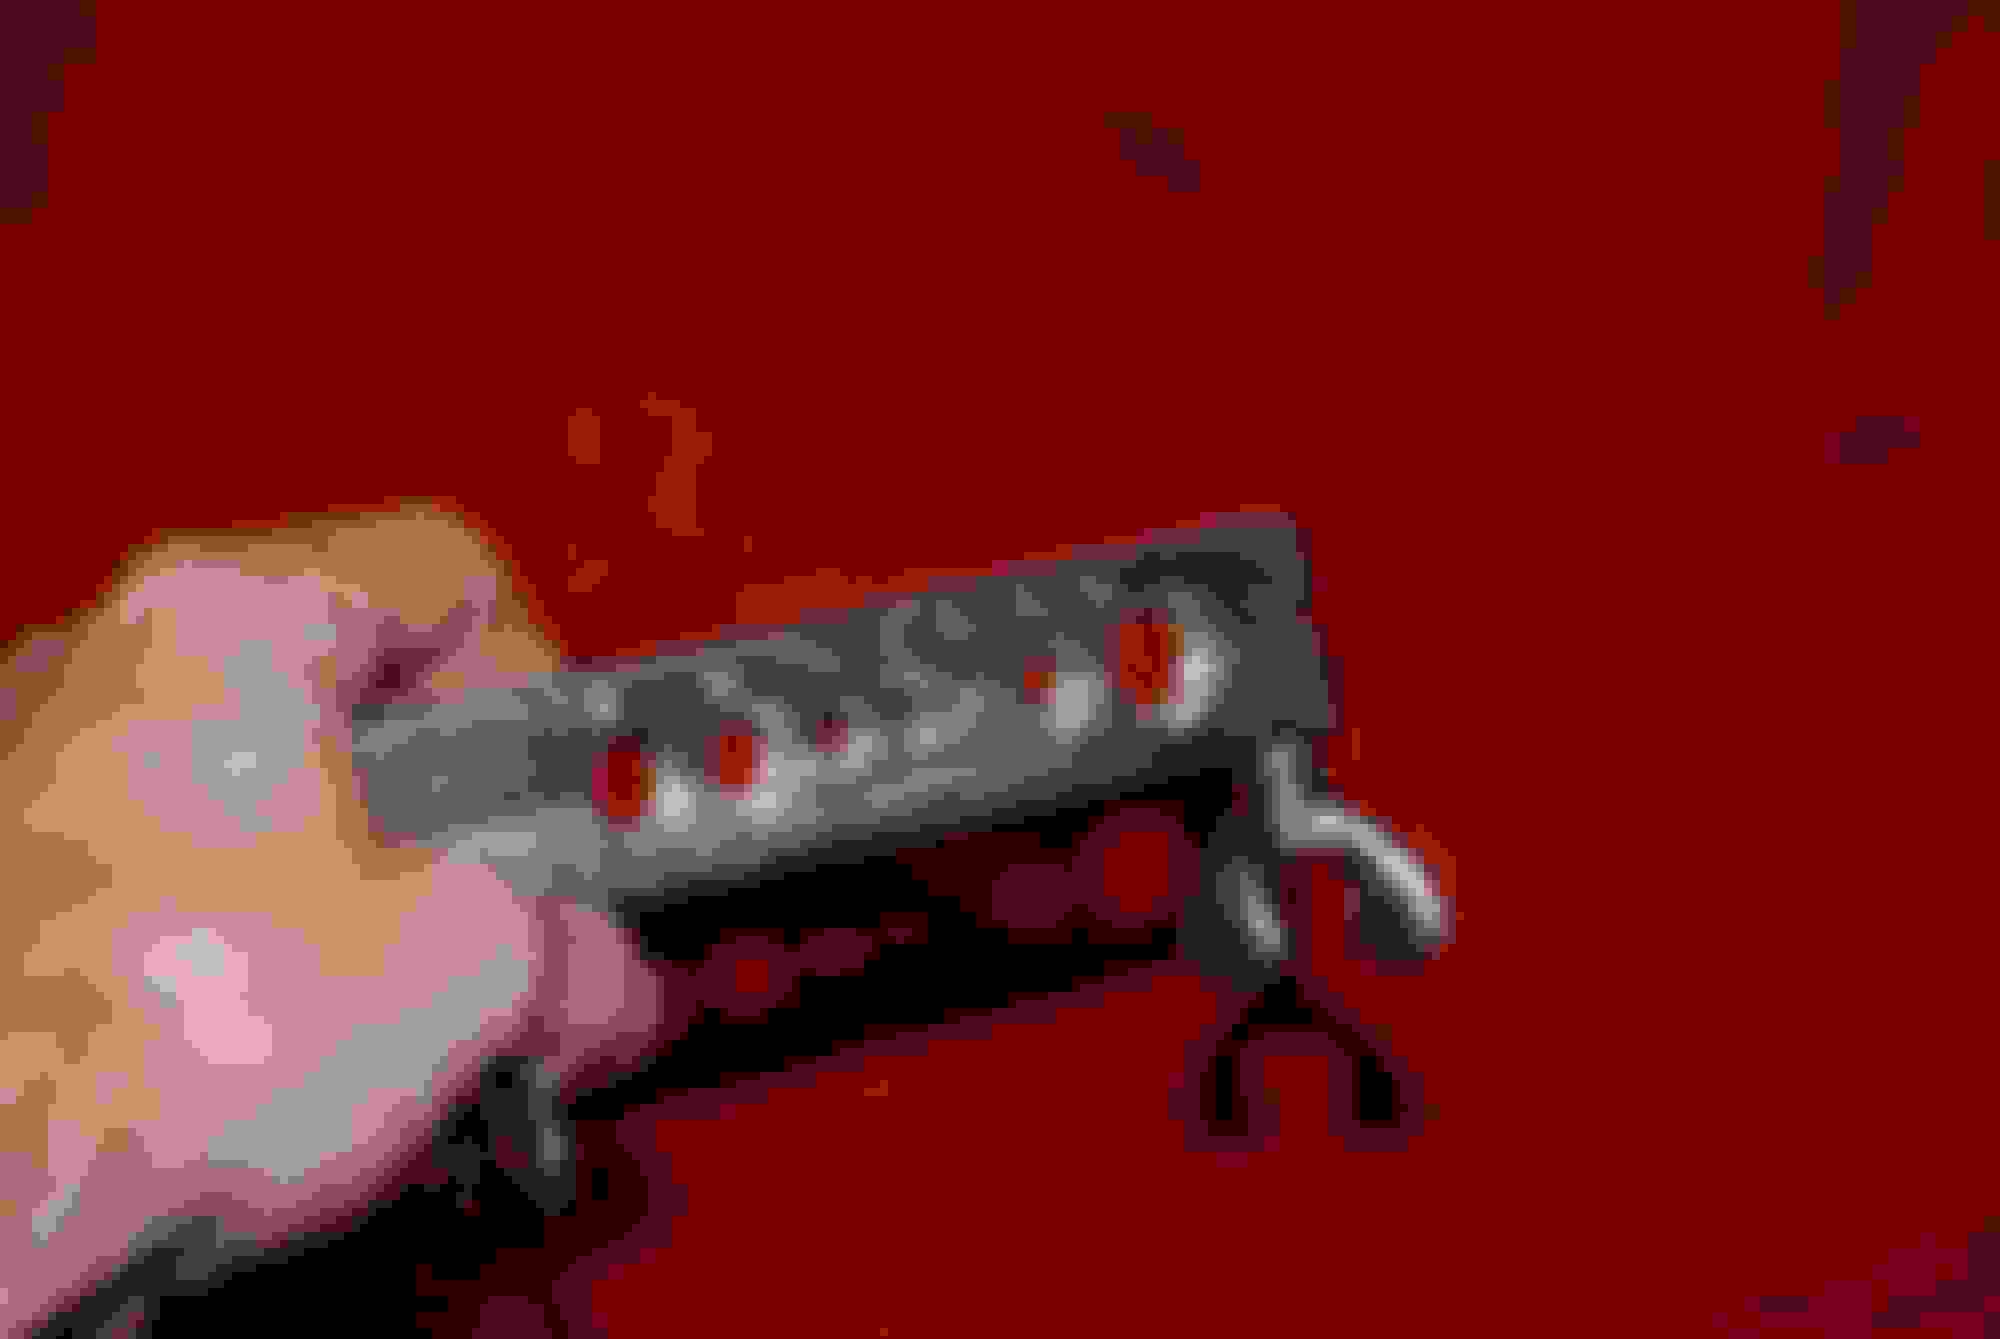
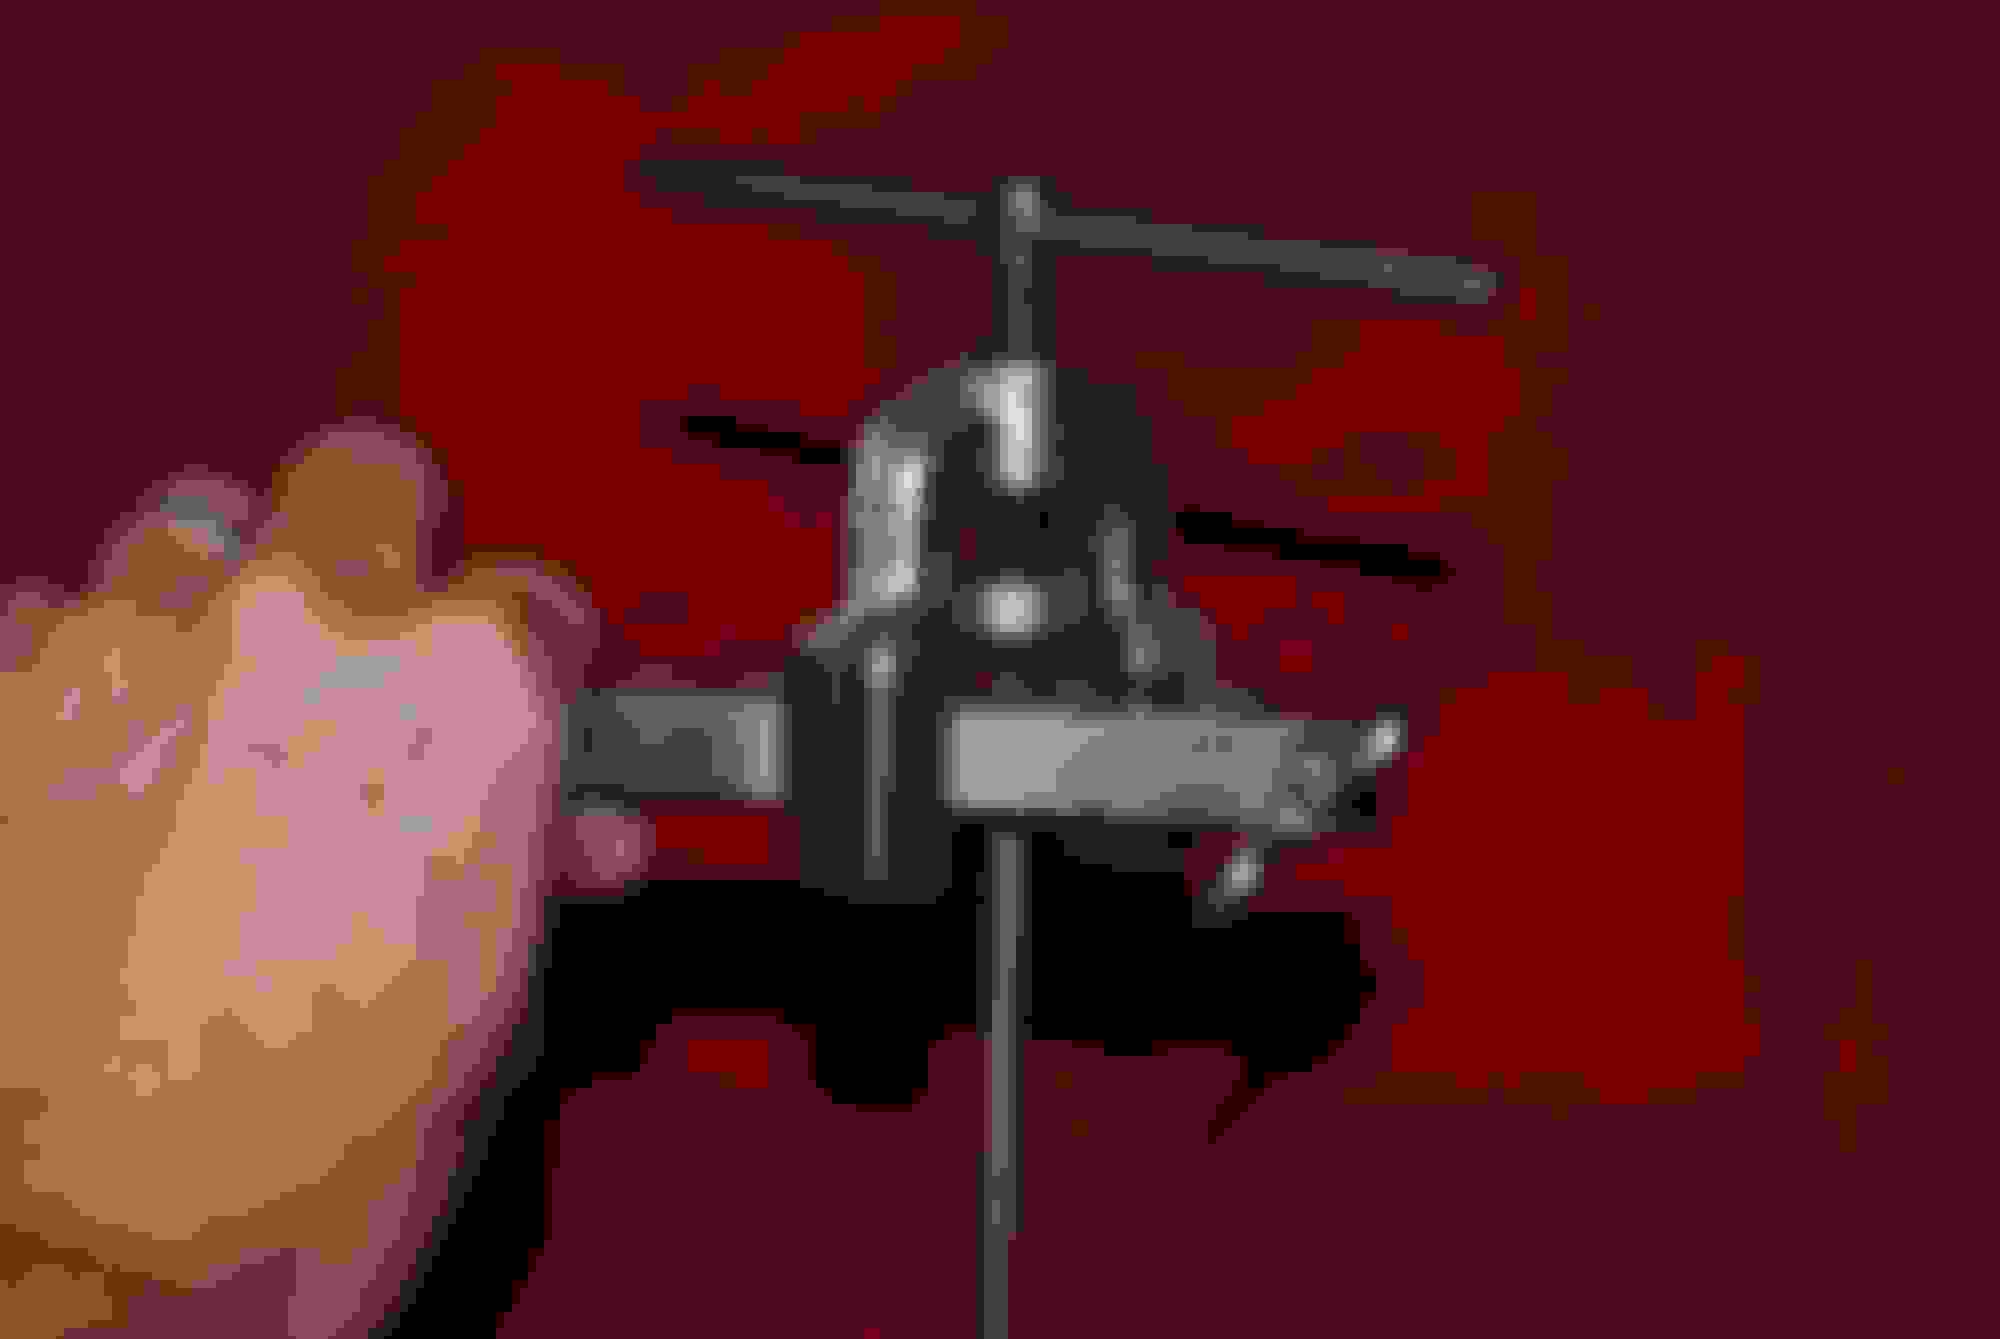
I have an Imperial-Gould manual flaring bar, yoke, tubing cutter and S-K double flare buttons. The three silver tubing benders are made by Imperial. From left to right are: 3/8", 5/16" and 1/4" tubing benders. The black tubing bender is made by Rigid and is for 3/16" brake tubing.
If you've cut the line to length, the first step is to deburr the I.D. of the tubing.
Next, file the end of the tube square and deburr the O.D. of the tube with a flat file.
Put your line fitting on FIRST then, place the tubing in the flaring bar with the end of the tubing sticking up to the height of the 'step' on the double flare button.
Install the double flare button and put the flaring yoke on the bar, making sure the yoke is centered up squarely with the flaring button/tubing end. If it's not centered, you'll have oblong flares, not round ones. Oblong flares don't seal.
Run the yoke all the way down until the double flare button bottoms out on the flaring bar.
Remove the yoke and the double flare button and you have the 1st stage of the double flare.
Put the yoke back on, centered directly over the tube end, and make the 2nd stage of the double flare. --this is the part where people usually screw up and compress the 2nd stage too much. This leads to cracked flares or, flares that won't seal off. You don't want to compress the 2nd stage flat against the 1st stage of the flare. Final compression of the double flare should come when you tighten the line into the MC port, brake valve port, wheel cylinder port or caliper hose connection.
Remove the yoke and you have one double flare, ready for service on the brake system.
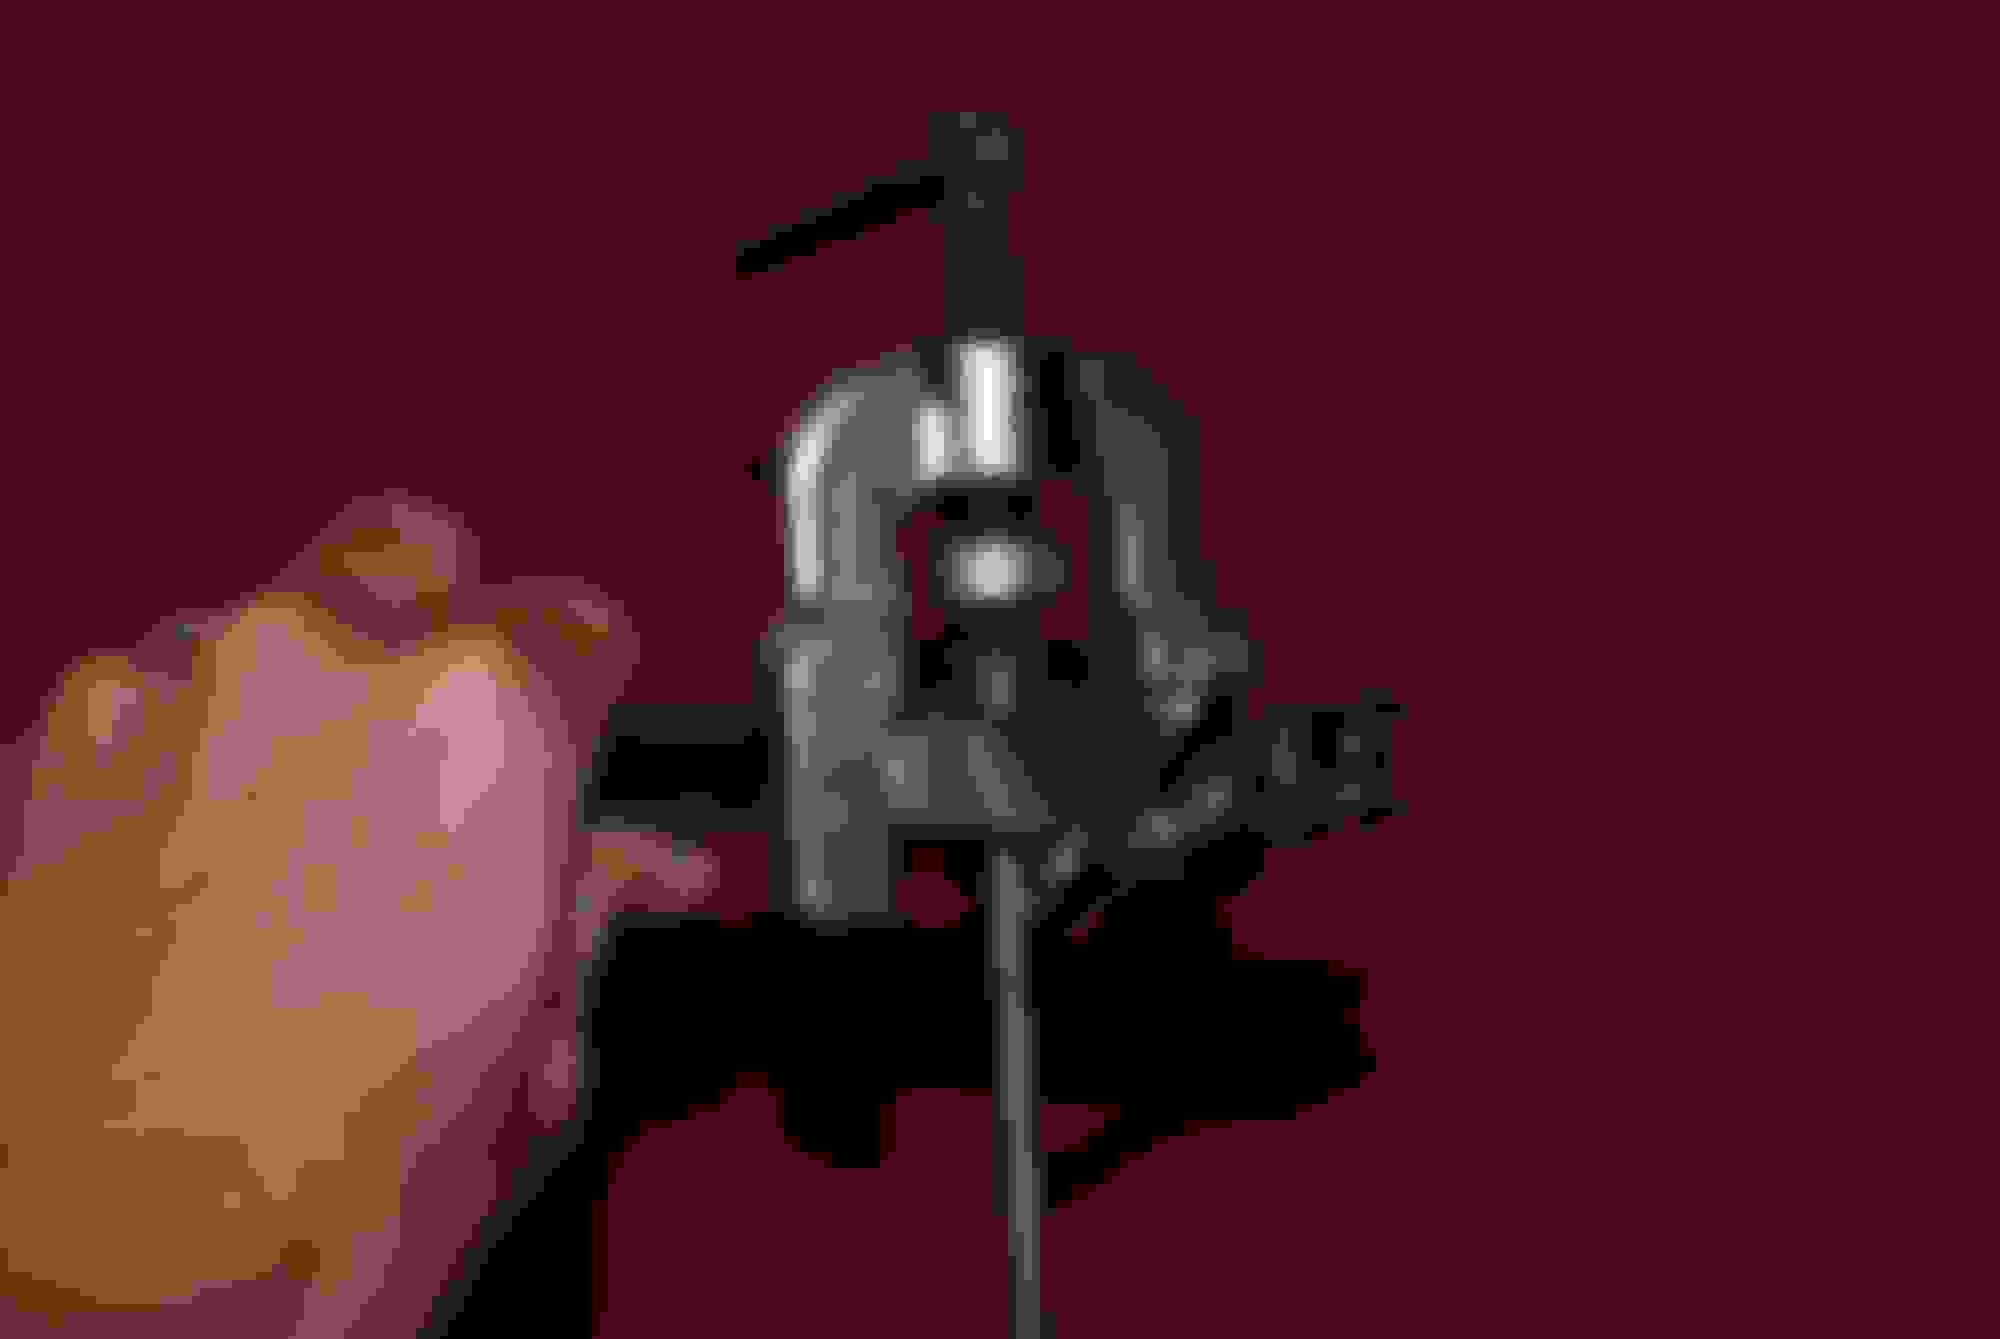
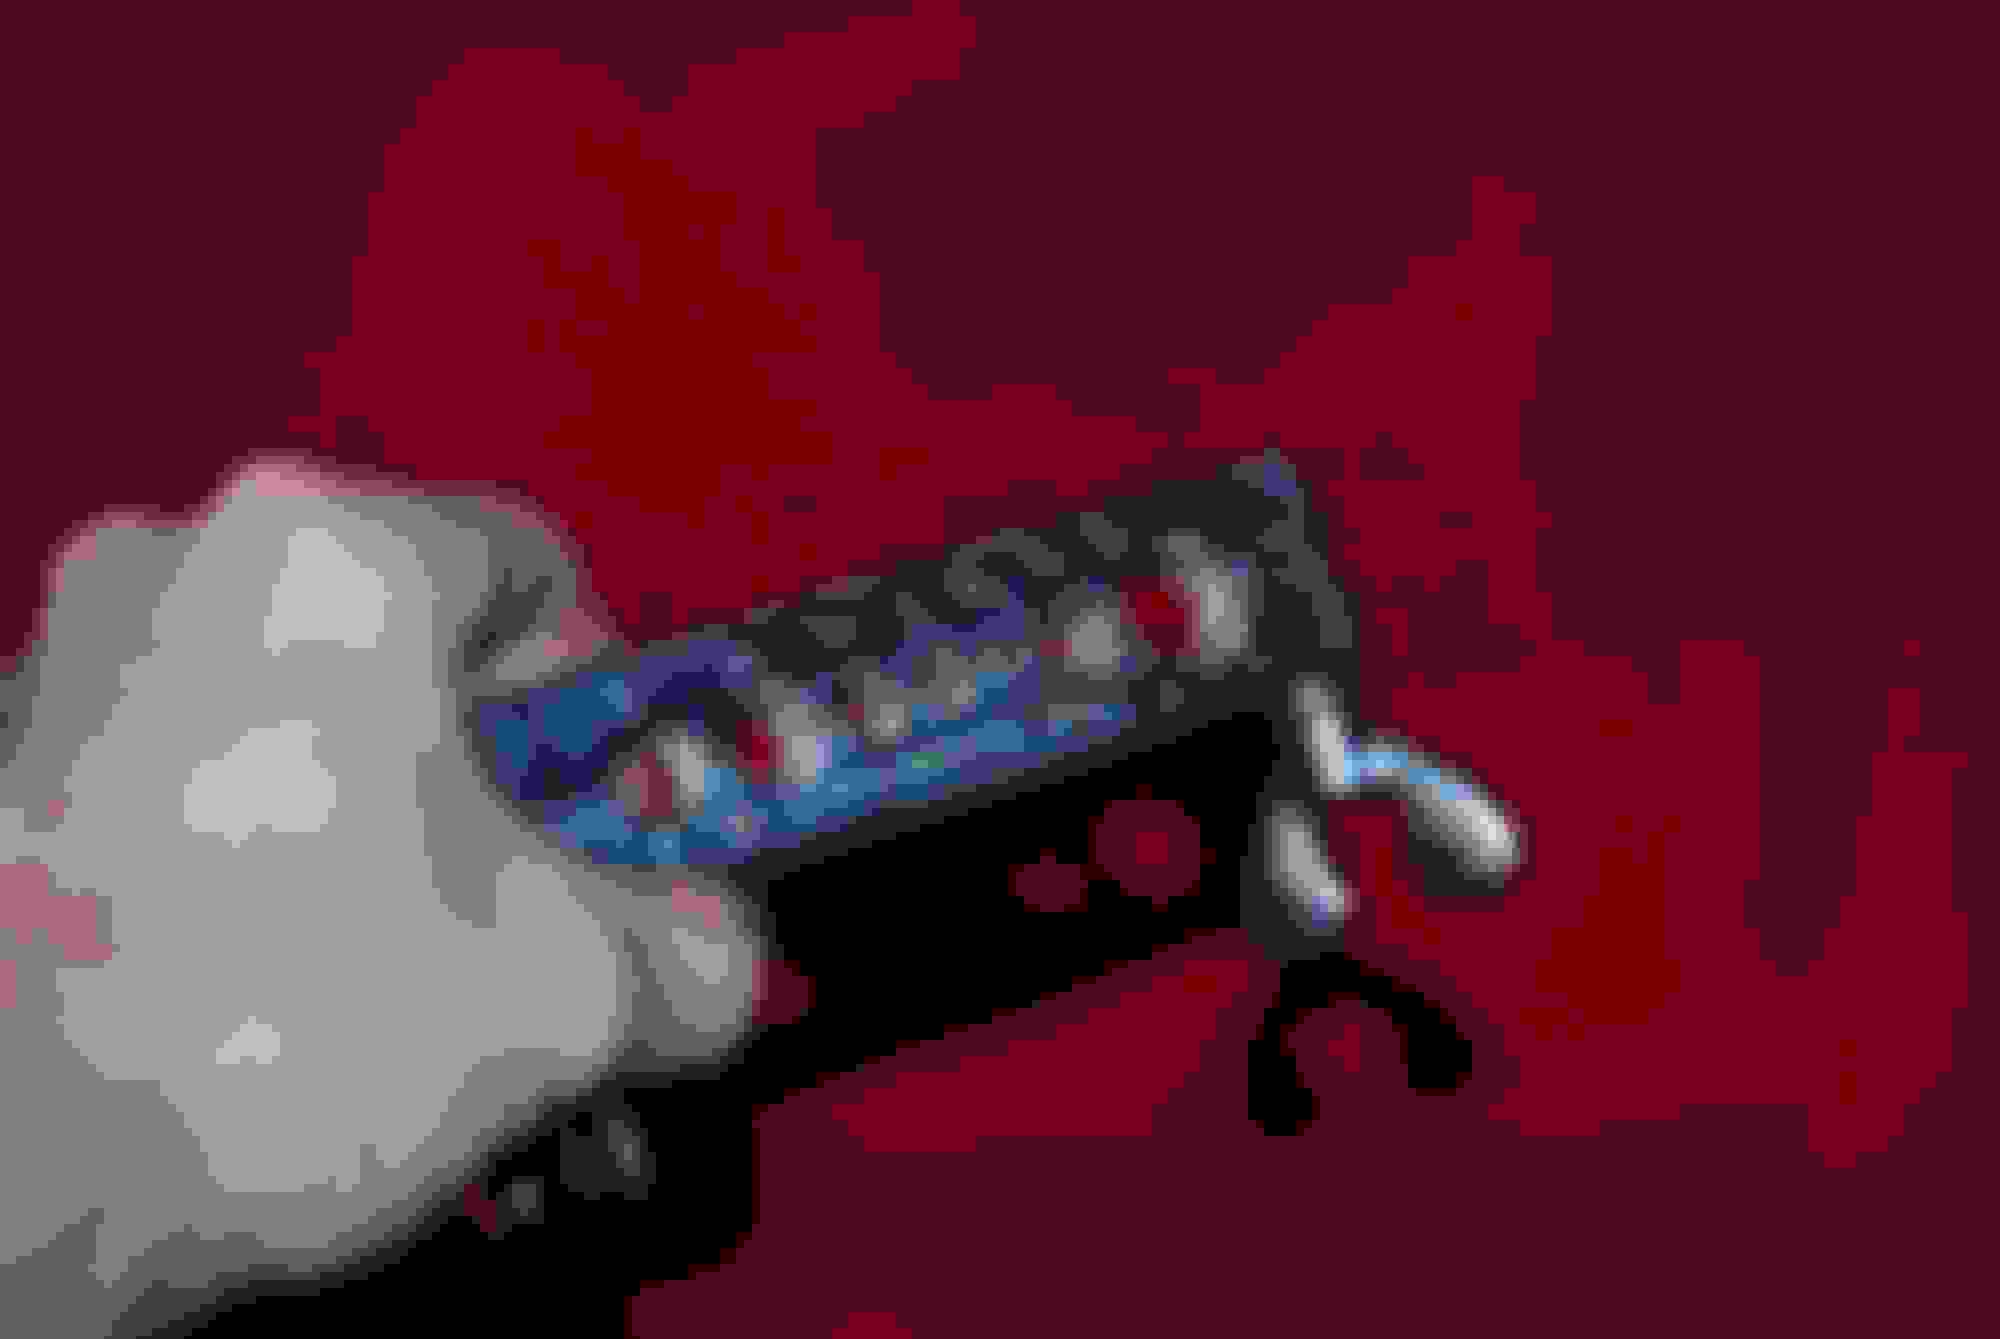
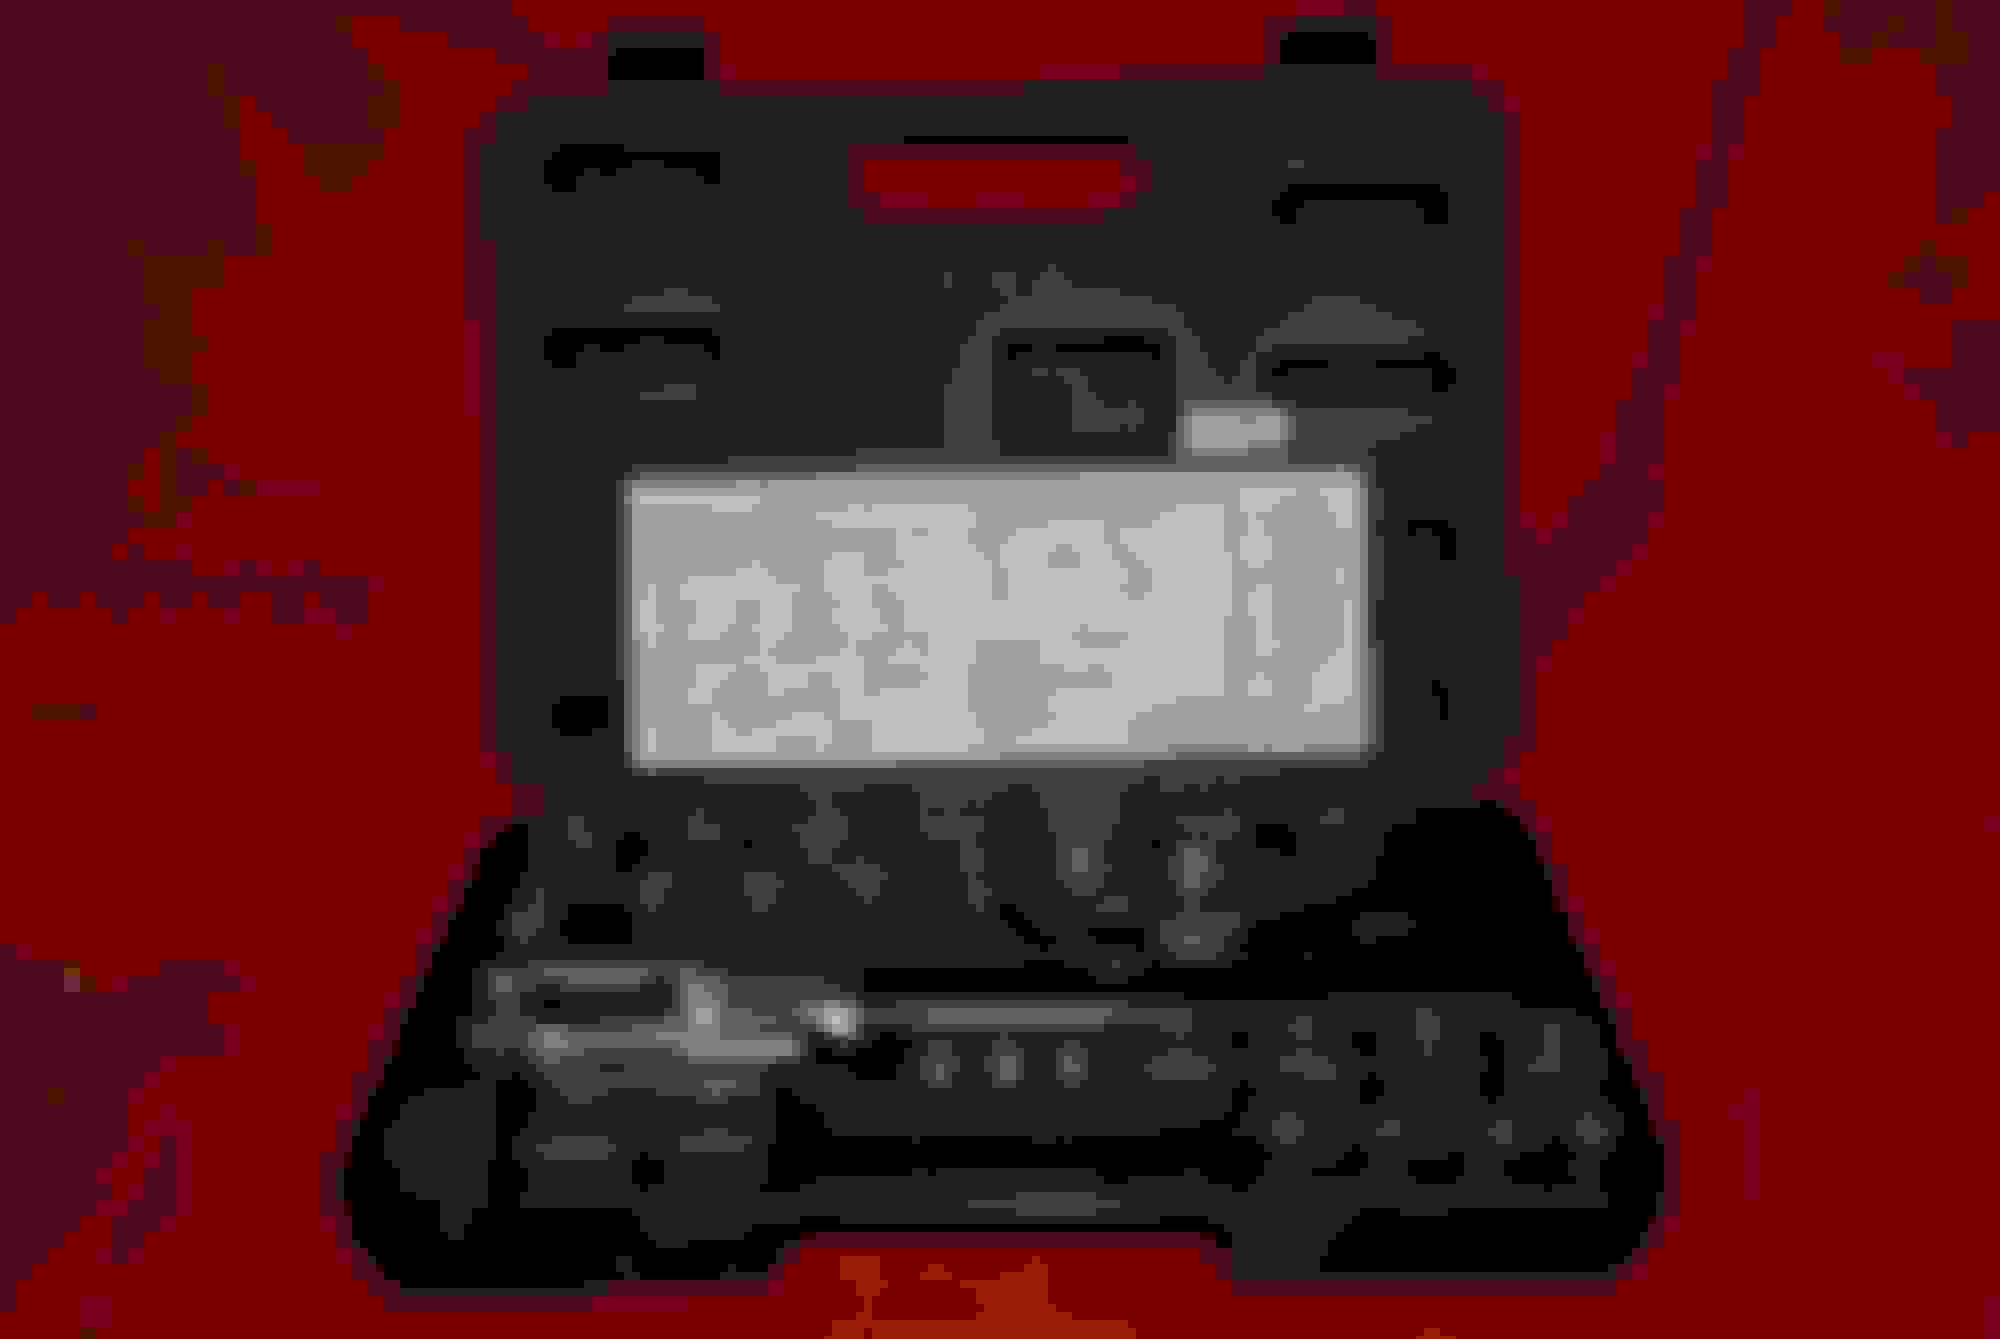
I've had the manual flaring bar and related line components since my high school days (1984). In 2009, I got a little more advanced with the flaring equipment when I bought a Mastercool hydraulic flaring set (p/n 71475). It's much faster than manual flaring tools and it makes production quality flares every time.
Here, I was making the line from the back of the brake valve to tie into the (existing) line going to the rear brakes.
A bend template can be made from a simple piece of 12 ga. Romex solid copper electrical wire. Simply form it to how you want the line to run and then bend the tubing by following the bends in the template.
Bend template at top. Line formed to bend template on bottom.
Line made to go from the bottom, front of the brake valve out to the left front caliper hose.
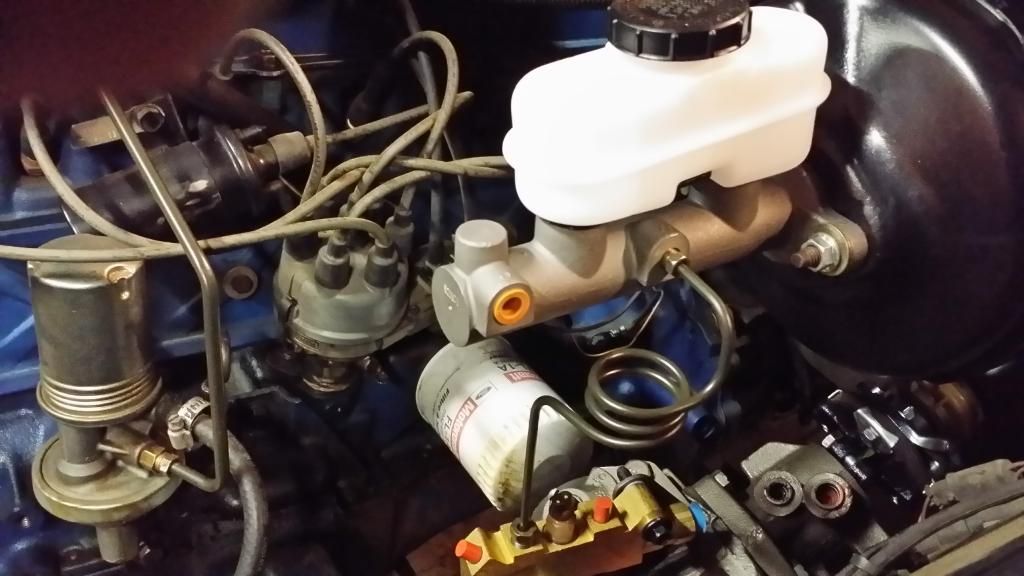
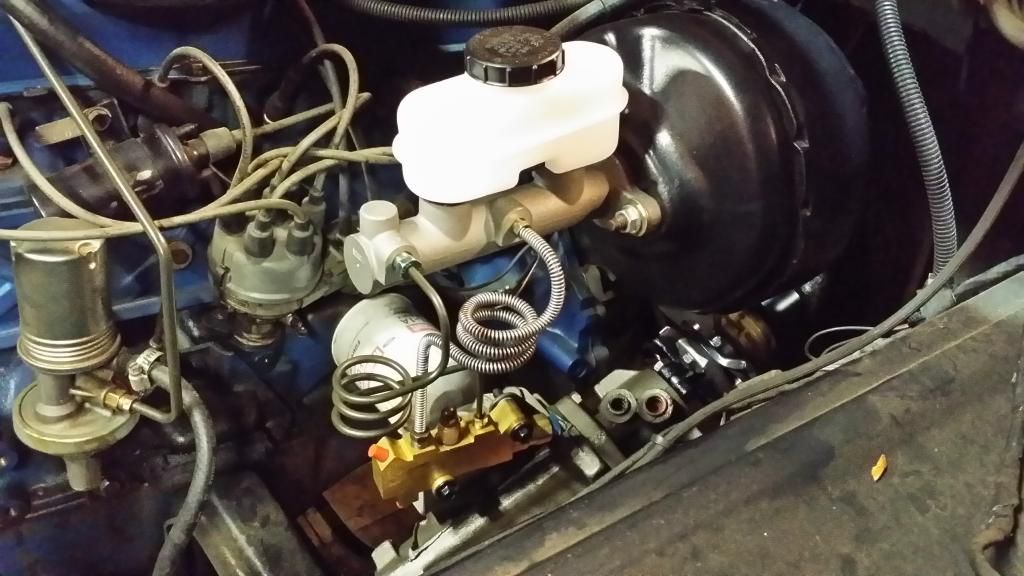
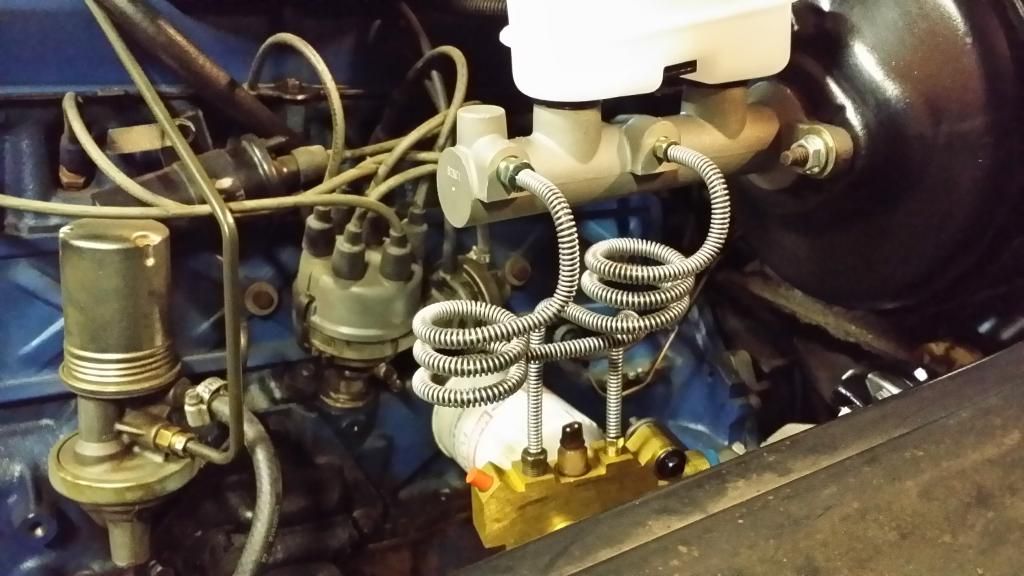
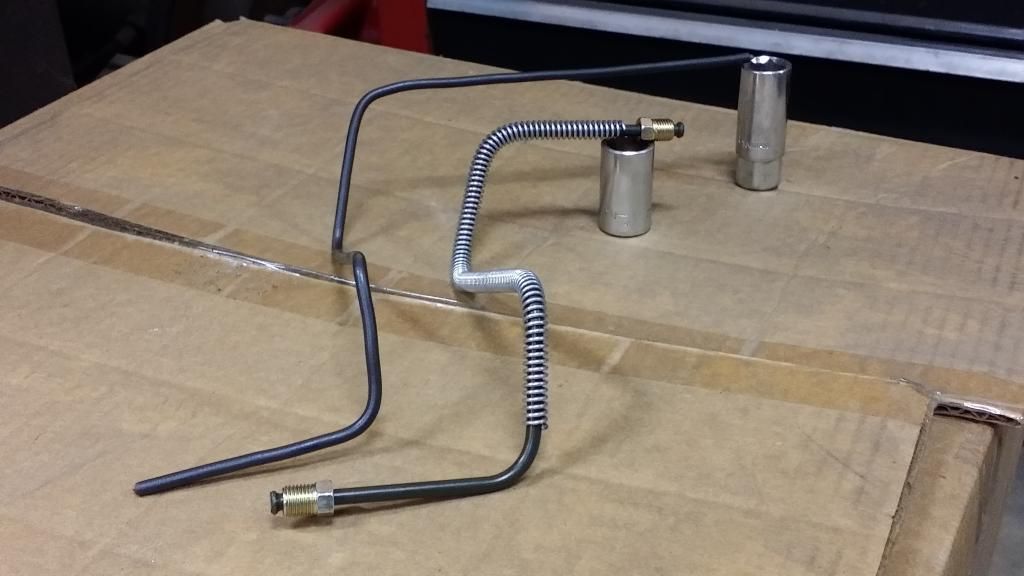
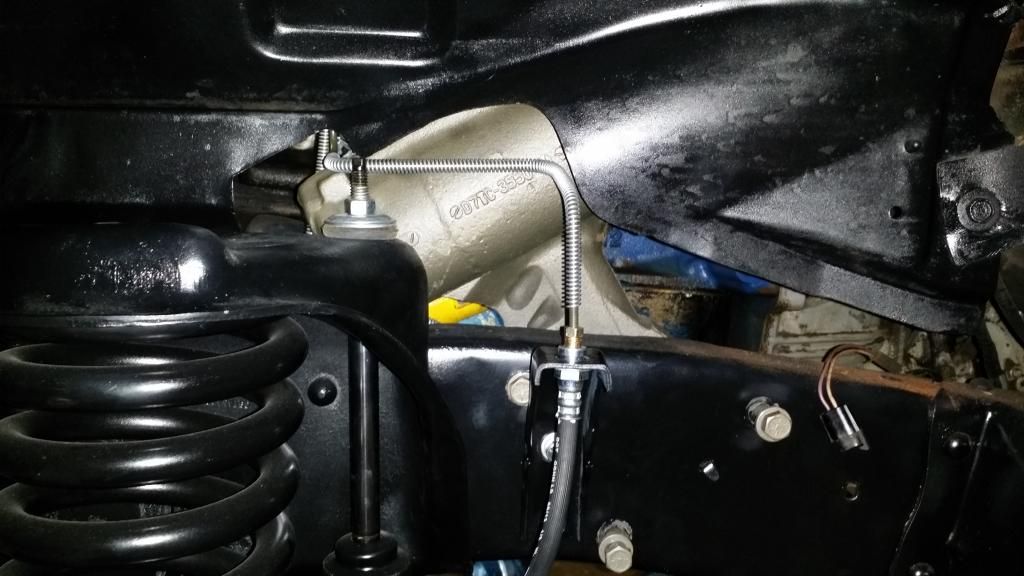
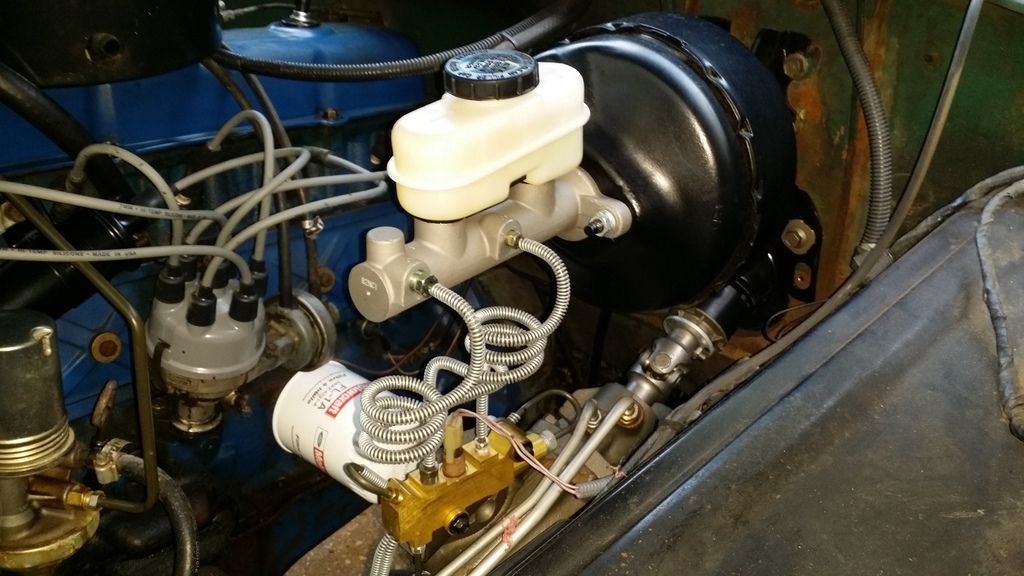
I also used Inline Tube for all the hard lines on my project, a '73 F100.
I had the brake, fuel, trans. and emission lines done in stainless steel.
I couldn't have been more pleased with the fit and quality of the lines.
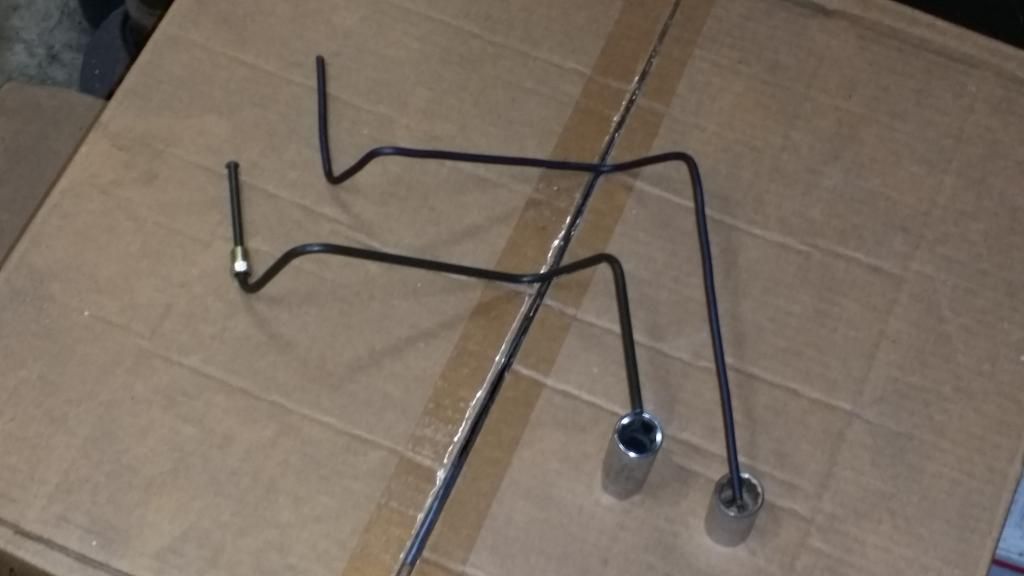
Two of the lines, the fuel and emission lines, that run along the frame are very long. These come with 180 degree "shipping bends" in them to reduce shipping costs. Clearly marked and easily straightened.
I couldn't recomend them more highly.
It was a couple of years ago but IIRC everything including shipping was around $600.00.
Here are a couple of pictures of the lines before and after installation.
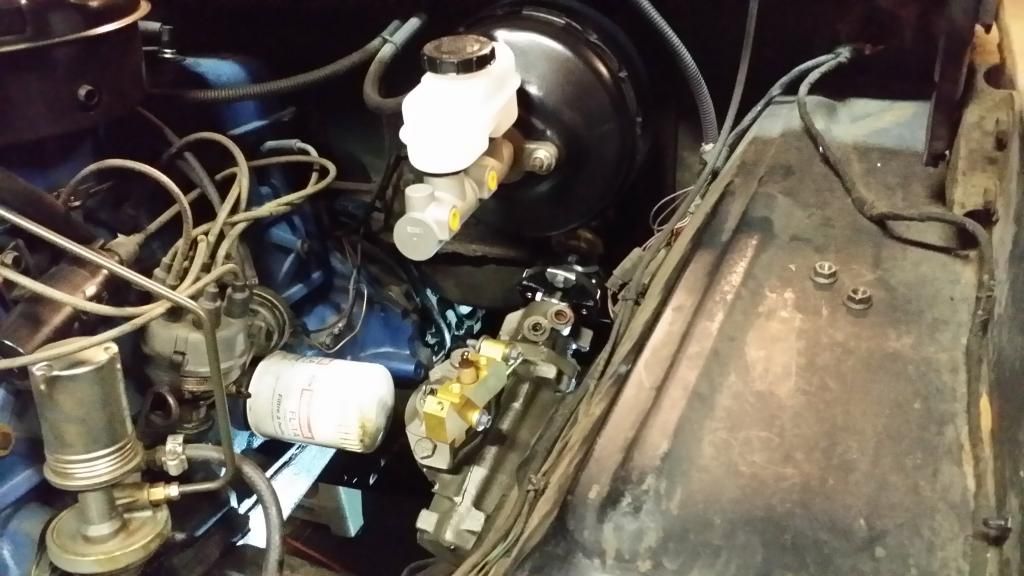
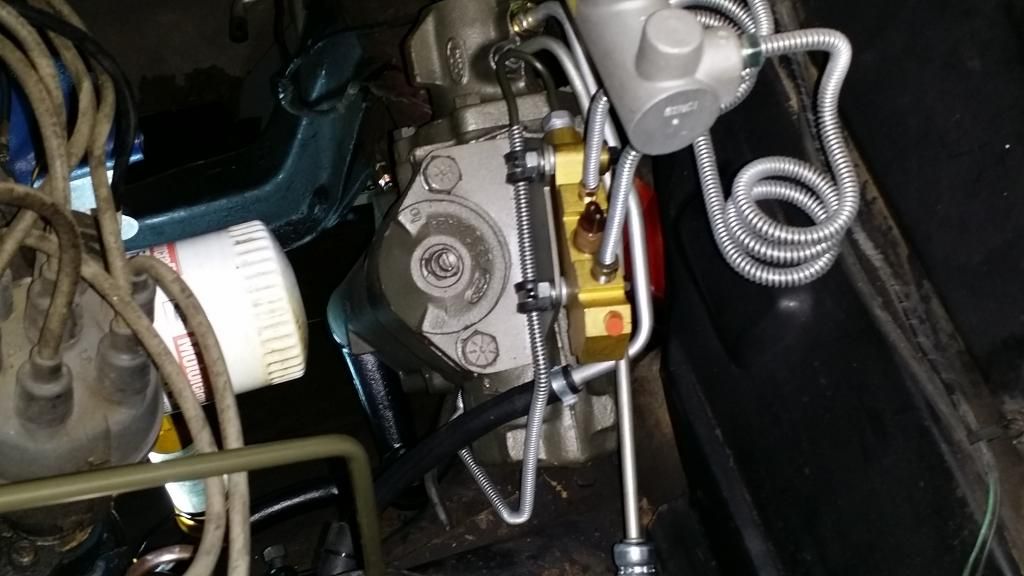
Hey What is the blue spring in the picture called? I need that.


 10-02-2011, 01:44 PM