1994 Ford F350 Project Build
#16
 07-13-2011, 10:53 PM

Join Date: May 2011
Posts: 339
Likes: 0
Received 0 Likes
on
0 Posts
Ok so I got my truck back tonight and she drives lovely. She's actually got some zip to her! Shifts beautifully, I can shift from park to the gear smoothly, it's awesome!
Now that that's done I have some other stuff to start on. First things first, I have a couple of pics for your guys.
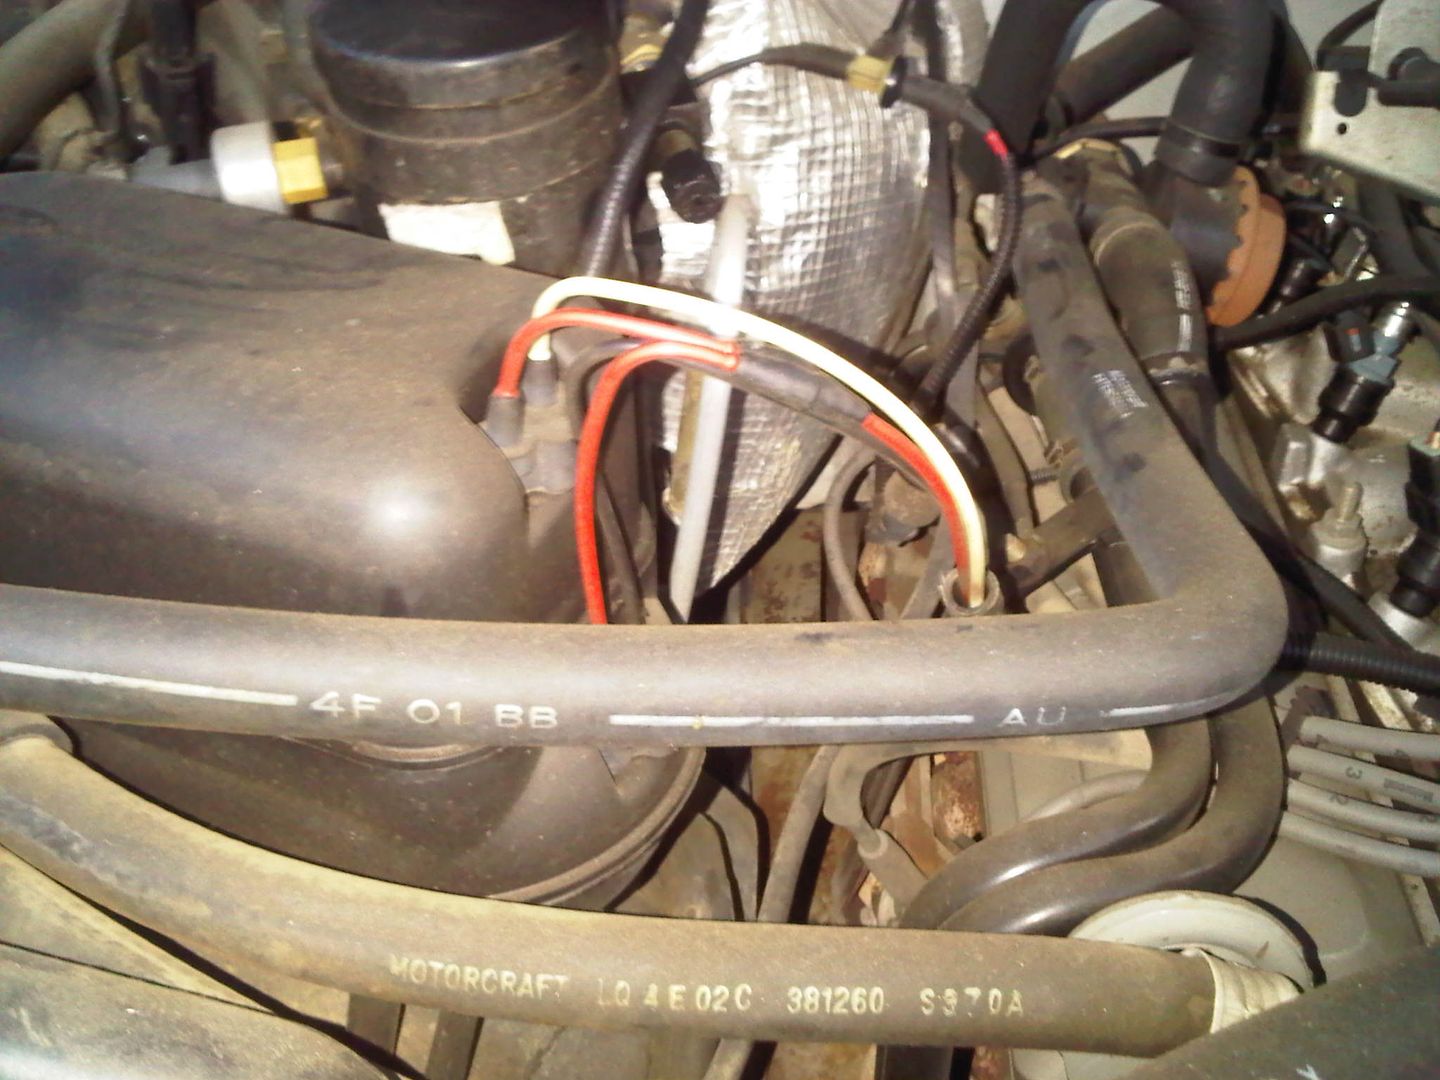
What is this vacuum hose for? The white one that's disintegrated!
Next, if I'm replacing that line, should I just replace these as well just to be thorough?
Lastly, the master cylinder. That reservoir is low first of all, I just noticed that which is not good. I'll deal with that. Secondly it's very very dark. Is that bad? If so what should I do about it?

There are some other things that should be done. These are the following that are on my immediate list of things to change and maintenance:
* Spark Plugs - Which are the best out there
* Spark Plug Wires
* Oil Change - Going to go to a high mileage synthetic oil after this one. I have a half a case of oil still in the garage to go through.
* Rear Driver & Passenger Side Wheel Cylinders
* Brakes all the way around
* Shocks all the way around
* Air Filter - Possibly go to an aftermarket intake
Are there any suggestions out there for things to use things that are better and will provide better performance for me stuff like that? I'm open to any suggestions to research and look into.
There's more I'm sure that I'm going to be doing in the next coming weeks, I just can't think of them off the top of my head right now.
Thanks for tuning in.
Now that that's done I have some other stuff to start on. First things first, I have a couple of pics for your guys.
What is this vacuum hose for? The white one that's disintegrated!
Next, if I'm replacing that line, should I just replace these as well just to be thorough?
Lastly, the master cylinder. That reservoir is low first of all, I just noticed that which is not good. I'll deal with that. Secondly it's very very dark. Is that bad? If so what should I do about it?
There are some other things that should be done. These are the following that are on my immediate list of things to change and maintenance:
* Spark Plugs - Which are the best out there
* Spark Plug Wires
* Oil Change - Going to go to a high mileage synthetic oil after this one. I have a half a case of oil still in the garage to go through.
* Rear Driver & Passenger Side Wheel Cylinders
* Brakes all the way around
* Shocks all the way around
* Air Filter - Possibly go to an aftermarket intake
Are there any suggestions out there for things to use things that are better and will provide better performance for me stuff like that? I'm open to any suggestions to research and look into.
There's more I'm sure that I'm going to be doing in the next coming weeks, I just can't think of them off the top of my head right now.
Thanks for tuning in.
#17
07-14-2011, 01:07 PM
Join Date: May 2011
Posts: 339
Likes: 0
Received 0 Likes
on
0 Posts
#18
08-01-2011, 10:41 AM
Join Date: May 2011
Posts: 339
Likes: 0
Received 0 Likes
on
0 Posts
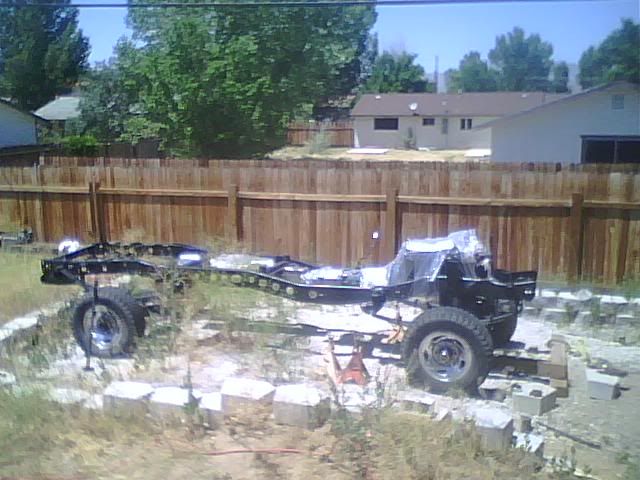
Ok, I'm back fresh from vacation. I went and did a little look around on the truck, under it and etc. I took some pics, but I think this thing might already be lifted. Can someone confirm this please? Here are the pics:
Front:


Rear:

I'm assuming those blocks are lifting blocks correct?
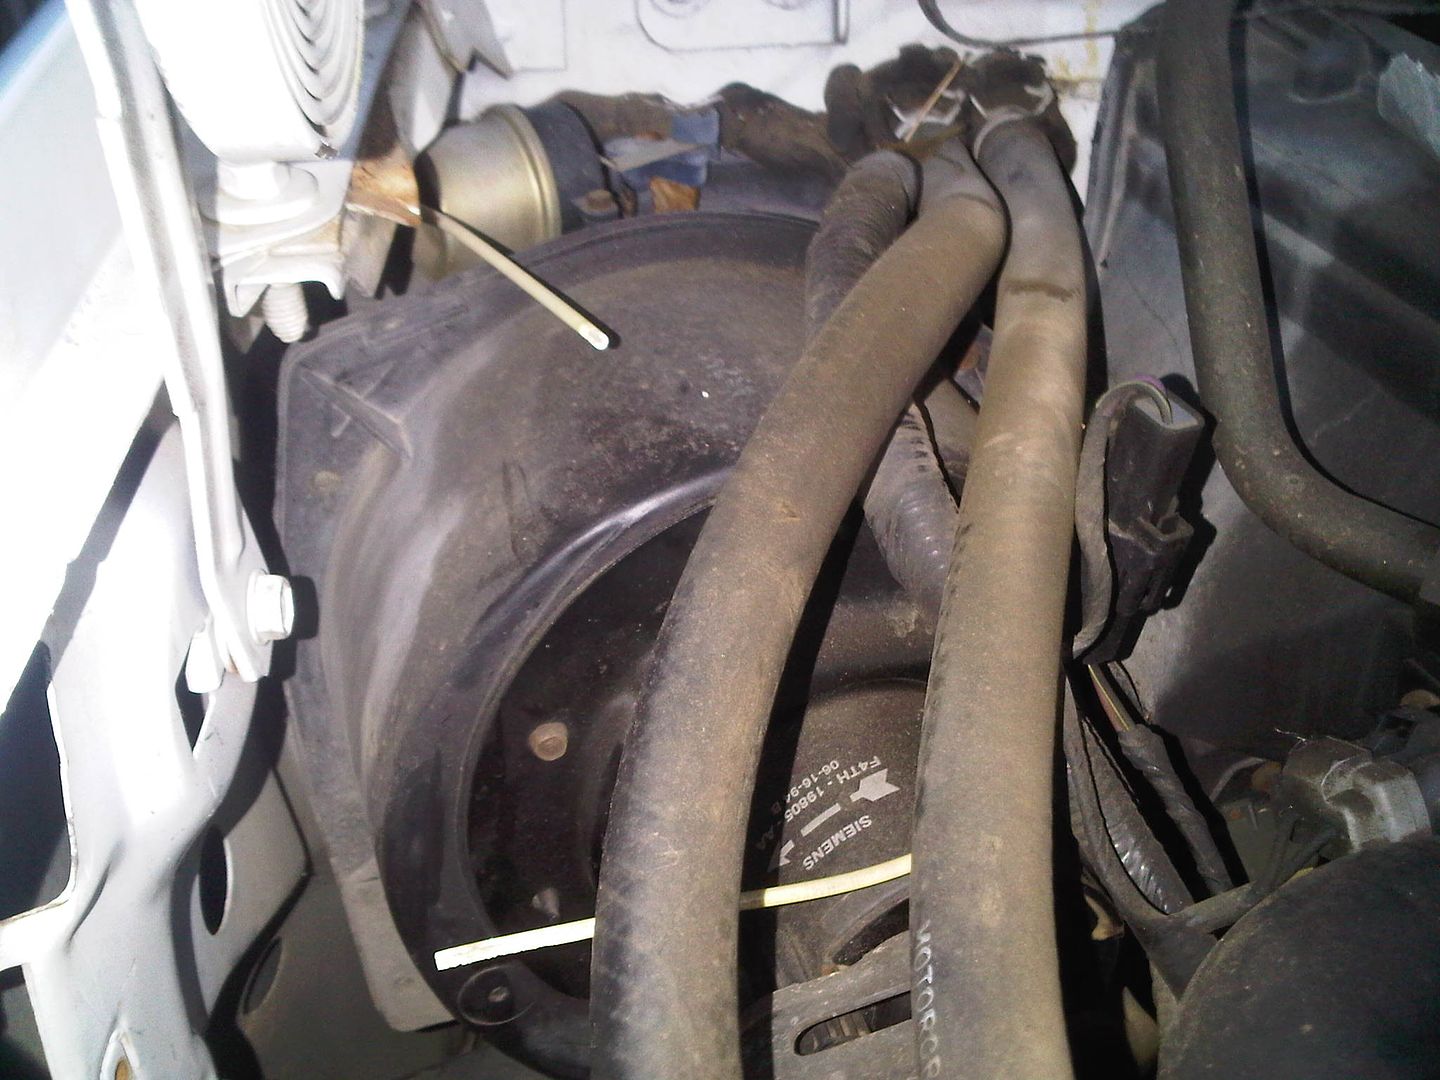
Also, the pitman arm has lots of fluid around it, like it's leaking. Can someone help me with the description of the box above it? I'm not sure if that's the problem or not, but I'm having steering issues as well. It's very very loose.

Going to get a bunch of parts today:
Spark Plugs
Wires
Cap
Rotor
Brake pads all the way around
Wheel cylinders for both rears
Air Filter - Can't justify spending 250.00 for a new intake right now
Probably shocks as well.
Gonna get some work done on this baby this week! Could really use the help on those questions above though. Thanks!
Front:
Rear:
I'm assuming those blocks are lifting blocks correct?
Also, the pitman arm has lots of fluid around it, like it's leaking. Can someone help me with the description of the box above it? I'm not sure if that's the problem or not, but I'm having steering issues as well. It's very very loose.
Going to get a bunch of parts today:
Spark Plugs
Wires
Cap
Rotor
Brake pads all the way around
Wheel cylinders for both rears
Air Filter - Can't justify spending 250.00 for a new intake right now
Probably shocks as well.
Gonna get some work done on this baby this week! Could really use the help on those questions above though. Thanks!
#19
08-04-2011, 03:23 AM
Elder User
Join Date: Apr 2009
Location: Reno Nevada
Posts: 627
Likes: 0
Received 0 Likes
on
0 Posts
From what i can see, it does not look lifted. That is the stock pitman arm, lifted front springs would have more of an arch and yours are flat.
This is what i am talking about with the arched springs. This is my 1980 F-250 with a 4" lift:
But i could be wrong, it could have a slight lift to it.
This is what i am talking about with the arched springs. This is my 1980 F-250 with a 4" lift:
But i could be wrong, it could have a slight lift to it.
#20
08-04-2011, 10:31 AM
Posting Guru
#21
08-05-2011, 10:34 AM
Join Date: May 2011
Posts: 339
Likes: 0
Received 0 Likes
on
0 Posts
I have a practically brand new truck now folks! As you all know the tranny got fixed a could of weeks ago. Well a couple weeks ago before I left on vacation, I got my new head unit for it. Alpine CDA-9886.
So yesterday I was finally able to get it in the garage, yes it fits, and get some of those things done to it. I didn't have to change the pads after all. They were pretty good up front and in the rears they're about the same thickness as brand new. Saved my self some money. But I did find out the driver side rear wheel cylinder was in fact frozen. So I spent 25.00 total to replace both cylinders. Cleaned all wheels, and adjusted them a bit.
Next I changed all the spark plugs, wires, cap, and rotor. Distributor didn't need addressing. It was fine. But the cap was in bad bad shape! The tabs were down to practically nothing, and the center pin was terrible looking and like the others, pretty much down to nothing. Glad I made that call. Then I made a diagram according to the wires and plugs that were already on it, so I didn't make any mistakes and F up the firing order. I wrote the numbers according to the cylinders on the new cap and was able to go by that as well. Then it was time for the plugs and wires.
First, let me just say thank you to the A-Holes at ford for making these so easy to get to! I'm kidding of course. The last two, #4 and #8, were a BITSH. I spend a good 20 minutes on #8 alone! Then there's the damned heat shield which gets in the way. Anyway, after some time, some scraped up arms, sore fingers, and a few choice words all the plugs and wires have been changed out. It appears to me, and a buddy of mine who used to work in a garage, that these have never been changed or addressed. Now I don't know if that's a bad thing or not we really didn't talk about that assessment. But we decided it was a good thing to change them due to not knowing how the previous owner drove it, towed with it, or maintained it. Which was part of why all this was going on in the first place. After the plugs were out and replaced, I took a look at them. The only one I really was concerned about, was cylinder #7. I numbered them as I went, so when I replaced one, I put the old one in the box for the new one and numbered it. I'm going to take them in with me when I return the brake pads, as well as to the shop around the corner of my work. I'm not very good at plugs and determining anything from them, so if there is a problem maybe they can tell me. I'll try and get some good pics of them so you guys can take a look if you want.
So next on the list was the air filter. Changed that, and the inner breather filter. They were filthy.
Then I changed the oil.
Next we bled the brakes and flushed the system. The fluid that was in the truck literally looked like soda, like a cola color. Very very dark! So I decided if we were going to do this, we might as well flush it out and get the new in there.
So after bleeding the brakes and then getting her all back together, we took her out for a little drive. Let me first say I've had nothing but trouble with this thing since I've had it. It's a pain to start up in the morning, and most of the time when I have the A/C on, it will start up and then sputter and stop running. It sputters at lights, especially with the A/C on, and at any stop. Last night we fired it up and it didn't even take a full crank to fire up! She just came to life! I was soo happy at that point. So I fired up the A/C and let it idle for a bit, no problems. Then it was the next big test! I turned it off, let it sit for about 10 mintues, imitating me going into a store or something, and then fired it up again, WITH NO PROBLEMS! FIRED RIGHT UP! I'm soo happy right now. Then the final test was to test drive it.
The test drive went well. She has power again, that I've not had since I've owned it. It really does move now! I do still have quite a spongy brake pedal though. However she does stop better than before. I guess an extra wheel of brakes will always help that huh!?
So what we've come up with is this. The next things that need to be done are these:
For a piece of mind we're going to spend the little bit of money and change out the brake master cylinder.
Along with that, I'm going to go ahead and change out the RABS sensors.
Then we're going to reflush the brake system again.
Going to change the head light lenses as well. I've tried to brighten them up and dehaze them and it's just not working.
Then beyond that, it'll be a case by case basis. But for now I'm very pleased with the way it runs and is. I'll be towing a travel trailer next weekend when our family all goes camping. Lots of travel trailers, so we're renting one. Anyway, I wanted to get this overhaul done before we did that so I knew what I'd be facing as far as how the truck was going to act. I'm not worried at all now. I'll get that master cylinder replaced this week as well a that sensor, and then I'll be comfortable with the brakes. If there's a problem beyond that, I may replace the booster, but I don't have the money for that right now.
The next couple things I have to check is the brake controller that's in the truck. It was in there when I got it, and it's pretty old. But they had connections in the truck bed from a 5th wheel, and then also at the tow hitch so I have to figure out how to test it and see if it works or not.
I think that's it for now. Very happy!
#22
08-11-2011, 09:54 AM
Join Date: May 2011
Posts: 339
Likes: 0
Received 0 Likes
on
0 Posts
So I got one step closer to satisfied last night. I changed out the master cylinder, changed the regular bleeders to speed bleeders, and re flushed the system. While I was under there I decided I might bleed the RABS Valve and this is what I discovered.

Now I'm not a mechanic by any means. I can do pretty basic stuff and the tougher stuff I can research and even with a little fear probably tackle on my own. However, THAT, does not look good. So that just re affirms that I'll be changing that out. I didn't do it at this point cause of a couple of reasons. I was already doing the master cylinder, and I wanted to see if that was the culprit or not. Recall that I'm trying to track down the causes of the soft pedal and replace problem parts as I go.
Got the new Master Cylinder in and I'm very happy with the results. I don't have to stand on the brakes as much, or really at all, to stop the truck anymore. I didn't take pictures of the old vs the new, but I'll try and do that today! It's a huge difference.
I do still have pedal lag, and I'm guessing it's from the RABS valve being the way it is. When some money comes in I'll get that changed out. For now, it's not a daily driver so I'm not as hard pressed or worried about it.
There is a night and day difference in the stopping ability though, now that the mc is switched and the fluid is flushed. The old fluid looked, honestly, like coffee with a little cream in it. It was that dark. So this was needed for sure!
I also bought, yesterday, a new key cylinder for the ignition. Mine, as I think alot of Fords, is broken and I can turn the outer ring, with the wings on it, all the way around. And when I take the key out, sometimes it dings at me like the key is still in and the cylinder and that ring don't always meet up so it can be a pain sometimes to put it back in.
More to come soon!
#23
08-13-2011, 11:02 PM
Fleet Mechanic
I also bought, yesterday, a new key cylinder for the ignition. Mine, as I think alot of Fords, is broken and I can turn the outer ring, with the wings on it, all the way around. And when I take the key out, sometimes it dings at me like the key is still in and the cylinder and that ring don't always meet up so it can be a pain sometimes to put it back in.
Sam
#24
06-12-2012, 12:59 PM
Join Date: May 2011
Posts: 339
Likes: 0
Received 0 Likes
on
0 Posts
WOW, it's been a while since I've been on here. There's lots going on, lots to be done, lots of research going on as well.
Let me update the RSB valve thing. I got the valve on, and got the reservoir filled up and brakes bled and I still have the horribly sagging brake pedal which is driving me insane! I'm about at the point to just take it to the mechanic around the corner from work and have them deal with it. I'm about 95% sure I don't have air in the lines, but you never know. I've tried taking the fuse out and it never felt any different. Sometimes when I go out to start it up, the brake pedal is firm the way I think it should be. Then I start it, and there it goes to the floor. I do notice that now I hear a sucking sound coming from the master cylinder, like a plunging sound. I changed that last year as well. So I'm kind of at a loss.
On to other things. My next order of business on this truck is to get the steering box replaced. Now I could go out and buy a refurbished one, or get one from the yard, or something like that. But I'm looking at just getting a good one. Why? Cause I'm a little fearful of skimping. If I'm gonna change it I'd rather change it with good gear. So I'm looking at the Redhead Box. I emailed them and got the pricing and info, and now I need to get the money together.
Along with that I'd like to replace all the front bushings. I need to find out where to get the kits for those. Not exactly sure what they're called but I'll figure it out.
I'm also always trying to get the ride softer. I've gotten some info on that, using air bags in the front and rear. One thing I've never understood was seeing the trucks that have coil springs up front, in these years, and yet mine doesn't have them. I've got leafs up front. So that's on the agenda as well. Getting the ride smoother and softer.
There's much more little things I'm looking into:
Possibly putting projectors in with HIDS
Replacing the front trims, grill, headlight trims, etc
Painting the truck - Probably no time soon!
Changing out the side mirrors, I hate these large ones.
New Shocks
New Tires - going to 33's in an all terrain instead of the big 35's in mud like I have now.
But before all that happens, or while that happens, I'm working on a huge audio project. This is the plan, it's already in the works:
Custom built center console removing the center bench seat consisting of:
Samsung Galaxy 10.1 Tablet
2 - 8" DC Audio M2 Subs for mid bass
1 - HDMI Converter for the tablet
1 - 10" HDMI video monitor in the back for the rear seat viewers
Custom Built Center Roof Console consisting of:
Pioneer DEH-80PRS
relocation of the HVAC controls (I'd like to change these to a digital controller but I'm not sure how or if that's even possible.)
LED Cabin Lights for front and back
Custom Front Door Panels Consisting of:
1 - Soundstream SST Pro Super Tweeter
2 - Soundstream SM.654P 6.5" Pro Mid Range
Custom Rear Door Panels Consisting of:
1 - Soundstream SST Pro Super Tweeter
1 - Soundstream SM.654P 6.5" Pro Mid Range
Custom Rear Seat Back Amp Rack, Removing the seat back and rebuilding it out of Birch Ply and foam to house fuse holders, ground blocks, and these amps:
1 - Soundstream Rubicon RUB 4.600 for front doors
1 - Soundstream Rubicon RUB 1.1600D for front mid bass
1 - Soundstream Rubicon RUB 4.600 for rear doors
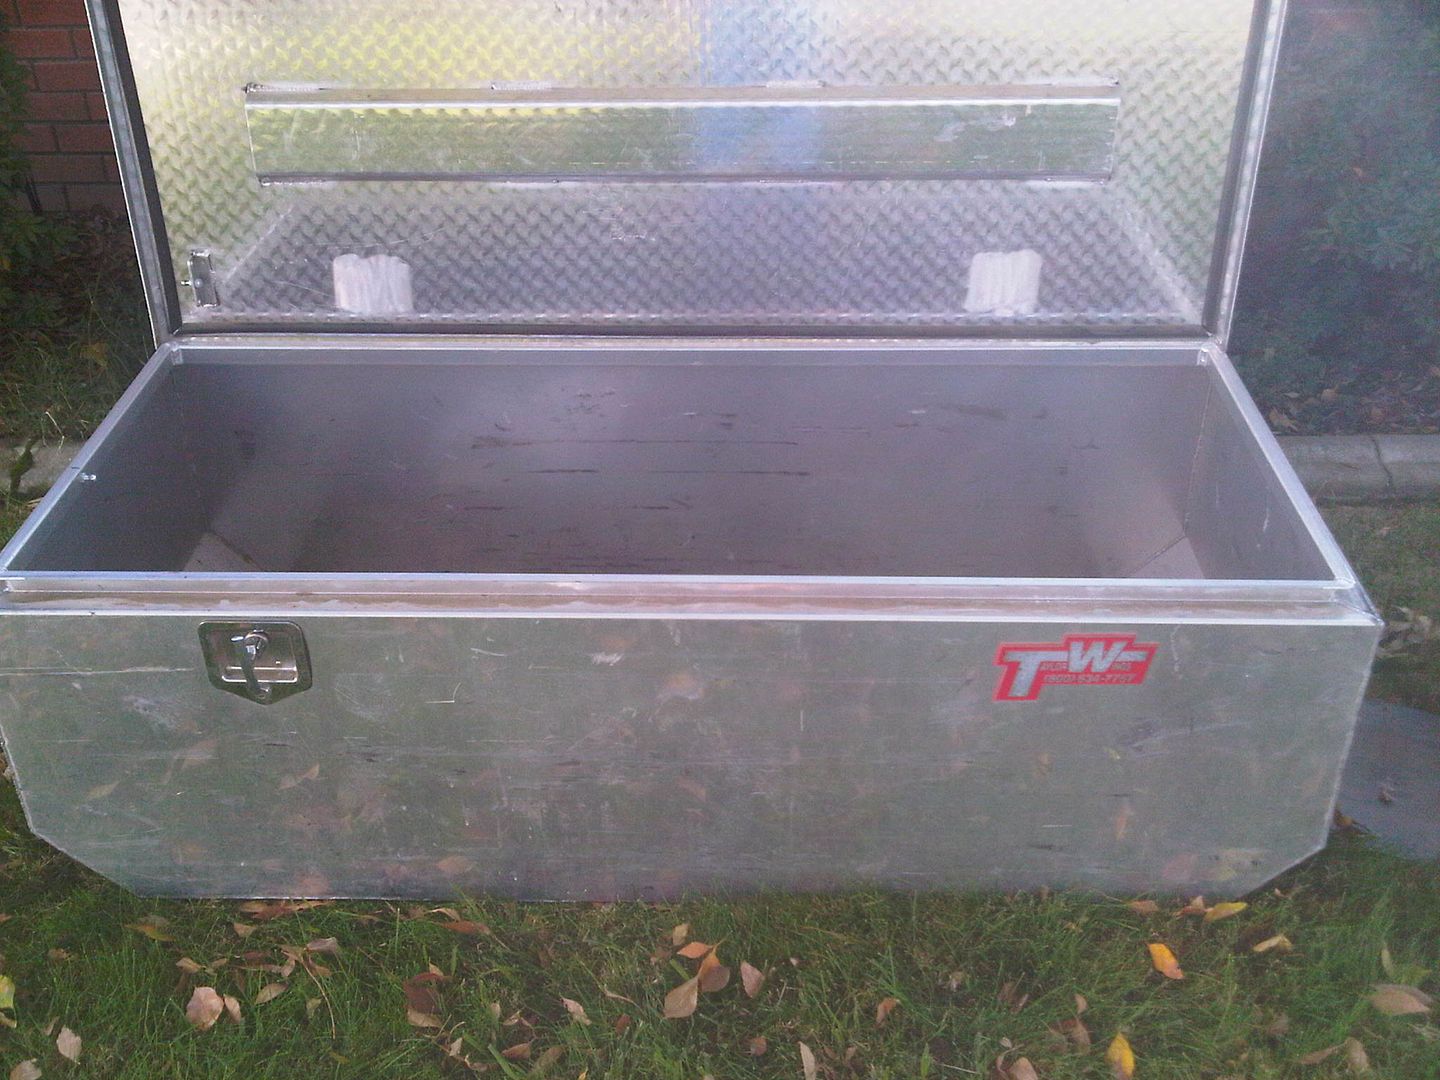
Custom Sub Box Blow Through using a truck tool box holding:
4 - DC Audio Level 4 M2 D2 12's
1 - 4th order enclosure
Custom Rear Wall Amp Rack With Blow Through Port to house:
2 - Soundstream Rubicon RUB 1.2500D's for the subs
Power will consist of 3 - XS Power D6500's. Not sure 100% of placement just yet but I'm pretty sure I can relocate a few things under the hood and get them all in there. I have ideas.
Doing a 3G swap on the alternator, although I doubt that will be enough. I'm also currently exploring a second alternator so maybe I can use two 3g's and get 270 amps out of them. I'm trying to do it as budget as I can.
Now all that's a huge project and will have to be done in phases obviously. SO in the mean time, I've started a little temporary build with the 2 8's, the Rubicon 1.1600, and the Rubicon 4.600. Pictures will follow. Almost forgot, to protect it all, I'm using a Zenesis ZN502 Auto Start Alarm. Also will have the auto up and down window modules. It's a good system.
Hope you all enjoy this, I know I'm excited to keep it all going.
Onto the pics!
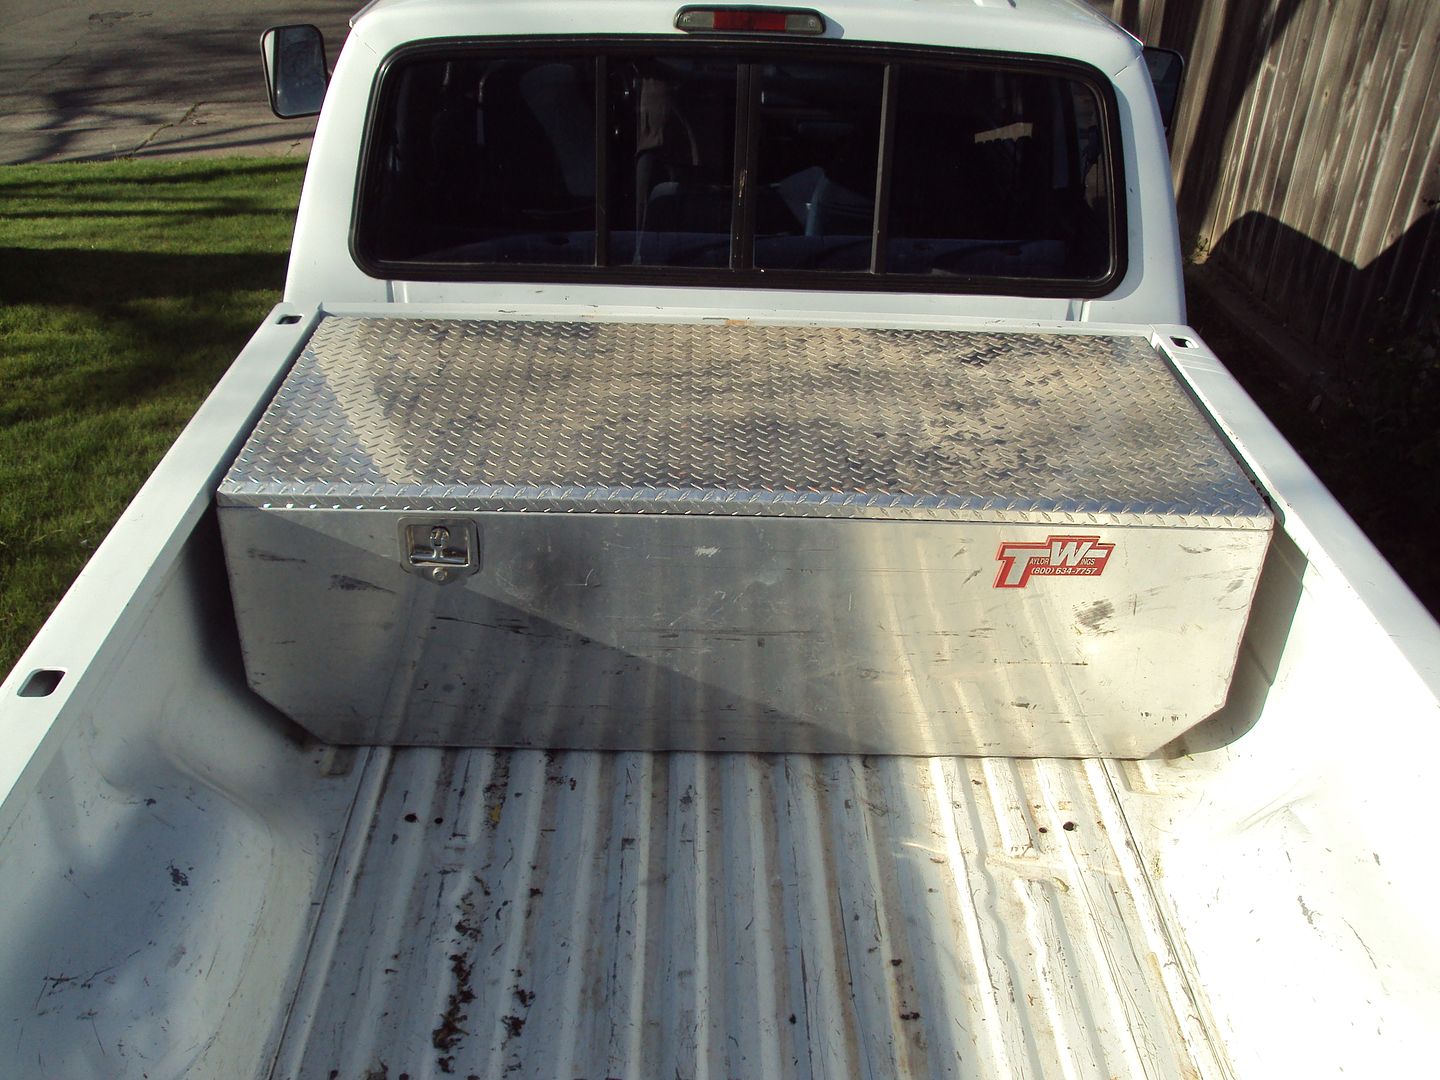
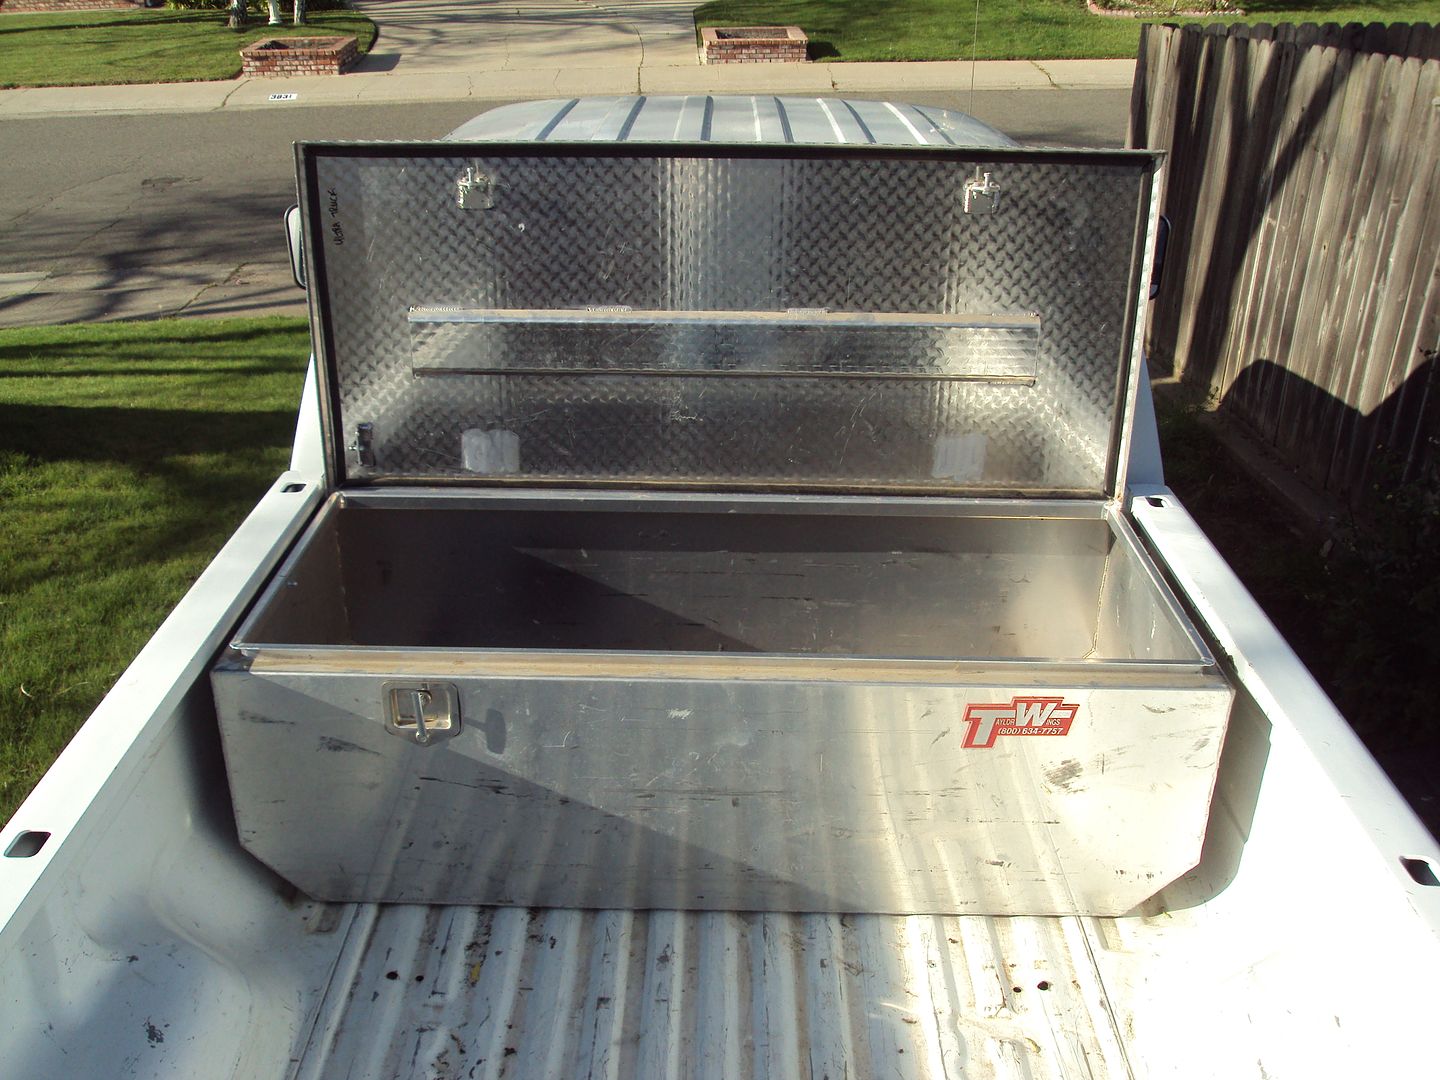
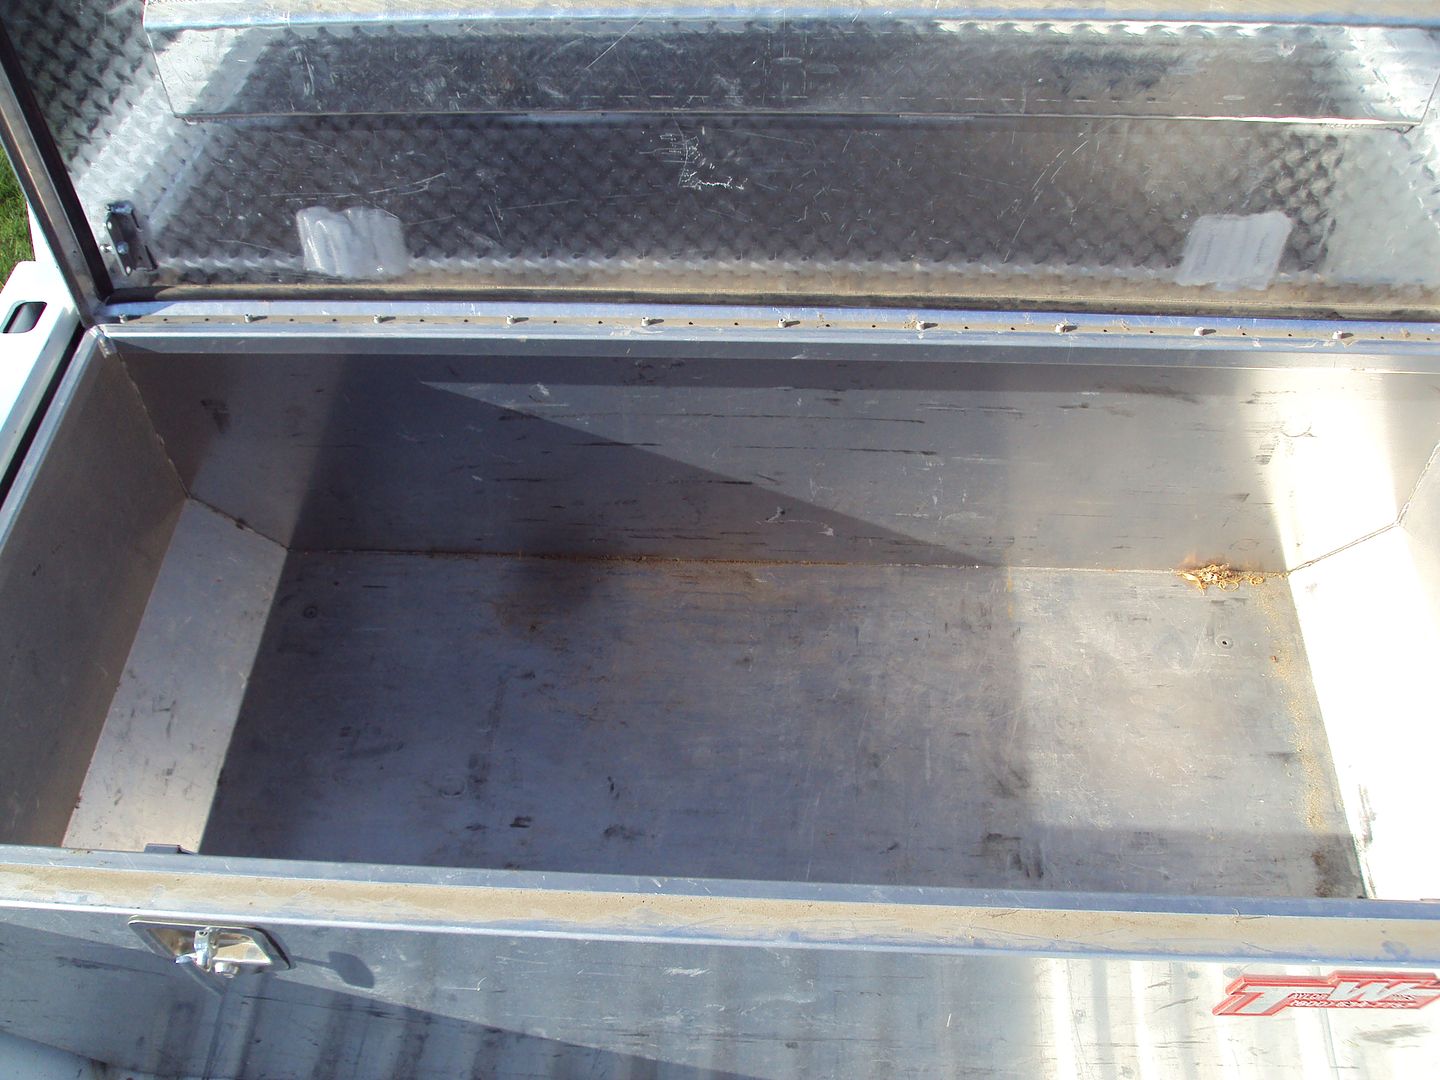
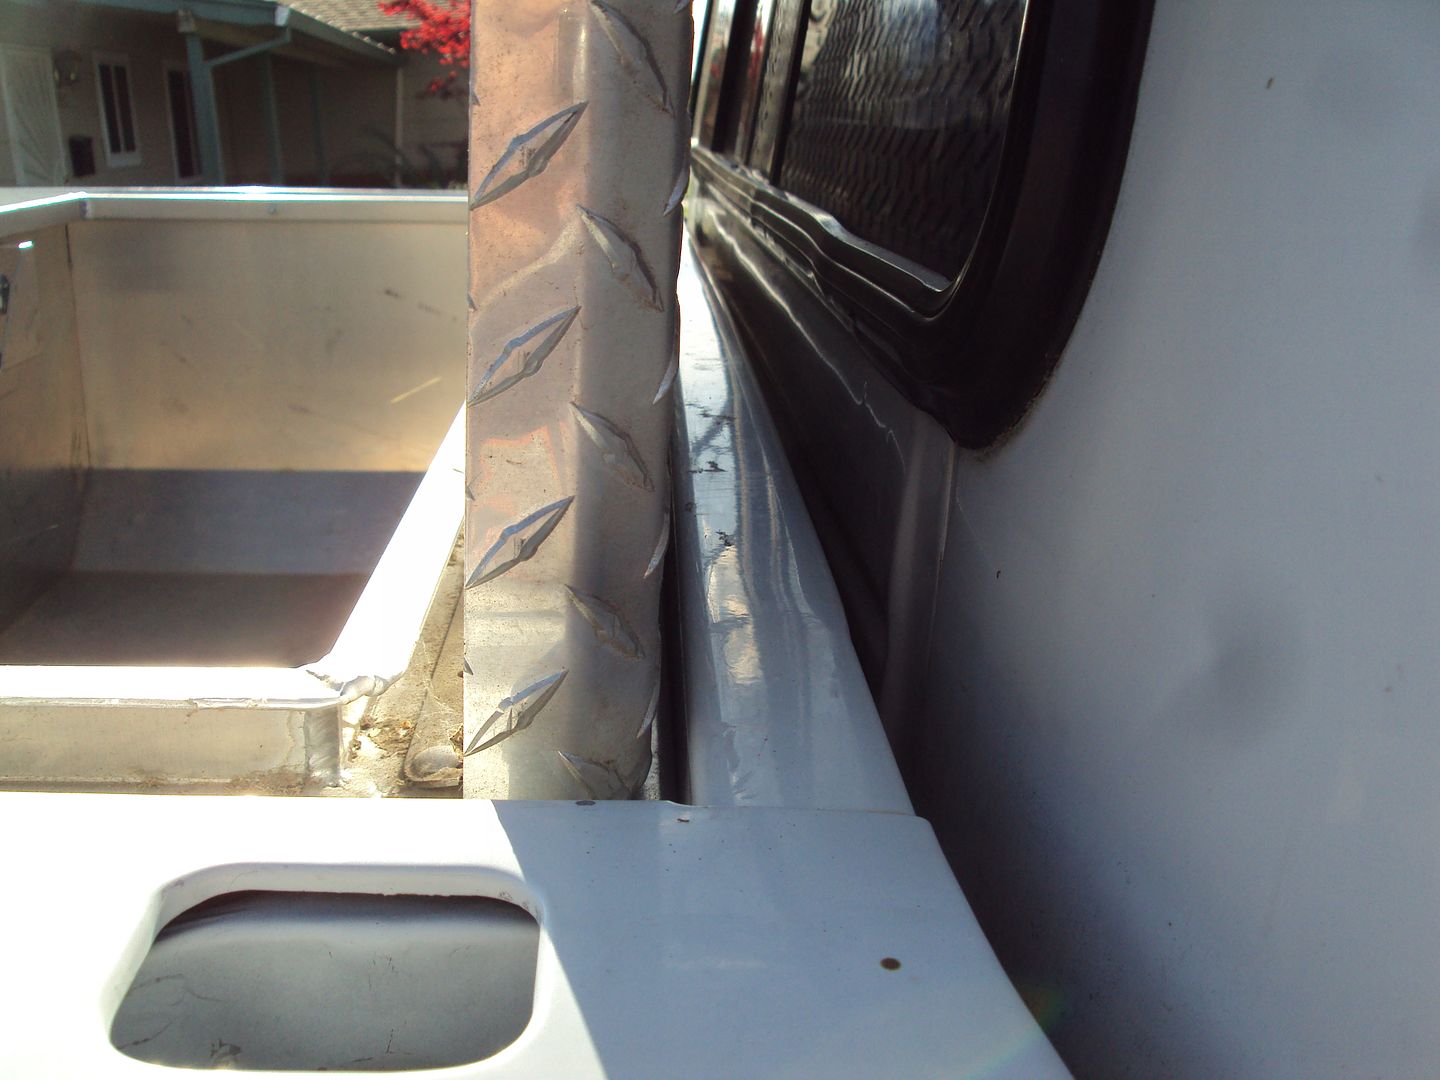
This is the Tool box that is going to be used for the blow through:
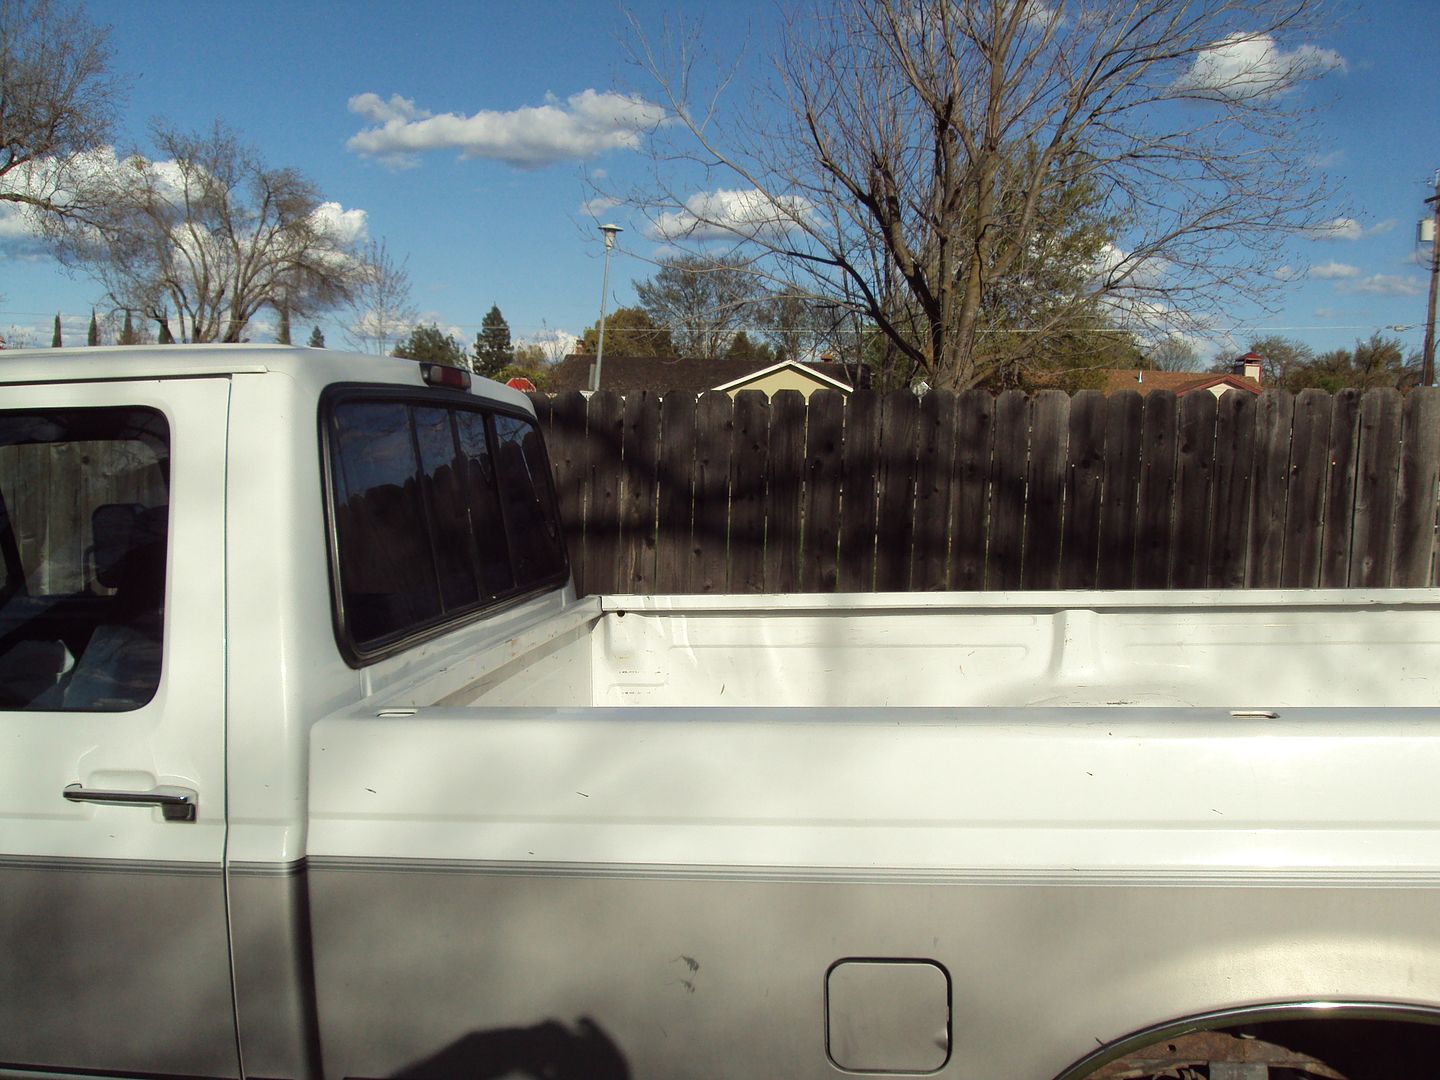
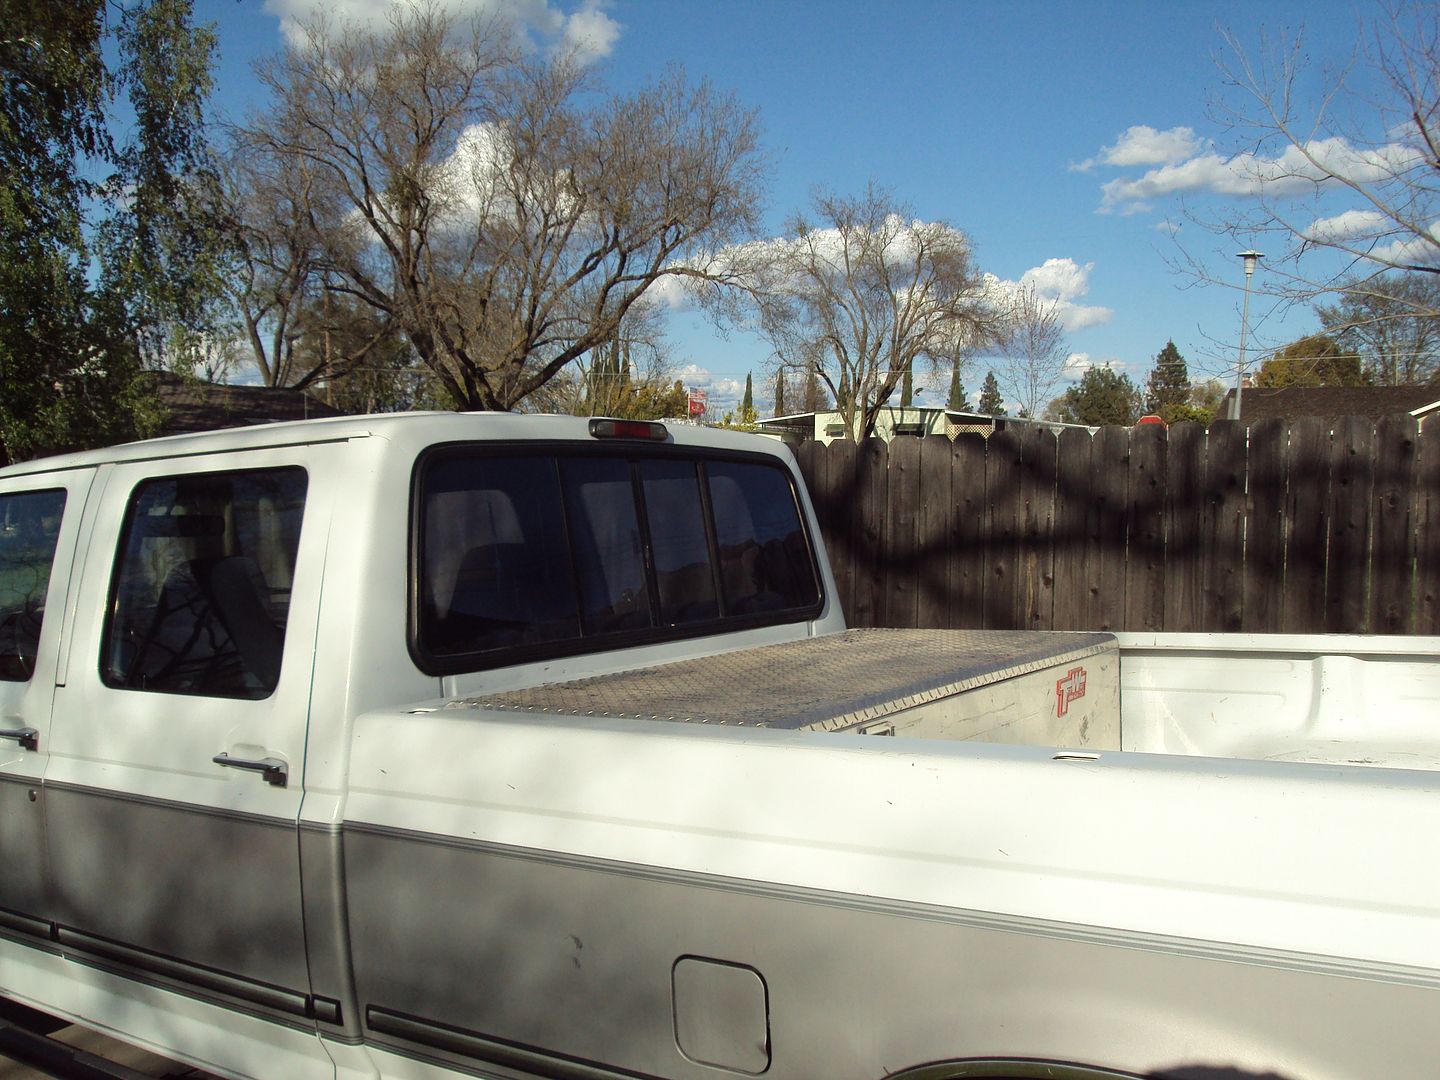
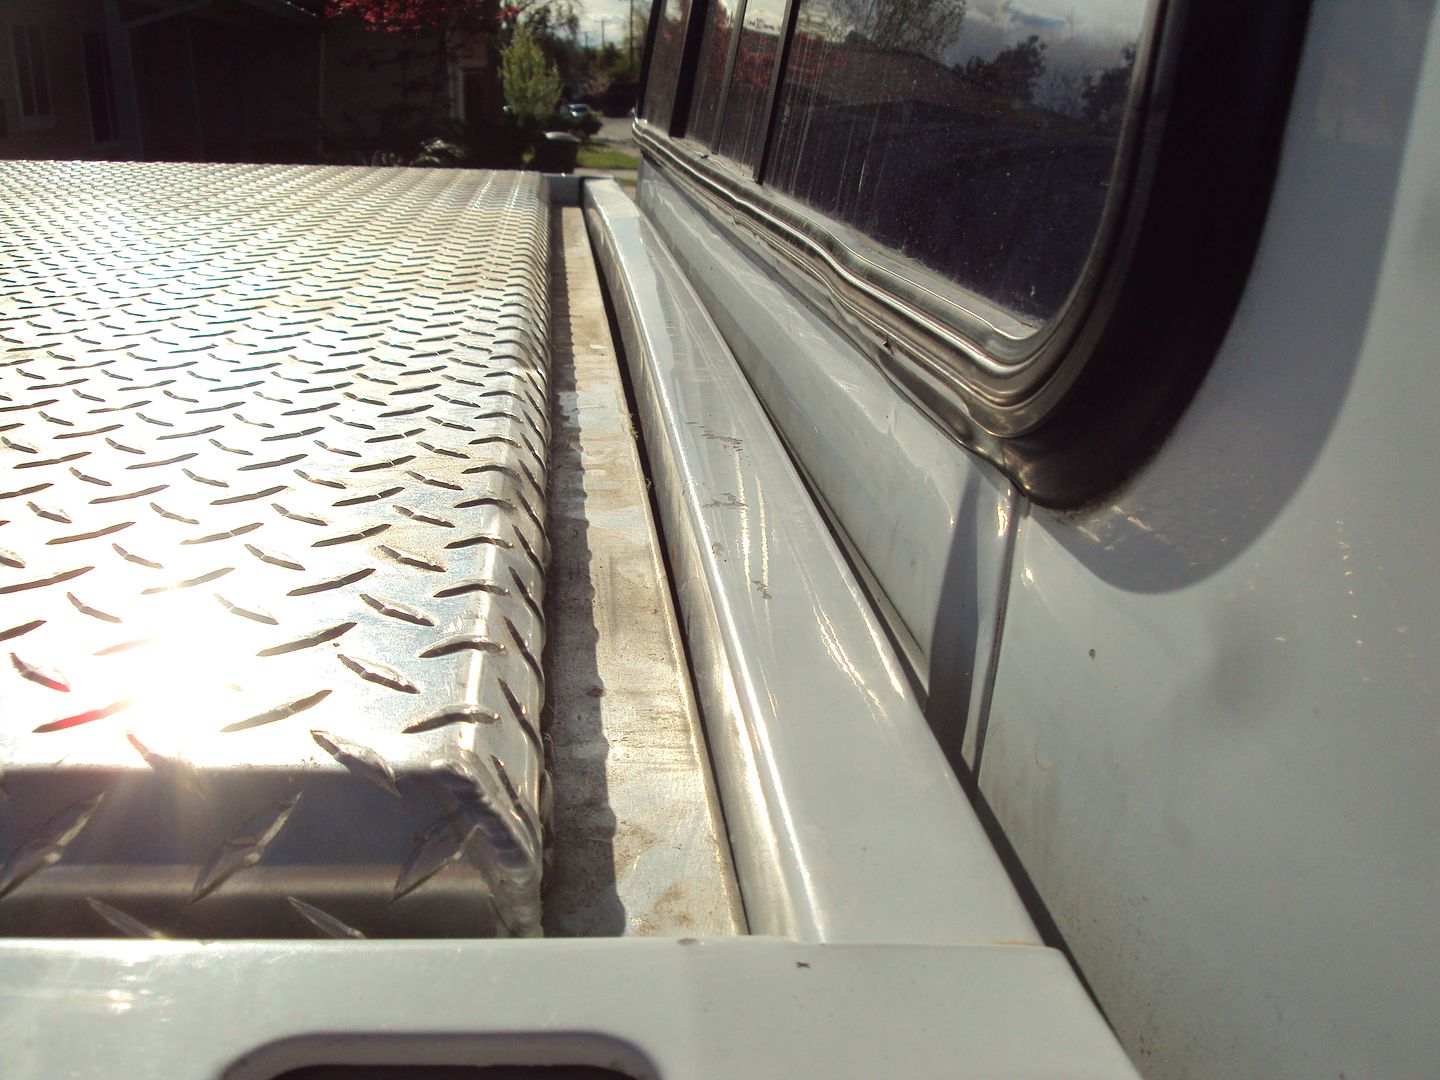
The truck bed
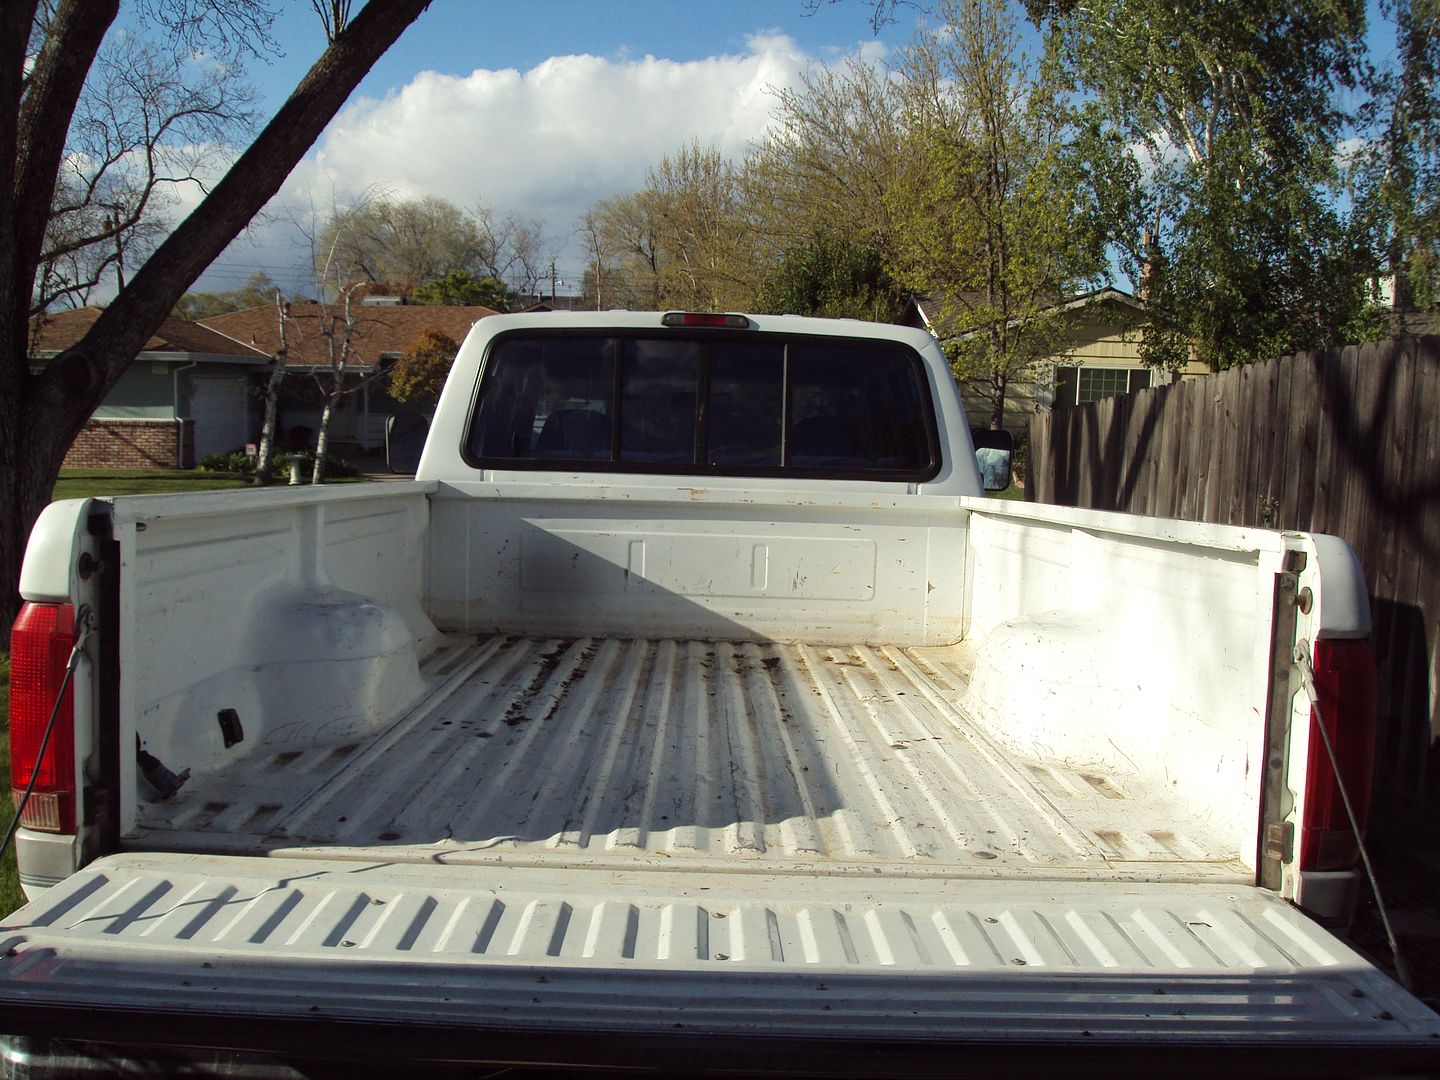
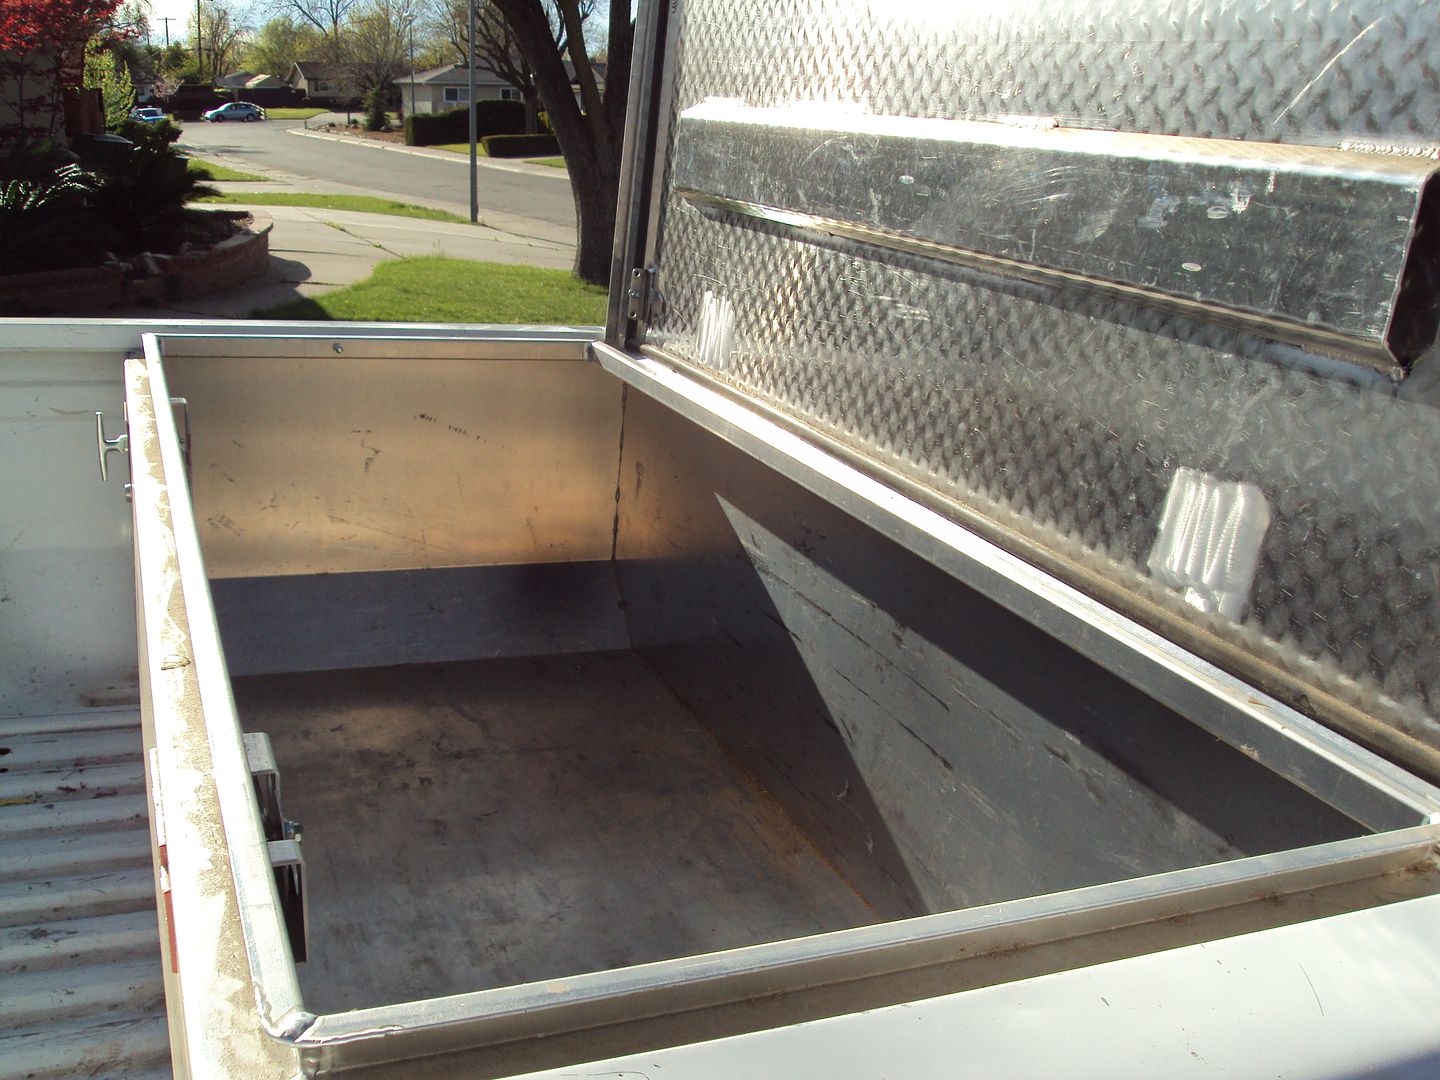
Box sitting in the bed.
Let me update the RSB valve thing. I got the valve on, and got the reservoir filled up and brakes bled and I still have the horribly sagging brake pedal which is driving me insane! I'm about at the point to just take it to the mechanic around the corner from work and have them deal with it. I'm about 95% sure I don't have air in the lines, but you never know. I've tried taking the fuse out and it never felt any different. Sometimes when I go out to start it up, the brake pedal is firm the way I think it should be. Then I start it, and there it goes to the floor. I do notice that now I hear a sucking sound coming from the master cylinder, like a plunging sound. I changed that last year as well. So I'm kind of at a loss.
On to other things. My next order of business on this truck is to get the steering box replaced. Now I could go out and buy a refurbished one, or get one from the yard, or something like that. But I'm looking at just getting a good one. Why? Cause I'm a little fearful of skimping. If I'm gonna change it I'd rather change it with good gear. So I'm looking at the Redhead Box. I emailed them and got the pricing and info, and now I need to get the money together.
Along with that I'd like to replace all the front bushings. I need to find out where to get the kits for those. Not exactly sure what they're called but I'll figure it out.
I'm also always trying to get the ride softer. I've gotten some info on that, using air bags in the front and rear. One thing I've never understood was seeing the trucks that have coil springs up front, in these years, and yet mine doesn't have them. I've got leafs up front. So that's on the agenda as well. Getting the ride smoother and softer.
There's much more little things I'm looking into:
Possibly putting projectors in with HIDS
Replacing the front trims, grill, headlight trims, etc
Painting the truck - Probably no time soon!
Changing out the side mirrors, I hate these large ones.
New Shocks
New Tires - going to 33's in an all terrain instead of the big 35's in mud like I have now.
But before all that happens, or while that happens, I'm working on a huge audio project. This is the plan, it's already in the works:
Custom built center console removing the center bench seat consisting of:
Samsung Galaxy 10.1 Tablet
2 - 8" DC Audio M2 Subs for mid bass
1 - HDMI Converter for the tablet
1 - 10" HDMI video monitor in the back for the rear seat viewers
Custom Built Center Roof Console consisting of:
Pioneer DEH-80PRS
relocation of the HVAC controls (I'd like to change these to a digital controller but I'm not sure how or if that's even possible.)
LED Cabin Lights for front and back
Custom Front Door Panels Consisting of:
1 - Soundstream SST Pro Super Tweeter
2 - Soundstream SM.654P 6.5" Pro Mid Range
Custom Rear Door Panels Consisting of:
1 - Soundstream SST Pro Super Tweeter
1 - Soundstream SM.654P 6.5" Pro Mid Range
Custom Rear Seat Back Amp Rack, Removing the seat back and rebuilding it out of Birch Ply and foam to house fuse holders, ground blocks, and these amps:
1 - Soundstream Rubicon RUB 4.600 for front doors
1 - Soundstream Rubicon RUB 1.1600D for front mid bass
1 - Soundstream Rubicon RUB 4.600 for rear doors
Custom Sub Box Blow Through using a truck tool box holding:
4 - DC Audio Level 4 M2 D2 12's
1 - 4th order enclosure
Custom Rear Wall Amp Rack With Blow Through Port to house:
2 - Soundstream Rubicon RUB 1.2500D's for the subs
Power will consist of 3 - XS Power D6500's. Not sure 100% of placement just yet but I'm pretty sure I can relocate a few things under the hood and get them all in there. I have ideas.
Doing a 3G swap on the alternator, although I doubt that will be enough. I'm also currently exploring a second alternator so maybe I can use two 3g's and get 270 amps out of them. I'm trying to do it as budget as I can.
Now all that's a huge project and will have to be done in phases obviously. SO in the mean time, I've started a little temporary build with the 2 8's, the Rubicon 1.1600, and the Rubicon 4.600. Pictures will follow. Almost forgot, to protect it all, I'm using a Zenesis ZN502 Auto Start Alarm. Also will have the auto up and down window modules. It's a good system.
Hope you all enjoy this, I know I'm excited to keep it all going.
Onto the pics!
This is the Tool box that is going to be used for the blow through:
The truck bed
Box sitting in the bed.
#25
06-12-2012, 01:23 PM
Join Date: May 2011
Posts: 339
Likes: 0
Received 0 Likes
on
0 Posts
Here is the 4th order box design I did on sketch up that will go inside this truck box. The reason I decided on a 4th order design over a standard ported design was the amount of cabin I was going to have to cut out. In order to do the ported design, I was going to have to remove all but about 2" out of the entire back cabin wall, and bed wall. That just wasn't sitting well with me. However, I want major boom, and I want a nice design. So I decided blow through was really my best option.
So I designed the 4th order and now instead of the entire back wall, I've only got about a 12" x 14" hole coming out of the center for the port. Win win situation! 4th order is going to be louder, and I achieve my goal as well as am satisfied with the amount of wall I have to cut out. So here are those designs.
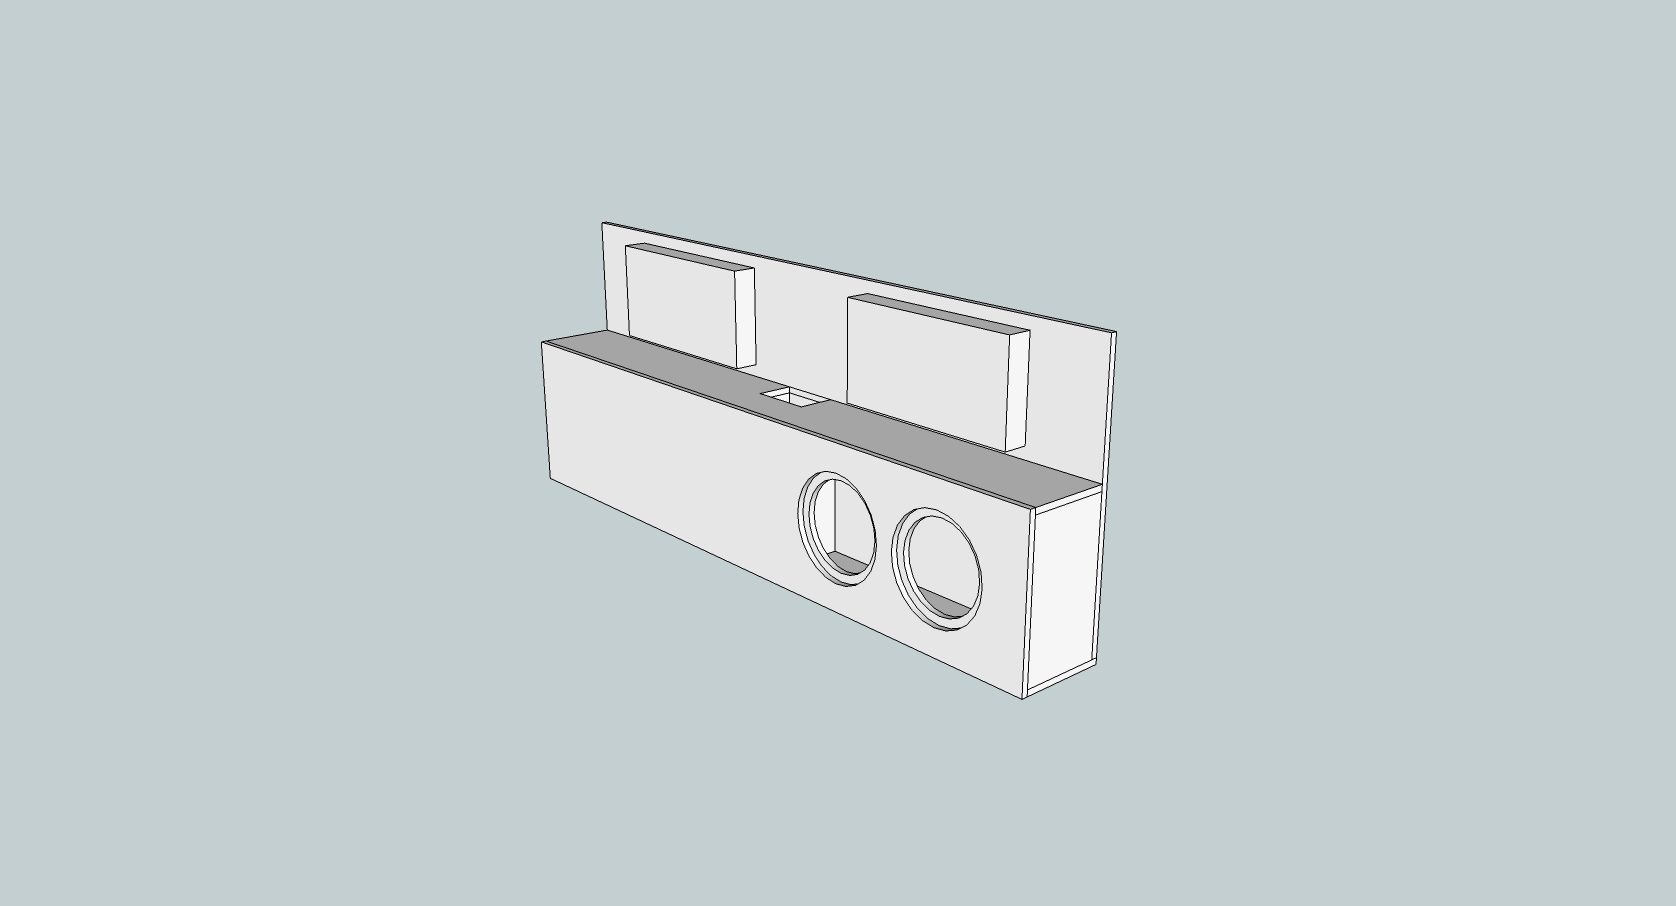
I actually went through three different designs before I got to this point. This is the final design with angled baffles.
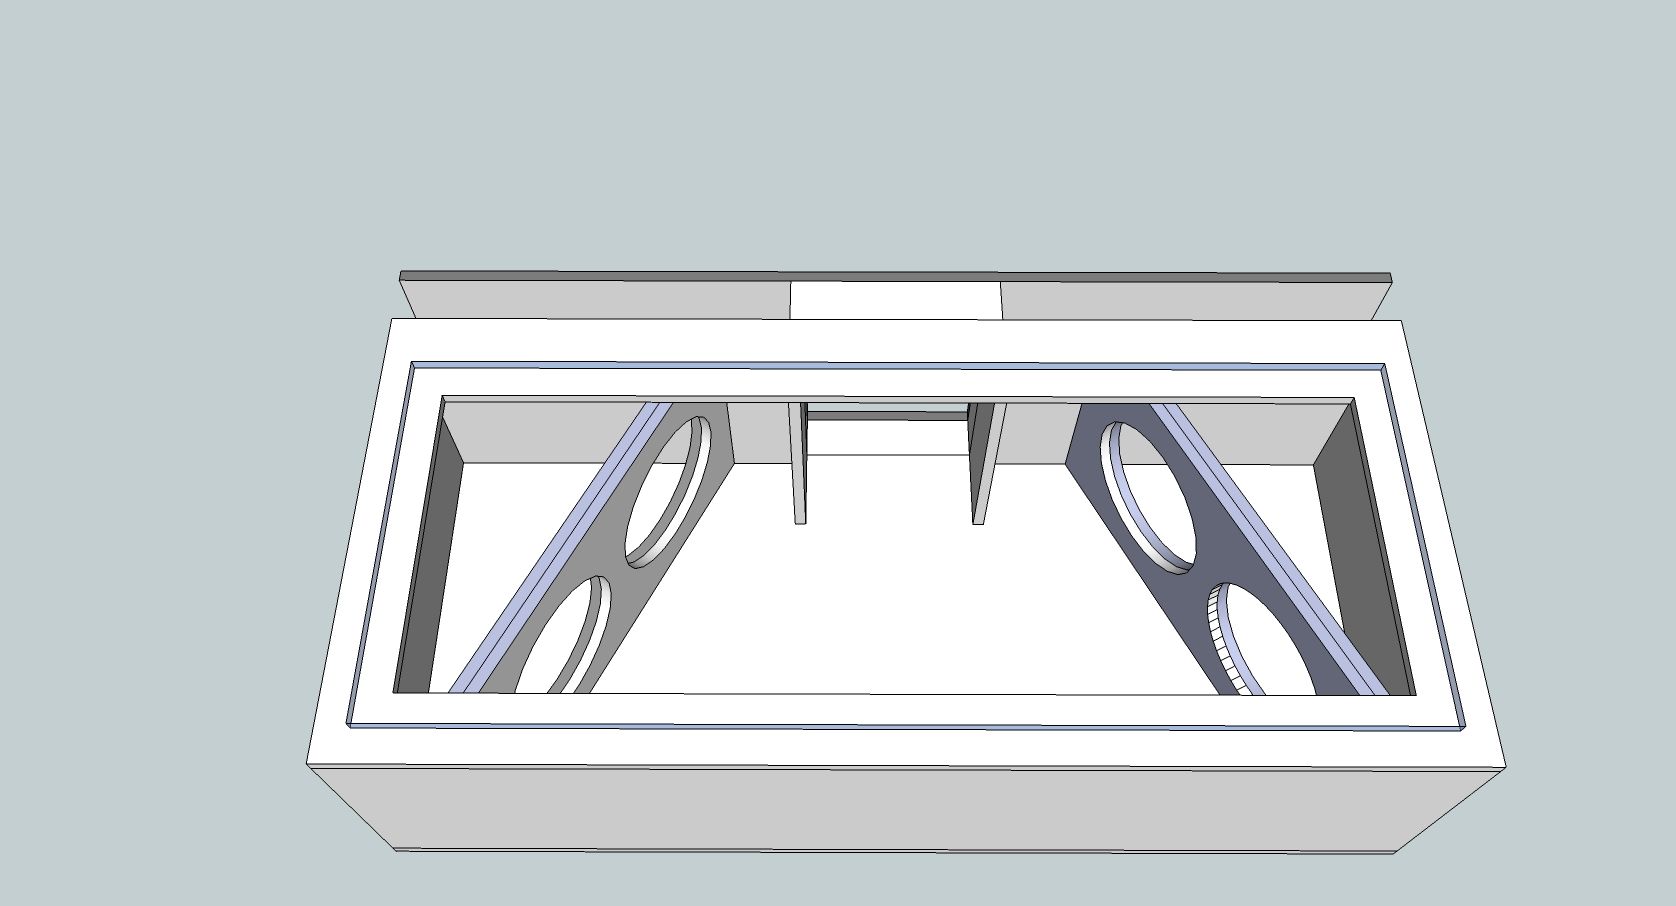
Plexi top on it so you can see through it to the sexy subs when you open the truck box.
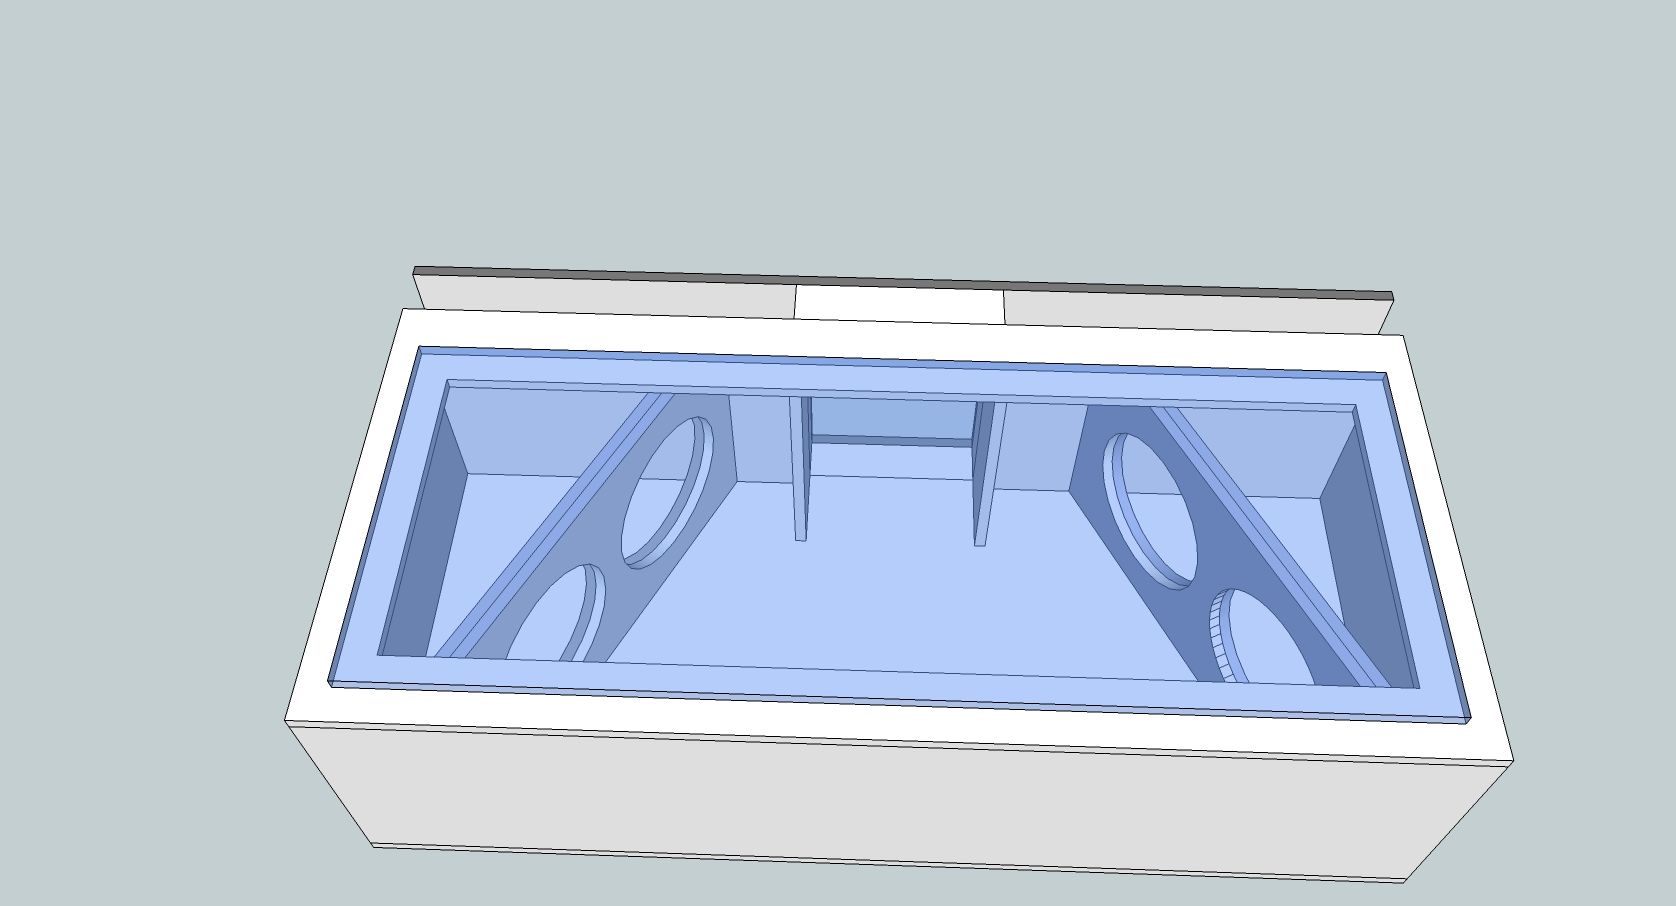
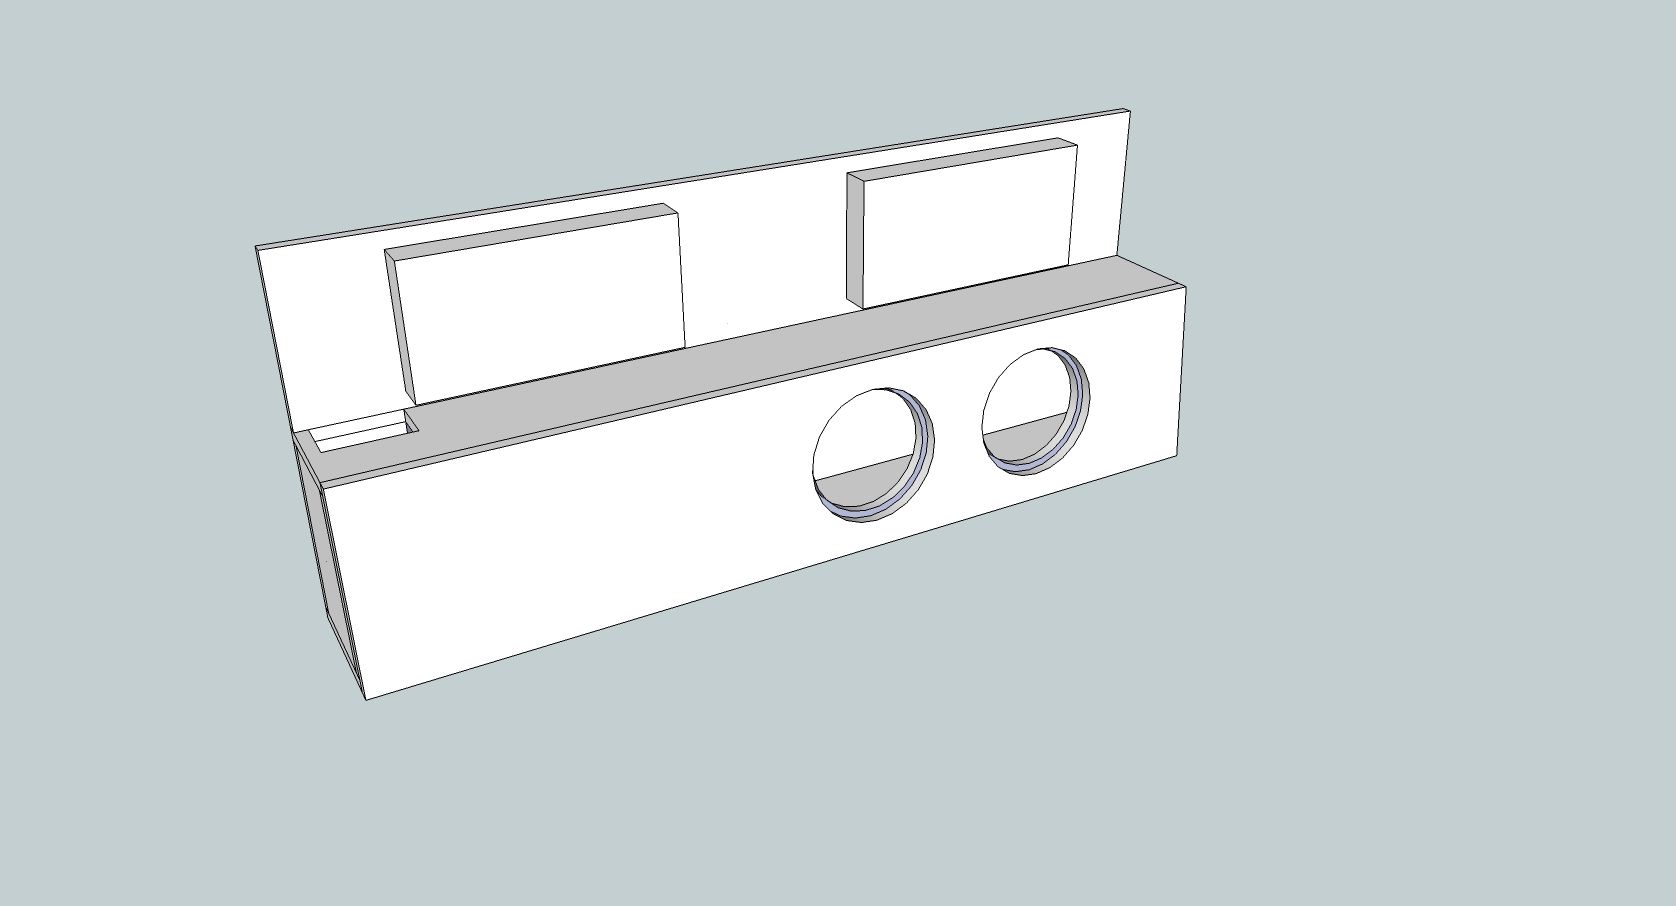
On the inside of the truck, this is what you'll see. Two Soundstream Rubicon 1.2500D's with the port in the middle.
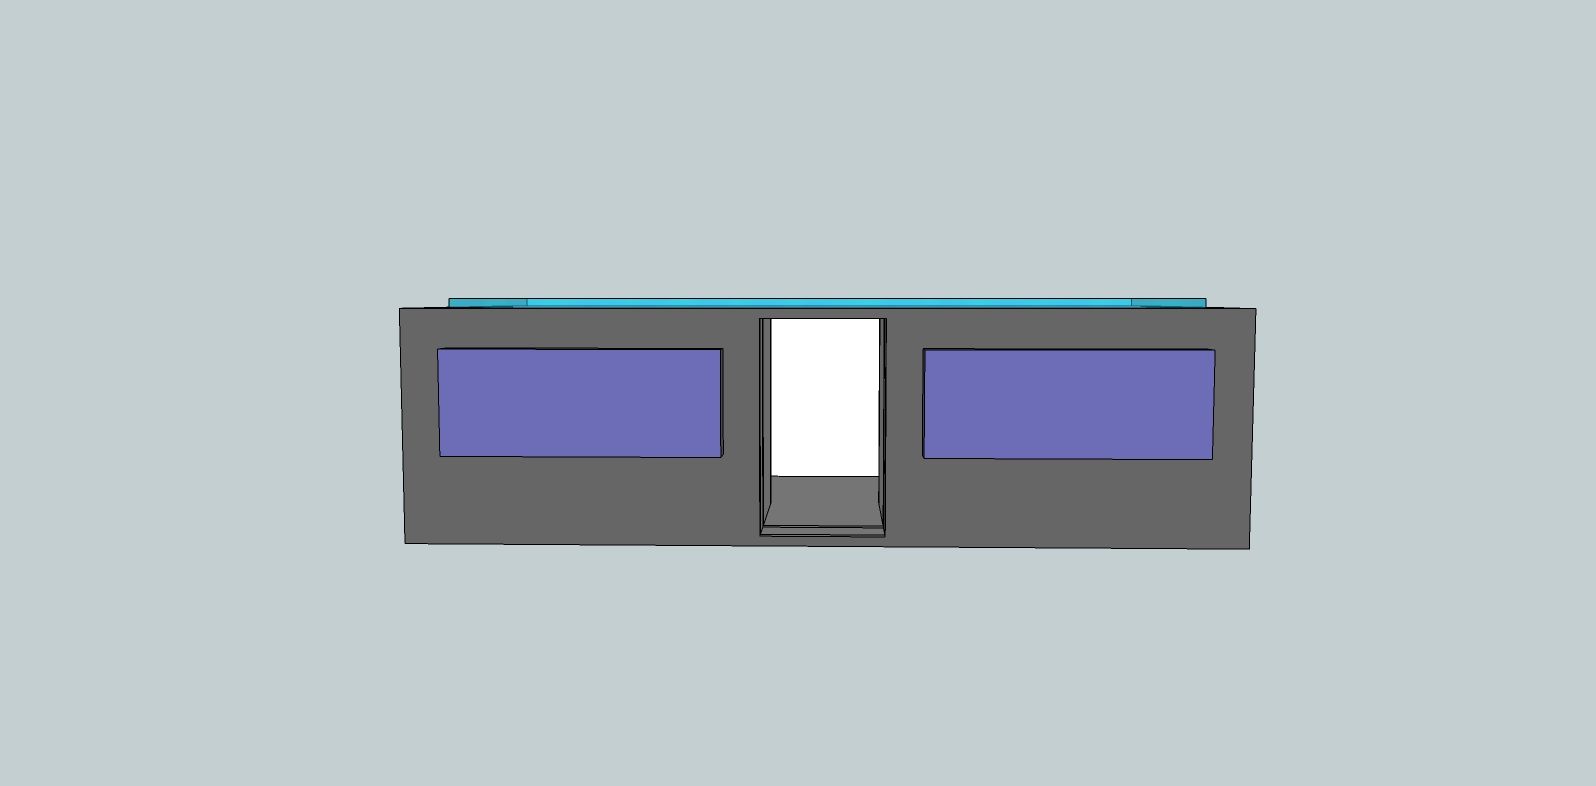
Very happy with this design. Can't wait to get it started. What I've decided to do, is cut the back face of the truck box off, the part facing the back bed wall. Then I'm going to build the box outside of it, and slide it in so I can be 100% sure it's all sealed up and solid. Then I'll have to figure out how to reattach that wall and seal it up tight.
The part on the inside, the wall, will be separate as well and will have the port built into it. So the port will go into the enclosure when the wall is put on. Otherwise it's going to be a pain to get that box in the back of the truck cause it has to go down at an angle and twist in so to speak. This will prevent any issues with loading it in.
The next design is basically how the back seat amp rack will look. Won't go into too much detail on this, but it's basically going to be a rebuild on the seat back, then covered with foam on the front so it's soft enough to ride on, but solid enough to hold the amps.
The black pieces are going to be custom made fuse holders and ground blocks.
So that's basically all the designs I have, oh wait I think I have one for the center console. Let me look.
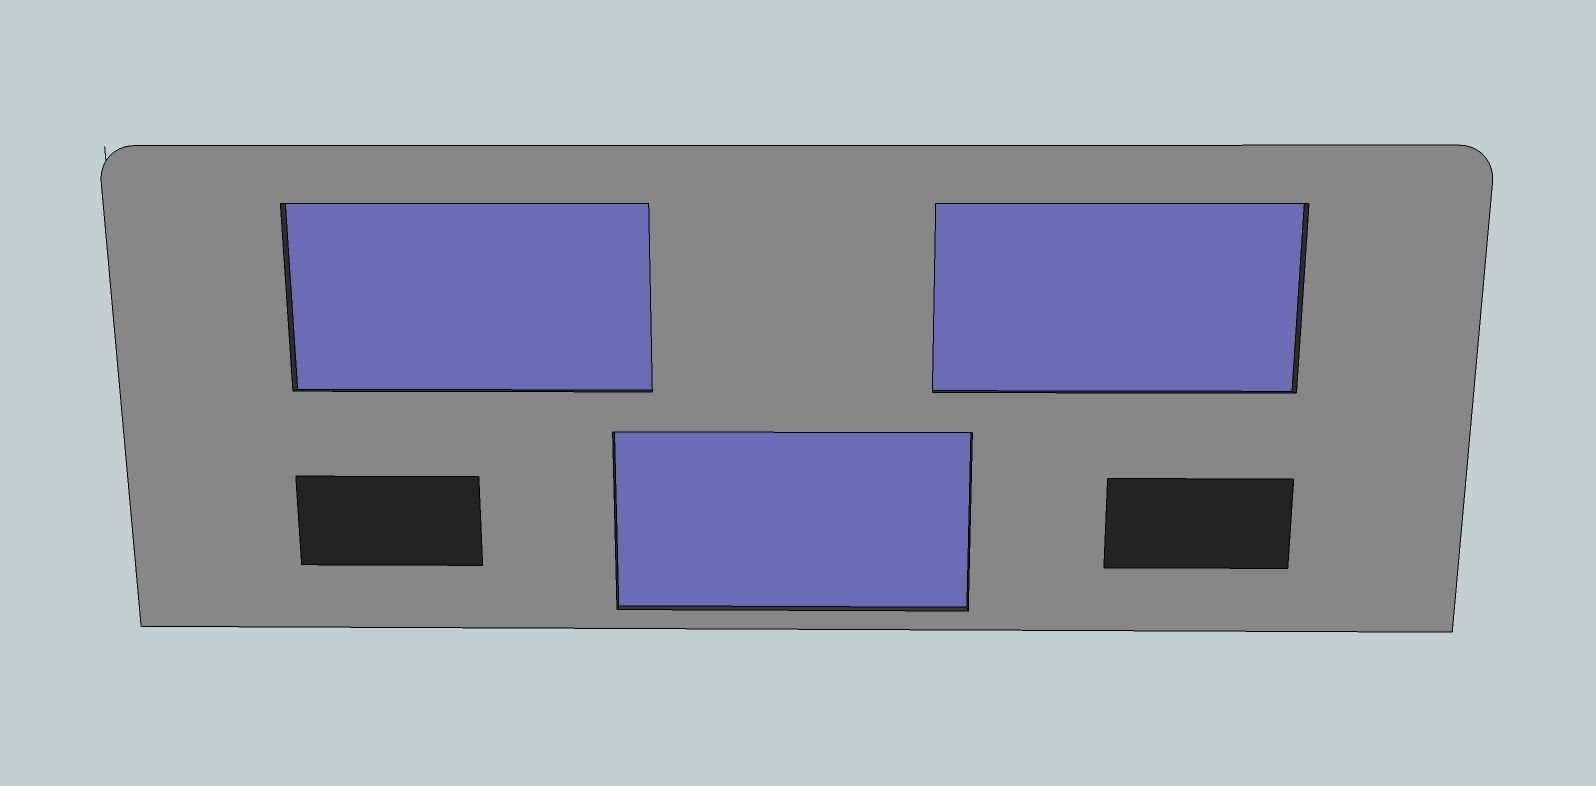
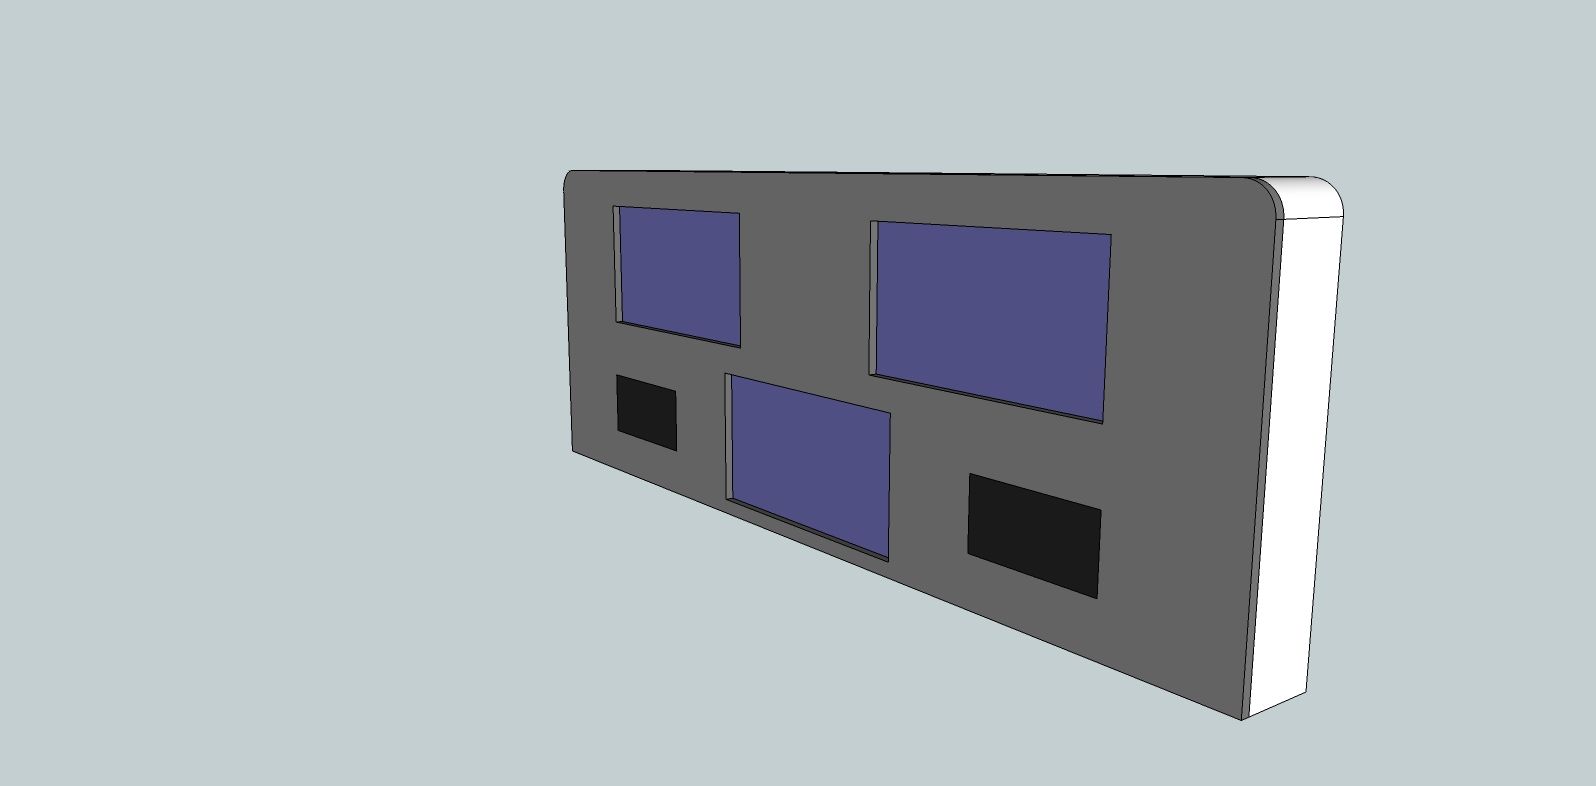
Ok so basically this is what it's going to be. This was before I decided to make the roof center console so you're going to see the radio on this one below the tablet.
This is the view from the back seat
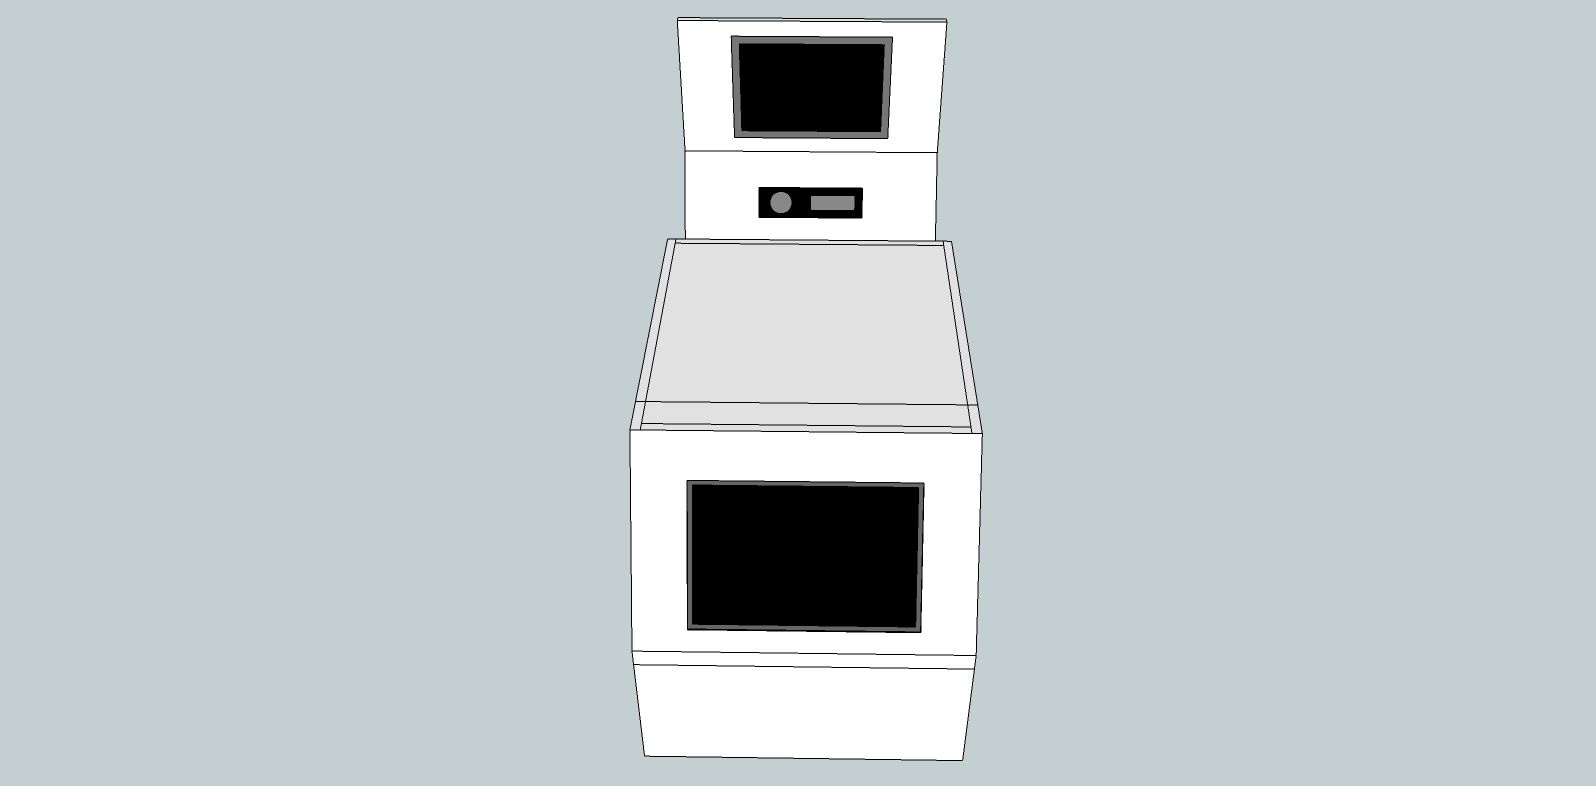
Upper view. I may also put all the switches in there too, meaning the window switches, door lock switches etc. Probably going to remove them from the doors.
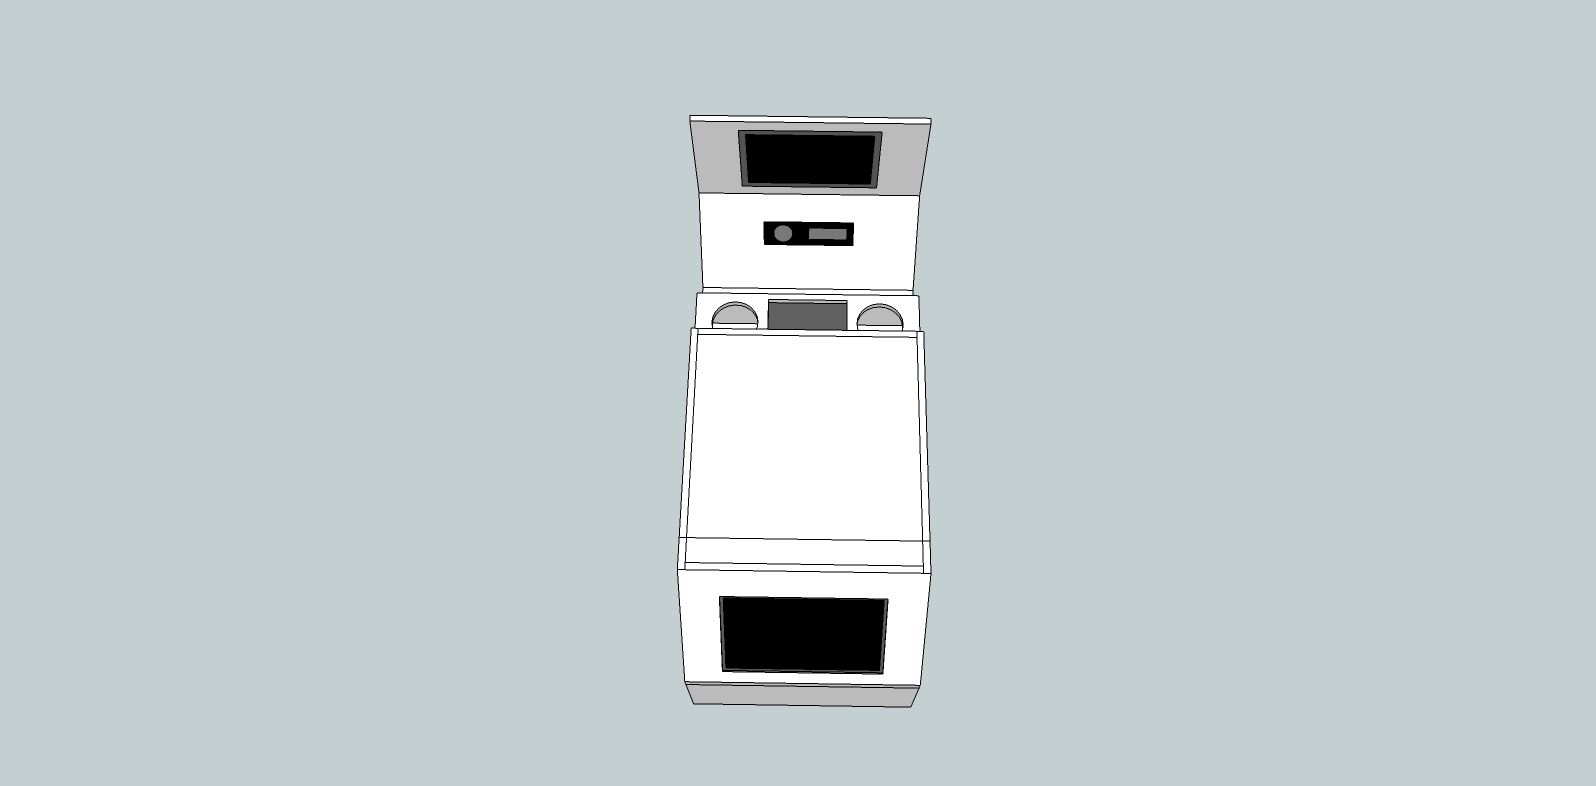
Side view
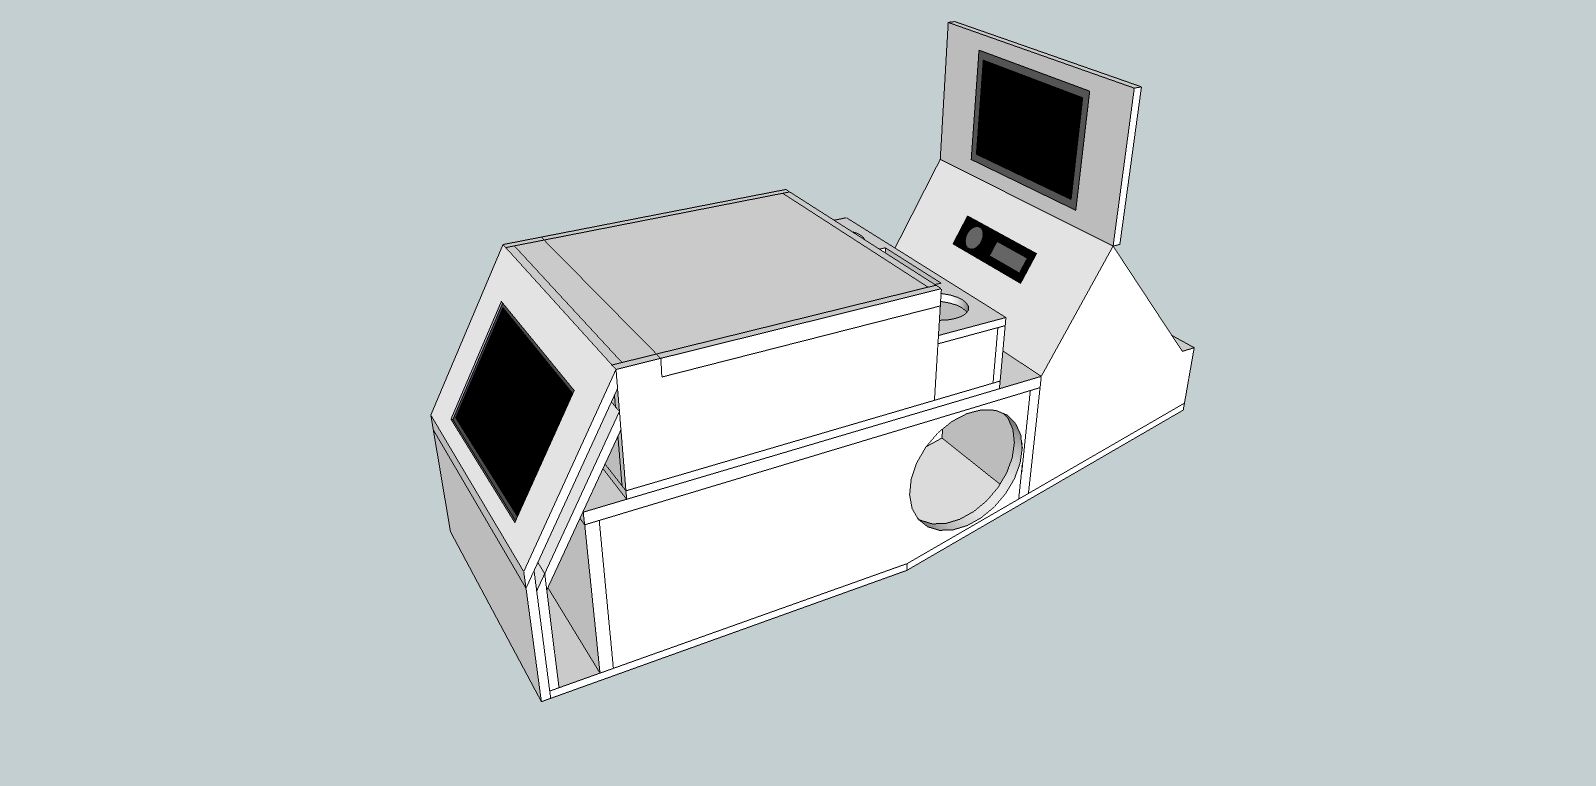
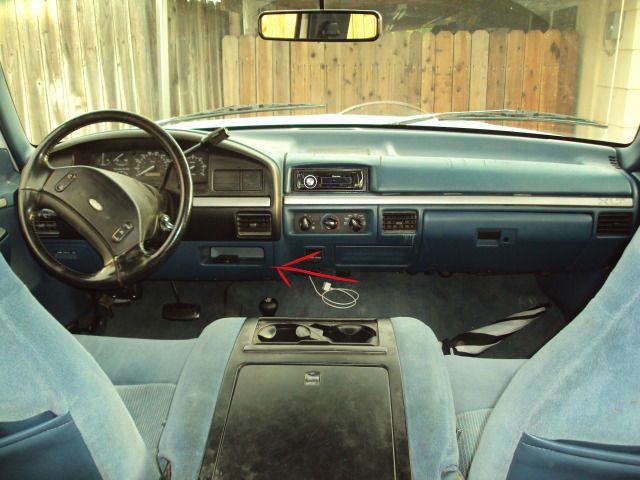
Real view of the actual area. Disregard that red arrow, I was doing something else there.
So that's about all for the designs I have. Next I'll get started on the current temporary build.
So I designed the 4th order and now instead of the entire back wall, I've only got about a 12" x 14" hole coming out of the center for the port. Win win situation! 4th order is going to be louder, and I achieve my goal as well as am satisfied with the amount of wall I have to cut out. So here are those designs.
I actually went through three different designs before I got to this point. This is the final design with angled baffles.
Plexi top on it so you can see through it to the sexy subs when you open the truck box.
On the inside of the truck, this is what you'll see. Two Soundstream Rubicon 1.2500D's with the port in the middle.
Very happy with this design. Can't wait to get it started. What I've decided to do, is cut the back face of the truck box off, the part facing the back bed wall. Then I'm going to build the box outside of it, and slide it in so I can be 100% sure it's all sealed up and solid. Then I'll have to figure out how to reattach that wall and seal it up tight.
The part on the inside, the wall, will be separate as well and will have the port built into it. So the port will go into the enclosure when the wall is put on. Otherwise it's going to be a pain to get that box in the back of the truck cause it has to go down at an angle and twist in so to speak. This will prevent any issues with loading it in.
The next design is basically how the back seat amp rack will look. Won't go into too much detail on this, but it's basically going to be a rebuild on the seat back, then covered with foam on the front so it's soft enough to ride on, but solid enough to hold the amps.
The black pieces are going to be custom made fuse holders and ground blocks.
So that's basically all the designs I have, oh wait I think I have one for the center console. Let me look.
Ok so basically this is what it's going to be. This was before I decided to make the roof center console so you're going to see the radio on this one below the tablet.
This is the view from the back seat
Upper view. I may also put all the switches in there too, meaning the window switches, door lock switches etc. Probably going to remove them from the doors.
Side view
Real view of the actual area. Disregard that red arrow, I was doing something else there.
So that's about all for the designs I have. Next I'll get started on the current temporary build.
#26
06-12-2012, 01:27 PM
Join Date: May 2011
Posts: 339
Likes: 0
Received 0 Likes
on
0 Posts
This is the temporary build I'm currently working on. I'll get on with the pics, if you have any questions feel free to ask.
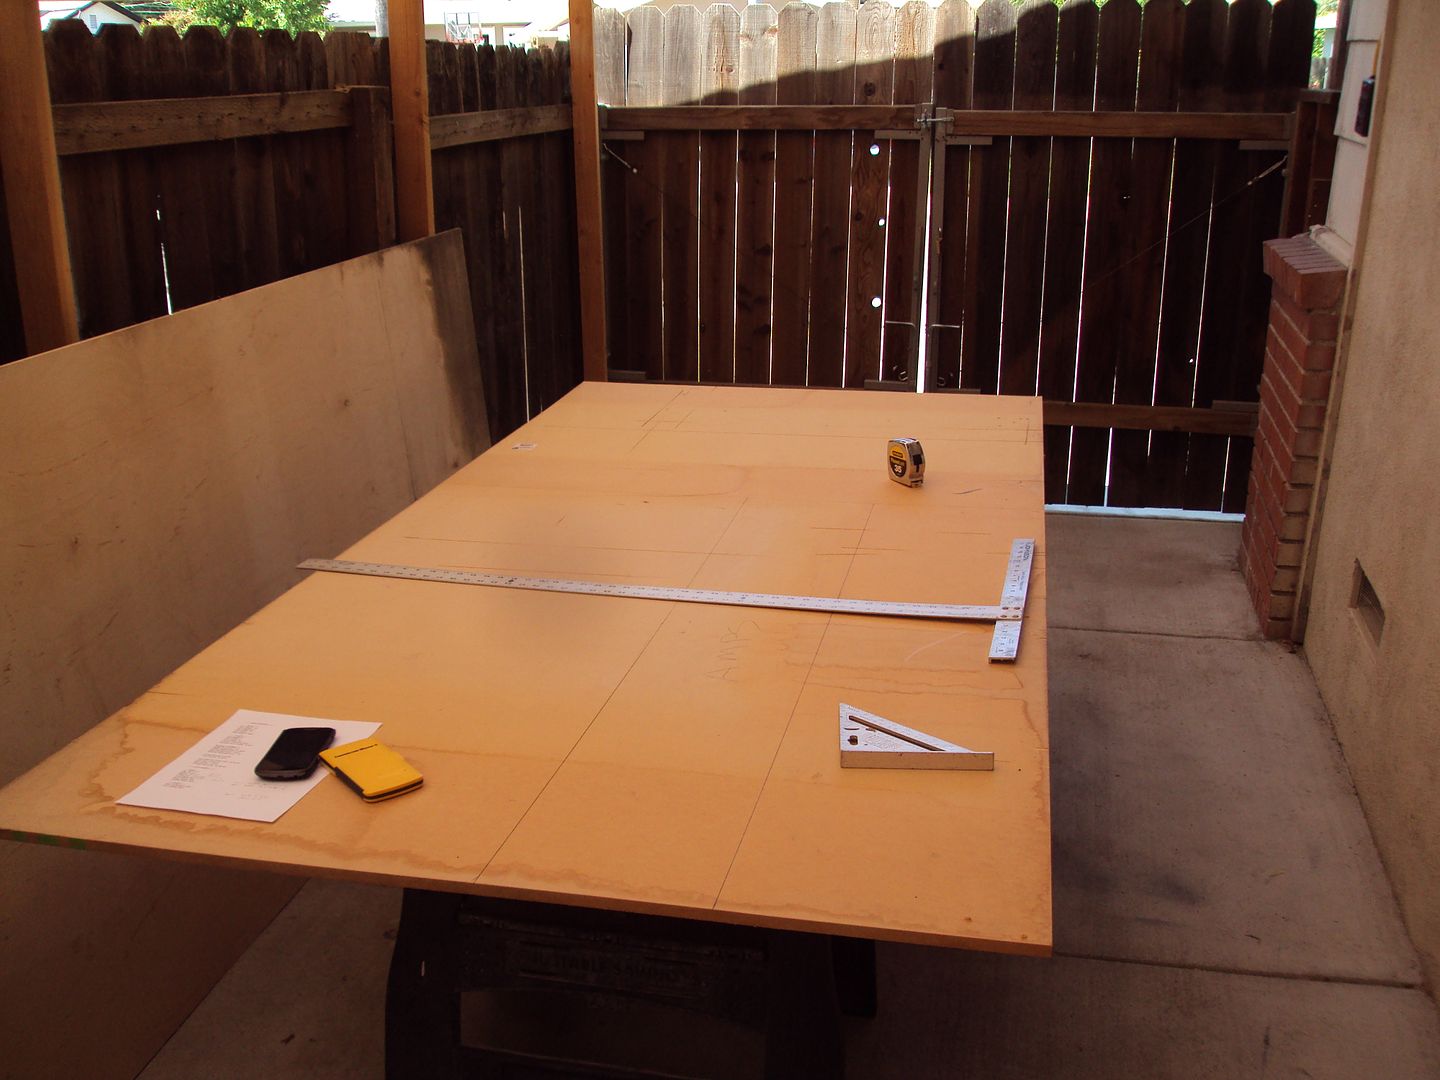
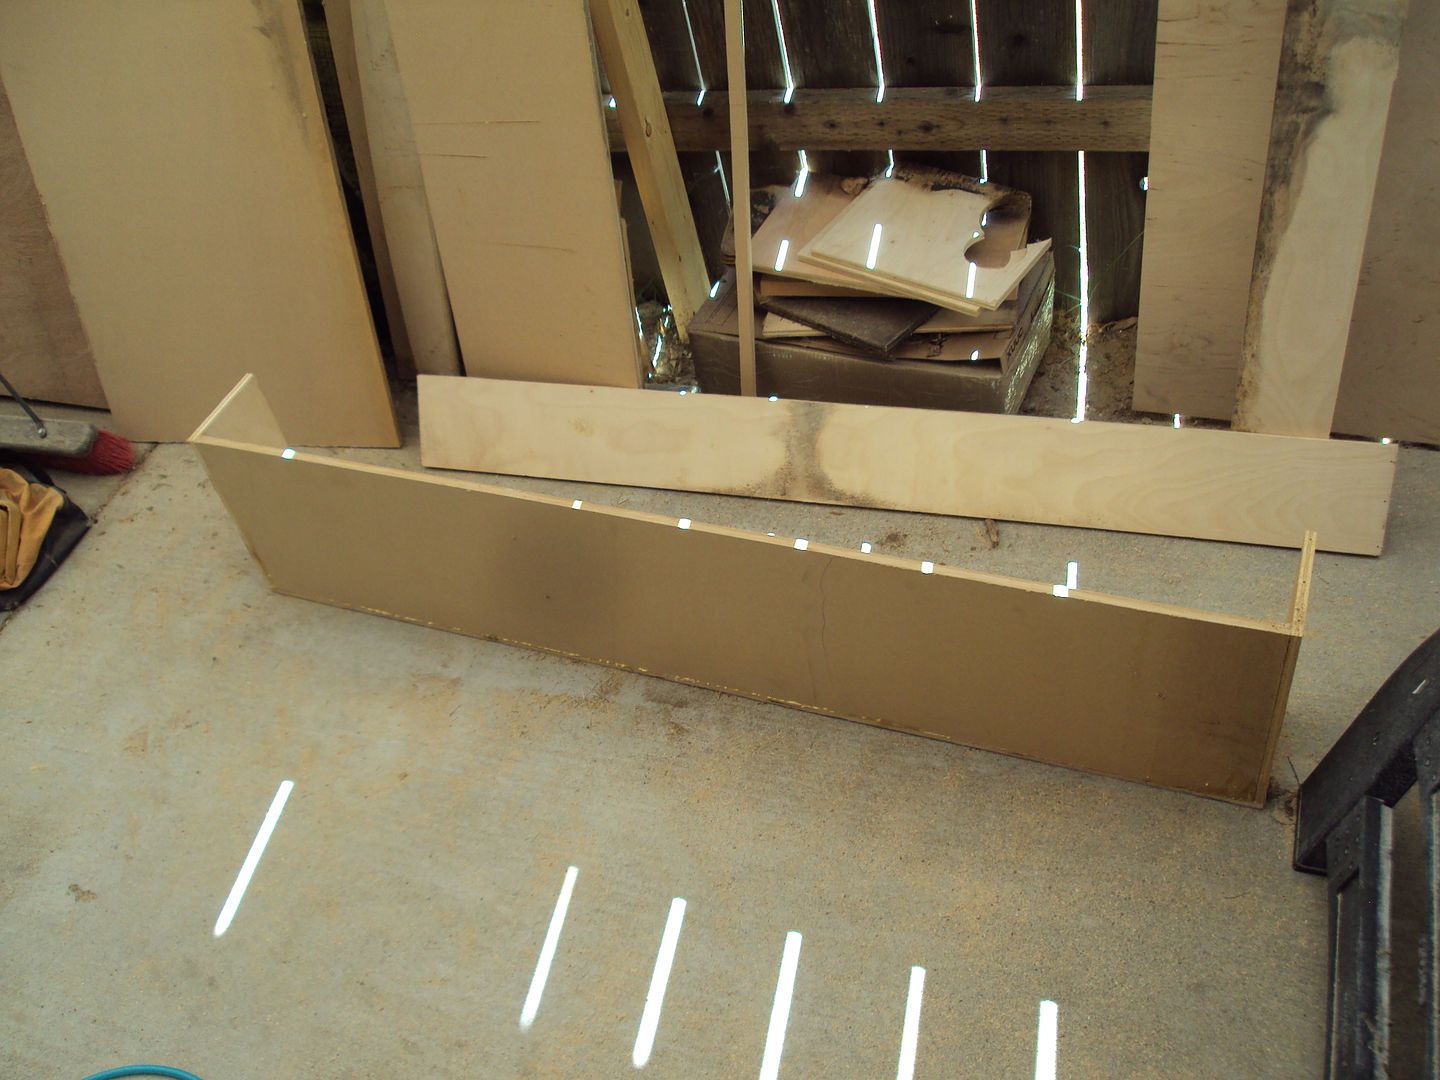
I'm basically building this box with any materials I have at home. I wasn't going to go out and buy a bunch of stuff for it. Usually i'd use 3/4" material, but 1/2" is all I had on hand that was big enough to get the job one. Bracing will help ensure it's good enough. I'm also using MDF and Birch. Like I said, with what I have on hand. On to the pics!
This is what the design was to start with. However I changed it after talking with some guys on my other forum, and decided that subs on the passenger side and the port on the driver would be way louder. But the design is the same.
#27
06-12-2012, 01:33 PM
Join Date: May 2011
Posts: 339
Likes: 0
Received 0 Likes
on
0 Posts
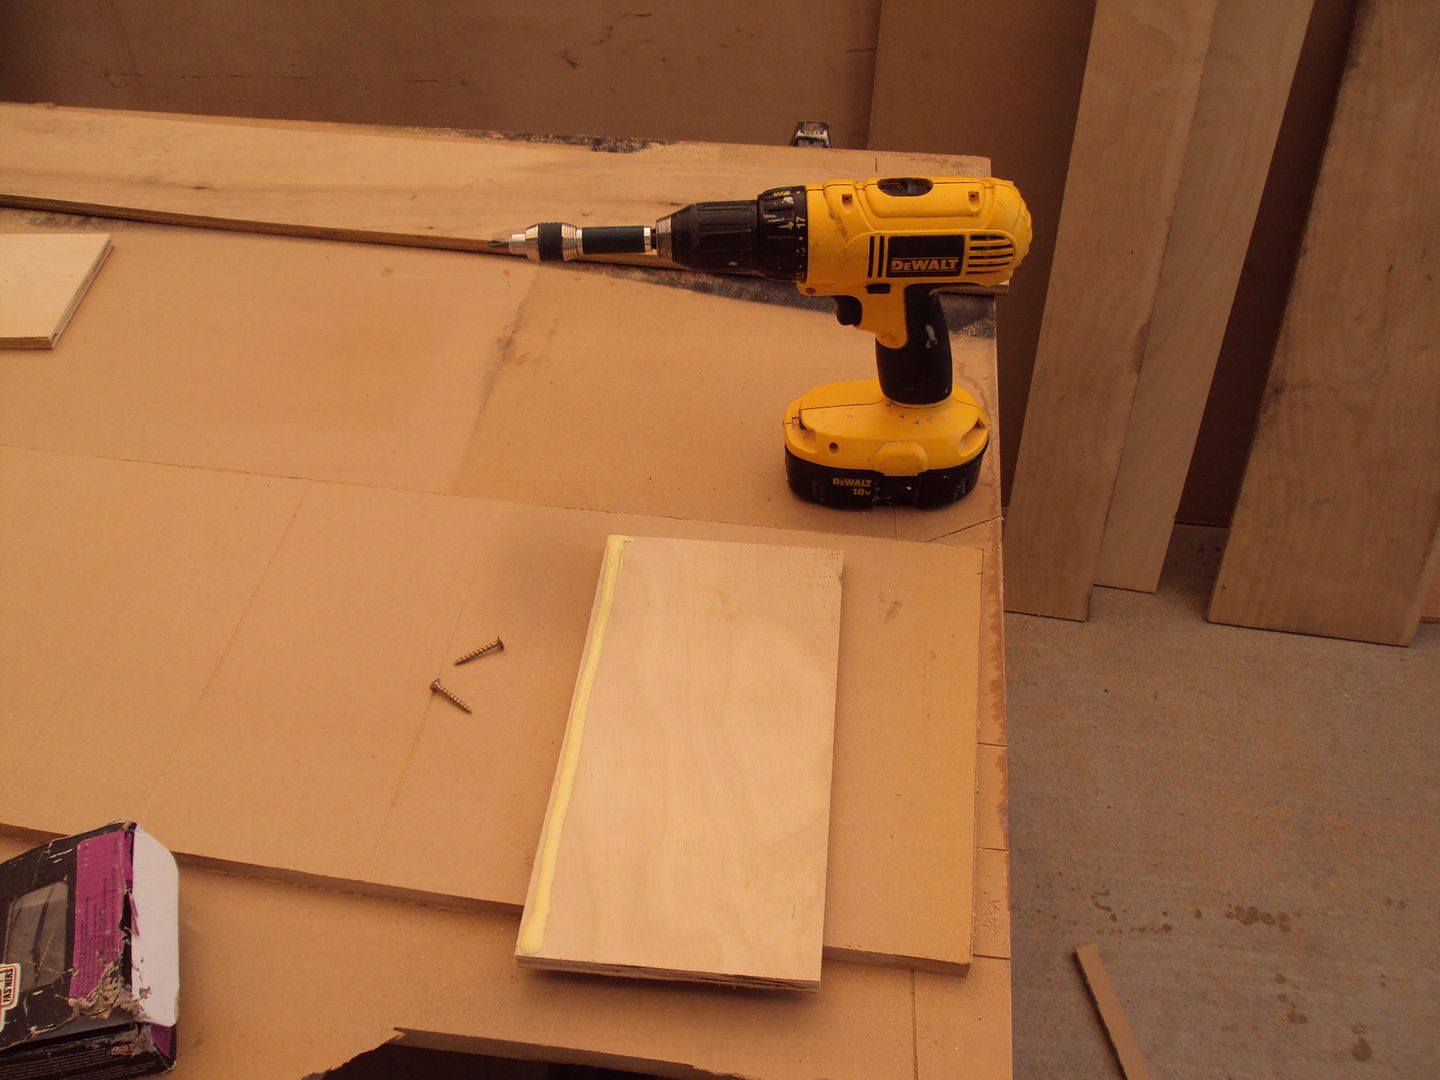
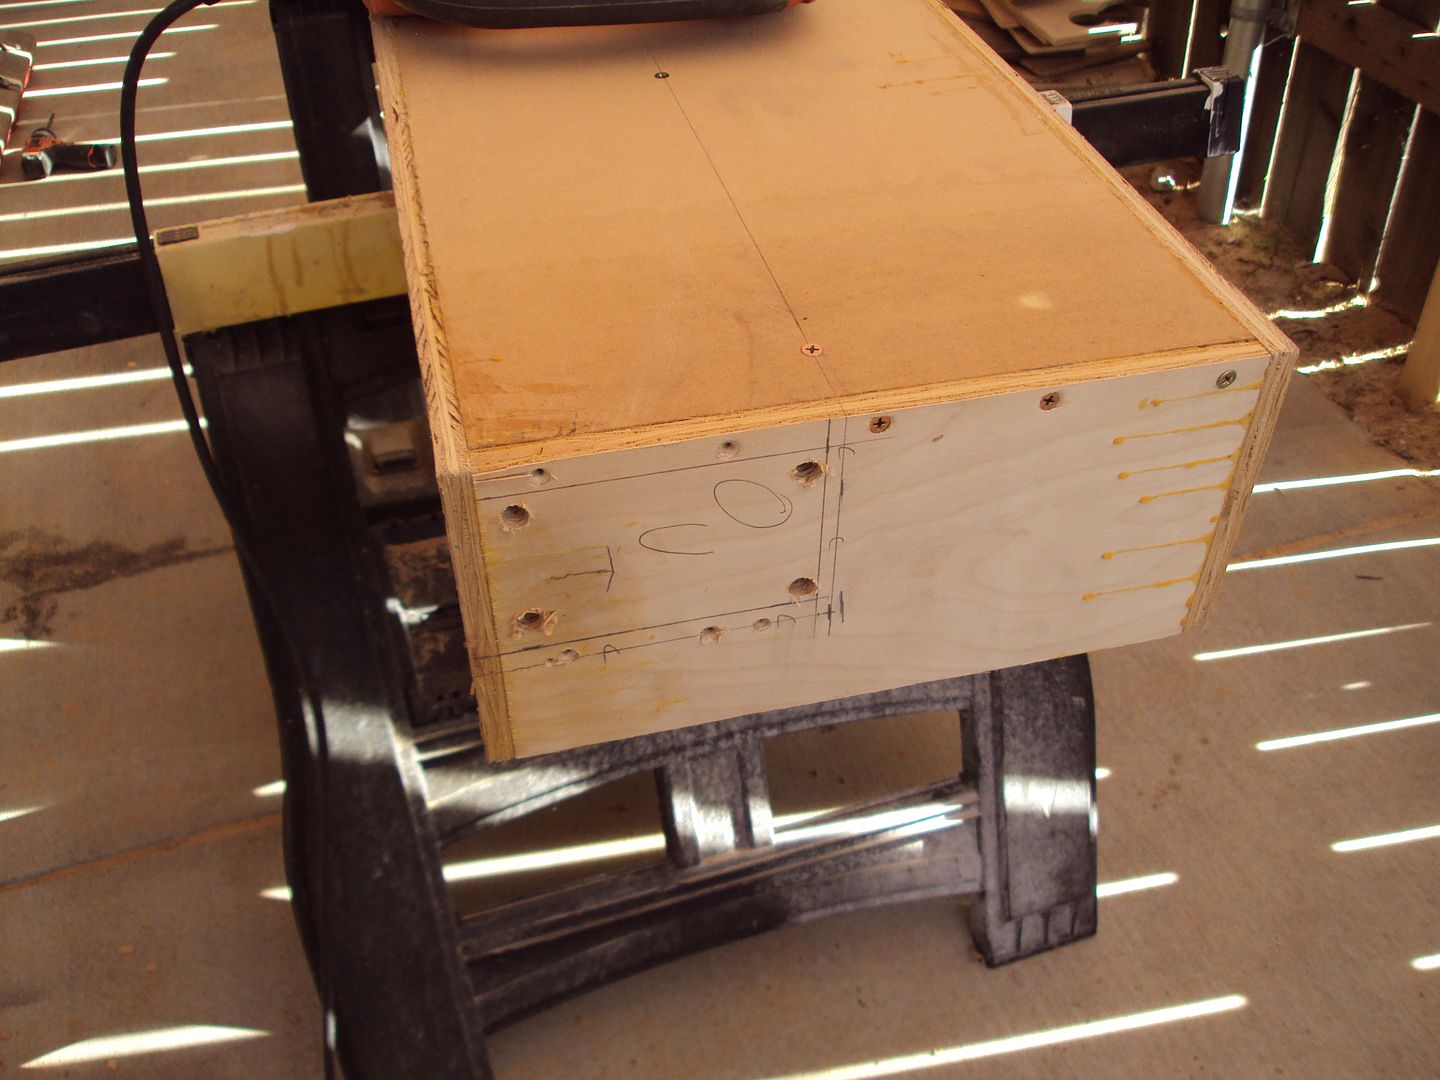
Drawing out the cuts.
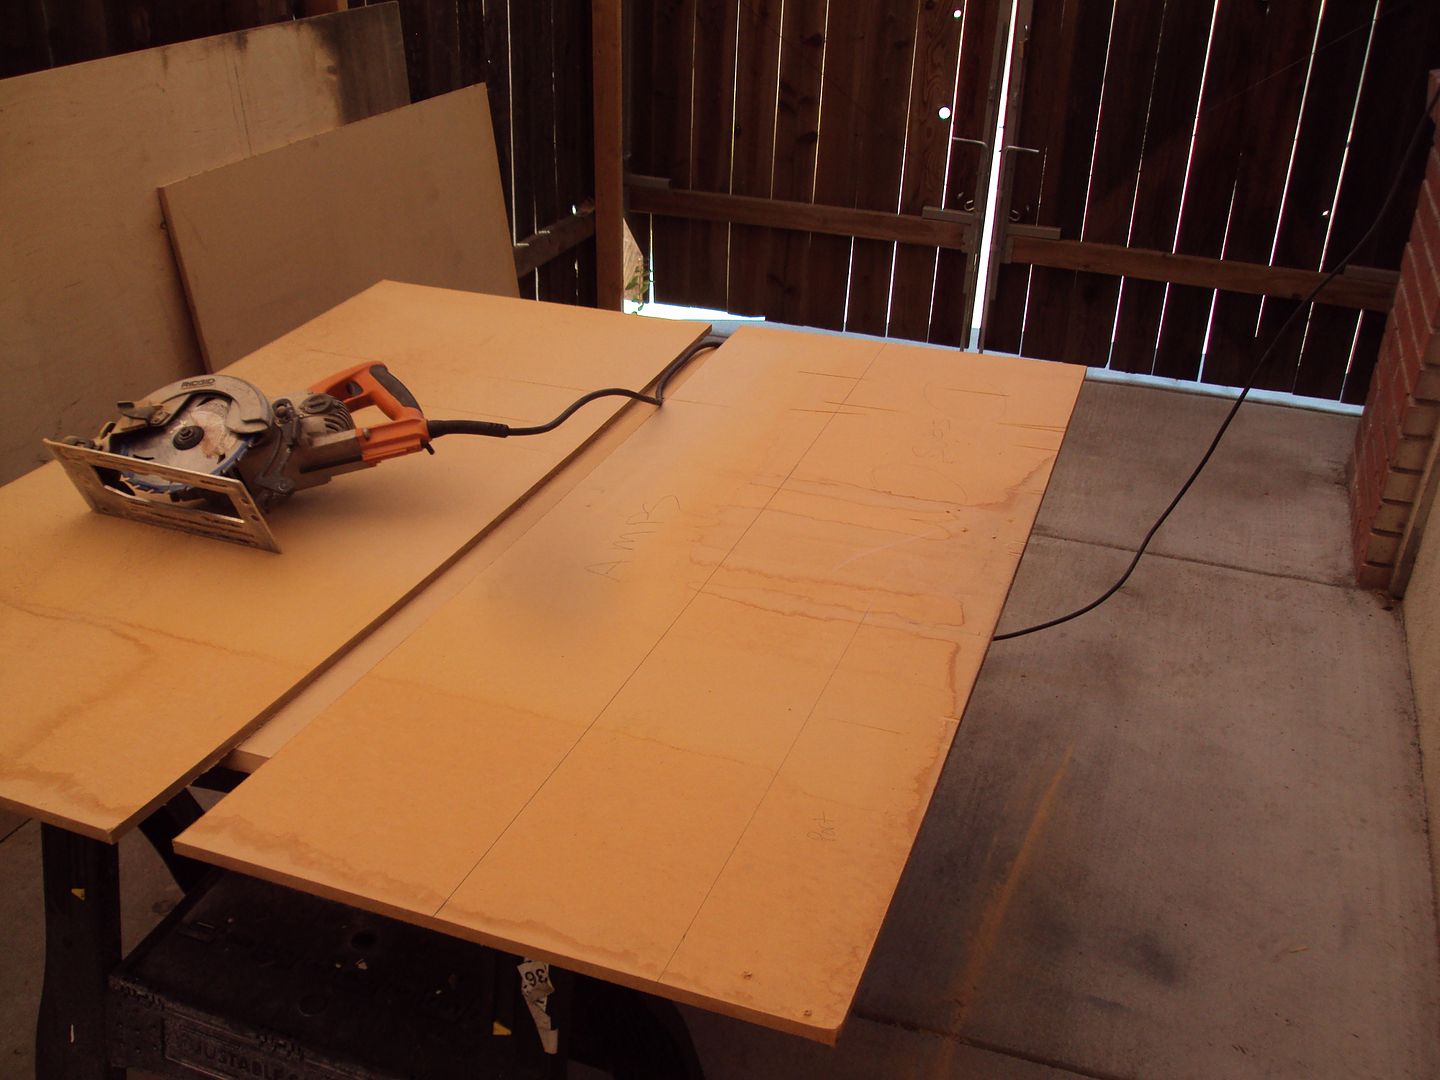
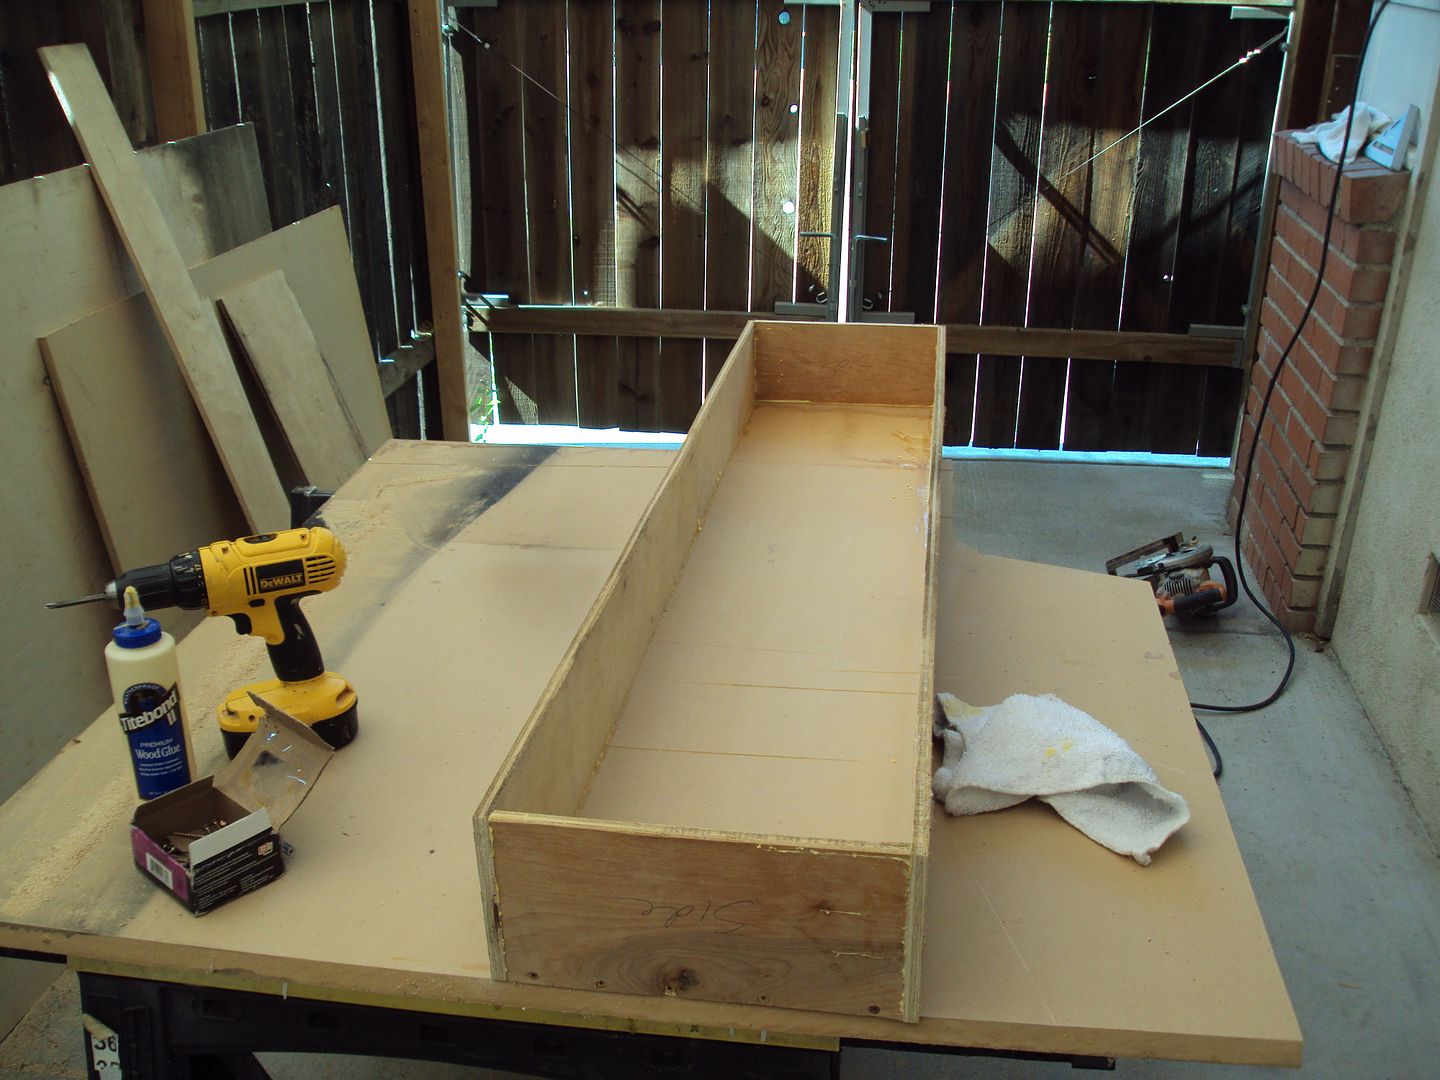
Now, to put it together!
Glued and screwed! I thought about using finish nails, but I had limited time to work on this, I think about 3 hours, and I was frankly too lazy to walk out to the shop to get the nails. So I used the screws I had right inside the garage! LOL!
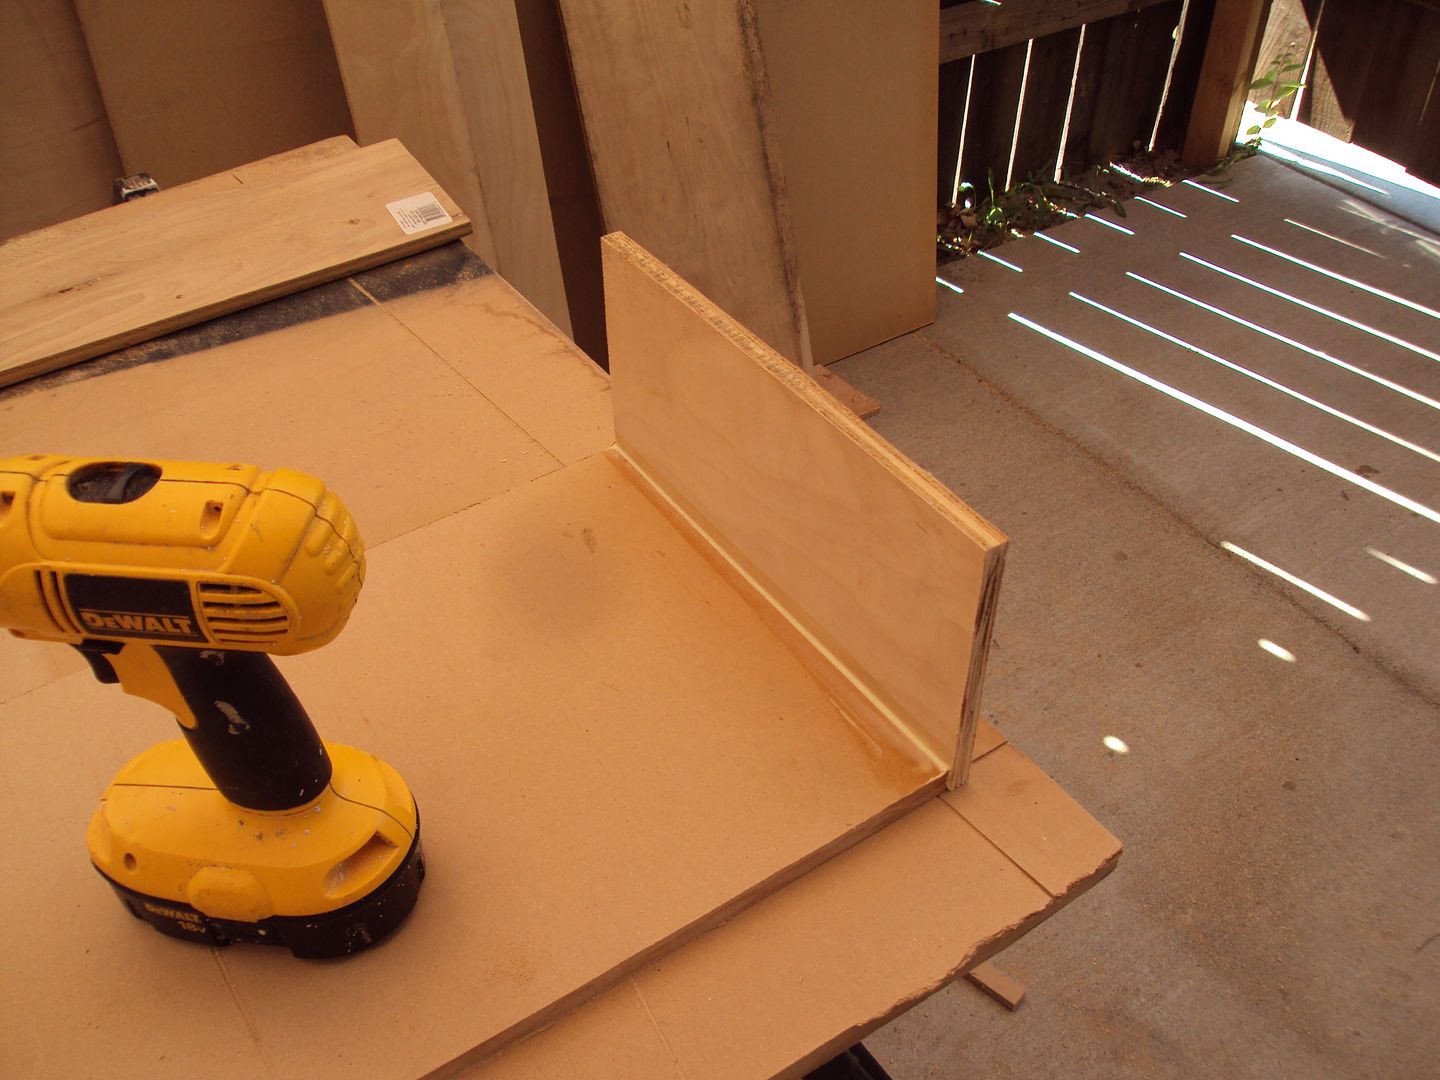
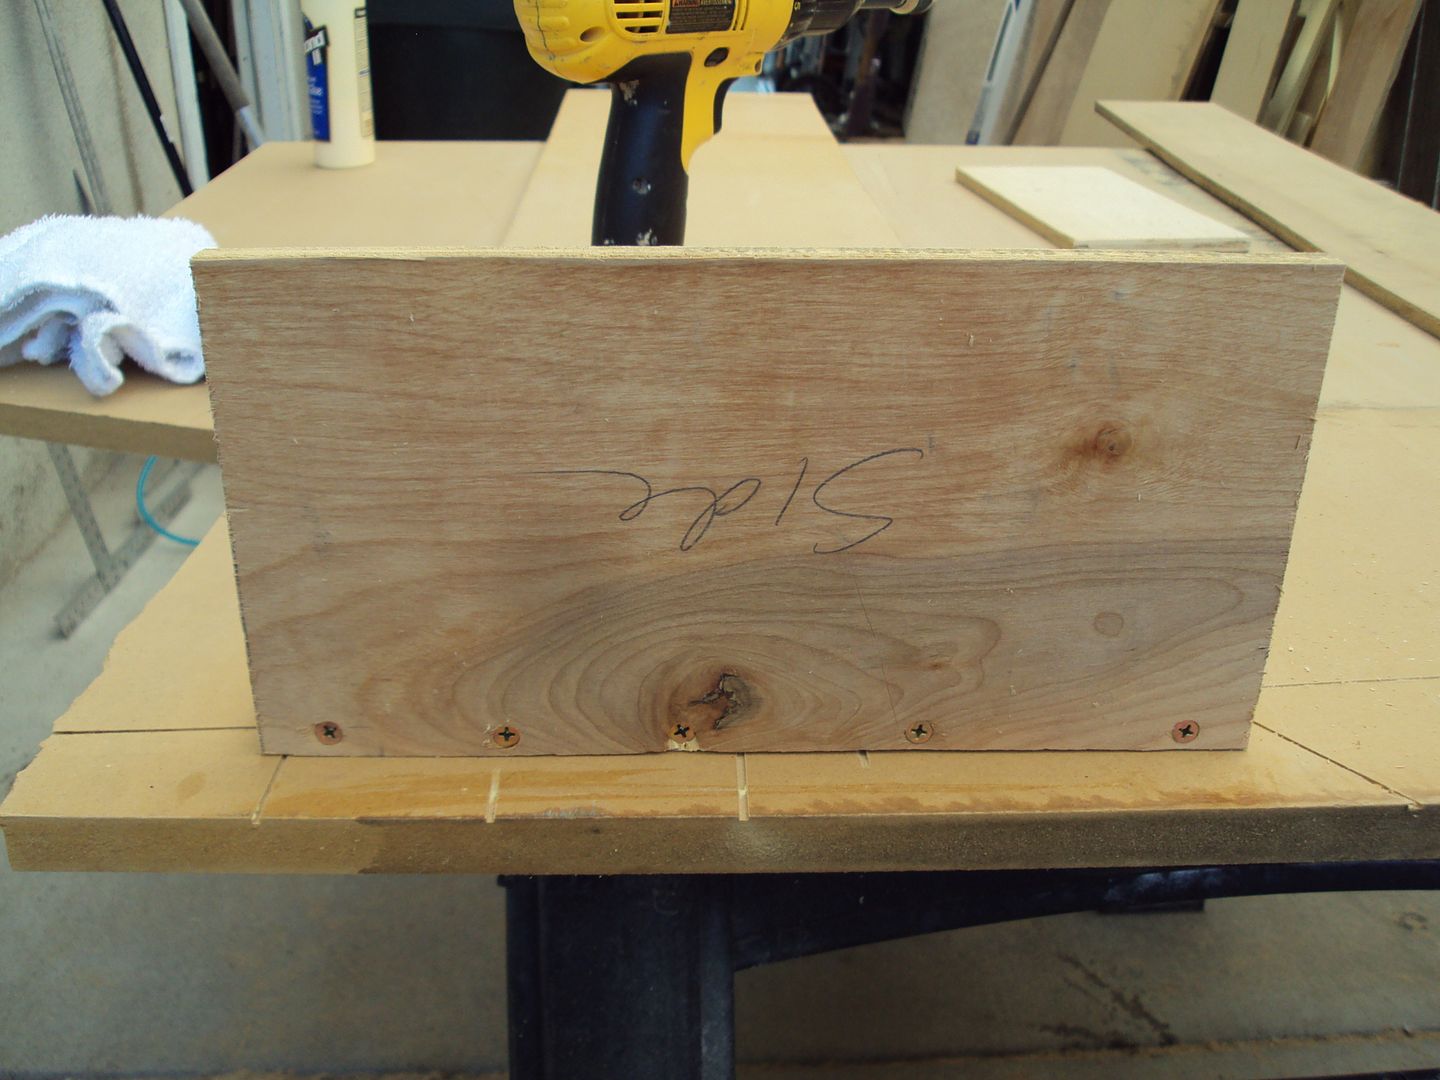
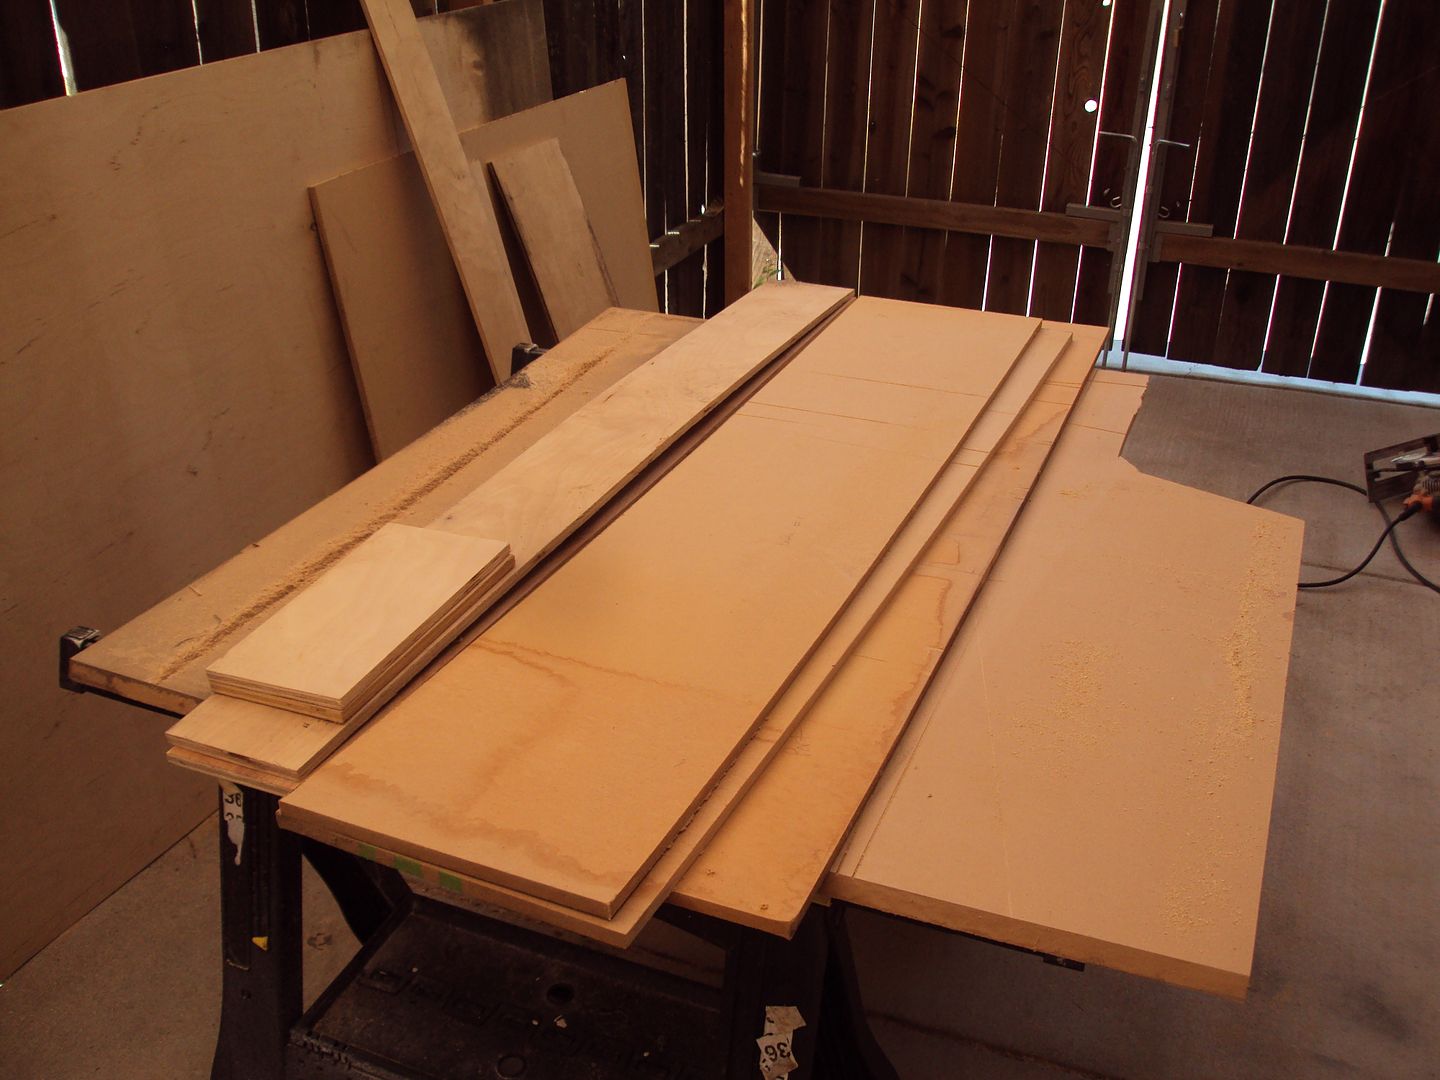
Both sides on, read for a top and bottom! Again glued and screwed!

Now, to put it together!
Glued and screwed! I thought about using finish nails, but I had limited time to work on this, I think about 3 hours, and I was frankly too lazy to walk out to the shop to get the nails. So I used the screws I had right inside the garage! LOL!
Both sides on, read for a top and bottom! Again glued and screwed!
#28
06-12-2012, 01:34 PM
Join Date: May 2011
Posts: 339
Likes: 0
Received 0 Likes
on
0 Posts
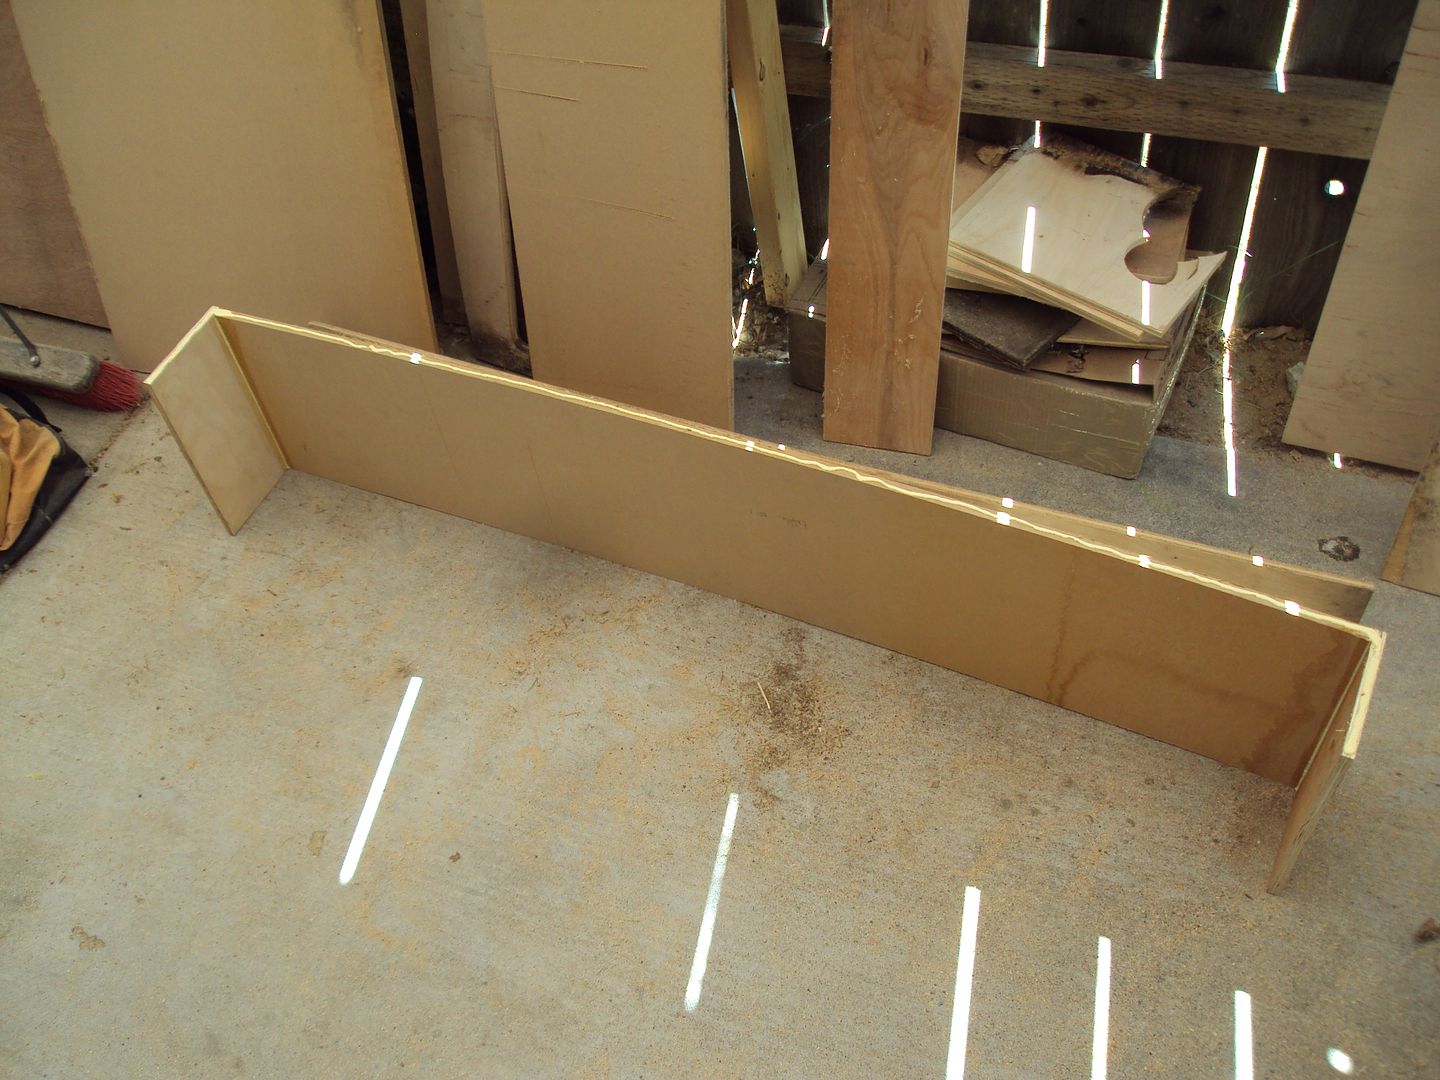
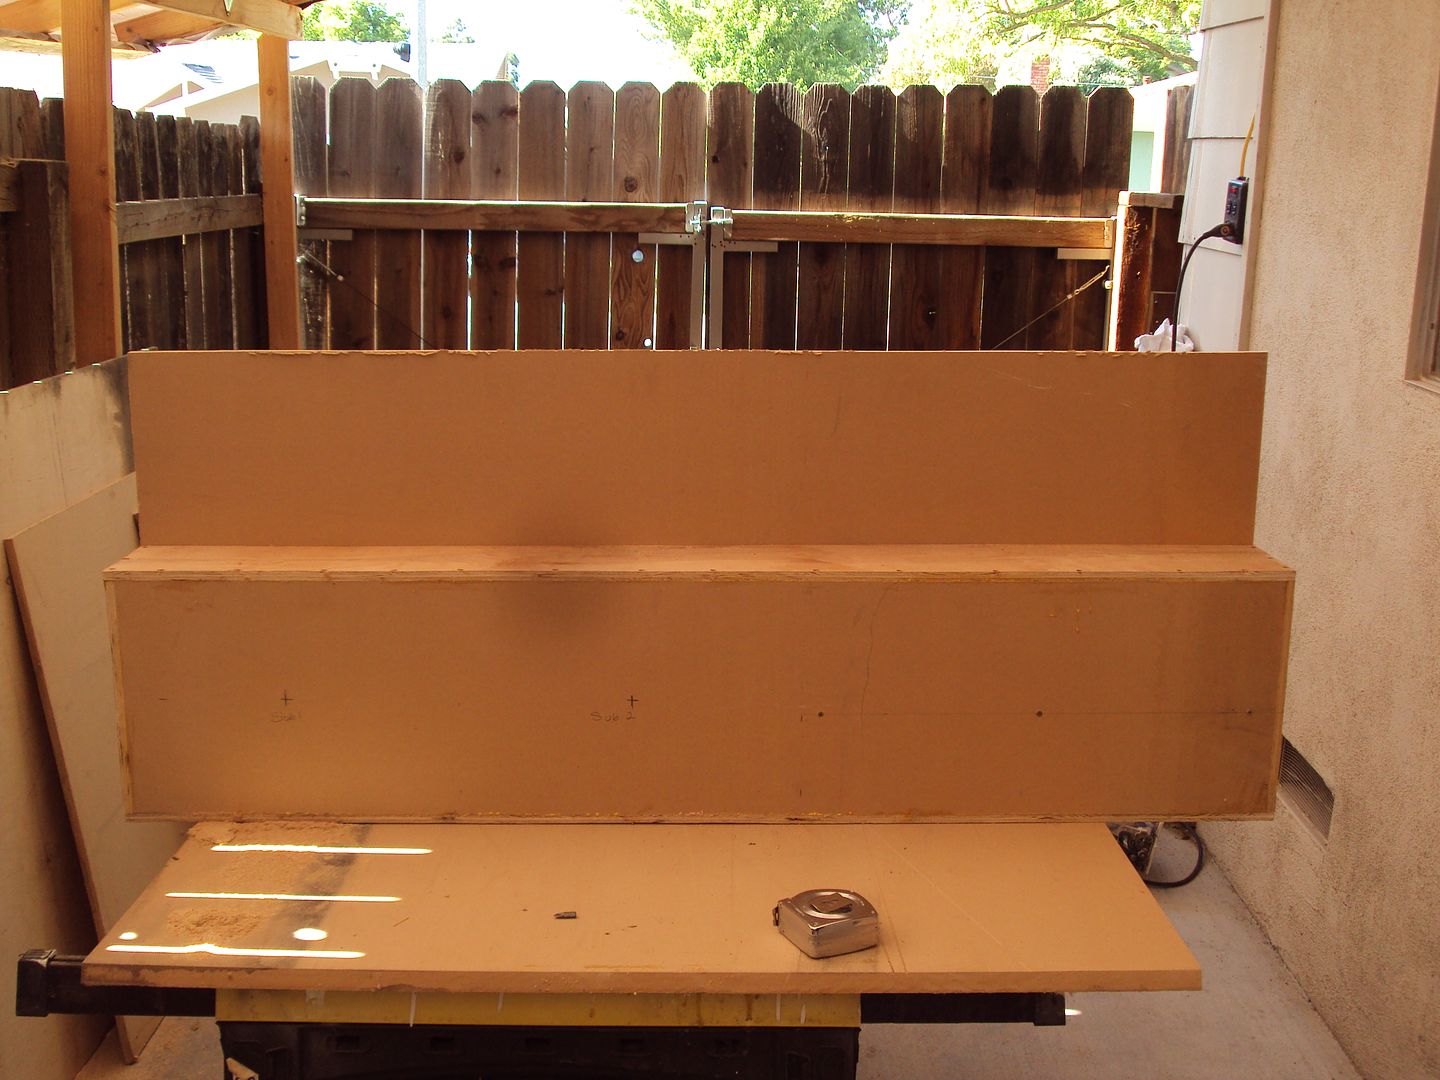
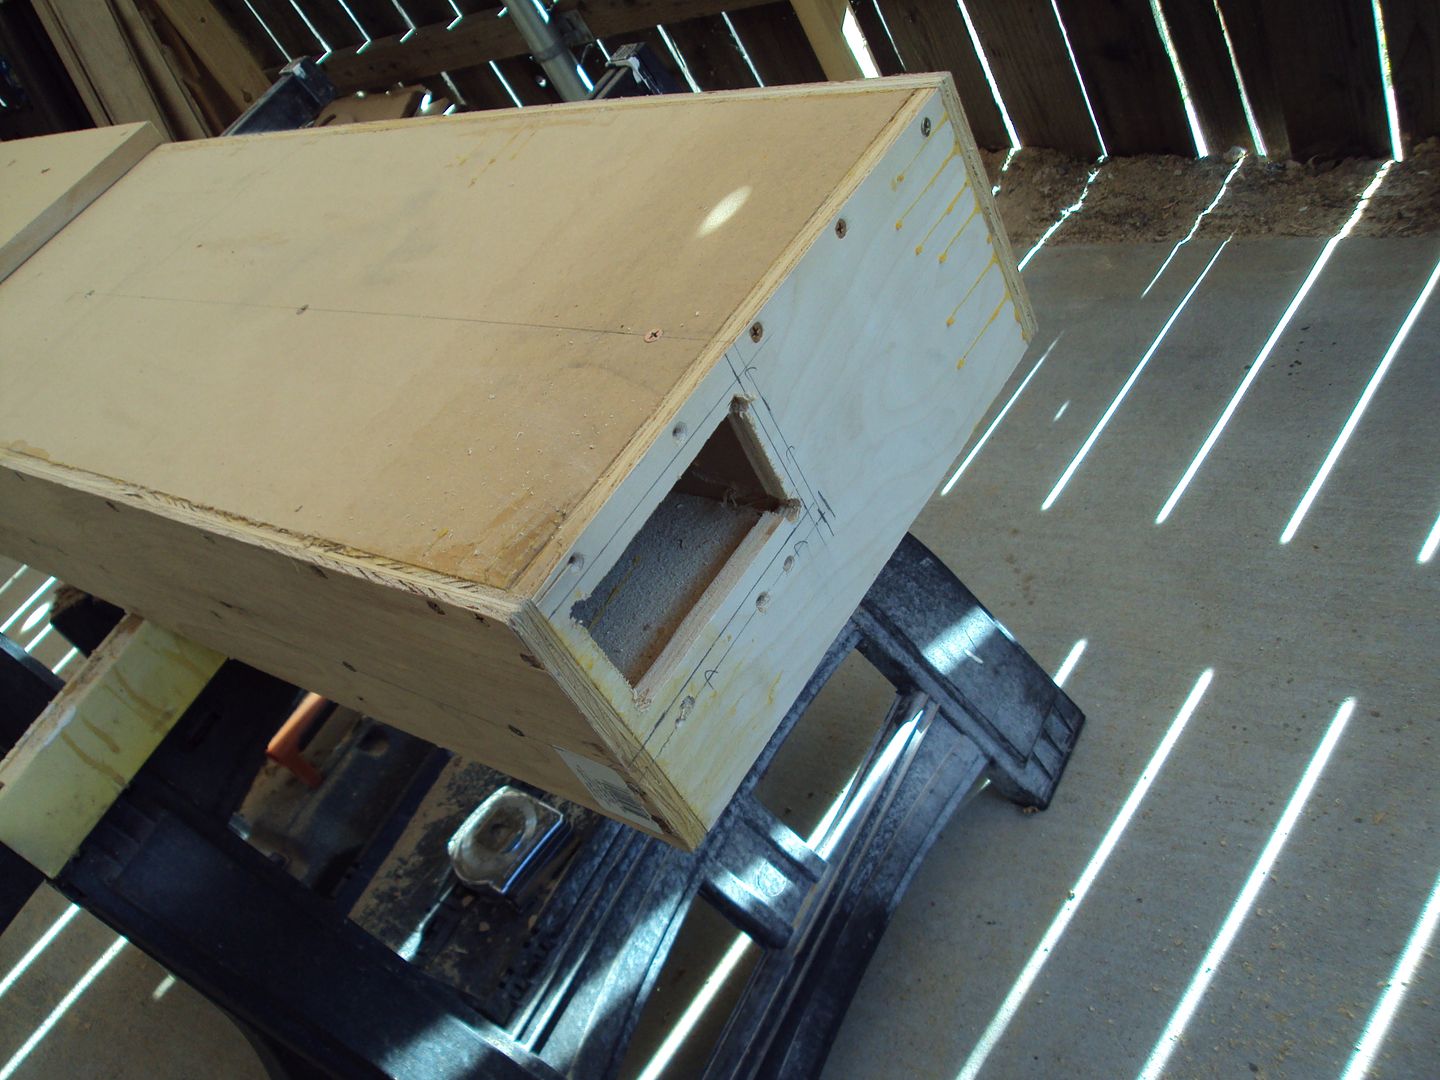
All together. Now time for the port!
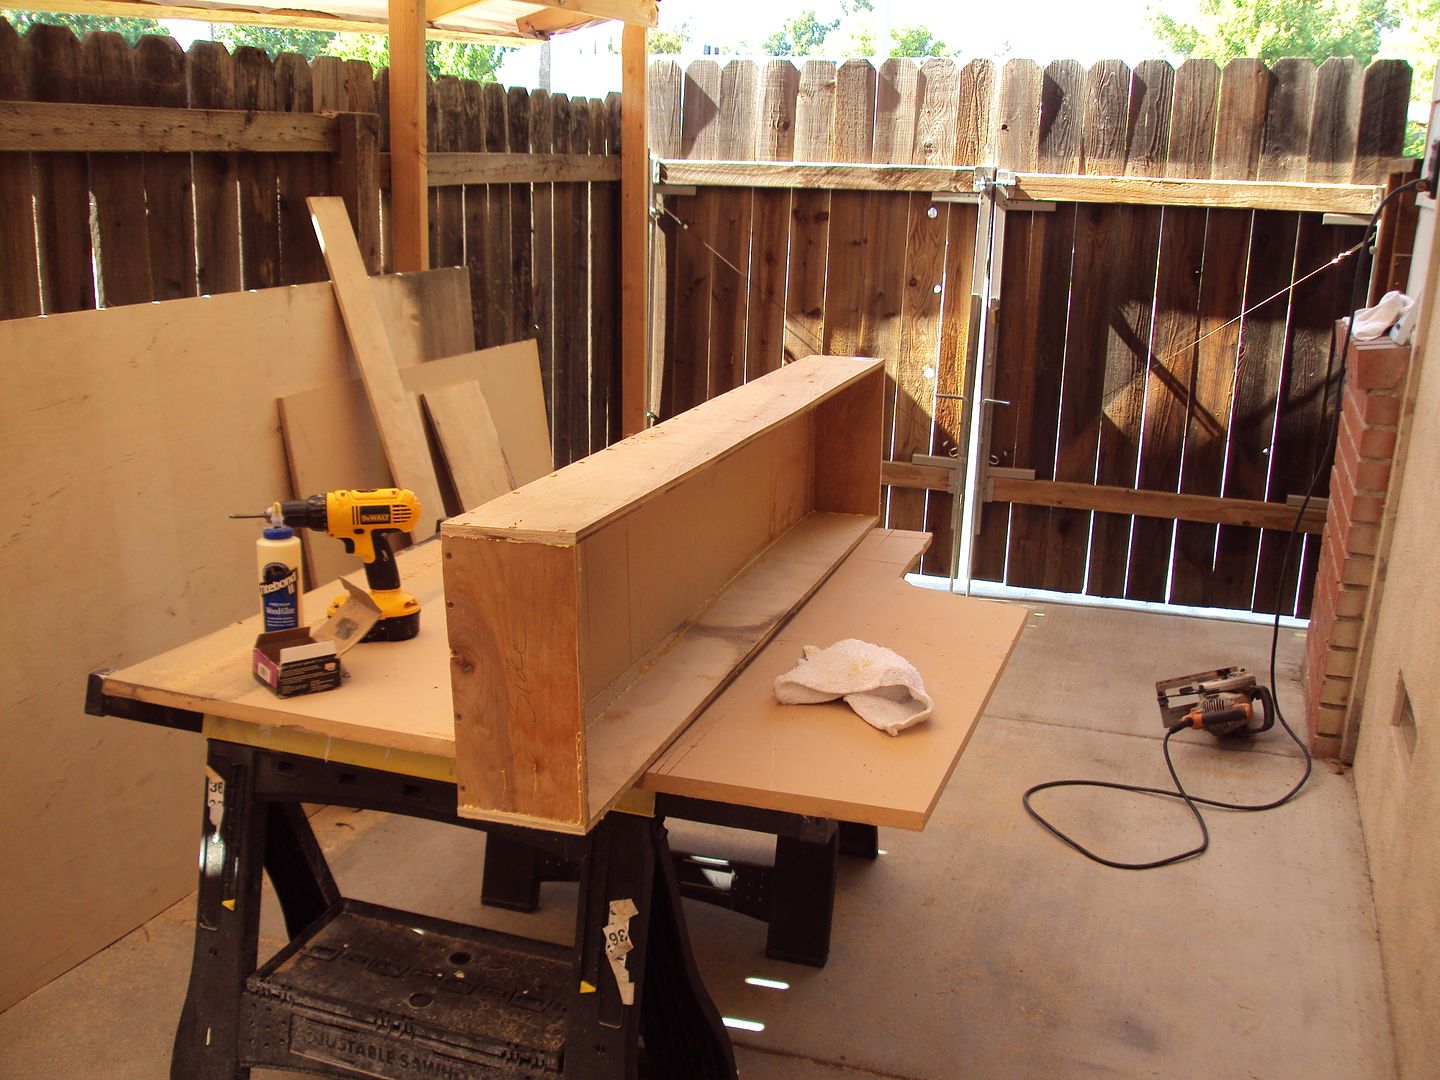
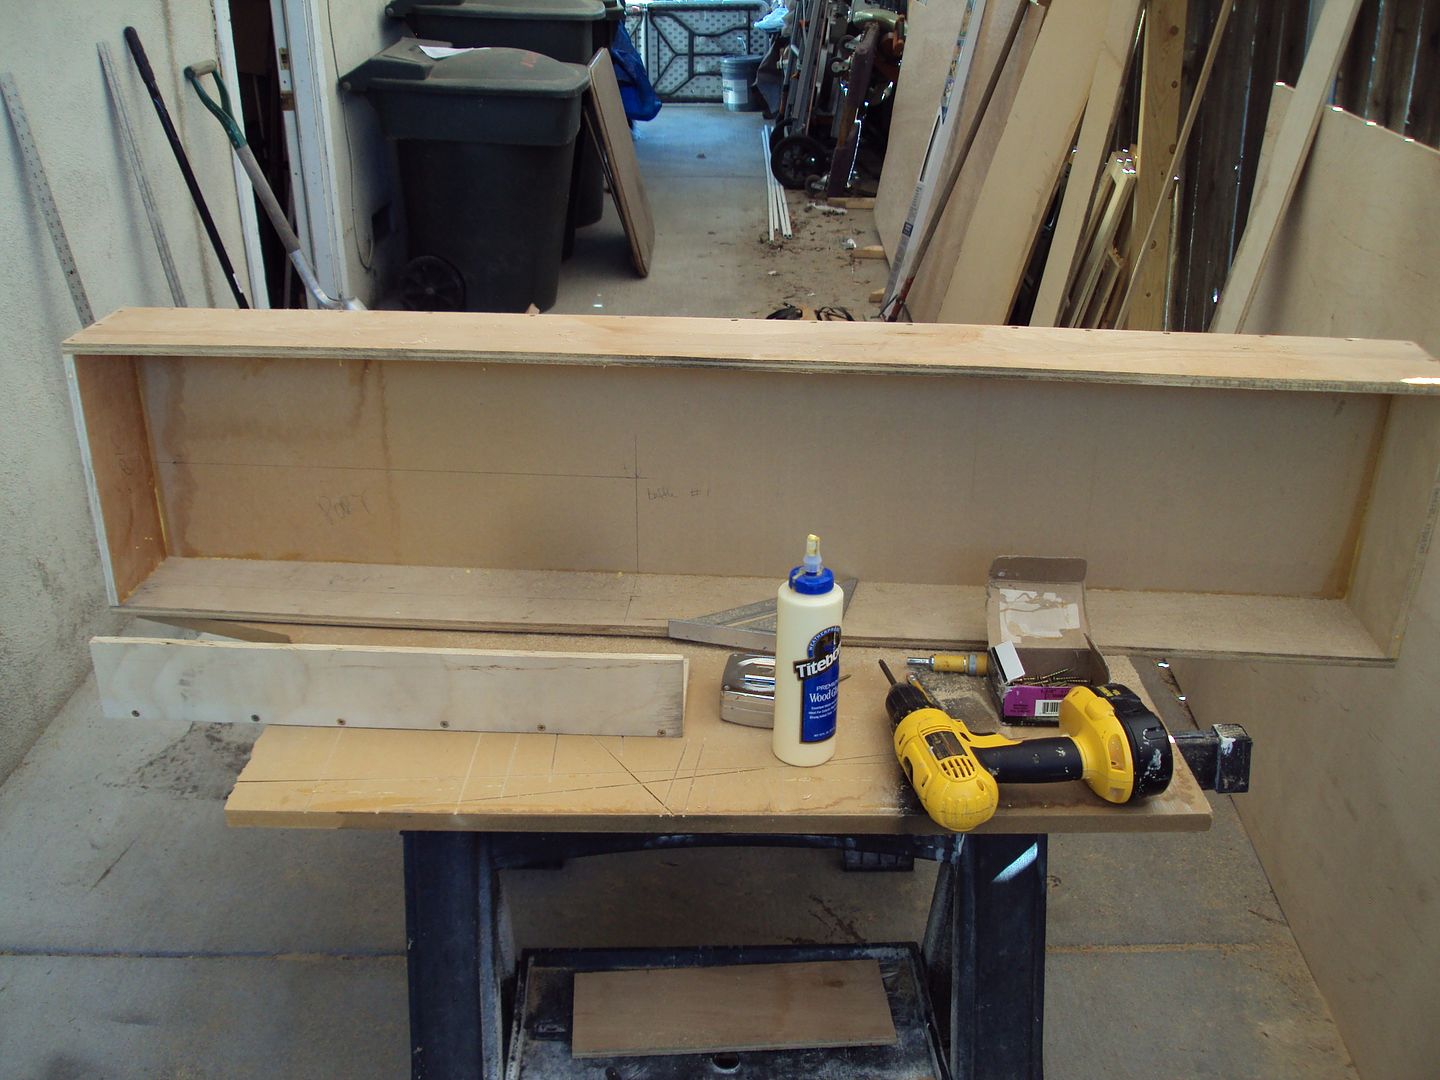
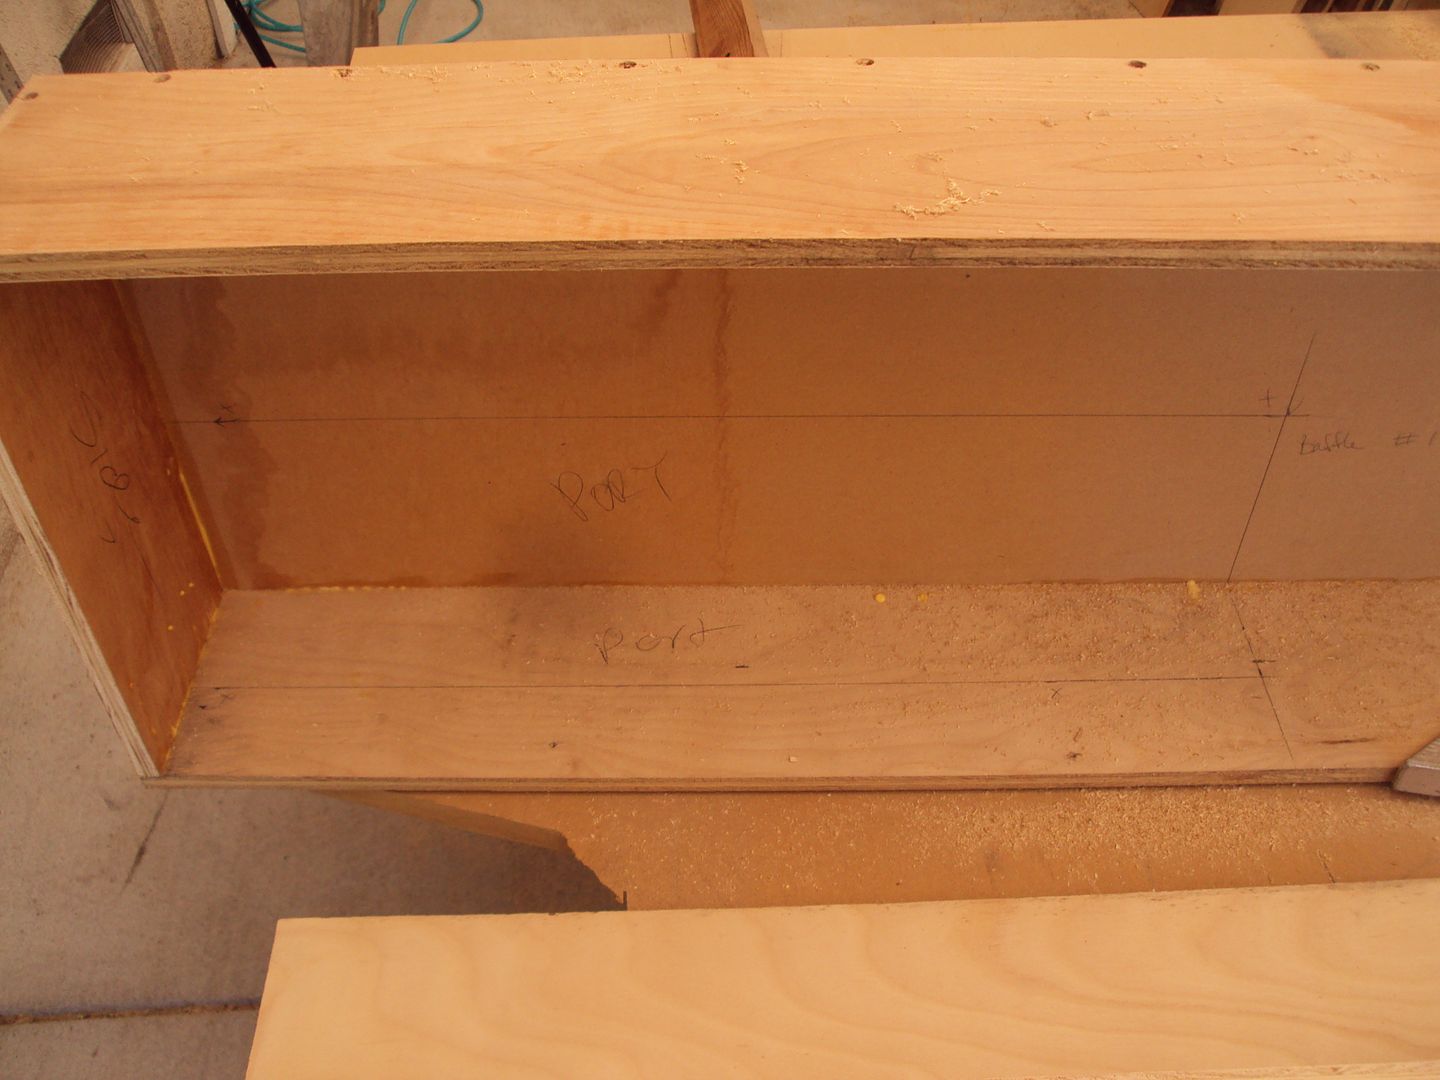
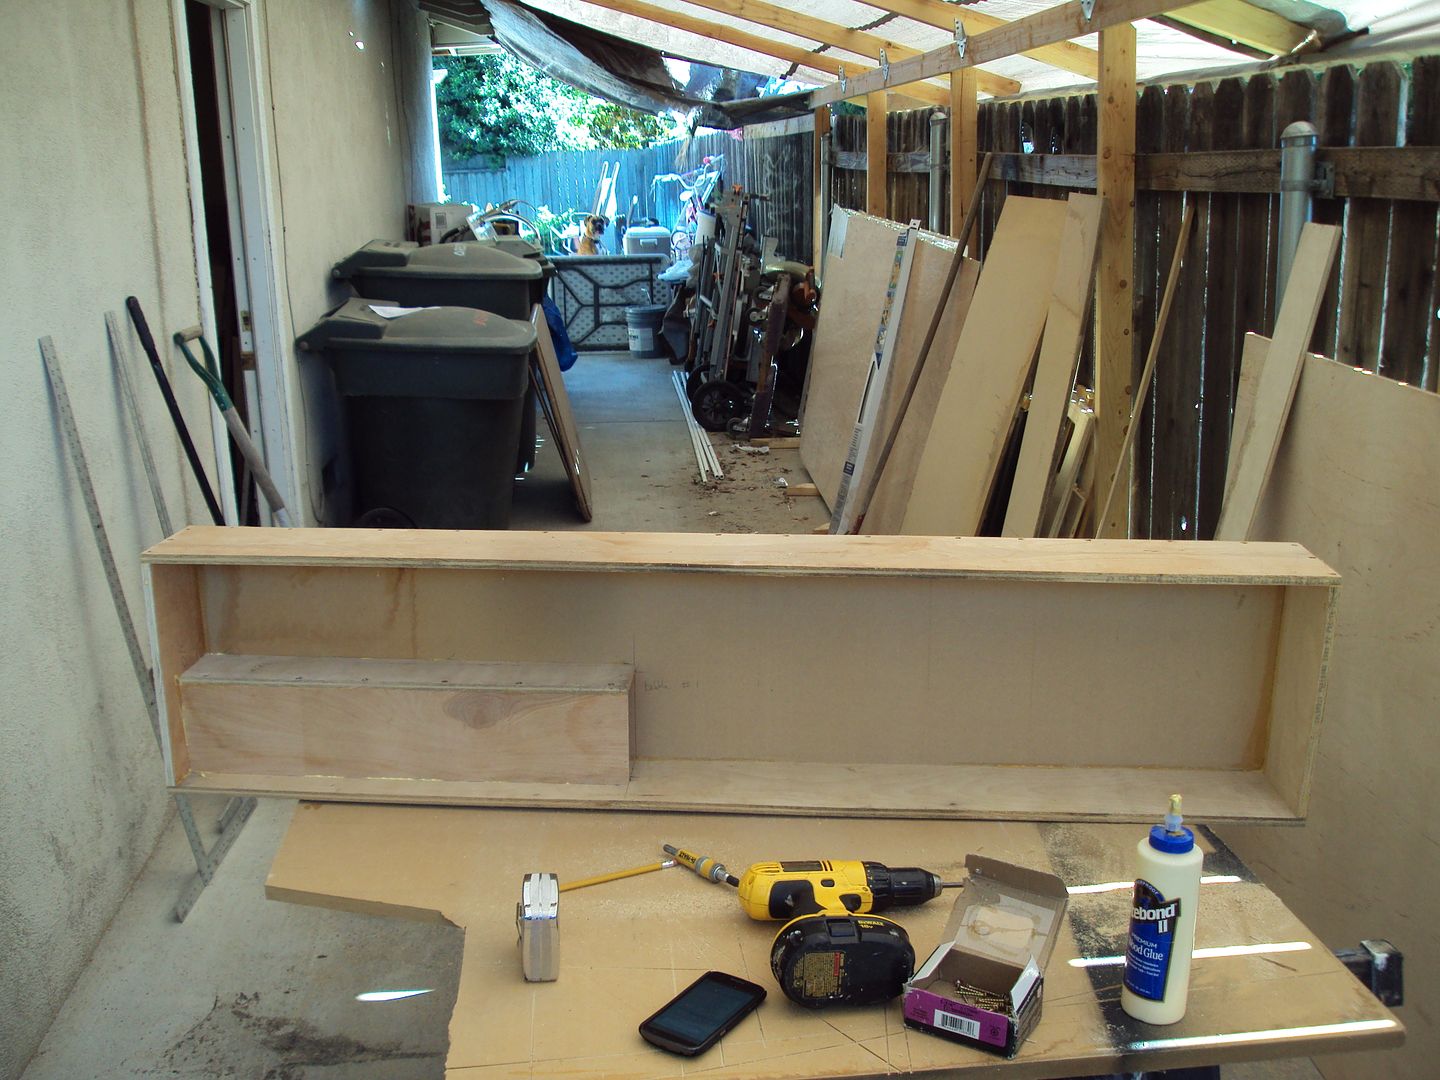
Side

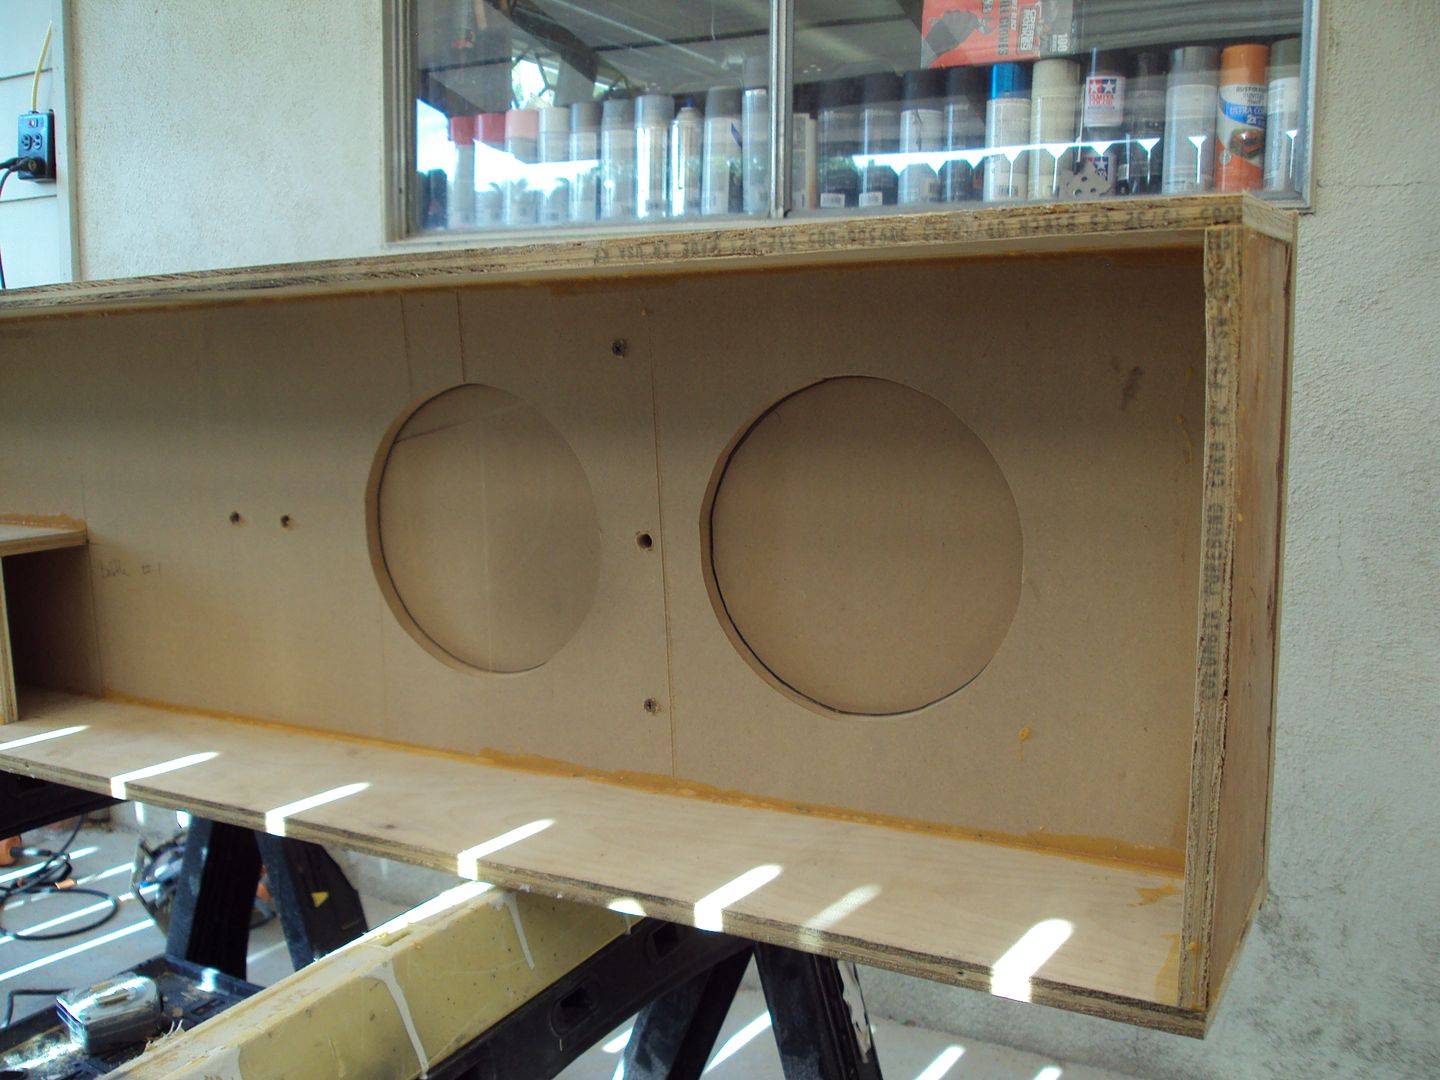
Tacked the back on, it's not glued or attached permanently. But this is basically what it will look like when I'm done!
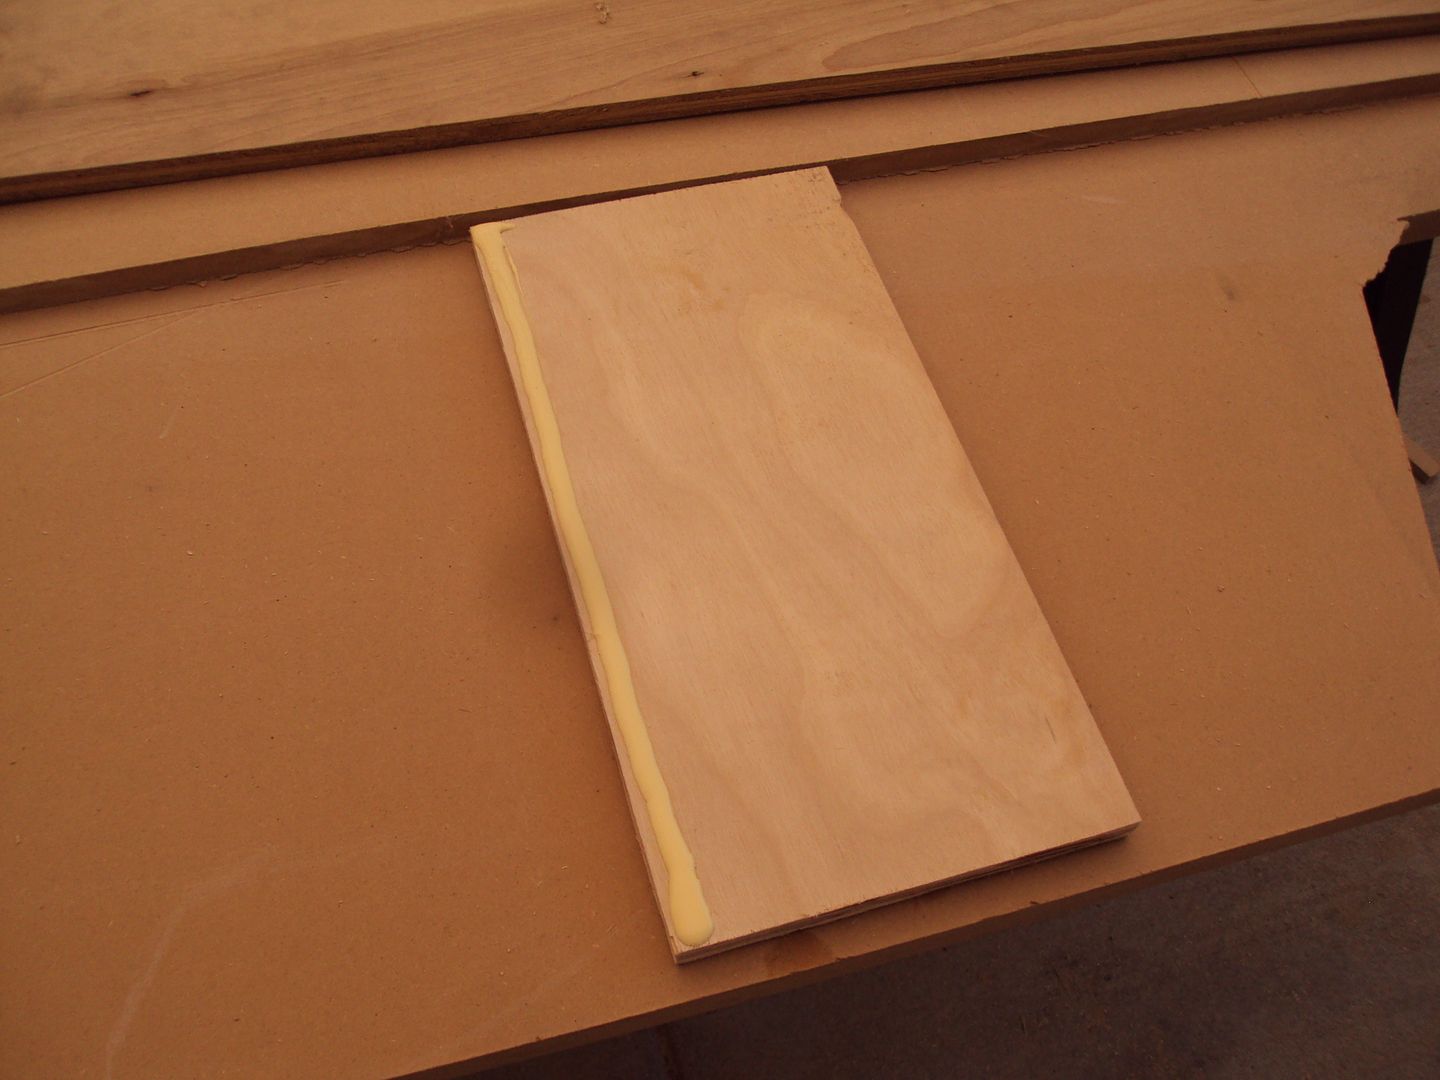
So I took the back off then, and set it down and puddled a nice bead of glue all around the whole interior. Went and looked at it today and it's dried nicely.
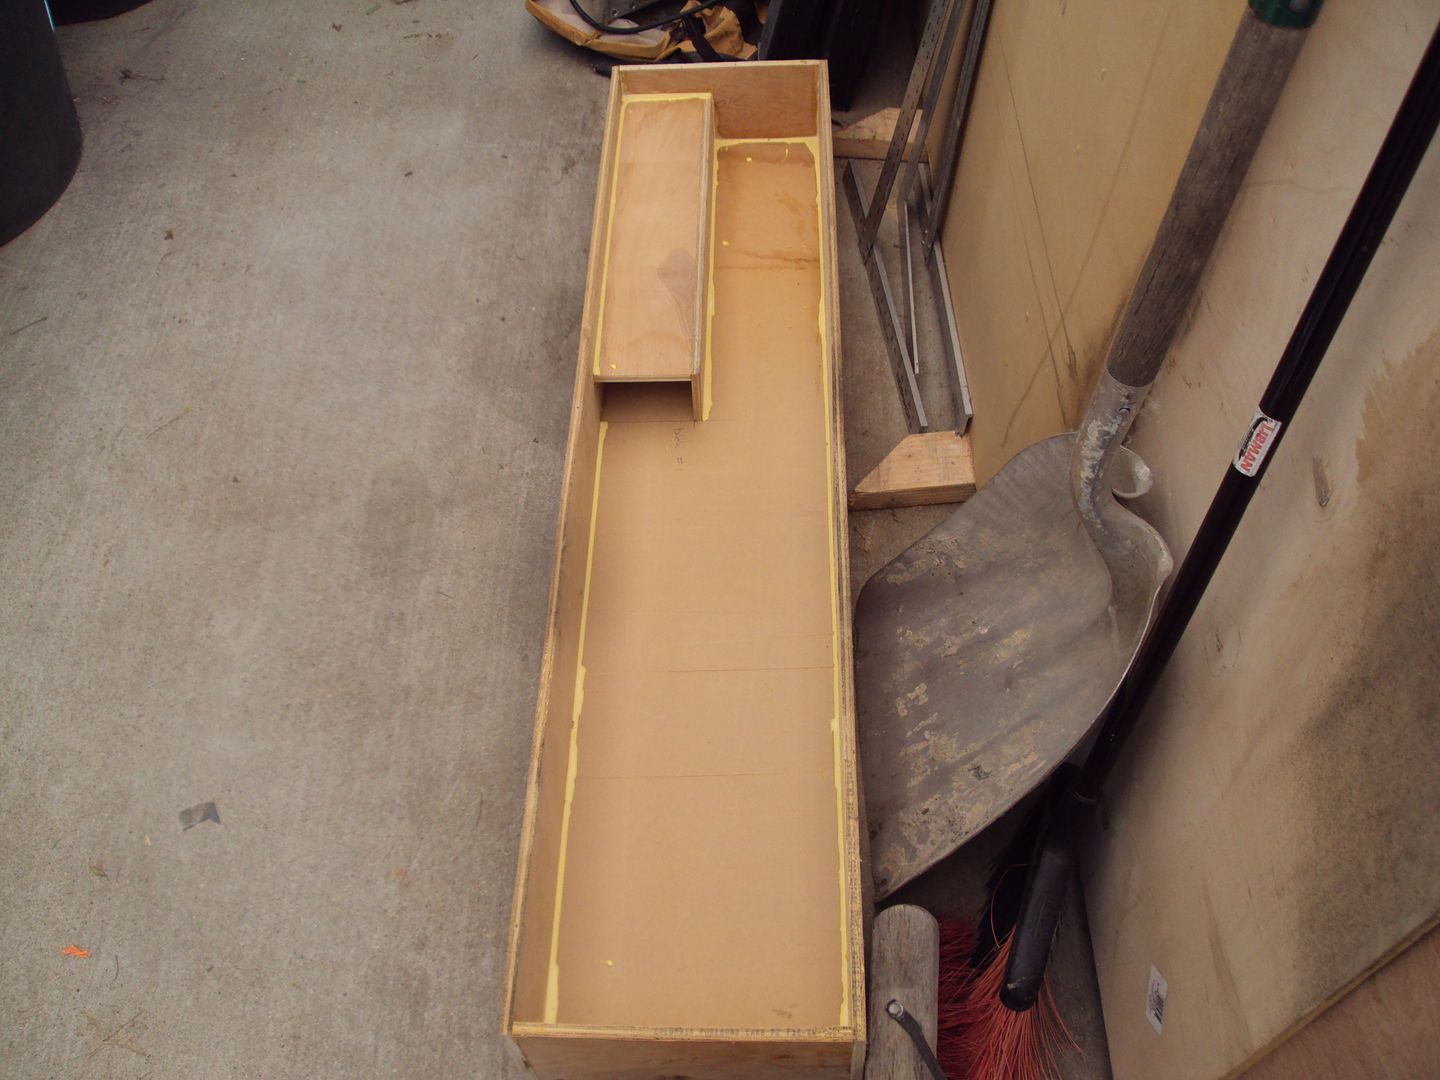
Side
Tacked the back on, it's not glued or attached permanently. But this is basically what it will look like when I'm done!
So I took the back off then, and set it down and puddled a nice bead of glue all around the whole interior. Went and looked at it today and it's dried nicely.
#29
06-12-2012, 01:36 PM
Join Date: May 2011
Posts: 339
Likes: 0
Received 0 Likes
on
0 Posts
Well I had a little set back this weekend. Friday night went out with my Mom and Family (wife, kids) in her van for dinner. Got home and went to let my daughters out of the van via the sliding door, got distracted and while reaching for the sliding door ended up shutting to front door on my left ring finger! EFFING HURTS!!! Anyway, it's in bad shape!
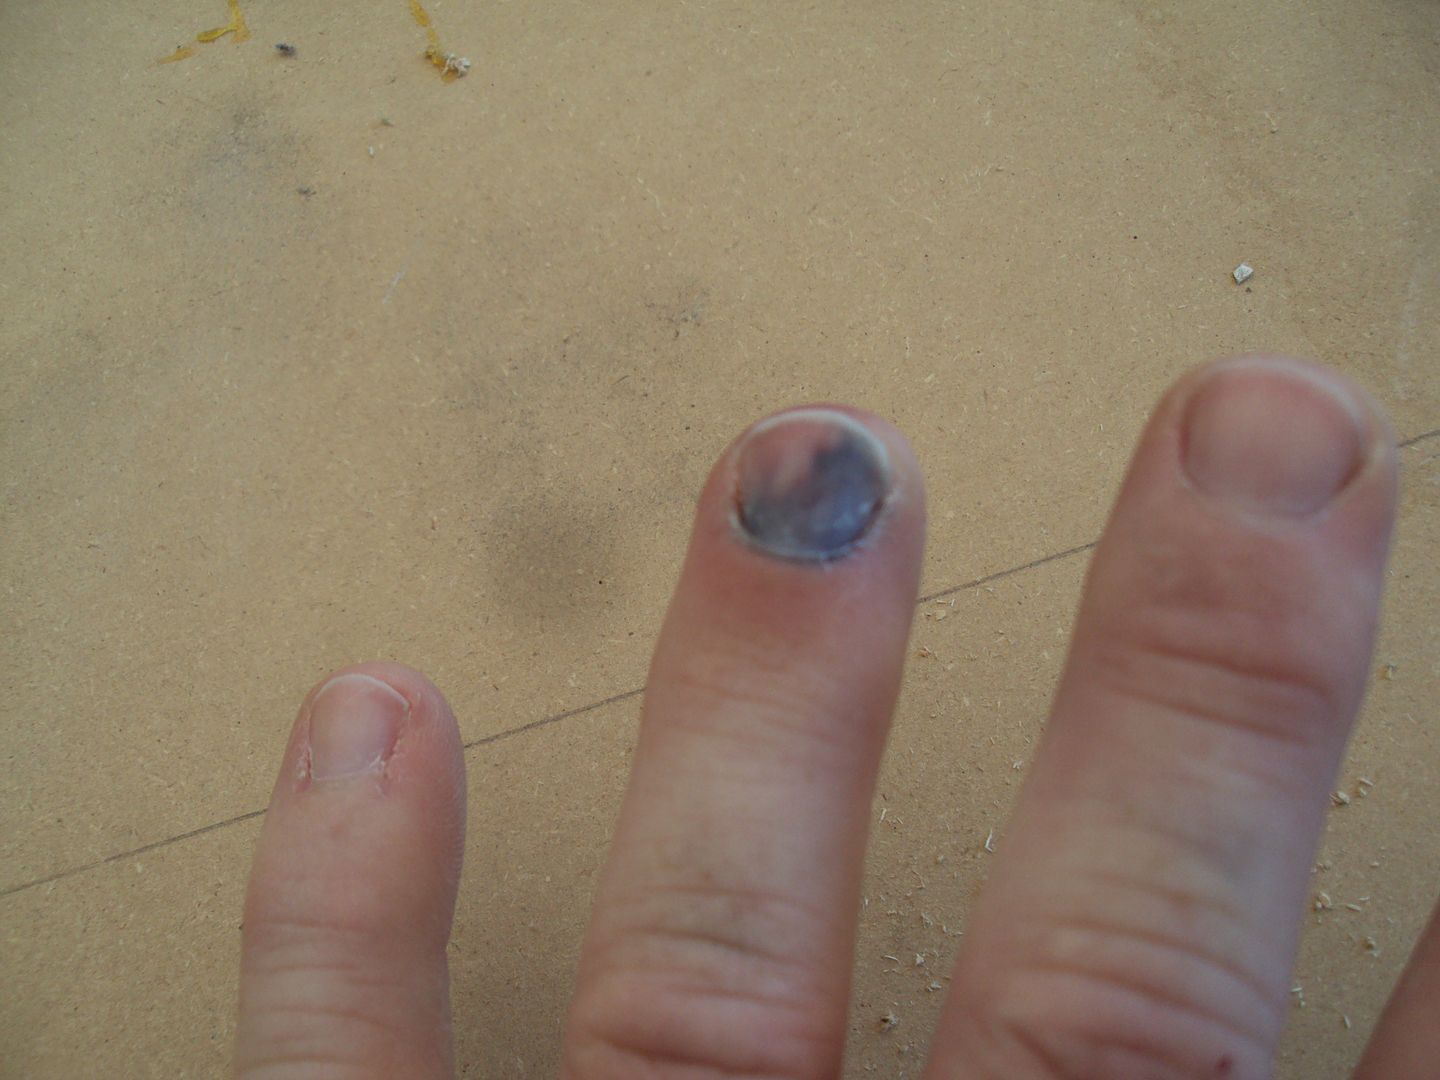
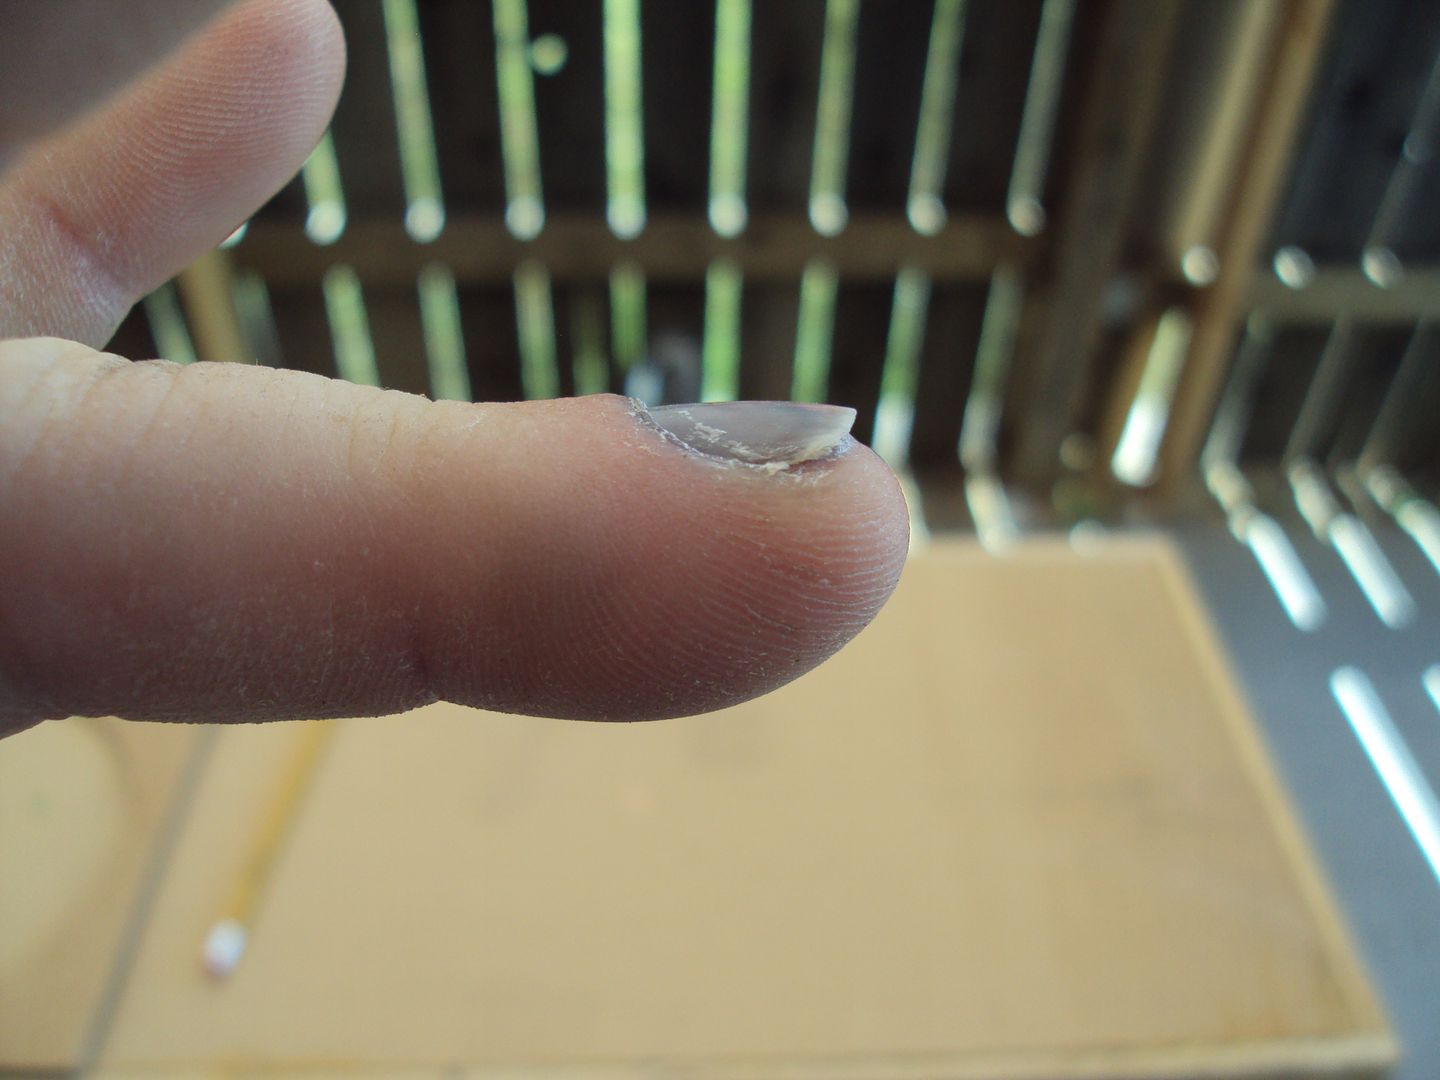
It's actually worse today. About 80% of my nail is black, the finger is about close to twice the size, and I'm most likely going to loose the nail! Good times! SMH! But alas, I press on! I did manage to man up and get some work done, painful as it might be! At least I'm right handed so that helps!
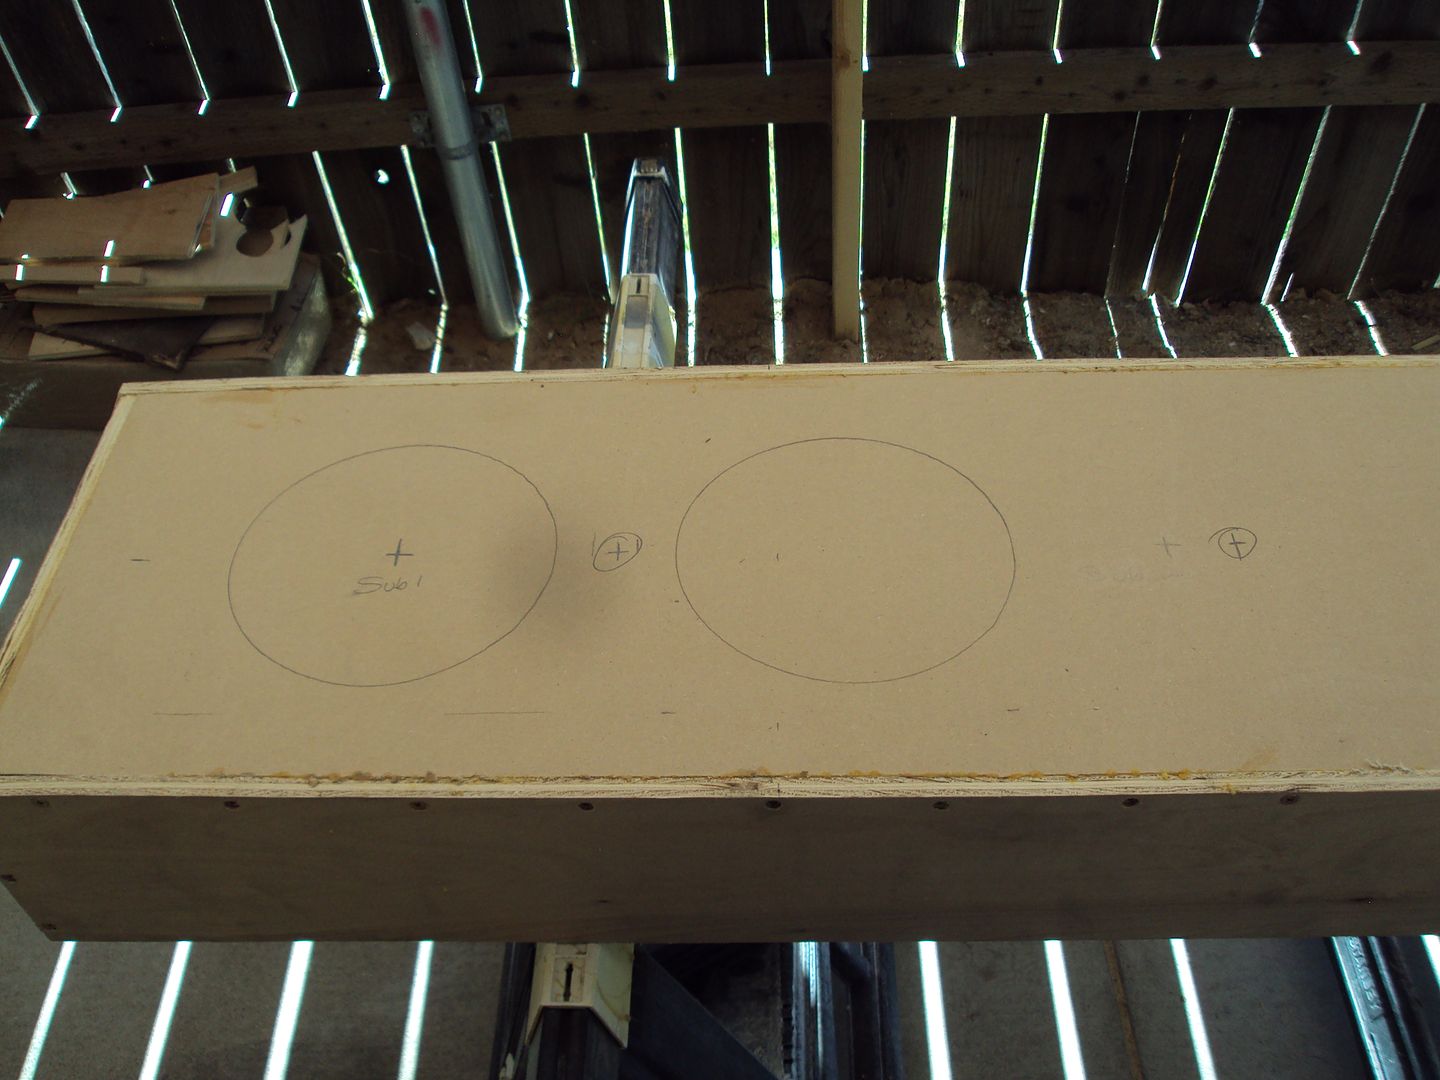
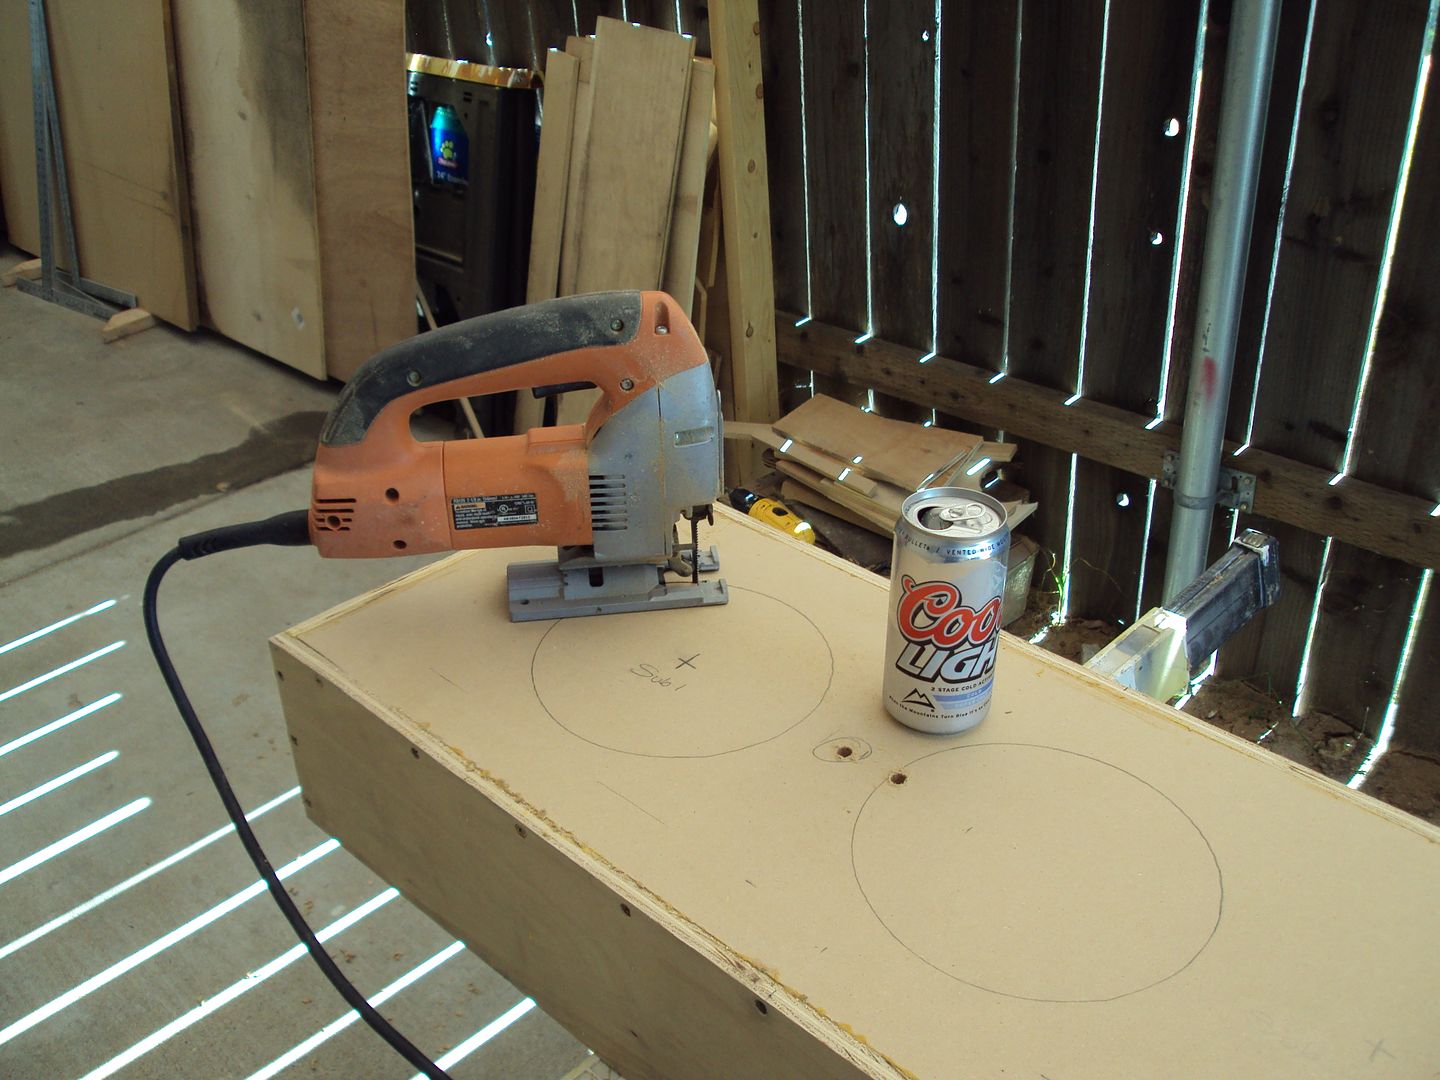
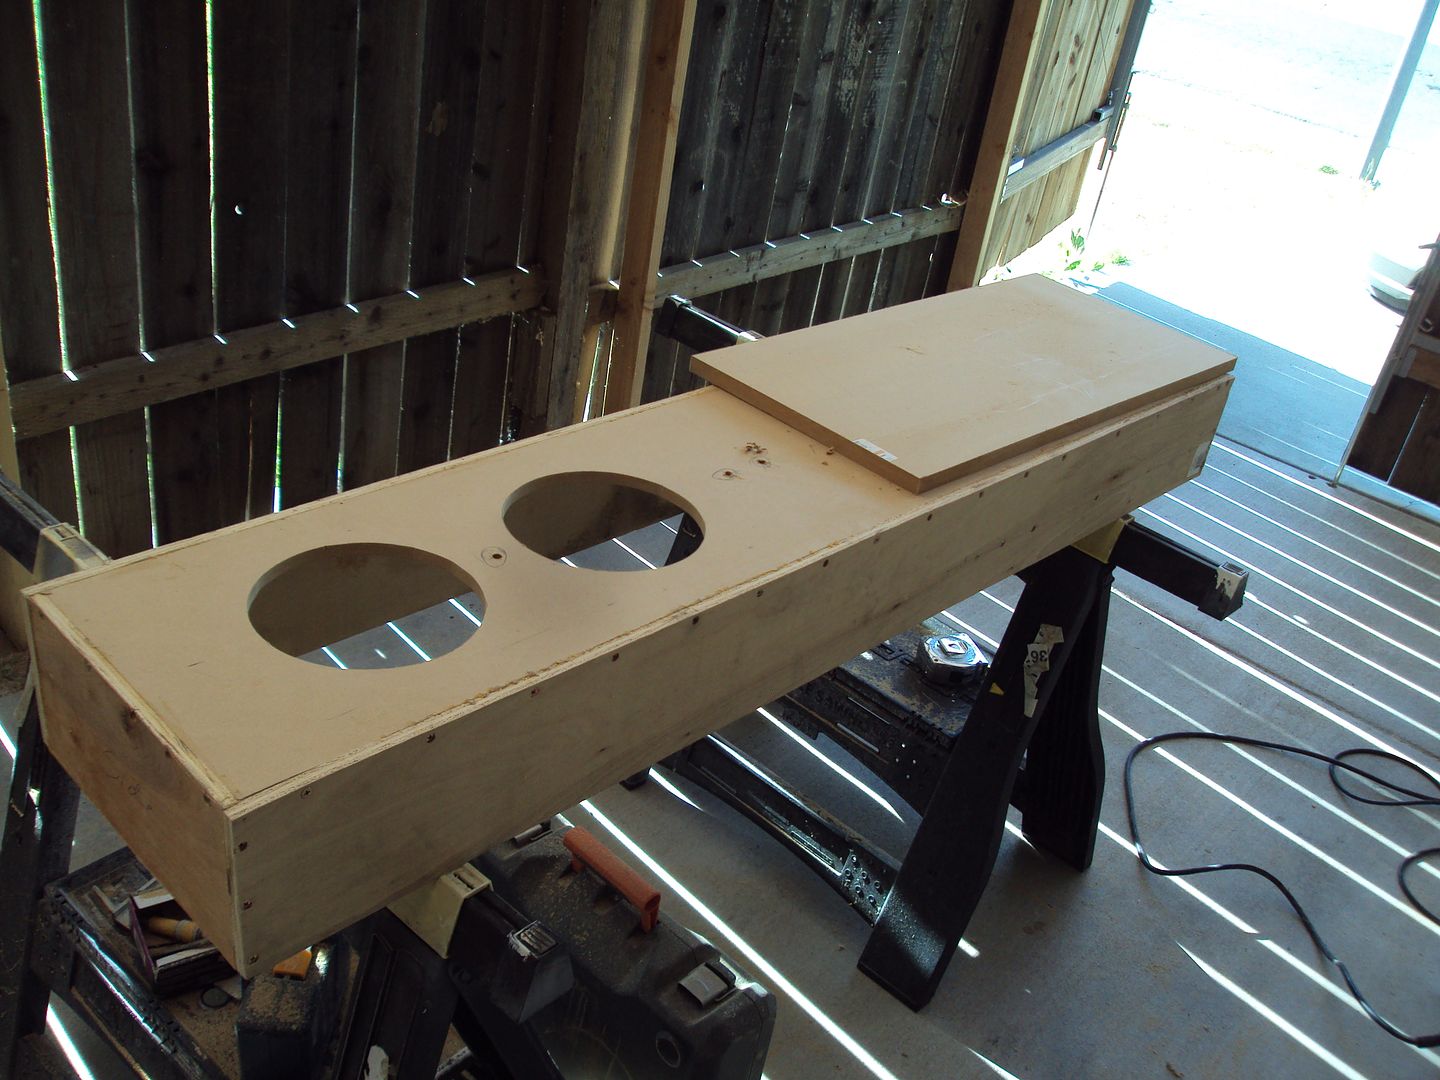
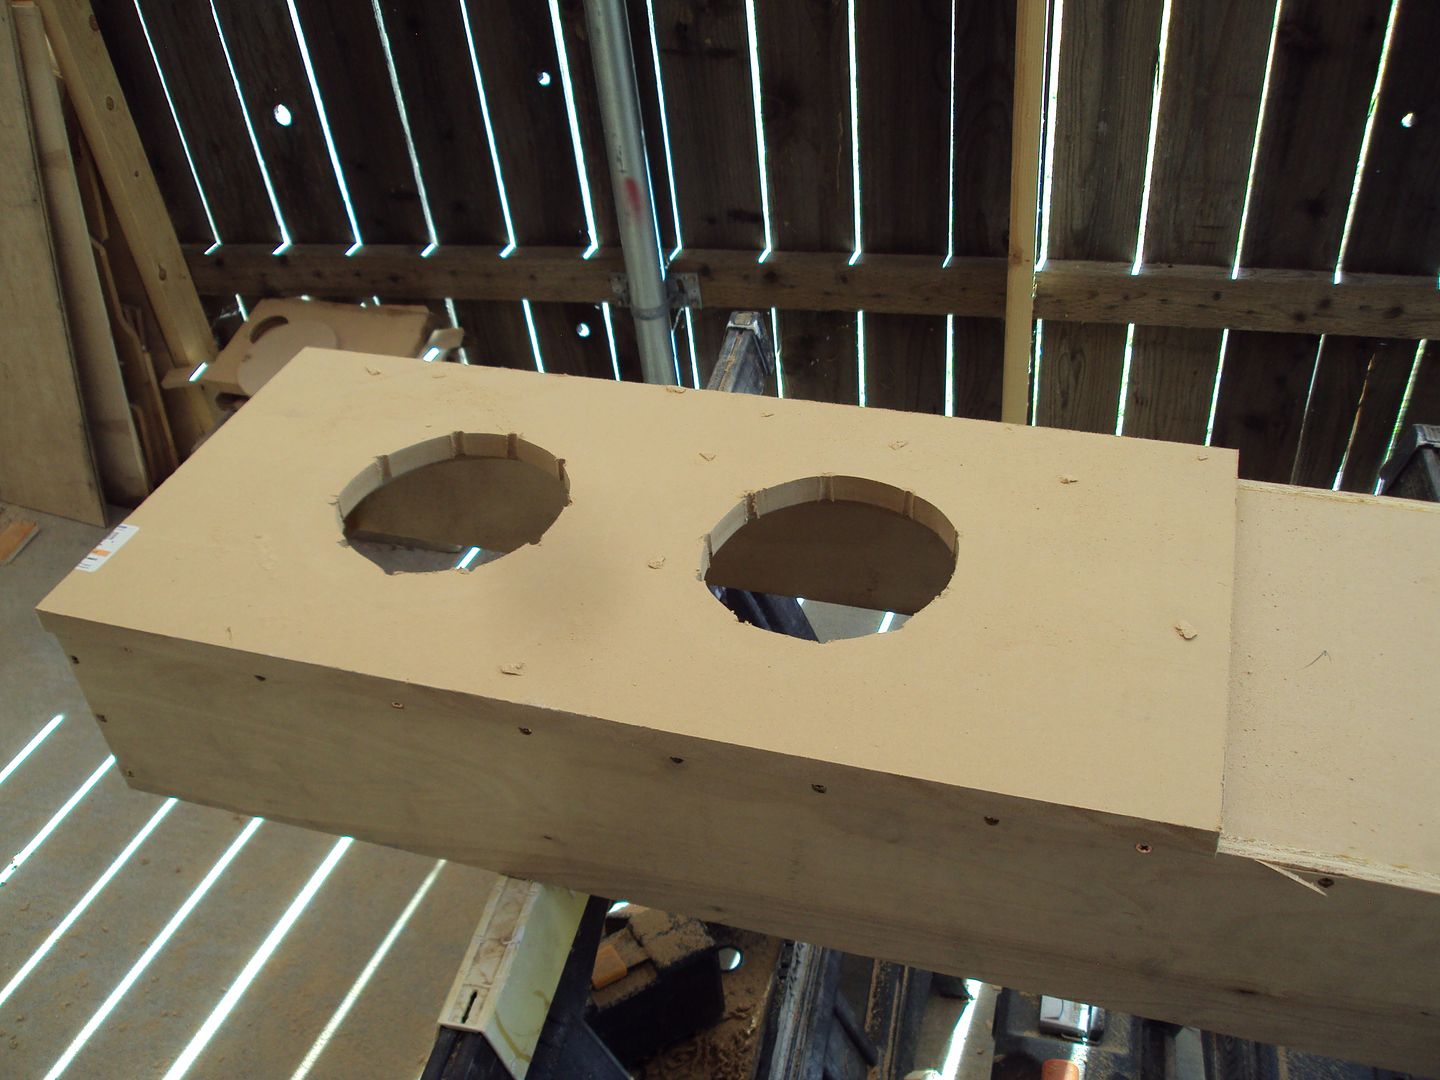
It was time to get these subs cut in and fitted. Thanks to DC Audio for giving me this nice cardboard template. Fits within an 1/8" for the cutout. So I used that to lay it out and then cut the inside of the line. Should make for a nice tight fight!
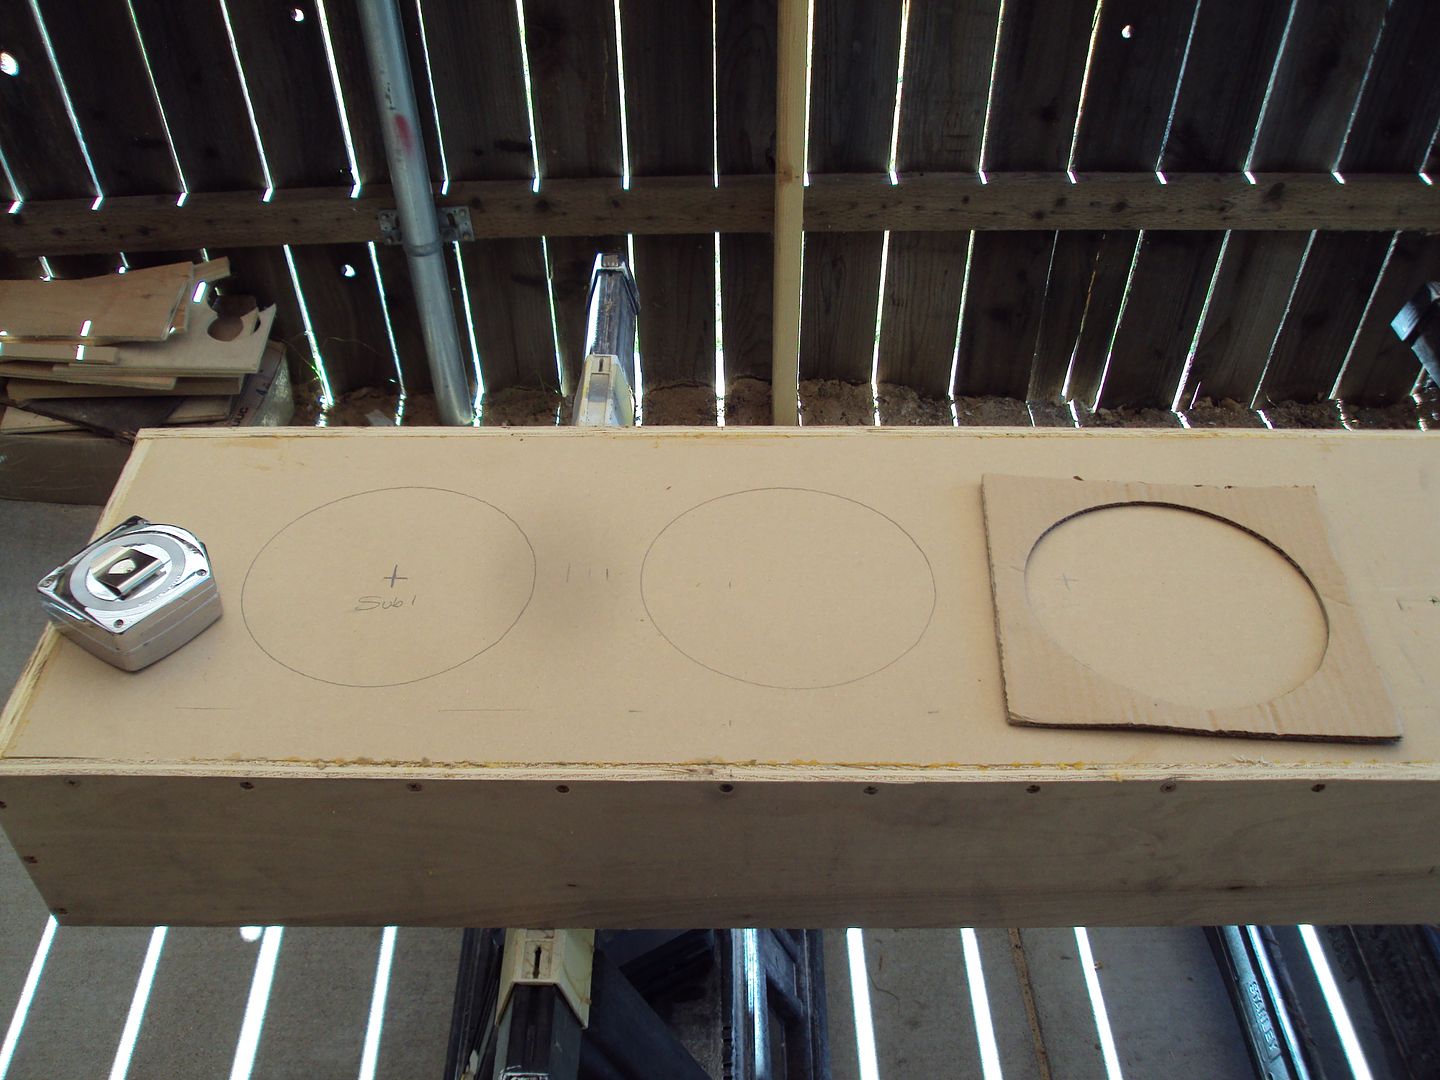
The other two marks with the circles around them are where the threaded rods will be going. I'm using 3/8" threaded rods with nuts and washers. Do I need it, maybe not, but it's only 1/2" that I'm using so I wanted to make sure it wasn't gonna move to much.
Little liquid therapy, and my jig saw. Now, normally I'd say never operate a power tool while under the influence of alcohol, but..............wait what am I talking about, I'd never say that. Enjoy, cheers! Just try not to loose any fingers!
Mmmmmmm sexay!!
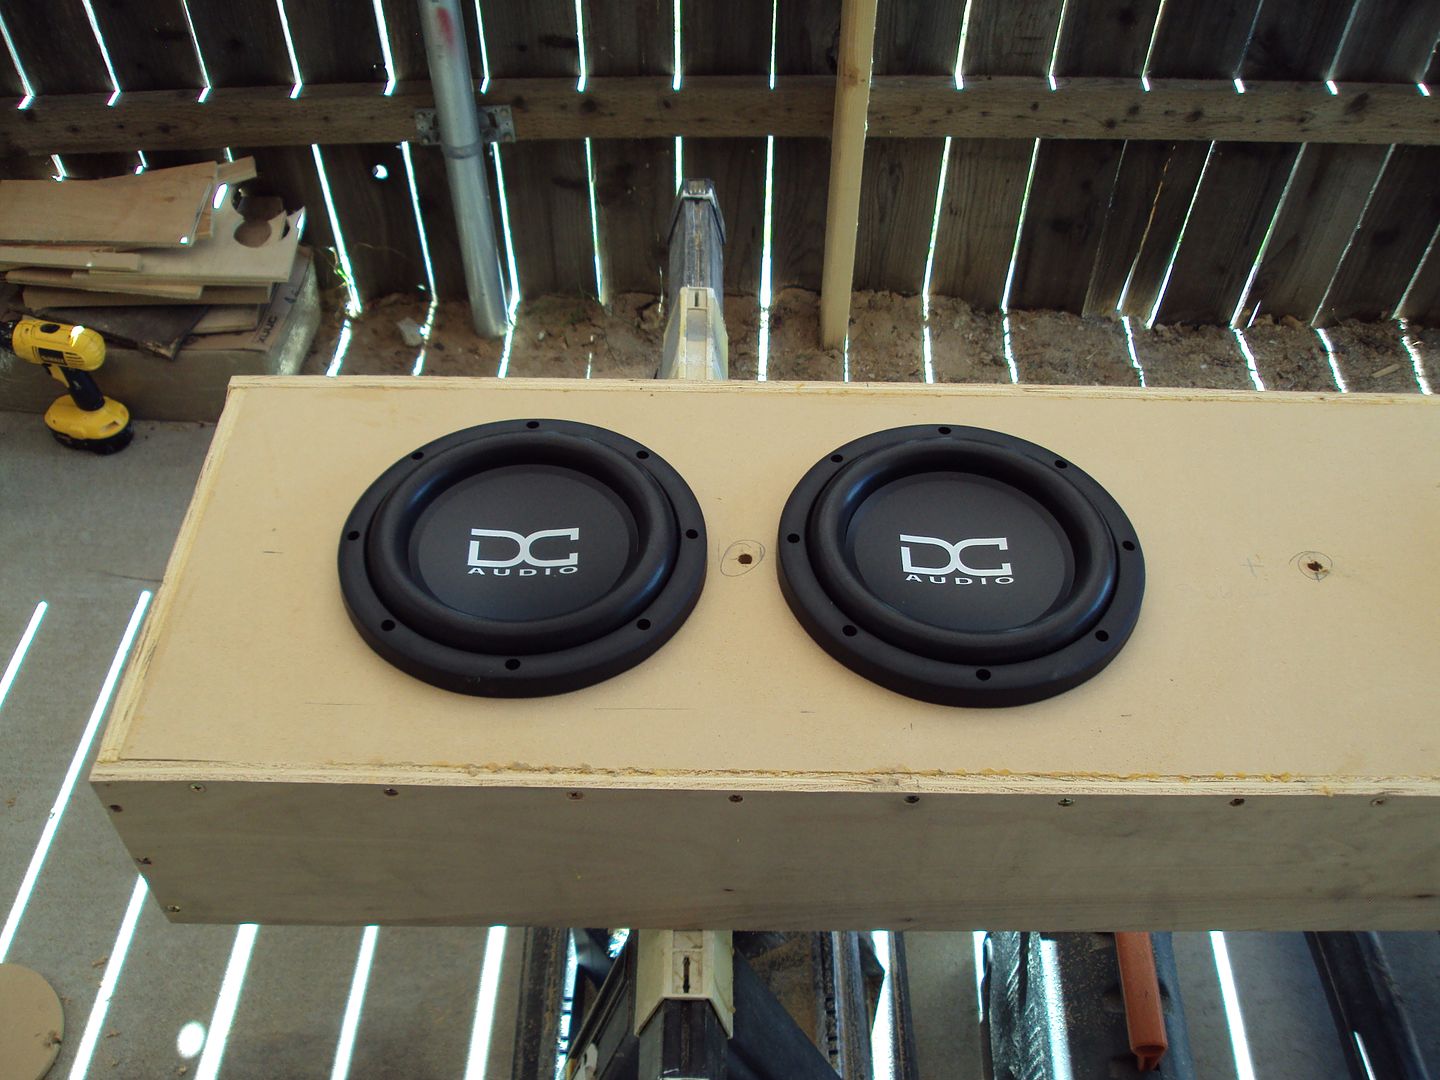
Now I was already going to put a top panel on, a flush mount panel if you will, but I was originally going to put on a 1/2" panel. After some thought and putting a piece up next to the subs, I decided it wasn't going to be enough. So I decided to go with a 3/4" piece. However the downfall is, I don't have one that's long enough to go all the way across. So I decided to just do over the subs.

It's actually worse today. About 80% of my nail is black, the finger is about close to twice the size, and I'm most likely going to loose the nail! Good times! SMH! But alas, I press on! I did manage to man up and get some work done, painful as it might be! At least I'm right handed so that helps!
It was time to get these subs cut in and fitted. Thanks to DC Audio for giving me this nice cardboard template. Fits within an 1/8" for the cutout. So I used that to lay it out and then cut the inside of the line. Should make for a nice tight fight!
The other two marks with the circles around them are where the threaded rods will be going. I'm using 3/8" threaded rods with nuts and washers. Do I need it, maybe not, but it's only 1/2" that I'm using so I wanted to make sure it wasn't gonna move to much.
Little liquid therapy, and my jig saw. Now, normally I'd say never operate a power tool while under the influence of alcohol, but..............wait what am I talking about, I'd never say that. Enjoy, cheers! Just try not to loose any fingers!
Mmmmmmm sexay!!
Now I was already going to put a top panel on, a flush mount panel if you will, but I was originally going to put on a 1/2" panel. After some thought and putting a piece up next to the subs, I decided it wasn't going to be enough. So I decided to go with a 3/4" piece. However the downfall is, I don't have one that's long enough to go all the way across. So I decided to just do over the subs.
#30
06-12-2012, 01:37 PM
Join Date: May 2011
Posts: 339
Likes: 0
Received 0 Likes
on
0 Posts
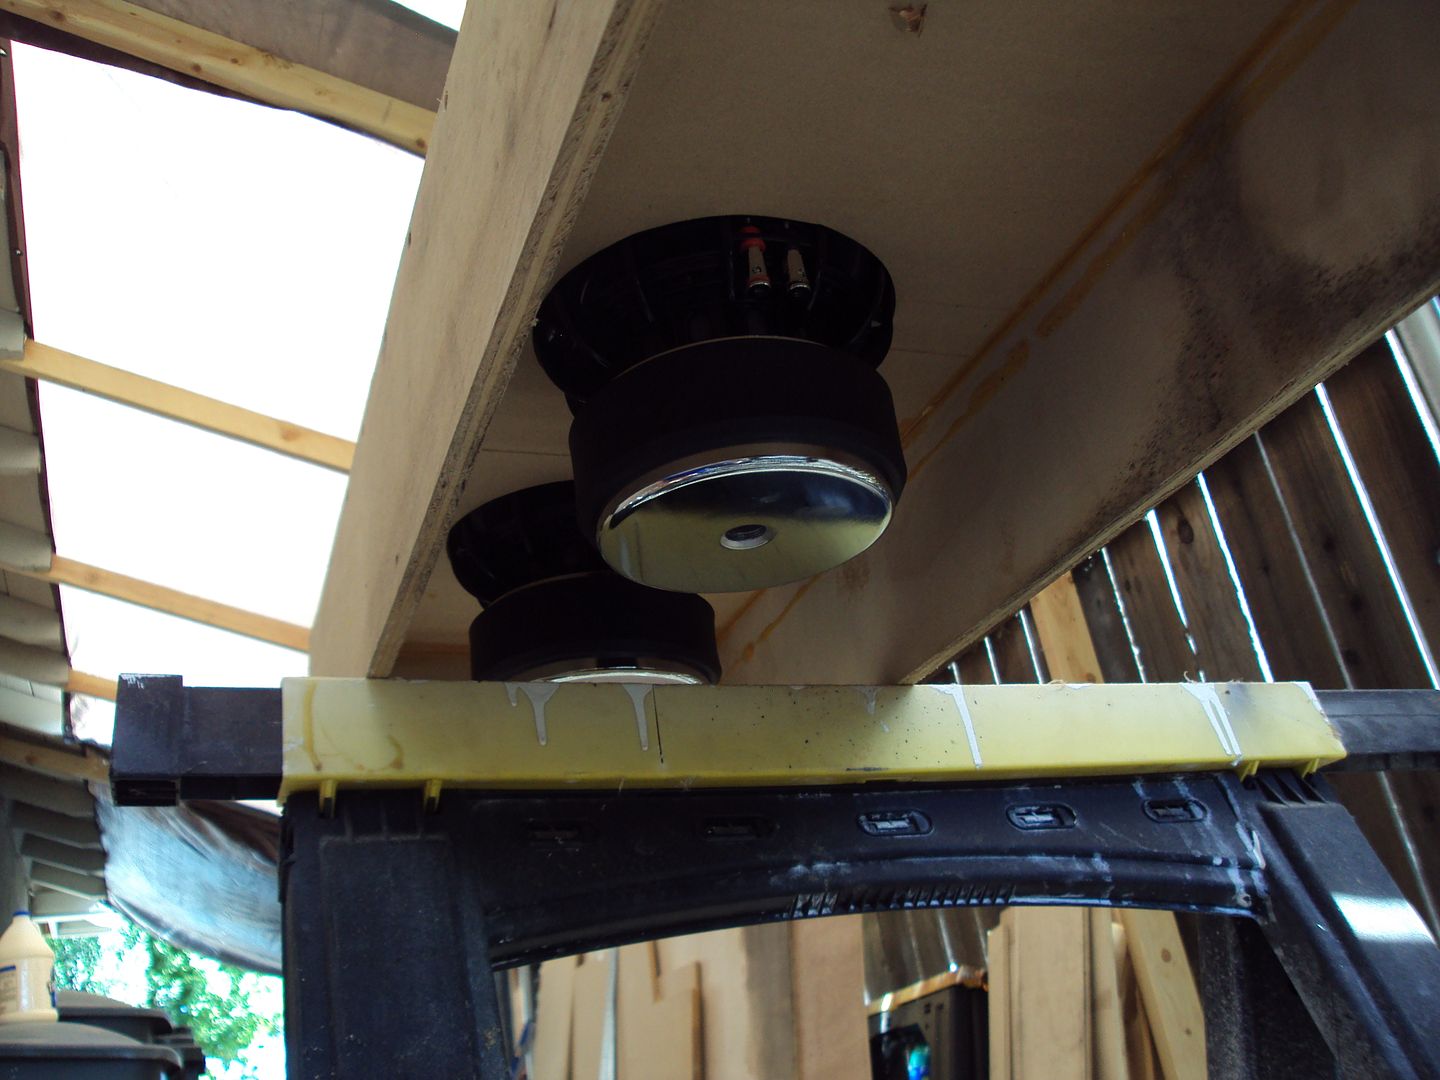
This is basically how it will look. Some details to be added, roundovers etc. But you get the idea.
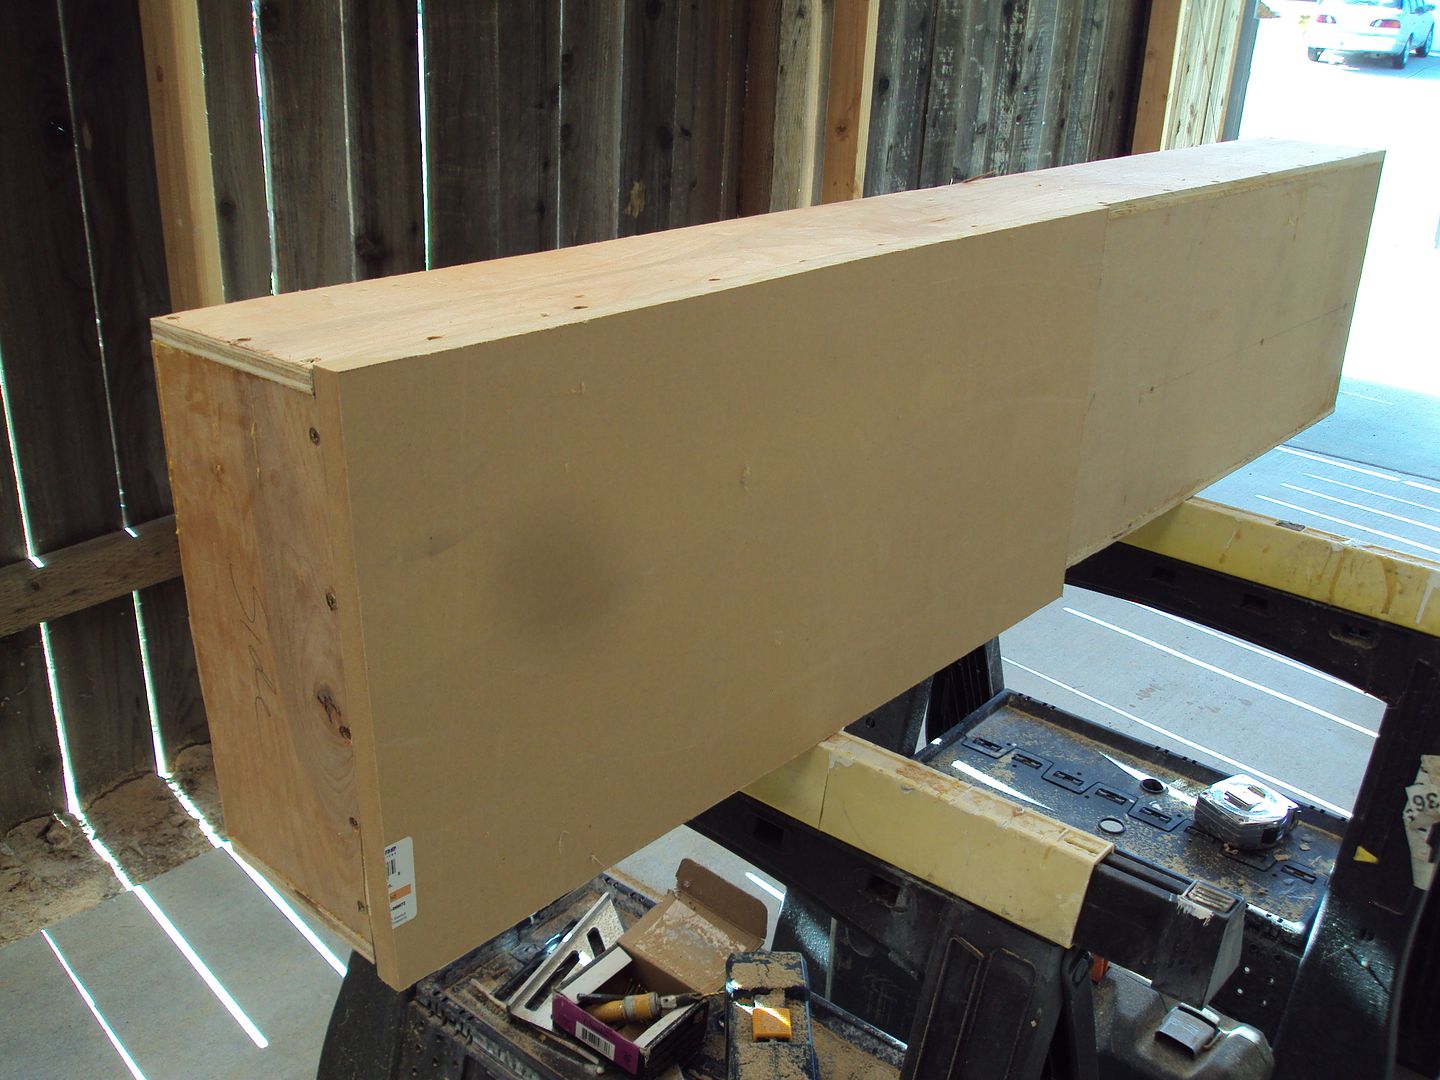
Will also be screwed in from the inside so no holes will be seen.
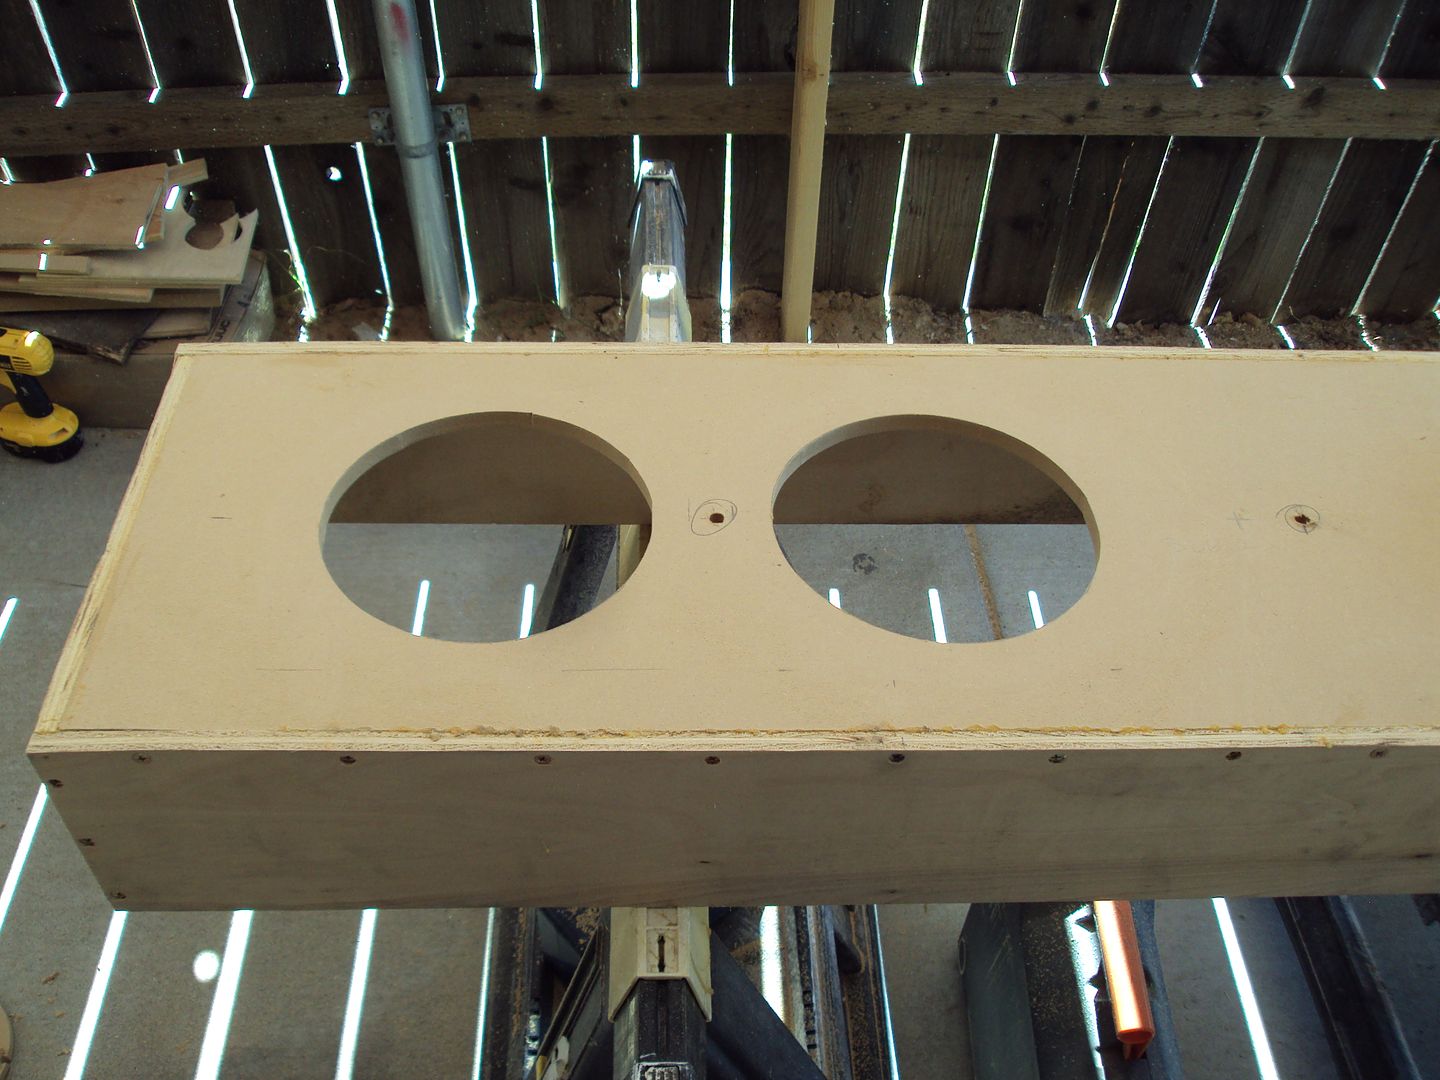
Now then it was time to get the holes cut out. I was originally going to use a hole saw and then the router. But my battery died on my big drill so I grabbed the smaller one and drilled a bunch of holes to cut out with a jigsaw. Then router it.
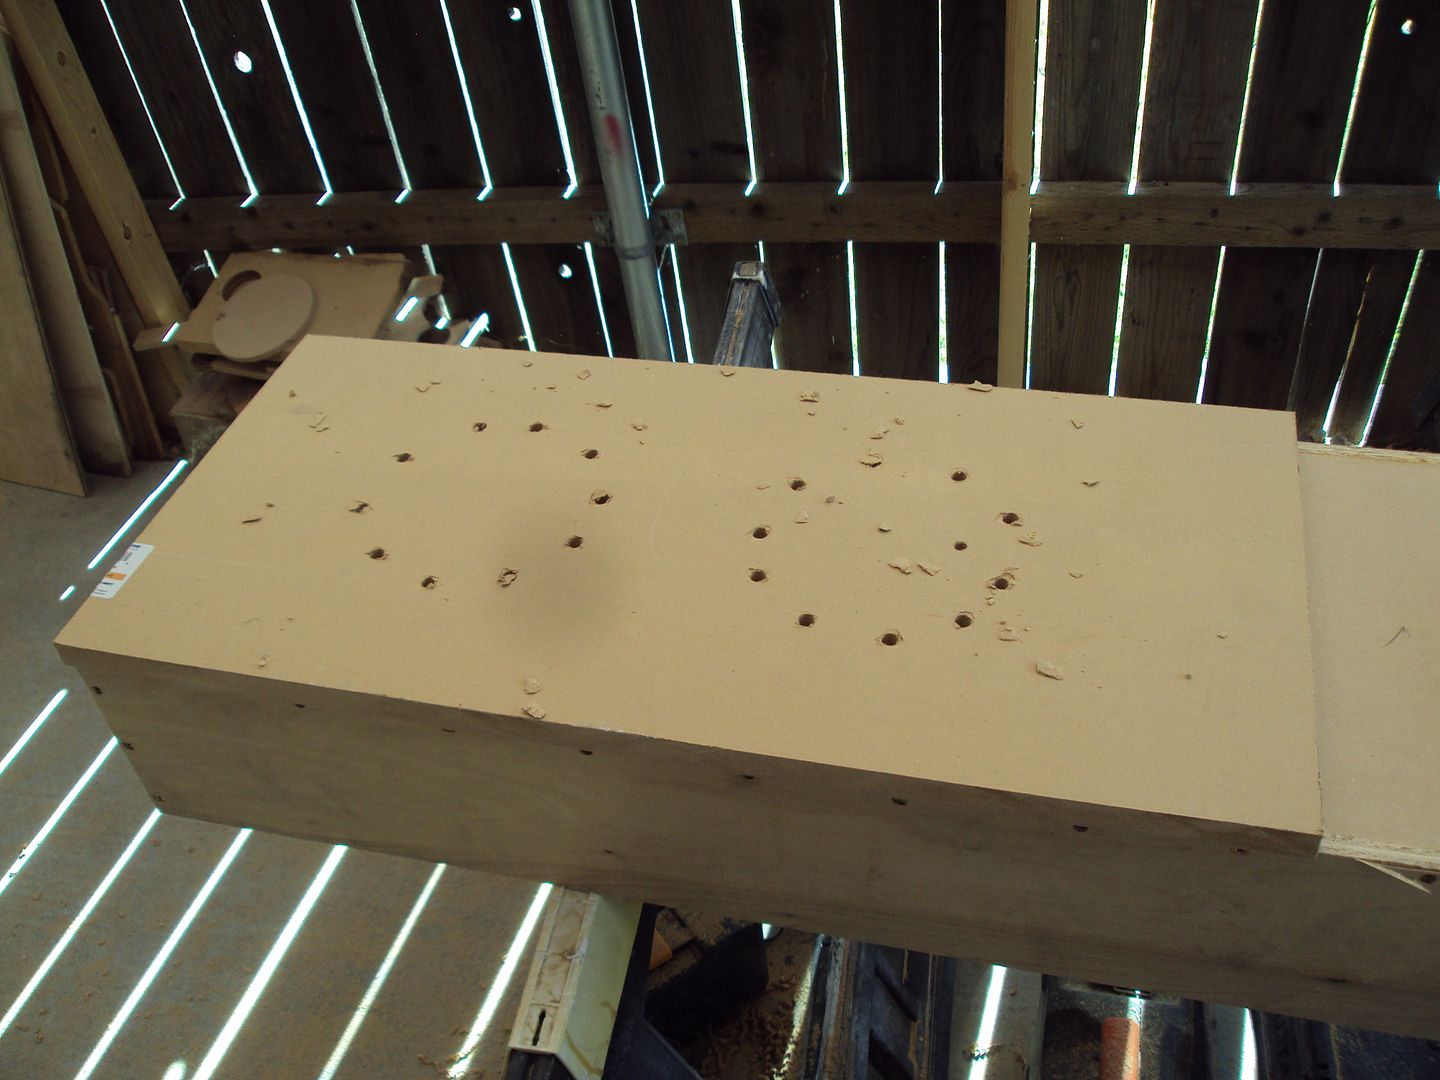
Port spot to be cut out.
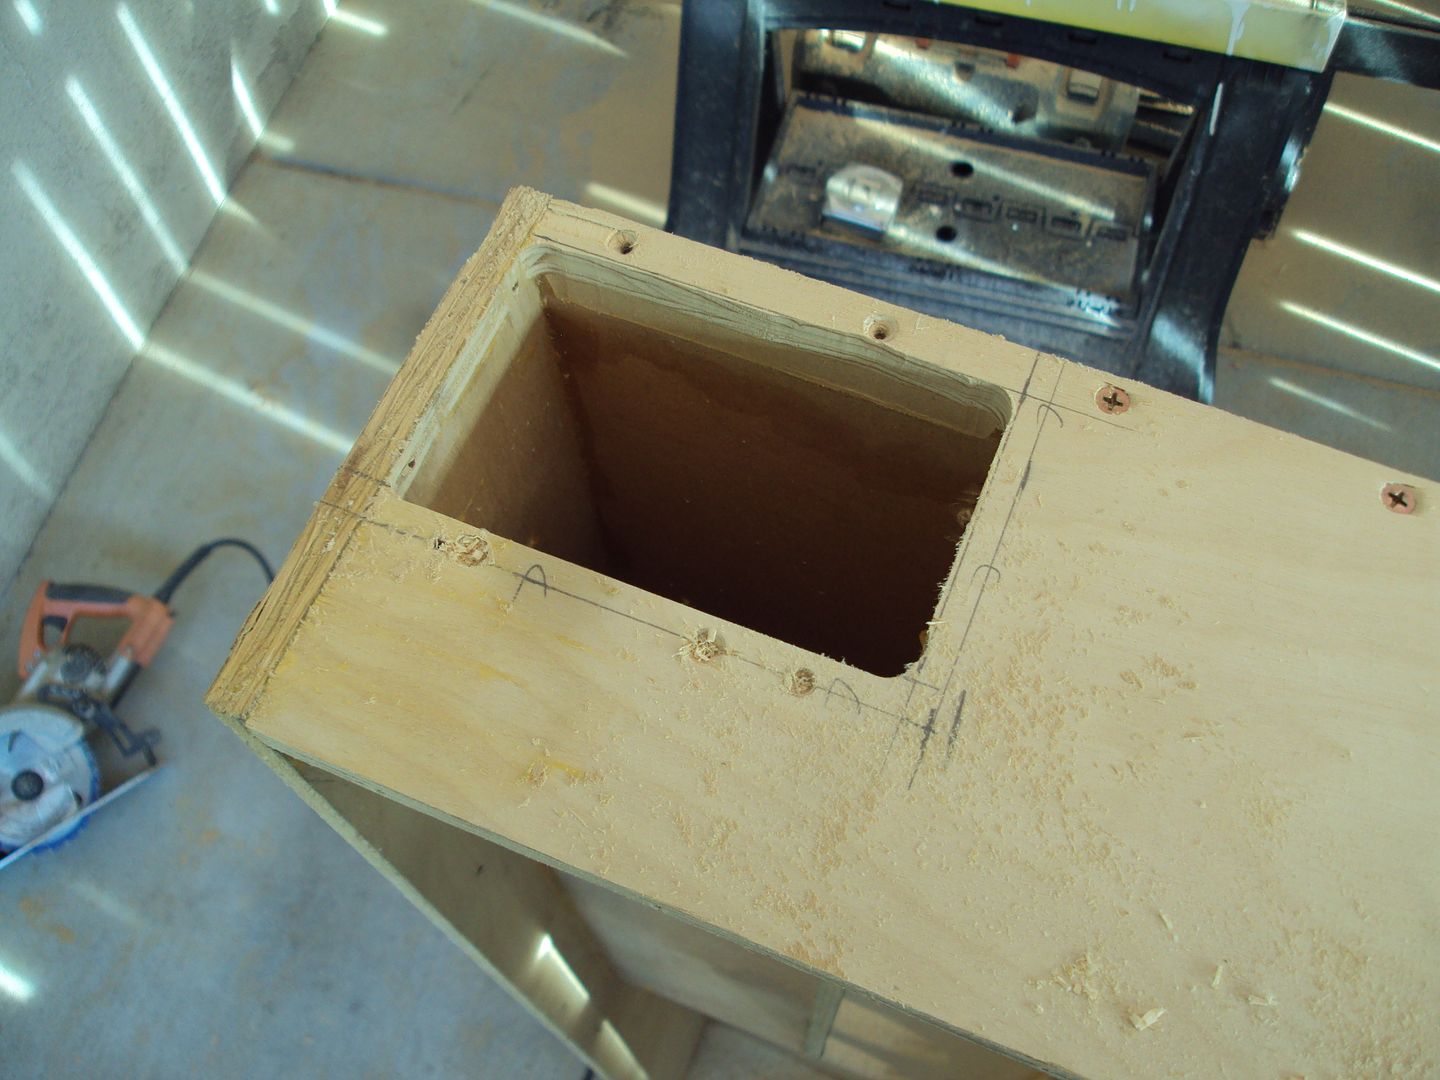
Time to make some dust!
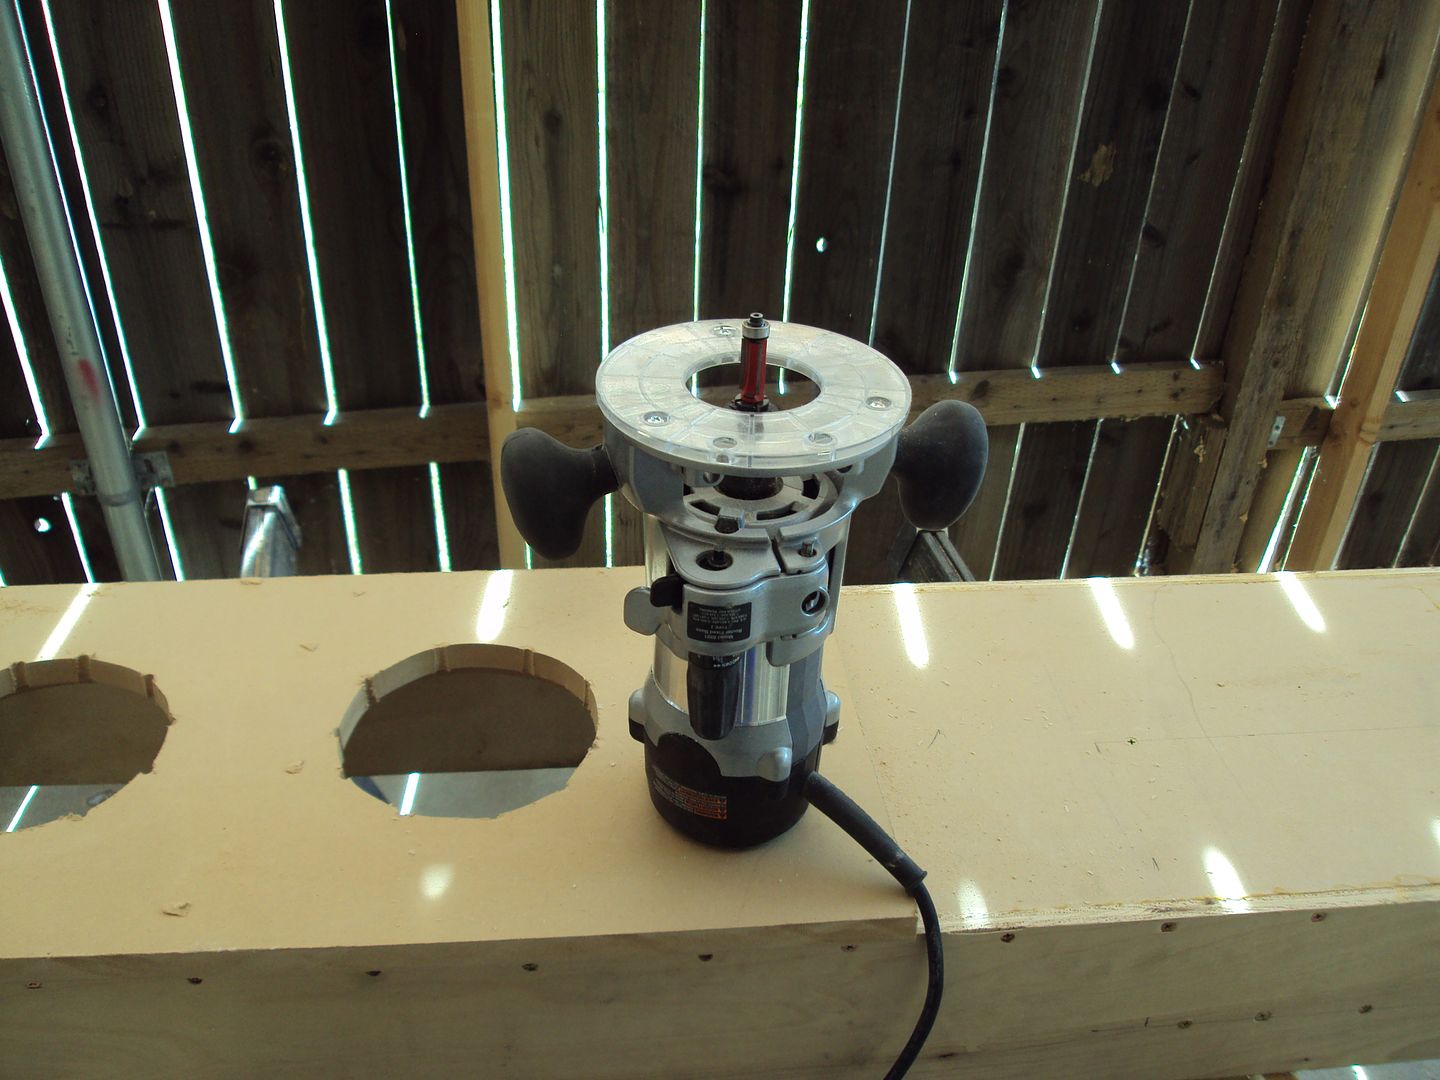
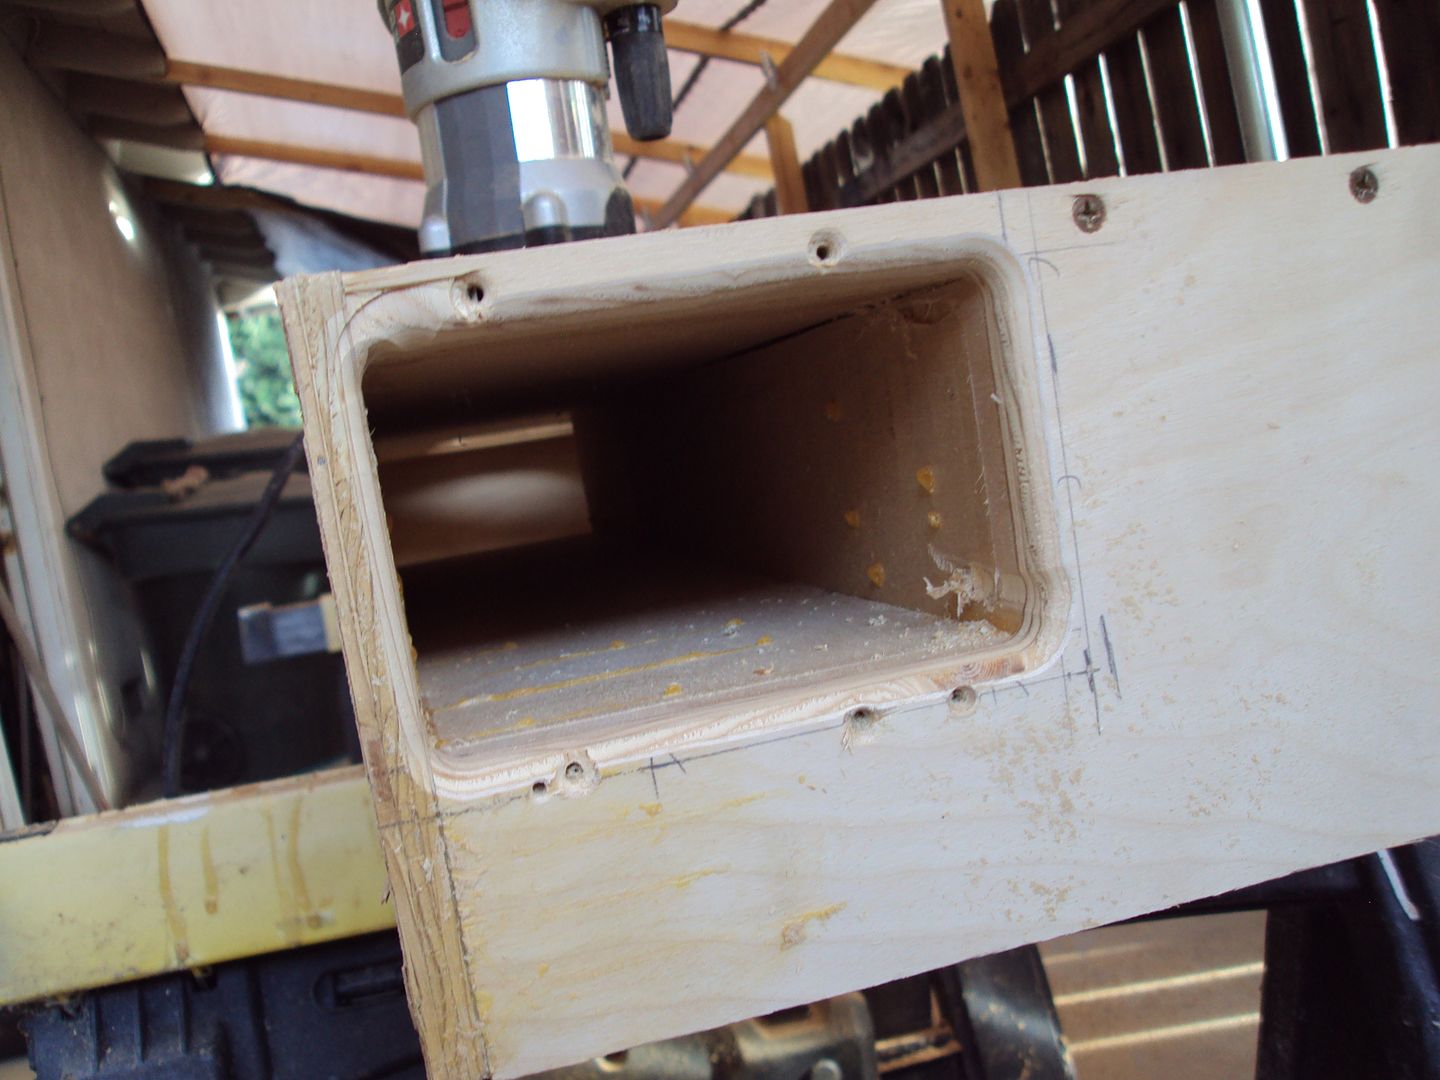
First the port. This was kind of a pain in the *** cause I couldn't get it to sit still on the saw horses and do it on it's side. So I had to stand it up and then I had to get on a bucket cause it was too tall! PAIN! SO it's not my best work! But it'll do!
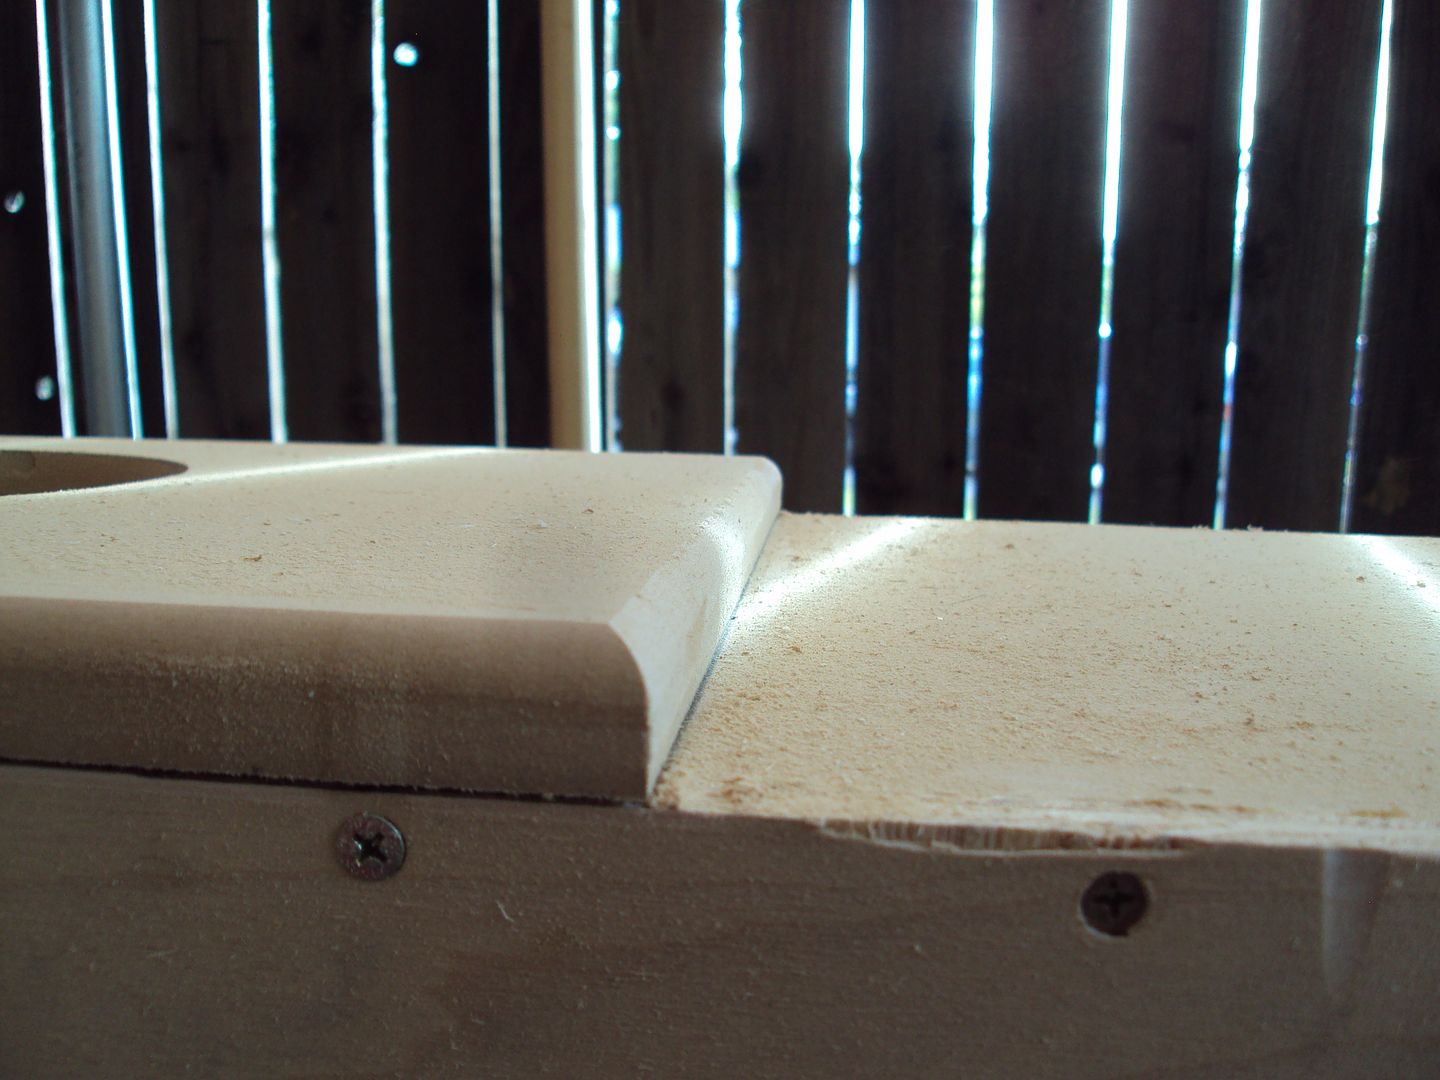
Then I got out the roundover bit and took care of a few corners!
Will also be screwed in from the inside so no holes will be seen.
Now then it was time to get the holes cut out. I was originally going to use a hole saw and then the router. But my battery died on my big drill so I grabbed the smaller one and drilled a bunch of holes to cut out with a jigsaw. Then router it.
Port spot to be cut out.
Time to make some dust!
First the port. This was kind of a pain in the *** cause I couldn't get it to sit still on the saw horses and do it on it's side. So I had to stand it up and then I had to get on a bucket cause it was too tall! PAIN! SO it's not my best work! But it'll do!
Then I got out the roundover bit and took care of a few corners!