49 truck with 4.6 modular motor-IT'S ALIVE!!!

#152
 02-10-2013, 07:31 PM
Junior User
Join Date: Dec 2012
Location: Here
Posts: 92
Likes: 0
Received 0 Likes
on
0 Posts
 watching and learning
#153
02-10-2013, 07:42 PM

Thanks. I didn't know what to expect when I first started this wiring project, but after sitting down tracing the wires and labeling things it wasn't bad at all. I'm trying to keep the cost down on things I can control. I do bodywork as well so I should be able to paint it for a reasonable price, but wheels and tires alone can really add up if you go for customs. I also need the grille, radiator, linear actuator for the tilt front end, etc. I don't know about runnning bumpers or not but still lot's of money to spend.
#154
04-29-2013, 05:56 PM


#156
04-30-2013, 05:59 AM


#158
04-30-2013, 03:01 PM
i'm about to subframe my F3 with an 85 crown vic IFS, what do you expect as far as ride height with stock coils from yours, after that Z?? I am thinking about putting this one over top of the stock frame dims, or very shallowly into it, hoping to lay frame with bags or juice in the future. will be running stock 15s 195 60 from the 'vic for a while but plan to run a 22x9 with 265/35 in front. about 29.5" tall or so.
#159
04-30-2013, 04:56 PM
I've got the fiberglass front-end temporarily in place. Tires are tucked above wheel opening approximately 3 inches. I'm trying to get the bed mocked up next to see how the rear will look.
#160
04-30-2013, 11:30 PM
Senior User
Join Date: Dec 2010
Location: Lethbridge AB
Posts: 356
Likes: 0
Received 0 Likes
on
0 Posts
Your cab corner pics are just the step by step process I needed. I'm going to start on my passenger back corner next week and was quite worried on how to do it. I hope you will post pics of the fender repairs as you go along as well. You have no idea how much help those kind of pics are to those of us who dont have any experience at metal work. Usually if I can see how its done I can do it myself. Reminds me of an apprentice plumber I had one time: used to give him the crap jobs to keep him out of my hair till one day he cornered me and said strait to my face --- I'm not stupid I just dont know how to do it. He was one of my best after that. I now know how he felt. Please keep up the good work.
#161
05-01-2013, 08:05 PM
If my posting pics helps that's great. I've done very little metal work before this truck myself. All I have as far as metal shaping tools are hammer and dollies & a bead roller. Maybe someday I'll start investing in something else.
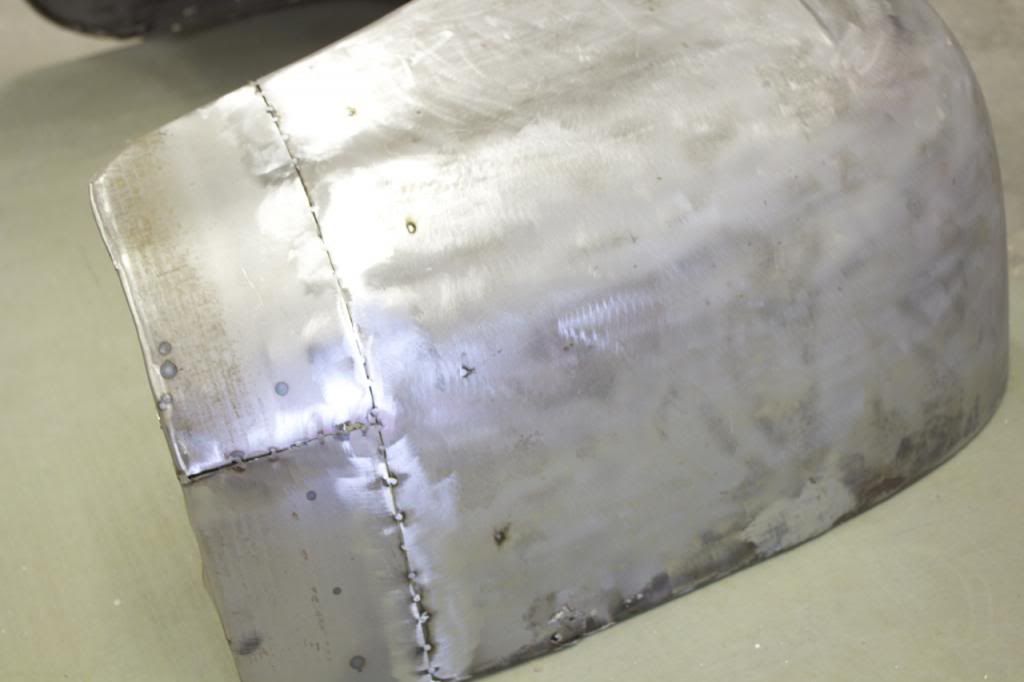
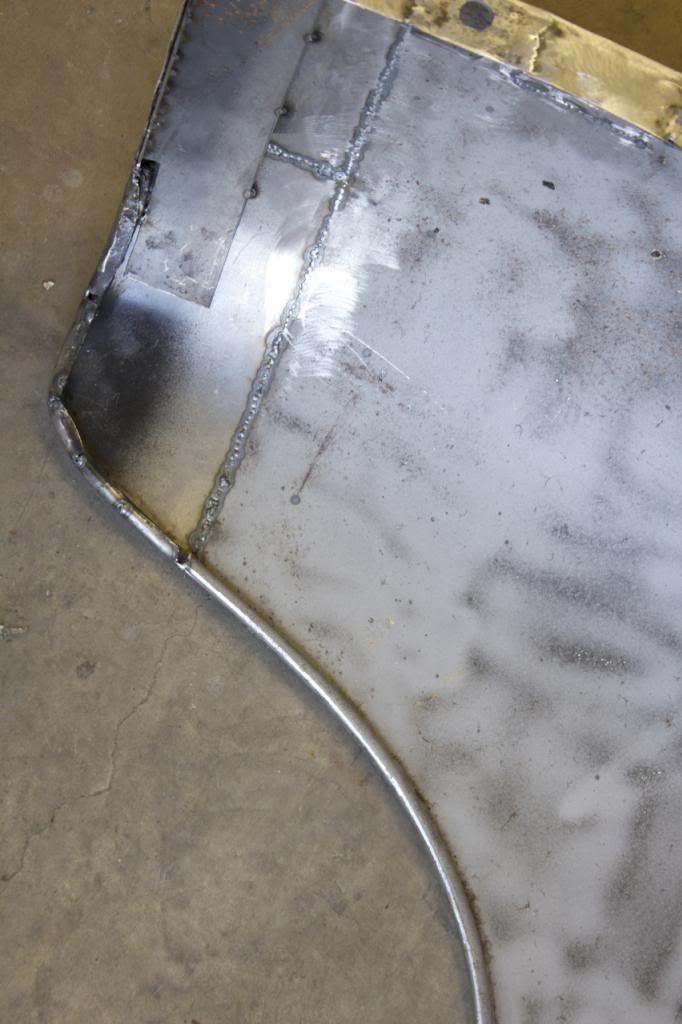
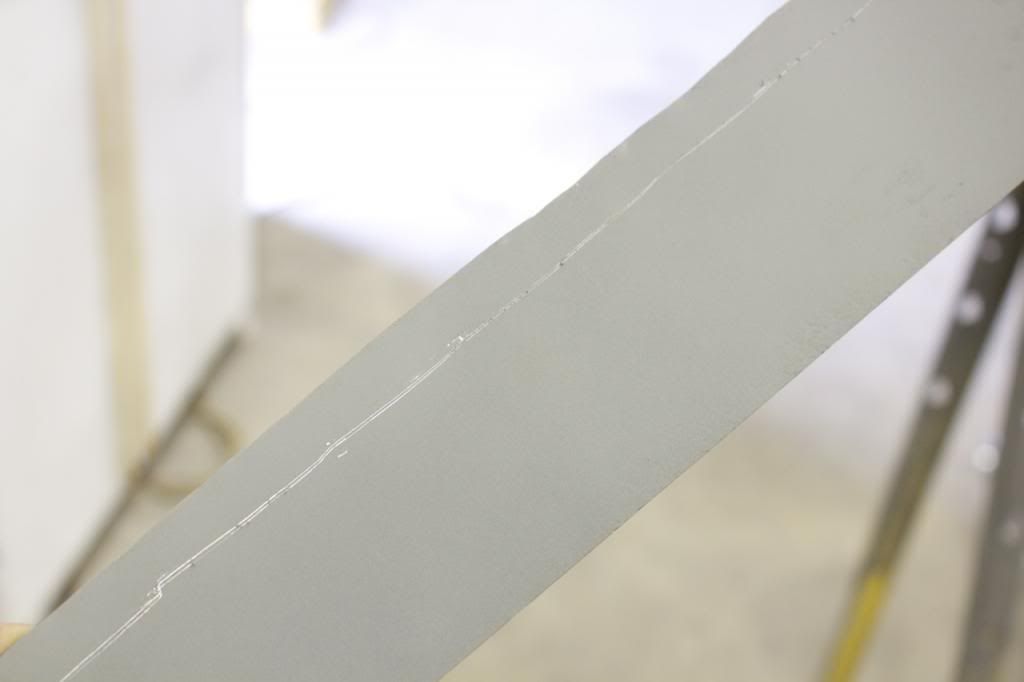
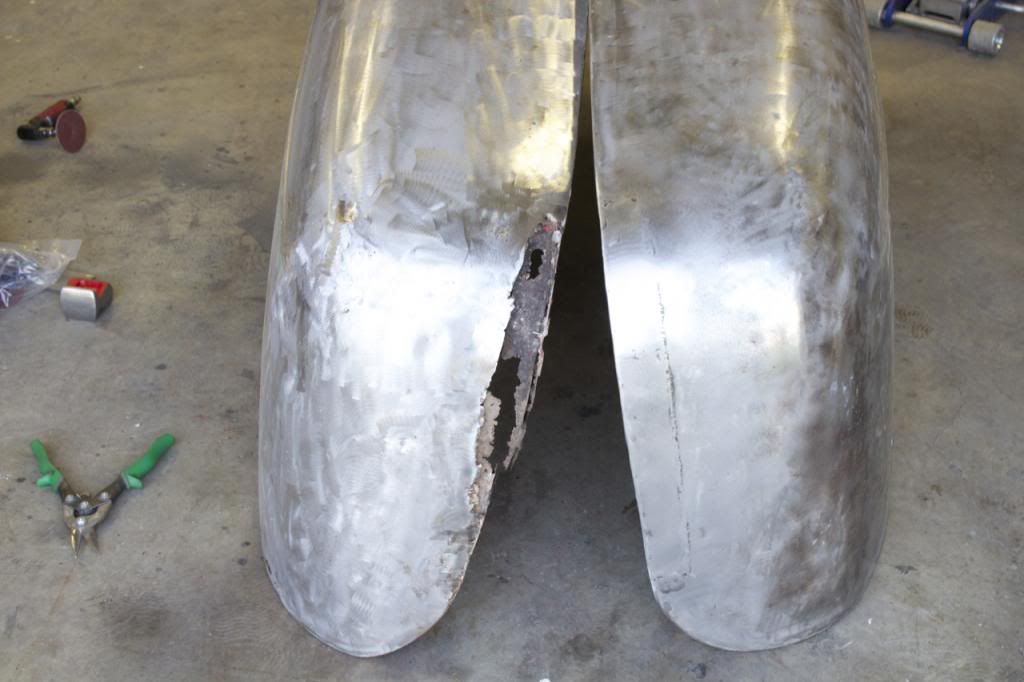
Here's a little more progress on the fender.
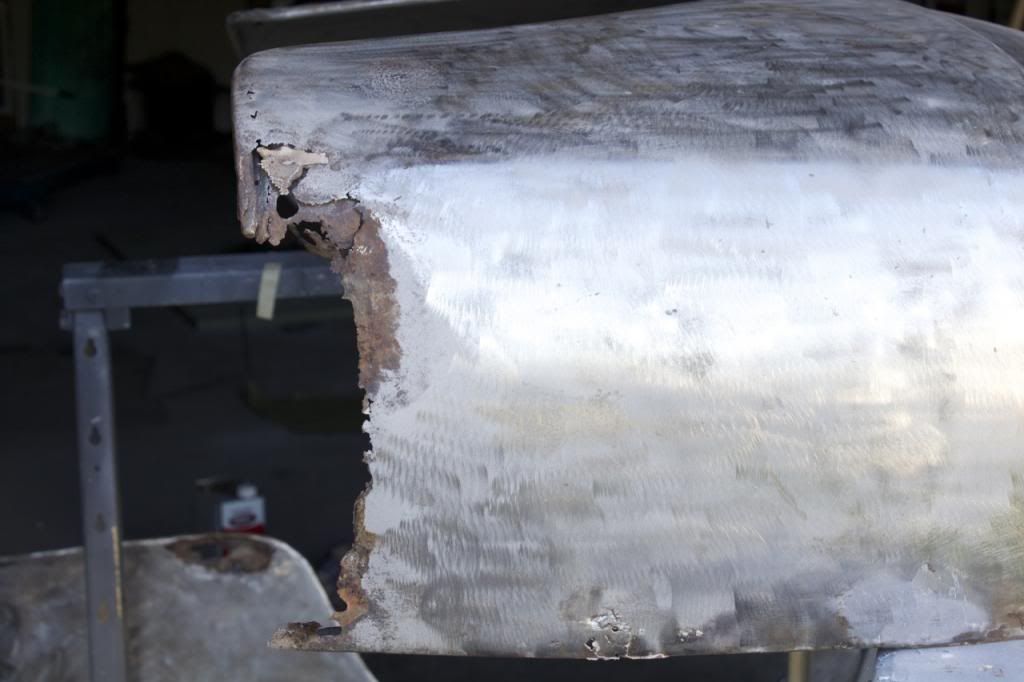
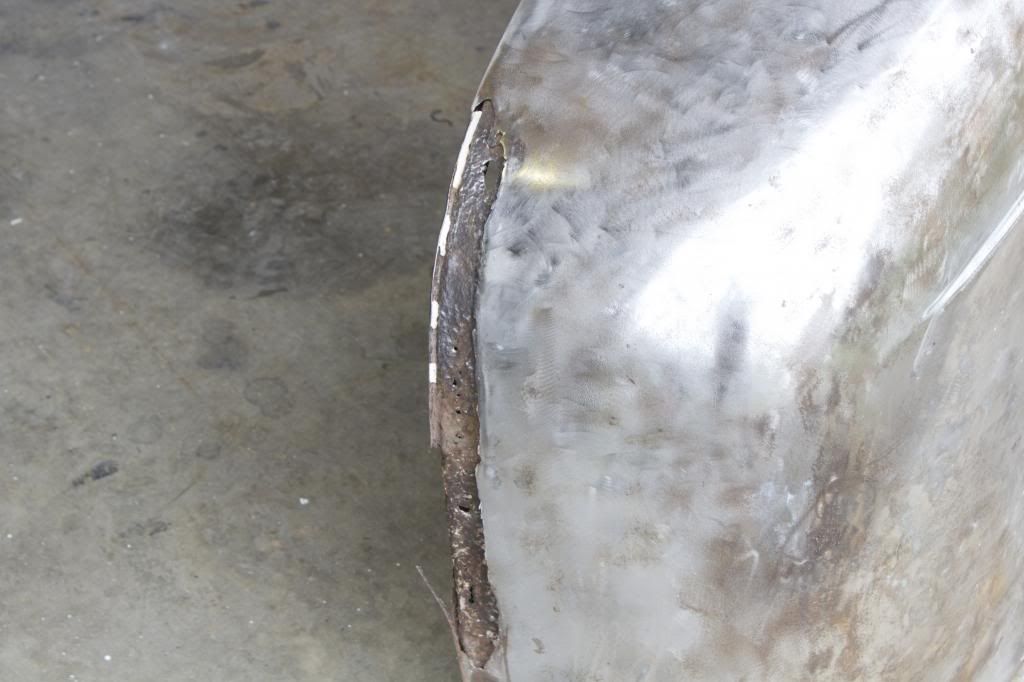
Here I've got the new metal lined up with the bottom of the fender. I then tacked it to hold it steady. I made a cut through new metal and fender at the same time. I kept the new metal pressed down tight with my hand as I cut.
Here's the metal tacked in place and some of it folded over the round bar edging of the fender. Since I don't have a shrinker/stretcher I couldn't make both the horizontal and vertical curves in the patch panel so I cut it in two which allowed me to shape more.
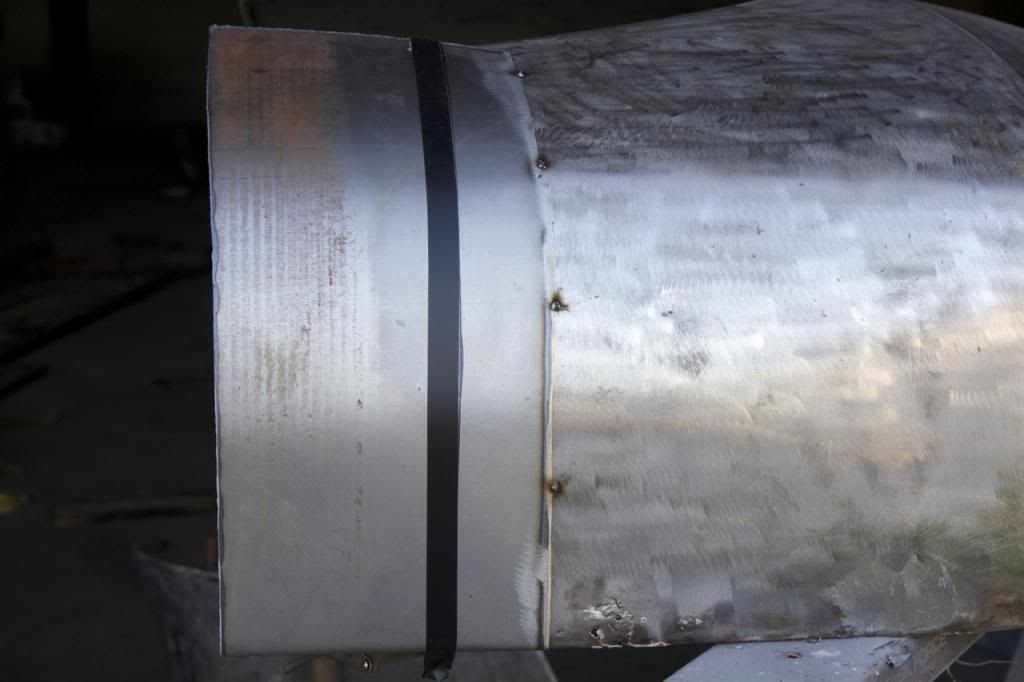
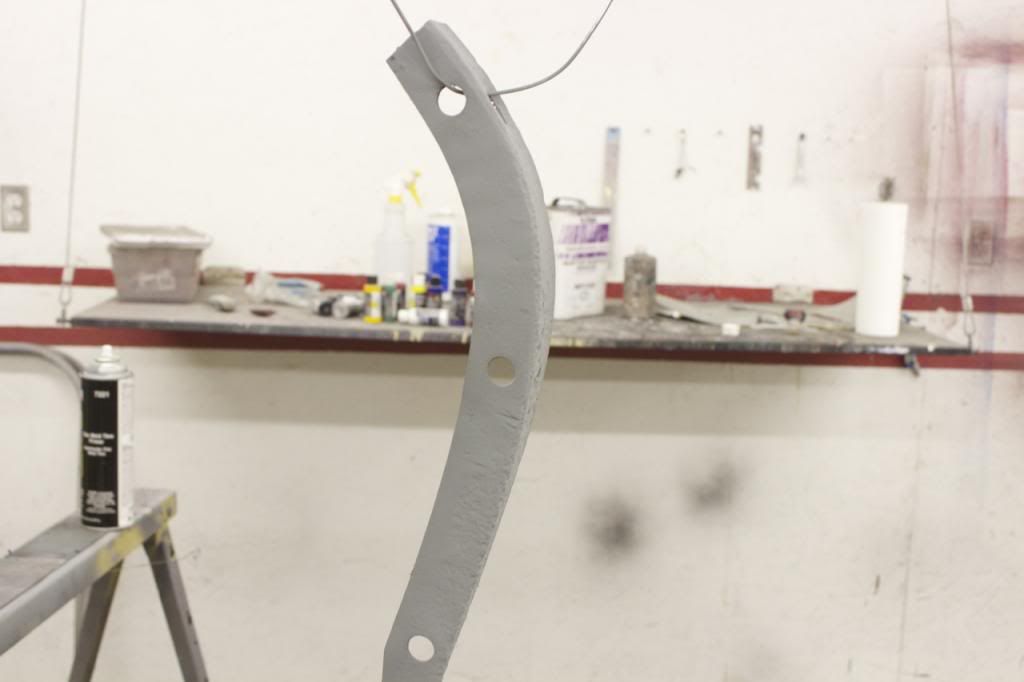
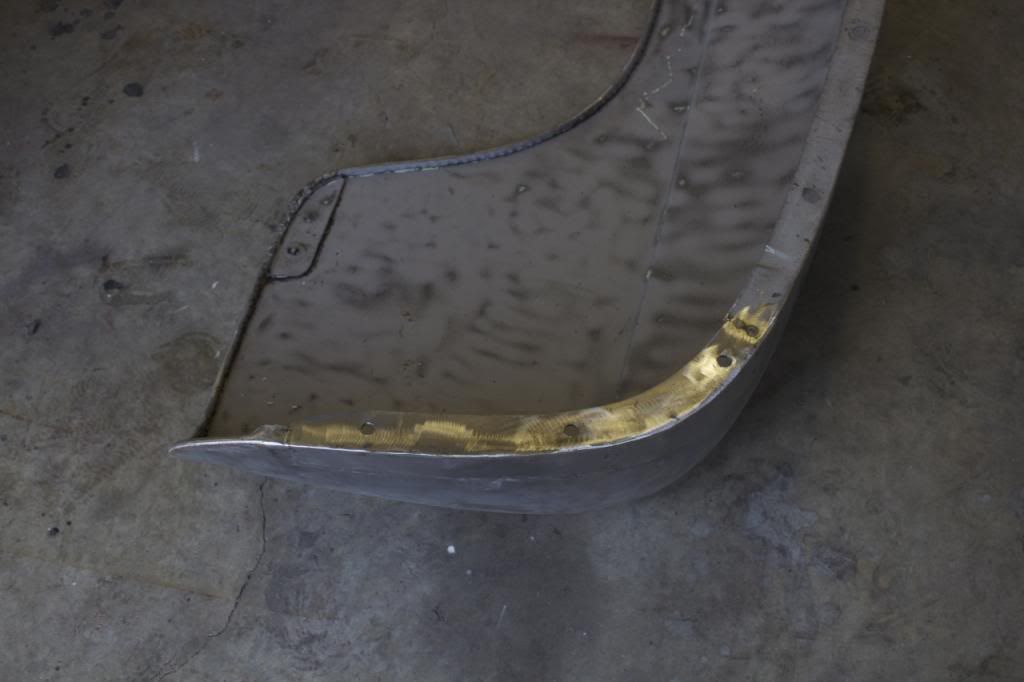
Here's the reinforcement piece on the back side that I'll have to make.
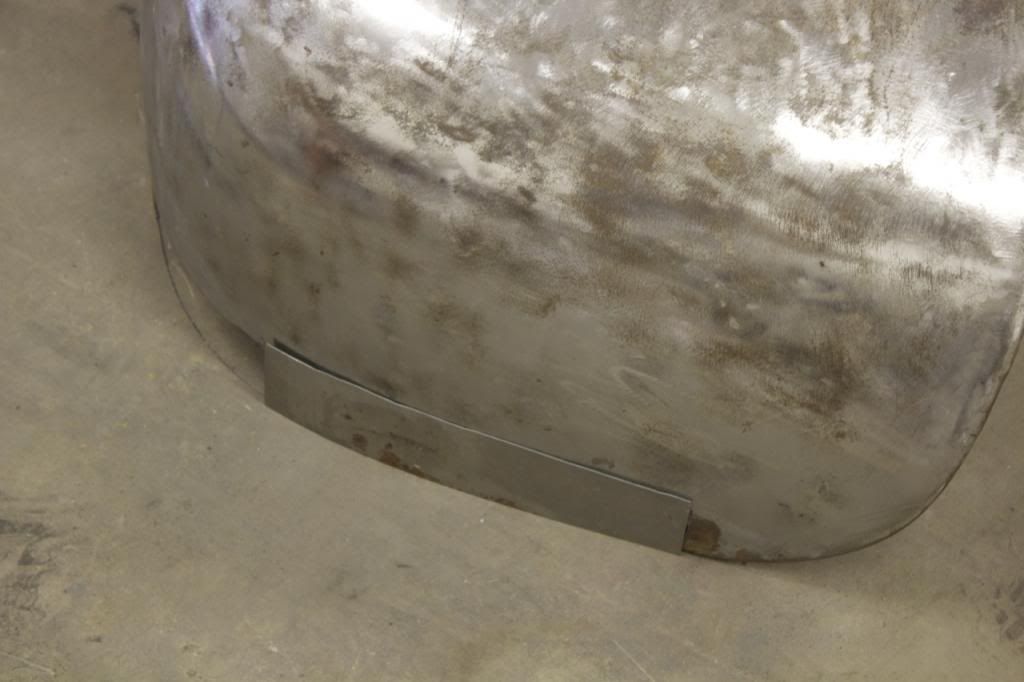
Here's the panel with the edge hammered over the reinforcement.
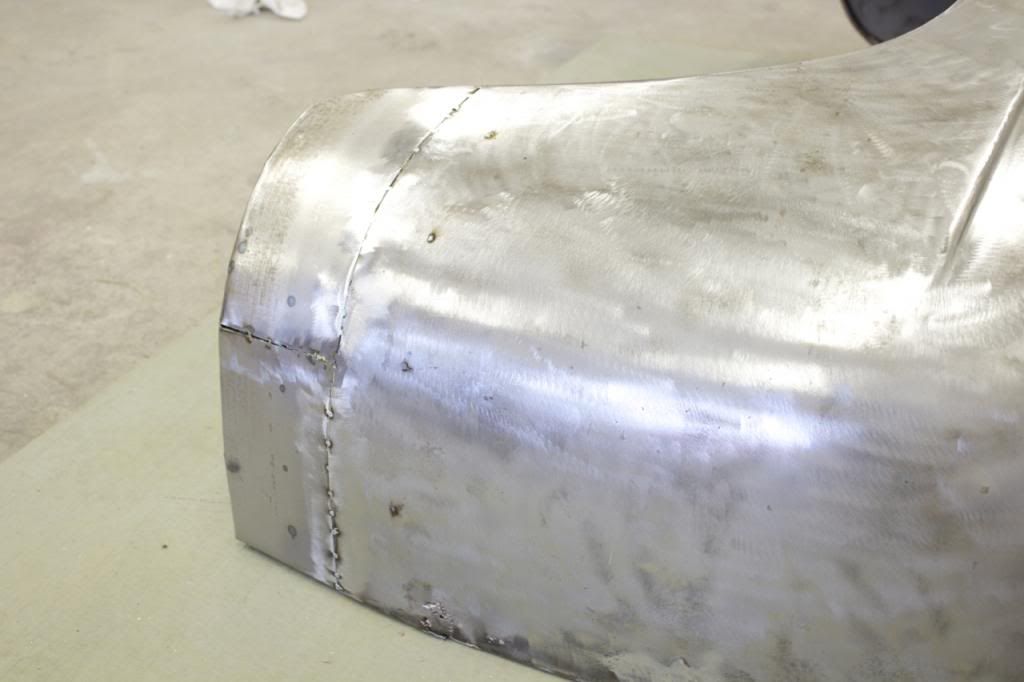
Here's another piece that I'll have to fix.
I guess I should have taken more pics, but once I get to working it's hard to stop.
Hopefully Friday I'll finish welding this panel and get it worked out better.
Here's a little more progress on the fender.

Here I've got the new metal lined up with the bottom of the fender. I then tacked it to hold it steady. I made a cut through new metal and fender at the same time. I kept the new metal pressed down tight with my hand as I cut.

Here's the metal tacked in place and some of it folded over the round bar edging of the fender. Since I don't have a shrinker/stretcher I couldn't make both the horizontal and vertical curves in the patch panel so I cut it in two which allowed me to shape more.

Here's the reinforcement piece on the back side that I'll have to make.

Here's the panel with the edge hammered over the reinforcement.


Here's another piece that I'll have to fix.

I guess I should have taken more pics, but once I get to working it's hard to stop.
Hopefully Friday I'll finish welding this panel and get it worked out better.
#162
05-10-2013, 07:31 PM
Well I got sidetracked when working on the rear fender. I had to make sure I had the lower shape right so I temporarily put it in place to see how it looked with the running board. Then I decided to start working on the stance of the truck.
Here's how the truck was when I bought it.
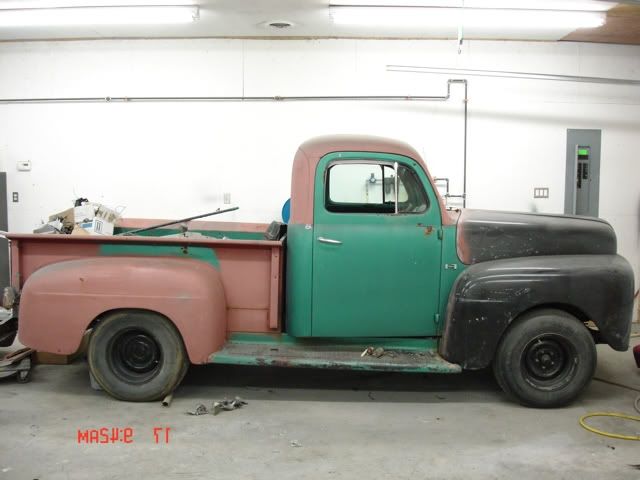
Here's how it sat after I zeed the frame.

It was up a little too high for my taste so I lowered a bit more. Just how I like it!!
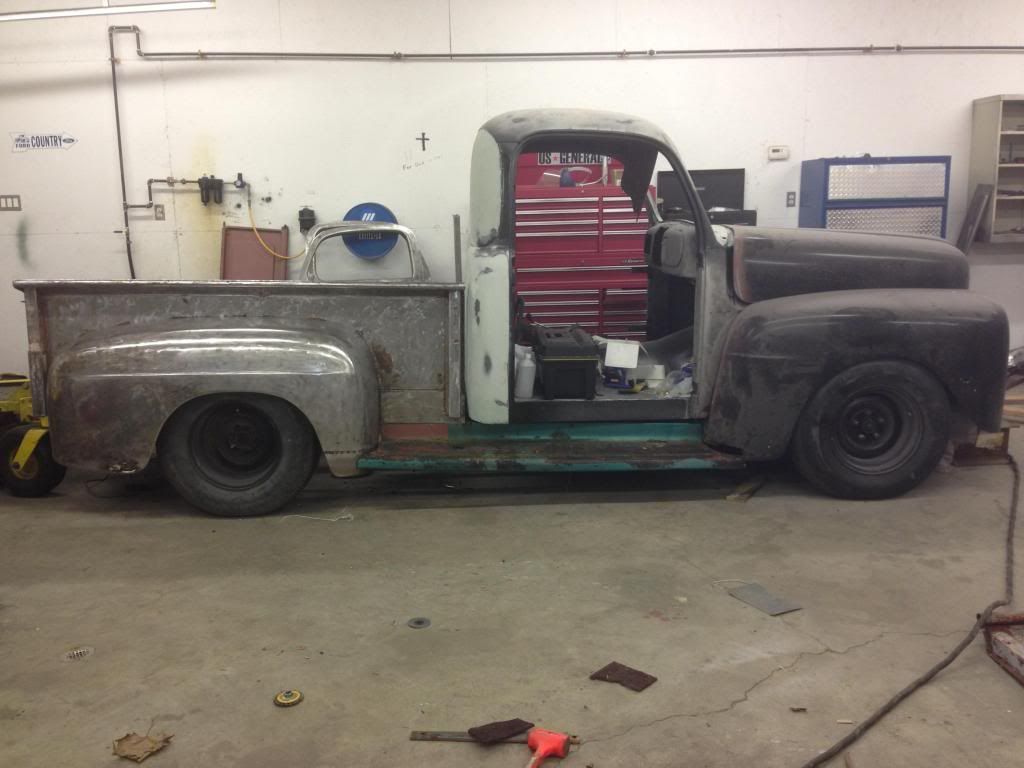
The previous owner put a Camaro front clip on this. I wish I would have changed it out for something more narrow when I was zeeing the frame. I'm really limited on the wheels in the front because of the width. I'm getting some 15 x 6's with enough backspacing to give me 2 more inches on each side so I should be good.
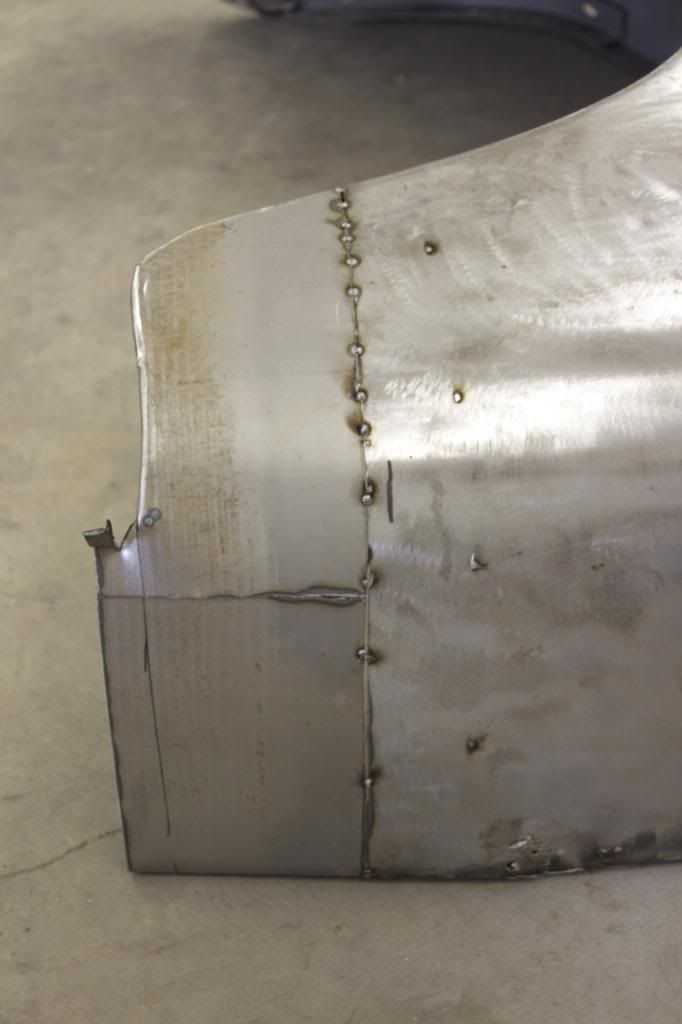
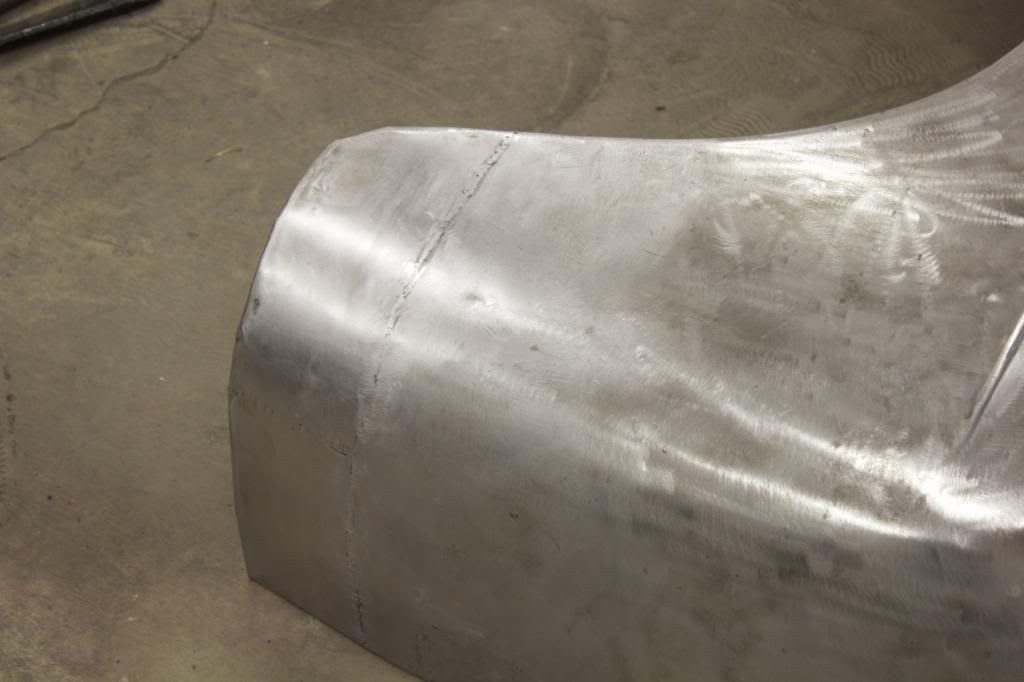
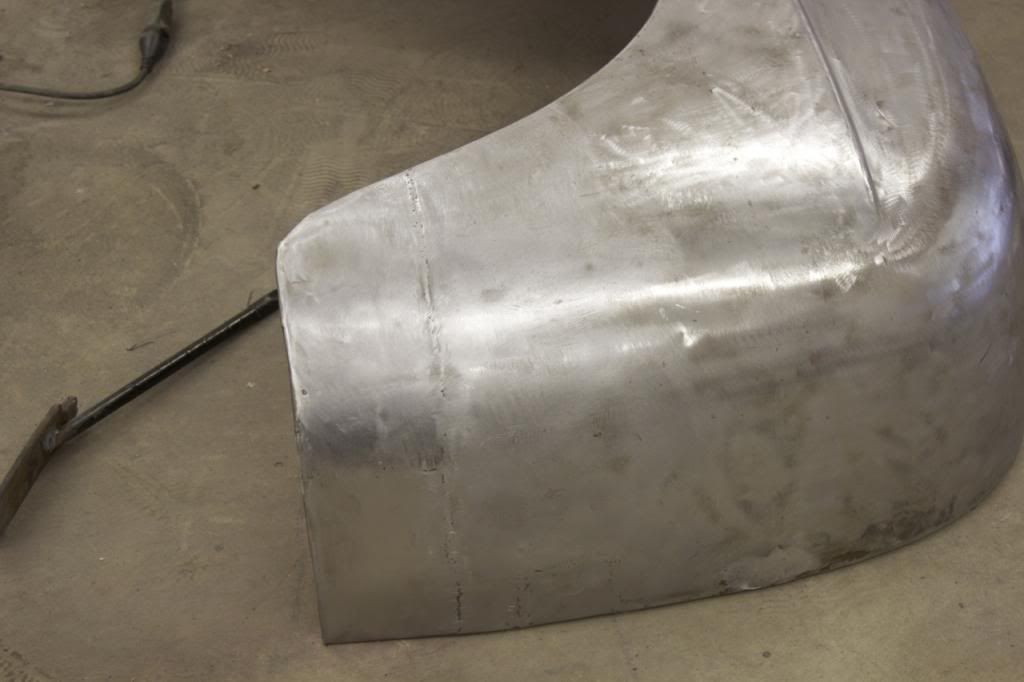
Anyway here's more work on the fender.
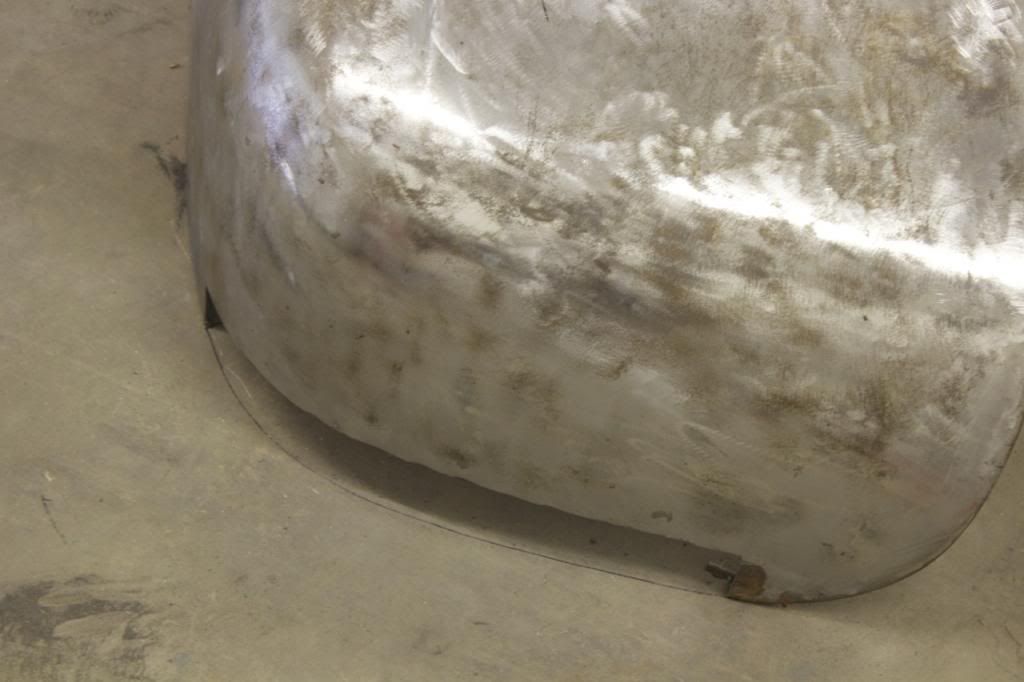
Pretty much done with two of the three repairs on this one.
before
after
before
after
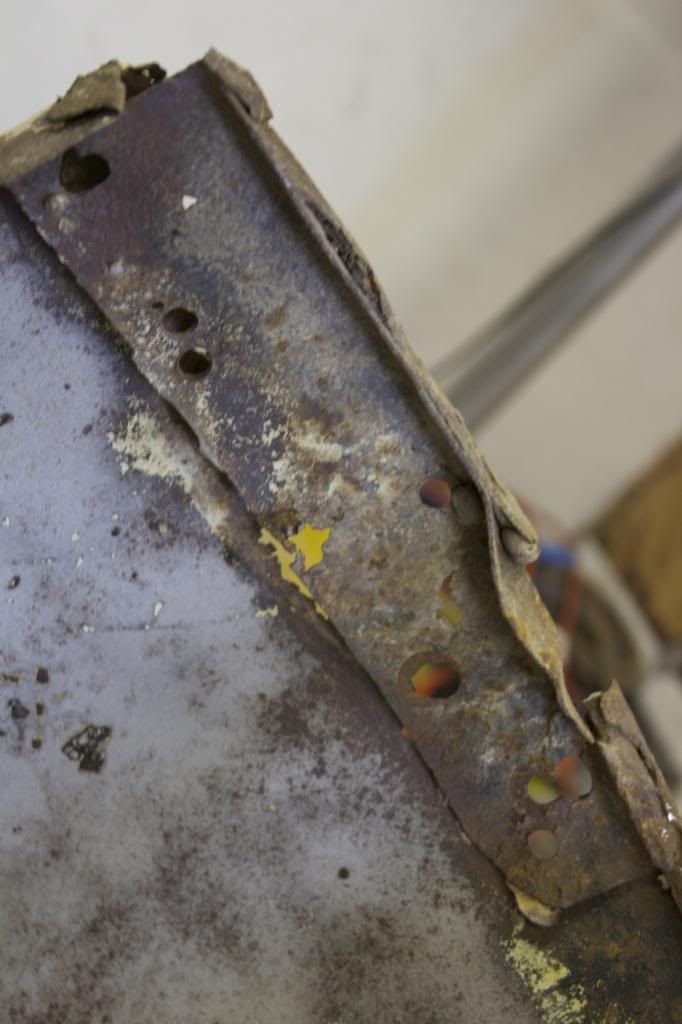
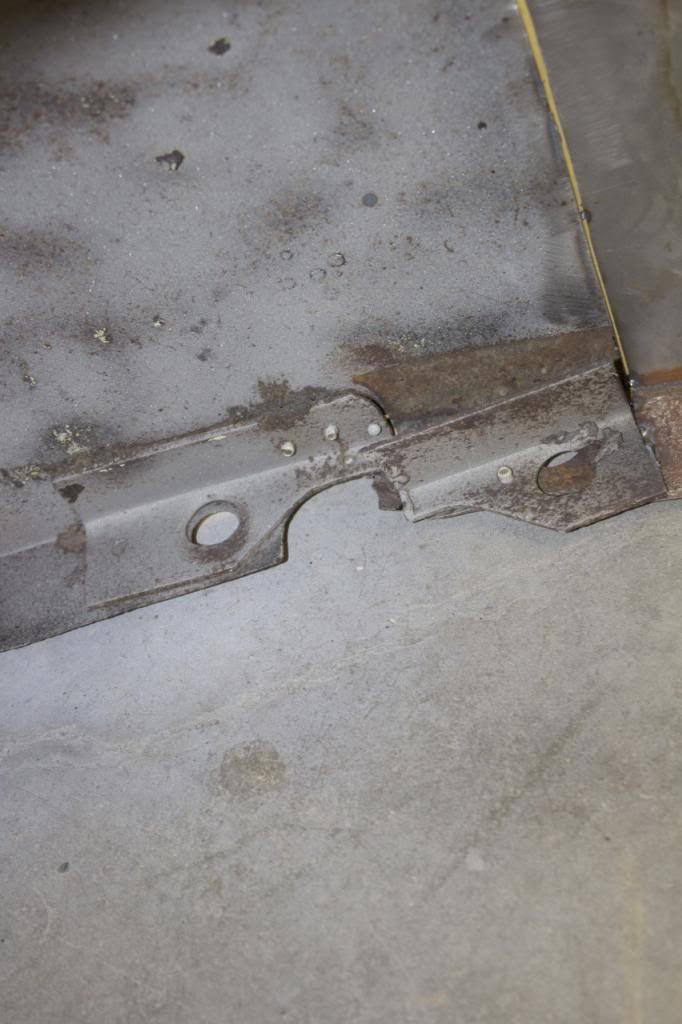
I cut out the rot and marked the curvature on the floor.
The inner brace was still solid enough to use. I cleaned it up and primed.
I used two pieces on this repair. I cut a little oversize, primed and held tight against the fender and scribed.

Here's how the truck was when I bought it.

Here's how it sat after I zeed the frame.

It was up a little too high for my taste so I lowered a bit more. Just how I like it!!

The previous owner put a Camaro front clip on this. I wish I would have changed it out for something more narrow when I was zeeing the frame. I'm really limited on the wheels in the front because of the width. I'm getting some 15 x 6's with enough backspacing to give me 2 more inches on each side so I should be good.
Anyway here's more work on the fender.
Pretty much done with two of the three repairs on this one.
before
after


before

after
I cut out the rot and marked the curvature on the floor.

The inner brace was still solid enough to use. I cleaned it up and primed.

I used two pieces on this repair. I cut a little oversize, primed and held tight against the fender and scribed.


