Tate's 72 Highboy Restoration.
#61
 12-13-2011, 11:07 PM


I honestly don't think any project is ever done. I know that people keep saying when I get this done to it it will be done, or do that etc, but in the end, there is always something new that catches the eye, or some neat little trick to add to it. Thus, most projects remain a work in progress.  As for a rear disc brake conversion, if you already have all the parts you will need, I say go for it. I see no reason not to. Disc brakes are much better than drum brakes, and with no need to buy anything, I figure it is a no brainer
As for a rear disc brake conversion, if you already have all the parts you will need, I say go for it. I see no reason not to. Disc brakes are much better than drum brakes, and with no need to buy anything, I figure it is a no brainer
#62
01-02-2012, 09:45 PM
If I don't stop making changes I will never get done, Gas tank relocation is complete, will try to get some pictures on here later this week. I am changing the front and rear gears to 3.54, the 4 X 4 shop that is putting the 76 Dana 44 back together for me changes 10 to 20 sets a week and keep all the removed gear sets that are good and reuse them. They are having to change the carrier in the front axle to go to the 3.54's but the rear Dana 60 is just a gear swap. Just one more "Bump in the Road" on the way to completion.
Old setup - 29.5" Tires, 4.10 Gears, NP435, 2802 RPM's at 60 MPH
New Setup - 33" Tires, 3.54 Gears and a C6, 2221 RPM's at 60 MPH
Should be much more user friendly.
Old setup - 29.5" Tires, 4.10 Gears, NP435, 2802 RPM's at 60 MPH
New Setup - 33" Tires, 3.54 Gears and a C6, 2221 RPM's at 60 MPH
Should be much more user friendly.
#63
01-07-2012, 10:10 AM
New Gas Tank & Exhaust Pictures
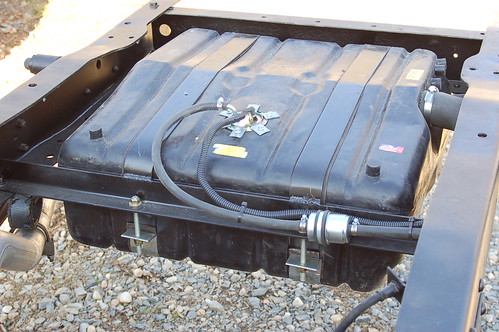
Here are a few pictures to show the 1980 Scout II plastic 19 Gallon tank installed on my 72 Highboy, I had to move the rear frame support back about 6 inches to be able to clear the rear end housing, also I changed to a Flowmaster Hushpower muffler and made a new exhaust system. Moving slowly but I at least I'm moving.
A Little more information on the pictures, the first one shows how I strapped the tank in the frame. The top straps are made from flat steel and bent to the contours of the top of the tank and welded on both ends, the front to the angle iron brace and the rear side to the frame cross member, the bottom straps I bought with the tank and used threaded rod bolted in place front and rear to be able to easily drop the tank if needed. I also added a inline filter, It will be easy to access here. The fuel pickup and sending unit are the ones made for this tank.
This is who made the tank and information about it.
http://www.mtscompany.com/
The tank is Model ----- 3019E
Pickup/Sending unit --- SCSU-2
Bottom Straps -------- SCGTS-2
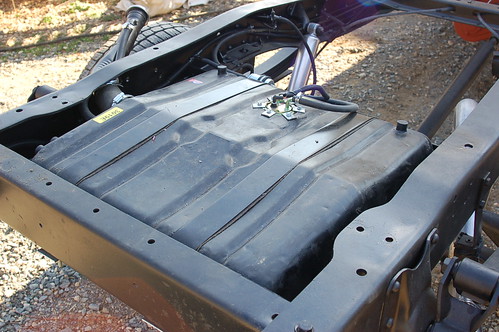
In the second one you can see the fill tube going thru the frame rail.
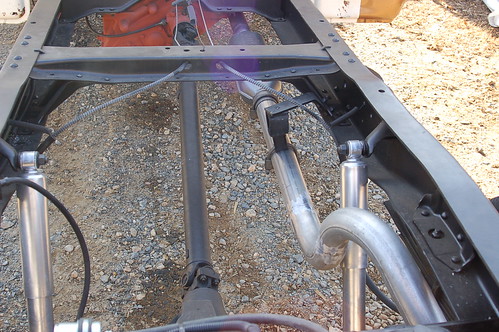
In the third one is the new exhaust system, it’s a Flowmaster Hushpower muffler and 2 � “ pipe.
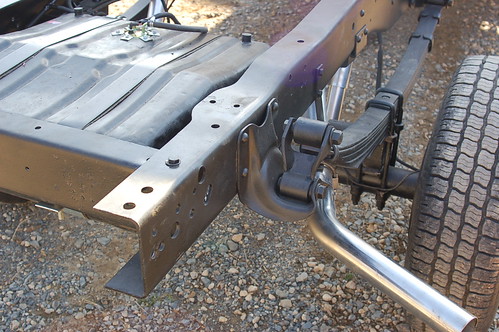
The last one shows the tailpipe, it is stainless steel from the hanger bracket to the end.
DSC_3773 by tpdaniels, on Flickr
DSC_3775 by tpdaniels, on Flickr
DSC_3774 by tpdaniels, on Flickr

A Little more information on the pictures, the first one shows how I strapped the tank in the frame. The top straps are made from flat steel and bent to the contours of the top of the tank and welded on both ends, the front to the angle iron brace and the rear side to the frame cross member, the bottom straps I bought with the tank and used threaded rod bolted in place front and rear to be able to easily drop the tank if needed. I also added a inline filter, It will be easy to access here. The fuel pickup and sending unit are the ones made for this tank.
This is who made the tank and information about it.
http://www.mtscompany.com/
The tank is Model ----- 3019E
Pickup/Sending unit --- SCSU-2
Bottom Straps -------- SCGTS-2
In the second one you can see the fill tube going thru the frame rail.
In the third one is the new exhaust system, it’s a Flowmaster Hushpower muffler and 2 � “ pipe.
The last one shows the tailpipe, it is stainless steel from the hanger bracket to the end.
DSC_3773 by tpdaniels, on Flickr
DSC_3775 by tpdaniels, on Flickr
DSC_3774 by tpdaniels, on Flickr
Last edited by tpdaniels; 01-07-2012 at 06:02 PM. Reason: add more information
#64
01-07-2012, 10:33 AM
Logistics Pro
#65
01-07-2012, 01:35 PM
No, I cut a hole just big enough for the fill pipe and vent hose in the frame rail. I them welded a 1" long pipe sleeve in the hole to re-strengthen the frame. The fill is going to be inside the wheel well opening just above/behind the tire. I won't be able to completely finish the mounting bracket until I have the bed back on the truck. I going to secure it to one of the braces somehow.
We are working on the underneath side of the bed today, I decided this week to do the bottom of the bed with the Raptor Bed liner spray, if you look on the first page of this thread, Post #6 shows a picture of the front inner fenders with the Raptor Bed liner spray on them, I bought two gallons of the black yesterday, that's enough to do the complete underneath of the bed and under the cab. I also have two gallons of the Raptor Bed liner that's Wimbledom White for the inside of the bed.
Someday I will be finished and able to drive it, but for now I'll just keep "Bumping" along.
#66
01-17-2012, 07:51 PM
Dana 44, Low Pinion, Open Knuckle, Disc Brakes
I finally finished the front axle assembly today, I replaced everything from end to end, every bearing, race seal, u-joint, center carrier and re-geared to 3.54. It had the original Ford big lockout hubs, I replaced them with the Warn Hubs, more reliable and look much better. I stripped it, sandblasted, primed and repainted every part. Also has new NAPA rotors, pads and rebuilt calipers. I hope to get it in this week, but at the rate I have been going it will more likely be the end of next week.


#68
01-21-2012, 09:00 PM
Front Axle Switched
Rainy day in North Carolina, good day to work on the truck. Started by dropping the old drum brake Dana 44 front axle and putting in the new 76 Dana 44 disc brake axle. It was a direct bolt in and went very quickly, the only snag was the new flexible brake hoses had a 3/8 female connector and the truck had 5/16 male connector. After a quick trip to the parts house for adapters and Burger King for some body fuel everything was back on track. I also replaced the rear flexible brake hose and made new steel lines from the rear block to each rear wheel cylinder, I thought it was a good time to replace every weak link in the system, drained all the brake fluid out of the truck, replaced fluid and bled the system. Way to wet for a short test drive but everything checked out OK in the shop.
I added a few pictures of today�s progress.


I added a few pictures of today�s progress.
#69
05-14-2012, 08:36 PM
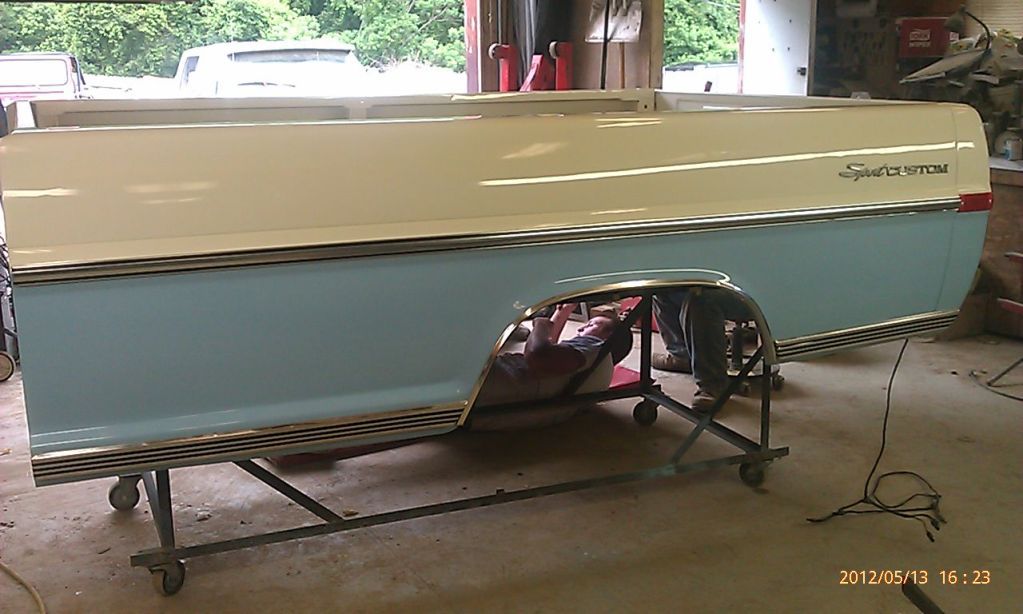
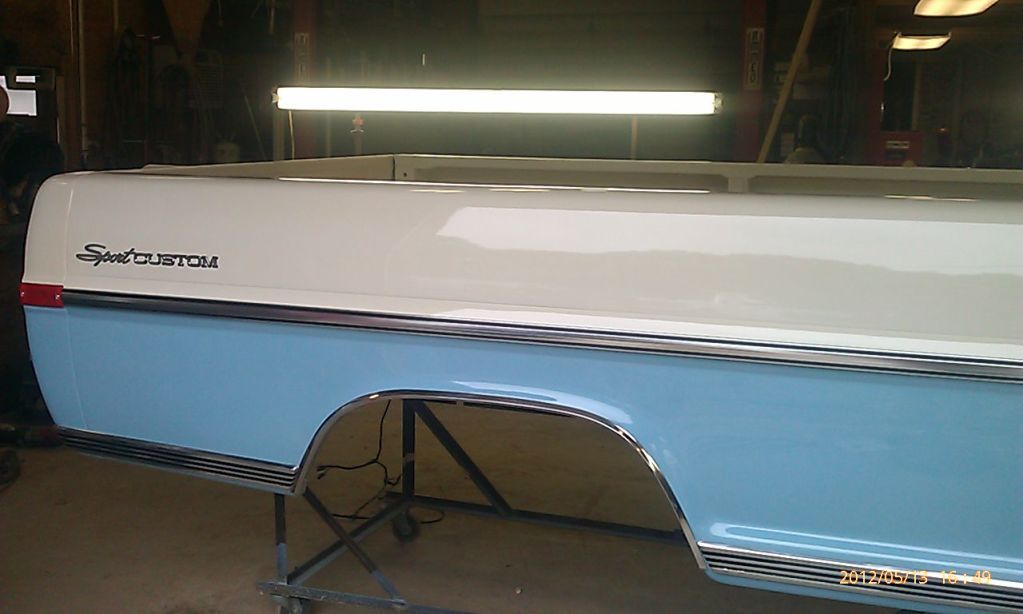
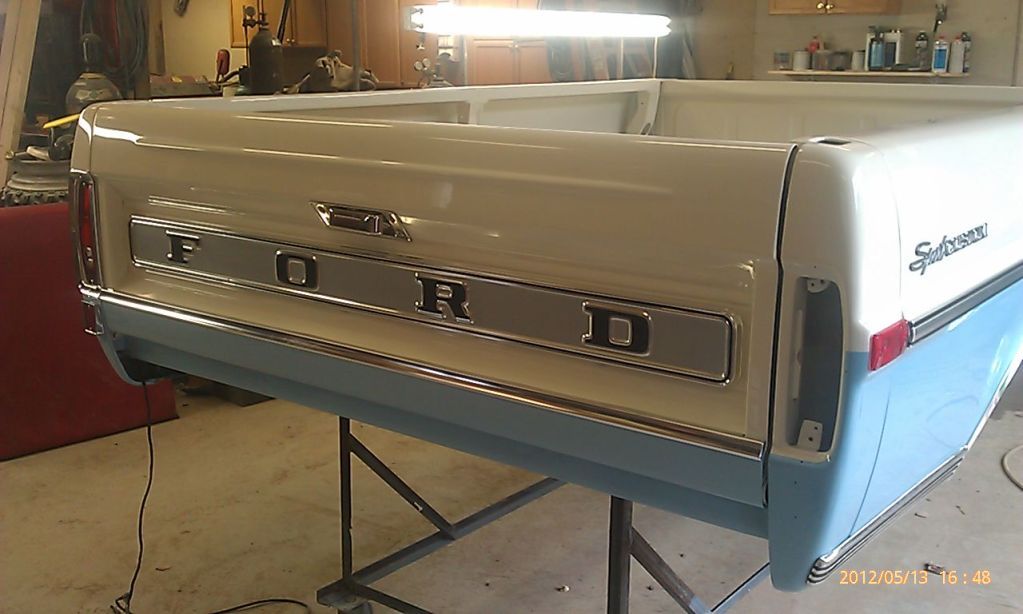
Body is Half done, Now to the Cab
I never dreamed it would take so long to do the painting, it ballooned into more than I intended. the whole truck was stripped to bare metal everywhere and the few places that were dented repaired and started the painting with the bed. It's PPG base clear, Wind Blue & Wimbledon White. The inside of the bed is Raptor Lined in Wimbledon White & underneath is Raptor Lined in Black. The whole underneath of the truck is going to be Raptor Lined in black. Here are a few pictures of the bed almost finished, Just one taillight missing. Now on to the cab. We have a August 15 deadline for it has to be at the interior shop then to have the inside done. My wife is going to give it to me on my 60th birthday Bash in mid September.
Every piece of chrome trim is new, new taillights, side markers and rear reflectors. I also put on a new Stainless Steel tailgate latch assembly.
Every piece of chrome trim is new, new taillights, side markers and rear reflectors. I also put on a new Stainless Steel tailgate latch assembly.
#70
05-14-2012, 09:59 PM
Logistics Pro
#72
05-14-2012, 11:54 PM
Senior User
Join Date: Oct 2011
Location: Willard
Posts: 207
Likes: 0
Received 0 Likes
on
0 Posts
#73
05-16-2012, 10:24 PM
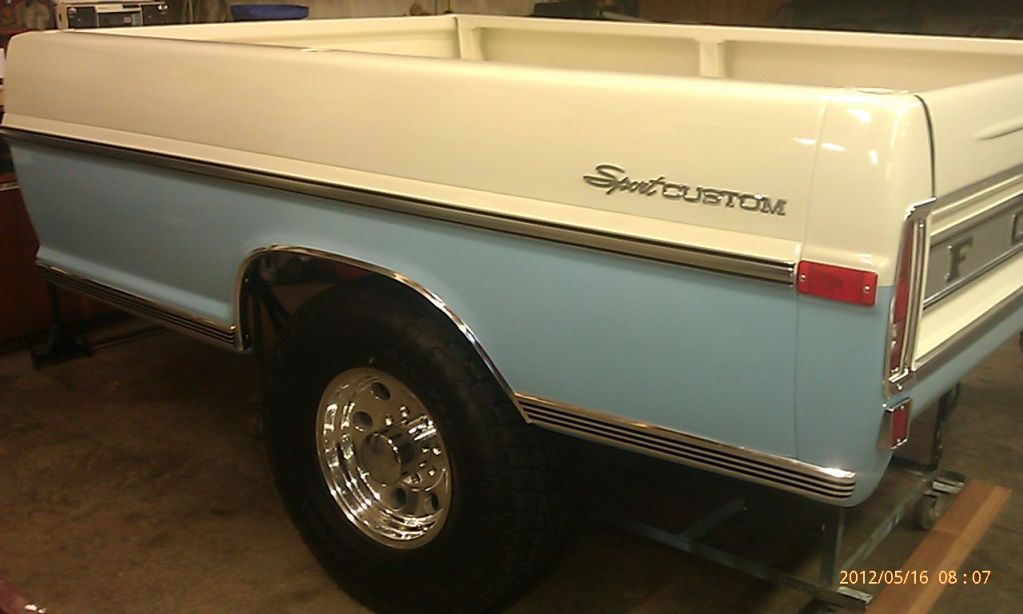
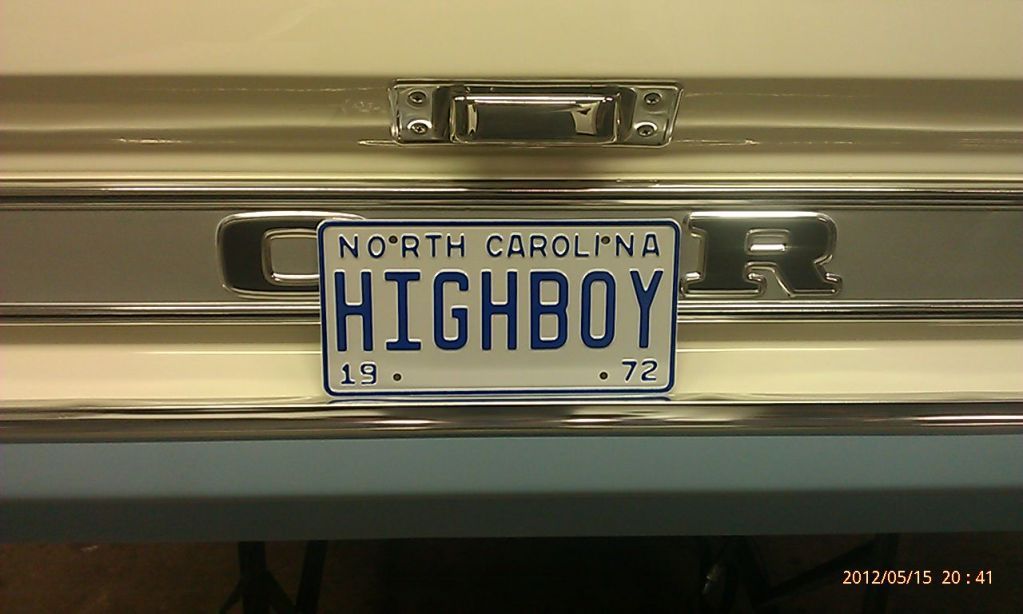
A few more pictures, I put the tires under the bed to get a better idea of the end look, 295-16 Nitto Terra Grapplers, and I made a picture of the Tag I will use on the truck. I don't know about other states but in North Carolina you can run a correct year tag on your vehicle if it's more than 35 years old, you just have to have a current tag somewhere in the vehicle if checked by law enforcement. Here's mine
#75
09-02-2012, 12:30 PM
I'm Getting There, Pictures Included
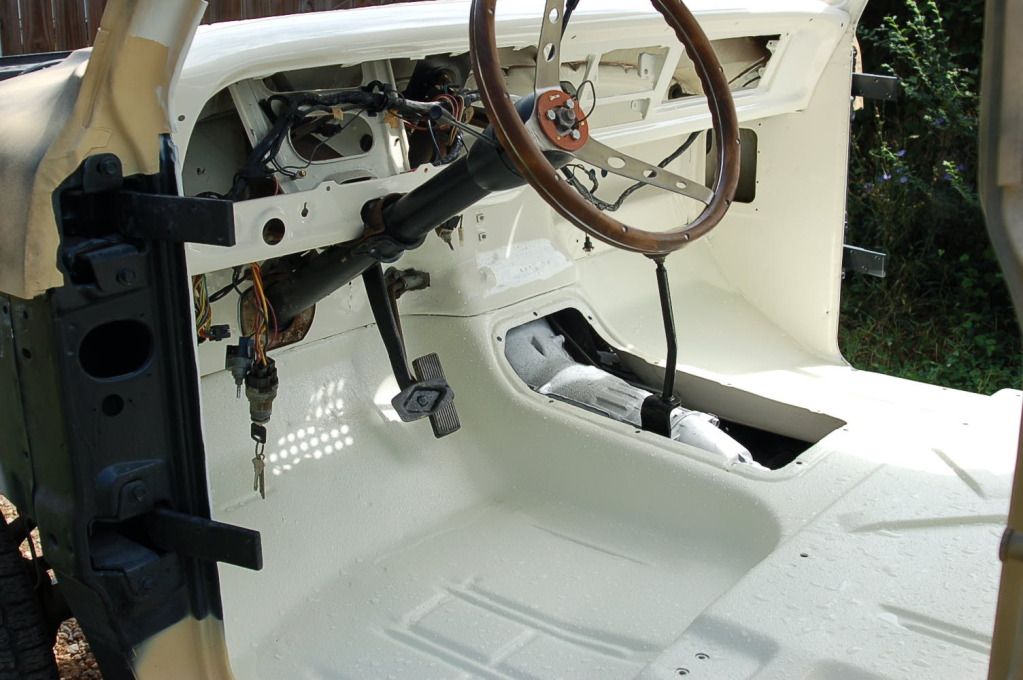
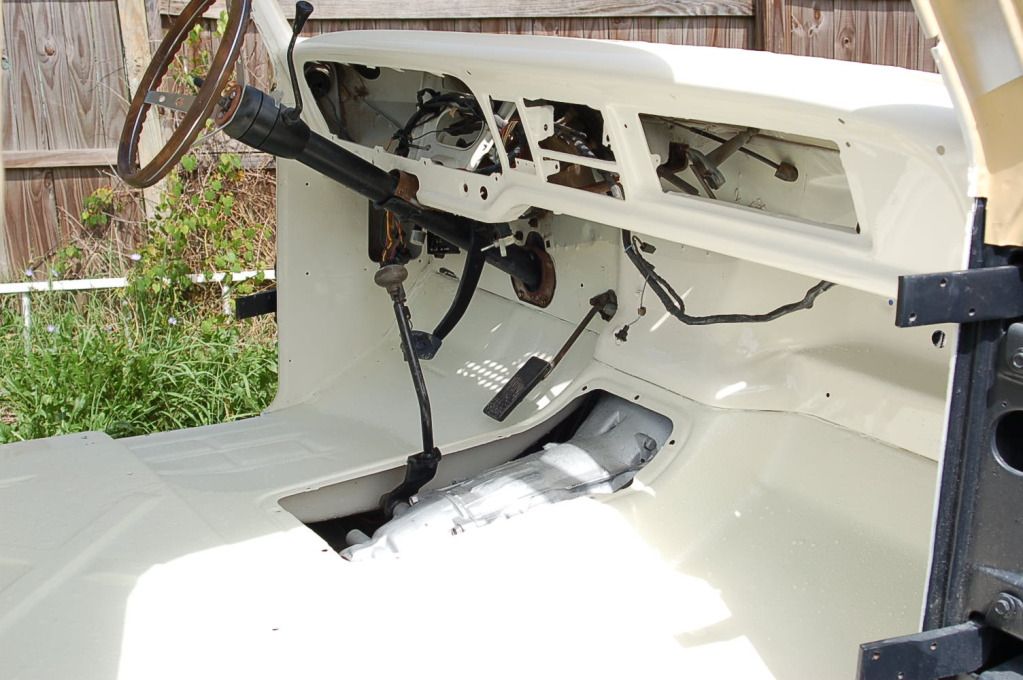
Been several months but progress is being made, The inside of the cab is finished and the outside of the cab and front end are being wet sanded today. I used the rapture liner on the floor of the cab inside, had two quarts left and it might help in some way.
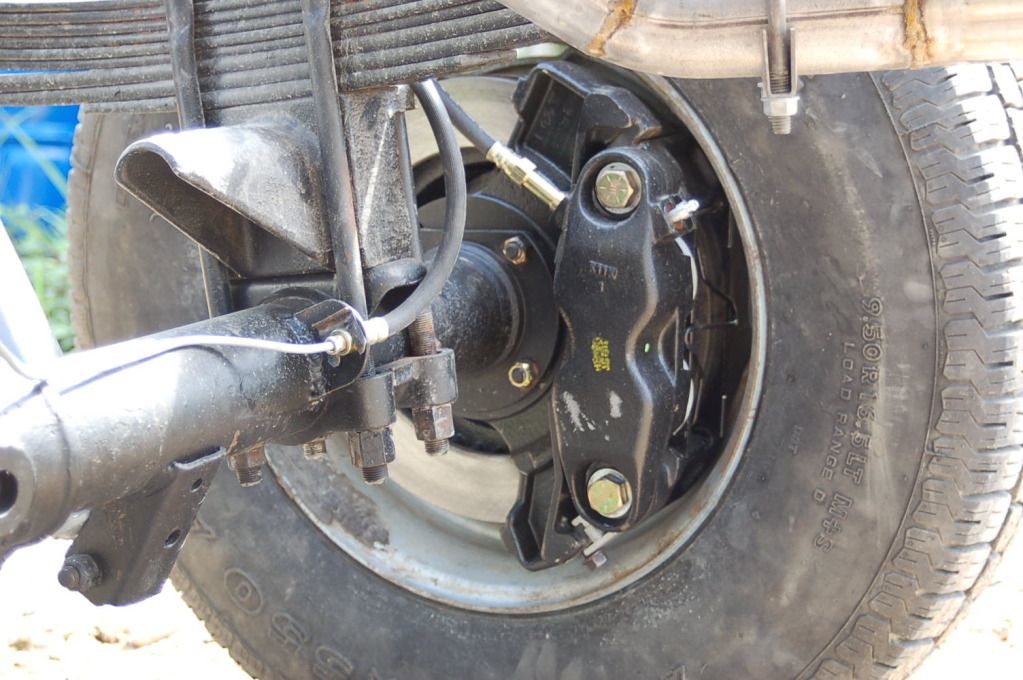
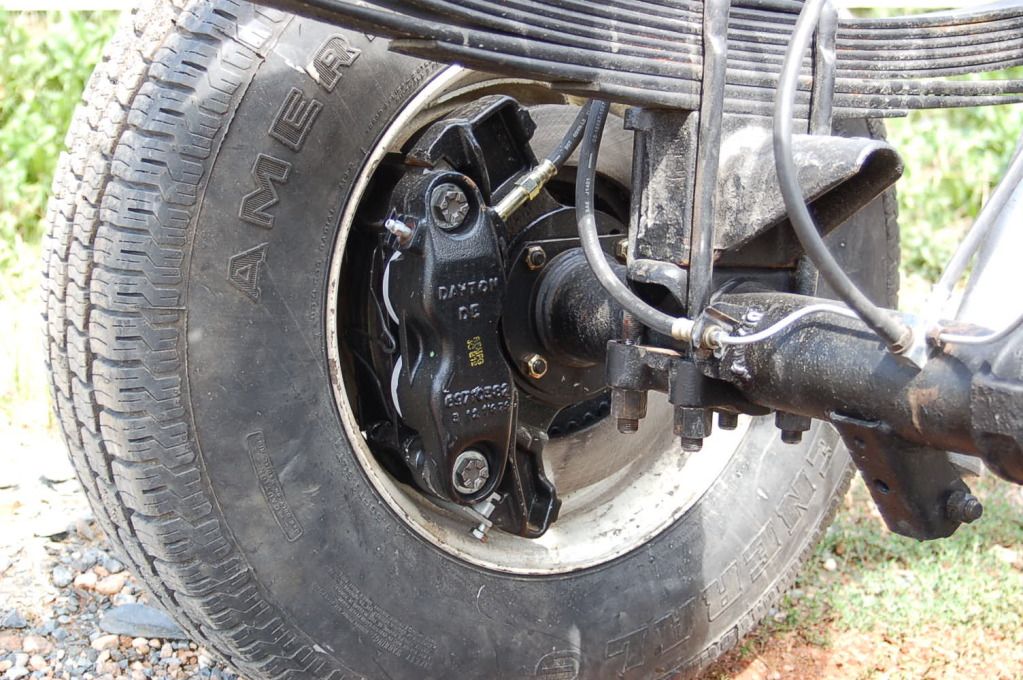
I also finished the rear axle rebuild, there was nothing wrong with it but I wanted it re-geared to 3.54 (front already changed). Decided while it was apart to replace every removable part, don't want to have to go back in later. While it was apart and after must debate with myself I decided to switch to disc brakes on the rear. I used the same brake setup that is on the front axle, it's a 76 250 4 x 4 front axle caliper mount, calipers and pads. I found instructions at
NORTH COUNTRY SPECIALTIES �
It looked easy and other than having the wrong part # for the NAPA pads it was a snap to do, If I was doing it again there are a few changes I could have done to make it even easier, ask if you decide to do this and I will tell you. For those who are wondering about the parking brake, yes it's gone, I removed everything from inside the cab and all the cables. I will be installing a Park-Lok Hydraulic Brake on the rear for the very few times I need it. For those who noticed, I switched the brake pedal to a larger one from a later model truck.
One picture is of the new door sticker and data vin plate, There are authorized Ford reproductions. They were about $70 dollars total but it will give it the total finished look.
What started out as a good truck that I was "Just" going to paint and drive has turned into a two year project that has left nothing untouched, have been guaranteed it will be done by the end of September, Wait and see........

