When you click on links to various merchants on this site and make a purchase, this can result in this site earning a commission. Affiliate programs and affiliations include, but are not limited to, the eBay Partner Network.
I've been trying to find the A/C brackets for the compressor mounting, with no luck.
Went to the local U Pull It today and found the brackets and a compressor! Need the compressor for the fittings for the hoses.
Also got an air inlet duct and the hose that goes from the front frame to the air cleaner. And a bezel for the driver's door lock switch, and the wing bolt for the jack.
Didn't think I would find anything, guessing it would be picked over. All for $60, feeling blessed!
Nice ! Even us blind squirrels find a nut now and then.
Well, I sold my bullnose about a month ago. After ten years of ownership, I realized that it was time to let it go. It needed way more work than I was willing to put in, and I needed to focus on more important things like home ownership and my future.
Crazy part is, I don't really miss it. I think deep down inside I knew I would eventually have to say goodbye. I don't know where it went, or what will happen to it, but it did go to a guy who owns two other bullnose Fords, so it's in good hands.
Finished rebuilding my A/C system that laid dormant for what seems to be years. I meet more than a few speed bumps along the way but came through in the end. Never touched HVAC before. New O-rings, R134A fittings, accumulator, compressor, and high side hose. Blows cold air now but the suction line near the compressor sweats a good deal....
Clay bar, compound, polish, and waxed. Some spots I'm not happy with couldn't get out some heavy hard water spots, going to go back with a bit more of an aggressive compound.
Yesterday I washed the truck and ripped my F250 emblems off the fenders to put new adhesive tape on. The edges on both weren't adhered anymore. Now I just need to find two new XL emblems. One was missing when I bought the truck, and the very next morning after I bought the truck the one left was about to fall of, and looks horrible.
Yesterday I washed the truck and ripped my F250 emblems off the fenders to put new adhesive tape on. The edges on both weren't adhered anymore. Now I just need to find two new XL emblems. One was missing when I bought the truck, and the very next morning after I bought the truck the one left was about to fall of, and looks horrible.
My F250 emblems are ok so far. Replaced the XLT emblems, grille emblem and Lariat cab emblems.
Cleaned and flushed the lines, condenser and evaporator. Put in the new compressor, receiver/dryer and orifice tube. Plus all new o rings and R134 adapters on the service ports. A/C is serviced and cold, so far so good.
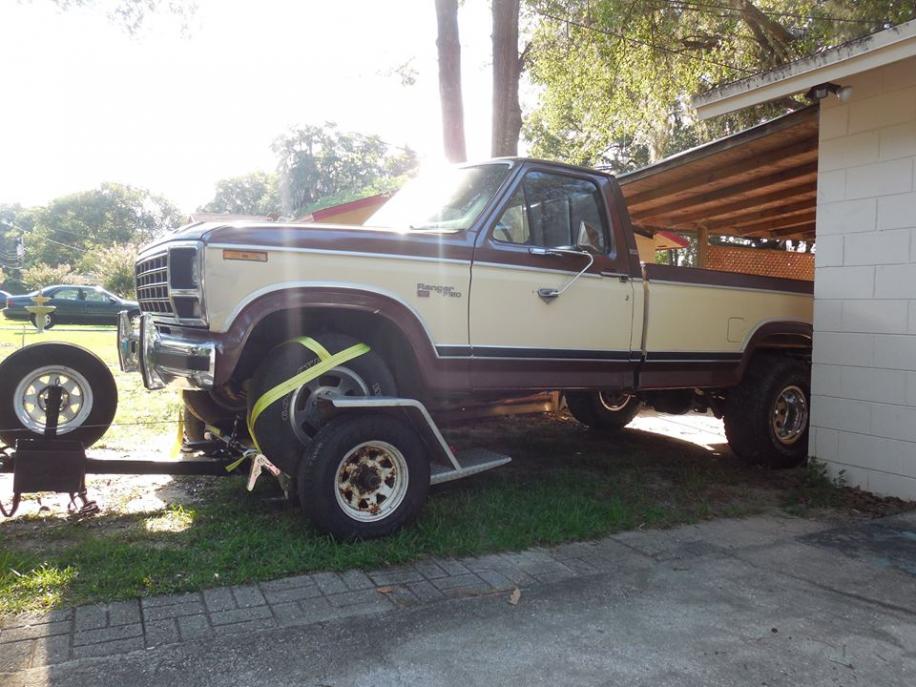
Hello there guys. I wanted to post earlyer but i figured might as well post everything in one go. Recently I booked 2 weeks off work to do a pile of repairs to my truck. The things I wanted to do was install two new fenders and recessed tailgate I bought, mock up the chrome I have collected, and paint the truck. Prior to the start of this, my truck looked like this...
The first 2 days, I installed the front fenders and rear tailgate. This made the body of my truck rust free as I fixed the cab and replaced the box sides earlier this year. They line up decent enough for my purposes. Days 3 and 4 were devoted to mocking up the upper and lower chrome on a truck thatthat never had this. Lots of frigging was done, and the chrome was finally placed.
1986 f150 with upper chrome
I ended up making my own chrome mounting brackets out of interior panel retainers and washers. Very solid. Day 5 was time to start the painting process. I removed all the chrome again. Me and my father then began to sand down whole truck with 240g sandpaper and patch dents
1986 f150 sanded
1986 f150 sanded with dad
1986 f150 sanded cap shot
This took all day. Day 6 we masked the truck and cap for primer, and dad tested the new gun and compressor on the cap and tailgate. We never painted before and needed practice. Works good. Day 6 came and I was on my own from then. This day was taken up by painting the whole truck with primer and then sanding 3x around with the 240g. I also painted the cap and tailgate black
1986 f150 cap and tailgate in primer
1986 f150 in primer
1986 f150 recessed tailgate painted black
Day 7, I masked the truck for the black paint. I wanted to paint truck black with dark red in the middle. I painted the truck with the black the same day. I also fixed some issues of paint coverage on the tailgate.
1986 f150 masked for black paint
1986 black sprayed
1986 f150 black sprayed 2
Day 8, I woke up to drizzle outside, could not do anything till noon. Noon, I removed masking for black paint. Lines were good. Minor bleeding in 1 or 2 spots and there was a run or two. For my purposes, this is fine. I then masked the truck for red paint but quickly realised I had no more tape. It was dark at the time so red would have to wait. The next morning on the 9th day, i finished masking and red was ready to paint. I painted the red, but was short a coats woth. I had to run into town and just barely got the paint before the store closed for the day. I finished painting and left it to dry overnight. This leaves me to today, the 10th day. Today i removed the masking, looked real good. Still some runs but definitely better than what was there before.
1986 f150 has the runs
I then put my chrome back on, and this was the end result...
 08-06-2017, 04:41 PM