Ford F-250: How to Replace Your Blend Door Actuator
Here's how to replace your blend door's actuator and ensure you get hot and cold air when you want in your Ford F-250 or F-350 Super Duty.
This article applies to the Ford F-250, F-350 Super Duty (2005-2014).
The blend door actuator is responsible for controlling the hot and cold air mixtures in your Ford F-250 or F-350 Super Duty. Here's how to replace the blend door actuator yourself and save some labor money.

Materials Needed
- Screwdriver
- 7mm, 10mm sockets
- Plastic panel removal tools
- 1/4” or 3/8” ratchets
- Needle nose pliers
Pro Tip
Do you have a single or dual zone control system? If the passenger can’t set their own heat, it is a single zone system. Those systems will have a single top-mounted actuator behind the radio. Automatic Temperature Control-equipped dual zone trucks have two; the second actuator is low, located above the transverse air duct.
Step 1 - Ensure temperature control works
Does the temperature controller work? The related article below provides instructions for testing the manual controller, a simple potentiometer. Your problem might be as simple as a broken or shorted wire.

Figure 1. Wiring diagram. 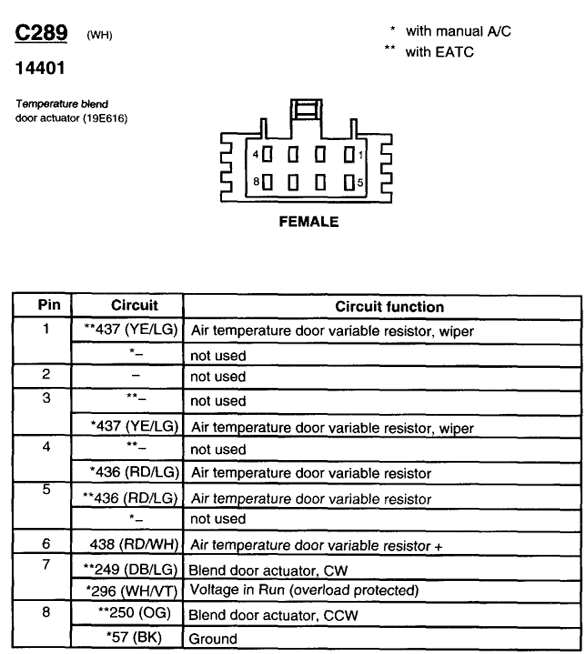
Figure 2. Plug diagram.
(Related Article: Air Temperature Variable Resistor Test - Ford-Trucks.com)
Step 2 - Remove the fascia
Once certain the temperature control works, you’ll need to get behind the surface, removing the fascia. You’ll need to remove the trim panels, radio, and climate control panels.

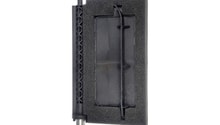
Figure 3. Unscrew the fascia. 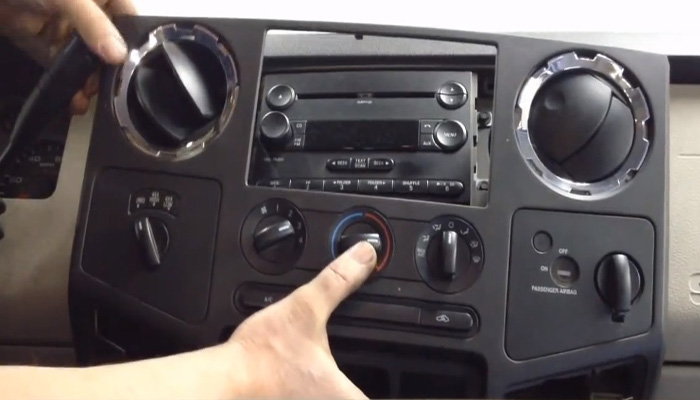
Figure 4. Remove the fascia.
Featured Video: How to Remove the Fascia
Pro Tip
Don't use screw drivers; they leave marks. Invest in a plastic panel pulling kit for under $20.
Step 3 - De-power the airbag
To safely work on the top-mounted actuator you’ll need to de-power and disconnect the airbag. Failure to do so is incredibly dangerous as the airbag could cause serious injury. Disconnect batteries and bleed off residual charge before working with the airbag. Do not reconnect batteries until the airbag is reconnected.

(Related Article: How to Safely Remove an Airbag - Ford-Trucks.com)
Step 4 - Expose ducts and remove airbag
After the instrument trim panel, audio system, and climate control panels (most use 7mm screws or clips) have been removed, lower the glove box by squeezing each side to center and safely remove the air bag after de-powering (see caution in Step 3 above).
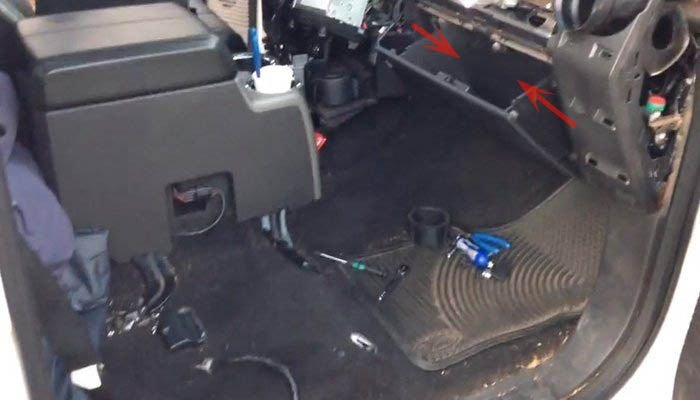
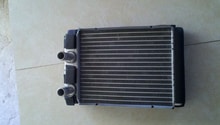
Step 5 - Remove air duct
Regardless if you have a single or a dual system, you’ll have to remove the upper air duct behind the glove box, or remove the screw behind the center stack and push the ductwork back, removing an elbow. Watch the video. The upper actuator is located behind and below the removed elbow.

(Related Article: Actuator Installation - Ford-Trucks.com)
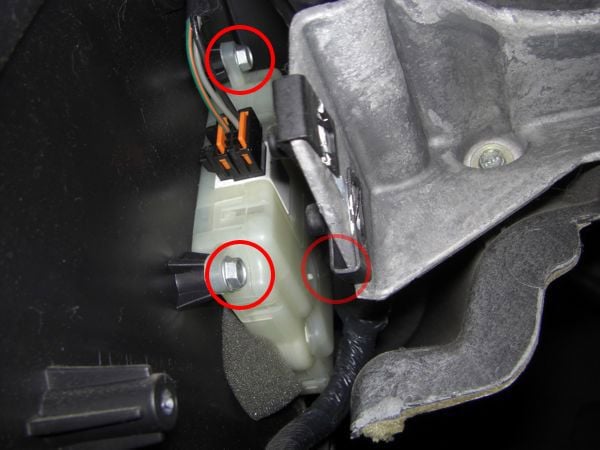
Step 6 - Remove screws securing actuator to blend door shaft
Remove the screws and replace the blend door actuator. It self-indexes and should drop in.
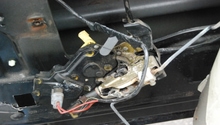
Step 7 - Secondary actuator removal
The secondary actuator is low, under the center stack. You’ll have to move, remove, or damage the transverse air duct to get the actuator out.
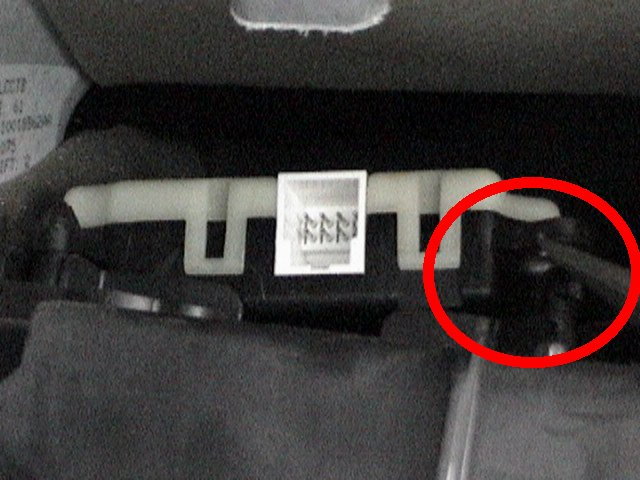
Figure 9. Location of secondary actuator 
Figure 10. Another angle for the secondary actuator.
Step 8 - Replace everything in reverse order
Reverse your procedure and finish up.
- Install the blend door and tighten the screws.
- Install the airbag back, the glove box, and the fascia.
- Re-connect the battery and test your AC.
Related Discussion
-
Blend Door Actuator Location - Ford-Trucks.com