Ford F-250: How to Replace Heater Core
The heater core on the Ford F-250 Super Duty is a radiator like device that heats up the cabin. If it fails, here's a step-by-step guide to replace it.
This article applies to the Ford F-250, F-350 Super Duty (2005-2014).
The heater core is responsible for getting heat into the cabin by pulling heat from the warm coolant leaving the motor. When it fails there may be different symptoms depending on how it failed including a loss of heat, windows fogging inside the cab, a sweet smell inside the cab, or coolant pooling in the passenger side floor board. If the core fails, chances are there is a coolant leak somewhere, so it's necessary to be mindful of the coolant levels until the problem is fixed. This isn't a simple task to do for the inexperienced, so if you're weary of the task, it is recommended to consult a mechanic first.

Materials Needed
- Socket set
- Phillips head screwdrivers
- Flat head screwdrivers
- Large drain pan
Step 1 - Drain coolant
To remove the heater core, disconnect the coolant lines from it. In order to prevent as much mess as possible, drain the coolant first.
- Position a drain pan underneath the drain hole on the radiator.
- Remove the coolant reservoir cap; make sure the engine is cool before removing it.
- Using a 3/4 socket, remove the drain plug from the radiator to allow it to drain.
- Once it's drained completely, re-install the plug. Take caution not to over-tighten it.
Coolant passes through the heater core in vacuum lines, which need to be drained of coolant as well. There are two options to remove this coolant. The first way is to disconnect the lines at the bottom of the degas bottle and use an air compressor or something similar to blow the coolant through. The other option is to disconnect where it passes through the firewall, since this needs to be done anyways, and blow the coolant through. The first option has you removing/installing more hoses, but allows for easier angling of the fluid as it comes out to prevent messes.
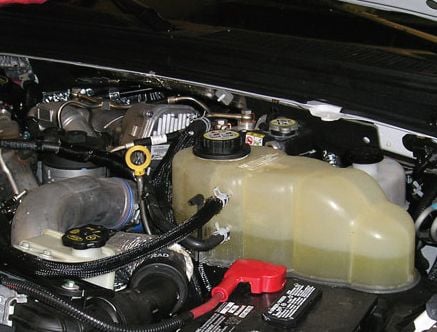
Figure 1. Remove the reservoir's cap. 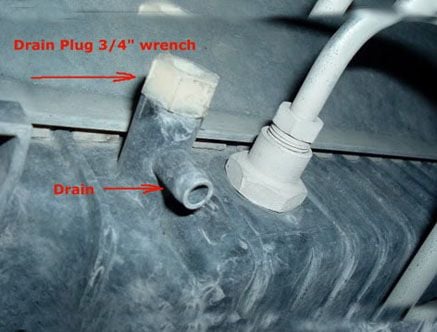
Figure 2. Drain the coolant into a pan.
Step 2 - Remove old heater core
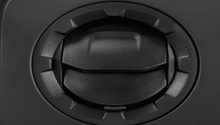
Disconnect the heater hoses using the quick disconnects located against the firewall. They are generally somewhere on the passenger side near the top of the engine bay on the firewall. To disconnect, push the hose in, press in the tabs, and then pull the hose off. This can be a little tricky so it may take a few tries.

Figure 3. Remove heater core hoses. 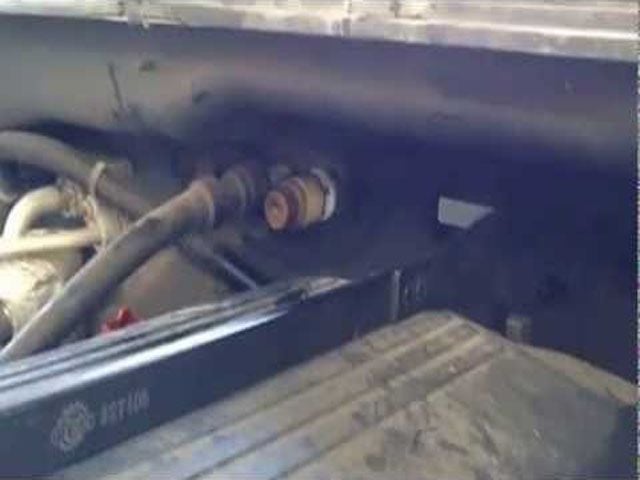
Figure 4. F-250 quick disconnects.
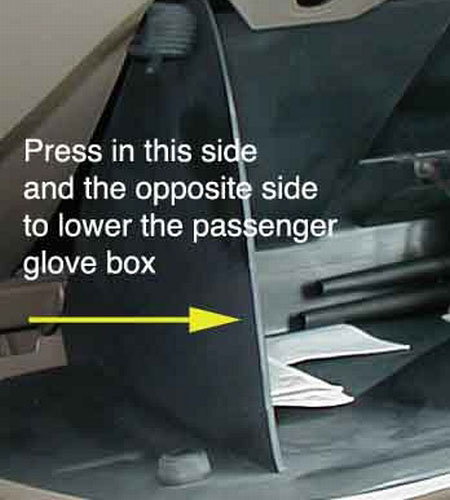
Step 3 - Remove glove box
Remove the glove box door to access the blend door and heater core from inside the car cabin. Remove the glove box by simply squeezing both sides to the inside; it should come off.
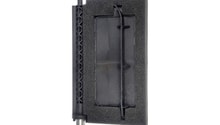
Step 4 - Disconnect vacuum line connector and panel pod
Disconnect the vacuum line connector and the vacuum line panel pod by prying them off gently. It'll be one of the few things you see running through there so it's hard to miss. Then, disconnect the electrical connector from the blend door actuator; it's located in the upper left corner.
- Using your socket, unbolt the blend door actuator, and then carefully remove it.
- Using your socket, remove the floor panel vacuum pod.

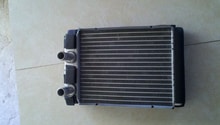
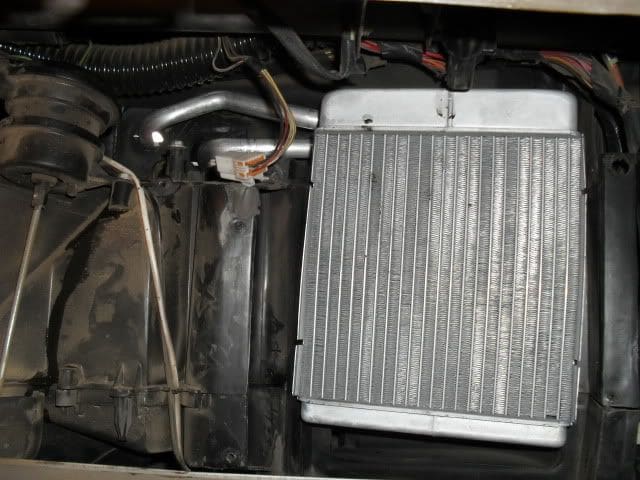
Step 5 - Remove heater core
To remove the panel, lift it up from underneath and then slide it out through the glove box opening. You need to be cautious not to damage the sealing foam on it.
- Position the blend door out of the way so it won't obstruct the removal of the heater core.
- Carefully remove the old heater core by pulling it through the opening in the glove box.
Step 6 - Install new heater core
Install is the reverse of removal but you still need to take special care to make sure everything lines up properly and is installed correctly.
- When installing the heater core, make sure the hoses line up and slide through the holes in the firewall properly. If you try to force it you can damage the lines and cause it to leak. Make sure the sealing foam is intact around the heater core once it's in place.
- Install the heater core access panel cover.
- Install the blend door actuator bracket and make sure it's properly securing the hoses to the firewall.
- Install the blend door actuator and reconnect the wire harness to it.
- Install the floor panel vacuum pod.
- Reconnect the vacuum lines and secure them into the hold downs.
- Re-install the glove box door.
At this point, you're finished with the install. All that is left now is to refill the coolant, make sure there is no air in the lines, and then do a test. In addition to making sure everything works when testing, make sure there are no coolant leaks.
Pro Tip
It's recommended to get new quick disconnects for the hoses in the engine bay because they're cheap and it'll help ensure a leak-free fit. When installing them, make sure there is a teflon washer between the two o-rings. When you push them onto the hoses, make sure you hear a click and give it a tug to make sure they're on tightly.
Featured Video: Heater Core Replacement
Related Discussion
- How To Change Heater Core - Ford-Trucks.com