Ford F-150/F-250: How to Install Rearview Backup Camera
The luxury of having a backup camera on a Ford F-150 or F-250 is quickly becoming a necessity. Here is how to install it yourself and save hundreds of dollars.
This article applies to the Ford F-150 (2004-2014) and F-250 (2005-2014).
Installing a backup camera on your F-150 or F-250 can be intimidating since there are so many options to choose from. Screen size, display location, camera location, camera activation, and the amount of modification all play a part in the decision. Not to mention the scary word however like anything, there can be costs for more elaborate systems.
Screen options include using a Ford rear view mirror display, using the in dash display, or using a separately operated display. The display chosen will determine the complexity of the install. There are several forum discussions addressing the additional amount of wiring need. View those threads and other resources at the bottom of this article.
This how-to will detail installing a camera near the license plate. The camera can be wired to activate via the reverse lights, ignition, or a separate switch. In any case, you'll need to route wiring through the rest of the truck to your head unit. Wireless cameras are available too if the hassle of adapting the camera to your head unit is too much. Keep that in mind when considering which reverse system you really want.

Materials and Tools Needed
- Trim tools
- Flat blade screw drivers
- Hex and star sockets
- Wire strippers
- Pliers
- Electric tape
- Heat shrink
- Wire ties
- Soldering gun and solder
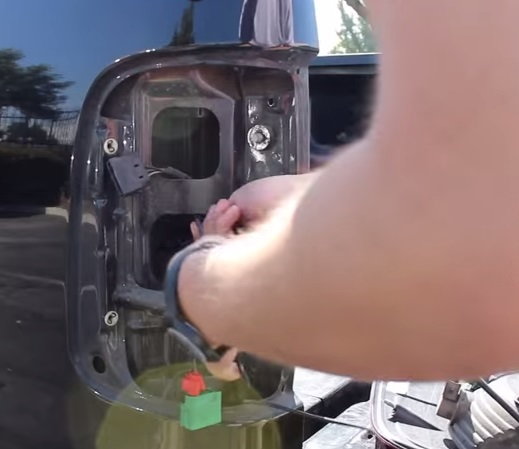
Step 1 - Wire the camera
Wire the camera unit from behind the driver’s side taillight. Determine where the reverse wire is or use a lead from the trailer plug. Wire the camera power connector.
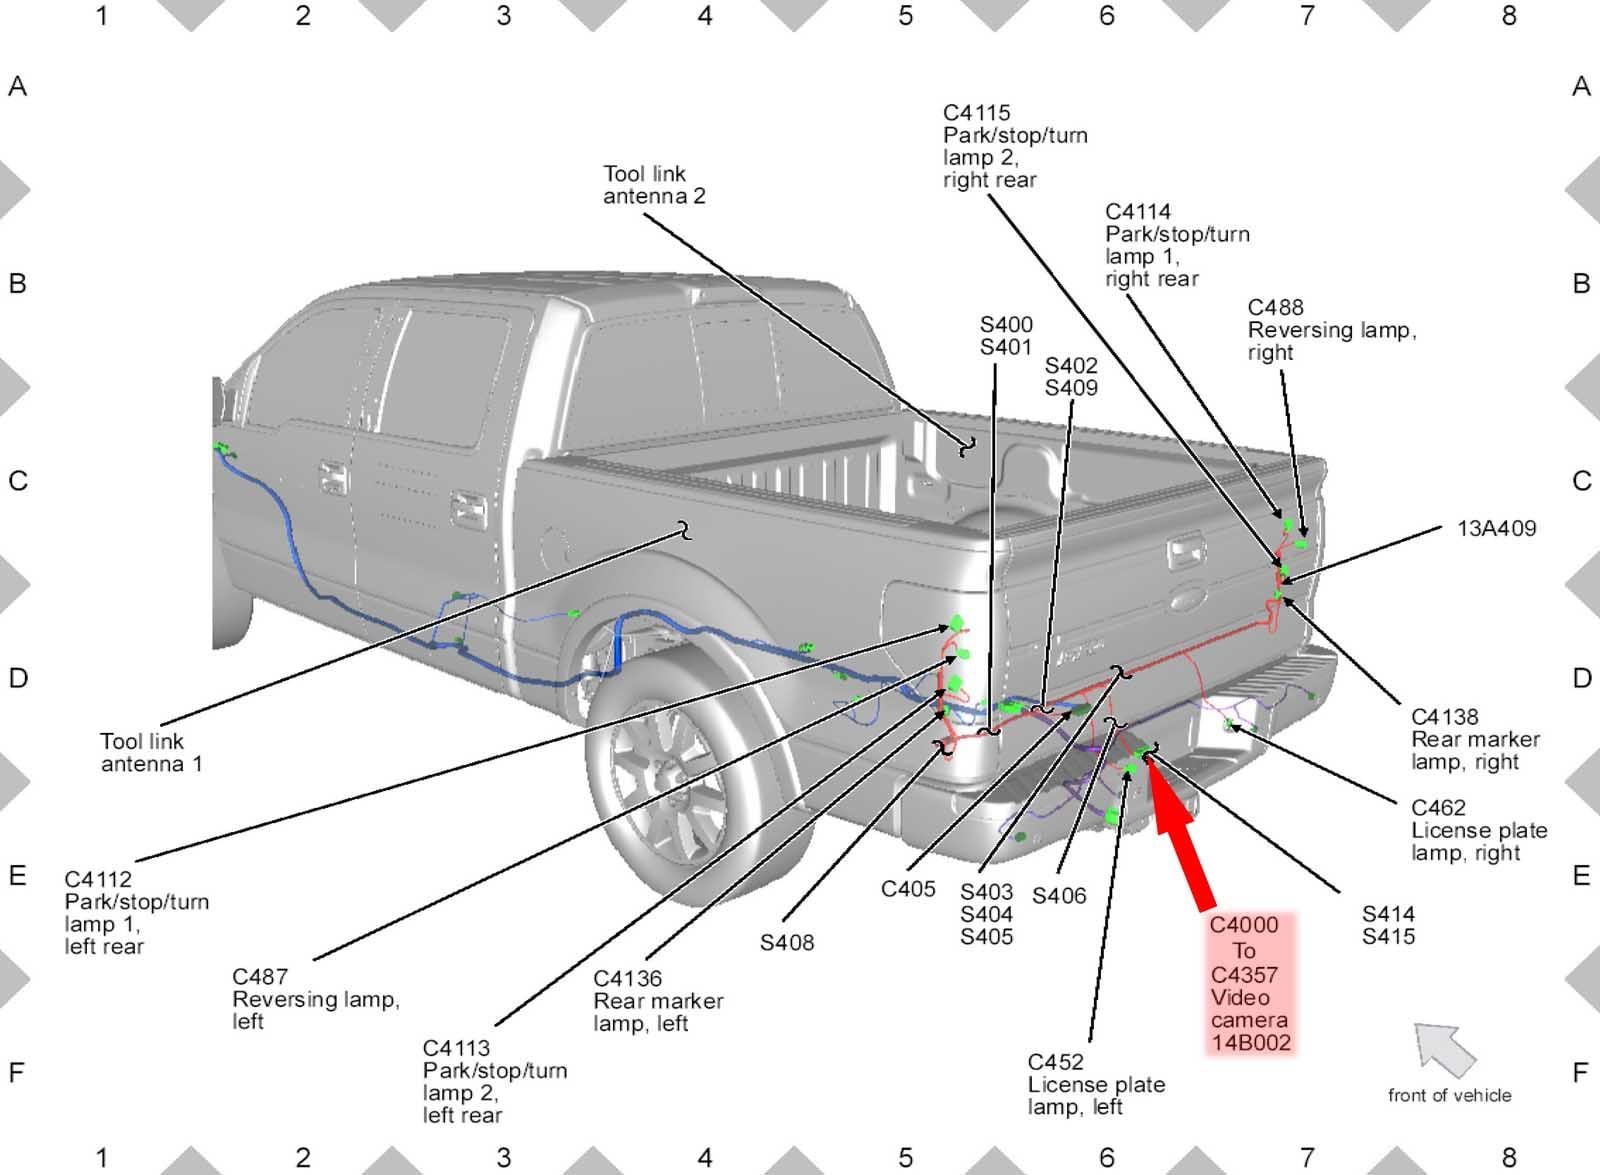
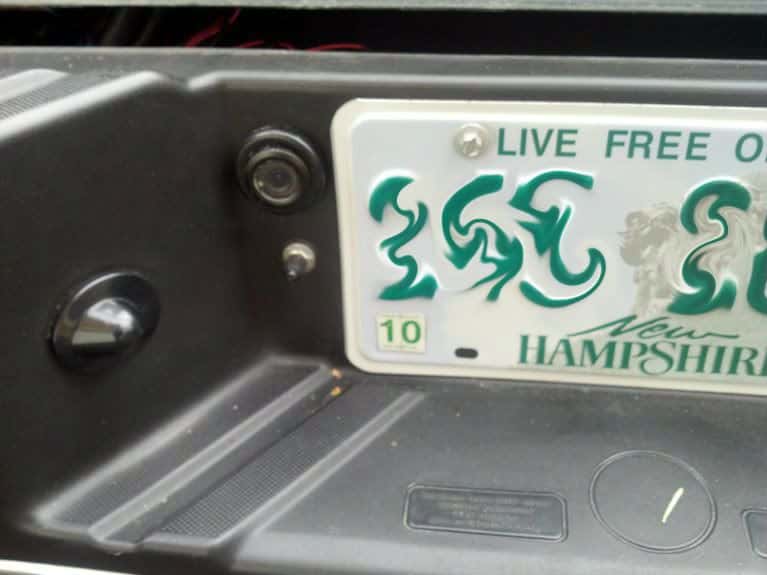
Step 2 - Mount the camera
Mount the camera by drilling a hole big enough in the bumper. Try drilling the hole as close as possible to the license plate. The idea is to mount the camera as close to the center as possible. The red arrow in the following image is where the camera will be installed in this example.

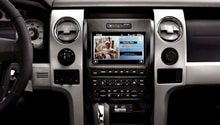
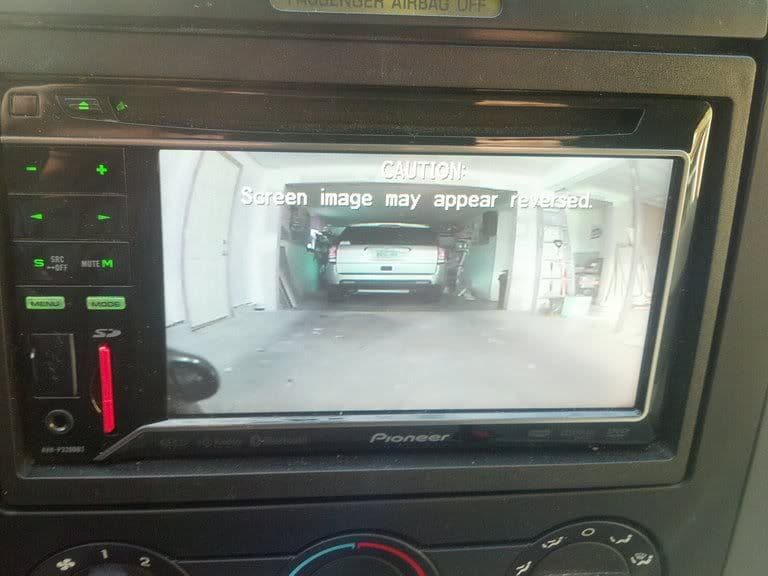
Step 3 - Install the display unit
Wire and mount the display unit in the dash. Plug the wires to the back of the unit as shown in the manual.
(Related Article: How to Install Car Stereo - Ford Trucks.com)
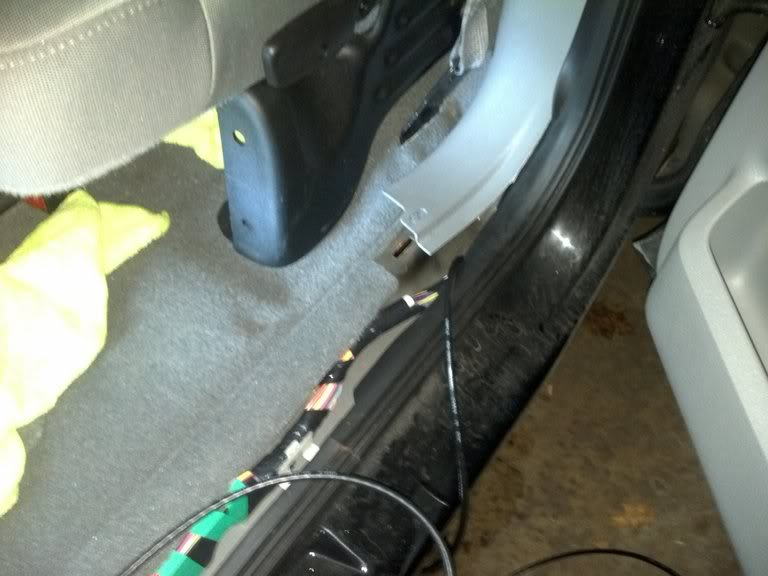
Step 4 - Run the wires
Run the wiring from the camera to the display and the sensors. Routing the wiring along along the kick panel and through the channel along the door is the easiest method. Finally, run it through the rubber grommet at the end of the channel.
Step 5 - Connect the camera
Connect the wires to the camera from the back of the bumper. Test to see if it works, then re-install the side channel and the kick panel.
Featured Video: How to Install a Backup Camera in Ford F-150/F-250
Related Discussions
- How to - F150forum.com
- Installation - F150online.com
- Steps - Explorerforum.com
- Diagram - Ford-trucks.com