F-150/F-250: How To Replace Your Air Filter
This simple maintenance task will keep your F-150's engine running strong. Learn how and when to replace your air filter below.
This article applies to the Ford F-150 (2004-2014) and Ford F-250 and F-350 Super Duty (2005-2014)
Air filters protect your engine from contaminants, letting it breathe easier. Changing your air filter every 15,000 - 30,000 miles, as Ford recommends, helps enhance performance and efficiency as well as extend your engine's life. If you drive on dirty or dusty roads, or notice a drop in performance or gas mileage, you may even want to replace it sooner. There really isn't a good reason not to, as changing your air filter is one of the simplest and least expensive maintenance projects you can undertake.

Materials Needed
- Phillips screwdriver
- Air filter
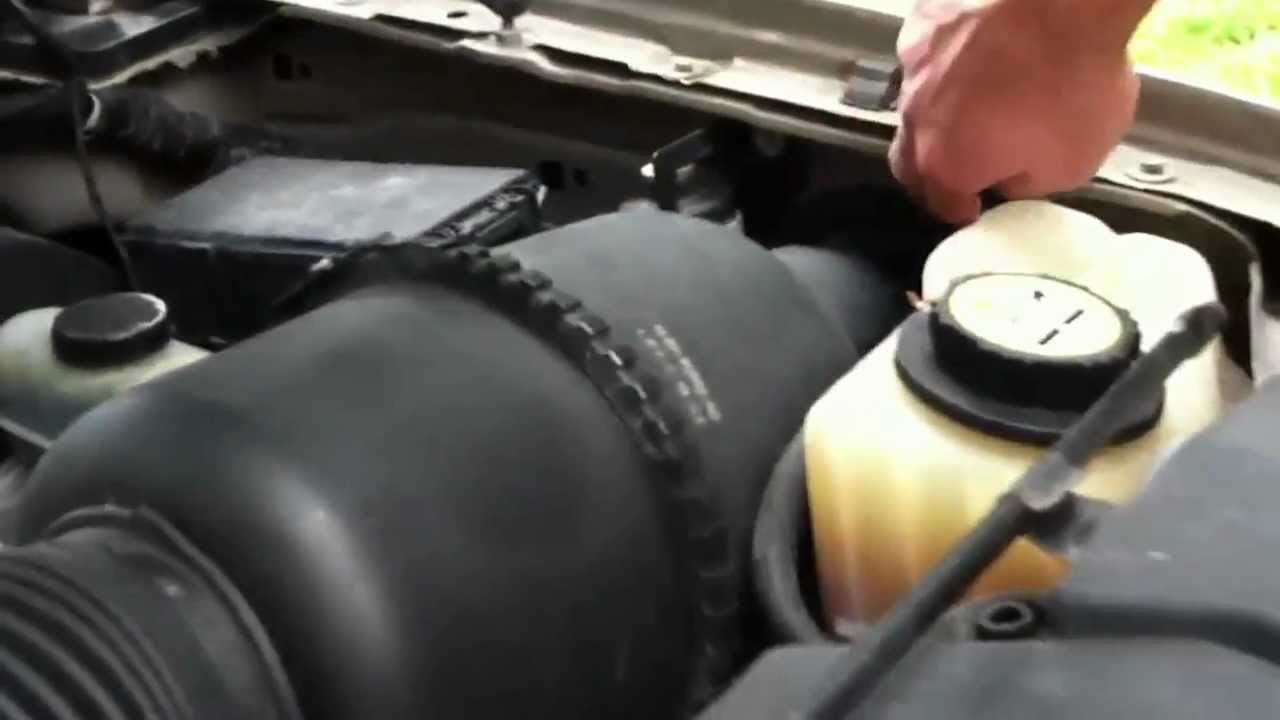
Step 1 - Locate the air filter assembly
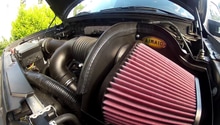
Lift the hood and locate the air filter assembly, which is at the front of the engine bay on the right hand side (facing the engine bay). The location of the air filter in the engine bay will change depending on your engine and your truck. Still, you can always tell the air filter apart from other components by the large air tube leading from it to the engine. Neither the F-150 or the Super Duties require special tools to remove the filter .

Step 2 - Remove connector and air tube
Unplug the mass air flow sensor connector located on the air filter outlet. Slide the locking clip on the connector down, and pull the connector apart by hand. Remove the air tube assembly by loosening the clamp holding it on with a Phillips screwdriver. Pull the tube away from the air cleaner.

Figure 2. Loosen the clamp attaching the intake piping to the air cleaner box 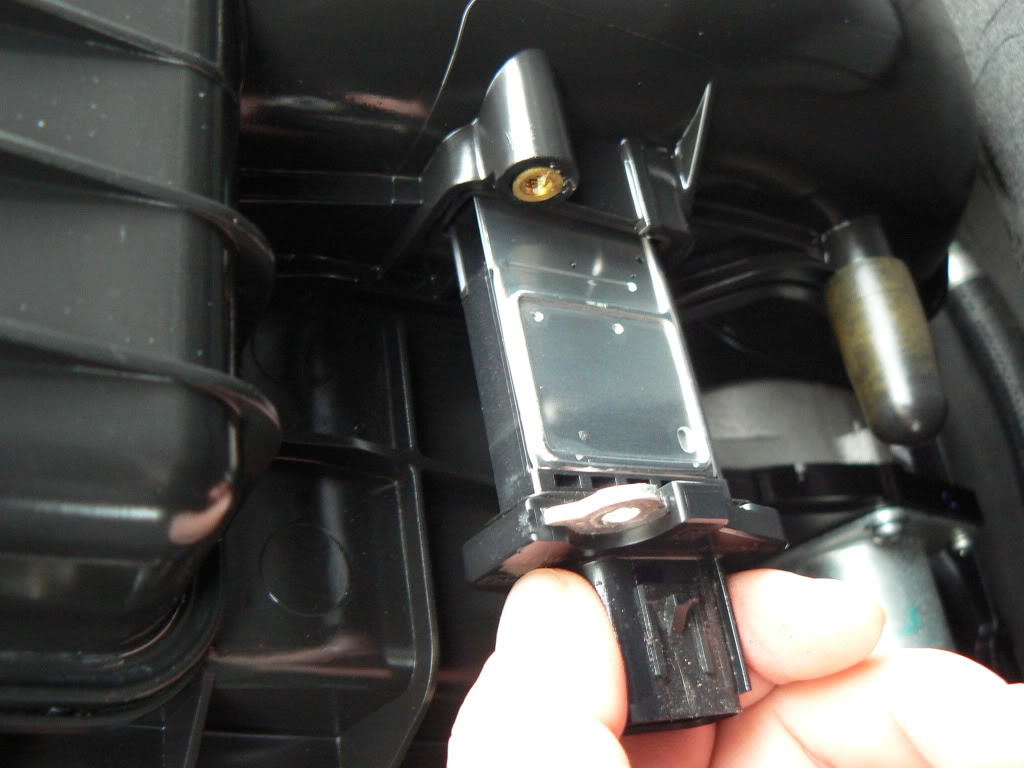
Figure 3. Remove the Mass Air Flow sensor from the intake tubing.
Step 3 - Remove the air cleaner assembly
Rotate the air cleaner assembly holding clamps at the rear of the air cleaner toward the engine bay. Push up on the air cleaner cover to remove it.

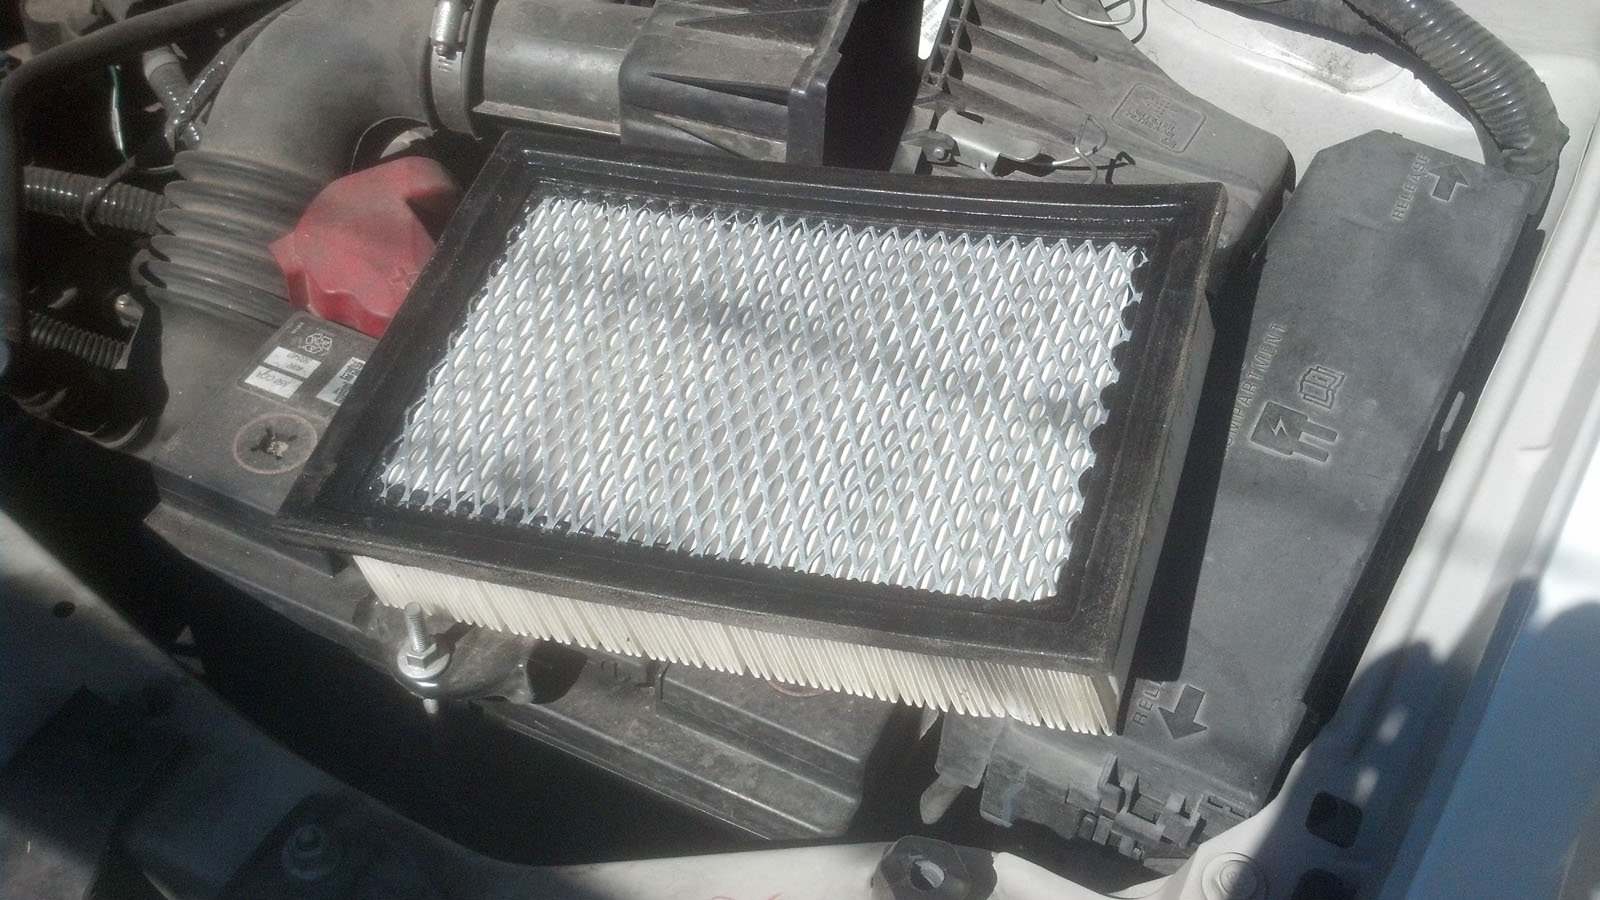
Step 4 - Replace the air cleaner element
Remove the old air cleaner element from the assembly by pulling up on it, then discard. Place a new air cleaner element in the assembly with the pleats facing down.
Step 5 - Put air cleaner assembly back together
Place the air cleaner cover back on the assembly, aligning the tabs in the cover with the slots in the air cleaner assembly. Rotate the clips toward the front of the engine bay. Slide the air tube back on the air cleaner, and tighten the holding clamp with a Phillips screwdriver. Plug the mass air flow sensor connector back into the air tube and slide the locking clip upward.
Featured Video
-
How to Change Air Filter on Diesel F-250 and Super Duty Trucks
-
How to Change Air Filter on F-150 and Gasoline Super Duty Trucks
Related Discussions
- Aftermarket or stock air cleaner? - Ford-Trucks.com
- Truck will not run after air cleaner installed - Ford-Trucks.com
- What type air cleaners and where to buy them? - Ford-Trucks.com