When you click on links to various merchants on this site and make a purchase, this can result in this site earning a commission. Affiliate programs and affiliations include, but are not limited to, the eBay Partner Network.
Finally getting around to posting my 1951 F1 build. I bought this truck in late April of this year from an ebay seller. The back story is that he bought the truck 4 years before, complete and running. The person who sold it to him had modified it to run on a 12 volt system with new wiring harness and related electricals, as well as changing to an Edlebrock 4 bbl manifold and carb. Over the next 3 years, the new owner made a number of modifications to the truck, some good and some bad. The good included changing the front drum brakes to disc and generally doing a good job with the maintenence. The only really bad thing that he did was to switch the manual steering for an aftermarket bolt on unit by No Limits, a unit which has been discussed on this site and generally dismissed. No Limt must have agreed, because they no longer make this unit, although they do still have a few in stock.
The PO was not mechanically inclined at all, so he paid others to work on the truck. The disc brake conversion and the No Limit power steering were done professionally at a speed shop in New Jersey. The same shop installed the Edlebrock 4 bbl carbuerator and linkage. He then decided that he wanted to do a frame off restoration, so he found someone to tear the truck down.
He had worked a deal with a body shop to do all of the body work, paint, and reassembly of the truck. He sent all of the body sheet metal to a shop to be sandblasted and primed, ready for patchwork. He spent a ton of time researching and buying parts. These included almost all of the patch panels for the cab, doors, and fenders that he could find; a complete new steel bed with Ford Script tailgate; the wood bed kit with stainless steel trim strips; boxes of stainless steel nuts, bolts and screws assembled as kits for various part installation; all new high quality gauges; new chromed rear bumper; new steel running boards; new cast aluminum running board step plates; body mounting hardware; and more. He also purchased a 51 F1 frame, complete with rear end, front axle, and both sets of springs, because he wanted a better frame with less rust. Unfortunately, he disposed of the old frame, saving only the front section with the springs, axle, No Limit power steering, and the serial number. All of the original manual steering linkage as well as the steering box were gone.
He had the following items rechromed: front bumper; front grill center, top and bottom bars and teeth; both outside headlight buckets; the hood Ford emblem and V8 emblem; dash trim that was originally chromed; radio speaker grill and radio delete plate; and a few other odds and ends.
After a year, he had a ton of money into a truck that was sitting in a pile in a storage locker. Then the body shop, which had previously commited to the rebuild for a set price, bugged out on him and wouldn't do the job for any price. He started shopping the truck around and got prices from $20,000.00 to $40,000.00 to complete the job.
The wife said no.
So he put it on ebay. I saw it, sent him a message, and he called me to talk about it. I got the entire story from him and decided to take a chance with this one, so I bid on it. Only 1 other bidder who only bid against me once, and it was mine.
I rented a 16' box truck with a liftgate and a friend of mine and I drove the 3 hours to get it. Left the rental lot at 7:30 AM and arrived on site at 10:30 AM. The seller met us, turned over all of the paperwork (including receipts for all the work completed and all of the purchased parts), shook hands, and left us to it.
Trust me when I say that loading a 51 F1 into a truck part by part is exhausting!!
Got done loading at around 3:30 PM, filled up the tank and drank a gallon or so of water then headed back. A stop at Eatin' Park (anyone from Western PA will be familar with the restaurant) for dinner then home. Dropped the loaded truck at my shop at 7:00 PM and went home.
Got the truck unloaded pretty fast the next morning and returned the rental.
Empty Truck at pickup.
Meeting the Seller.
The Storage Locker.
Storage Locker-Closeup.
Storage Locker-Closeup.
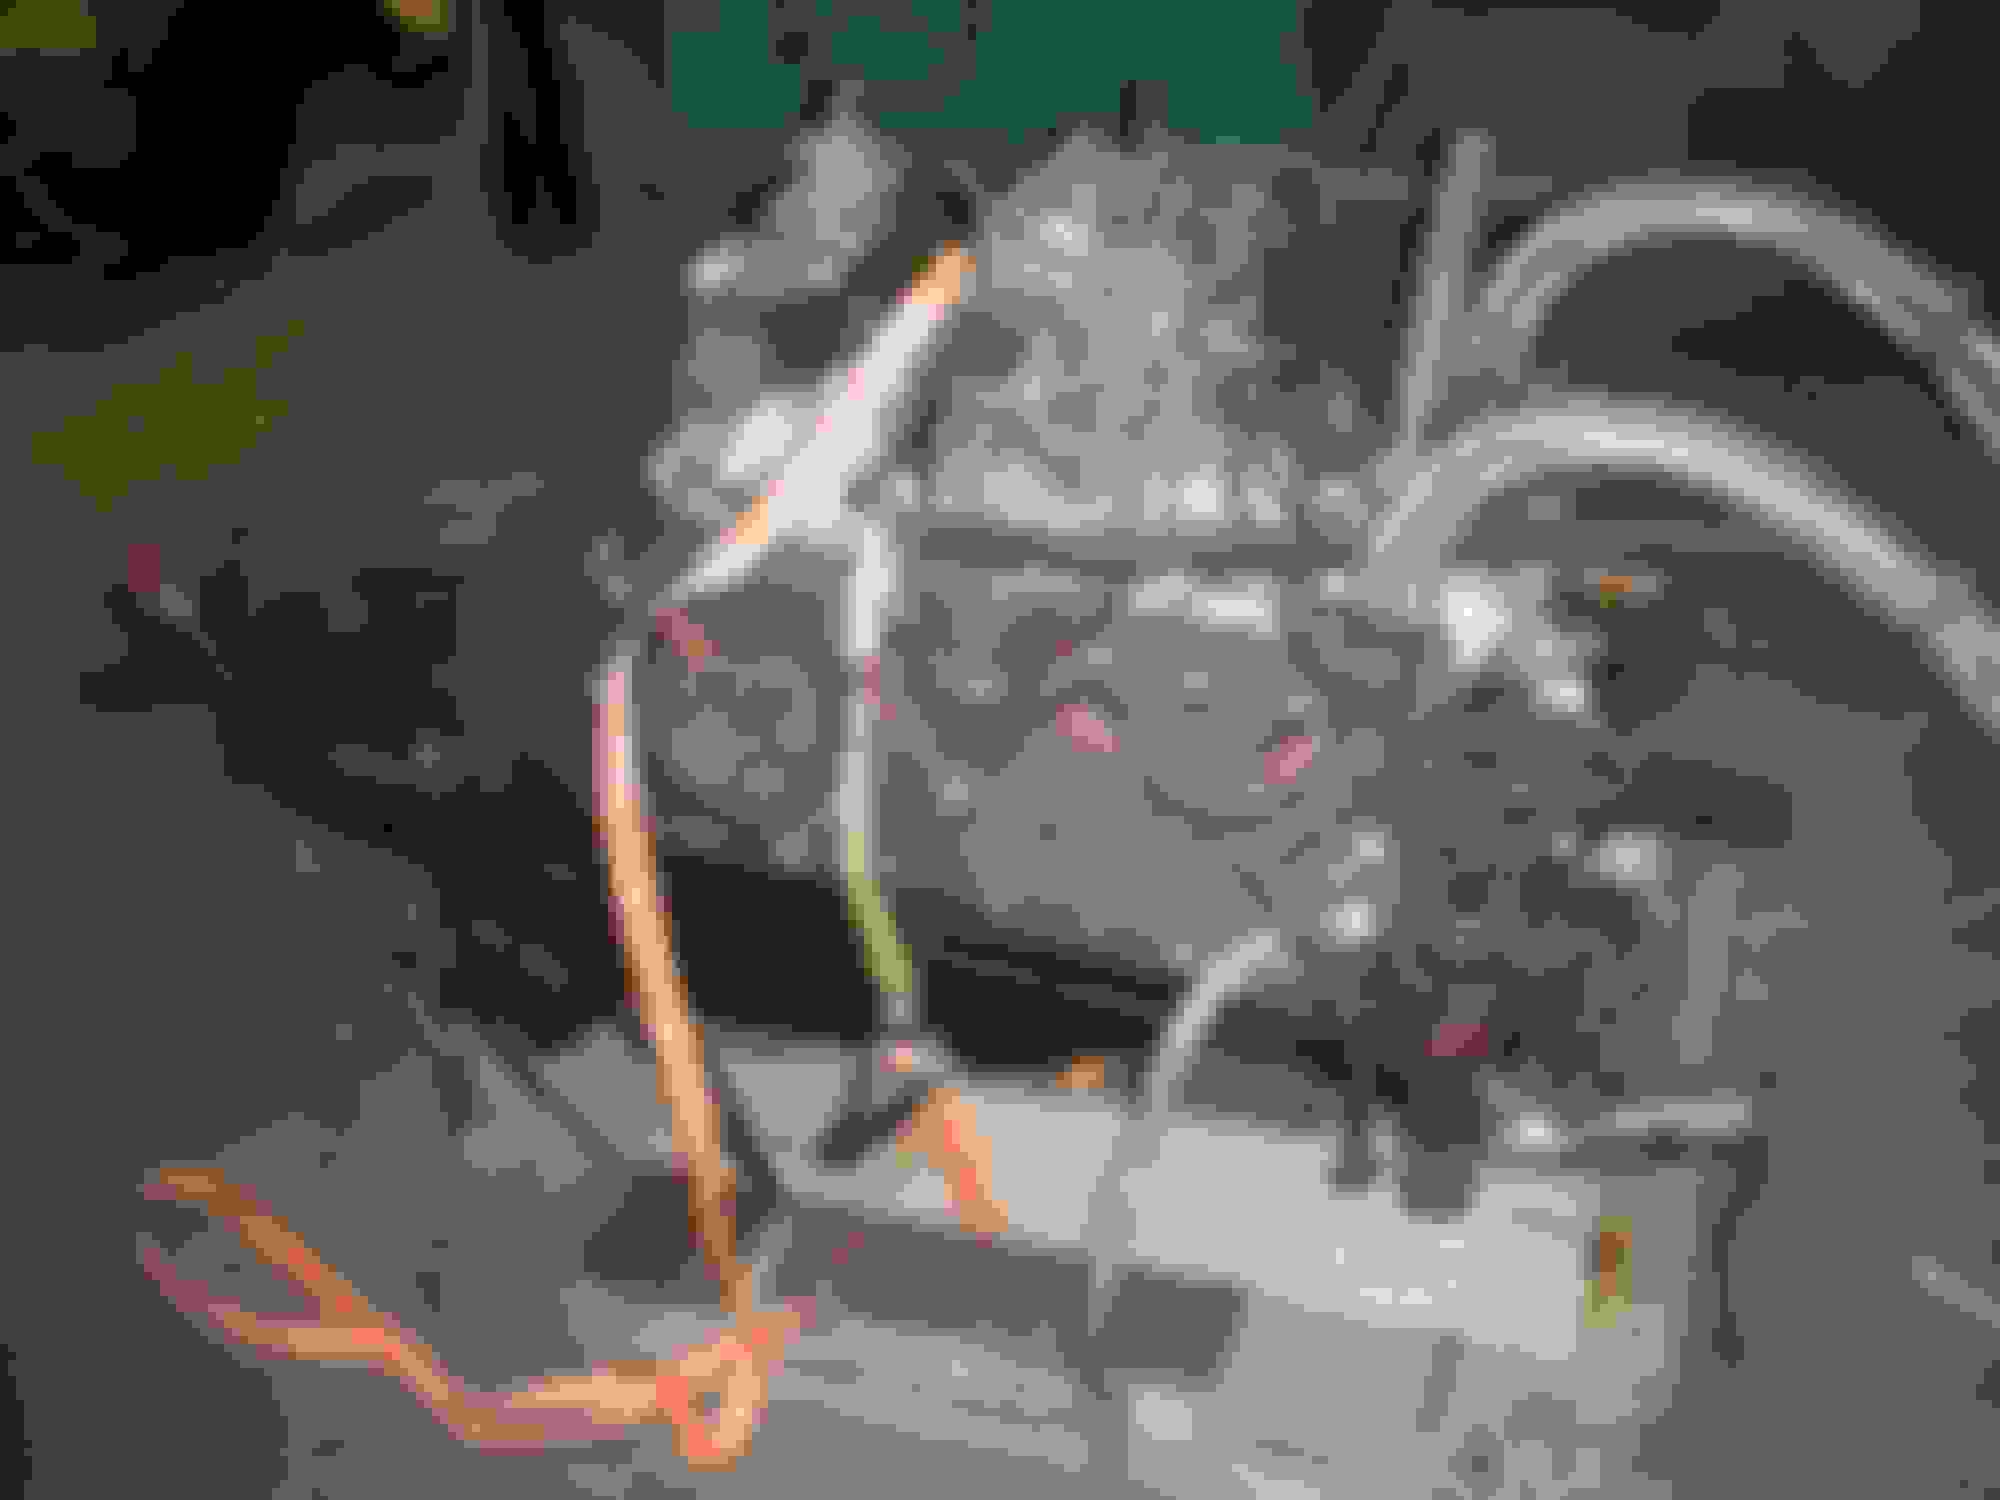
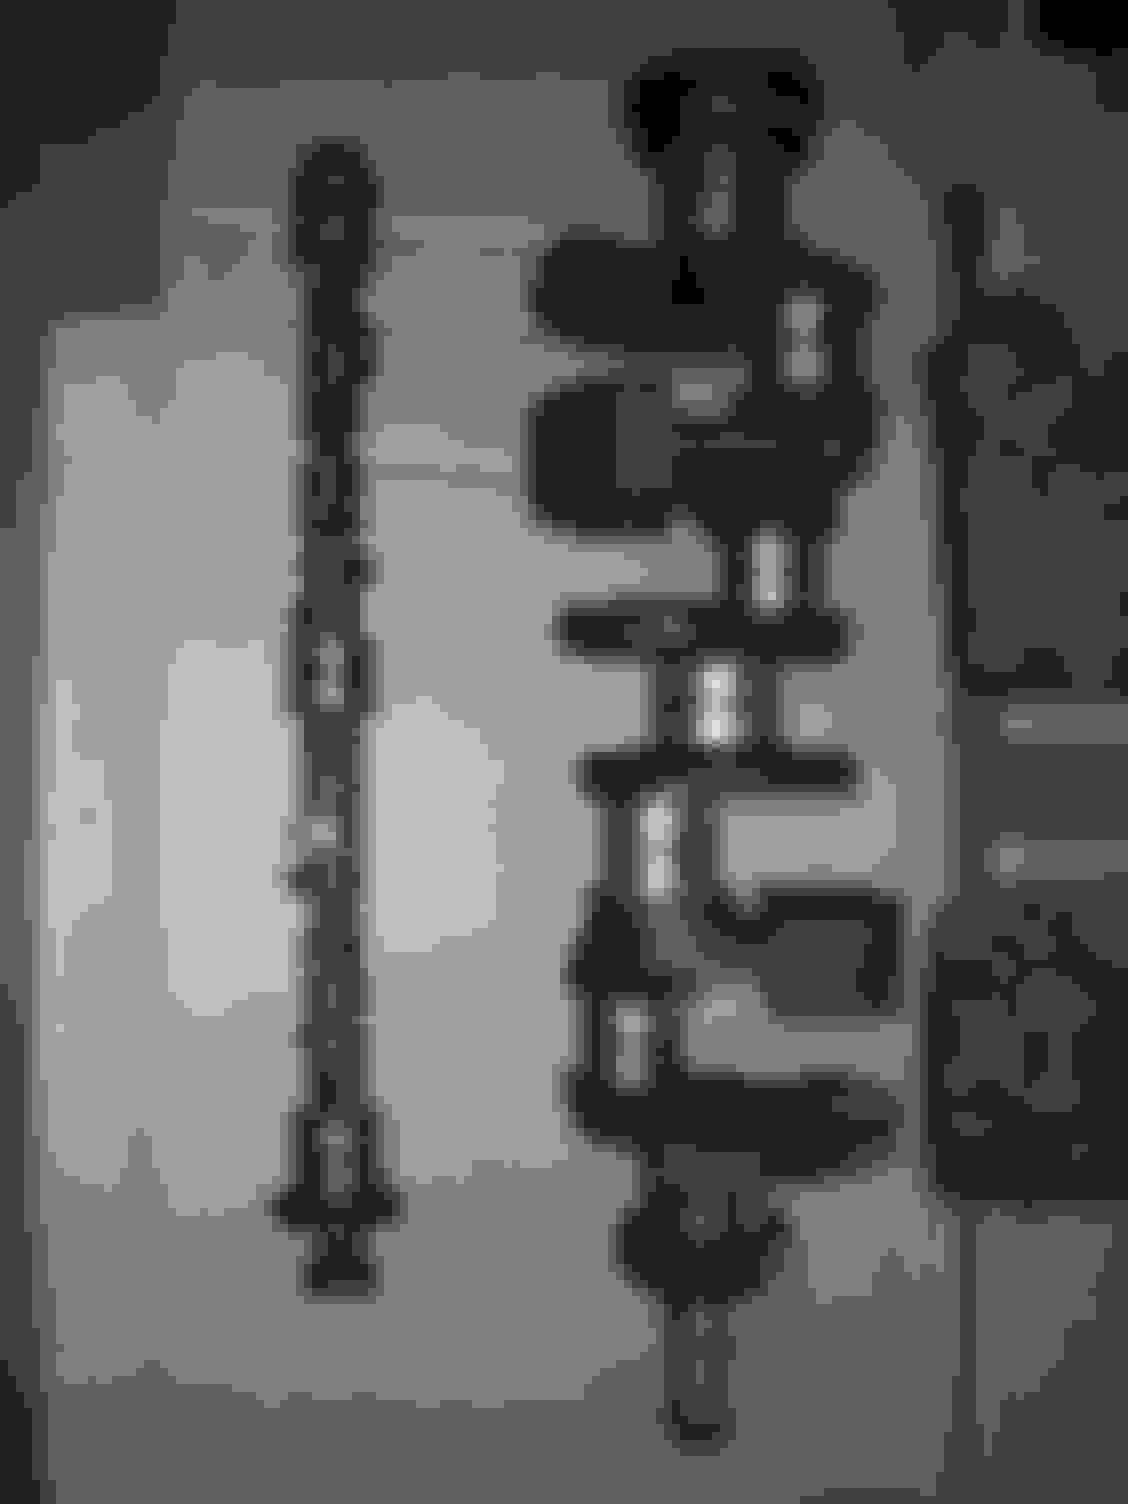
Storage locker-Engine and Tranny.
Pulled up to Storage Locker.
Loaded Truck. Truck is not lower on right-driveway had a serious slope to it.
Once I got it all into the shop I started on the engine teardown.
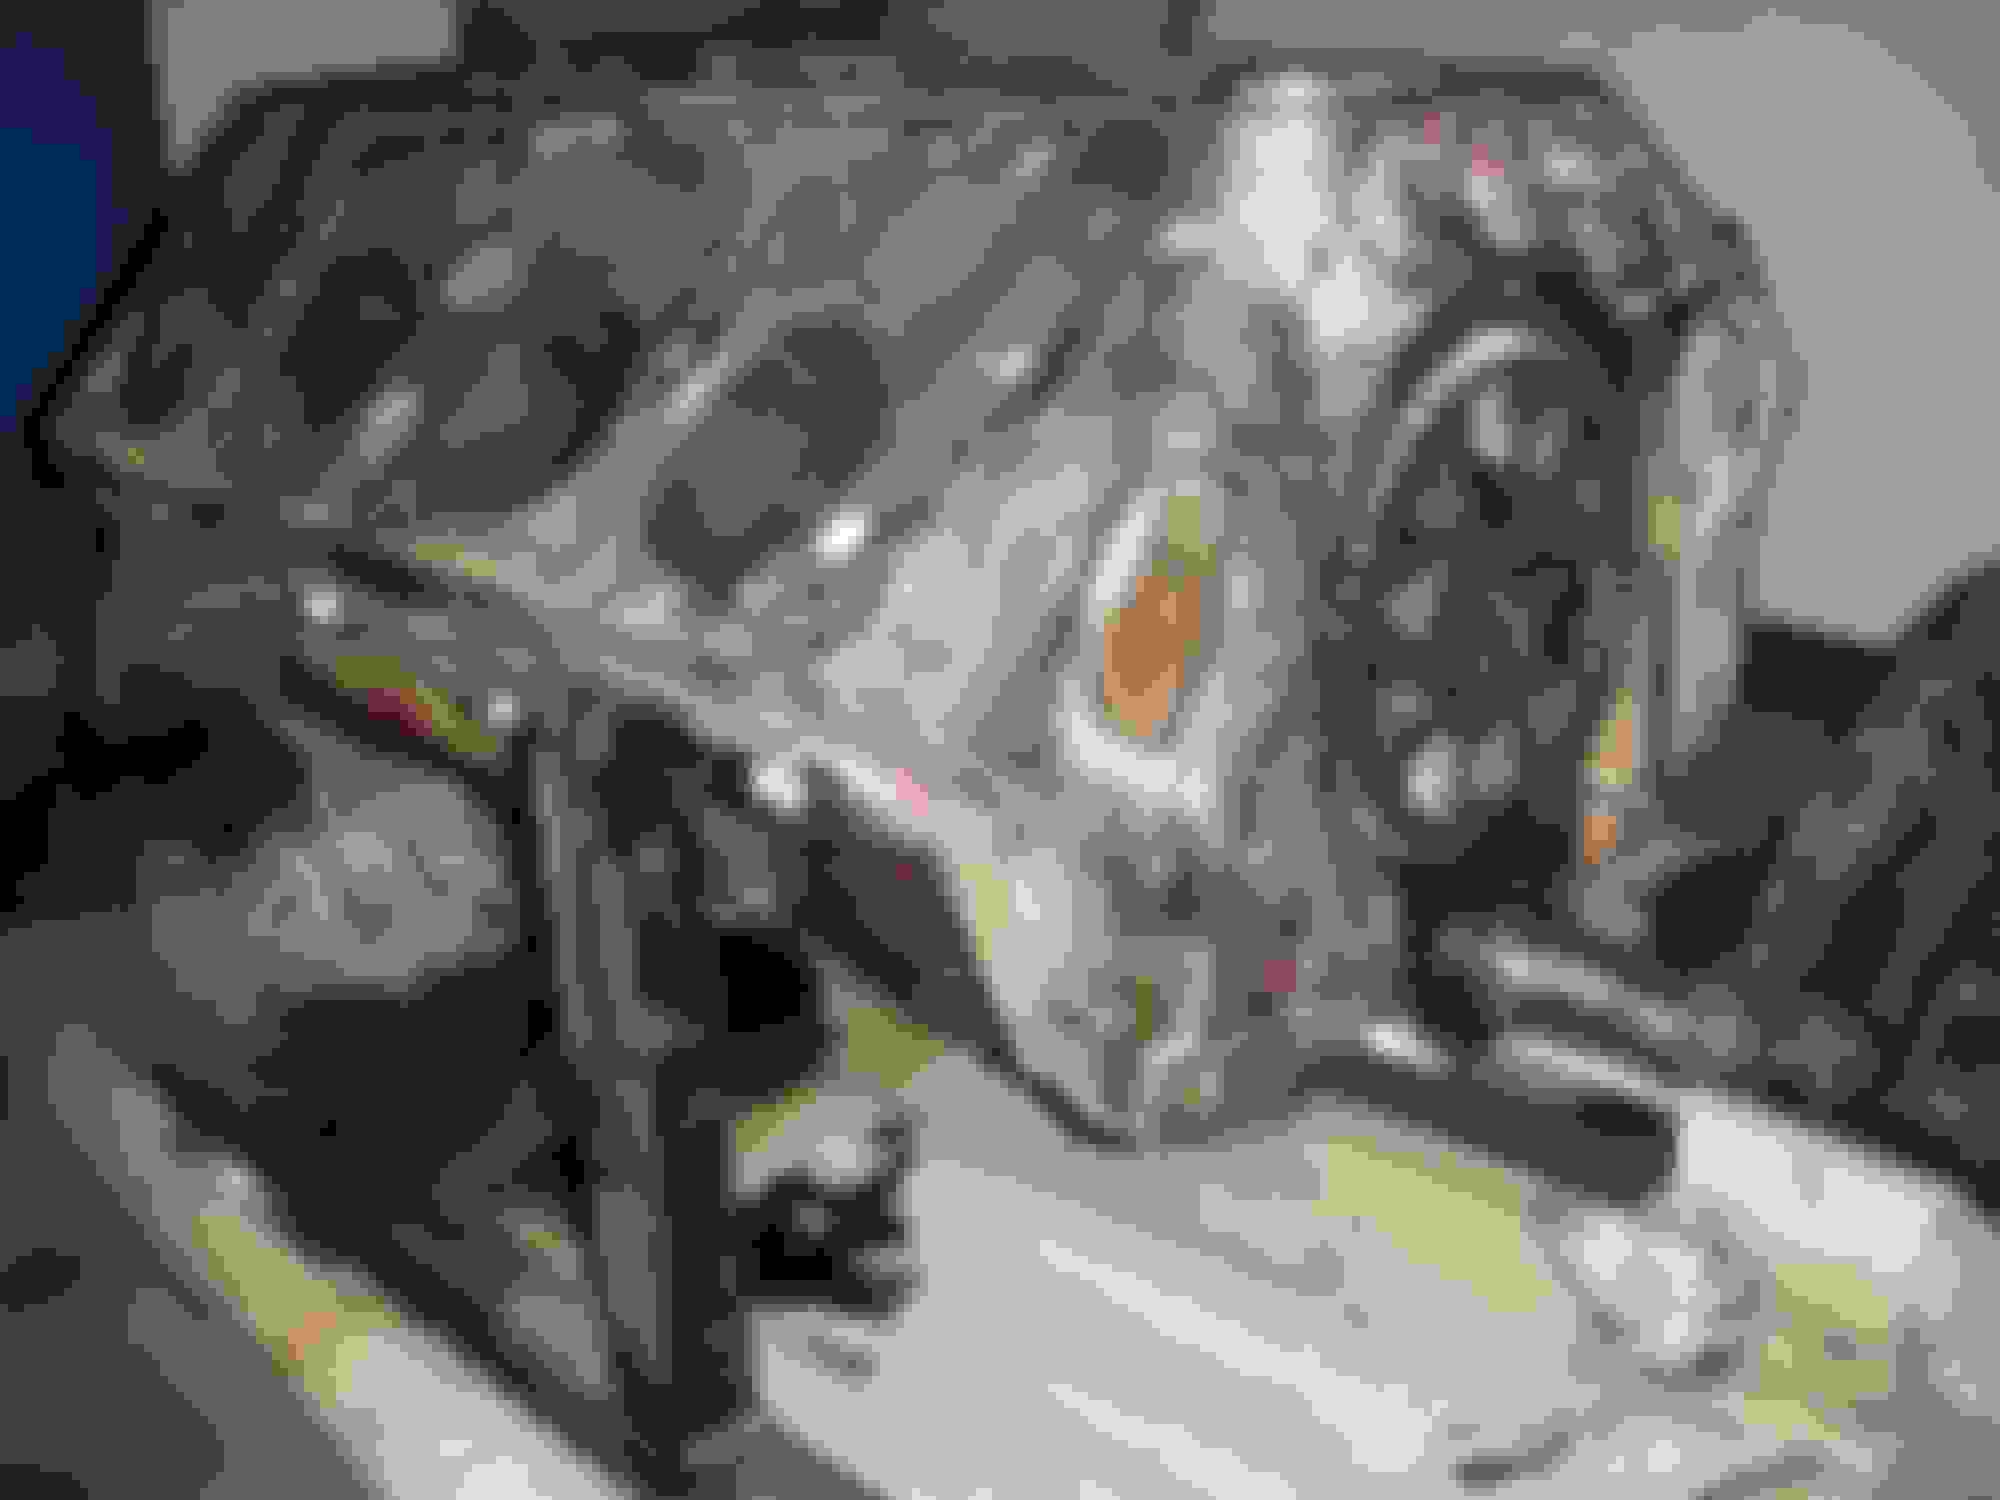
Engine as Purchased.
Engine suspended from my monster lift, bolted to cradle from Stumpy's Fab Works.
Tearing the engine down was just dirty bull work! The valves gave me a little trouble, as I did not have the spring compressor tools; by researching, I found a quick way to knock the valves apart easily. It was crude and wrecked the valves, but I wasn't going to reuse them anyway.
Heads and intake manifold removed. The water puddle is from the initial power washing.
Another view at the same stage.
Tranny, bell housing, block, oil pan, parts.
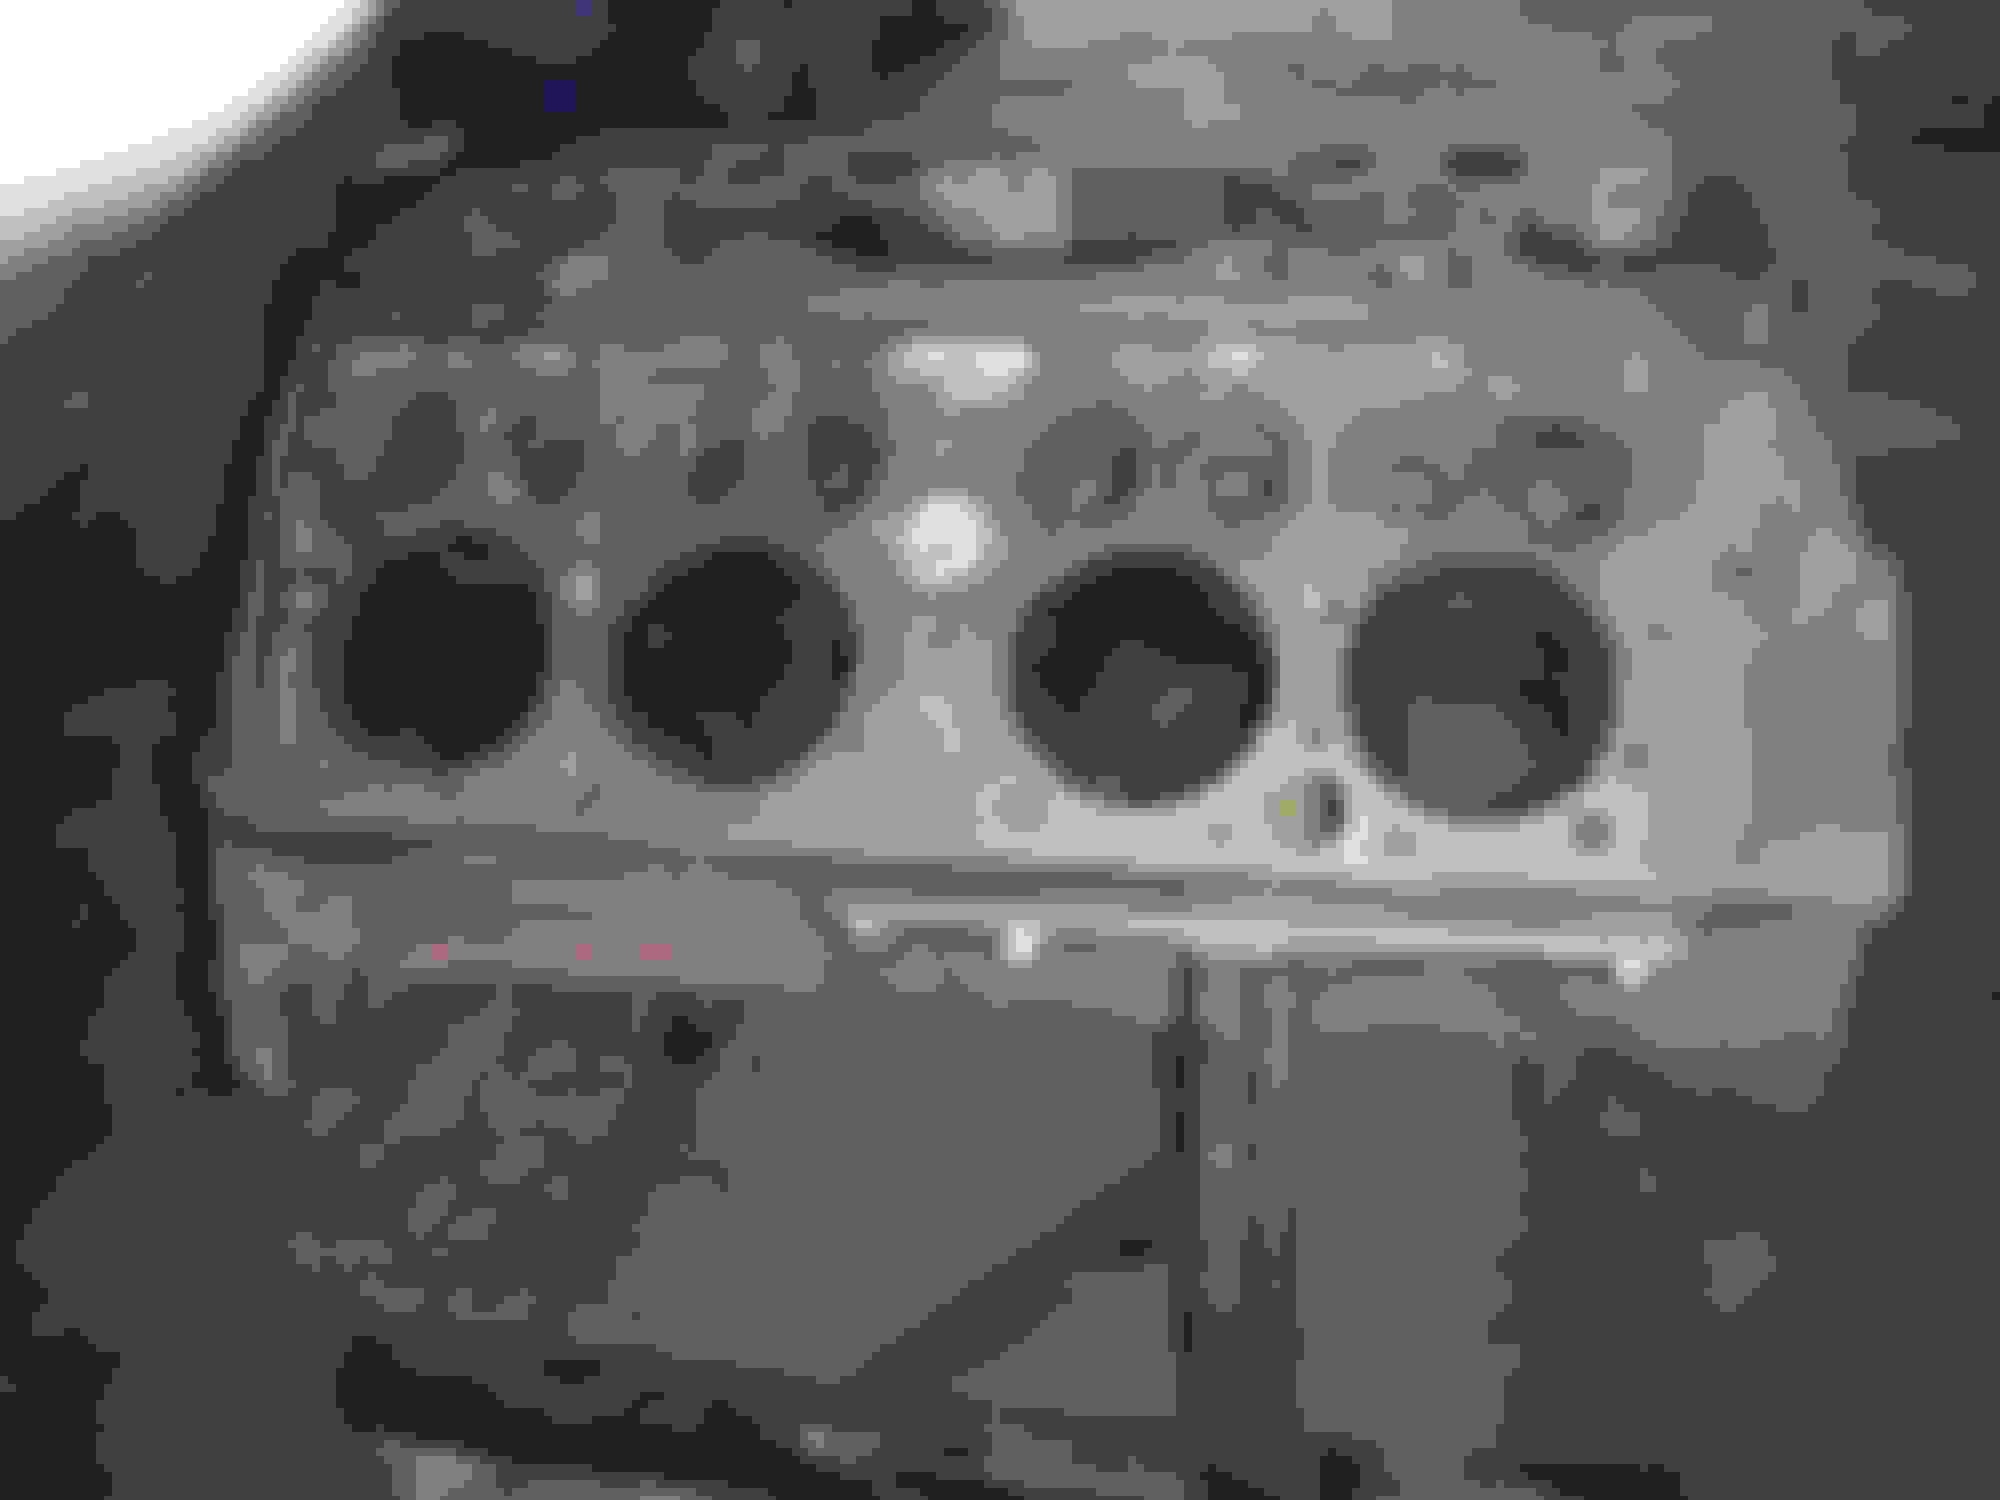
Block-stripped of all parts, power washed multiple times, ready for rebuild shop.
Upon teardown, I found a crack in the block between a valve and a cylinder.
Cracked block.
If this had been 10 years ago, I would have scrapped the block and bought another one. A few of the old-timers on Ford Barn recommended I do just that. However, decent blocks are getting harder to find, so I took it to the motor shop for their opinion.
They baked, blasted, and shook out the block, then Magnafluxed it. They found this crack and a couple of minor ones where the head bolts screw into the block, which I understand is fairly common. They felt comfortable pinning the crack, then boring and sleeving the cylinder and boring and inserting a hardened valve seat. They would also bore and insert Helicoils at the water jacket/head bolt cracks. Since they warranty their work, I let them proceed with the rebuild.
They cleaned up the balance of the parts, then Magnafluxed the cam, crank, and rods, all of which were fine. They ground and polished the cam and crank; pinned the crack; and bored and sleeved the cylinder. At this point, I told them to bore and insert hardened valve seats at all valves, as this block came without factory hardened seats. When they got to this point, they stopped and pressure tested the block to make certain it was solid and rebuildable. It passed with no problems.
Cylinders were bored as needed; I forgot to ask how much over they went. new valve assemblies were installed, on Johnson-style adjustable hollow lifters. I had told them from the start to only use high quality American or European parts-no Chinwainese allowed; I am confident in the quality of the parts.
I had rebuilt the oil pump but they found that the fixed dowel pin was worn sloppy, so I had them replace the pump with a new Melling. I will press in a new steel dowel pin; if it all fits nicely, I will keep the pump for backup or sell it for the cost of the rebuild kit (which was American, so it cost double the Chiwainese kit). I rebuilt both water pumps and the distributor and delivered them for install. I painted the water pumps with Eastwood Ceramic engine paint, red with a little black mixed in; I gave them the paint to paint the rest of the engine.
Originally, I was going to have them do the parts of the rebuild that I don't have the tool and equipment to do, but I decided 3/4 of the way through to have them do the entire rebuild. This way, they could make sure that everything is perfect, and they will warranty the entire job, not just part of it. They will run it on their Dyno and give me the printout with all of the specs.
The engine is not yet complete, but is very close. I spoke with them last week and they were doing the final assembly and getting ready to start it up.
it looks like you are off to a great start! what are your plans for the truck? stock restoration? i have been there before, buying a complete project that fit 1 piece at a time on a trailer or in a u haul box truck.
keep your thread updated i am excited to see your progress.
While the motor is out for rebuild, I decided to start on the frame and supension. As I posted earlier, the PO had removed and disposed of the manual steering gearbox, pitman arm, drag link, tie rod, tie rod ends, and spindle/hub steering arms. A little search on this site, Ford Barn, and ebay bought me all of the above for $325.00 with shipping; plus a new pitman arm for about $100.00. As the steering box guts were in good shape, I only needed to buy parts to rebuild it-both bearings and bearing housings, the brass sleeve bearings, oil seal, and assorted gaskets. Box was stripped to bare metal, degreased inside and out, and rebuilt. Everything is loose, until I can actually install it into the steering sytem and adjust it. I bought the kits to rebuild the drag link; I still need to order tie rod ends. I still have to sandblast and paint the rest of the parts prior to assembly, but at least I now have almost everything in hand.
As for the frame, I started with wire wheels on an angle grinder, but got tired of that real quick. I researched and bought a Brut Manufacturing pressure blasting system, made in Ohio USA. I bought the 100# capacity unit, and wish that I had bought the bigger one.
Using 40-70 grit crushed glass and an 1/8" nozzle to blast through the rust and dirt and remaining old paint. I can get pretty far, then I have to sweep up the media and refill to blaster, which is why I wish that I had bought the bigger unit. I set up a 20' x 30' tarp outside in the parking lot, rolled the frame and parts on a 36" high cart into the center, and blasted away. That is also hot work!!!
Frame-Partially blasted, removed parts bolted in place.
Running Board supports bolted in place.
All Frame parts blasted and ready to assemble.
In a previous post, I mentioned that the PO had purchased a different frame for this truck. For some reason, this frame had some of the structural, rivetted parts removed-the main engine/transmission cross support, the 2 "dogleg" front engine mount supports, all 6 running board supports, and 4 of the body mounting brackets. I was given all of these parts with the truck, but I need to re-install them. We weld filled all of the oversized rivet holes, fitted and aligned the parts, rebored the holes, and temporarily bolted all the pieces in place. I took it all back apart, sandblasted all of the parts, then applied 2 coats of black epoxy primer just to the mating surfaces that would be inaccessable once assembled.
Blasted and primed.
Blasted and primed.
Blasted and primed.
Now, I've got the parts bolted in place, ready to rivet.
it looks like you are off to a great start! what are your plans for the truck? stock restoration? i have been there before, buying a complete project that fit 1 piece at a time on a trailer or in a u haul box truck.
keep your thread updated i am excited to see your progress.
My plans are for a very close to stock truck. I will keep the Edlebrock manifold and 4 bbl carb, the updated electricals, and the rest will be stock. The interior may be a bit more luxurious than stock; I am a long way from that point, so I have time to think about it.
One of the first things that I purchased was an orginal (beat up but usable) copy of the Chassis and Parts Catalogue, a reprint of the Service Manual, and a couple of the highly recommended Flathead rebuild books. All have proved to be priceless!!
After much research, I determined that I wanted to install the parts that were originally rivetted with rivets. I bought a bag of 3/8" rivets from Jay-Cee Rivet, and a rivet gun on ebay. Then I built a forge, using a brake rotor off of a large truck, a 1/4" stell plate that I had lying around, some 3" dust collection pipe with blastgate, all set on a base out of scrap 1/4" angle iron.
Forge Frame set up on welding jig.
Rotor, plate, and 3" ductwork.
Assembled Forge.
Assembled Forge.
I had purchased a used Lincoln 220V MIG welder, so I went and got a CO/Argon tank and started learning how to weld. OK, so I read and re-read the fantastic tutorial posted to this forum by AXracer, then practiced a bit. I still need experience, and my weld beads aren't real pretty, but I did get good penetration and good welds. I just need to practice a lot more before I weld anything that is important.
I fired up the forge, using lump charcoal for my heat source and a shop vac as my blower, and heated up a few rivets. Unfortunately, my rivet gun is too light, and it could not peen the rivets. I cut off the 4 failed rivets and started looking for a bigger rivet gun. The forge was definately hot enough, as I melted 3 rivets into lumps of steel. I found an Atlas Copco 12P-TS large bore gun on ebay that is designed and sized for up to 7/16" diameter rivets, bought it, and ordered a rivet set to fit. The gun arrived today-OH MAMA! and the rivet set is due by Friday. When I get it all together I will try again.
 08-26-2015, 12:50 PM