When you click on links to various merchants on this site and make a purchase, this can result in this site earning a commission. Affiliate programs and affiliations include, but are not limited to, the eBay Partner Network.
Thought I'd document and share latest 53 F100 project. This will be a complete rebuild. I'll add some comments and pictures as I go. I'm just getting started.
Thanks for the welcome. The Aluminator should be a fun motor and make for a challenging build. Building 'em is most of the fun anyhow? The Aluminator is an upgrage from the basic modern 5.0 Coyote found in the '11-15 Mustangs. The Aluminator has all forged internals, Mahle forged pistons, Manley H beam forged rods and ARP bolts. It good for 1000 HP. All those forged internals bump up the RPM redline to 8000+RPM. Should be a fun ride. But I'm not even close to all that....
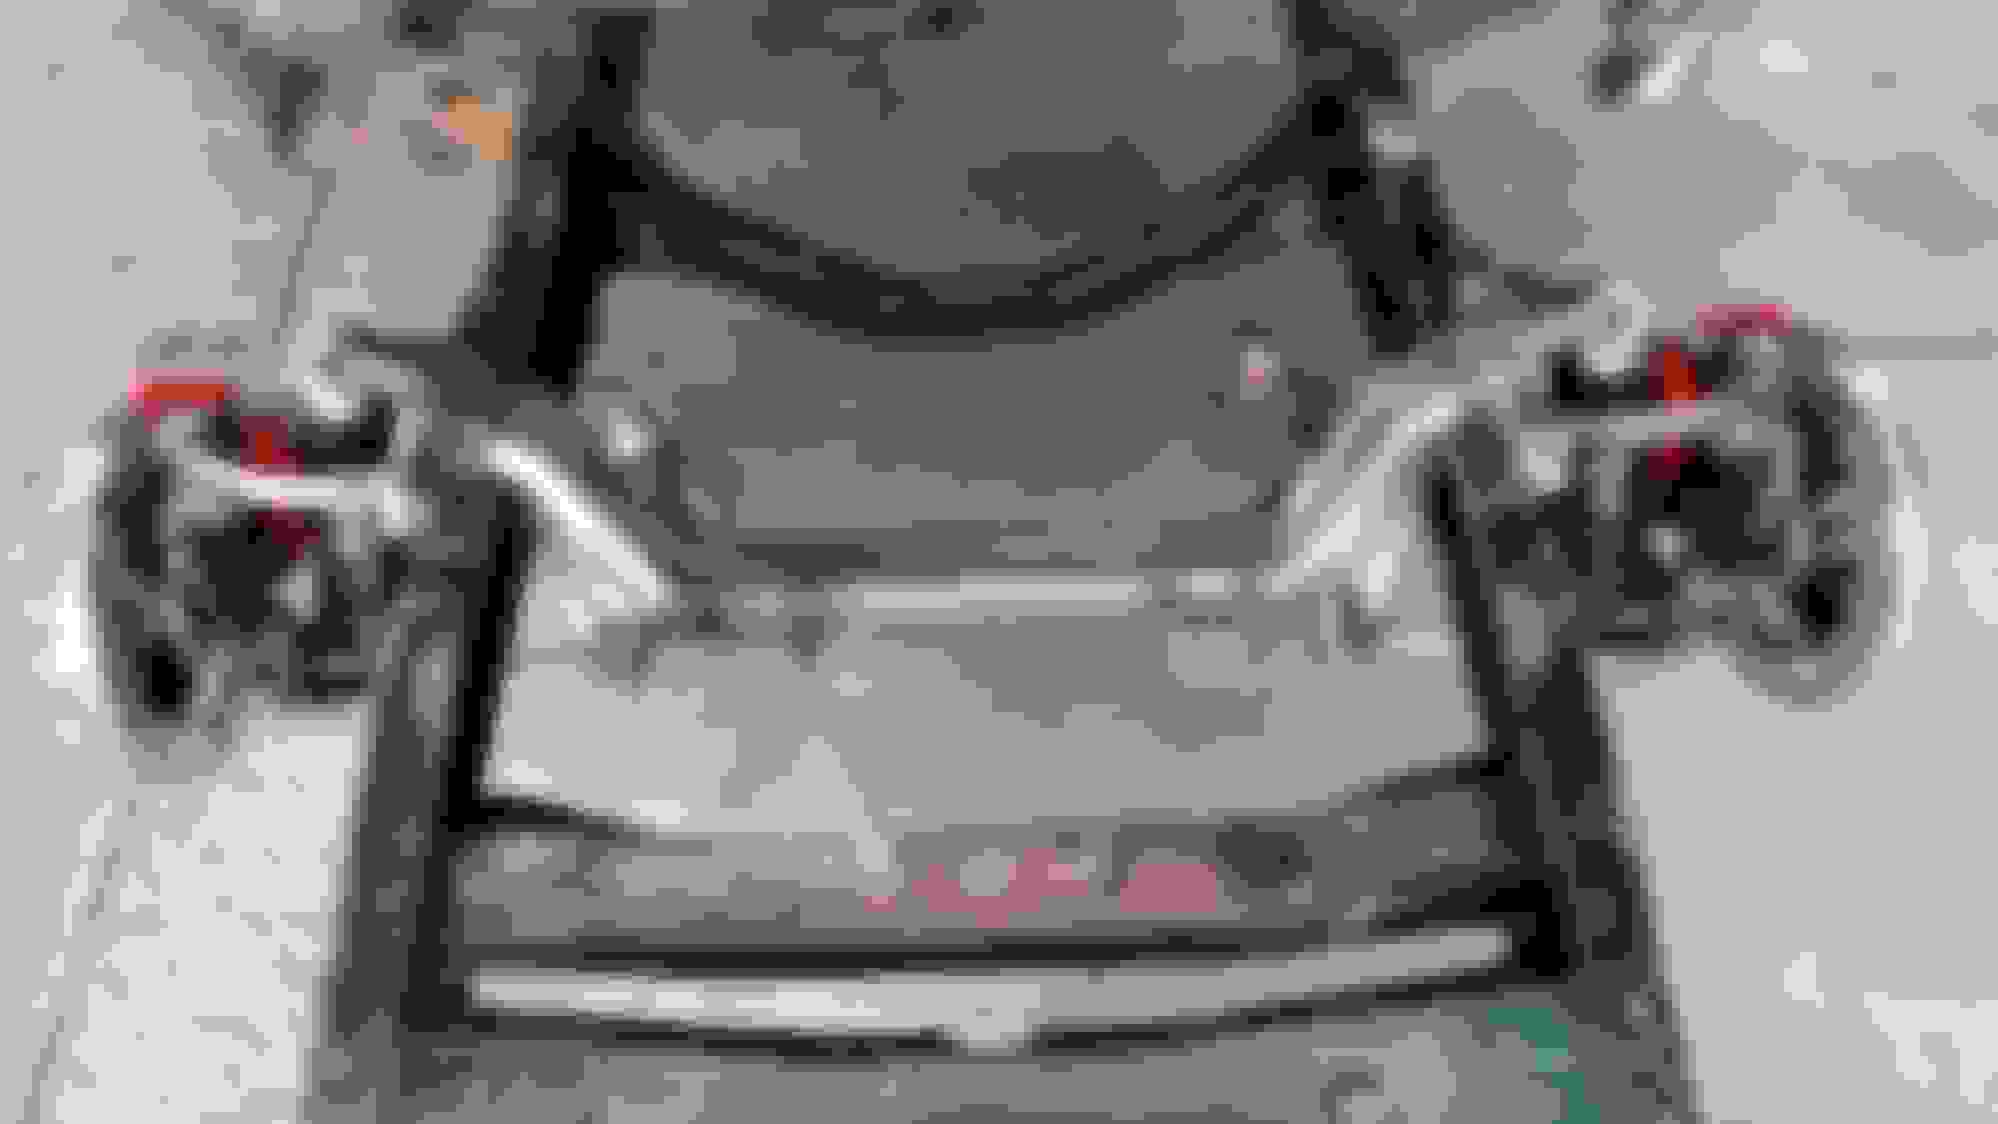
Ive been working on the plan for about a month now and making sure the budget matched the ambition. Working on the chassis now. I have a TCI Custom IFS. It seems like a real nice set up. I like how it is a one piece unit and just drops in. It actually created an idea and changed the plan a bit.
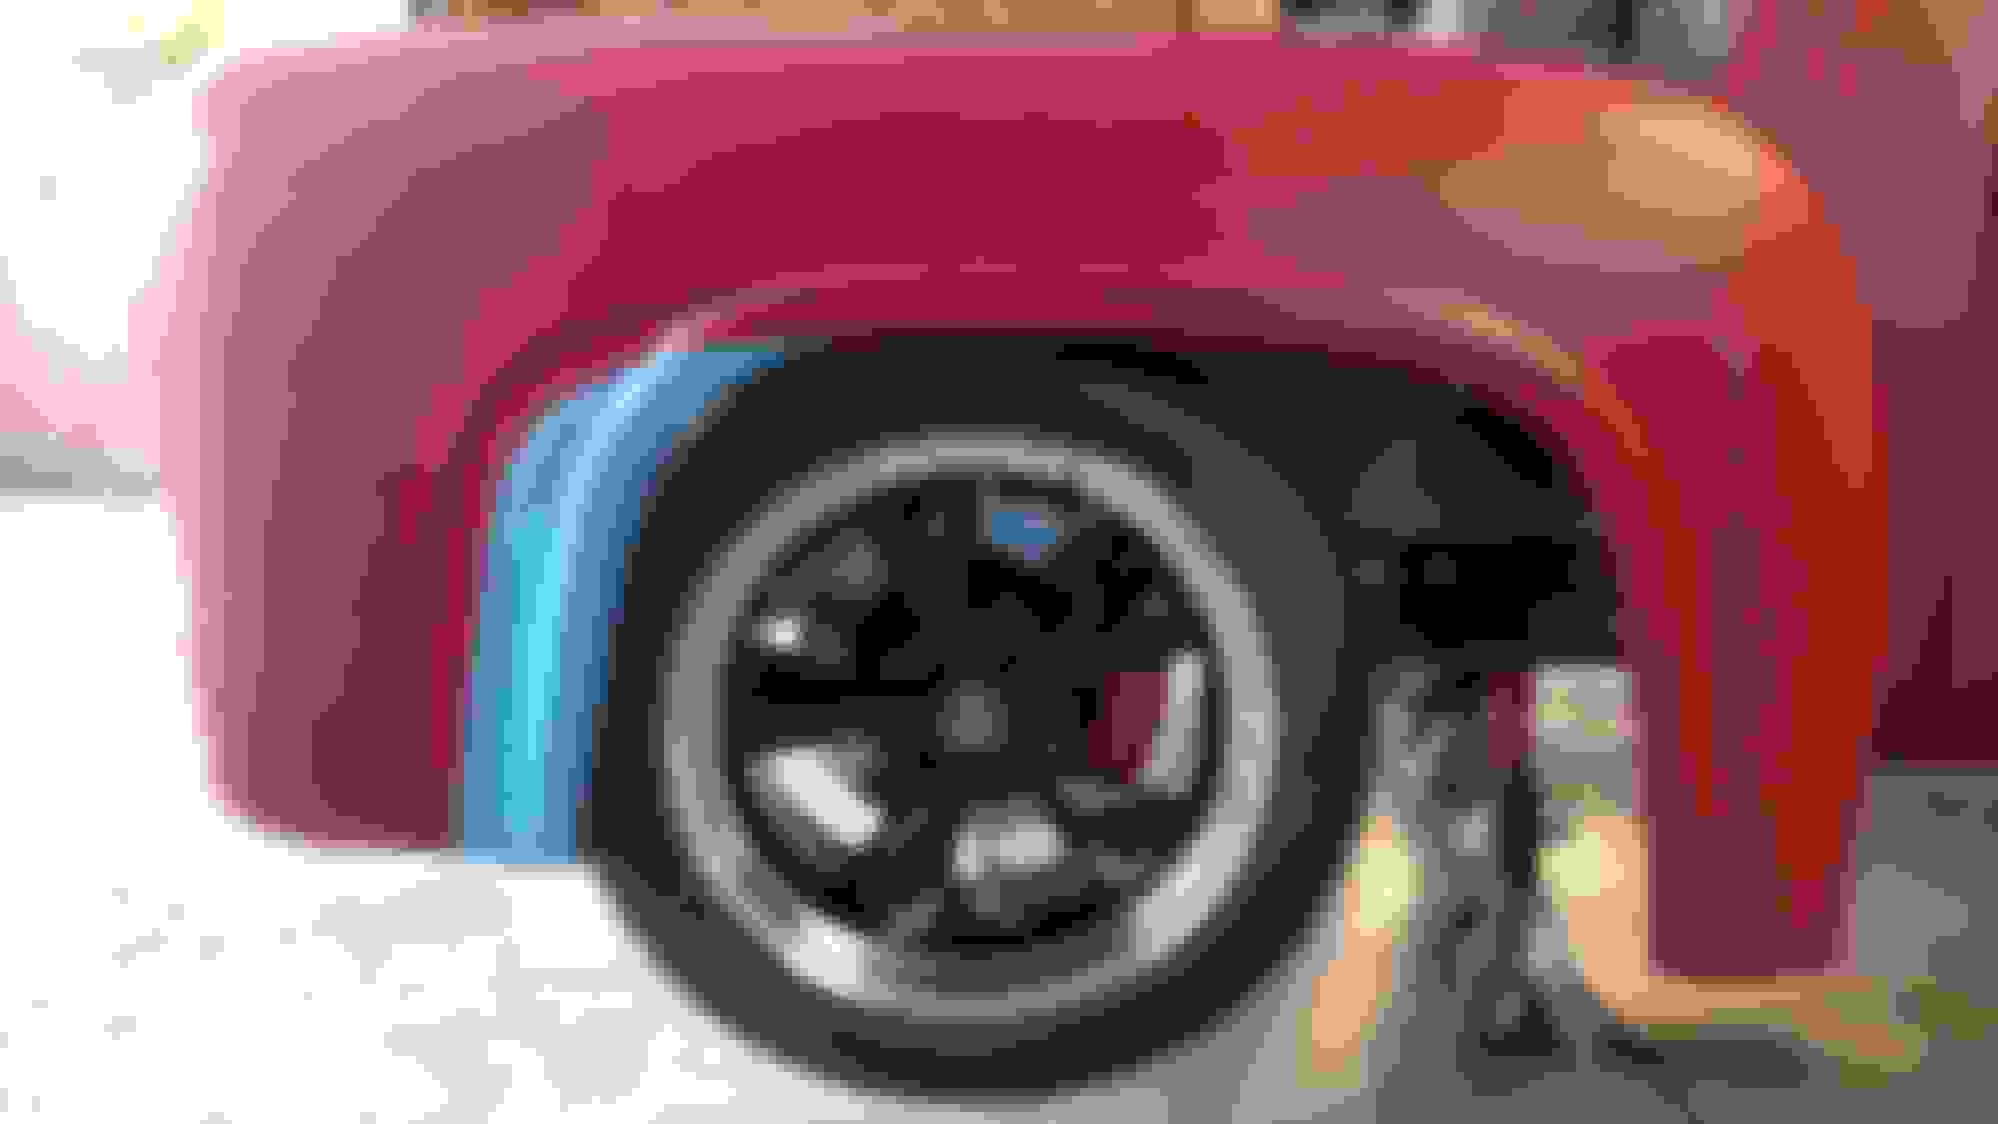
Because the TCI unit drops in and rests on the frame rails it got me sliding it all around. After some thought I decided I want to move the axle center line considerably forward. I'm moving the wheel arches 3 3/4" forward and moving the axle C-line to match.
A little mock up. This is what I was going to go with... "Centered to my taste".
Then some thinking over frosties...
I think this will really impact the look favorably IMO. Got my new fenders mocked up and ready to cut. I'll post some pics of the completed augmentation in a few days if all goes well .
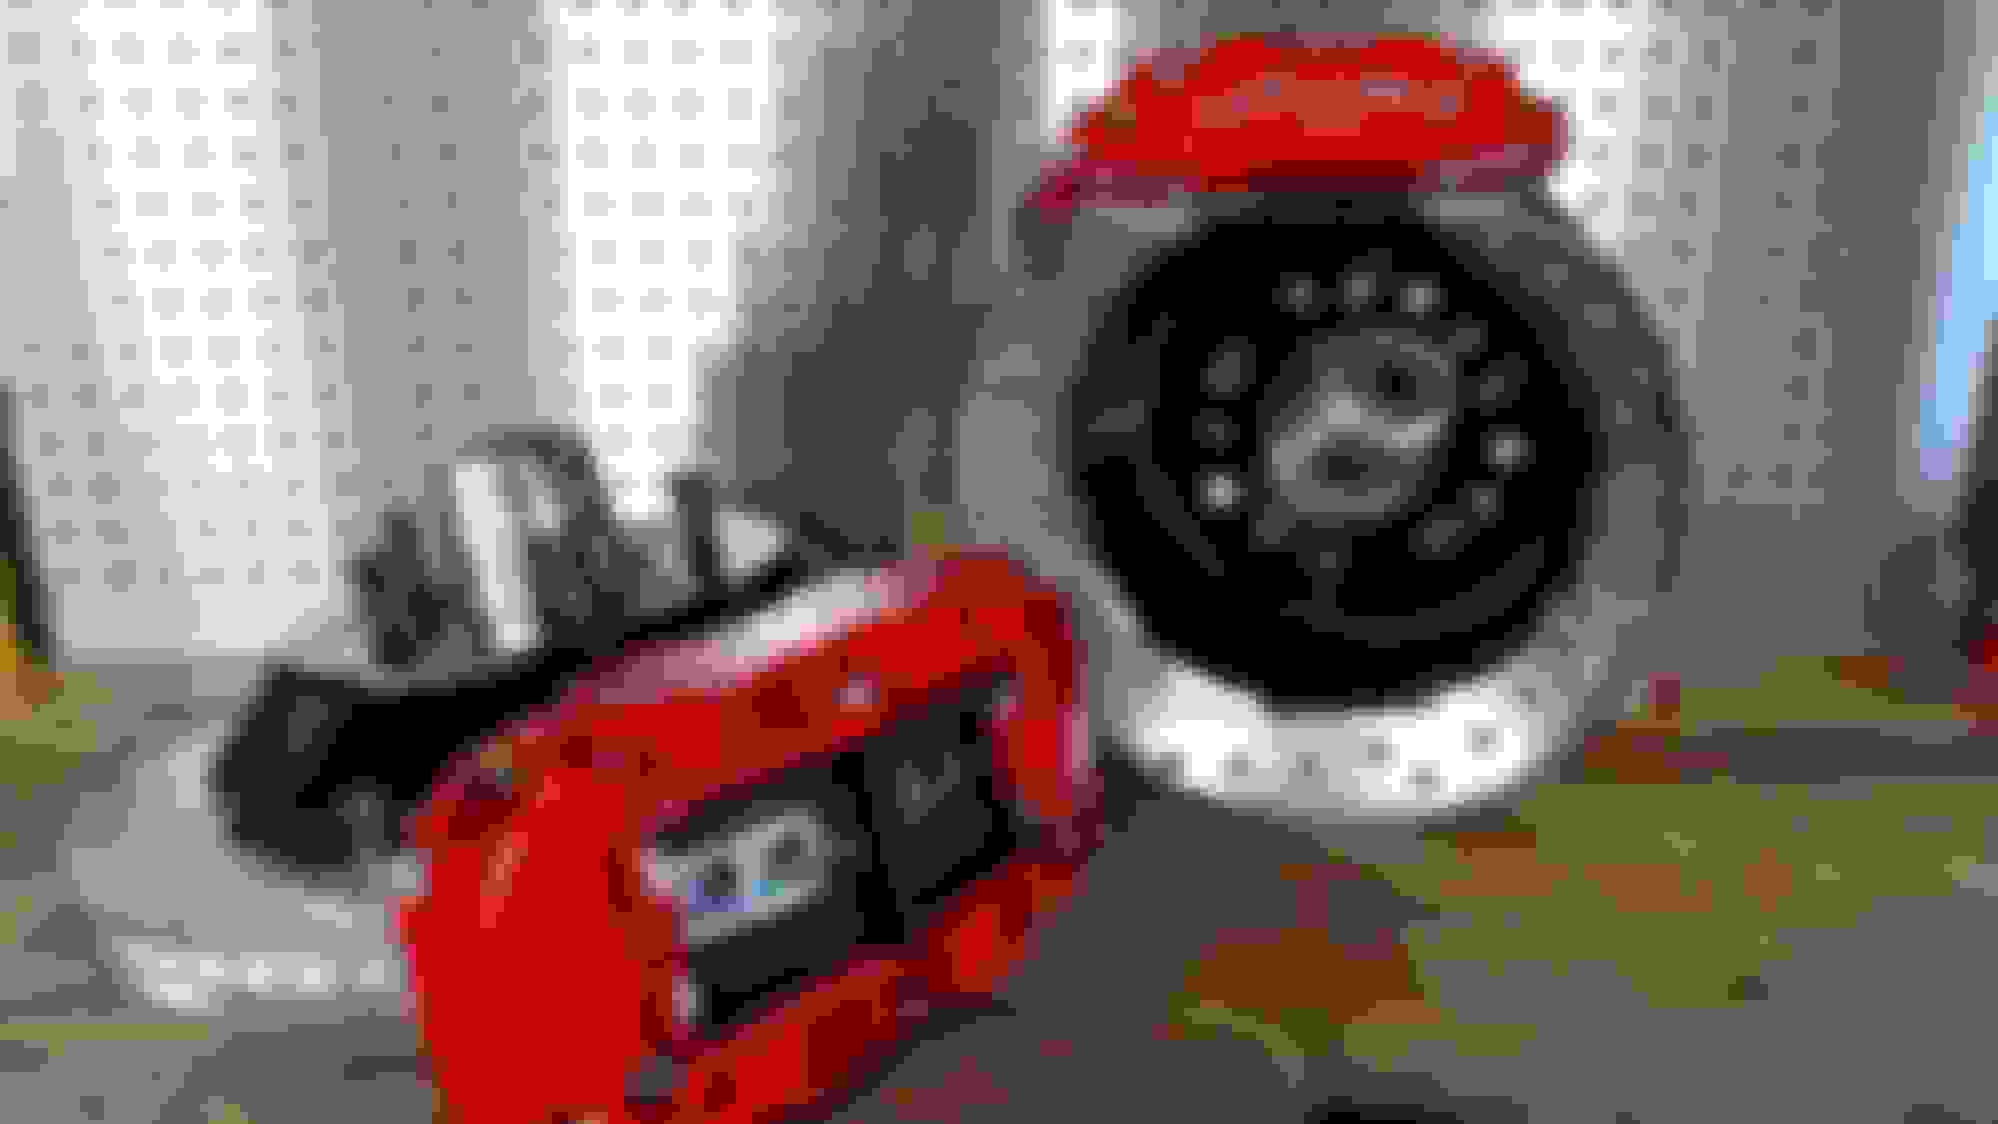
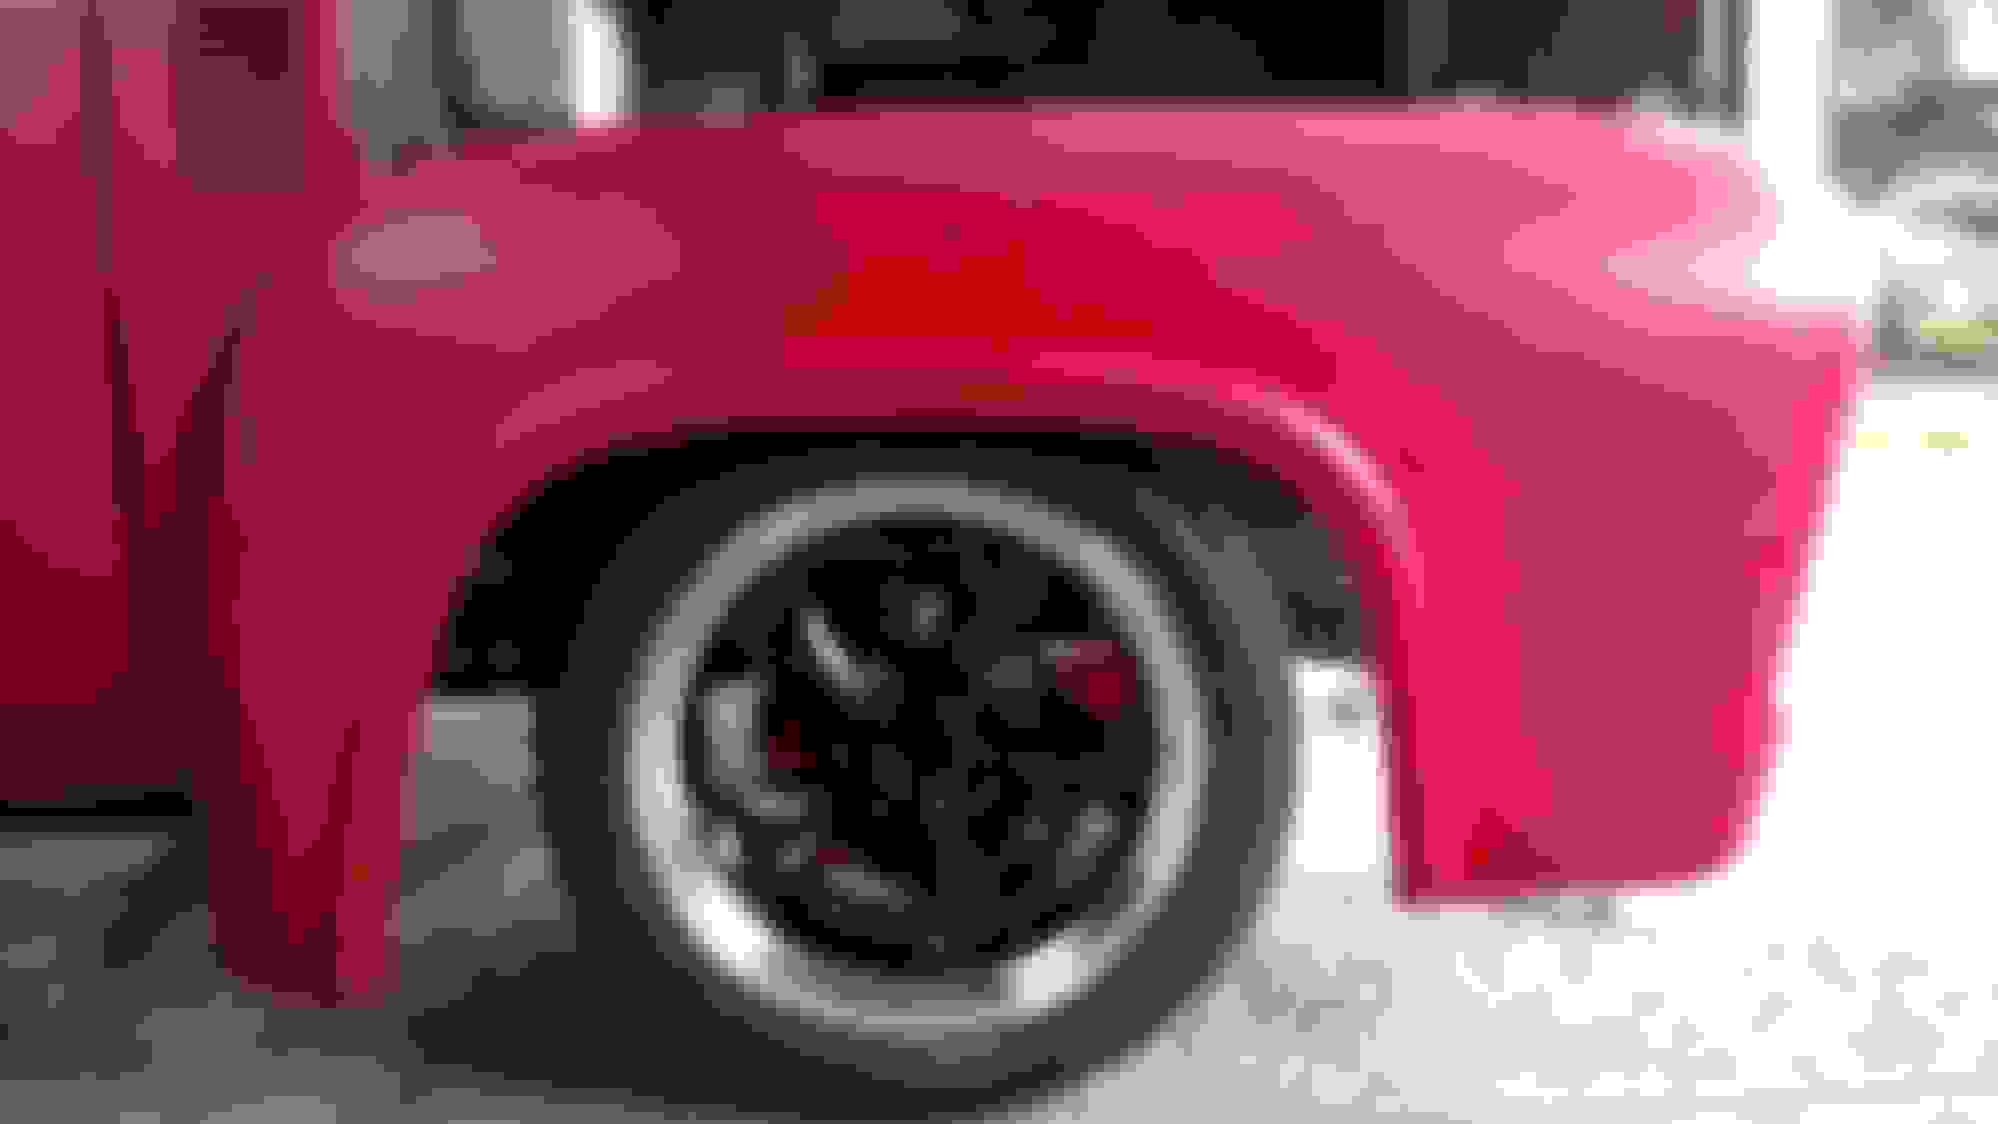
It's gotta stop too right? 13" Wildwood rotors and 6 piston pots will be up front.
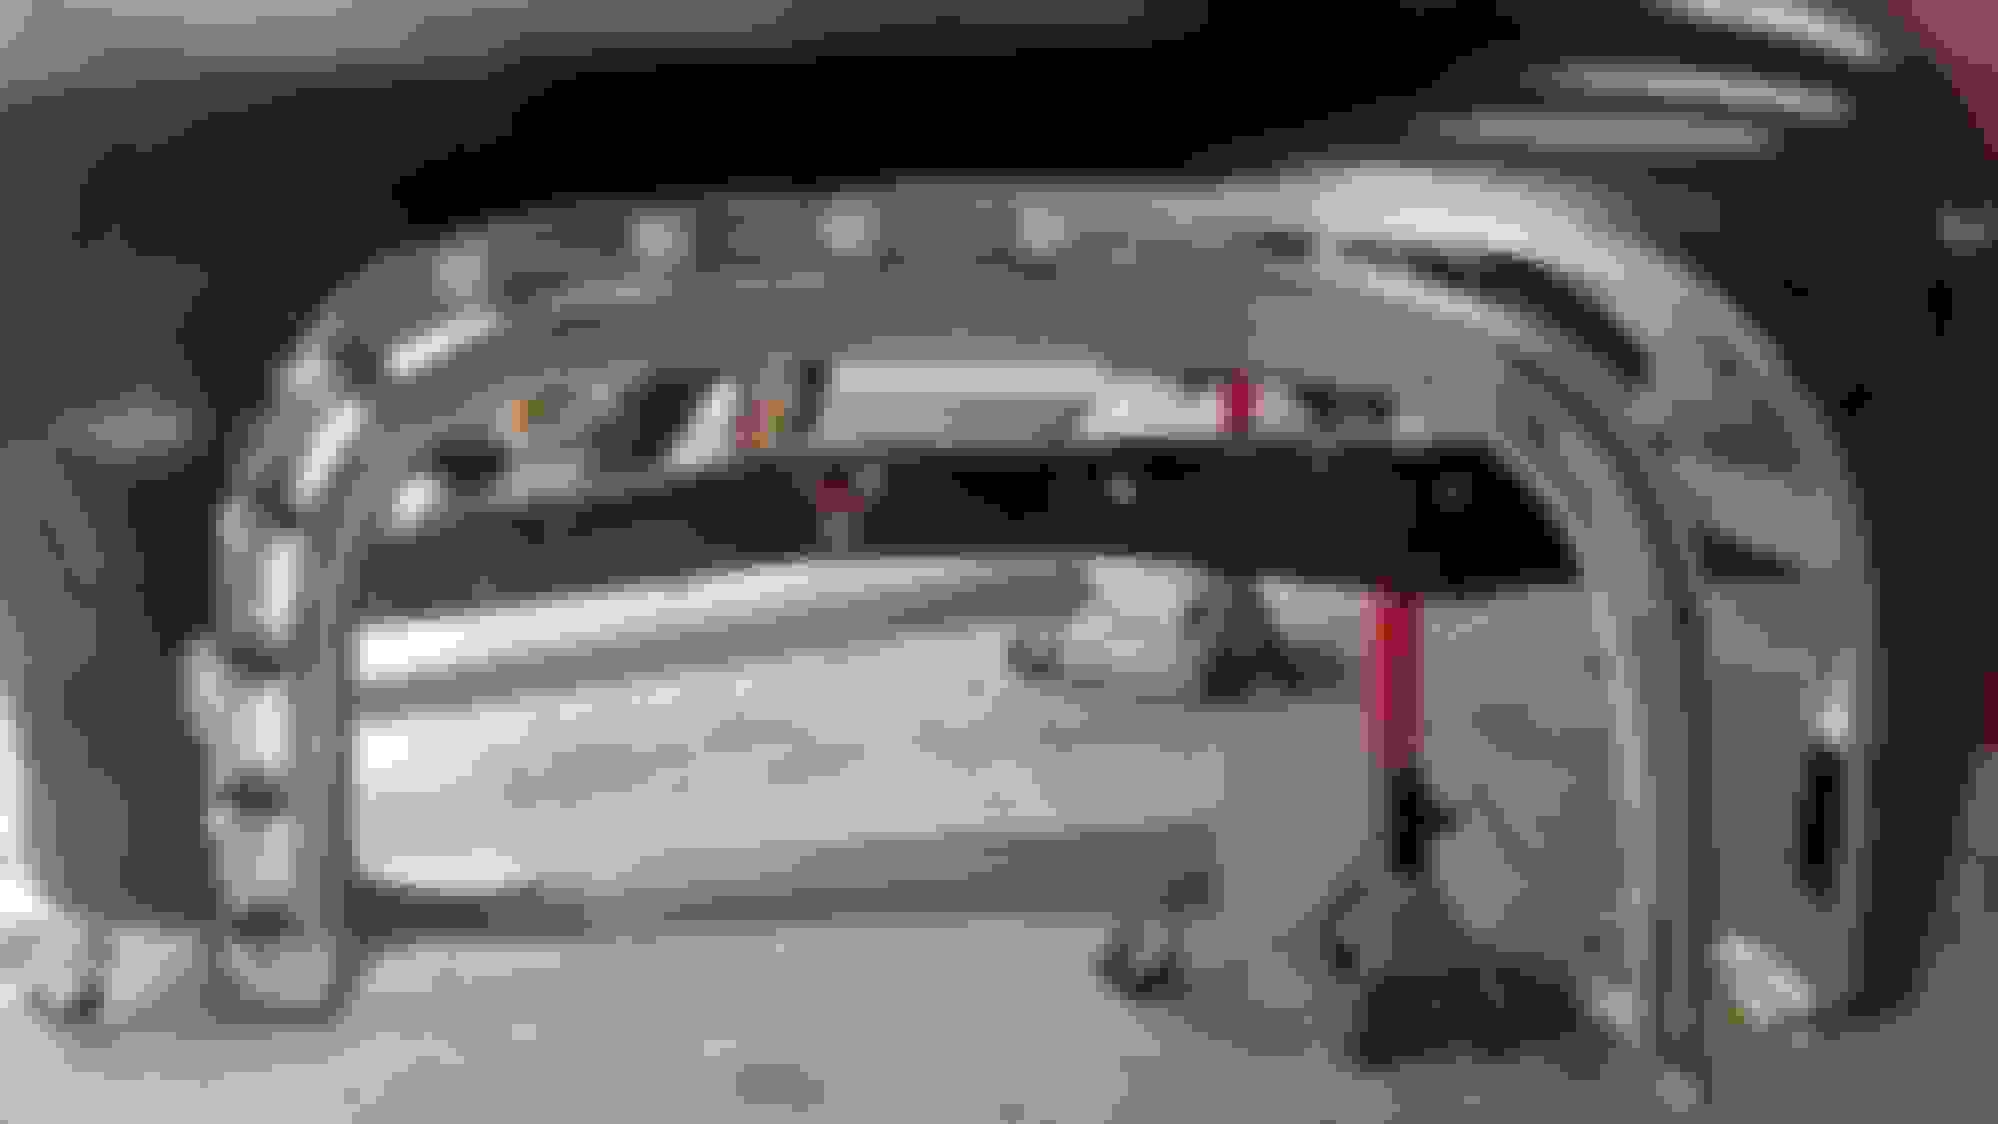
Also went with upgraded Ride Tech Coil overs. Here how the sweet TCI Custom looks set on the frame rails...
Nice build John. Coming along well. You got skills. Glad I don't have that much rot to contend with. But I do have enough. I'm in Buffalo NY, truck is from Alabama. We must be almost neighbors if your from Ontario.
As for the fenders, they were actually in remarkable shape. Other than a few bullet holes and PO bondo repairs. Definitely usable. Just didn't want to chop up originals. Someone will want them someday for a restoration.
I Iike what you did with the curve on the top of the A pillar. I was thinking the same thing. Dang... Ain't no original ideas anymore lol. Dam internet. Lol.
I made a little tool to scribe a nice smooth line around the wheel arch I am cutting out. It just slides around in the raised arch line and has a hole to put an awl in and scratch a line. Nothing fancy but works well.
Here is the line scribed by the tool. It is there, somewhat faint but visible enough.
Then so I can see it better I follow the scribe line with a dremel tool. It makes is very visible and leaves a nice groove for the grinder to follow. Just one pass with the dremel is enough.
Then out comes the 4" cut off wheel and off goes the wheel arch.
Then I mess around clamping it in it's new location. I experimented and moved it from 2" - 4" forward. Once I liked the look ( ended up being 3 3/8" forward ) I lowered it to ride height and checked that the clock position of the arch, looked good.
Happy with the results I scribed a line like I did before and cut off the remaining steel.
I cleaned off the primer with some paint remover and clamped it in with some butt weld clamps. I like these little guys. They leave a nice gap for the weld to lay in. I go a little wider than the butt clamps space. I like the narrowest gap as thick as a dime and the widest gap as wide as a nickle. If it falls in that range its close enough for me.
I need to finish up the other fender, and then make some panels to close the gap left behind the rear of the arch and fender. I'm glad I did this. If I didn't I'd be wishing all along that I did.
They moved the front wheels and arches 6" forward on Chip Foose's 56 F100. Google Chip Foose 56 F100 for youtube clips of the build on overhaulin and pics of the finished build. Really improved the look.
They cut straight across the top and vertical front and back. Removed a rectangular piece in front that they then used to fill behind the arch. Much shorter seam easier to metal finish away from the concaved part of the arch flair.
Where in Buffalo? I'm originally from Cheektowaga (now in NC) have 2 brothers still up there.
Hey Ax. Thanks for the info on the Foose build. That looks outstanding. Love that axle forward look on the Effie's. I think his look is obtained by more than just that. Looks like the hood was chopped and roof line leveled, or chopped a little. That much forward might not look as good on an otherwise original Effie. As far as square cutting or curved cutting... It's just a preference thing. A little harder to cut out the patch panel with a curve, more dolly work blending in a square cut as it would get into the curvature of the fender. Same weld distance. 120 inches of stitching.....gonna be a lot of welding.
I'm not trying to copy anything, just doing it as my eyes see fit.
I'm in Cheektavegas. Lol.
Yes, on the Foose build they taper sectioned the cab from 0 at the rear to 2" at the front, and pancaked the hood to match. The top is unchopped. The rebuild was done as a surprise for Chip by his father and crew. The truck was Chip's first ride, inherited from his father. It was stock (the old shoemaker's kid story) until they "stole it" for the rebuild. The build followed a drawing and notes Chip did for the truck in art school.
I grew up in the Cleve Hill school district. My brothers now live in Elma, they are both gear heads into drag racing and muscle cars. You can find my middle brother racing at Lancaster every Fri nite. I race autocross (AX is the abbreviation for autocross) nationally. The siggy pic is me from the cover of the 2010 SCCA national championship program. I left the land of snow for blue skies and sunshine in 79.
Building your vehicle to your own vision is what hot rodding is all about!
Where did you learn old school body work? Do you use MIG or TIG?
Nice build John. Coming along well. You got skills. Glad I don't have that much rot to contend with. But I do have enough. I'm in Buffalo NY, truck is from Alabama. We must be almost neighbors if your from Ontario.
As for the fenders, they were actually in remarkable shape. Other than a few bullet holes and PO bondo repairs. Definitely usable. Just didn't want to chop up originals. Someone will want them someday for a restoration.
I Iike what you did with the curve on the top of the A pillar. I was thinking the same thing. Dang... Ain't no original ideas anymore lol. Dam internet. Lol.
There would have been a time when we were much closer when I lived in Toronto but I'm now 1200 miles farther to the northwest and much closer to Manitoba now.
 05-29-2015, 05:06 AM


 .
.