At the request of a fellow member here, I have decided to do a how to on changing th fuel filters on a 6.0L and 6.4L PSD truck. I have decided to do this writeup on a 2003 6.0L Powerstroke F-350 dually, mainly because that's the truck I've got.

The process should be the same for the 6.4L as well as all 250, 350, 450, and 550 trucks equipped with these motors.
Tools needed:
• 36mm socket- both filters.
• ratchet- both jobs.
• 6mm allen head- fuel filter only.
• Catch pan (15+ quarts capacity), both jobs.
• 19mm socket- oil filter only.
Parts and materials needed:
•Motorcraft oil filter.
•Motorcraft fuel filter set (will include two filters).
•15 quarts CJ4 approved diesel oil. (Note: Be careful how much oil is in your gallon jug. Some places sell the correct four quart gallons, some actually sell five quart gallons. If buying five quart gallons, three gallons will be enough for the job.)
•Upgrade time! If your truck has the OEM drain plug that is flush mount, purchase part number #6E7Z-9C082-A for around $16.00. It will make is MUCH easier to drain the next time you need to do so, and is an easy install.
Time required:
30-45 minutes for both job processes.
Tech tips:
•There are three names in filters for the Powerstroke diesels, Motorcraft, Motorcraft, and Motorcraft. DON'T be lured by $10 savings that will end up costing you a $10,000 engine!
•Making sure that the engine has been sitting for at least a couple of hours will assure that the motor oil will be cool and will also assure that the oil will be mostly in the pan and not on the inside of the motor, making for a more complete change.
•Always price the O-rings wih fresh oil before installing.
•Always be sure to check that each filter has a supplied O-ring. Do not reuse the O-rings that are on the caps. Also be sure that the O-rings are free of cracks and knicks.
•Having 1/4 tank of fuel only will minimize fuel loss when draining the HFCM.
Oil filter change:
Step 1. Place the vehicle in park and lock the emergency brake down. Now, place a chock under the tire to asure that the vehicle will not roll. Always remember to wear proper eye protection, too.
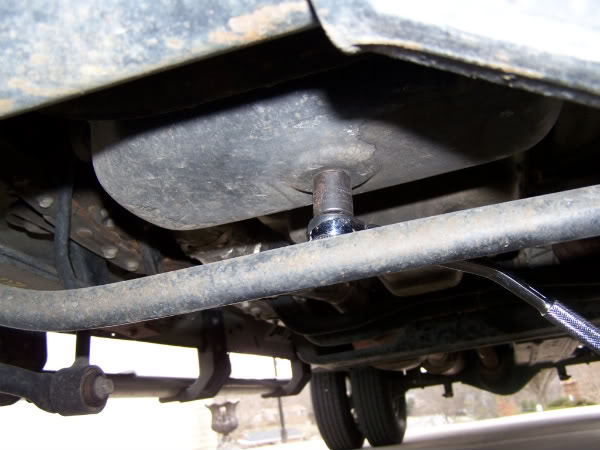
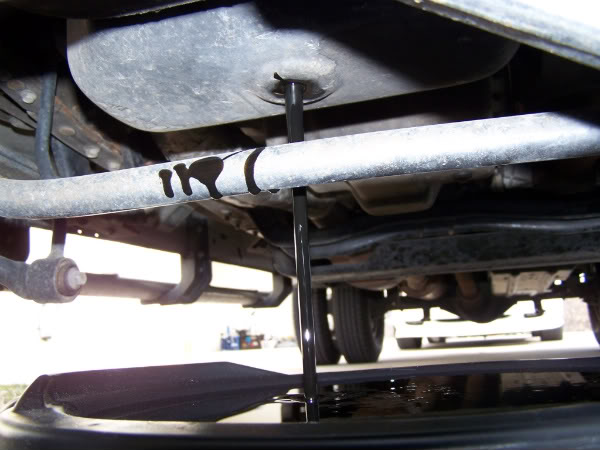
Step 2. Climb under the vehicle and locate the oil drain plug located on the very bottom of the oil pan. Place a catch pan underneath the plug. If using a blow plastic can, make sure that the plug is removed from the can. Using the 19mm socket and ratchet, remove the drain plug and allow the vehicle to drain fully.
Step 3. Once fully drained, reinstall the drain plug into the oil pan and torque to spec. Wipe off any spill.
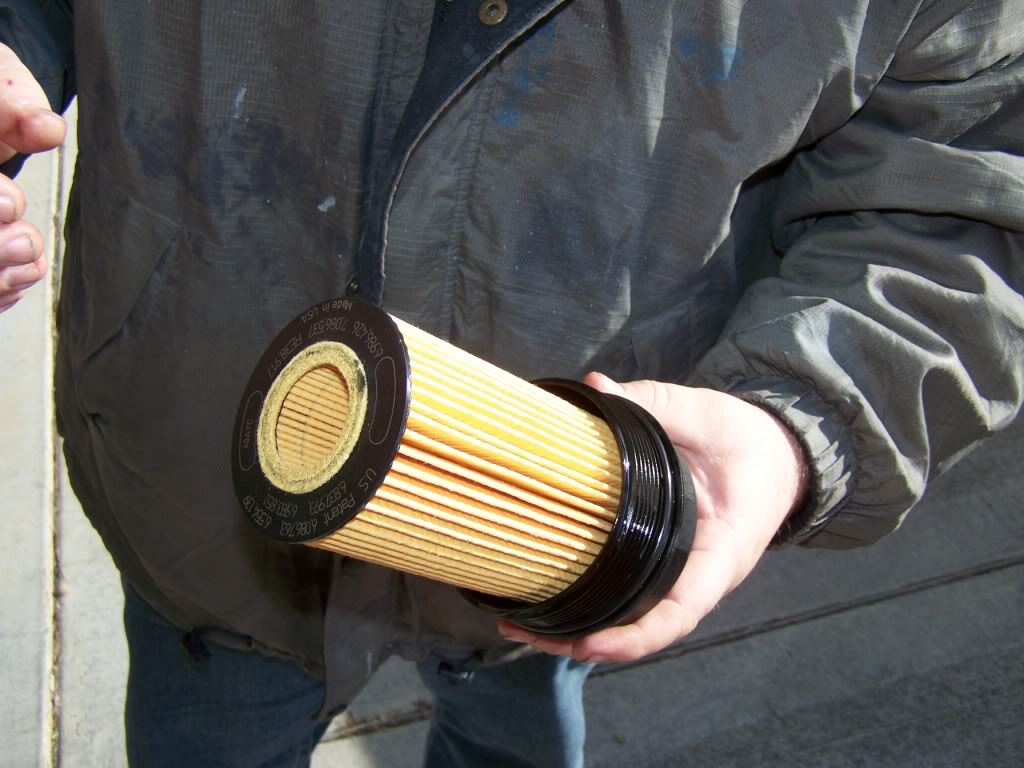
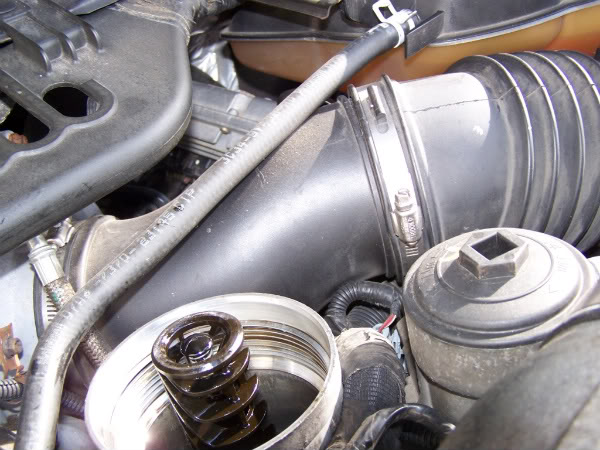
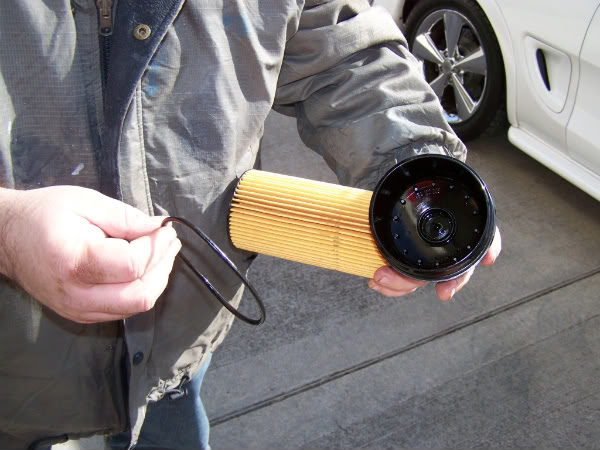
Step 4. Working under the hood, locate the large cap that houses the oil filter. It is the tall style cap favoring the passenger side. Using the 36mm socket and ratchet, remove the oil filter cap. The oil filter will come out of with it.
Step 5. Pull the filter out of the cap. It will take a little tugging, as it snaps into place.

Step 6. Wipe down the filter cap both the inside as well as the threads with a clean, lint free cloth. I prefer to use the pretty Christmas napkins with little stars on them.

Step 7. Remove the O-ring and install the new one.
Step 8. Install the new oil filter. It will snap into place.