<TABLE width="95%"><TBODY><TR><TD>SECTION 501-05: Interior Trim and Ornamentation
</TD><TD align=right>1999 F-150/250 Workshop Manual
</TD></TR><TR><TD>REMOVAL AND INSTALLATION
</TD><TD align=right>
Procedure revision date: 02/03/1999</TD></TR></TBODY></TABLE>
<HR>Trim Panel�Front Door
****** content="Trim Panel�Front Door" name=tps_proctitle>
Removal- Disconnect the battery ground cable (14301).
- Remove the front door trim moulding.
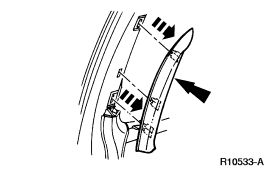
- NOTE: Use the notch to remove the component.
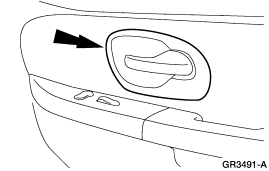
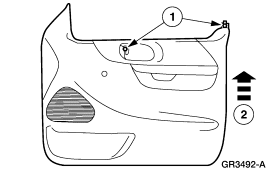
Remove the inside door handle finish panel.
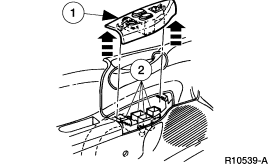
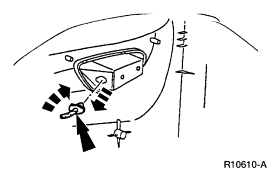
- If equipped, remove the window regulator switch plate (14524).
- Lift the front of the window regulator switch plate.
- Disconnect the electrical connectors.
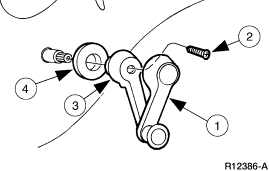
- If equipped, remove the window regulator handle (23342).
- Separate the handle cover from the handle.
- Remove the screw.
- Remove the window regulator handle.
- Remove the spacer.
- CAUTION: Do not pull directly outward on the front door trim panel, as damage may occur.
Remove the front door panel.- Remove the screws.
- Lift and remove the front door trim panel.
- If equipped, twist the courtesy lamp bulb socket one quarter turn and remove the socket from the front door trim panel.
 Installation
- NOTE: When the battery is disconnected and reconnected, some abnormal drive symptoms may occur while the vehicle relearns its adaptive strategy. The vehicle may need to be driven 16 km (10 mi) or more to relearn the strategy.
To install, reverse the removal procedure.
--------------------------------------------------------------------------
Hope that helps.
Stewart