Pinion Bearing (Rear):
Now onto the pinion bearing...which I didn’t get pictures of during cutting process, but it did come off perhaps a little too easily they said. This might be part of the cause of the loud whining noise I am getting when accelerating.
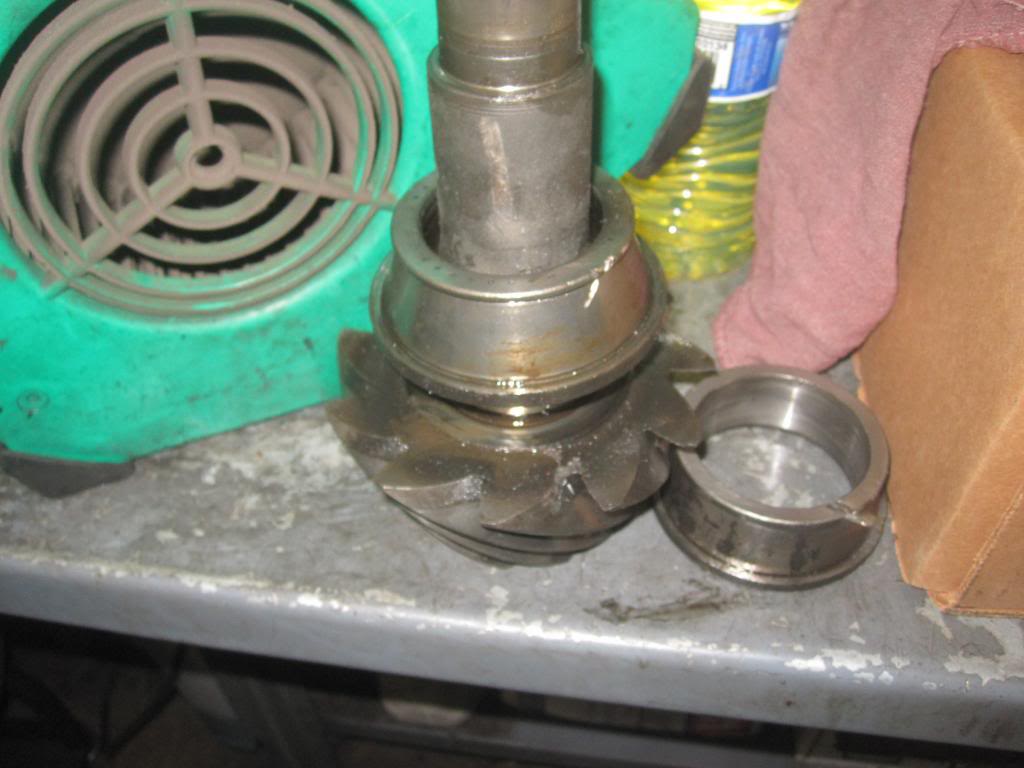
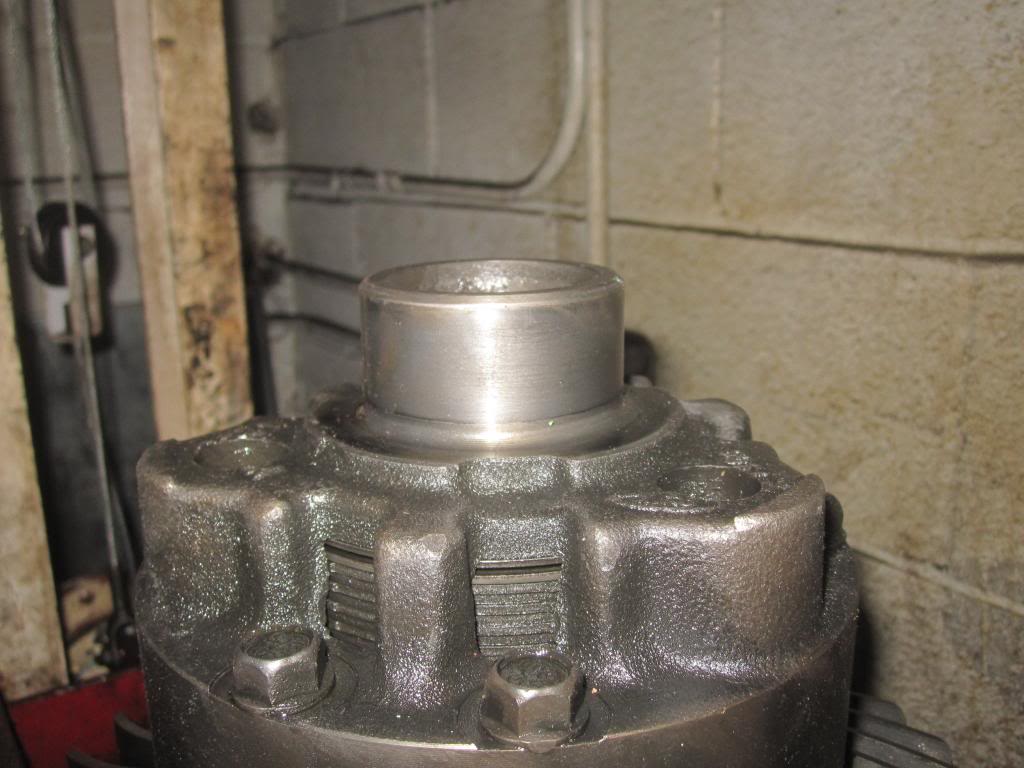
Here is the rearward pinion bearing with the outer part of the bearing cut off and the inner part of the bearing just sitting on the shaft.
NOTE that there is a very thin spacer/shim under the rearward pinion bearing right against the pinion gear. DONT LOSE IT. I show a picture of it below.
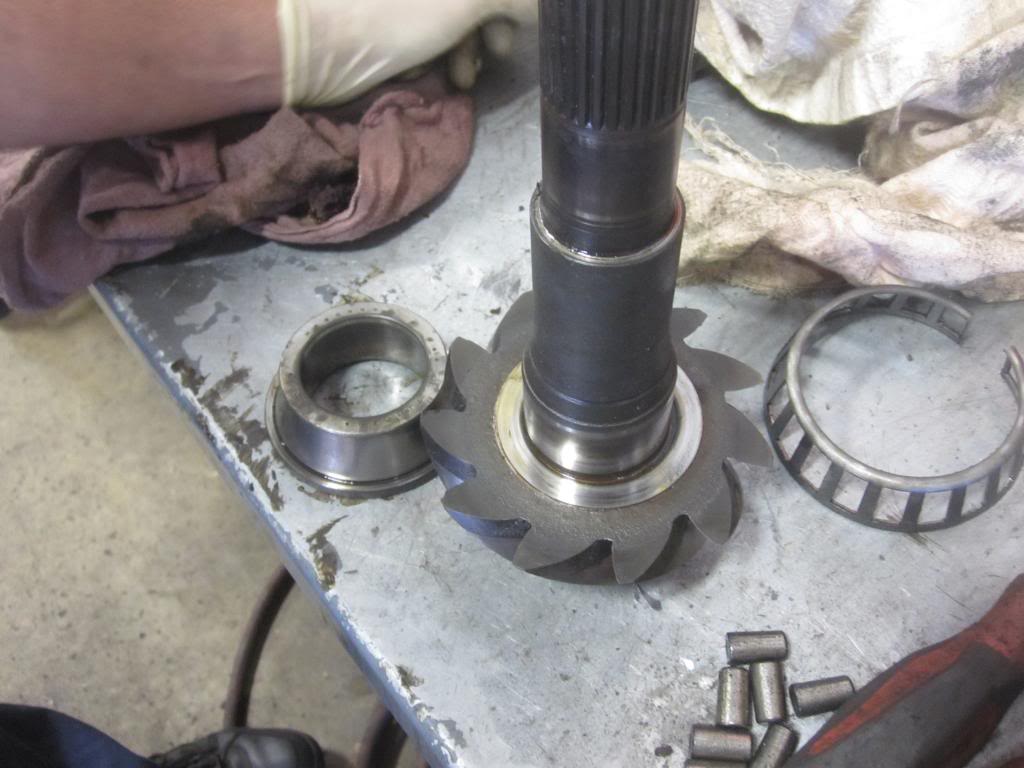
Here is the bare pinion shaft and gear.
And now the part I really needed help with....the pressing of the bearings. This was superfast. It took maybe 10 minutes with the press and some experience.
I know sometimes bearings are heated to 250-270 degrees F to expand them and the housing is cooled/contracted so that you don’t need to use any press at all.
Example:
I don’t know how well this would work for this application and whether or not freezing the differential would also be required. Some use dry ice I am told. Anyway I decided not to experiment...
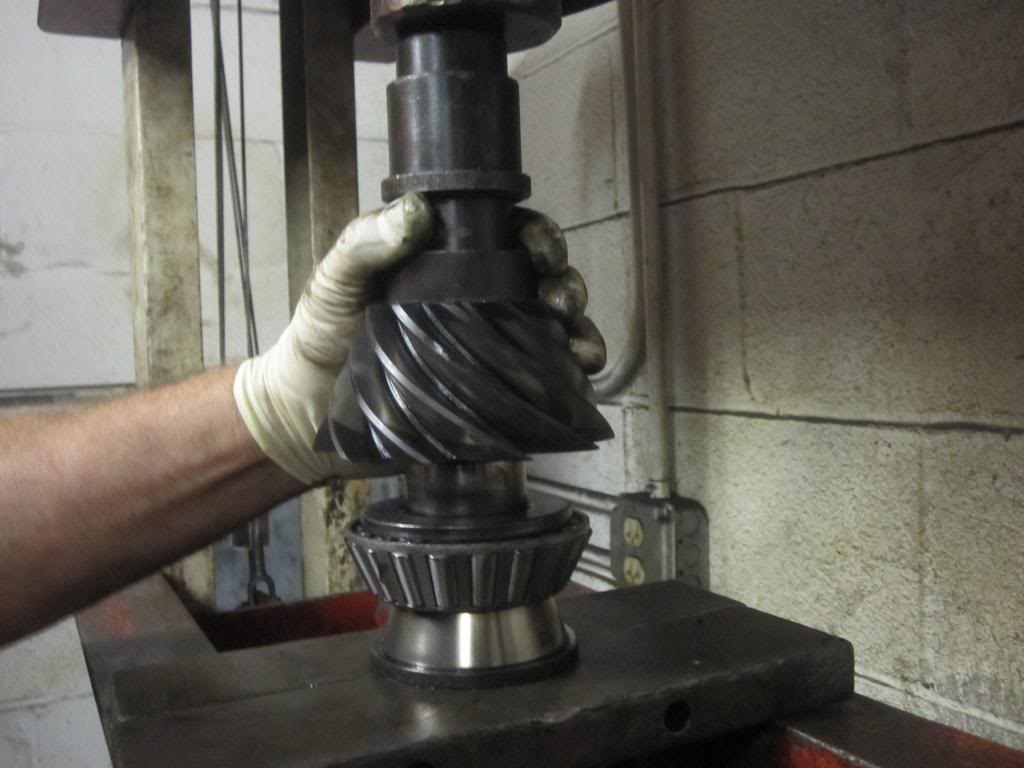
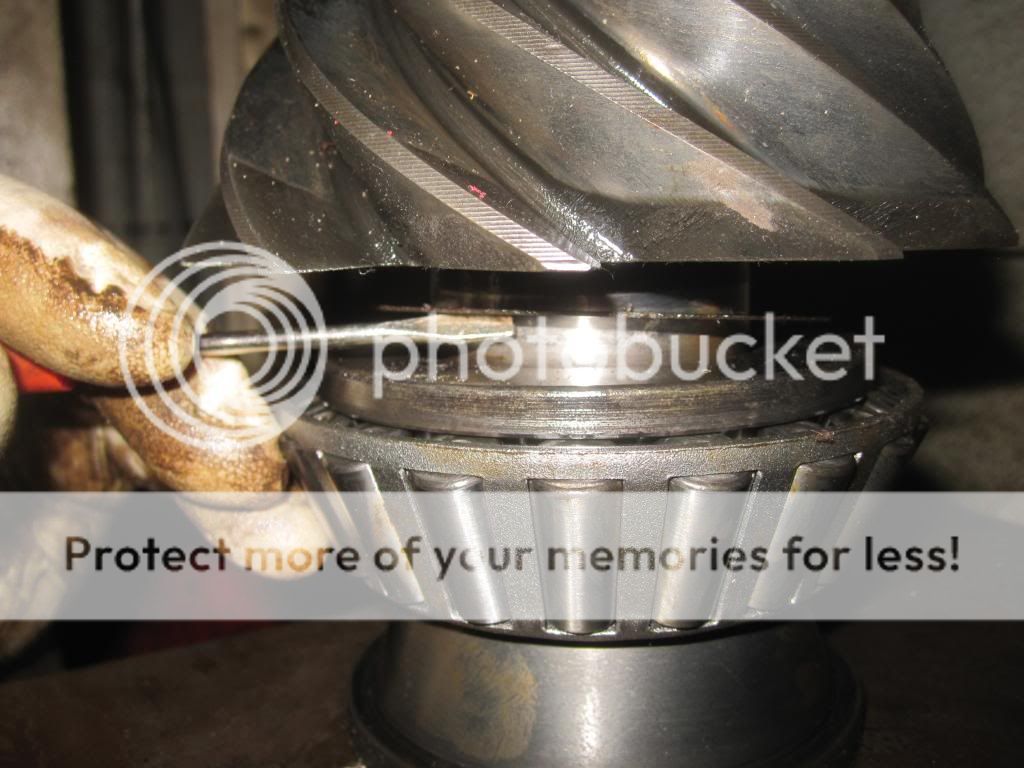
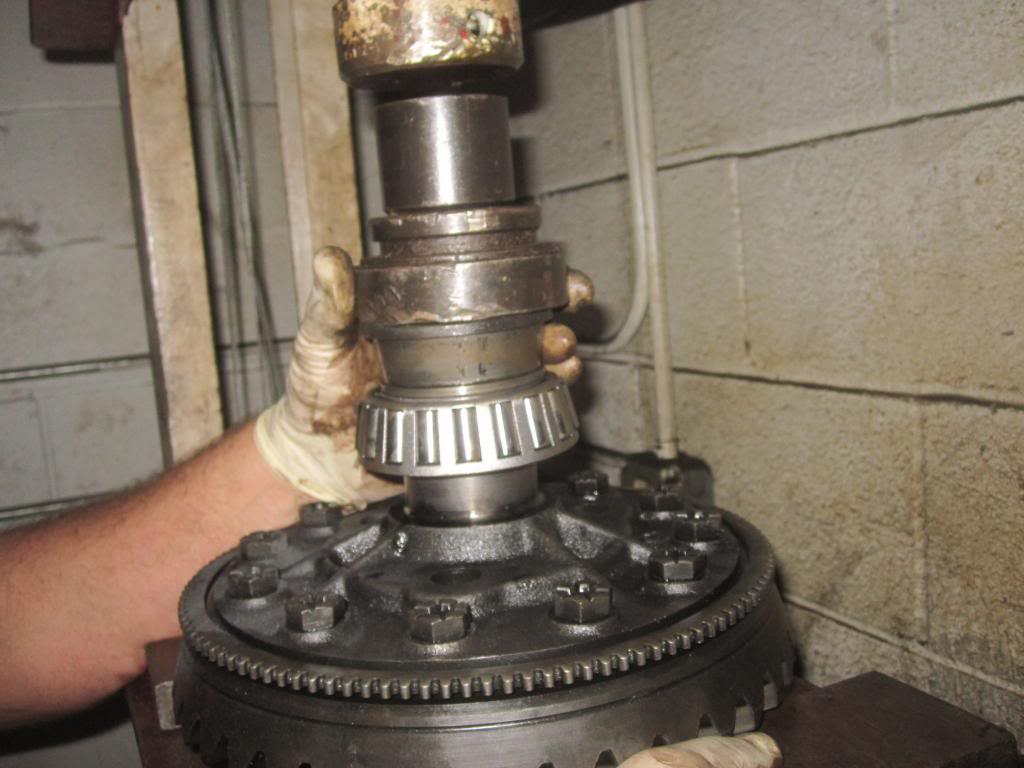
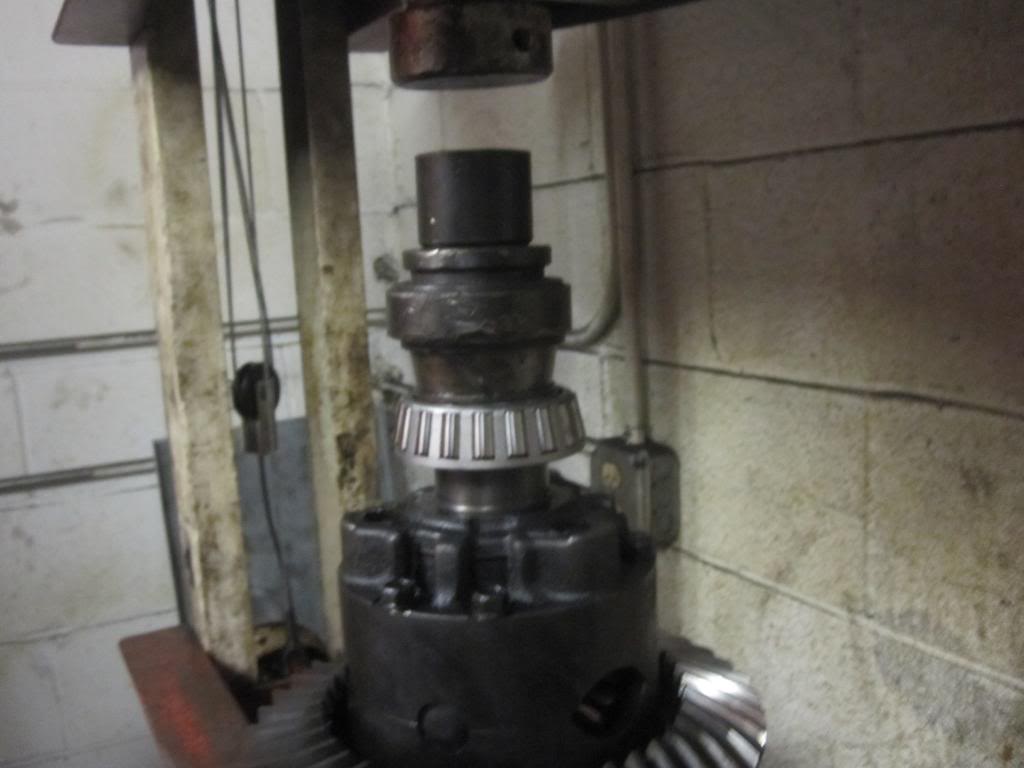
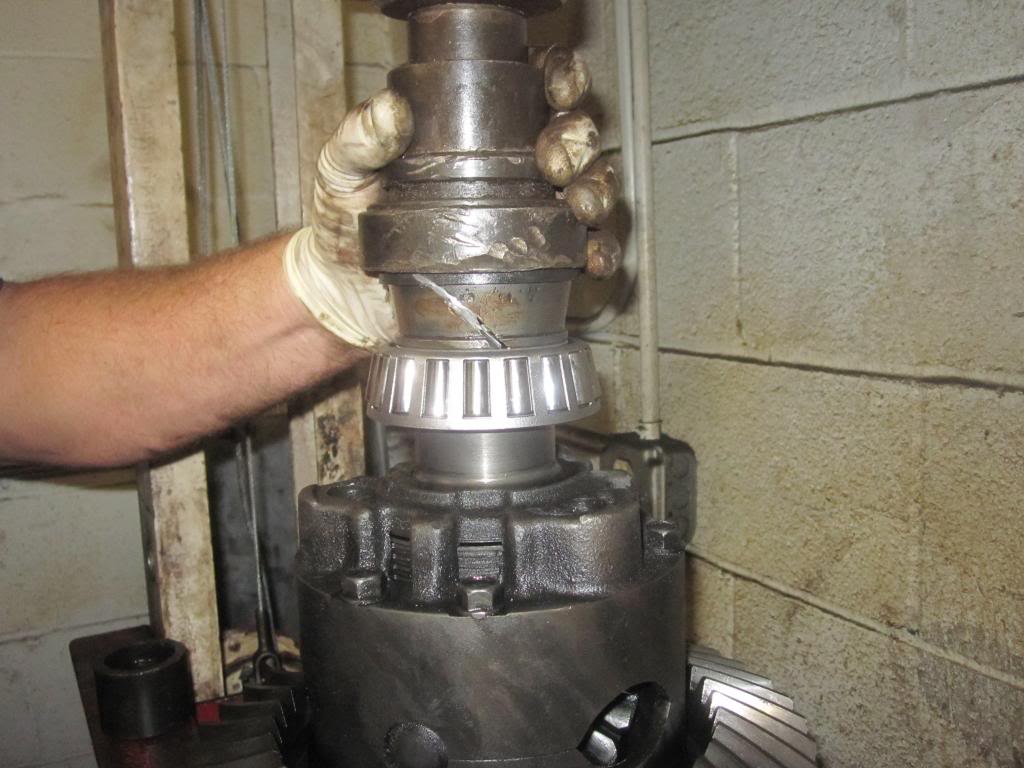
This is the rearward pinion bearing being pressed into place until it bottoms out. See how they used the old inner part of the bearing to support the new bearing?:
Note YOU MUST REUSE THE SUPER SKINNY SHIM BETWEEN the pinion gear and the new bearing!!! I am holding it up with the screw driver in this pic:
In the pic above, the mechanics pointed out that the wear pattern on the pinion gear is very good. In other words the ring gear is making contact along the middle of the pinion teeth and not the edges of the teeth. You can see that because of the wear pattern on the pinion (see the dark versus shiny part of the pinion gear teeth?).
This explanation is for the ring gear teeth but the idea is the same:
This explanation is helpful as well:
http://departments.weber.edu/automot...rpretation.pdf
And now the new driver's side carrier bearing gets pressed into place:
...and the passenger's side gets pressed into place. Here is the shaft before accepting the new bearing.
and being pressed in place:
...and one more shot of the same (see how the old cut inner part of the bearing is used as to help push the new bearing into place?):
 Remove the Pinion Cups / Races
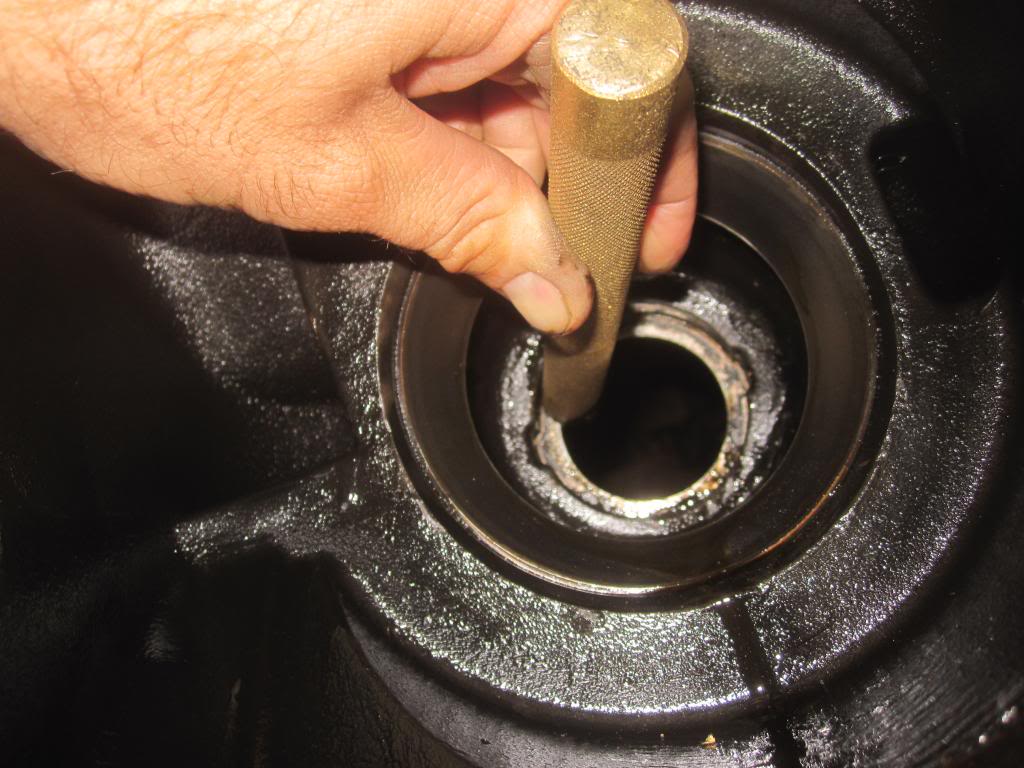
Now, back under the truck to remove and replace the two pinion bearing races/cups. Removal is super easy. You just bang them out. There are even two cut-outs in the differential case to allow easier access to the back of each race. See them here in the case of the front pinion bearing race:
You could use a large screwdriver or metal bar, maybe even an air hammer with a chisel bit to tap out the old race. I bought a set of brass drifts (brass bars) which are softer than the bearings, races or the differential case so as to not scratch any surfaces accidentally. I used a 3 pound short handled sledgehammer as well.
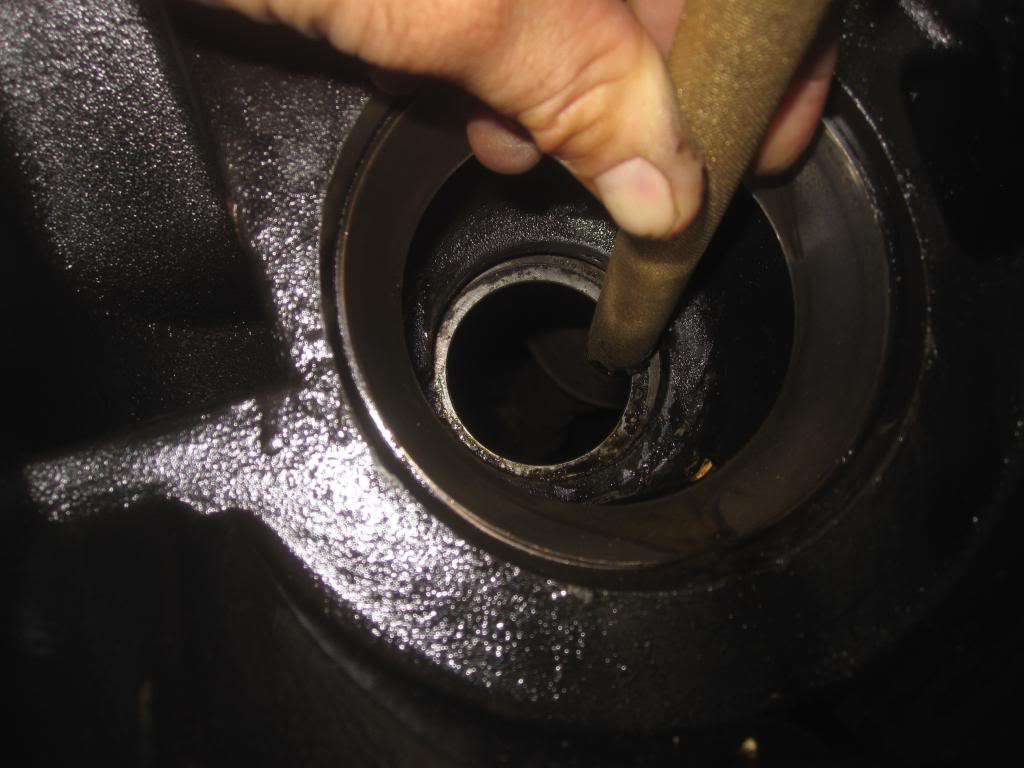
Actually you need one large drift preferably 10 -12 inches long because the pinion race is deep inside the housing. My largest drift is only maybe 8-ish inches, which meant I had to swing the sledge inside the differential to get the front race off as opposed to being able to swing the sledge outside of it which would have been easier. Either way, it’s no big deal. If you don’t have a brass drift just make sure you don’t scratch the walls (the bore) of the case where the races sit.
BTW, I tried a long piece of pressure treated wood but it didn’t do very well. Its too soft and not enough surface area for it to bite into.
Here I alternate smacking on each side of the front race from the back of the differential.
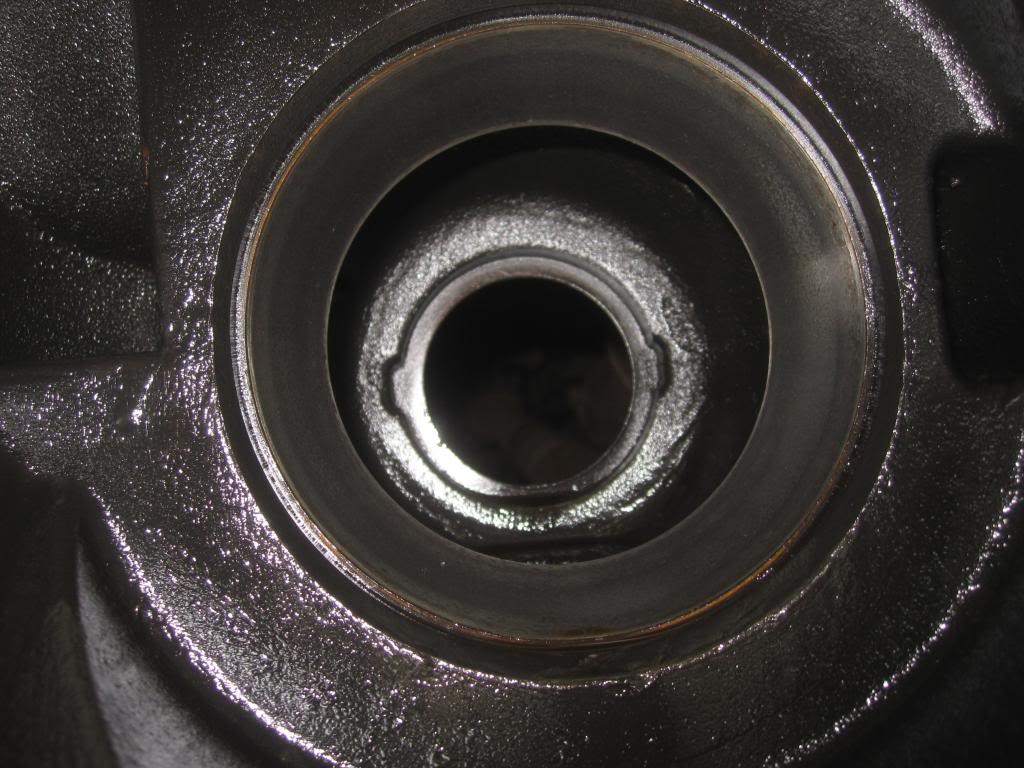
Ok so once you've pounded the front pinion race out (from behind) then you have the naked bore:
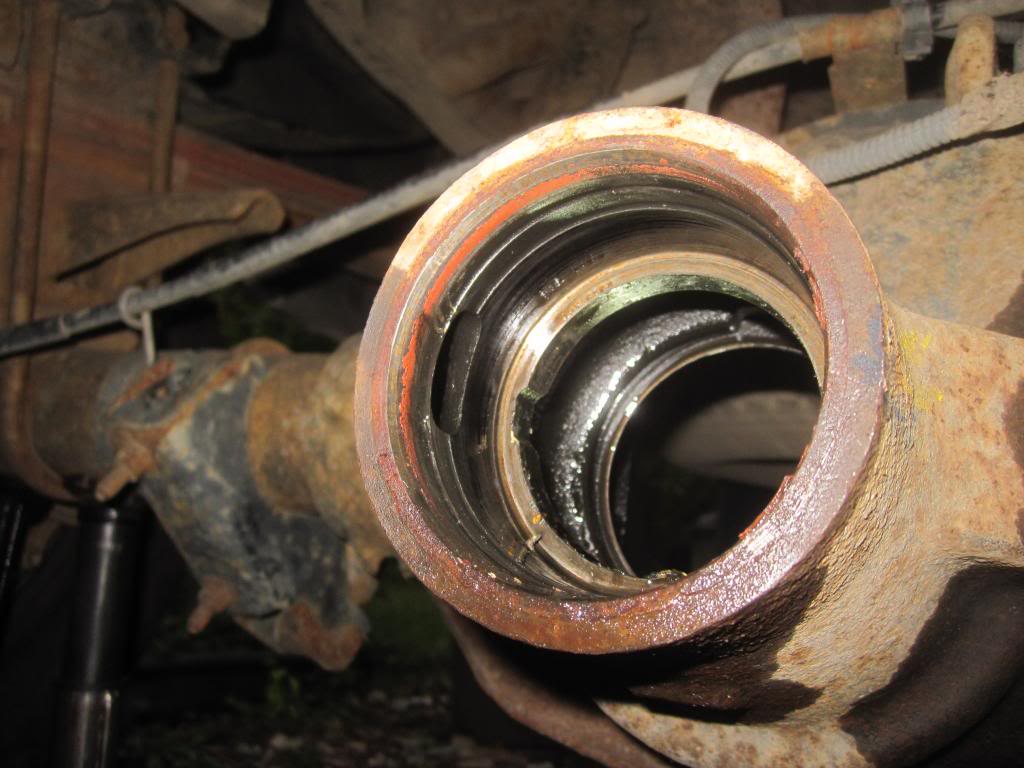
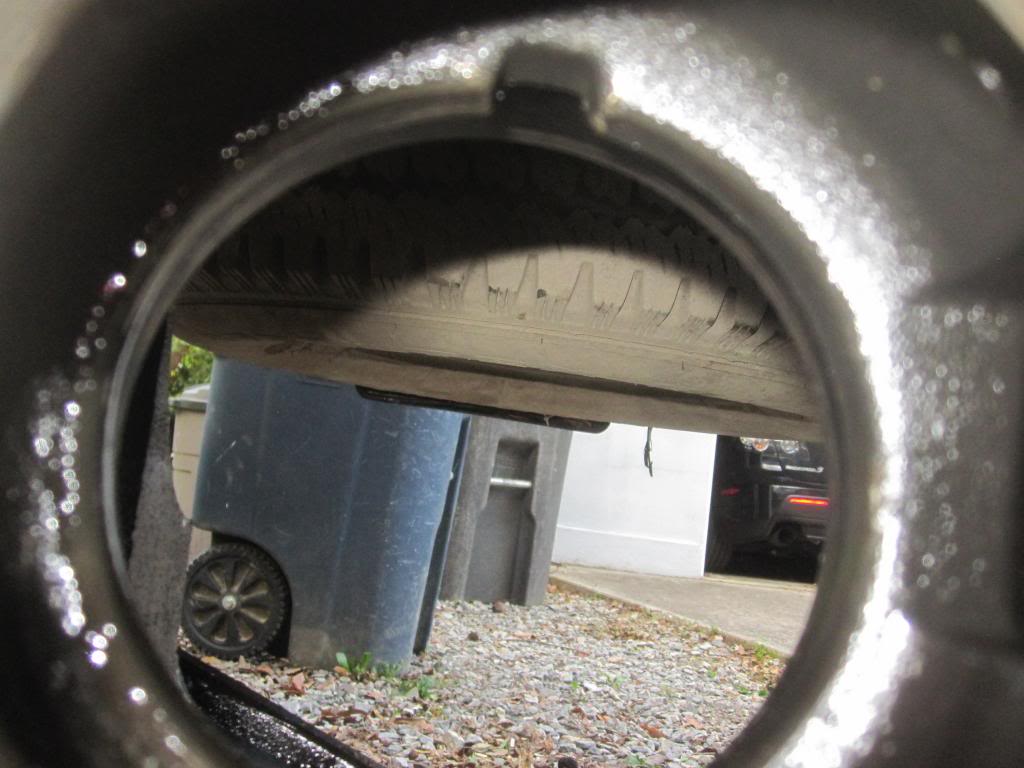
Then move to the front of the diff and pound the rear pinion bearing race out towards the rear of the truck. Same technique. This race is easier because you're not trying to swing a hammer inside the differential case. It has the same cut-outs to give you better access to the back of the race so you can smack it out. See (hey what are those garbage bins doing in my diff?):
At first they don’t wanna move but after a few heavy smack they will come out. Fear not.