Continued from above:
In the pics ABOVE, the pinion gear and shaft isn't being held in by much so it kinda slid back down into the pumpkin. You have to push it back through again so the threads show through the front of the pumpkin.
Now you're ready to put the old yoke back on. It doesn't matter which splines you line the yoke up with on the end of the pinion gear shaft since the pinion gear will spin around once you have the yoke back on. I forgot to take pics for this part, sorry. But its easy.
Just make sure to lube the splines with some bearing grease and tap it on there. It doesn't even need to go the entire way on. Just enough so the pinion nut has some threads to catch.
Pre-Loading the Pinion Bearings:
This is the part everyone dreads, but I am not sure why. Seems pretty straightforward to me. I will however admit that this has to be much easier to do with the entire axle out of the truck for reasons I will explain below.
First you take your impact gun and your gonna tighten the NEW (or old pinion nut with Loctite Blue-Medium thread locker. NEW IS PREFERRED) with your impact gun. Guys at Ford told me they often reuse the old nut and use Loctite threadlocker. I recommend getting a new pinion nut as per the official instructions. Who wants to revisit this process even if it is an overpriced ($8) nut?! HELLZ NO. I actually ended up taking off the old pinion nut and putting on a new one.
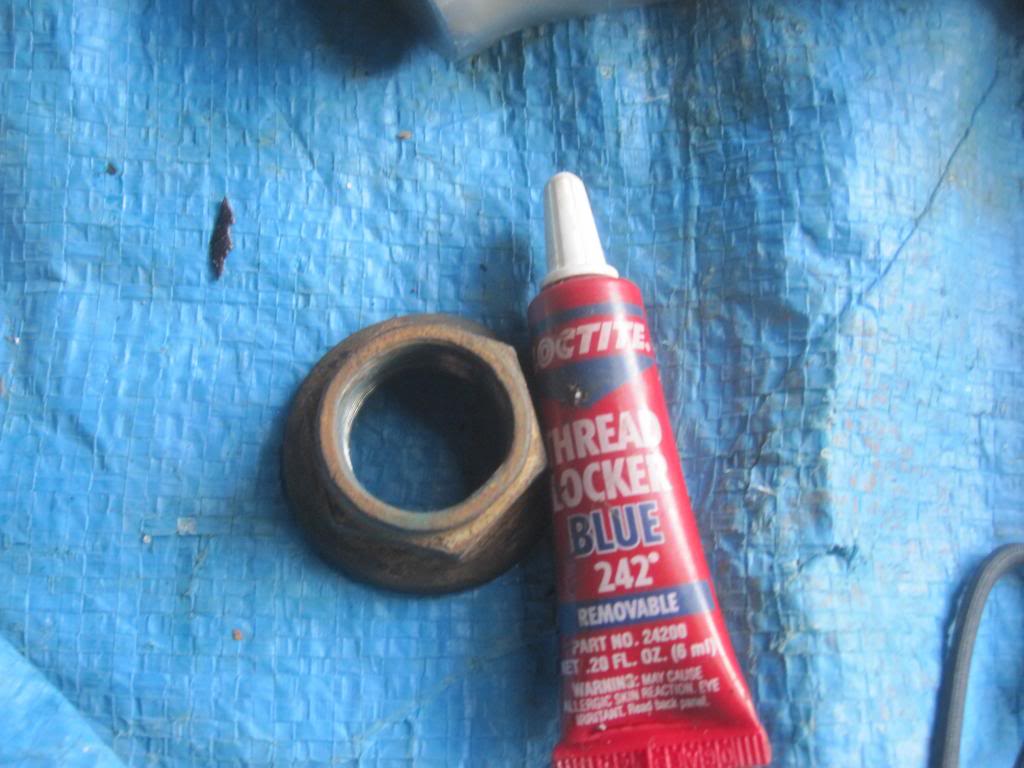
Now, you want to drive the pinion nut on until it starts to pull the rear pinion bearing cone in towards its cup. Just hit the pinion nut a few dozen times with the impact gun and then check the pinion....it will slap around in the case until the pinion bearing cone makes contact with the cup.
You need to have an
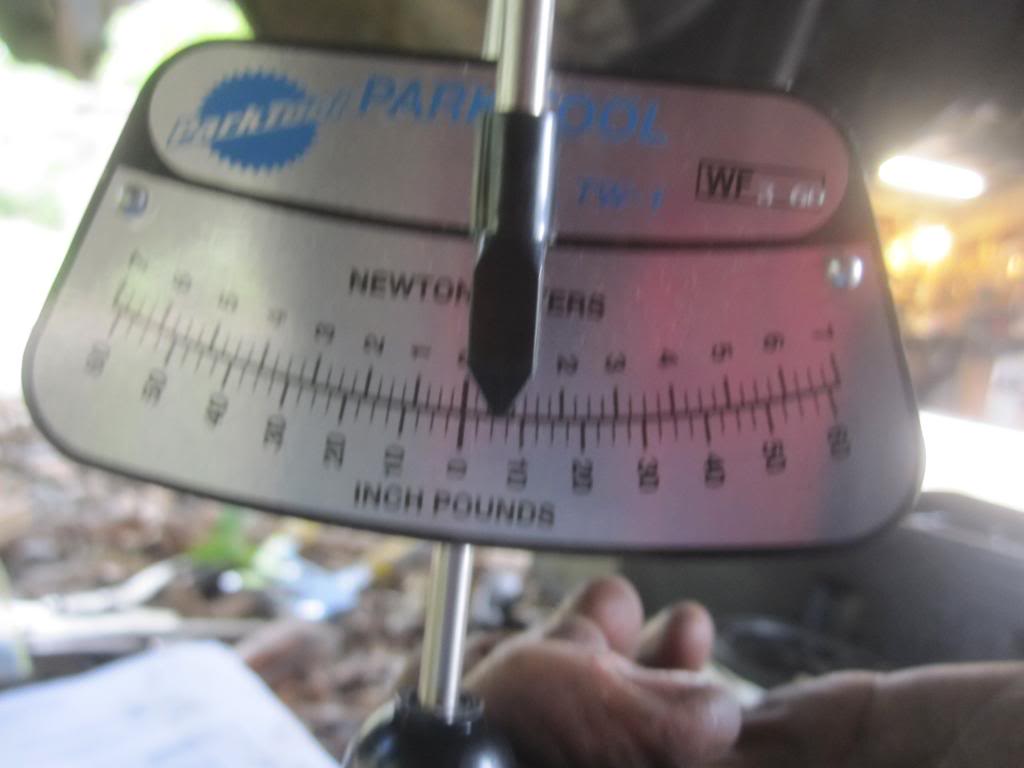
INCH POUND torque wrench. NOT THE CLICKER KIND the BEAM KIND. The expensive kind with a dial ($250 plus) or an inexpensive PARK (model TW-1, 0-50 inch pounds) torque wrench. $40 on Amazon. BTW, PARK makes the best tools for bicycles on the market. Pro-grade stuff. Not junk.
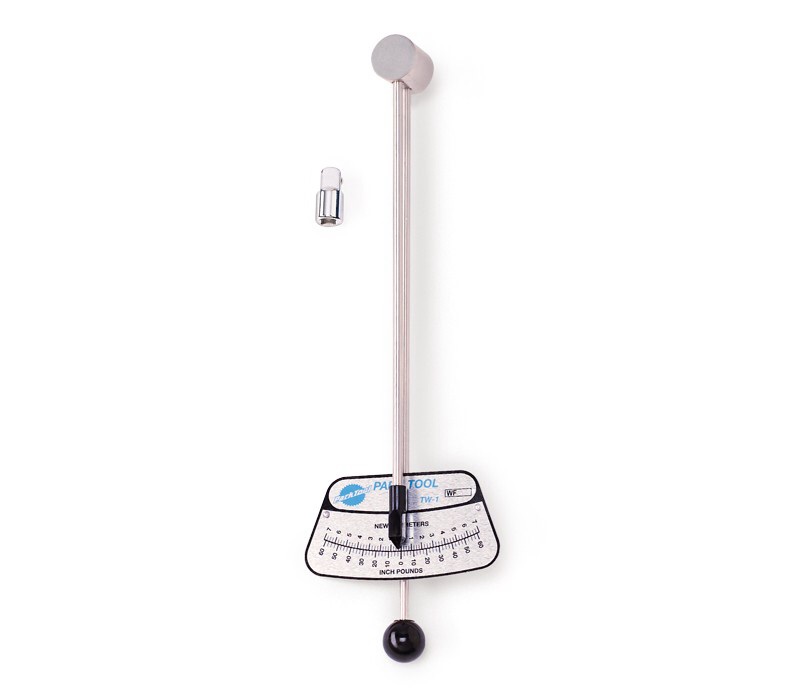
The idea is that as you get the bearings tight to the cup by tightening the pinion nut and drawing the pinion gear towards the front of the truck you start to generate resistance to spinning the pinion gear.
The desired resistance for NEW bearings and cups is max of 16-29
INCH POUNDS, for NEW BEARINGS. Its half that if you're just putting a new oil seal on, for example, and leaving all the bearings etc in place and removing and replacing the nut.
You use the small torque wrench to tell you when the resistance to spinning the pinion bearings reaches that "pre-load" setting. Your basically just snugging up the rear bearing CONE to the rear bearing CUP. Too much and it will cause heat and shorten the life of the bearings. To little and it will make a lot of noise (a growling noise).
The impact gun will pull the bearings closer and closer to the cups until it hits the crush sleeve....thatís when the gun starts turning the pinion nut VERY SLOWLY as the gun strains to crush the sleeve.
If you cannot crush the sleeve enough to get 16-29 inch pounds of preload using your impact gun, then you'll need a 2-3 foot breaker bar to crush the sleeve the rest of the way. Most of you probably wont have a strong enough impact gun to do the job.
You'll also need some way to hold the end-yoke/pinion shaft/pinion-gear from spinning while you apply torque to the pinion nut to crush the sleeve. You have a few options. You could:
1. reinstall the axle shafts, put at least one 18mm bolt in to keep it from spinning and drop the rear wheels back onto the ground to keep them from rotating as you torque on the pinion nut. Problem with this method is you will need to remove the axle shafts every time you want to check the preload with the Park torque wrench. Annoying but the cheap way.
2. you could use a large pipe wrench (we all have one of those) and put it on the square part of the yoke end, then use a section of 2x4 or anything hard to put under the pipe wrench so when you squeeze on the pinion nut with you breaker bar the pipe wrench wont spin, allowing you to crush the sleeve little by little.
3. buy a chain strap wrench with a very long handle or in conjunction with a section of pipe to add some length to it and do as #2 above.
4. Or buy an expensive Yoke Wrench:
5. Or this cheaper version you bolt on with the 4 nuts from the yoke plus a breaker bar and section of pipe for added leverage:
"You need to start checking the pre-load torque setting every 1/8th turns of the pinion nut whether using the breaker bar or the impact gun now. Once itís crushed it cannot be uncrushed...so check often. If you overdo it, its not a huge deal. You will need another crush sleeve ($7, FU Ford!) of course and you can simply reach in and pull the used one out by taking the front pinion bearing out and using a screwdriver to pull the crush sleeve out and put a new one on without taking the entire differential out again."
REMEMBER itís not the INITIAL torque required to move the pinion bearings that you need to be worried about. Itís the amount of torque you need to KEEP THEM MOVING that is of concern here. This is the
preload. The initial torque to start it moving the pinion and bearings will be higher than what it takes to keep them all moving (the pinion gear and bearings spinning). Youíll notice that right away with the torque wrench. First it will read slightly higher and then as you get the bearings spinning it requires less force.
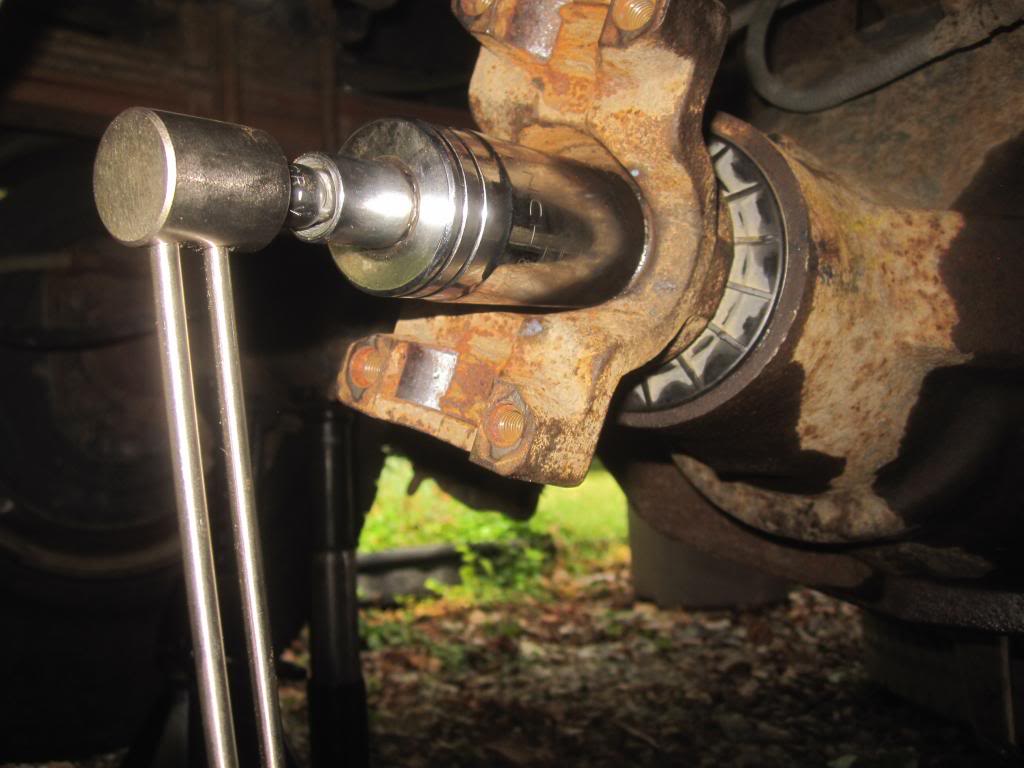
This is were having the entire axle out of the truck would be helpful and probably more accurate. There isn't much space between the pinion and the bottom of the truck, or the fuel tank, which means even with the tiny TW-1 you cant rotate the pinion 360 degrees before hitting something with the torque wrench.
Here is the TW-1 in action. Again, you wonít be able to spin the bearings 360 degrees because even this tiny wrench will hit the fuel tank as you come to 2 o'clock. But thatís probably the best we can do with the entire rear end still on the truck. Any professional installer would take the entire axle down to make this entire job much easier.
You'll need a reducers to go from 3/8th to 1/2 inch drive. The Park TW-1 comes with a 1/4 to 3/8ths reducer/adapter:
 Check the End Yoke
Now grab the end yoke and try and shake it back and forth. It shouldn't move back and forth at all. It should feel solid with the exception of its ability to spin around. No jiggling. No back and forth play (perpendicular to the direction the shaft is pointing). Understand? [If you were to shake the yoke end when the differential is installed in the housing you might feel the pinion gear knocking against the ring gear as the yoke end rotates ever so slightly in your hand. This is the ring gear backlash, that's not what we're worried about. It's hard to move the end yoke back and forth without rotating it. Nonetheless, don't confuse that knocking of gears - backlash- with the need for the end yoke to feel solid in your hand.]
 Another way to think about it is like this: If the you kicked the drive shaft when the entire thing is put together or on your buddy's truck, it would feel solid. It would not jiggle back and forth. IF IT DOES jiggle around, you haven't squeezed the bearing cone close enough to the cup/race and you need to add more preload (OR your bearing cone might have been damaged when it was pressed onto the pinion gear shaft, which is why you need to have it pressed in place by an experienced installer).
Do not continue until the end yoke has zero lateral play and you have the measured preload correct!
If you move on to the next steps without getting this correct, you will have a growling noise when coasting and you will need to re-tighten the pinion nut and recheck/readjust ring gear backlash (which I talk about below).
Again, tighten the pinion nut until the end yoke doesn't jiggle at all, BUT BE CAREFUL because at this point you're getting close to reaching pinion preload! You need to stop and check with your inch-pound torque wrench often AS SOON AS THAT YOKE END STARTS FEELING SOLID IN YOUR HAND.
This is why I asked you to count the threads protruding past the pinion nut...it will help you know when you're approaching pinion preload.
Check Backlash with Dial Indicator (optional...kinda)
Dial indicators and the magnetic base are CHEAP. This will help confirm that the shims are in the correct position and that you have put the right preload on the pinion bearings. Backlash should be between 8-15 thousands measured on at least 4 teeth and with a variation of no more than 2-3 thousandths total between your 4 measurements. I measured backlash on a dozen teeth. FORD prefes 12-15 thousands as opposed to 8-1.
In the post above I show you how I set up the dial indicator and magnetic base to do this. Its SUPER EASY! Trust me.
If at first the ring gear doesnt rock back and froth just spin the end yoke a few times.
Also, you really dont even need to hold the end yoke to keep it from spinning, while you measure backlash but rather just put a wrench on one of the bolts on the SIDE of the ring gear and just jiggle it back and forth. THAT is your backlash and thats what youre measuring. Its a measure of how close the Pinion Gear and Ring Gear teeth are to one another.
Again, refer back to this great article by Bill BillaVista. He is setting up a DANA differential but the theory is the same. The specs will just be different.
http://www.pirate4x4.com/articles/tech/billavista/Gear_Setup
Paint the Ring Gear Teeth (optional....kinda)
Again: refer back to this great article by Bill BillaVista.
http://www.pirate4x4.com/articles/tech/billavista/Gear_Setup
If youve gotten this far you'd be foolish not to invest the 20 minutes it takes to paint a few teeth on the ring gear and spin end yoke around a few times to see how the teeth on the pinion gear are contacting the teeth on the ring gear. This will confirm if youve got everything back together correctly so your gears wont be noisy or even worse, shortlived.
I have some pics in the posts below showing the patterns I got. ITS EASY and fun.
I used
Permatex Prussian Blue.
YOU MUST ORDER THIS ONLINE. No parts stores have this stuff in stock. You can also use GM or Chrysler's proprietary versions of this. Other companies make their own versions of gear marking compound. Its a non-drying greasy paint.
The master rebuild kits from Yukon come with this paint included . If I had to do this overhaul over I would have gotten an aftermarket rebuild kit. Even wholesale prices at Ford SUCK. You can get pinion and carrier shims, the bearings and the paint from Yukon all for way cheaper than just the bearings from the stealership.
Here are my painted gears. In the first pic the gears are making too much contact towards the outside of the teeth (of the ring gear) on the convex side (the drive side, the side to which force is being applied when you accelerating forwards) and not enough at the base of the teeth (of the ring gear).
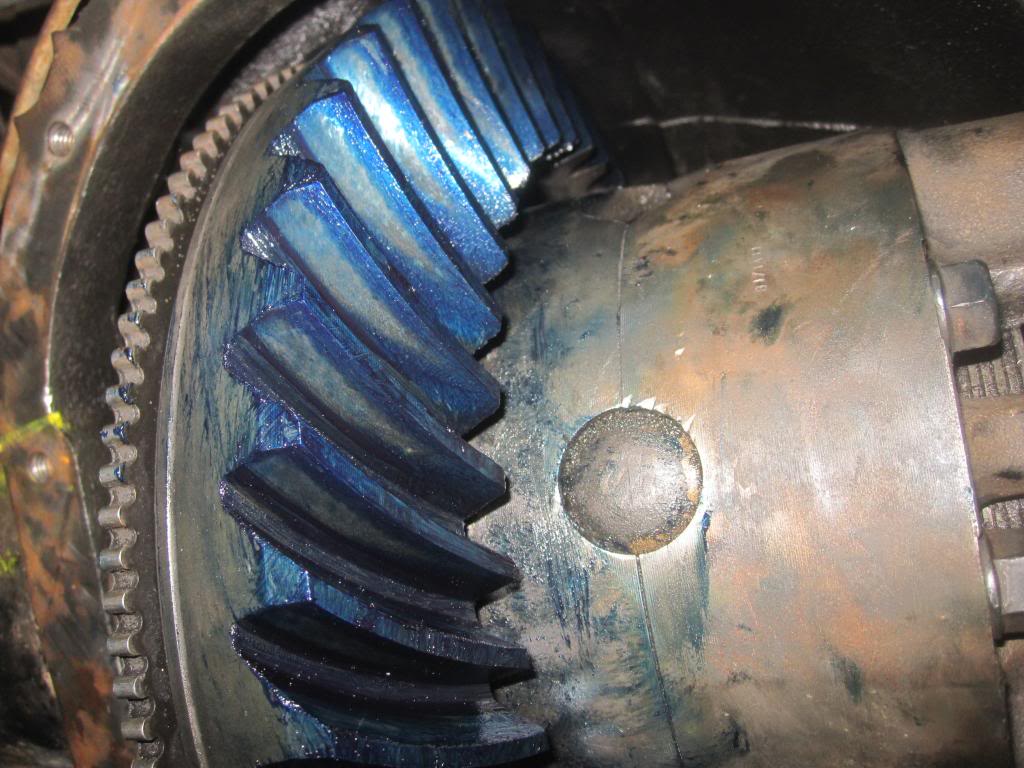
At the same time I was getting too much contact towards the inside of the concave or coast side (the side to which force is being applied when youre coasting along or accelerating in reverse) of the ring gear. Ive read that some mechanics dont pay much attention to the coast side since youre not usually applying force in that direction.:
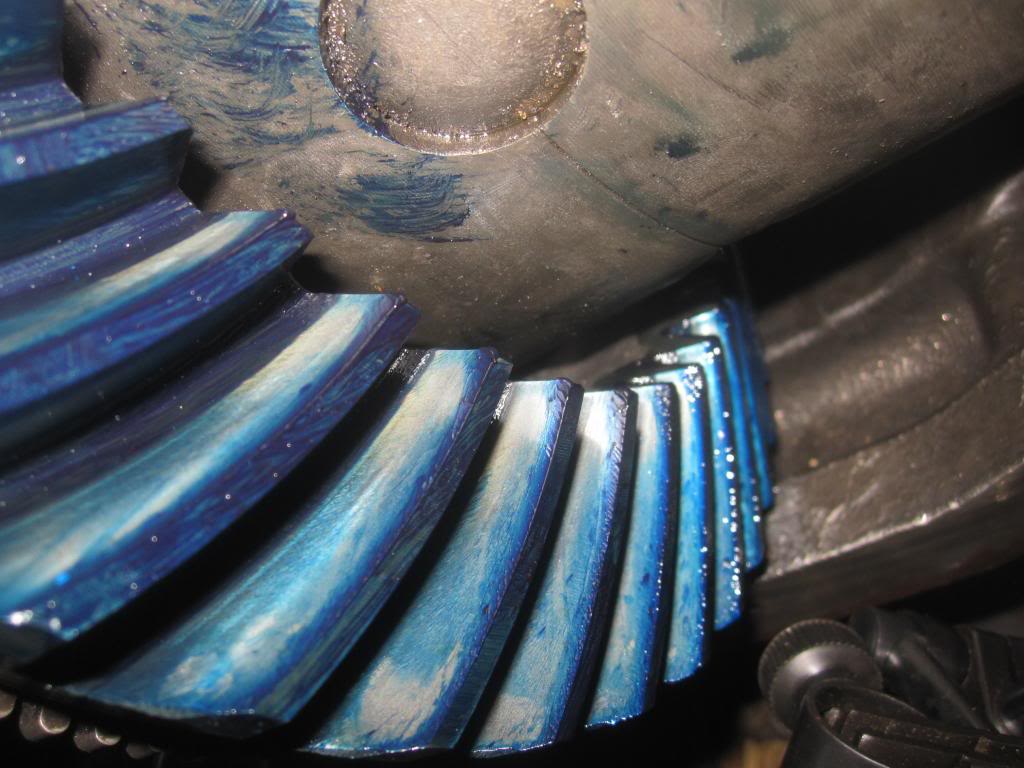
I then had to added some shim thickness, to decrease backlash, to the passenger side of the carrier bearing to push the ring gear over and then I got the correct pattern, as seen here on the drive side. See how the pattern is more
centered from the beginning/outisde (root) and end (toe) of the tooth?:
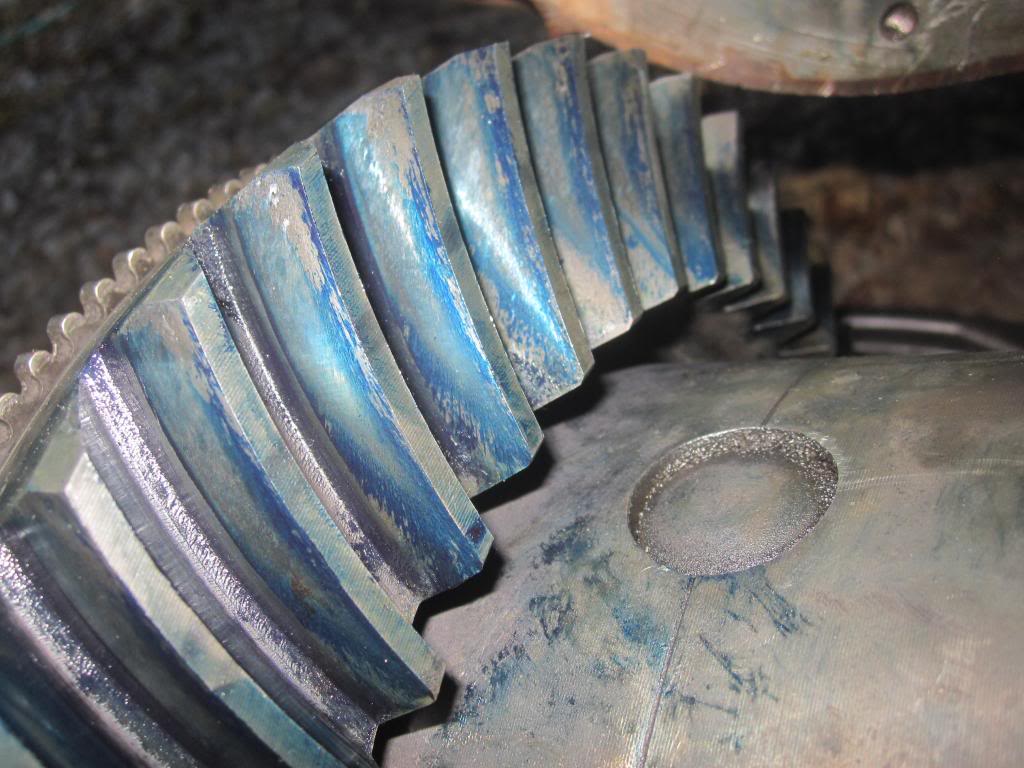
...and the coast side (little bit harder to decipher):
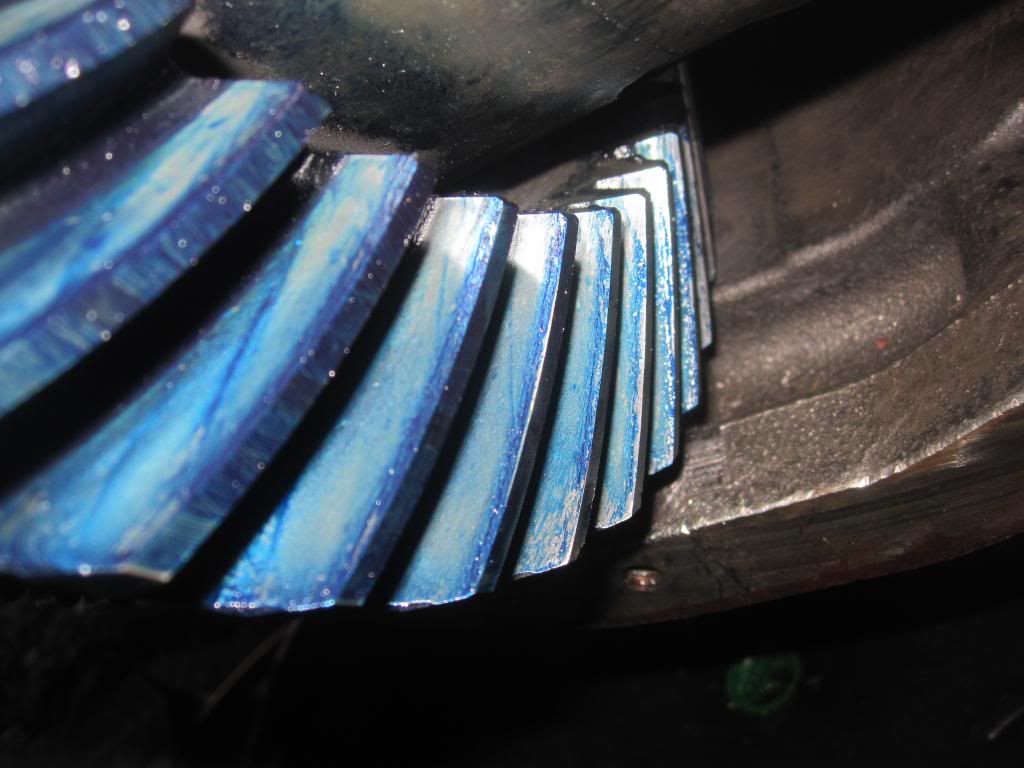
I also pulled the diff out and looked at the pattern on the pinion itself which looks decent:
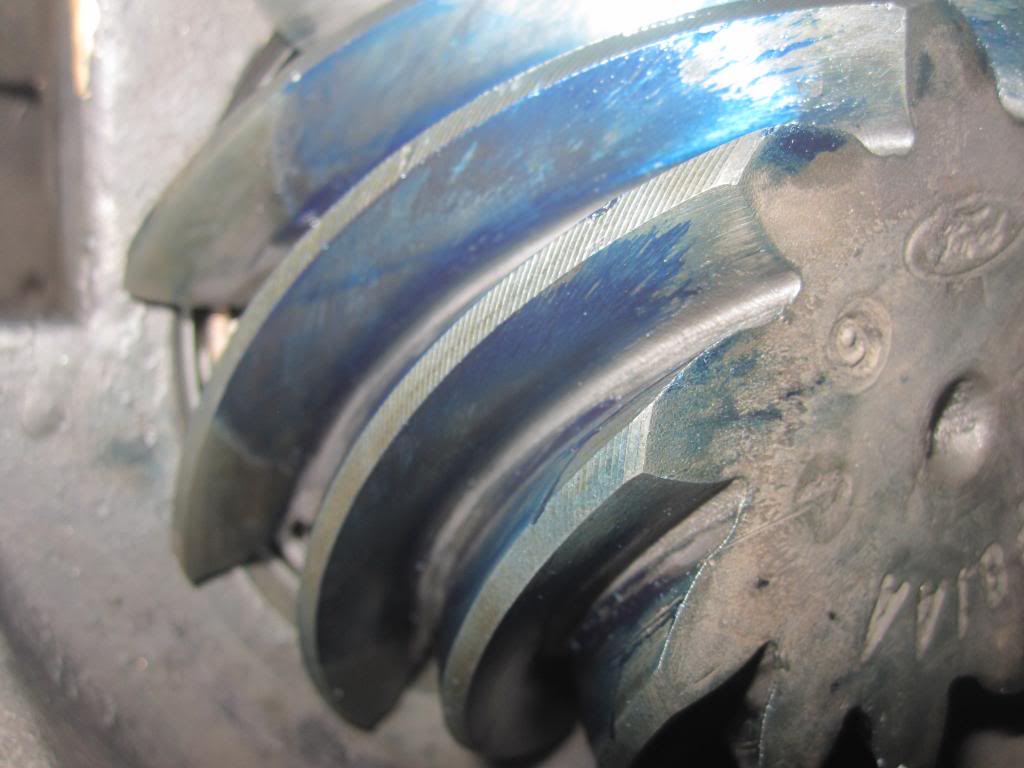 By painting the gears and spinning them to create these contact patterns you're confirming that youve put everything back together correctly.
 If your bearing cups haven't spun around in the case and damaged the housing and shims like mine did (you can see pictures of that in the posts below), more than likely you wont need to make any adjustments. You just put it all back together like you found it.
If you DONT get a good a contact pattern, you need to
1. make sure you didnt reverse the shims from left to right on the carrier bearings. Swap them, paint again and check the pattern.
2. make sure that the pinion bearing preload is correct. If thats all correct but your pattern is still no good, read the posts after this one where I add or subtract shims to change the contact pattern.
When youre done just wipe the paint off with a cloth or use brake cleaner and a cloth.
Did you get a good pattern?
Clean the Axle Shafts, Housing and Differential
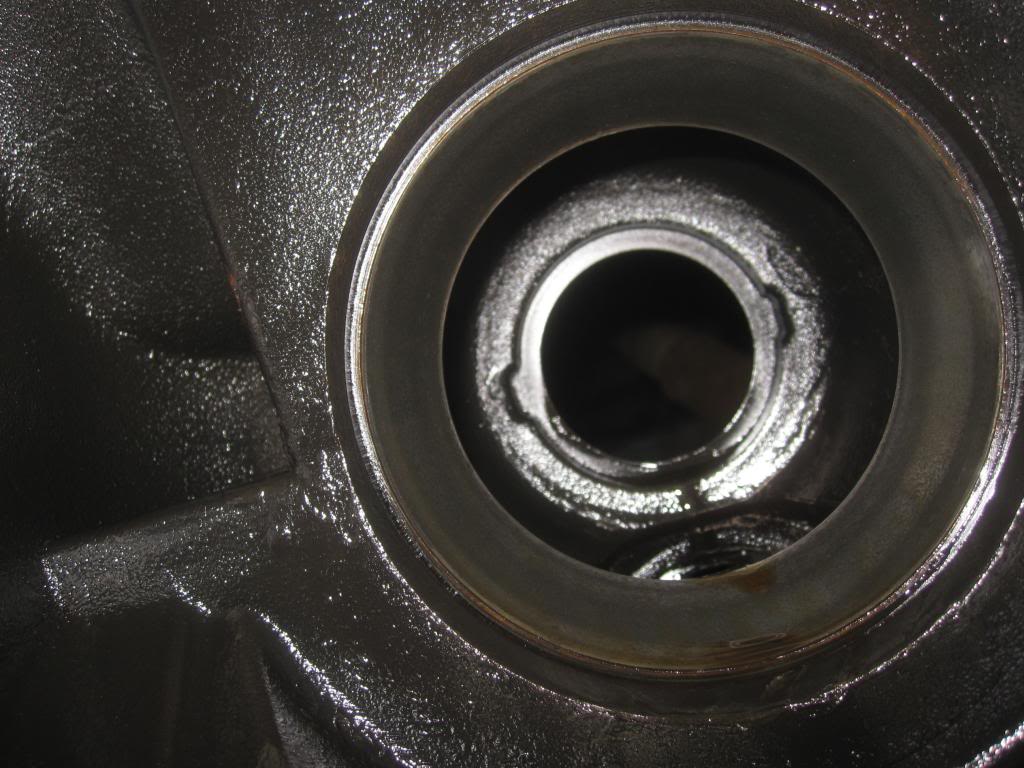
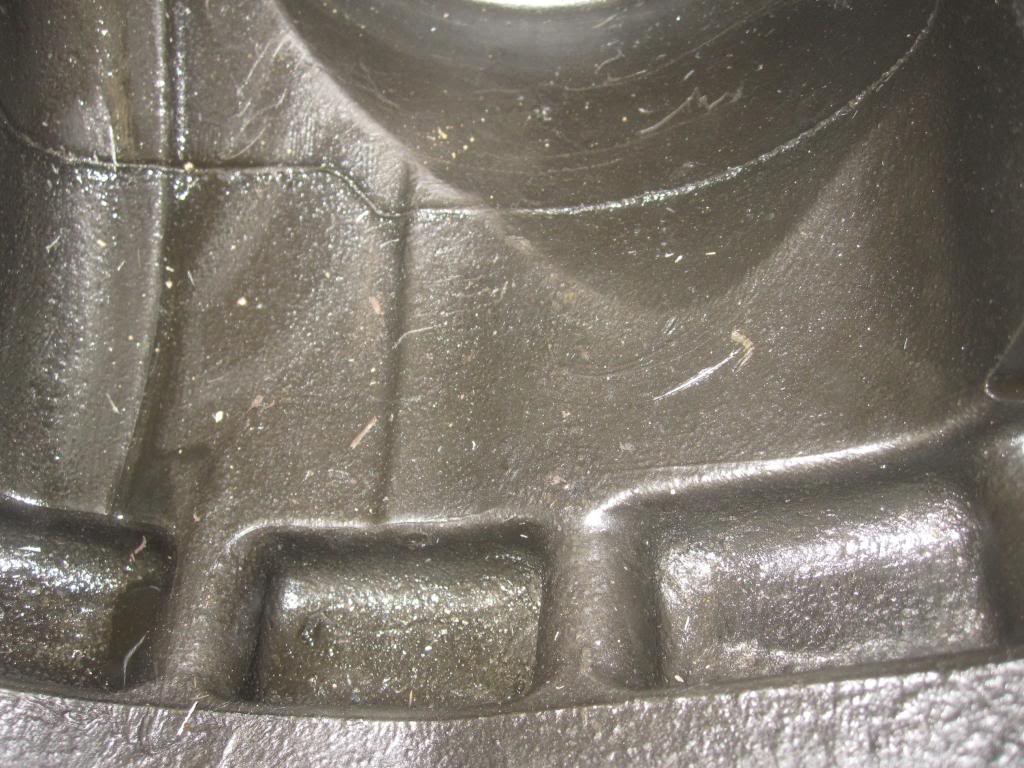
Now you can clean out your axle and axle shafts, inside the pumpkin, the differential gears...EVERYTHING...with prodigious brake cleaner and compressed air to get any oil and metal out. I used one 14 oz can of brake cleaner per side plus another for the housing.
Or do it later, but before you put the differential back inside the pumpkin so you don't contaminate the differential.
There are plenty of pockets in the diff that hold old oil....get it all out.
Such as between the pinion cups/races:
and the bottom of the housing:
and the left side oil port from the front pinion bearing:
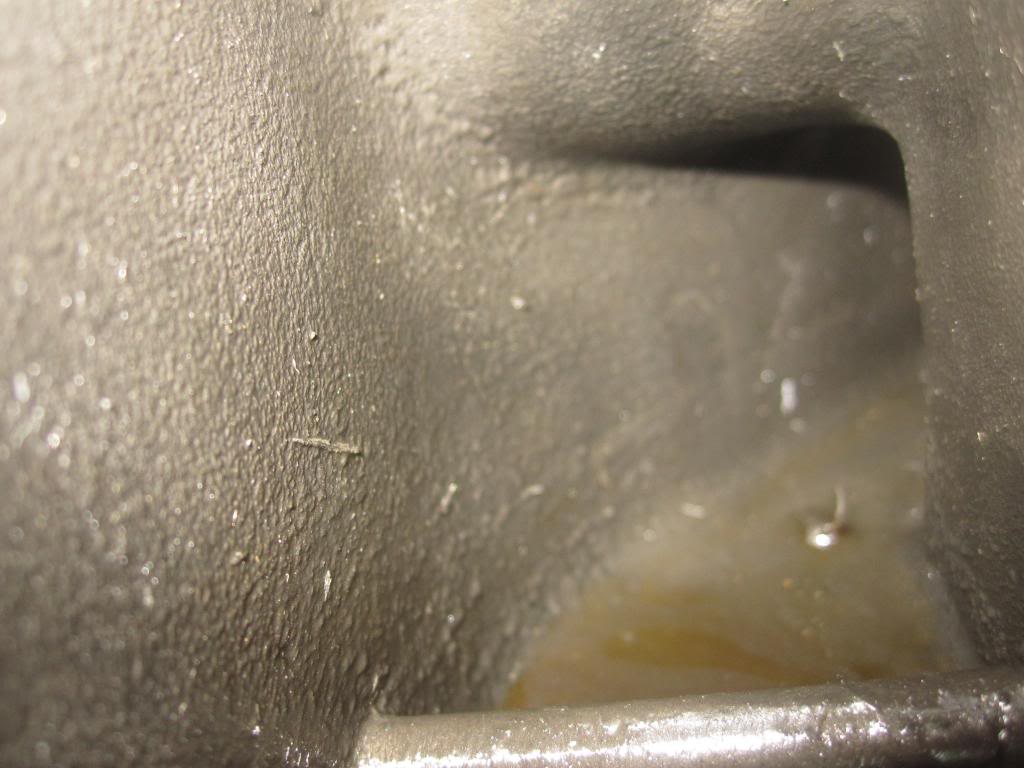
Right side oil journal:

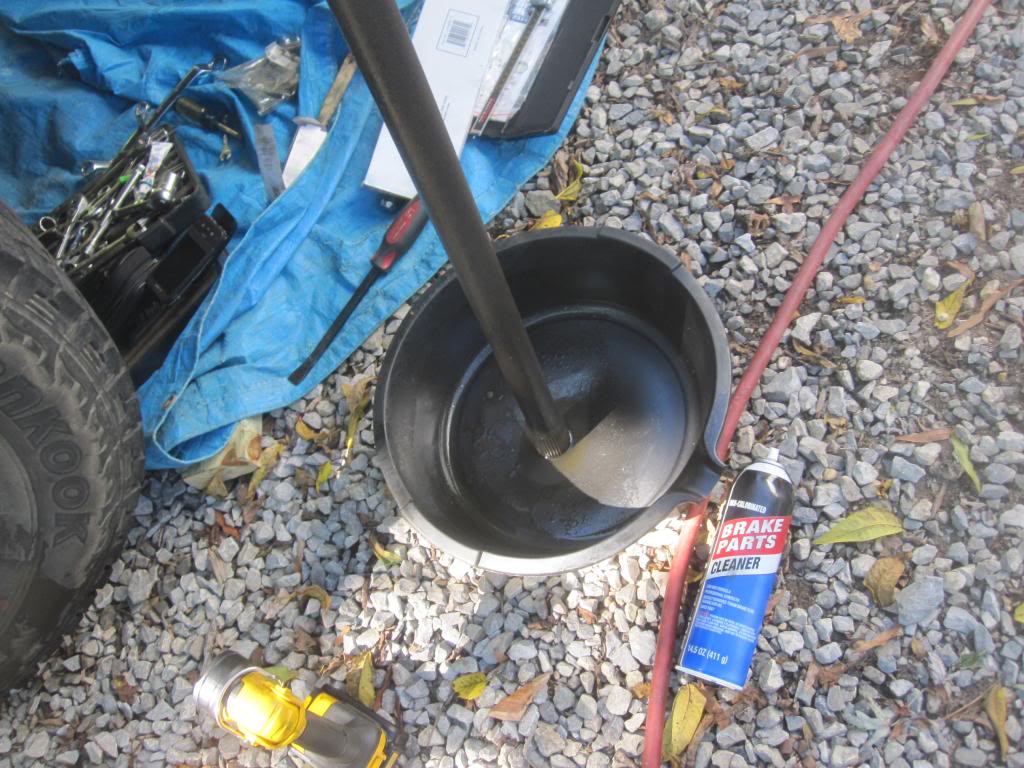
If you have compressed air, spray a can of brake cleaner into each axle side with the axle shafts removed and then blow some air through it. Make sure and put an oil pan under the pumpkin to catch all the brake parts cleaner fluid. You might also push a cloth through with the axle shaft to get the really thick gunk in the bottom of the tube.
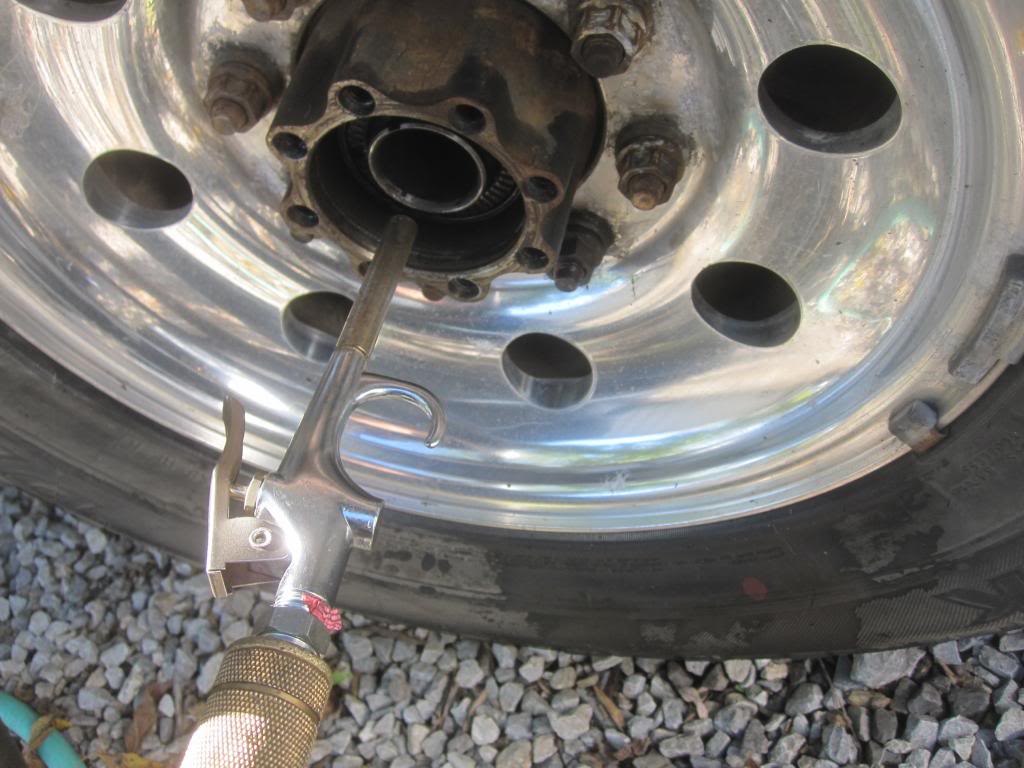
I couldn't get a good photo but with a flashlight you can see right through into the diff housing. In this photo you can see some of the old, thickened, dirty gear lube in the bottom of the shaft. Brake parts cleaner didn't budge this thick stuff.
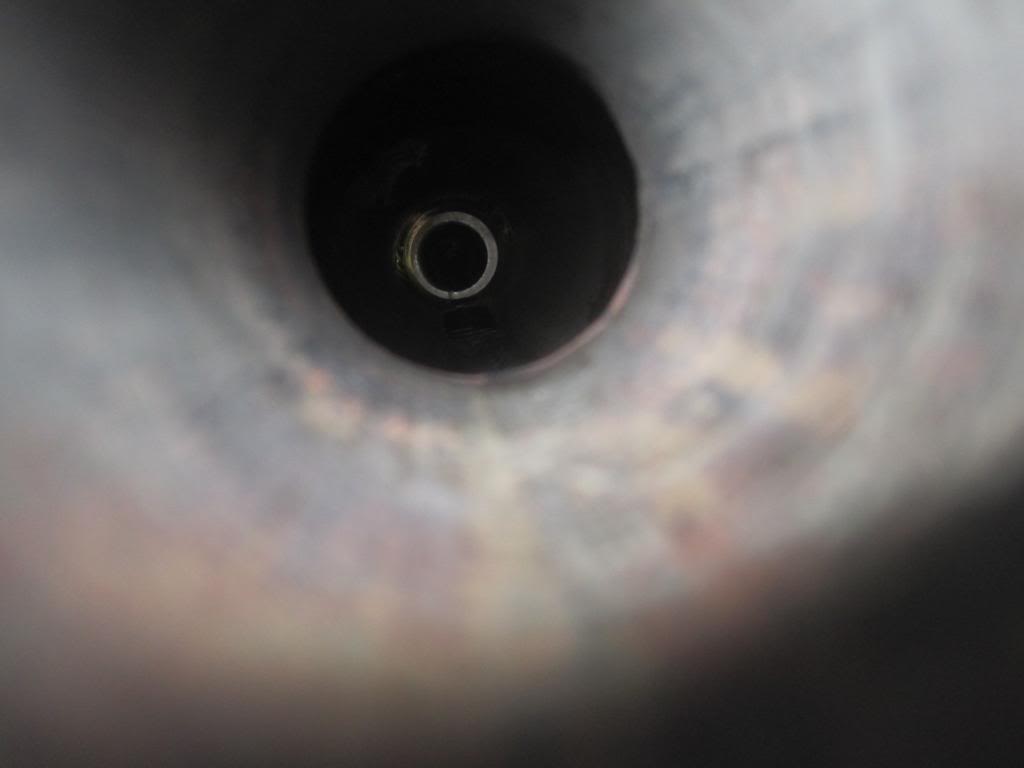
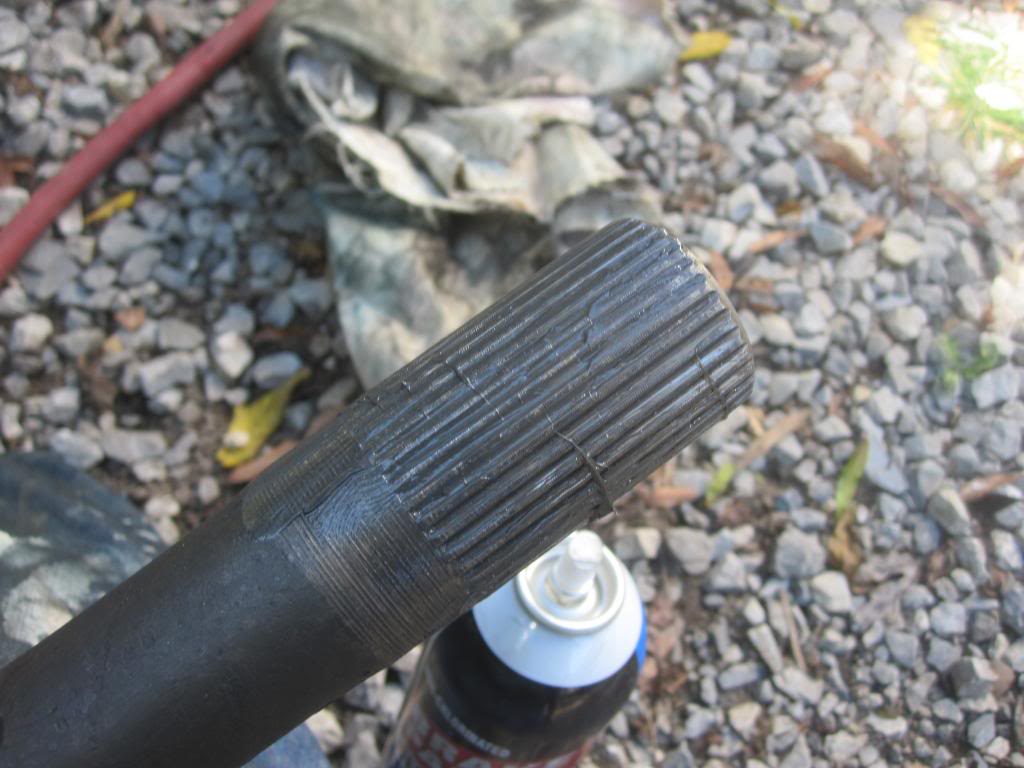
Make sure and clean the axle shafts themselves as well, plus the splines.
Then inspect your rubber seals for tears or dryness and grease them up with some gear lube.
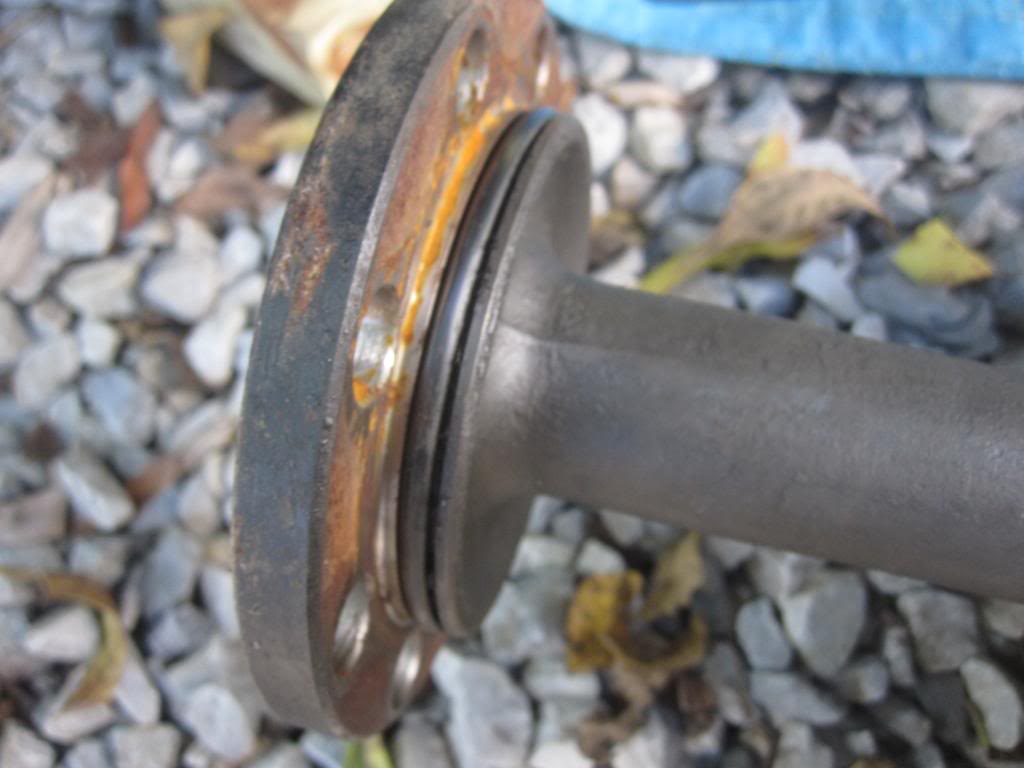
Inspect the splines for any damage and if they look OK, grease'em up as well.
 Reinserting the Differential, Races/Cups and Shims
First, make sure you have no dirt on the diff, or cups or shims. Clean everything off with brake cleaner and a clean rag. No dirt allowed.
The next step is to put the differential with the new carrier bearing cones and cups/races and the original shims/washers in the same orientation as you found them.
First you coat the side of the shims touching the housing with some grease to keep them "glued" to the housing.
With the new cups/races on the cones, you pick up and push the entire differential back into place. It wont just plop right in....if it does...something is wrong. You will need to use a small sledge hammer (2-3 pound) and a piece of wood or a brass hammer to smack the unit back into place. I repeat, it shouldn't just fall into place. If it did, you either mixed up the shims or your carrier bearings have spun and worn themselves thinner, allowing the diff to sit in the housing loosely. If that's the case...as was for me, see below where I attempt top repair spun carrier bearings.
But try and swap the shims and see what happens. If you get a tight fit than you likely just mixed them up.
Carrier Bearing Preload, Say what?!
Remember how we spent all that time setting preload on the pinion bearings? Well, you cant measure preload on the carrier bearings but they sure need preload. They need to be snug. Pirate 4x4 says a couple of blows of a brass hammer is his measure of correct preload (snugness of cone to cup under no load by the engine). My experience was that you need a lot more smacking than that to get it in there.
If your shims looks smooth on both sides and are not grooved (mine were in terrible shape, see pictures in posts below in this same thread and direction on how to proceed), and you haven't mixed up which side they belong on, then you shouldn't worry about carrier preload. Just make sure you have the cups fully around the cones and put it in by hand as far as you can and then start smacking side to side and shimmy it in until the cups are all the way in place.
You'll know when the cups are all the way in because the CAPS (the metal brackets that you carefully labeled for left/right and up/down orientation!) will make FULL CONTACT with the housing where the bolts holes are. If they don't, you haven't gotten the differential in far enough. Keep smacking. If its becoming mission impossible don't keep at...pull the diff out with a pry bar and start again.
Once its in and you think the cups are seated nicely, take a look at the washers, make sure they are all the way in as well and then spin the end yoke a few times in both directions to make sure it spins smoothly without any notchyness. If it feels notchy it may not be in square. Grab your crow bars or pry bars and pull the differential out again and start over.
NEXT, you get the bolts for the caps and tighten them down in an "x pattern" slowly until you get up to 88 ft pounds for each bolt. Spin the end yoke again...make sure it feels smooth in both directions.
Remove Speed Sensor (Optional)
You can remove the speed sensor in order to add the gear oil through the hole on the very top of the pumpkin and not the fill hole in the side of the pumpkin since its much higher up. Your choice.
Remember to wipe off the speed sensor while you have access to it. The speed sensor has magnets in it so enough metal filings on it from wear in the gears will cause your speedometer needle to bounce around. I had this very problem.
It's one bolt...I don't remember what size. Easy to take off. It has a rubber o-ring. Make sure to inspect it, clean it and lube it with some gear oil. I'm sure the Stealership charges $6 for it. Scumbags.
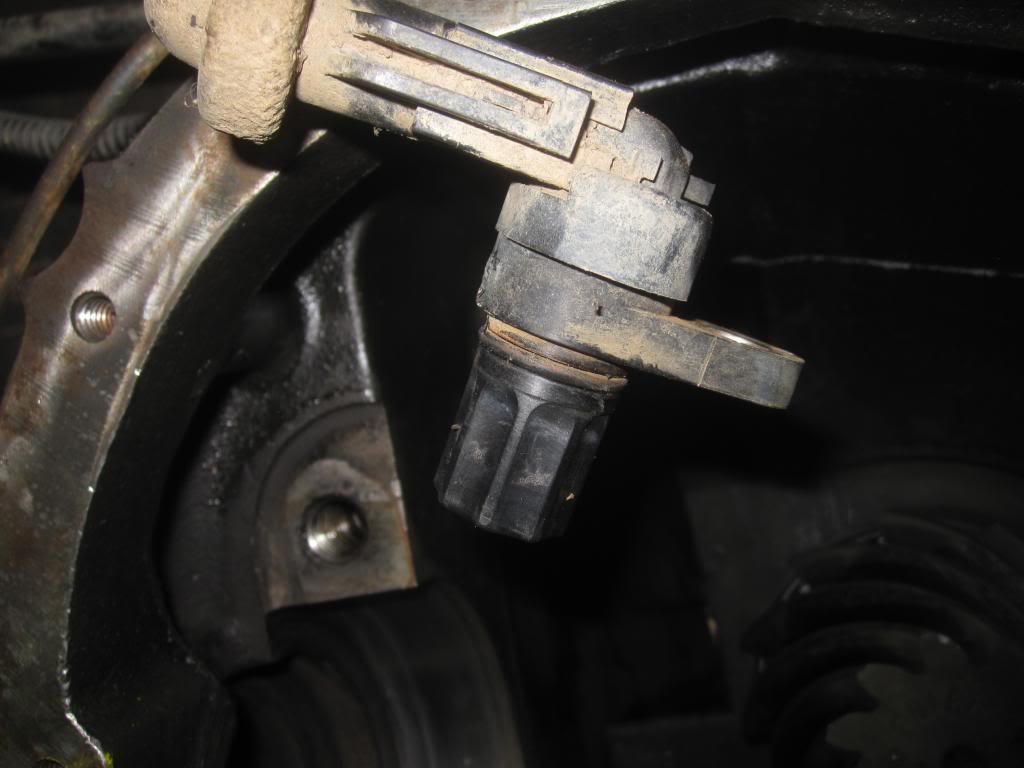
Here is the opening.
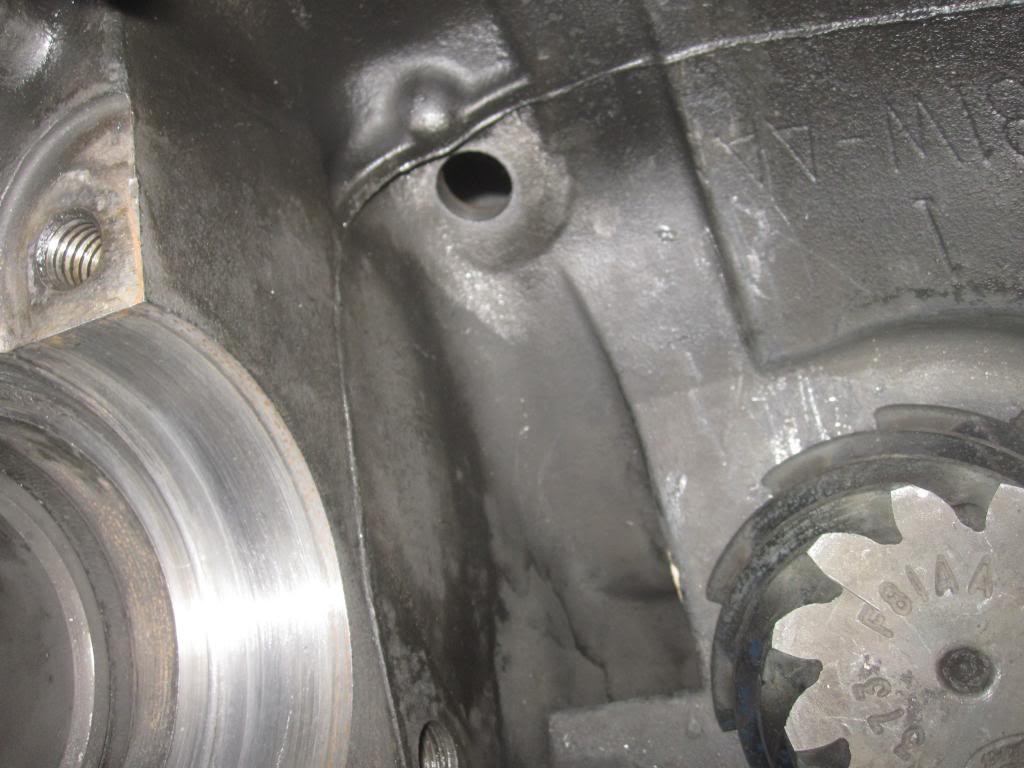 Reattach the Driveshaft
Now reattach the drive shaft to the yoke end with the little brackets and bolts.
Do this BEFORE you put the axle shafts in, so you can spin the end yoke to match your paint marks from the drive shaft to the paint marks on the end yoke. I didn't take any pics...snooze...its 4 bolts, blue loctite or at least some antiseize.
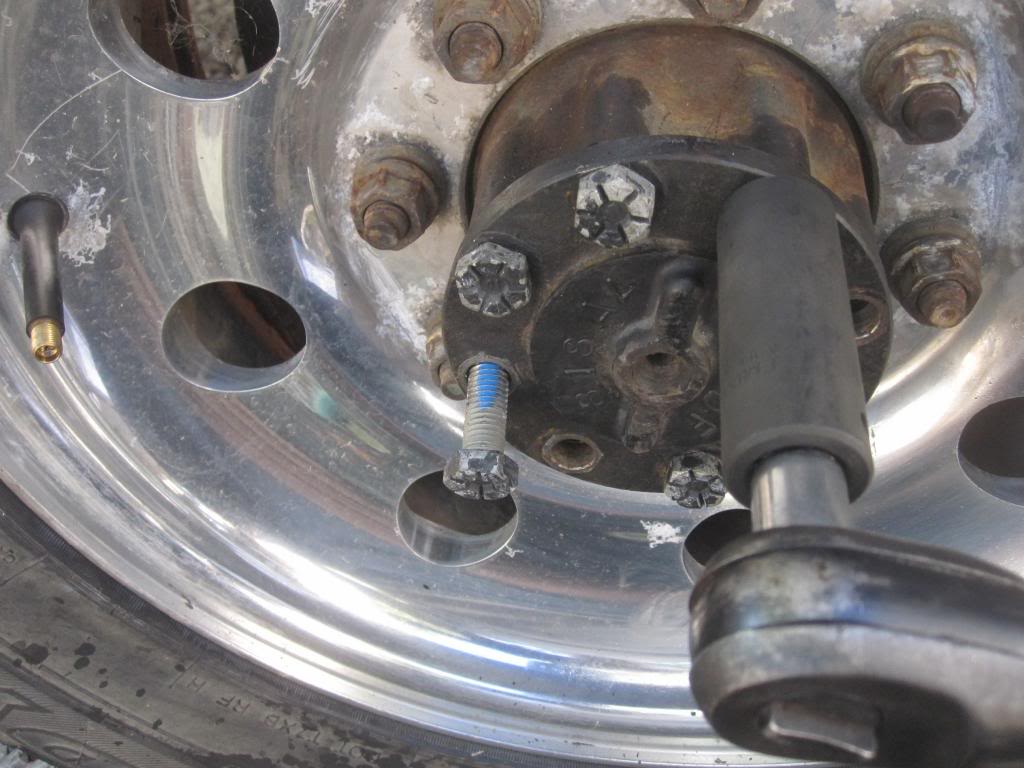
Then push, kick, the axle shaft back into place...it will take a few blows before the splines go all way into the gears. Spin it around if it isn't going in. Then try pushing it in again.
Then spin your rim/wheel until the holes in the axle shaft flange line up.
Then start putting on the 18mm axle flange bolts, WITH LOCTITE BLUE.
Air ratchet....I love you.
Then torque down to 80 ft pounds in cross pattern.
 Silicon Gasket Maker (or whatever gasket type you like)
They also sell hard gaskets for this application which personally I would prefer because you dont have to wait for anything to cure / dry, but most mechanics use silicon.
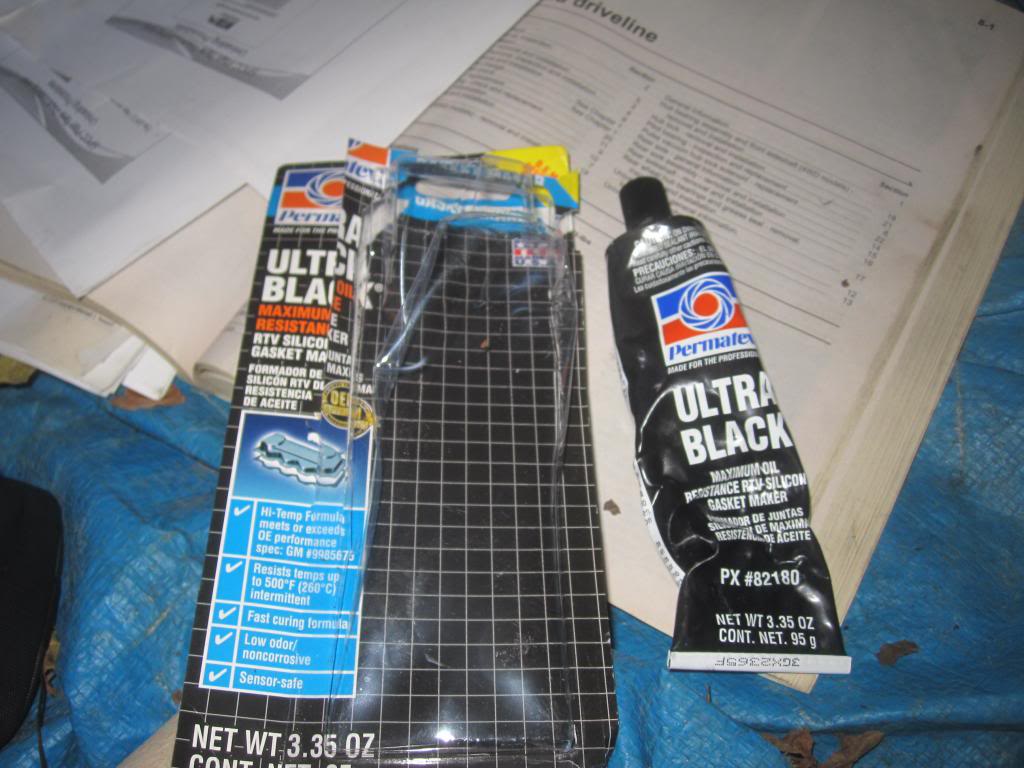
RTV also makes a silicon specifically for differentials:
I used this because it was handy and it available everywhere:
Put on the gasket maker as per picture below....
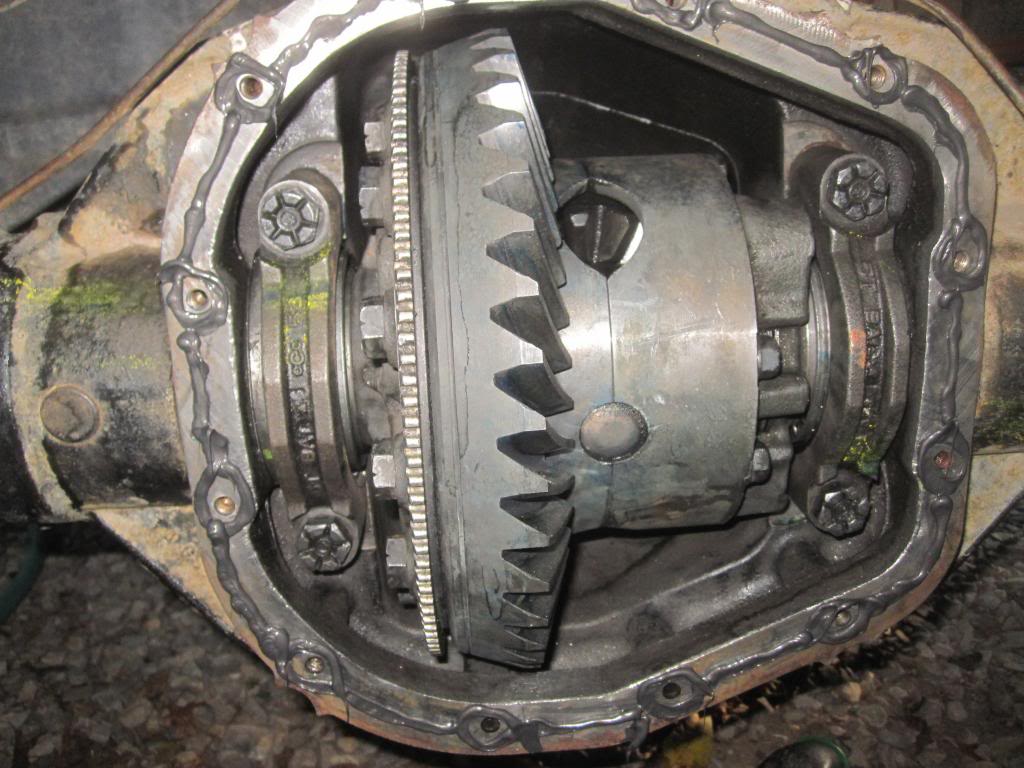
Then put the CLEANED UP, DIRT FREE cover on immediately, BUT ONLY finger tighten the cover bolts very lightly.
You want the surfaces to make contact with the silicon before it skins over so it adheres well to both surfaces....then let it sit for a 1/2 hour at least. I like to wait 2-4 hours so it has more time to dry.
Then torque the cover bolts to specs (29-39 foot pounds). Some silicon will squeeze out. Just wipe off the excess and you're done.
Add Gear Oil
Next, add 3.5 quarts of
SYNTHETIC 75-140 gear oil through the speed sensor hole or the side fill hole.
Mobil1 comes with
friction modifier / hypoid gear silencer already in it. If your oil doesn't have modifier in it, you'll need to buy some from FORD or aftermarket and add 4 ounces of this to your gear oil.
Then put the speed sensor back on and tighten. Don't go crazy tightening it. The 0-ring does all the sealing. Making it over tight doesn't help. If you used the side filler hole, as is customary, its 15-20 ft-pounds to tighten it back on using a 3/8th inch-drive.
Spun Carrier Bearings: A side Story
As you can see from the posts below, my bearing cups / races had spun in the housing from a lack of proper lubrication. Below I attempt to repair the axle. Keep reading if you like. The last owner was bringing the truck to a well known national lube chain, and apparently they didn't do the oil changes they were paid to do. This caused the bearings to get pitted, which increased friction and caused the cups to spin around and release lots of metal into the oil and also created an extremely loud whining noise at speeds above 15 MPH but only when accelerating.