Here's a picture tutorial, on how to replace your brake calipers on a F-150...
Here we go...
(Assuming you have a garage/flat ground to work on...)
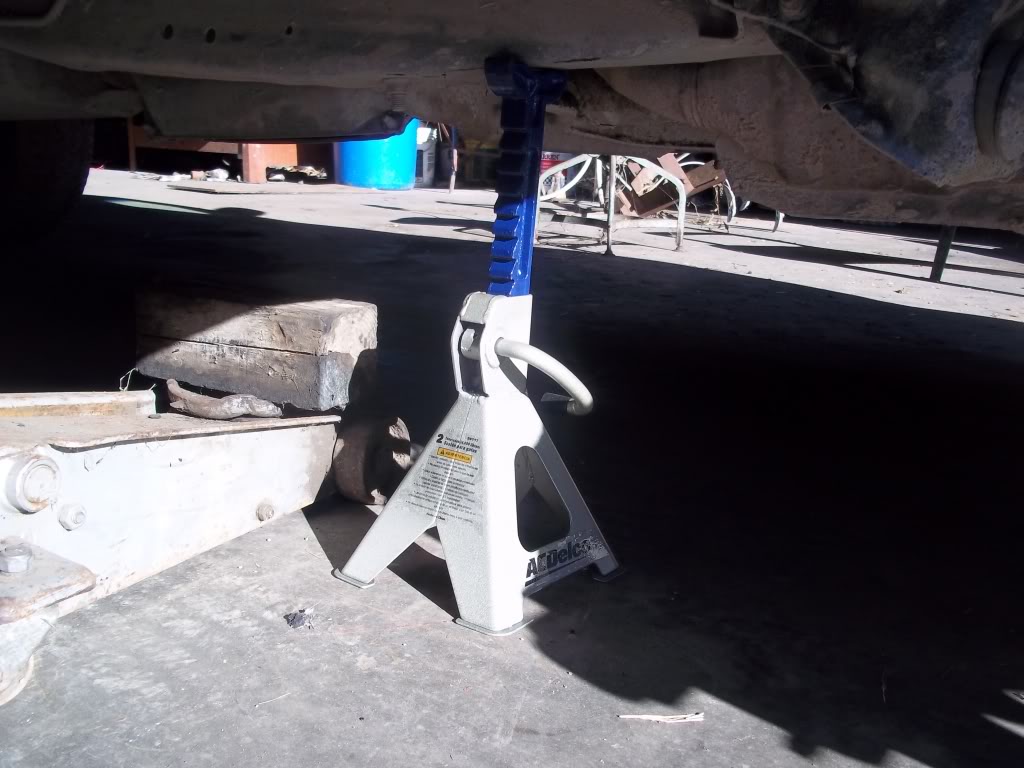
#1)
Press in the Emergency Brake and jack the truck up....And ALWAYS, ALWAYS, ALWAYS, use jackstands.....Guys, I CANNOT, stress the importance of those 2 mundane pieces of equipment....They saved my *** tonight....Just so happened, I had them in place, and was needing about 1" extra room....Couple pumps of the jack....I was set.....Then it came...
A low creaking/groaning noise....And I started scrambling as fast as a 287lb man can, to clear the truck...Then...BAM....The truck came down, and the jackstand was there to catch it....My night woulda ended up VERY differently, if I hadn't invested the $25 for the set.....
In other words, and I hate to be like this...But if you don't use a jackstand, you, are in short, a freakin' *******...Not an idiot...They have self preservation instincts....But a *******....
#2)
Remove the tires/wheels are you've safely gotten the E brake set, and a set of jack stands under the truck...
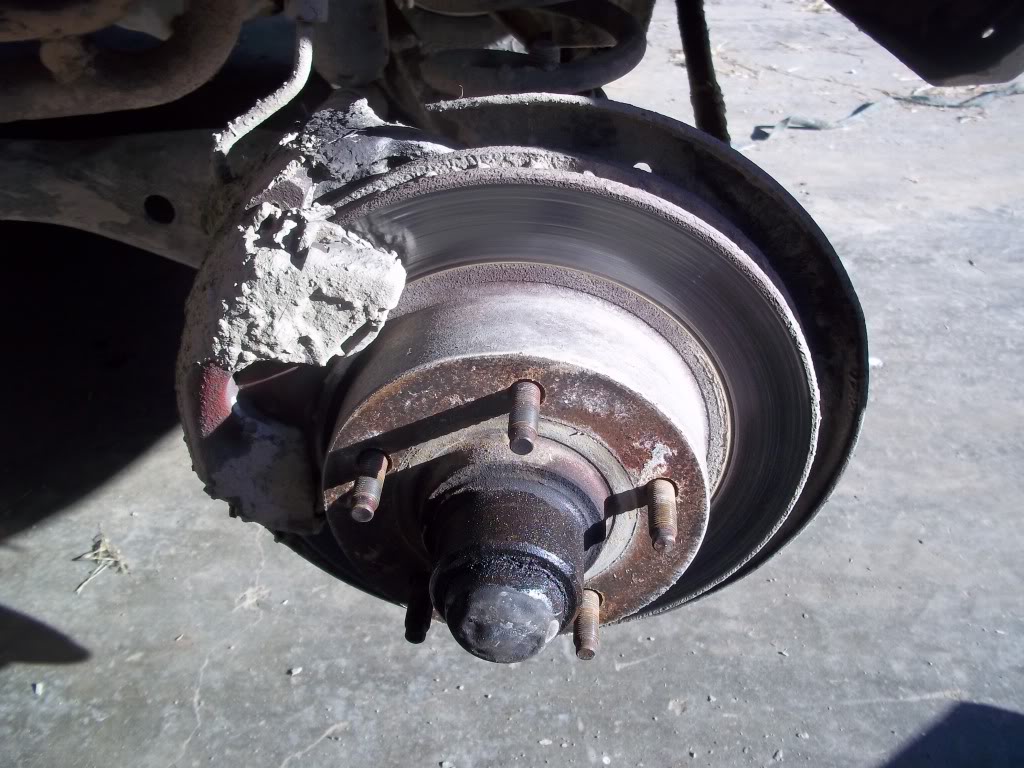
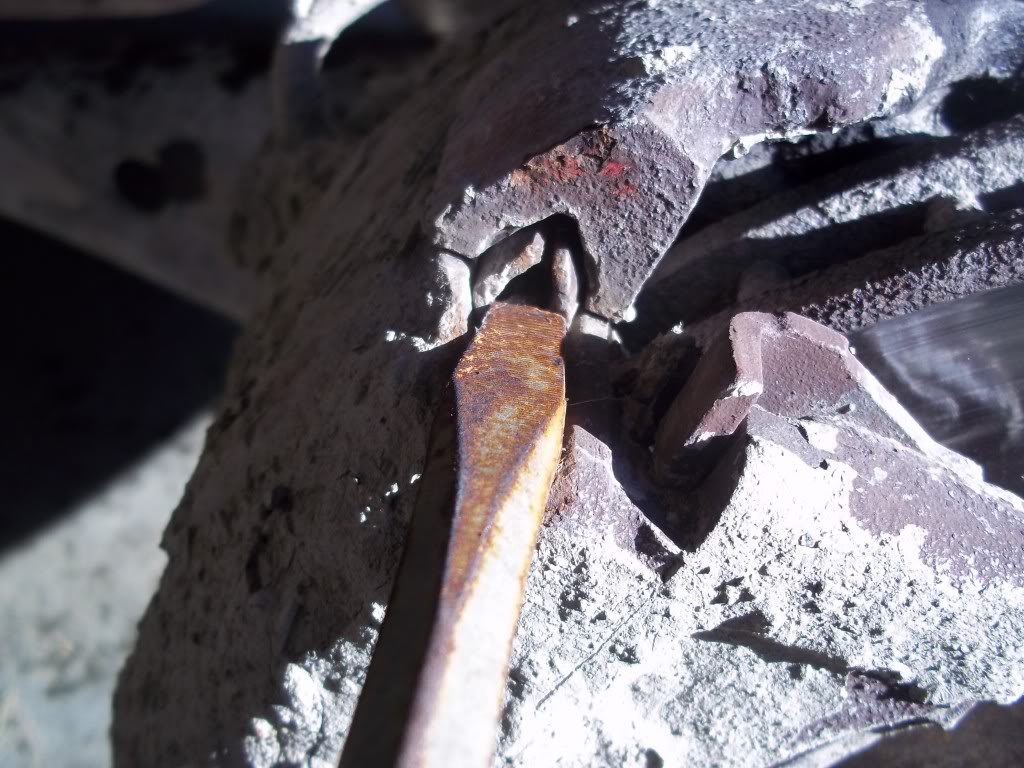
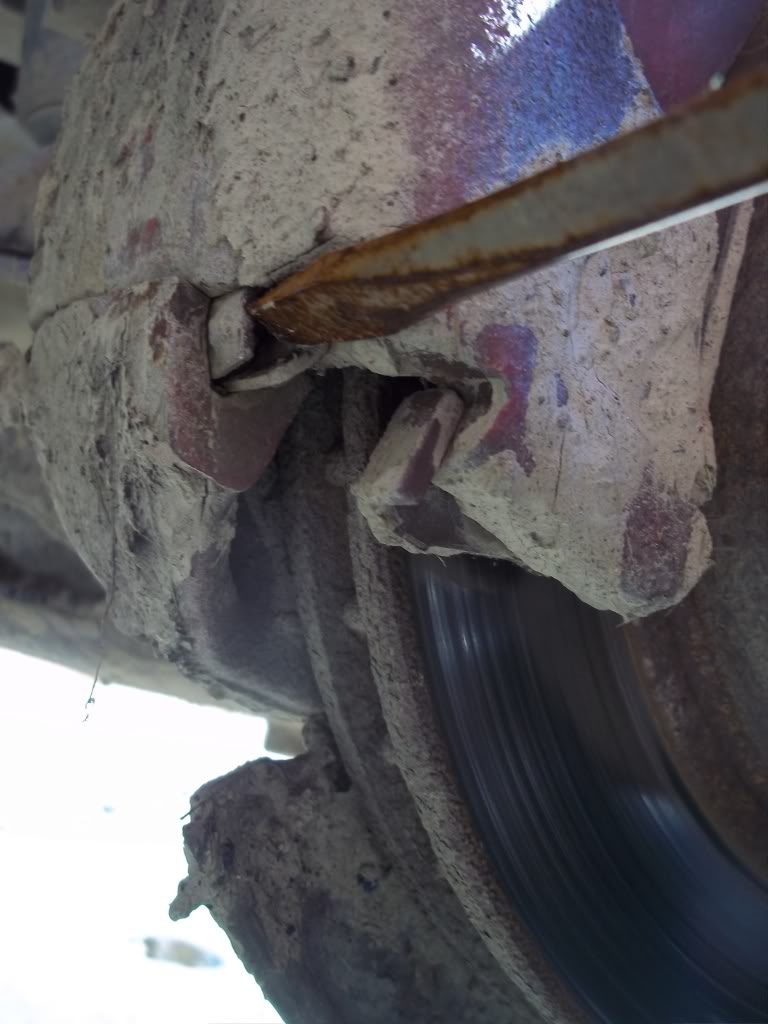
#3)
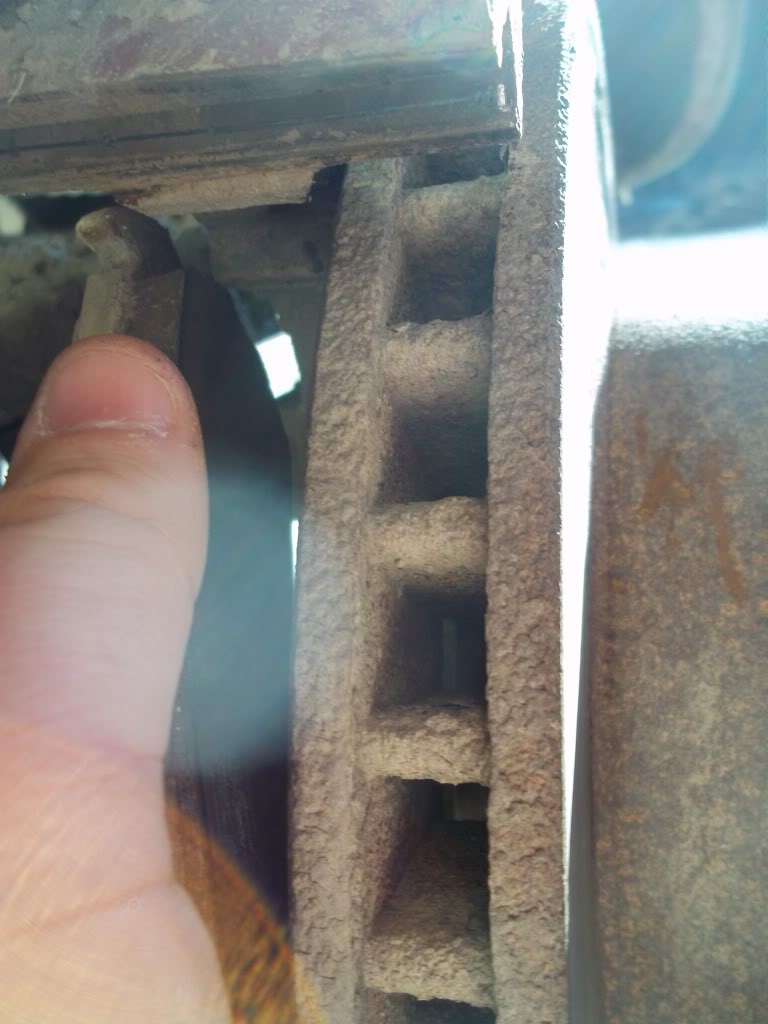
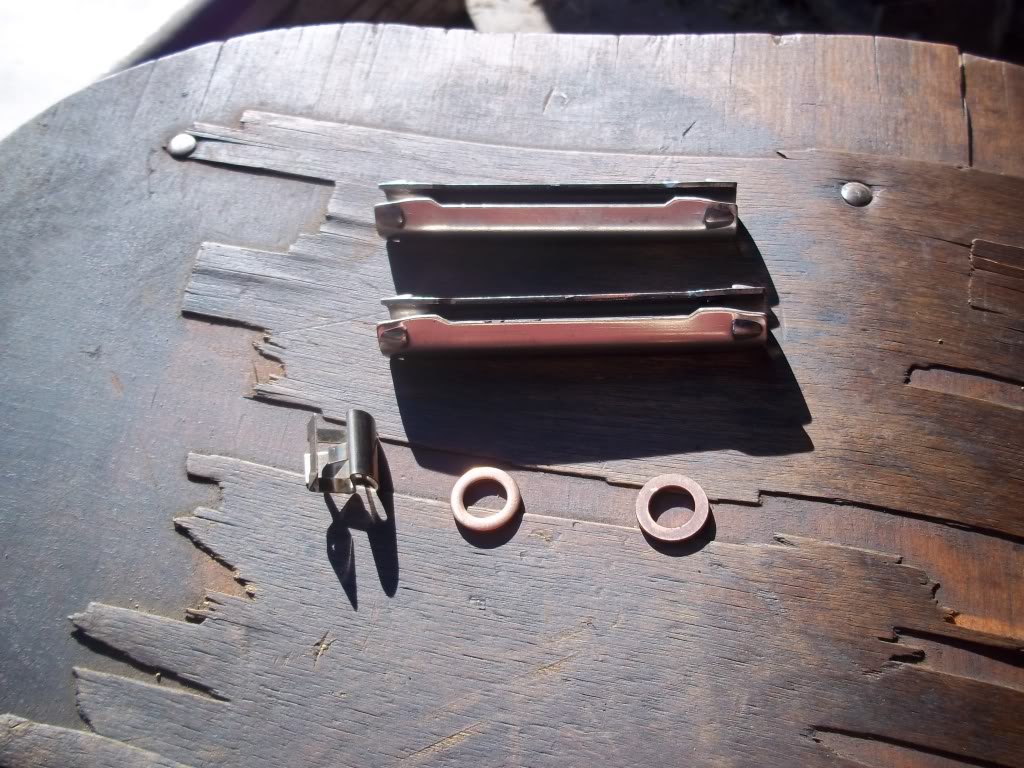
Use a hammer and a chisel, etc...To push out the sets of pins/clips at the top and bottom of the caliper...
Here's the top one....And when hitting these, hit them, so as they will press in, and towards the other one...
And the bottom one...
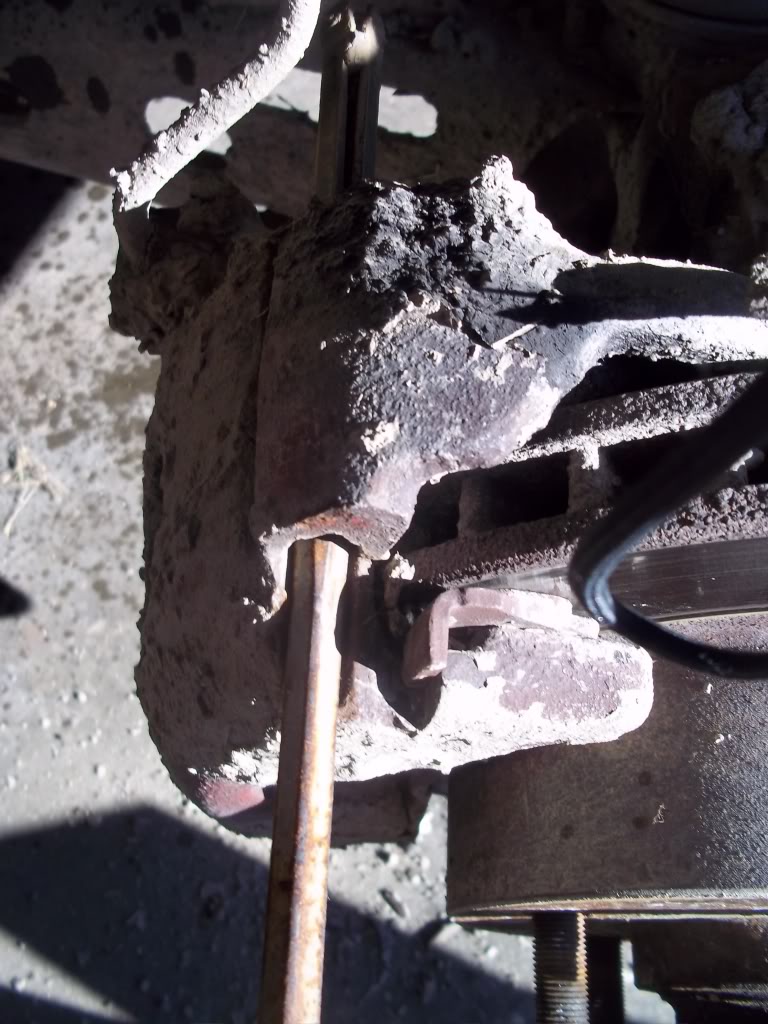
#4)
After removing the top and bottom clips....
Then, firmly tap around on the caliper, until you can wiggle it free....(BE VERY CAREFUL, NOT TO HIT THE ROTOR...)
Also, at this time, before you pull the caliper off, loosen/remove the 15mm bolt holding the rubber hose on.....Also, don't let the caliper hang by the rubber line....
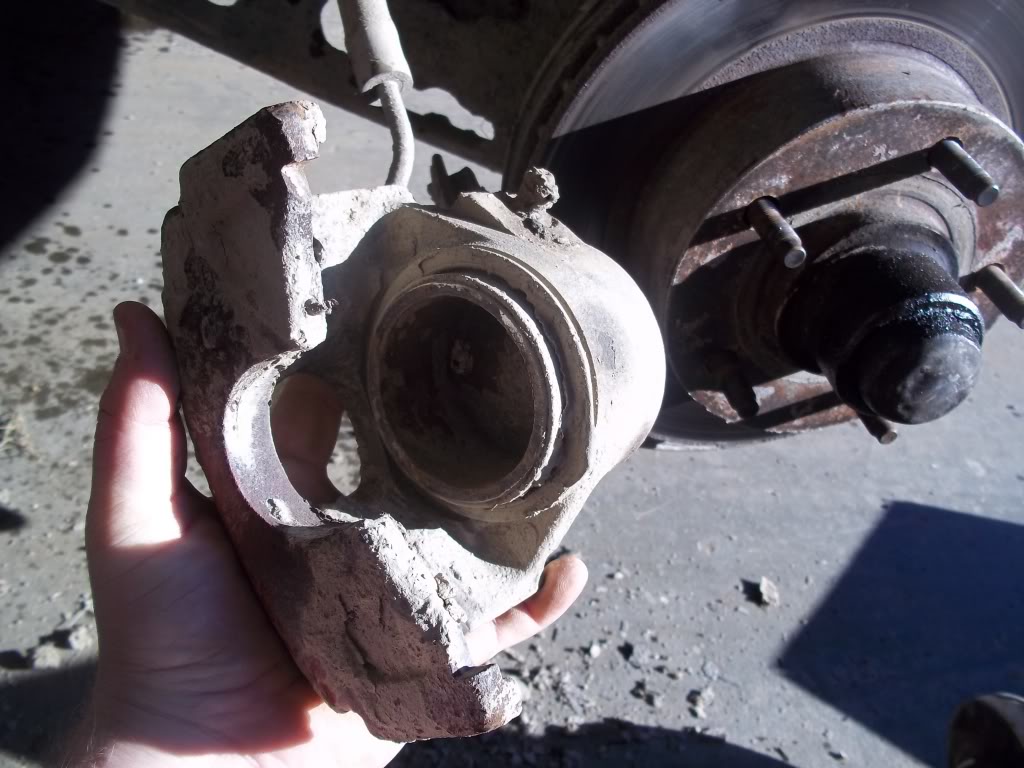
And then remove the inner brake pad...
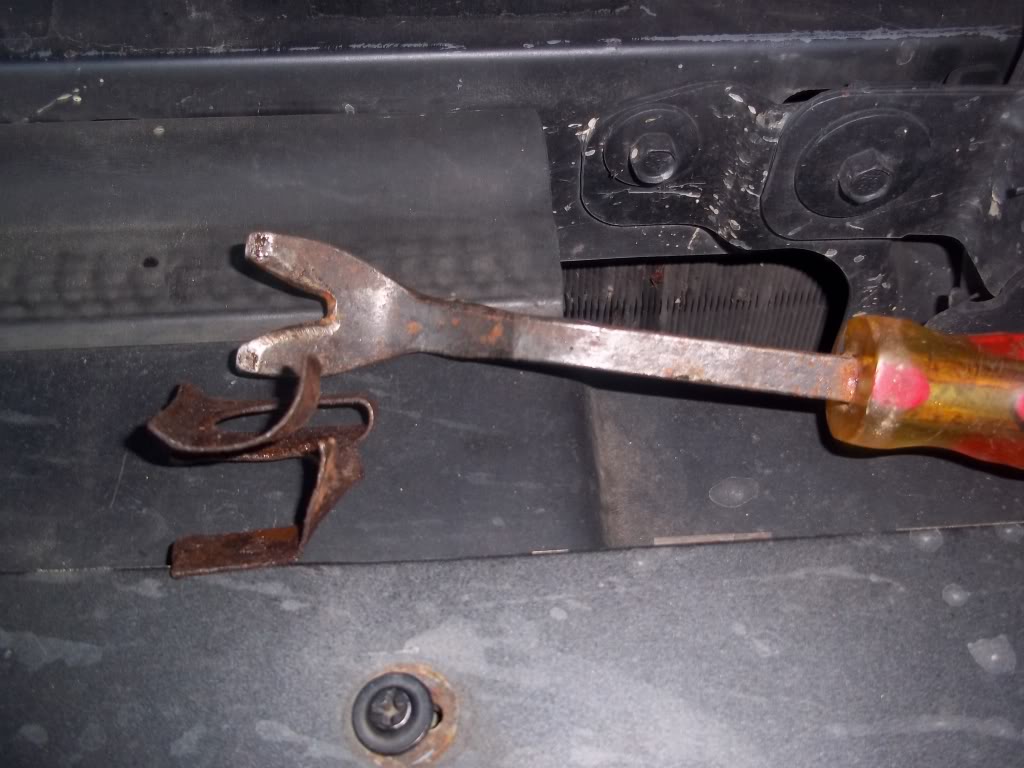
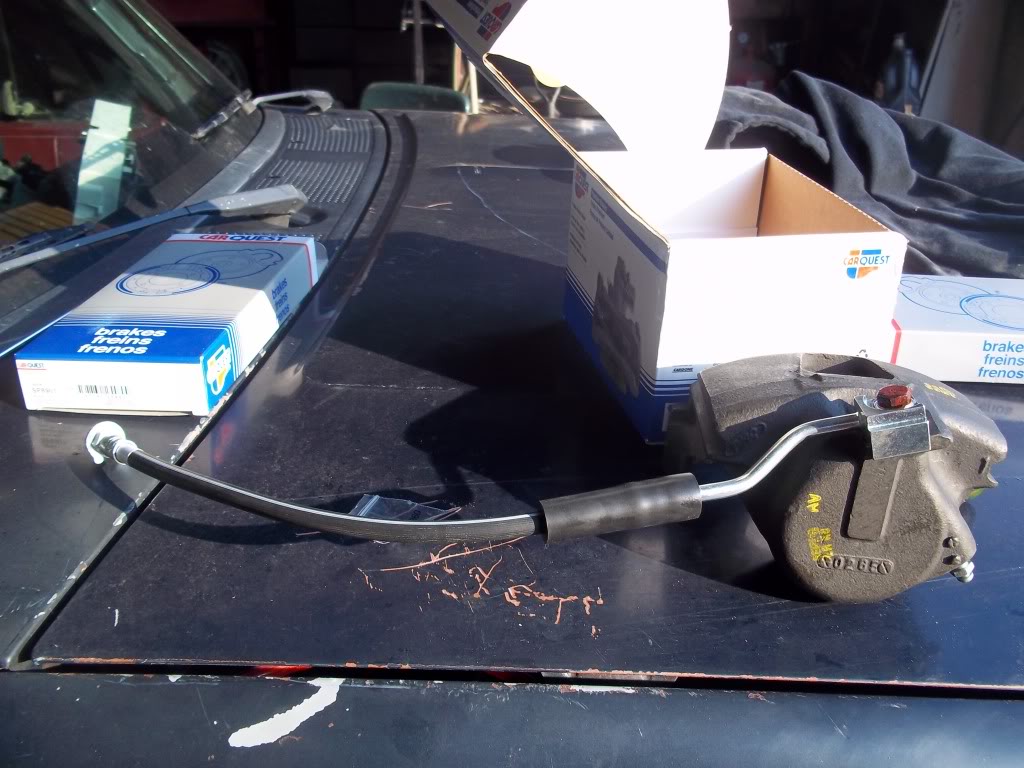
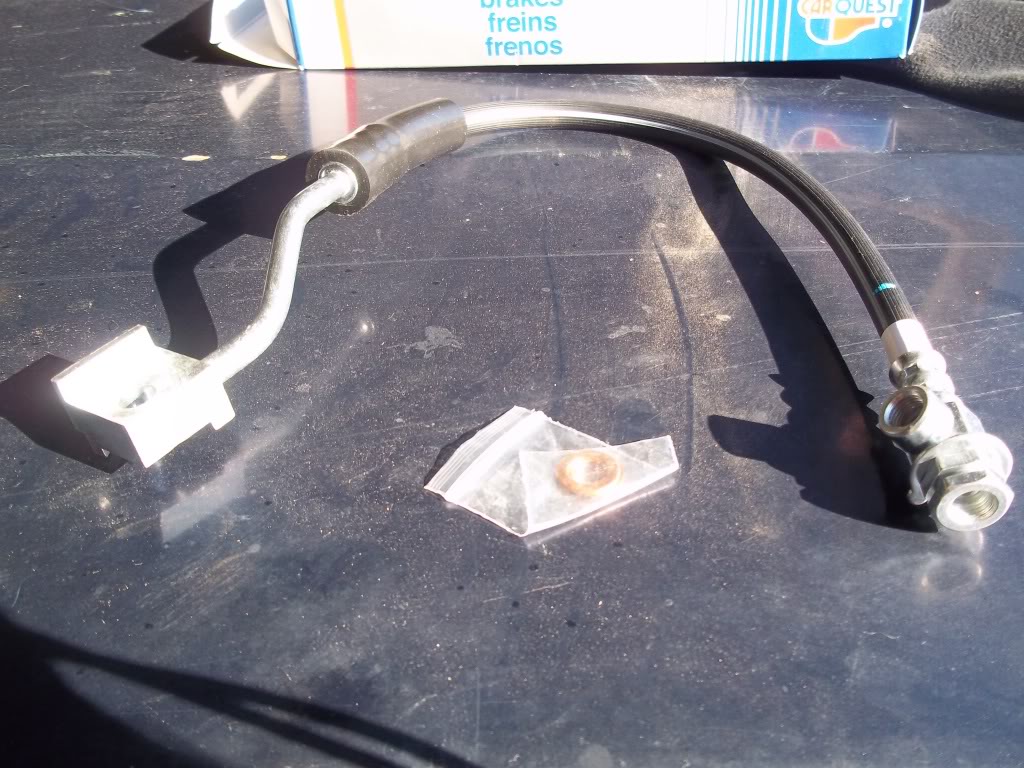
#5-If replacing the rubber lines also, like I was....
Remove the clip, on the inside of the frame rail, where the hose's connector meets the hard brake lines...
#6)
Clean the 15mm bolt you removed previously EXTREMELY WELL.....And use the new copper bushings/washers as follows...
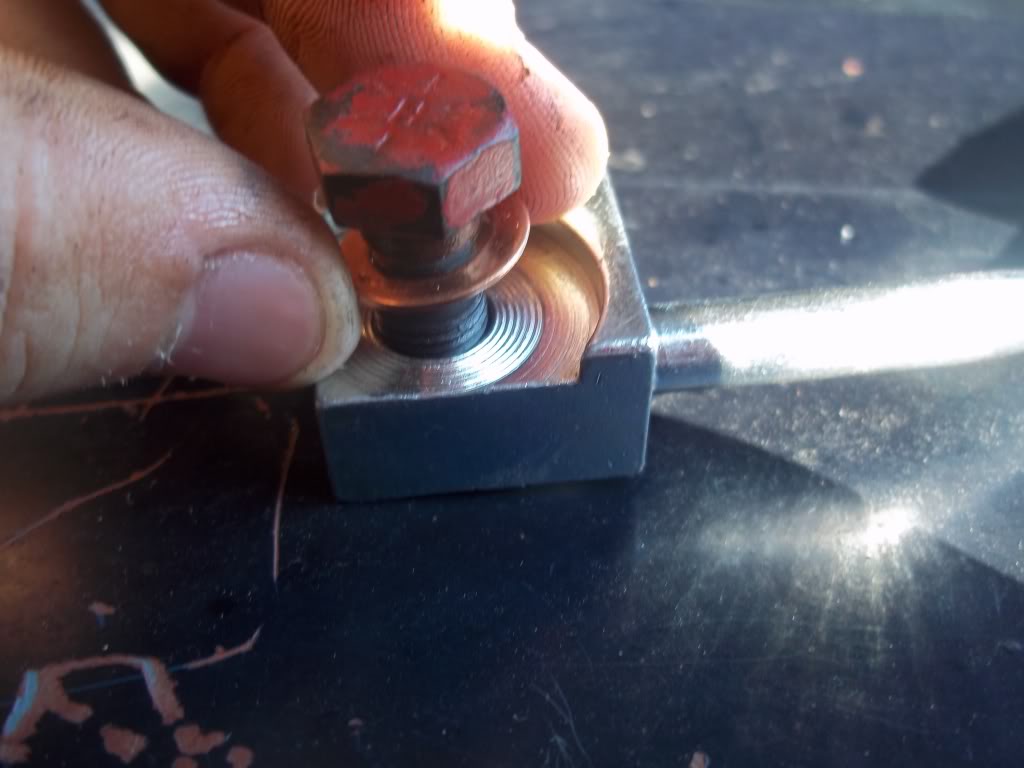
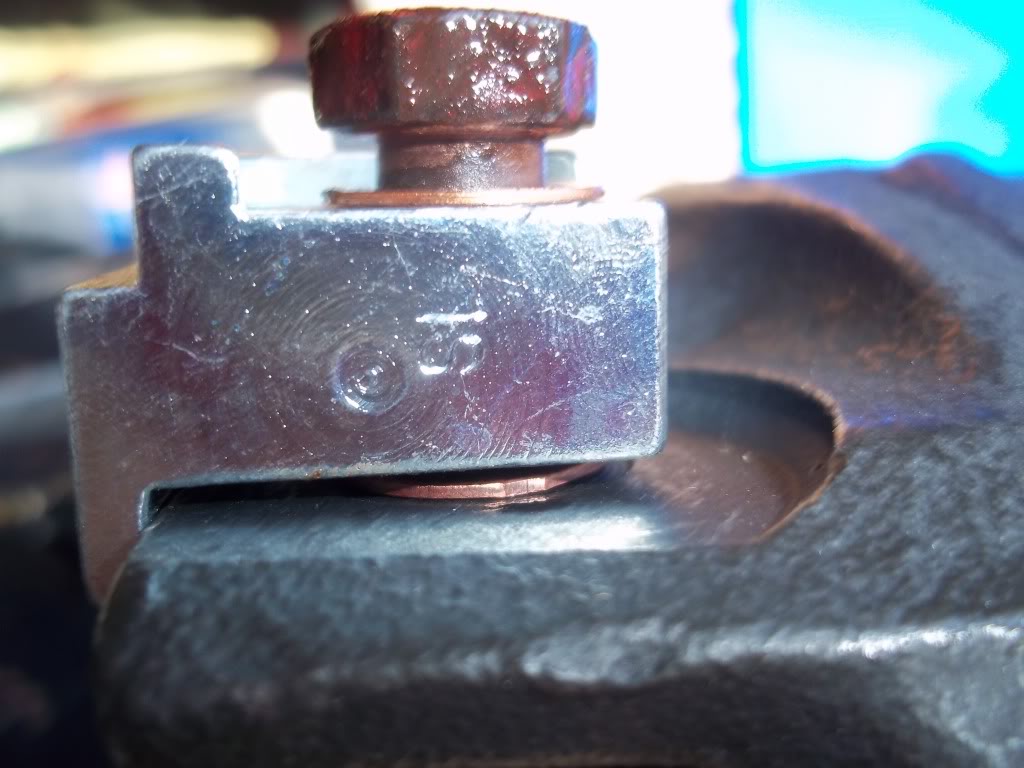
Pics are shown, with the new rubber line....
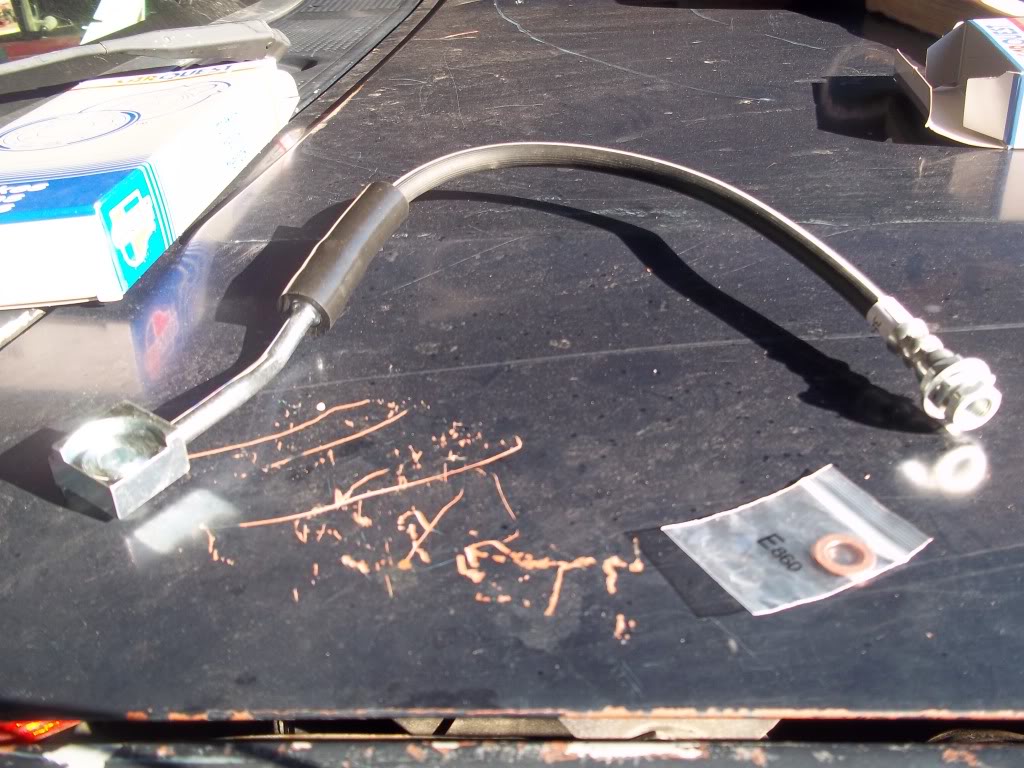
#7)
With the copper washer/bushings arranged as previously shown, put the new rubber hose on the caliper...(Or reattach the old hose to the new caliper, using the copper bushings that came in the calipers' hardware kit...
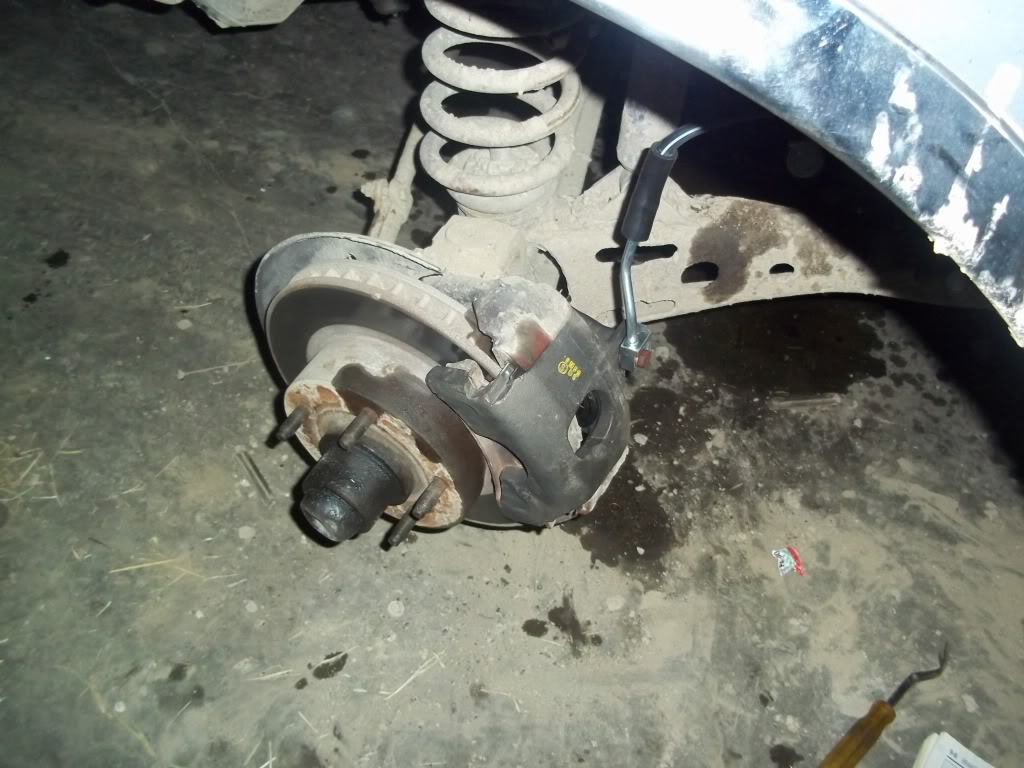
Now, at this point, all you have to do, is put the caliper back on, in the reverse order as taking it off....Also...Put the anti-rattle clip on the bottom on the INNER calipers...
And a side note....If doing BOTH calipers at the same time....MAKE SURE, the the bleeder screw, is ON THE TOP......
Also, the Driver's side rubber hose, has a T fitting at the top; The passenger side has only the female fitting...
And the finished product....
And don't forget to bleed the brakes!!!!!