OT but still relevant - panel clamps
#1
 08-30-2010, 02:12 AM

Join Date: Jan 2007
Location: Wichita, KS
Posts: 538
Likes: 0
Received 0 Likes
on
0 Posts
OT but still relevant - panel clamps
So, many of us have to weld in patch panels at some point in time or another. Sometimes you can get by welding a spot and then persuading the next area into place, then repeating. I have finally gotten around to making these panel clamps that I've needed a couple of times already on my project '47.
Anyway, I hope this helps somebody out there.
Dave
(read on...)
Anyway, I hope this helps somebody out there.
Dave
(read on...)
#2
08-30-2010, 02:12 AM
Join Date: Jan 2007
Location: Wichita, KS
Posts: 538
Likes: 0
Received 0 Likes
on
0 Posts
Finally got this project finished. Needed panel clamps for the project truck, and I'm too cheap to go buy them. Took about a week of 5 minute intervals, but they are finally done. Not much to them. Maybe somebody else will be inspired by this and make their own too.
Here is where I started...
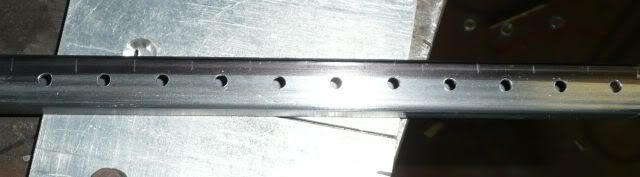
Drill a series of holes in a piece of 3/4" square tubing. Spacing is determined by how big you want the clamps. I chose 3/4"+width of bandsaw blade. These holes are 3/16" for the #8 screws I will use to draw the clamp closed.
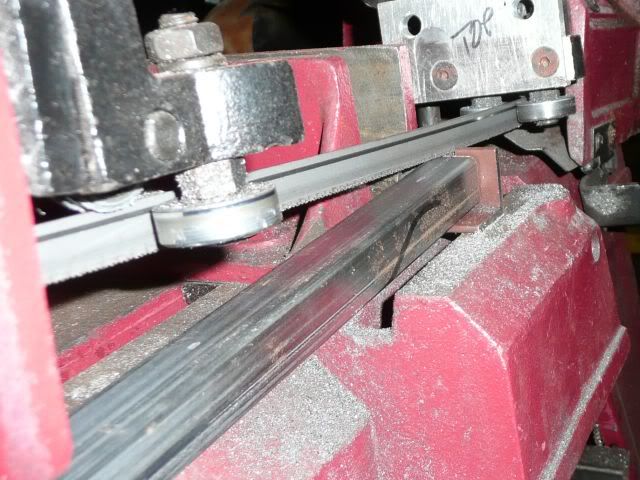
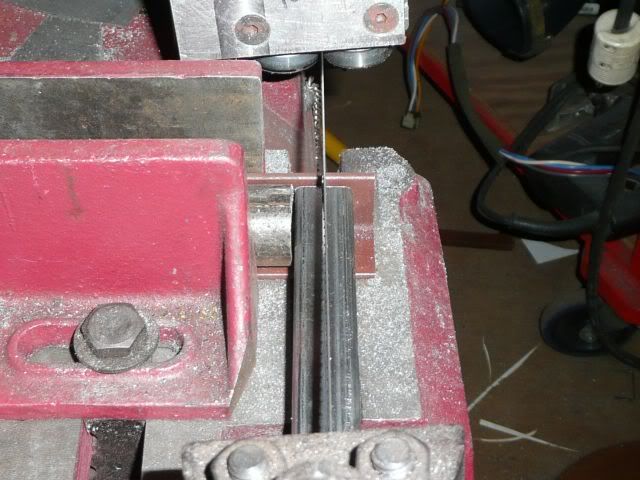
This part is a little tricky. I didn't want to do this with a cutoff wheel, so I put a piece of angle in the bandsaw and cut a slit in it. Then held the tubing with the newly drilled holes on the bottom so the saw could slit the back side.
Then cut the upper parts off.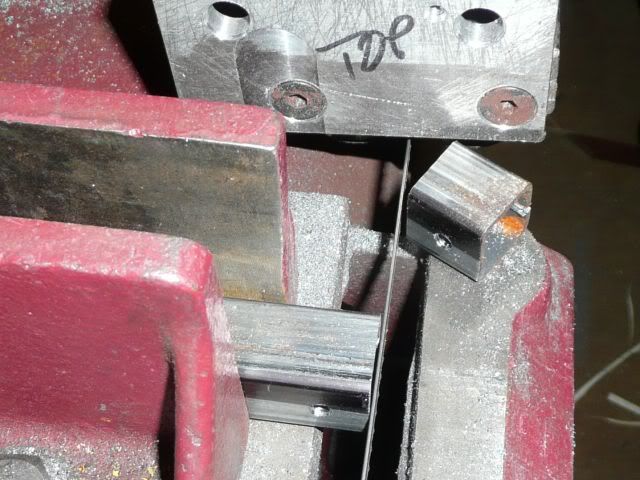
...
Here is where I started...
Drill a series of holes in a piece of 3/4" square tubing. Spacing is determined by how big you want the clamps. I chose 3/4"+width of bandsaw blade. These holes are 3/16" for the #8 screws I will use to draw the clamp closed.
This part is a little tricky. I didn't want to do this with a cutoff wheel, so I put a piece of angle in the bandsaw and cut a slit in it. Then held the tubing with the newly drilled holes on the bottom so the saw could slit the back side.
Then cut the upper parts off.
...
#3
08-30-2010, 02:12 AM
Join Date: Jan 2007
Location: Wichita, KS
Posts: 538
Likes: 0
Received 0 Likes
on
0 Posts
...
I then drilled a series of holes in a strip of 20 ga CRS, and sheared the pieces off. These holes are centered 9/16" from the top edge of the piece, and are either 9/64" or 5/32". (I don't remember which.) I used 1/2" long slotted pan-head screws. The 20 ga CRS sits nicely in the slot.
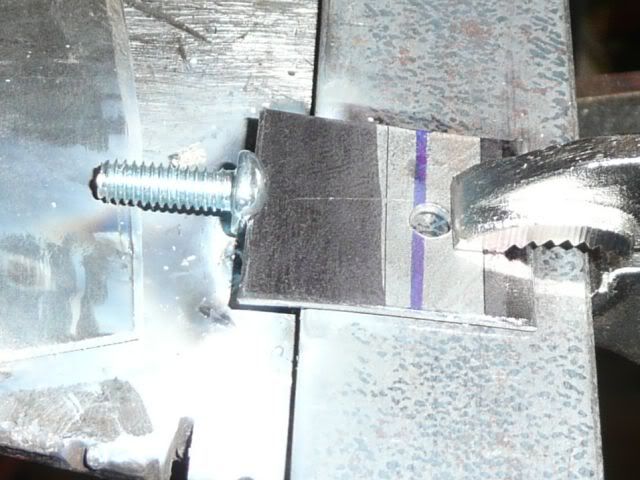
I TIG welded these. Note that these are not the ideal screws to use, as they were zinc plated. I passed the torch over the head of the screw to burn off the zinc before actually forming a puddle. I did have fresh air being blown into my hood from the back. Here are the piles of parts.
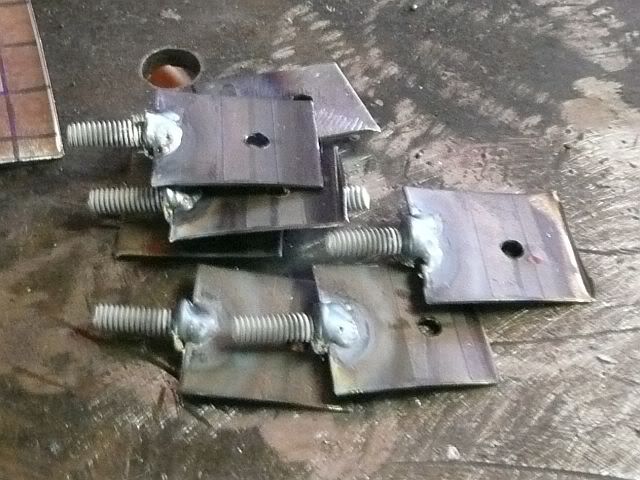

A few bags of wingnuts and they are all assembled. (A couple are missing here. They are already in use.)

...
I then drilled a series of holes in a strip of 20 ga CRS, and sheared the pieces off. These holes are centered 9/16" from the top edge of the piece, and are either 9/64" or 5/32". (I don't remember which.) I used 1/2" long slotted pan-head screws. The 20 ga CRS sits nicely in the slot.
I TIG welded these. Note that these are not the ideal screws to use, as they were zinc plated. I passed the torch over the head of the screw to burn off the zinc before actually forming a puddle. I did have fresh air being blown into my hood from the back. Here are the piles of parts.
A few bags of wingnuts and they are all assembled. (A couple are missing here. They are already in use.)
...
#4
08-30-2010, 02:13 AM
Join Date: Jan 2007
Location: Wichita, KS
Posts: 538
Likes: 0
Received 0 Likes
on
0 Posts
...
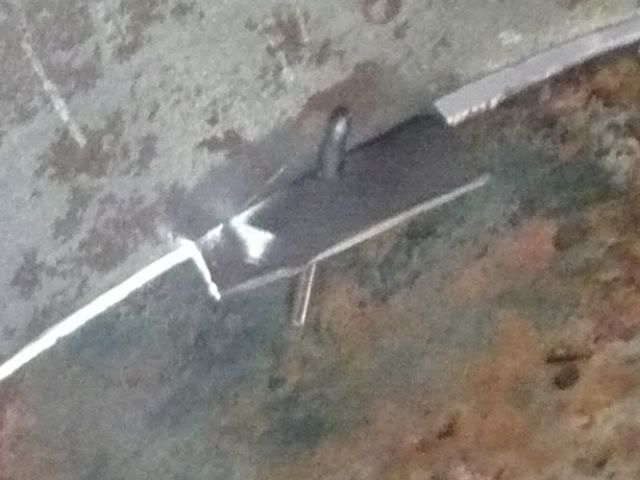
I still need to find my stash of 1/8" round stock to use for the bottom clamping surface. For now, I am using bits of 1/16" TIG filler, which is fine for this, except that the hole is big enough that they don't stay put very well until they are actually clamped down. So, I either need to find that bigger stock, or I can start another project - my prosthetic third arm.
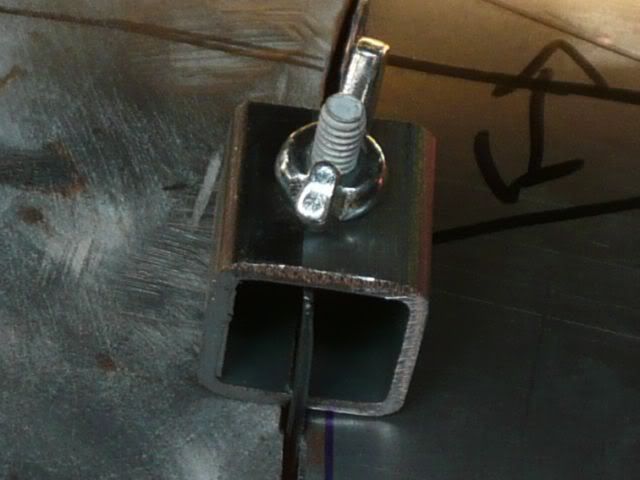
In case some of you haven't seen these in use before, here is an example of the panel clamp holding two adjacent panels together.
This is the bottom.
Enjoy.
Dave
I still need to find my stash of 1/8" round stock to use for the bottom clamping surface. For now, I am using bits of 1/16" TIG filler, which is fine for this, except that the hole is big enough that they don't stay put very well until they are actually clamped down. So, I either need to find that bigger stock, or I can start another project - my prosthetic third arm.
In case some of you haven't seen these in use before, here is an example of the panel clamp holding two adjacent panels together.
This is the bottom.
Enjoy.
Dave
#5
08-31-2010, 03:36 AM
Mountain Pass
Join Date: Jul 2009
Location: Brisbane, Australia.
Posts: 197
Likes: 0
Received 0 Likes
on
0 Posts


Thread
Thread Starter
Forum
Replies
Last Post
Skalywag
1948 - 1956 F1, F100 & Larger F-Series Trucks
15
06-01-2014 09:52 AM
vronp
Excursion - King of SUVs
3
02-08-2014 05:24 PM