Walker's 66 Ford F100 Restoration
#1
 12-14-2009, 09:23 PM

Join Date: Apr 2008
Location: Saskatoon
Posts: 648
Likes: 0
Received 0 Likes
on
0 Posts
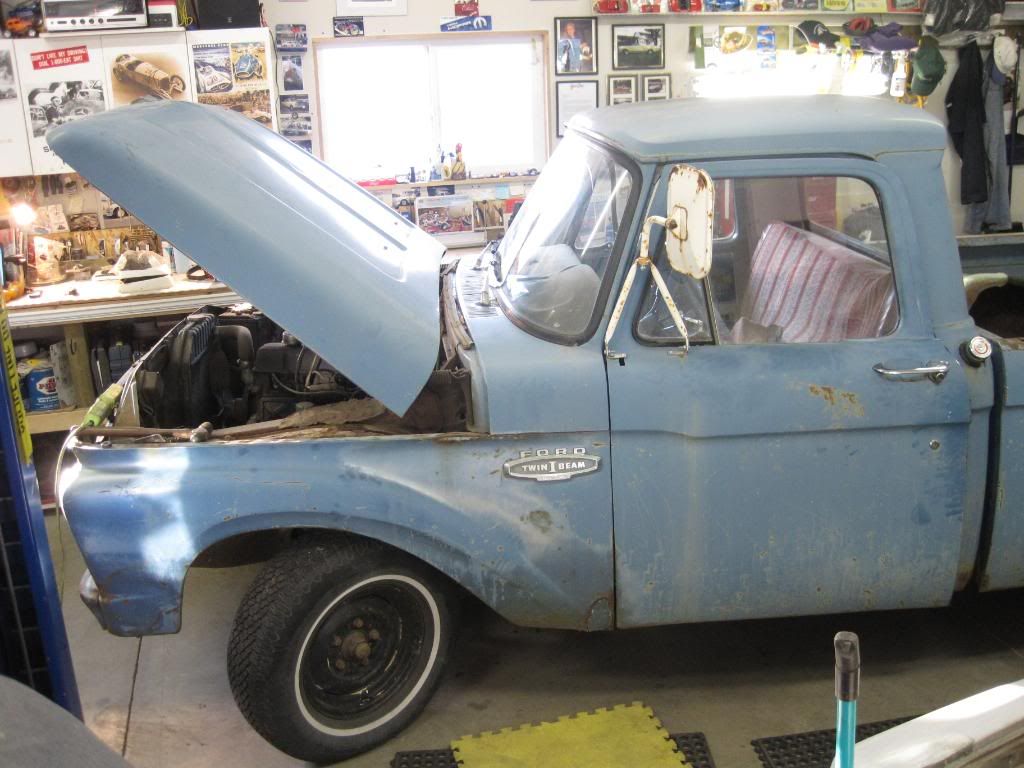
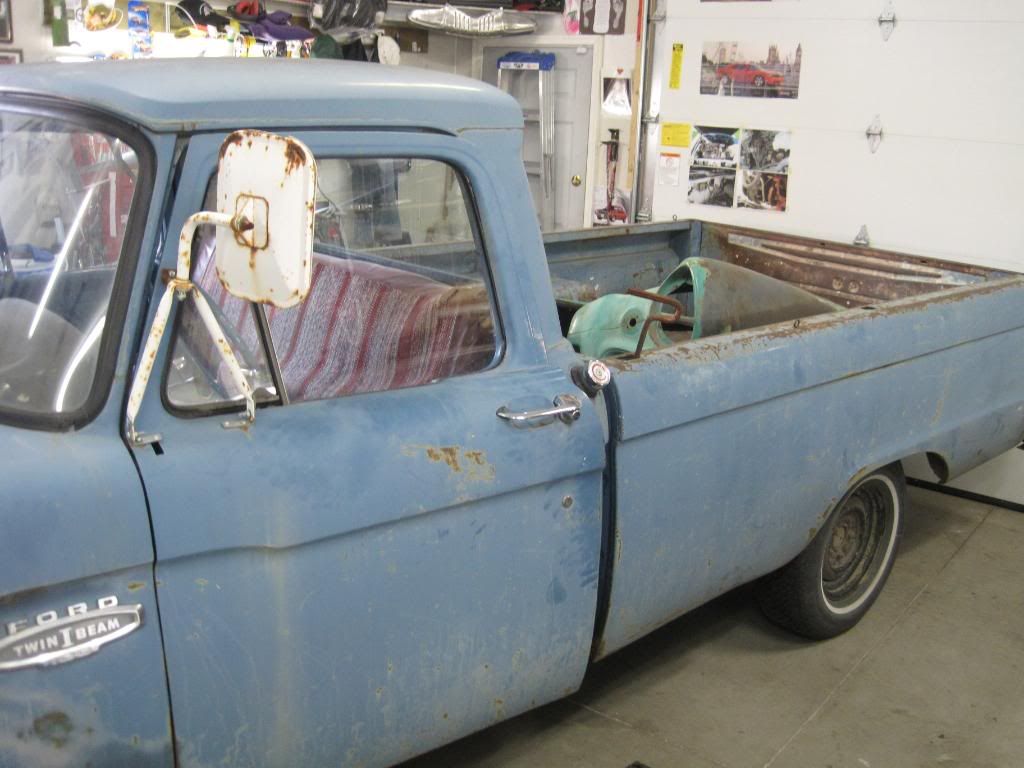
Walker's 66 Ford F100 Restoration
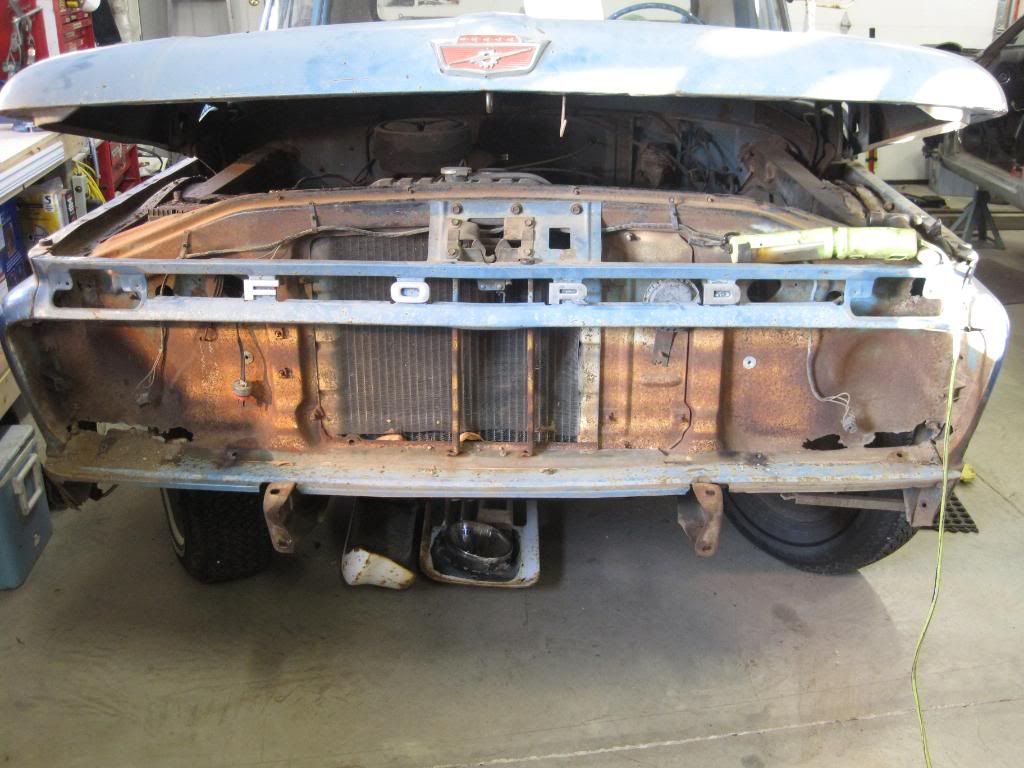
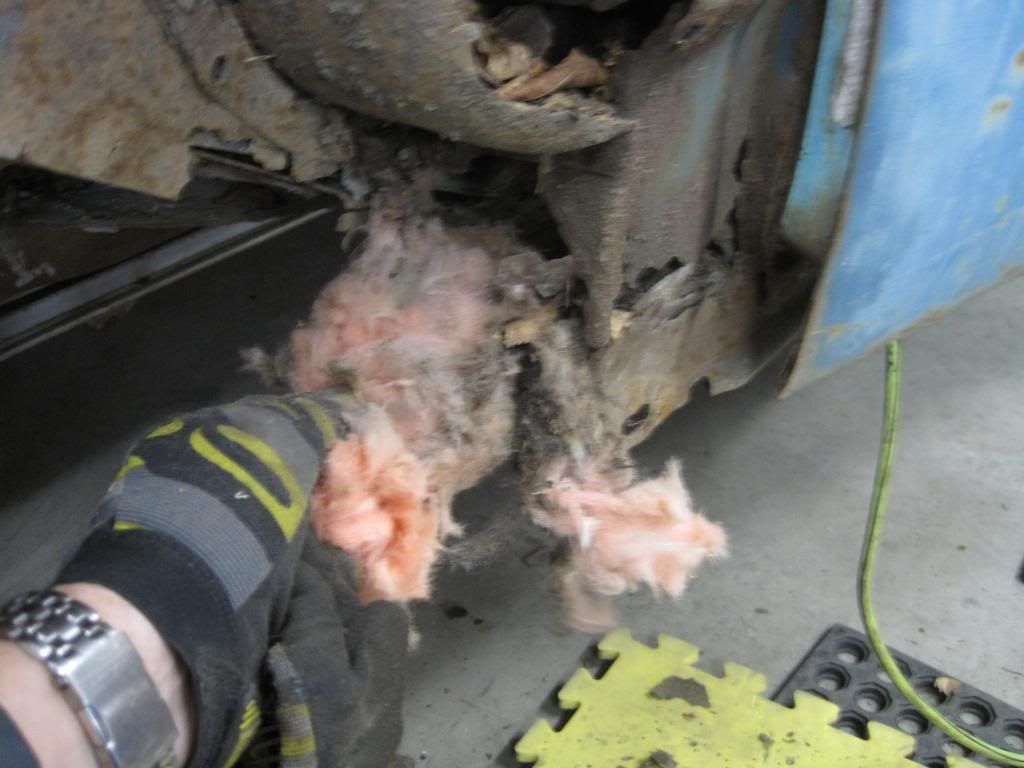
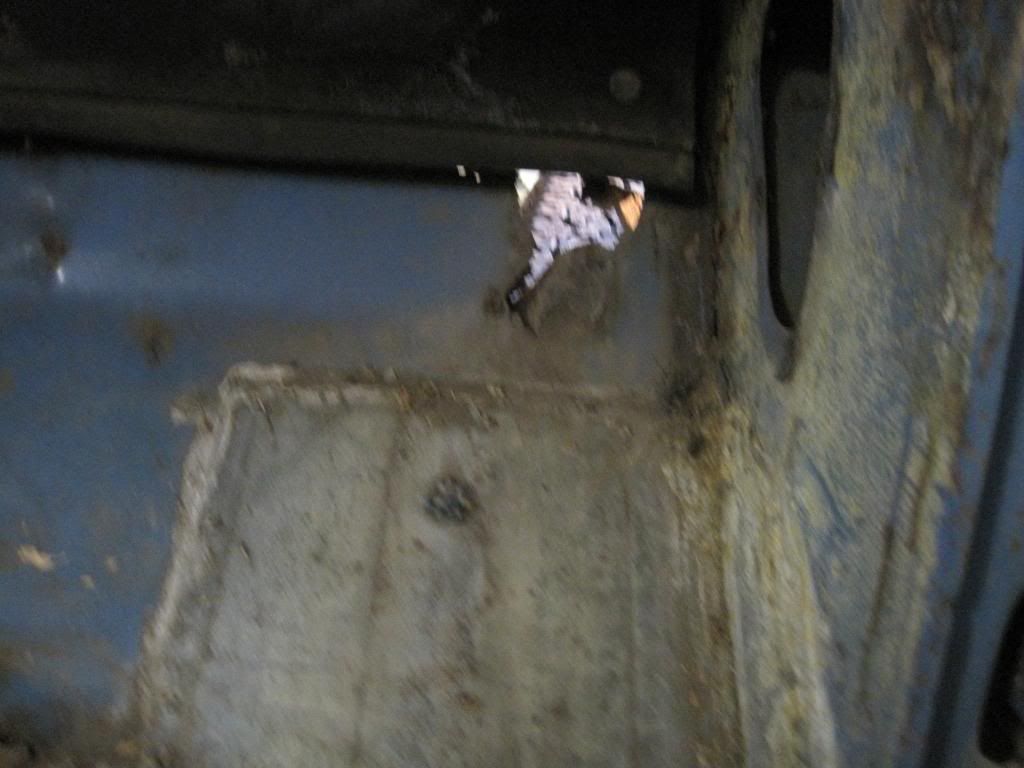
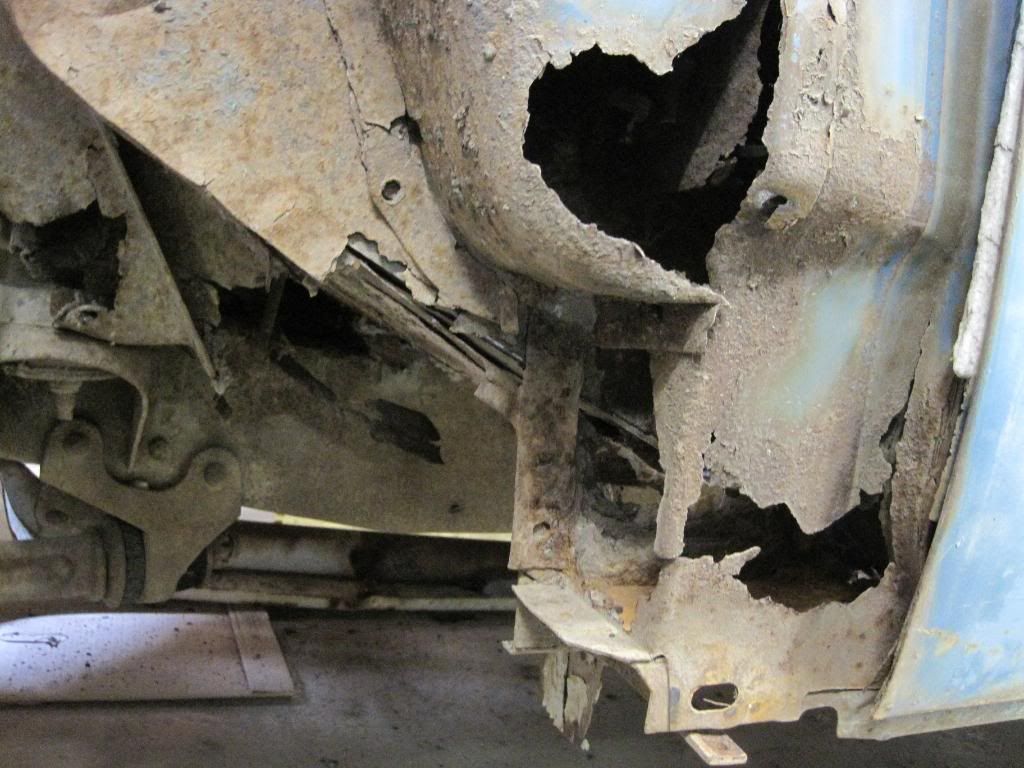
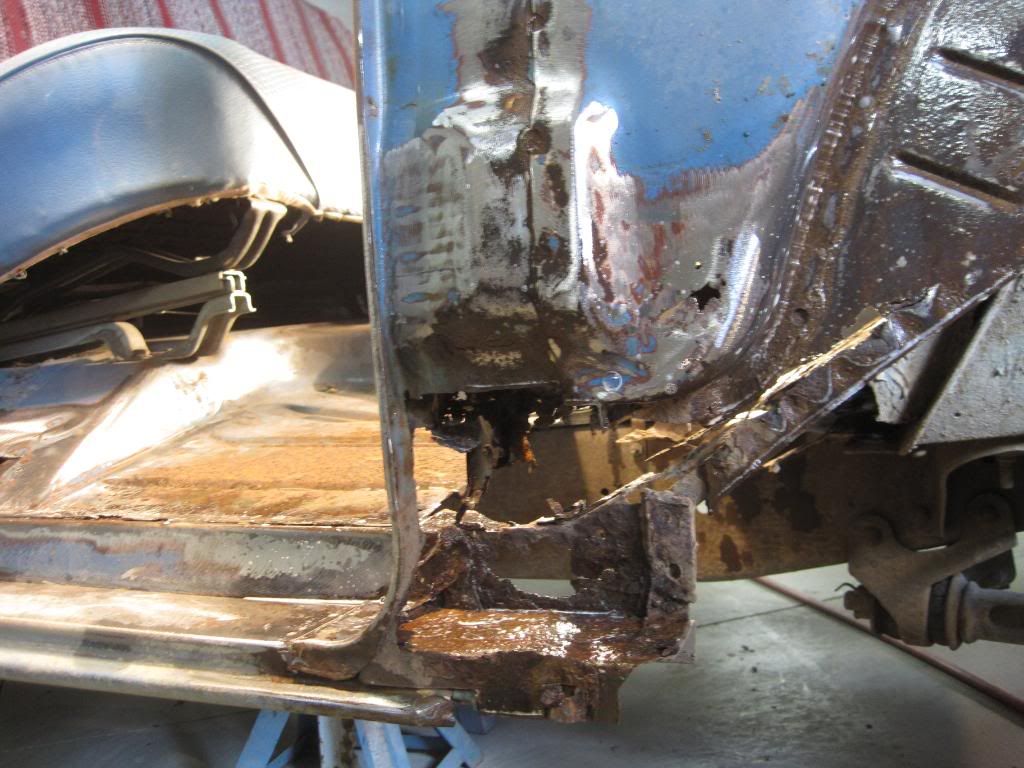
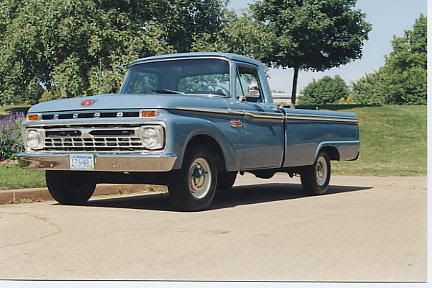
Here's a new project I've taken on. A decent looker, but very rusty 66. The inner fenders where bondo'd together along the top structural form, the fenders where bondo'd onto the inners, the cab mounts where formed from tin and bondo - and no fewer than 3 cardinal sins of "hack-bodywork": filler over screens, filler over chicken wire and filler over rags and fibreglass insulation stuffed in holes.
Here's the tear-down...
Here's the tear-down...
#3
12-15-2009, 06:53 PM

Senior User
Join Date: Dec 2007
Location: Camden, TN
Posts: 133
Likes: 0
Received 0 Likes
on
0 Posts
#4
12-15-2009, 07:41 PM
Join Date: Apr 2008
Location: Saskatoon
Posts: 648
Likes: 0
Received 0 Likes
on
0 Posts
I had the owner come by today to see the extent of the rust. A part of me wanted him to trash it, as I've done some like this before and it's not a lot of fun! However, he has some ties to the truck (grandfathers) so I can understand wanting to save it.
We found that Dennis Carpenter has all the parts needed to cut and splice, including floor sections, floor rails, cab corners and rockers, so it should come out nice. Of course that still leaves the worst parts to be shaped by hand - the front cab corner and kick plates. Oh well, that's what I do!
lol - here they are! Someone had put in a fine floor pan already....
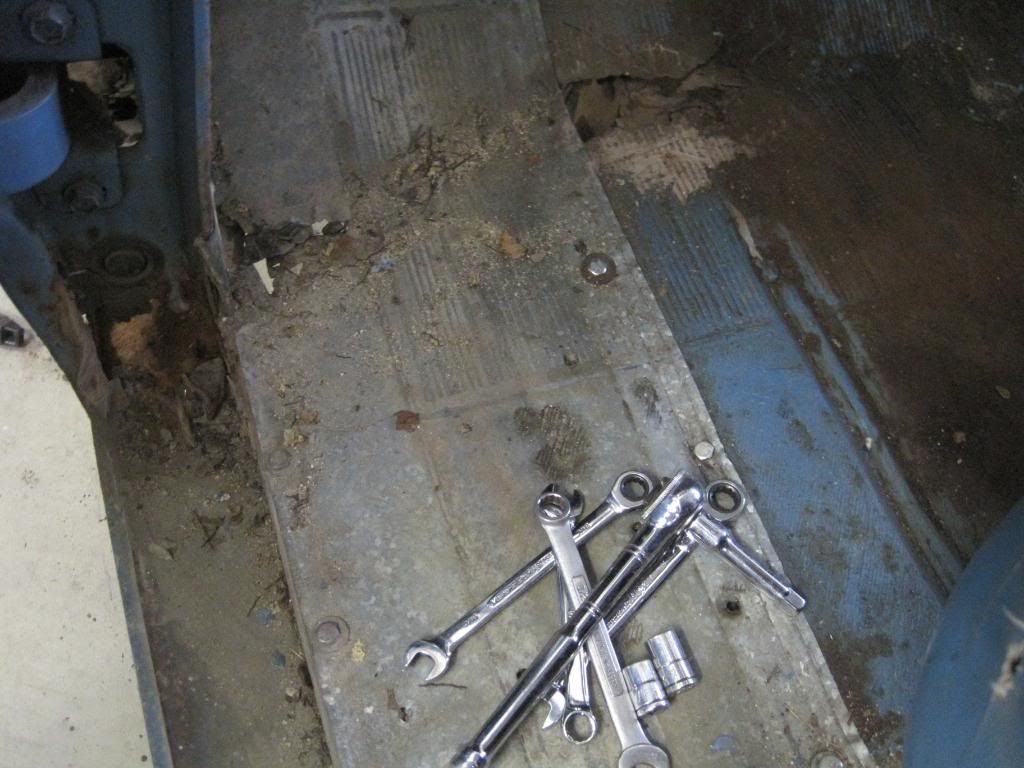

Here's a parts that need to be re-created:
We found that Dennis Carpenter has all the parts needed to cut and splice, including floor sections, floor rails, cab corners and rockers, so it should come out nice. Of course that still leaves the worst parts to be shaped by hand - the front cab corner and kick plates. Oh well, that's what I do!
lol - here they are! Someone had put in a fine floor pan already....
Here's a parts that need to be re-created:

#6
12-15-2009, 10:52 PM
Now it looks even worse and the owner wants to save it? Should have taken better care of it in the beginning to avoid all that. I hate rust with a passion and have to deal with it on the Carrier where 1/4" steel plate has rust through. However, I never let it get anywhere near my cars. Sure hope you are getting a pretty penny or two for this massive undertaking...
#7
12-16-2009, 01:52 AM
Cargo Master
Join Date: Mar 2004
Location: Sewanee, Tennessee
Posts: 2,985
Likes: 0
Received 0 Likes
on
0 Posts
Trending Topics
#8
12-16-2009, 08:26 AM

#9
12-16-2009, 09:54 AM
Join Date: Apr 2008
Location: Saskatoon
Posts: 648
Likes: 0
Received 0 Likes
on
0 Posts
I did make the suggestion of changing out the cab, but any others would likely have at least some of the same rusted areas - so....small patches/large patches. As well, changing out a cab is it's own undertaking, from engine to dash, glass, doors.....
Anyways, we've decided on this tact now, so once the new parts are here I can begin measuring and cutting. I always find with rust-outs that while they look TERRIBLE like this, once the parts are ground down and cut, it looks MUCH better!")
Anyways, we've decided on this tact now, so once the new parts are here I can begin measuring and cutting. I always find with rust-outs that while they look TERRIBLE like this, once the parts are ground down and cut, it looks MUCH better!
#10
12-16-2009, 08:03 PM
I understand I replaced floor pans and cab mounts and cab corners, which I bought everything from Rick at Carolina Classics the floor pans and new cab mounts were perfect just the cab corners were offshore and a wee bit thin and didn't match too well but I am on too Body work. I have about 200 picks on Flickr just search 64f100 and look for dman642008 and you will see all my pics. It has been a whole new learning curve as I haven't done any customizing or restorations in 20 plus years but it has been a blast.
Take Care D!
Take Care D!
#11
12-17-2009, 06:24 PM
Join Date: Apr 2008
Location: Saskatoon
Posts: 648
Likes: 0
Received 0 Likes
on
0 Posts
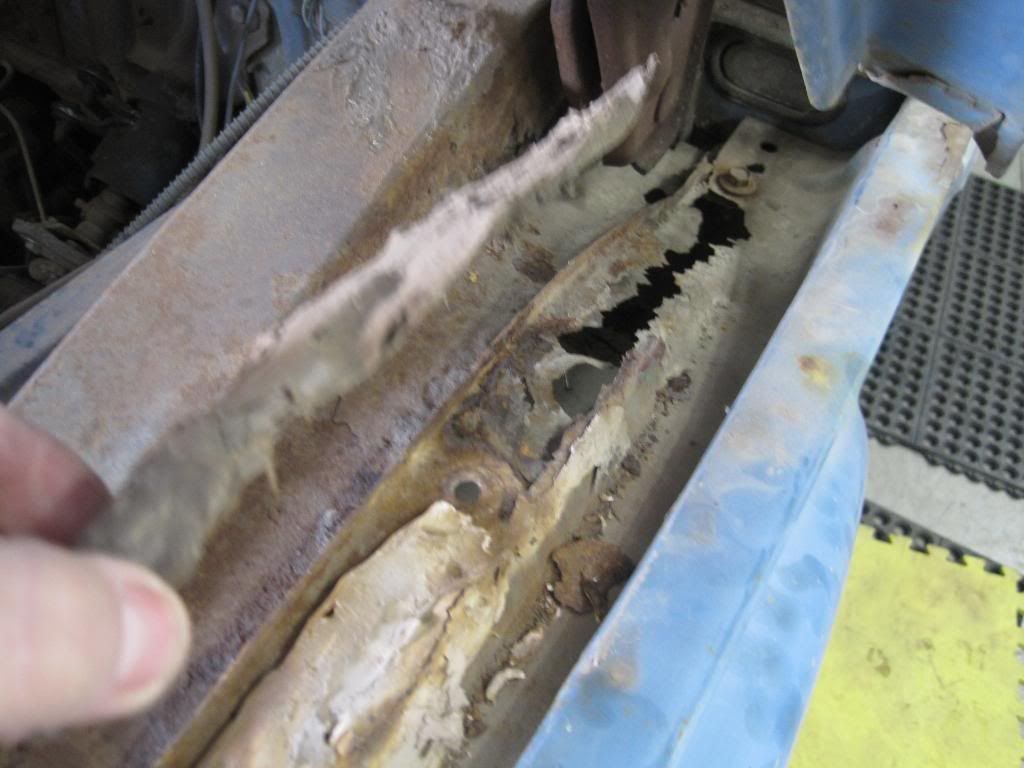
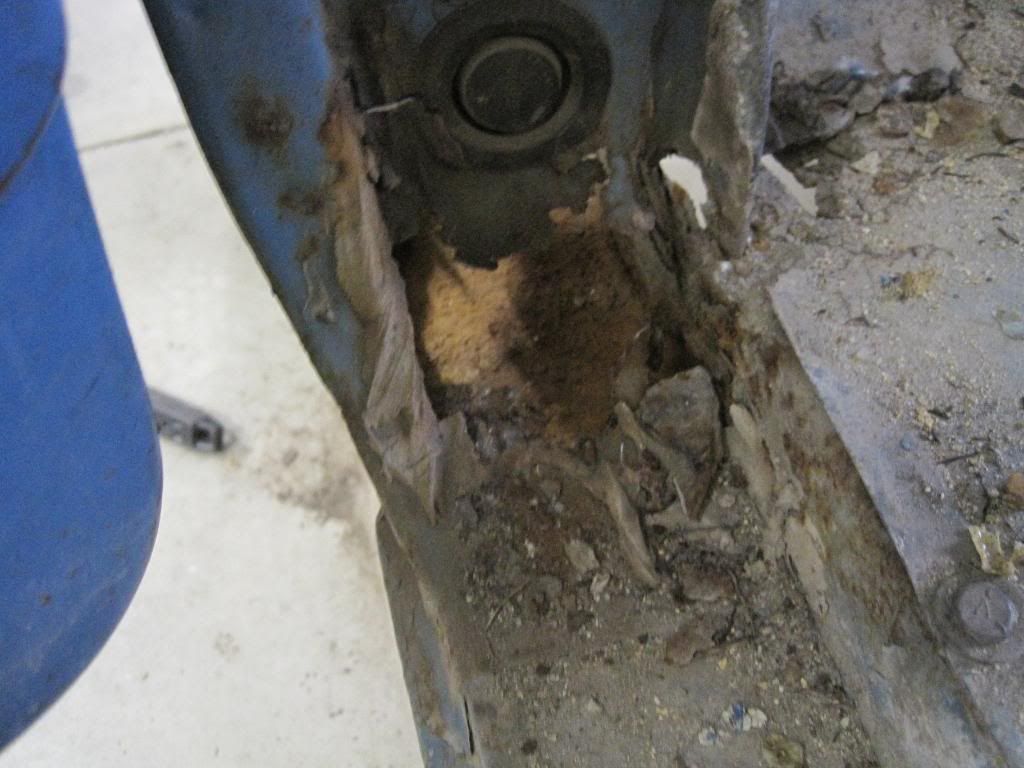
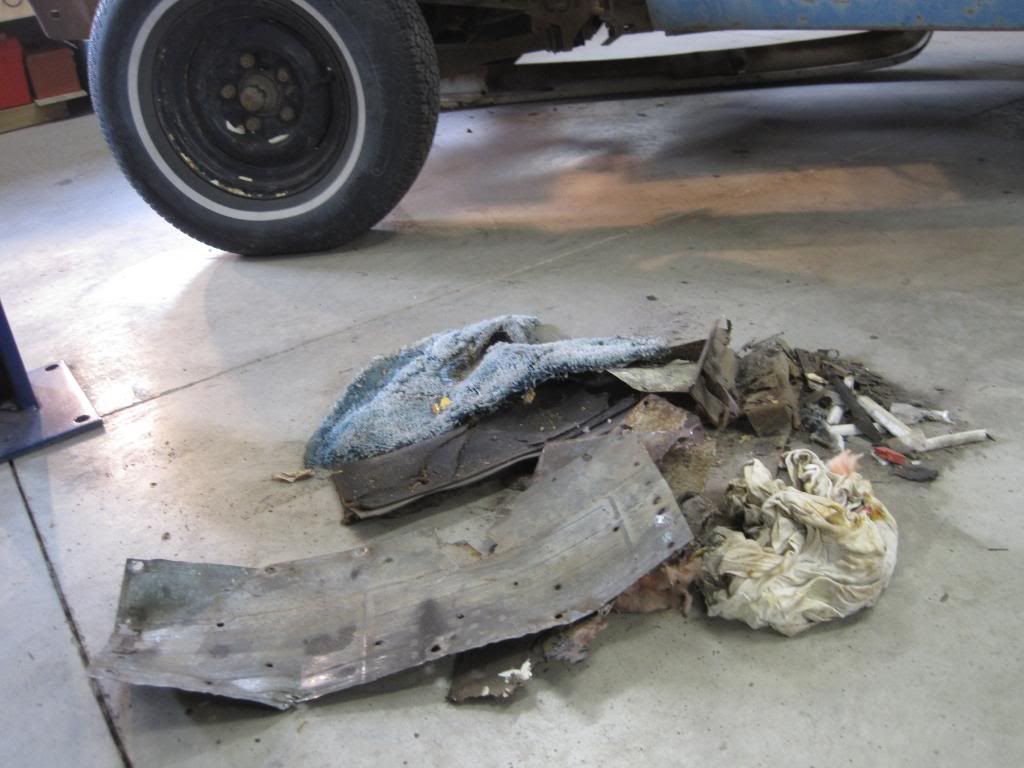
Today's efforts - tore it down further (doors, seat, body mounts), then cut out a bunch of the rot so I could see what I needed to fab and what would come as parts ordered. This is one of my favourite parts of a resto - cutting the rusty parts out and leaving just the solid stuff - and holes to be filled with new metal!
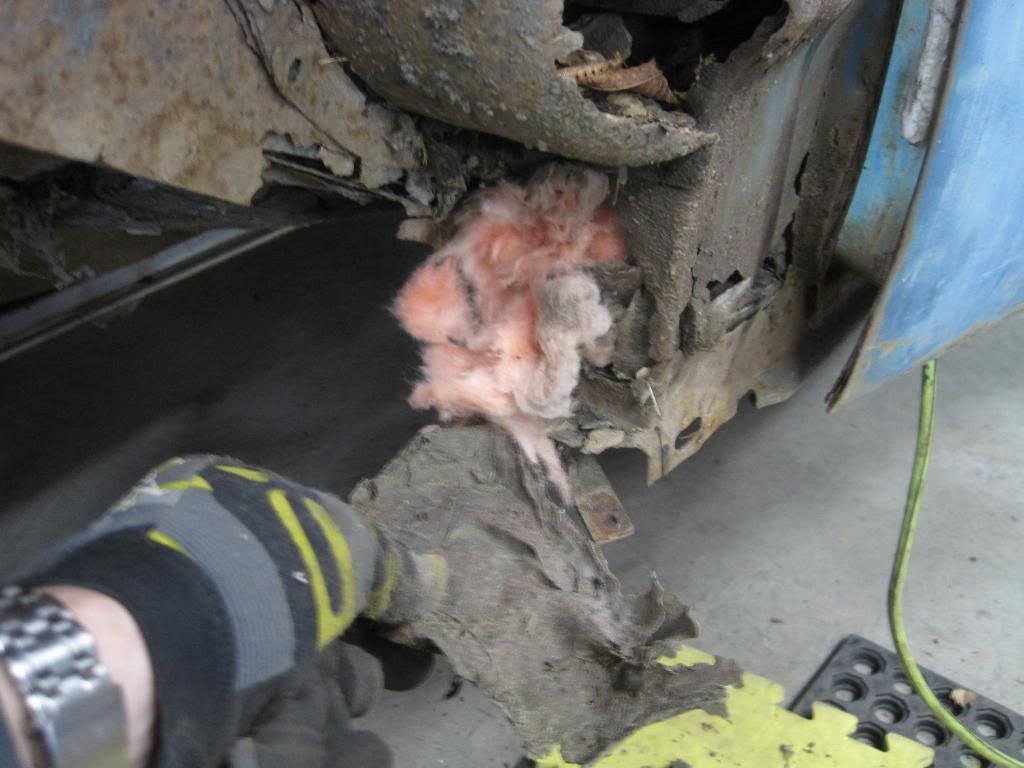
I collected several piles like this:
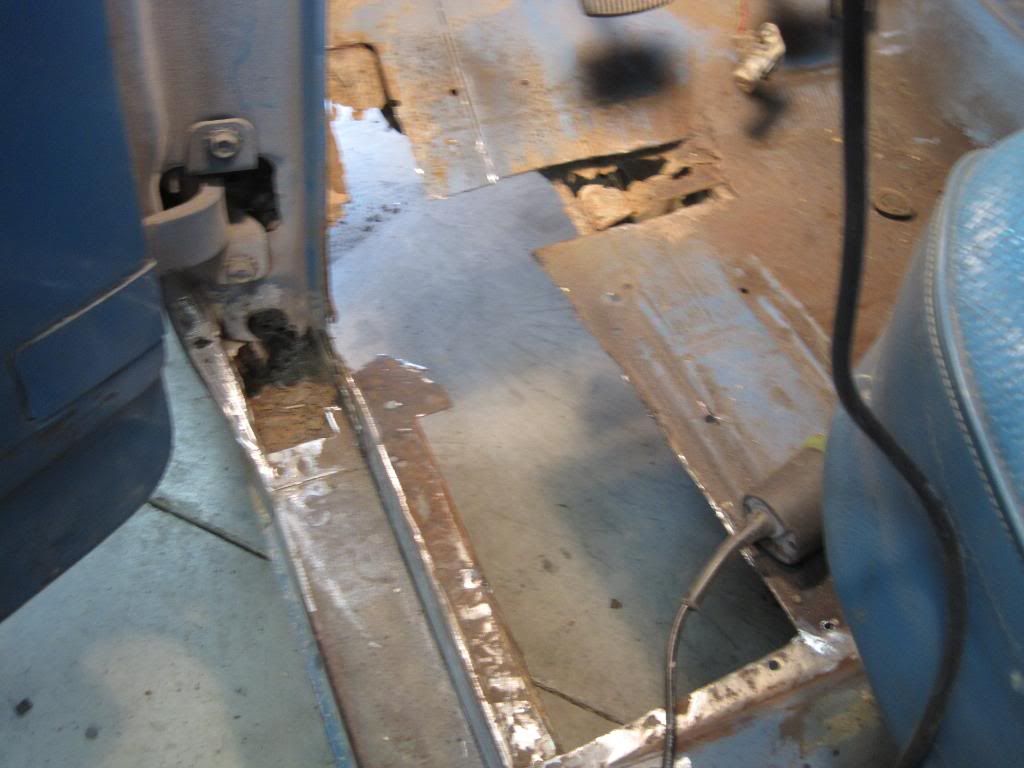
The wet stuff is Metal Ready (Phosphoric Acid) rust converter and metal etch.
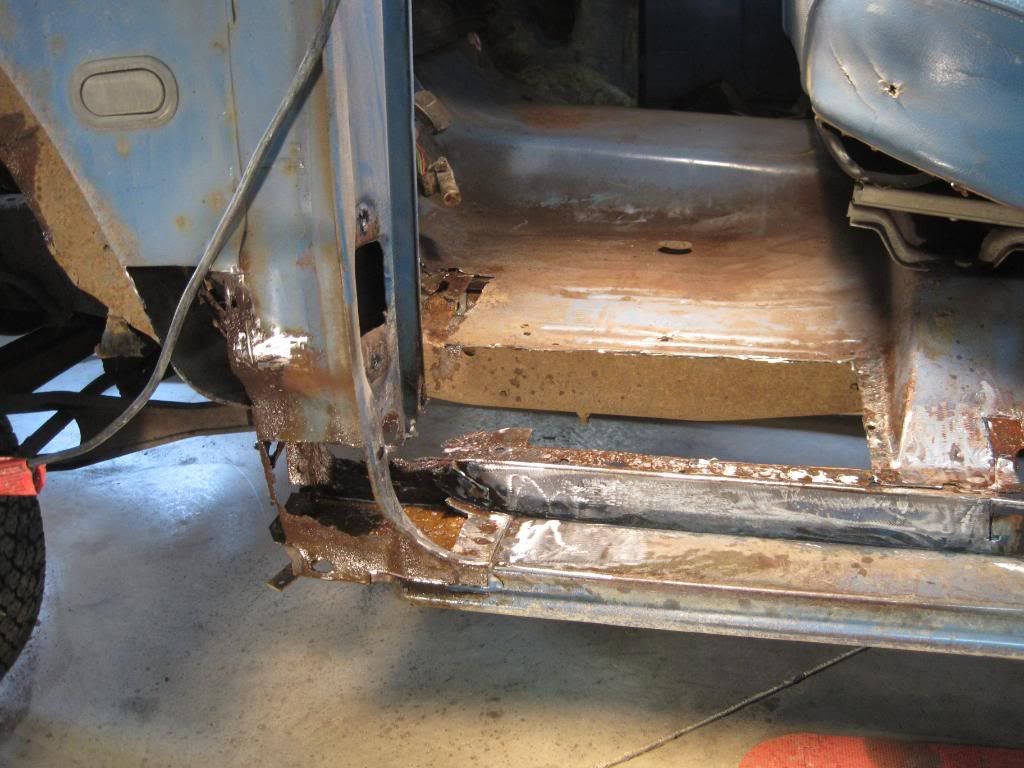
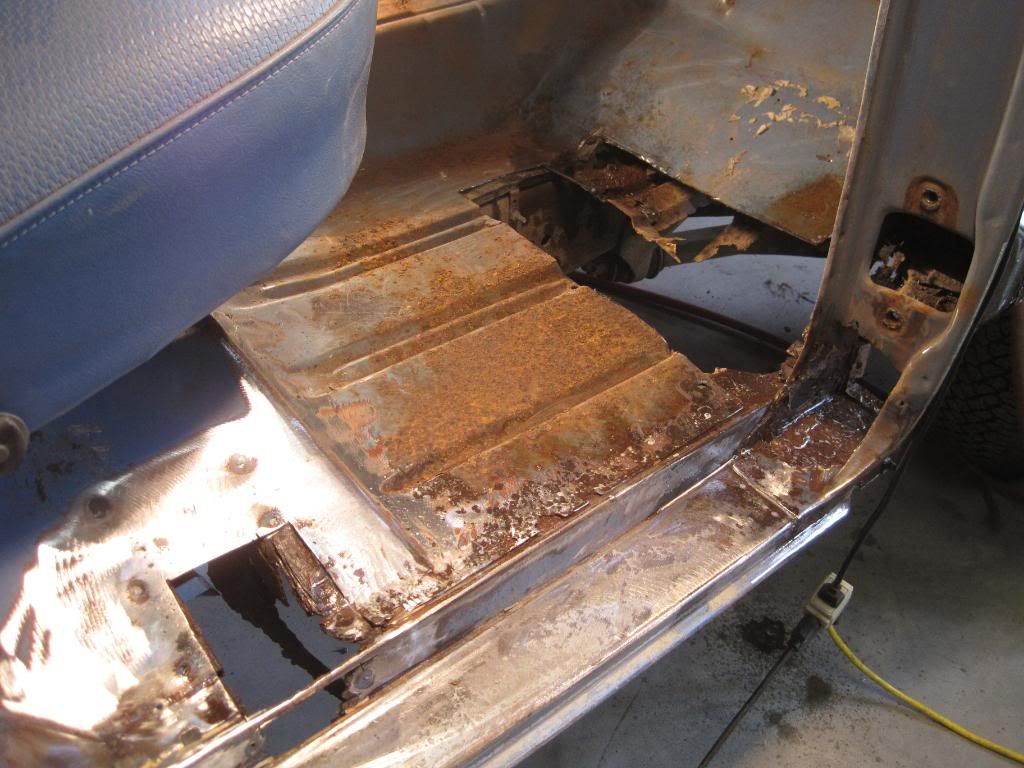
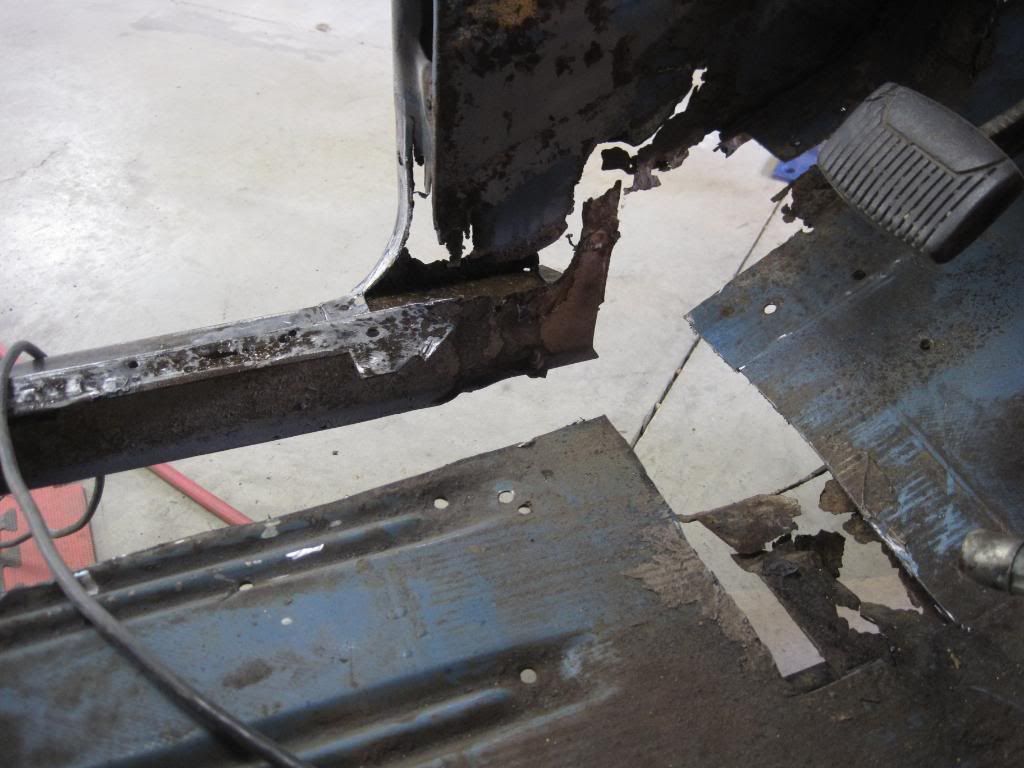
This is just the start of course - so I could see what I needed to cut and save and where the joins are - I'll be replacing MUCH more than is cut so far!!
I collected several piles like this:
The wet stuff is Metal Ready (Phosphoric Acid) rust converter and metal etch.
This is just the start of course - so I could see what I needed to cut and save and where the joins are - I'll be replacing MUCH more than is cut so far!!
#14
12-18-2009, 04:52 PM

Postmaster
It will get there...just takes time and patience with fitment and alignment...always scary driving in a truck with natural a/c...but alot of fun seeing what a rusty pile of junk to many can become with proper fixes and paint and undercoating.
What does the frame itself look like ??? How bad is the bed...tailgate ???
- cs65
What does the frame itself look like ??? How bad is the bed...tailgate ???
- cs65
#15
12-18-2009, 07:10 PM
Join Date: Apr 2008
Location: Saskatoon
Posts: 648
Likes: 0
Received 0 Likes
on
0 Posts
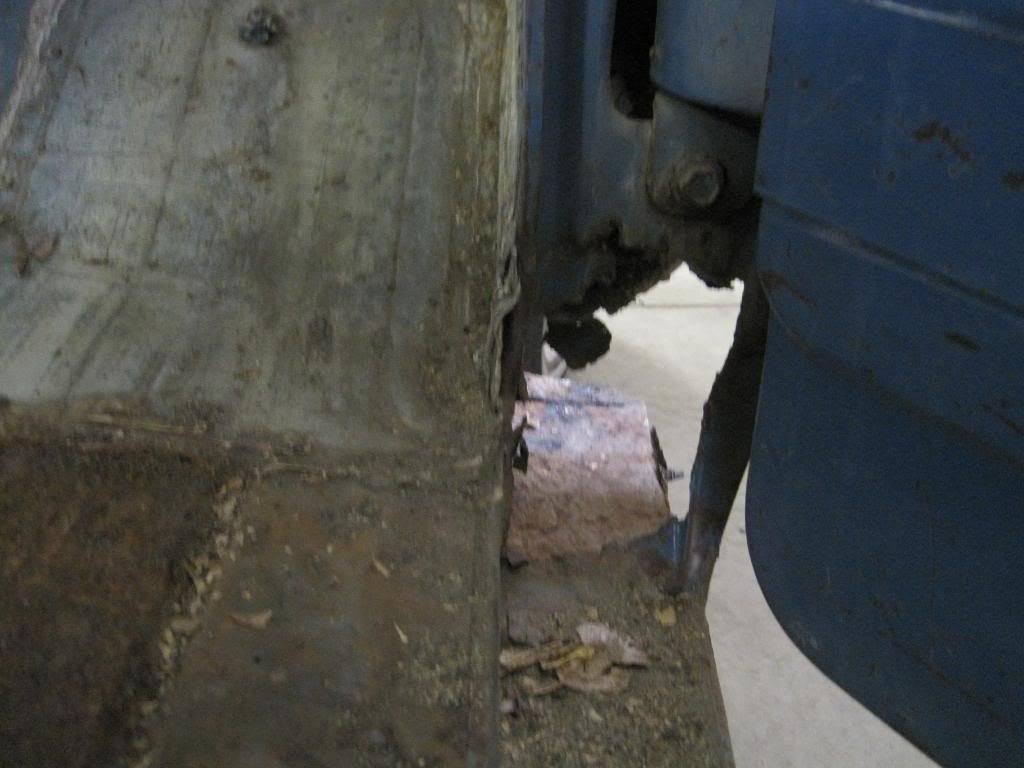
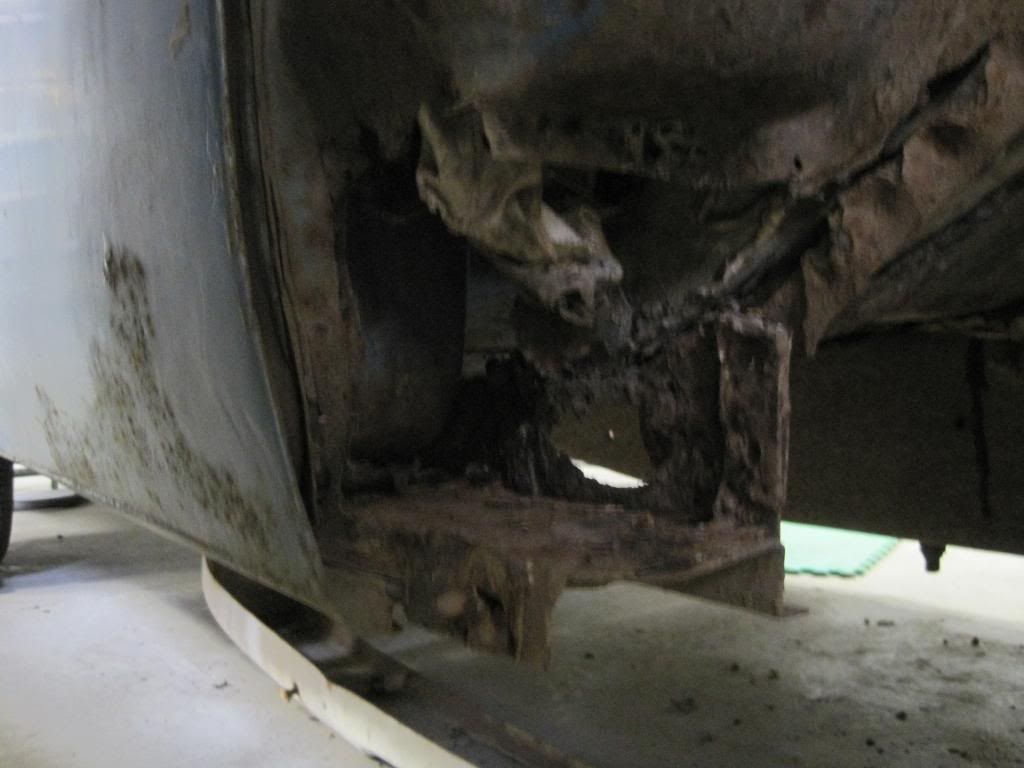
Actually, these are the only real bad parts on the truck, as well as the rear cab corners and some spots on the box floor where someone had bolted some wood, which was holding moisture. The box otherwise is in good shape, as are the doors, etc.
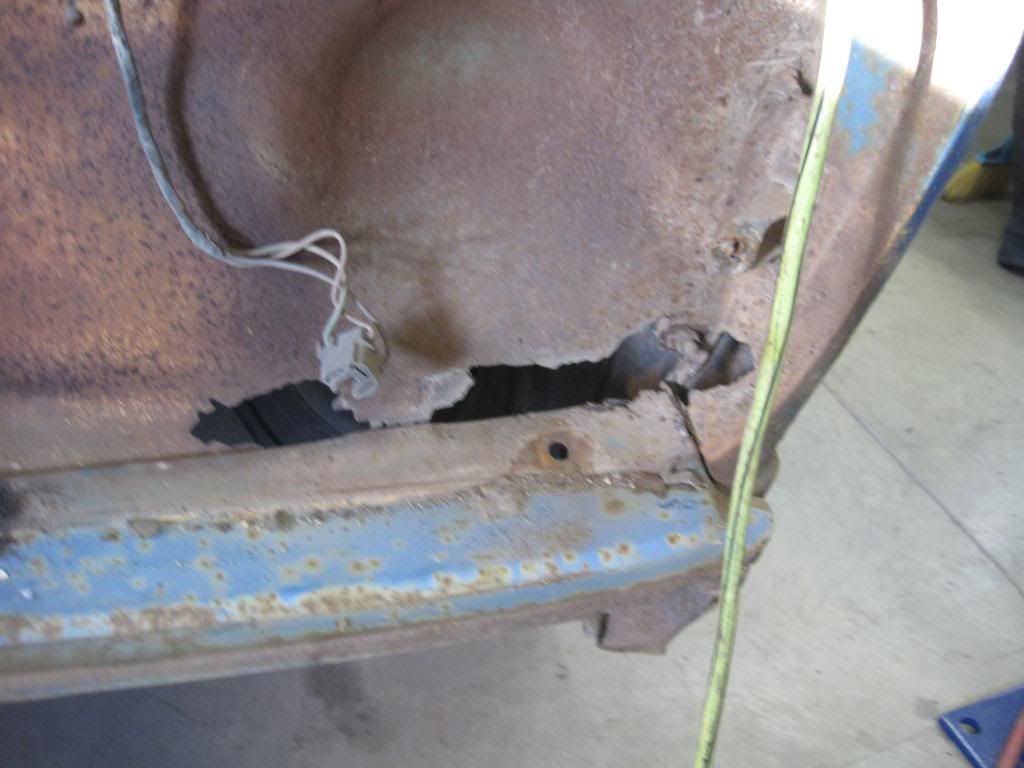
The reason these parts of these trucks went bad was due to not having splash shields in the fender wells. Mud, salt, moisture and debris got caught in the fenders, body mount boxes and up against the floor boards until they rusted out. As well, the front of the rocker panels are open - no end caps - so these filled with debris as well. Nice trucks - just poorly designed from a rust POV.
The reason these parts of these trucks went bad was due to not having splash shields in the fender wells. Mud, salt, moisture and debris got caught in the fenders, body mount boxes and up against the floor boards until they rusted out. As well, the front of the rocker panels are open - no end caps - so these filled with debris as well. Nice trucks - just poorly designed from a rust POV.