Walker's 66 Ford F100 Restoration

#17
 12-18-2009, 07:46 PM
Join Date: Apr 2008
Location: Saskatoon
Posts: 648
Likes: 0
Received 0 Likes
on
0 Posts
#18
12-18-2009, 07:52 PM


#20
12-22-2009, 07:36 PM
Join Date: Apr 2008
Location: Saskatoon
Posts: 648
Likes: 0
Received 0 Likes
on
0 Posts

#21
12-22-2009, 08:52 PM

Postmaster
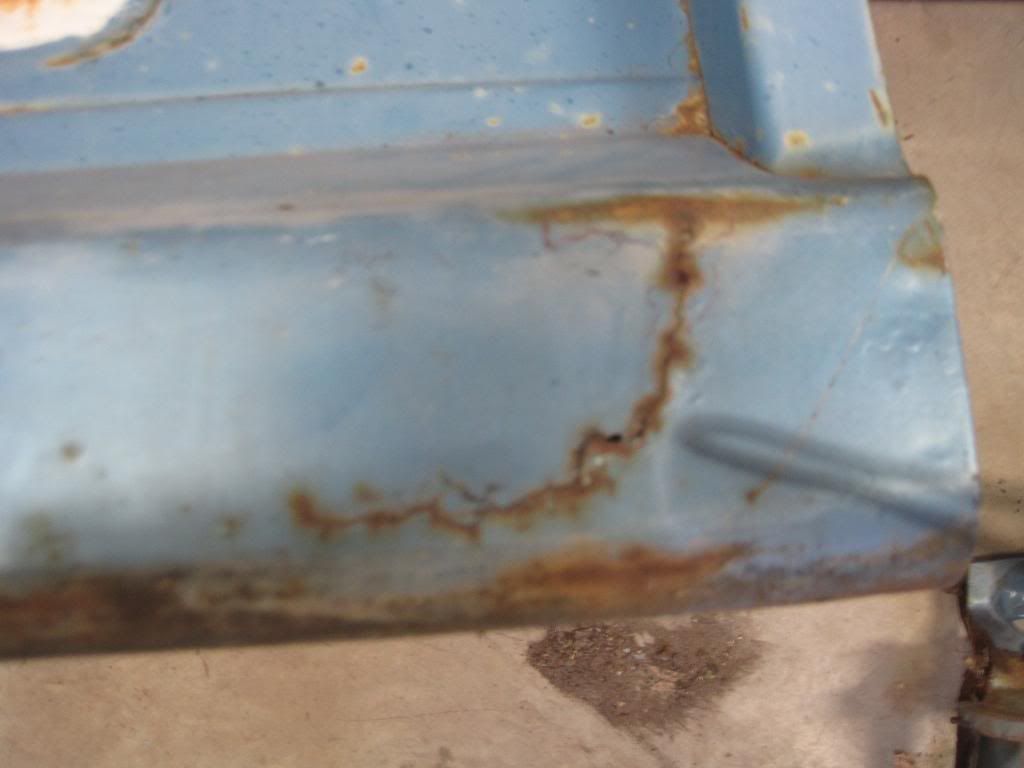
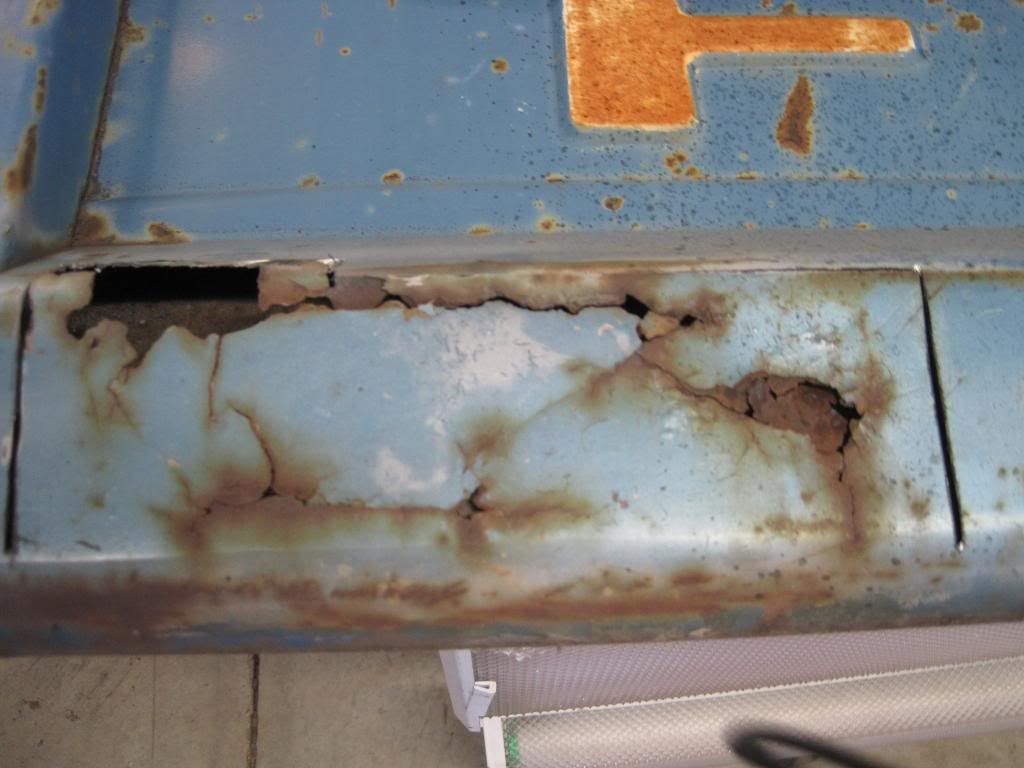
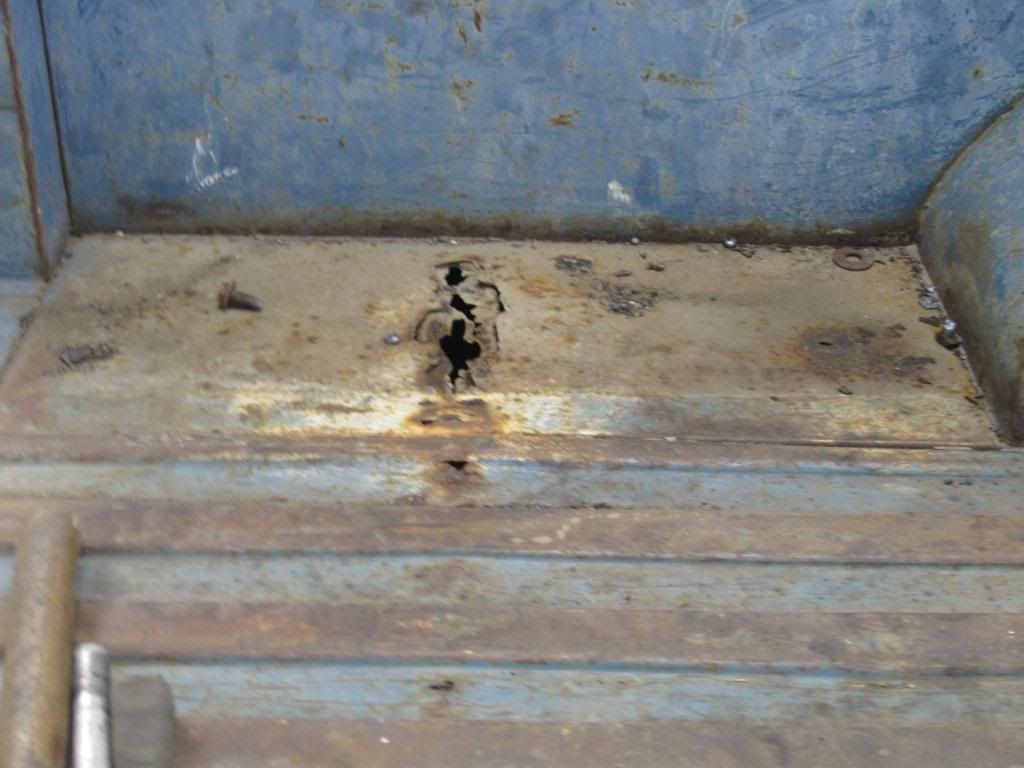
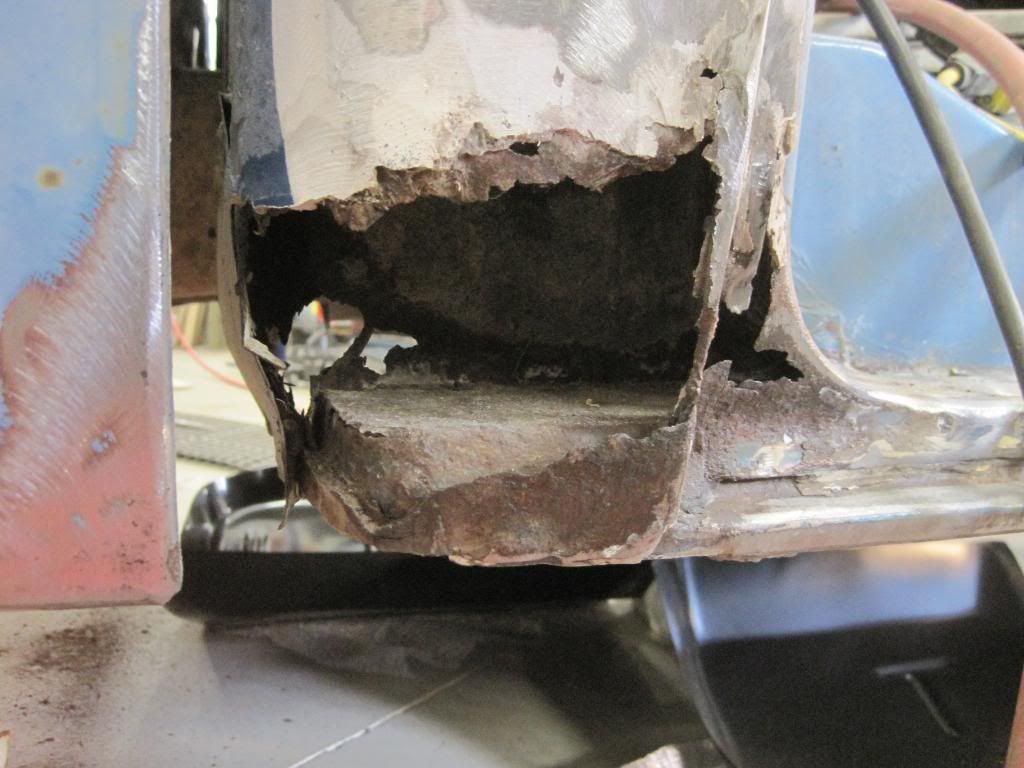
Great pics of a typical rust area on the gates...that area is double wall as I recall...if you havent closed the areas back up. by all means look closely at the hinge pockets on the outer areas of the lower ends ...this is a very common rust area...if they are weak or bad...having that area open as you do is prime time to spot weld new pieces in there.
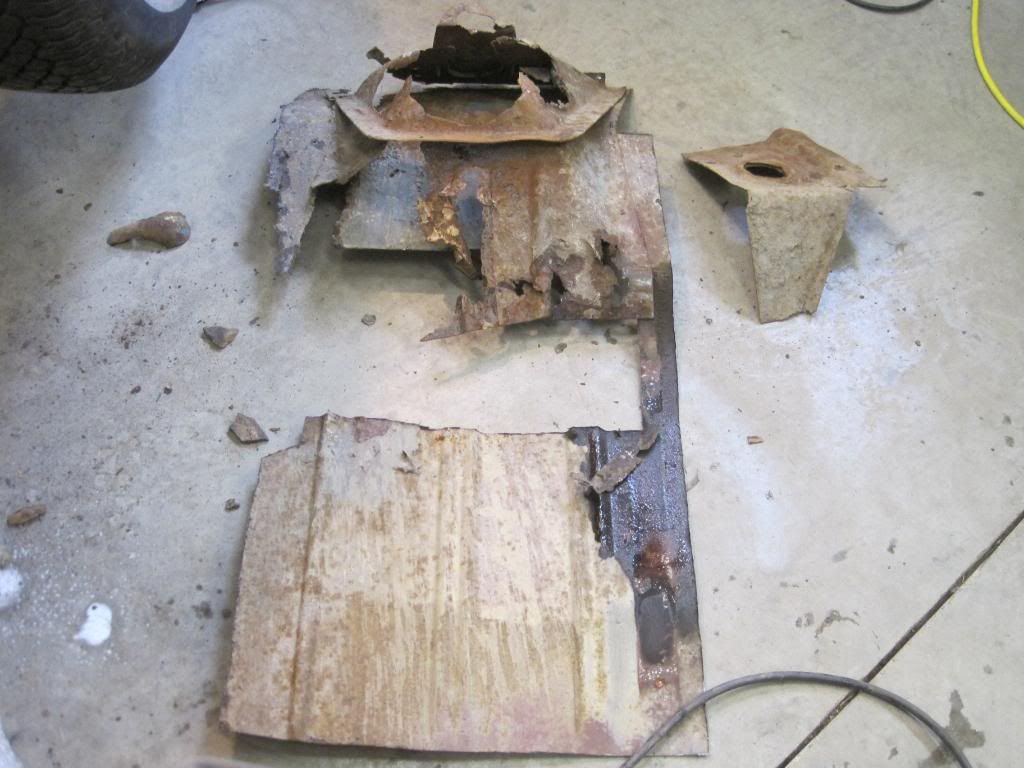
The bed area you posted pics of is a common weak area too...take lotsa pics on it...I got 3 of the 4 flat corner panels to repair/replace.
Definately keep the pics coming...Are you gonna make a link on the truck on the shops site ??? I would recomend it ...great pics and very nice layout what Ive seen.
Keep warm and keep up the great work..Its always a pleasure seeing someone repair vs replace body panels.
- cs65
Last edited by camperspecial65; 12-22-2009 at 08:54 PM. Reason: added info
#24
12-25-2009, 11:43 PM
Man I just live 20 miles away and have a really good 95% rust free cab and inner fenders on a 66 here. That would of saved you a lot of work. To me 5that cab was very badly toasted. The guy must be willing to pay the money to fix that truck.
I sold a 64 Chev truck that went out east. It was just as bad. The guy that bought plans to fix it also.
It is hard to find good cabs in our climate and country here.
If you need some parts just PM .
I just selling a solid rad support from this truck. I have to remove it yet. A fella in Lethbridge wants it.
#25
12-26-2009, 01:33 PM

#26
12-26-2009, 08:24 PM
Join Date: Apr 2008
Location: Saskatoon
Posts: 648
Likes: 0
Received 0 Likes
on
0 Posts
Man I just live 20 miles away and have a really good 95% rust free cab and inner fenders on a 66 here. That would of saved you a lot of work. To me 5that cab was very badly toasted. The guy must be willing to pay the money to fix that truck.
I sold a 64 Chev truck that went out east. It was just as bad. The guy that bought plans to fix it also.
It is hard to find good cabs in our climate and country here.
If you need some parts just PM .
I just selling a solid rad support from this truck. I have to remove it yet. A fella in Lethbridge wants it.
I sold a 64 Chev truck that went out east. It was just as bad. The guy that bought plans to fix it also.
It is hard to find good cabs in our climate and country here.
If you need some parts just PM .
I just selling a solid rad support from this truck. I have to remove it yet. A fella in Lethbridge wants it.
There is a decent cab on e-bay for just a couple hundred bucks. And cutting the entire floor from a 79 F100 will save you work. If this was the only 66 left on the planet I'd agree with you but.....the customer is always right.
#27
12-27-2009, 12:34 PM
Senior User
Join Date: Feb 2006
Location: eastern iowa
Posts: 184
Likes: 0
Received 0 Likes
on
0 Posts
WOW, and I thought my '66 was a bit on the rusty side. Please keep us updated on the progress...I plan on keeping track of this thread for reference on repairs. My door jams look similar, but not quite as bad. My truck sat for years with a camper on it, so the bed & back half of the cab were somewhat protected from the elements. The front door jams to the front of the truck is a different story. Can't wait to see more pics as you go along. 
#28
12-27-2009, 08:07 PM
Join Date: Apr 2008
Location: Saskatoon
Posts: 648
Likes: 0
Received 0 Likes
on
0 Posts
This'll be a big week in the build history of this baby! Owner dropped off all parts we ordered from Dennis Carpenter: R&L Floor Sections & Centre supports, R&L Cab Corners and a nice black rubber mat to top it off. Also, I cut the rust out of the box and made patches for those TG areas. With the brake I got (myself!) for Xmas, I'll be able to put the beast back together over the next couple weeks. Hopefully the owner (and you guys!) won't recognize it when done!
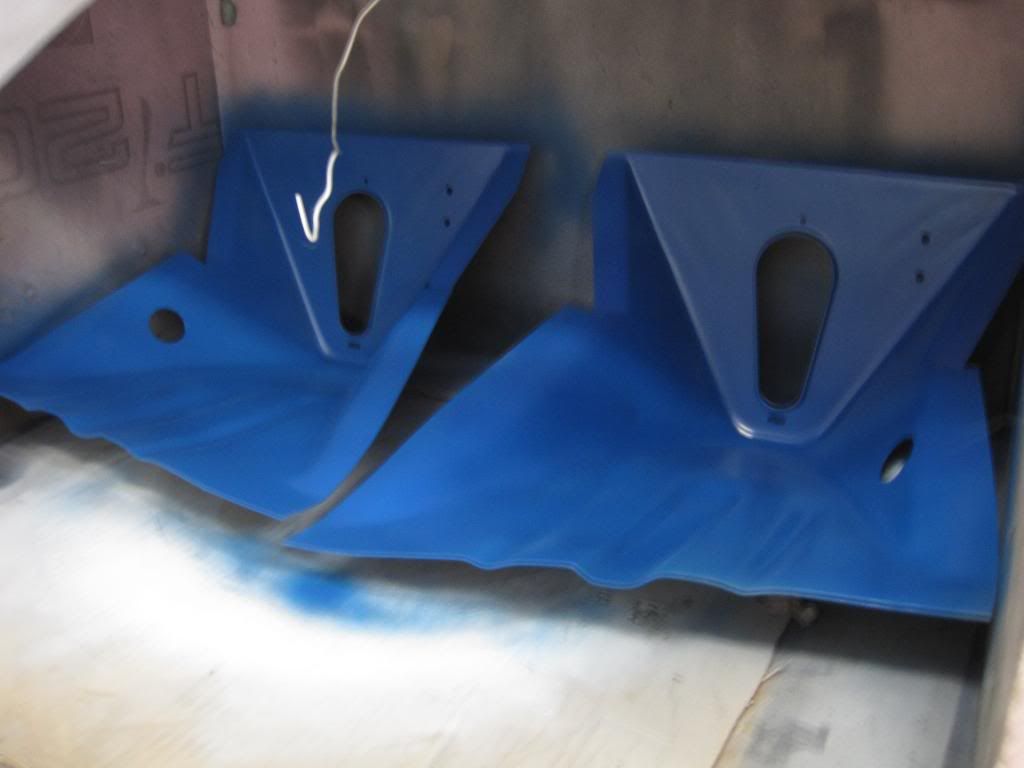
Does anyone know the code for this color of blue? Can't seem to find the code on the truck. Someone said Marlin Blue....Also - does it match to any color spray bomb? I want to spray the inners and unders blue as per OEM as I finish the metal work.
Cheers!
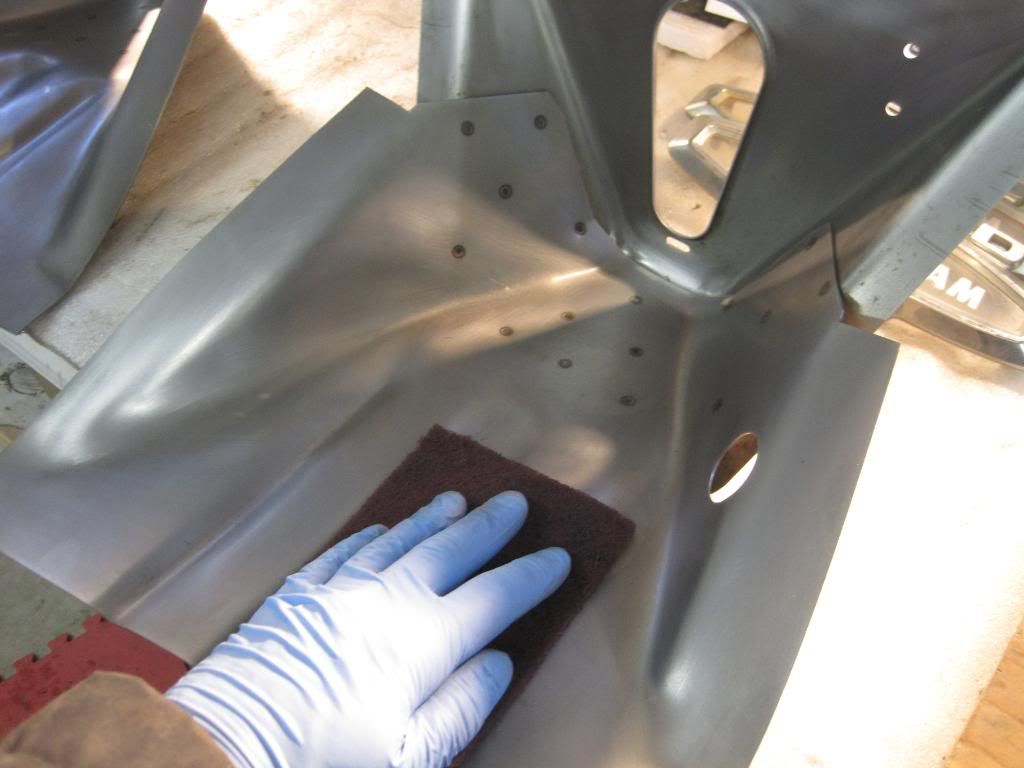
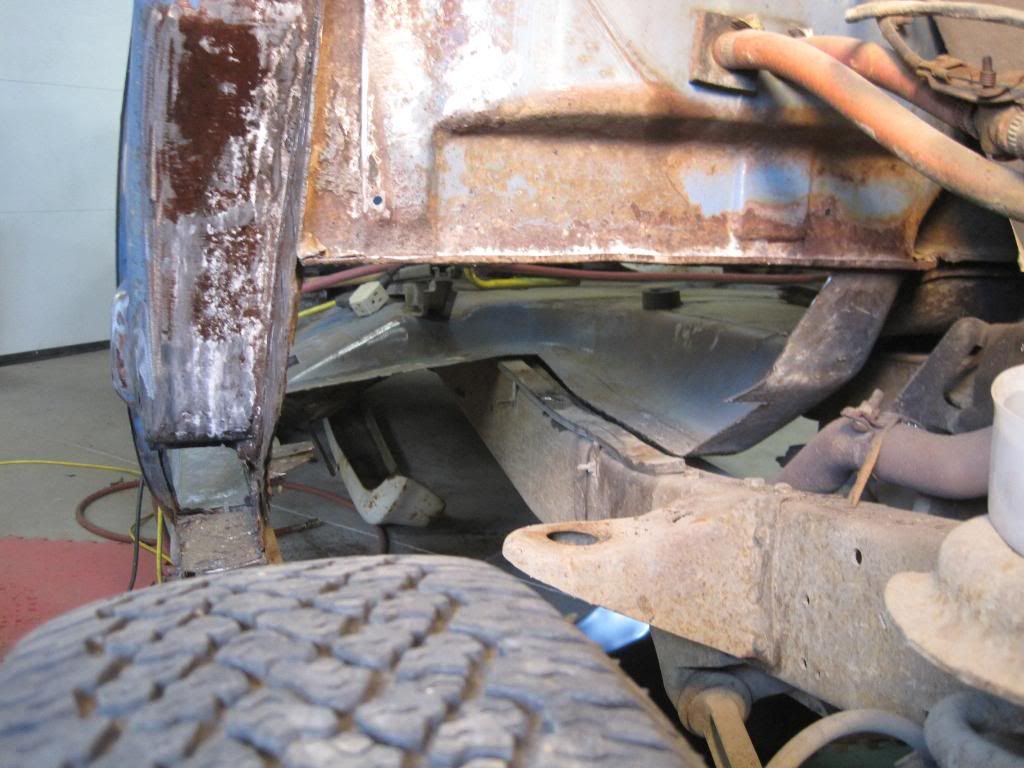
As you can see, I always spray any surface rust with Metal Ready, then paint the inners with POR 15 and the edges with Weld-Thru Primer. This is the most and best anyone can do with rust and should last many years.
Does anyone know the code for this color of blue? Can't seem to find the code on the truck. Someone said Marlin Blue....Also - does it match to any color spray bomb? I want to spray the inners and unders blue as per OEM as I finish the metal work.
Cheers!
As you can see, I always spray any surface rust with Metal Ready, then paint the inners with POR 15 and the edges with Weld-Thru Primer. This is the most and best anyone can do with rust and should last many years.
#29
12-27-2009, 09:51 PM
I have a Ditzler paint chip book here. The Marlin Blue looks darker, But who knows with fading and the chalking the old paint does. Marlin Blue paint code number is W I hope the tag may still be on the cowling or on the door tag with the serial number. If you find it and give me the letter I will look it up.
I do not have all the color chips in the book, They are letting loose for an old color chip book and other colors are listed , but no chips provided. I will do what I can. It only gives from 61 to 67 colors. 58 to 67 on Chryslers.
I do not have all the color chips in the book, They are letting loose for an old color chip book and other colors are listed , but no chips provided. I will do what I can. It only gives from 61 to 67 colors. 58 to 67 on Chryslers.
#30
12-28-2009, 07:32 PM
Join Date: Apr 2008
Location: Saskatoon
Posts: 648
Likes: 0
Received 0 Likes
on
0 Posts
OK, so finally got to have some fun today. Here's the parts the owner dropped off yesterday -
Floors
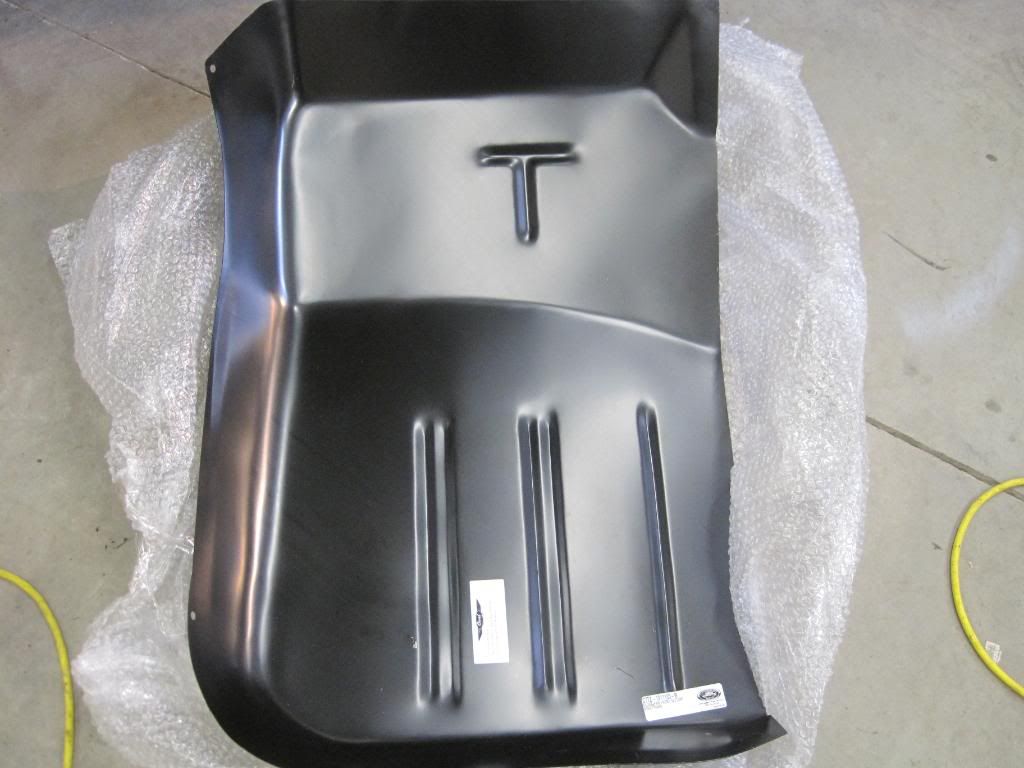
Cab corners
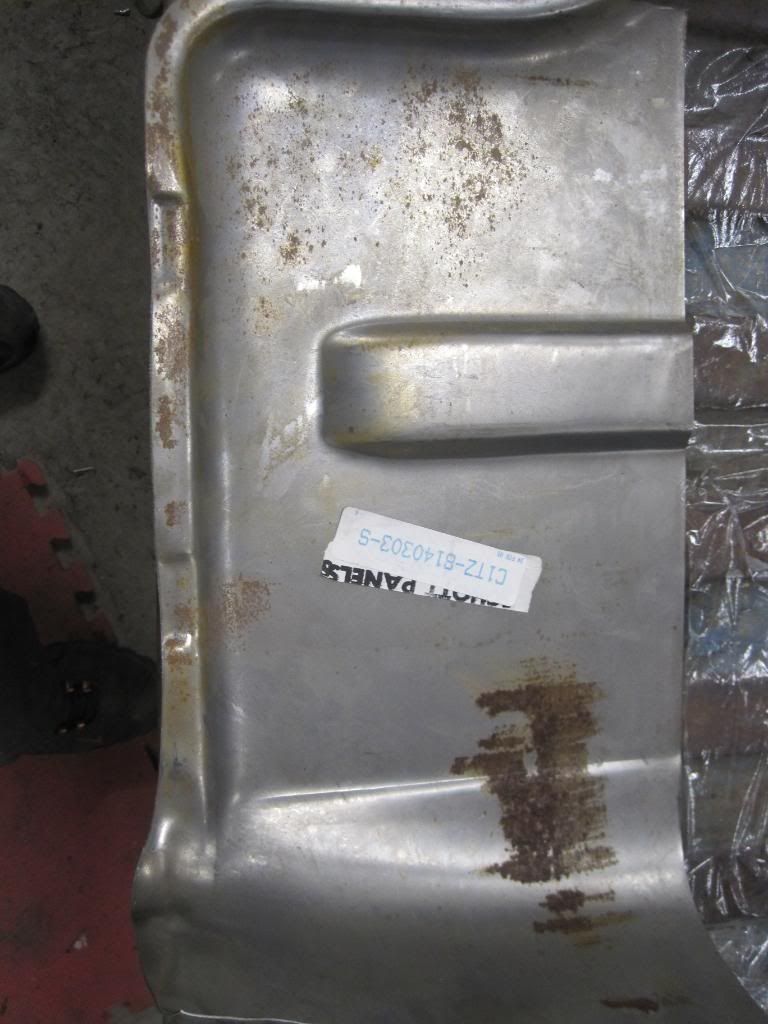
Floor centre braces
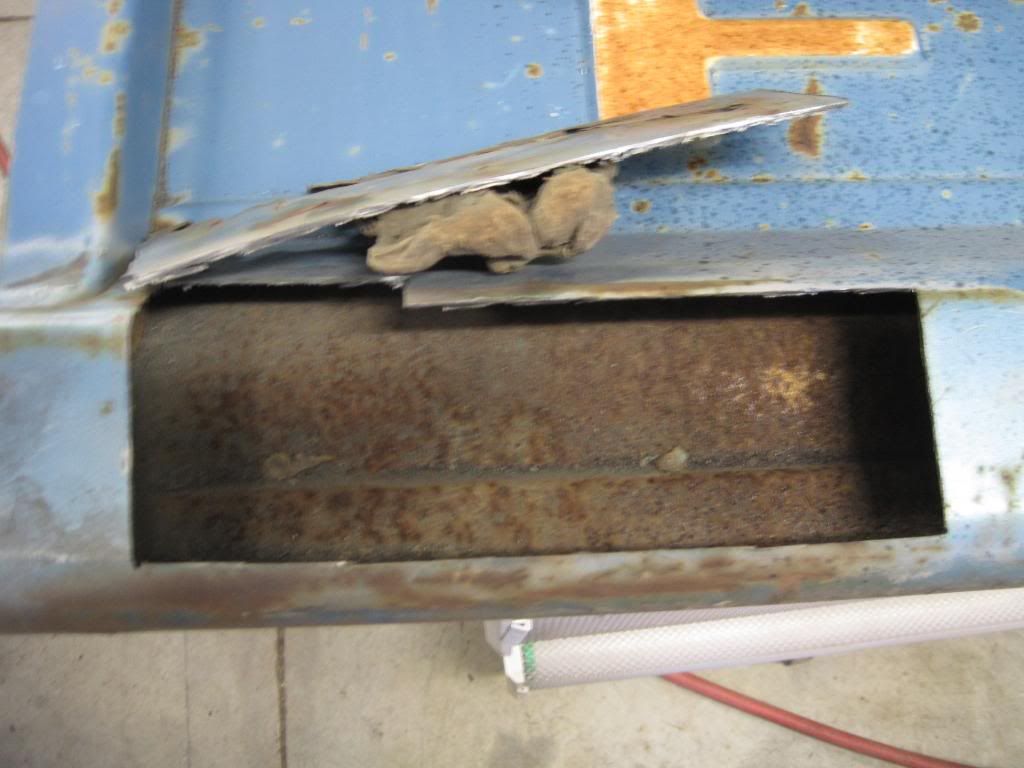
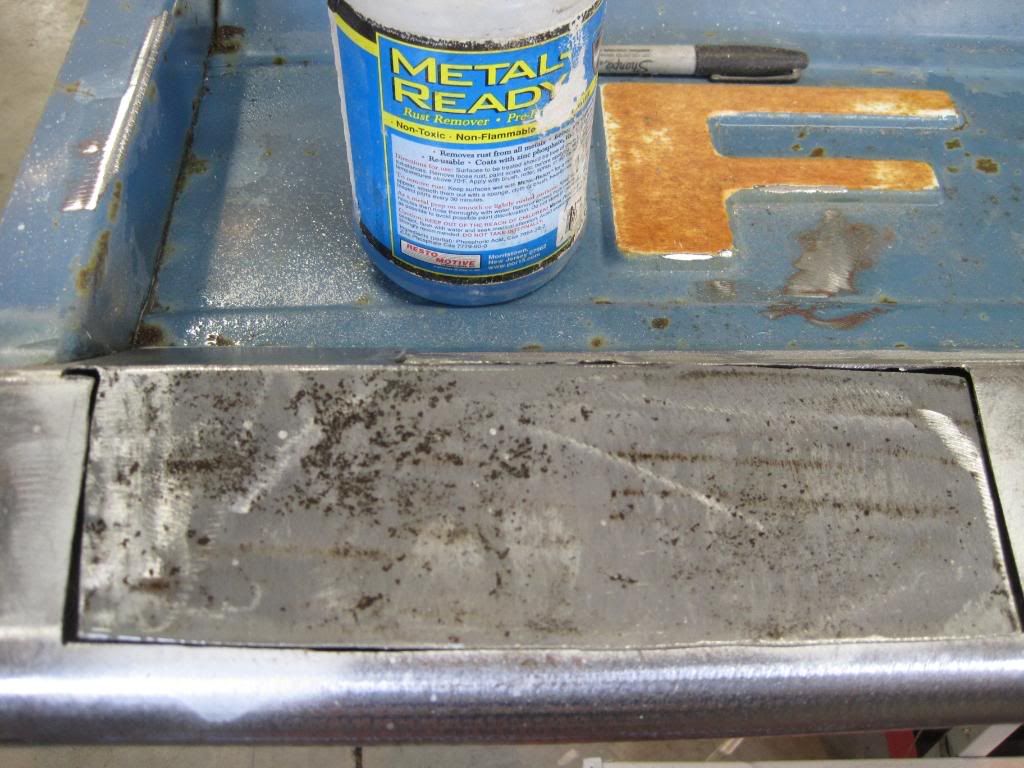
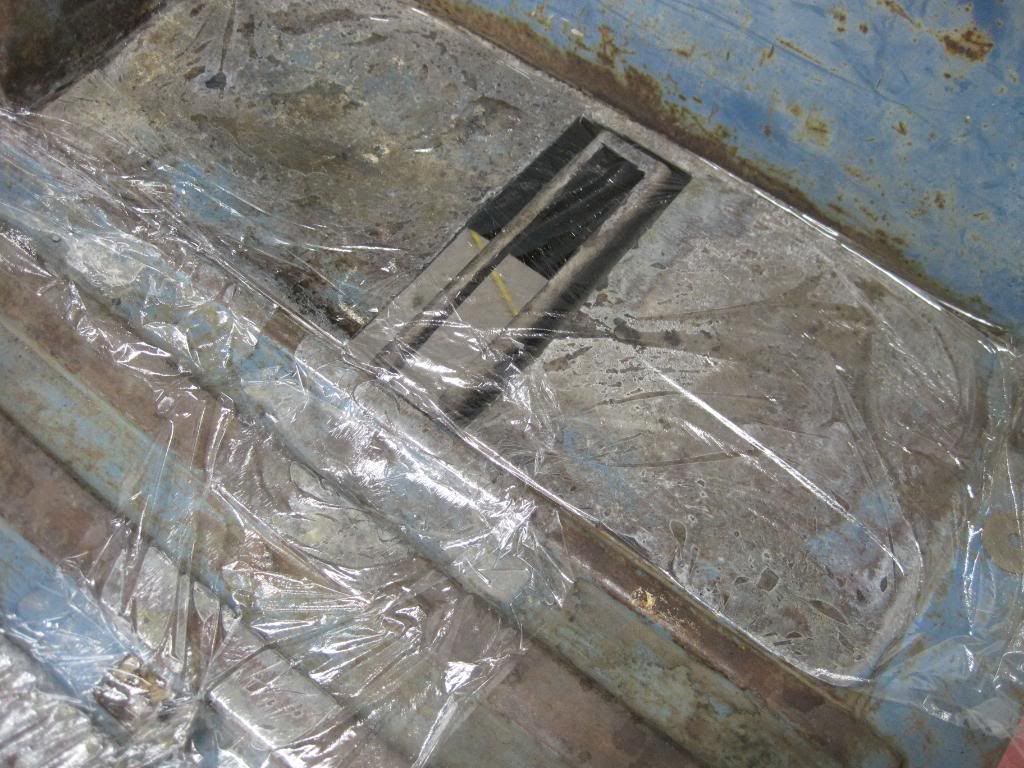
Cut out the box rust and applied Metal Ready. I like to seal it so it works longer (over night at least)
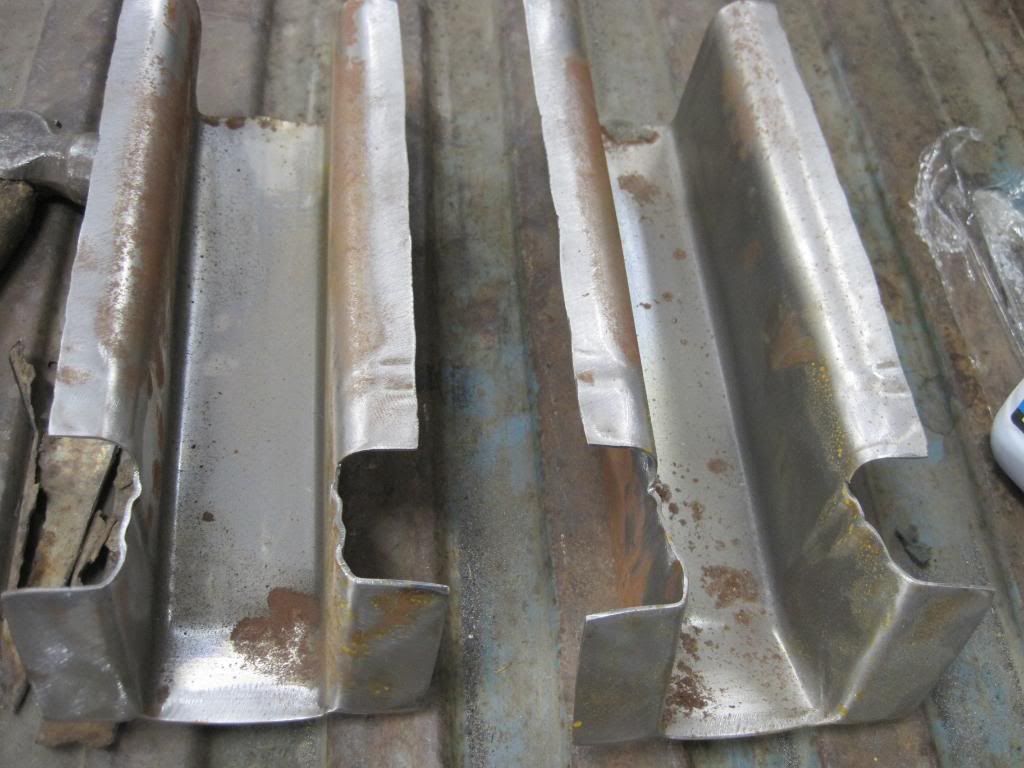
Sprayed the "new" parts with Metal Ready as well to fixate the surface rust already on them...
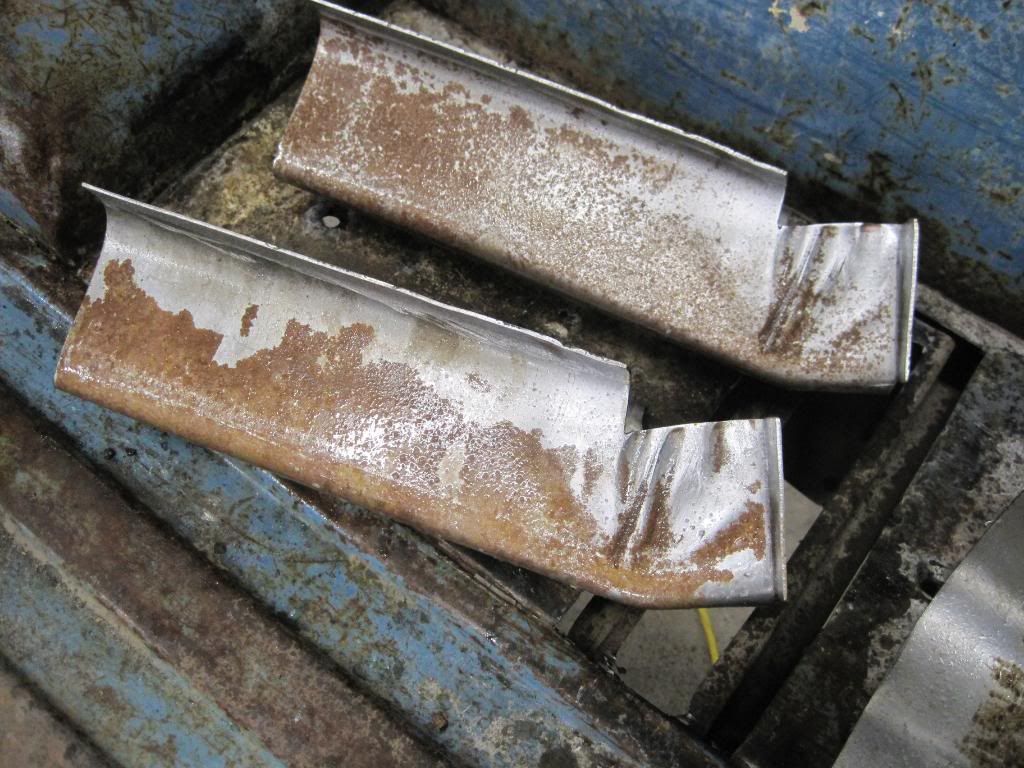
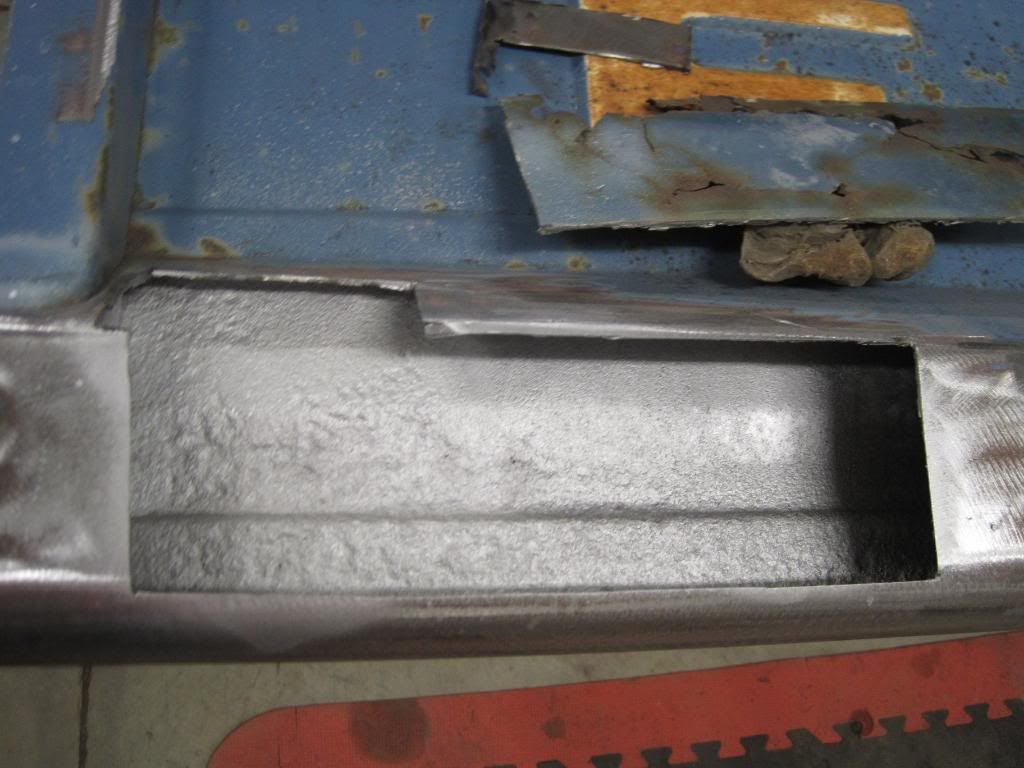
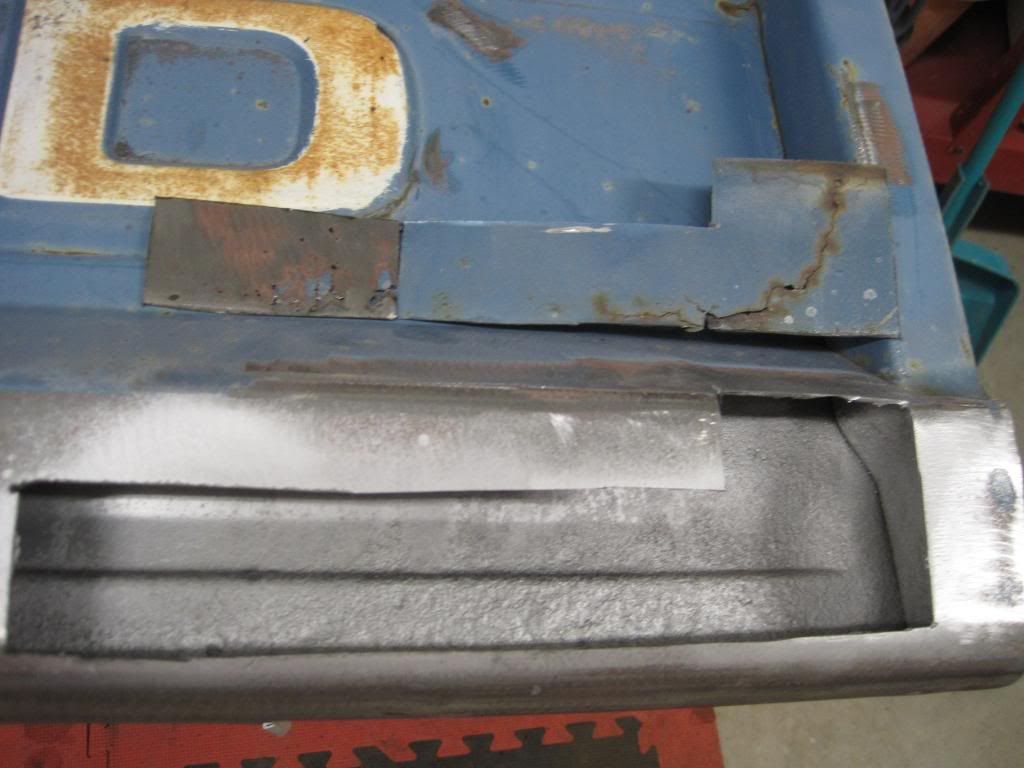
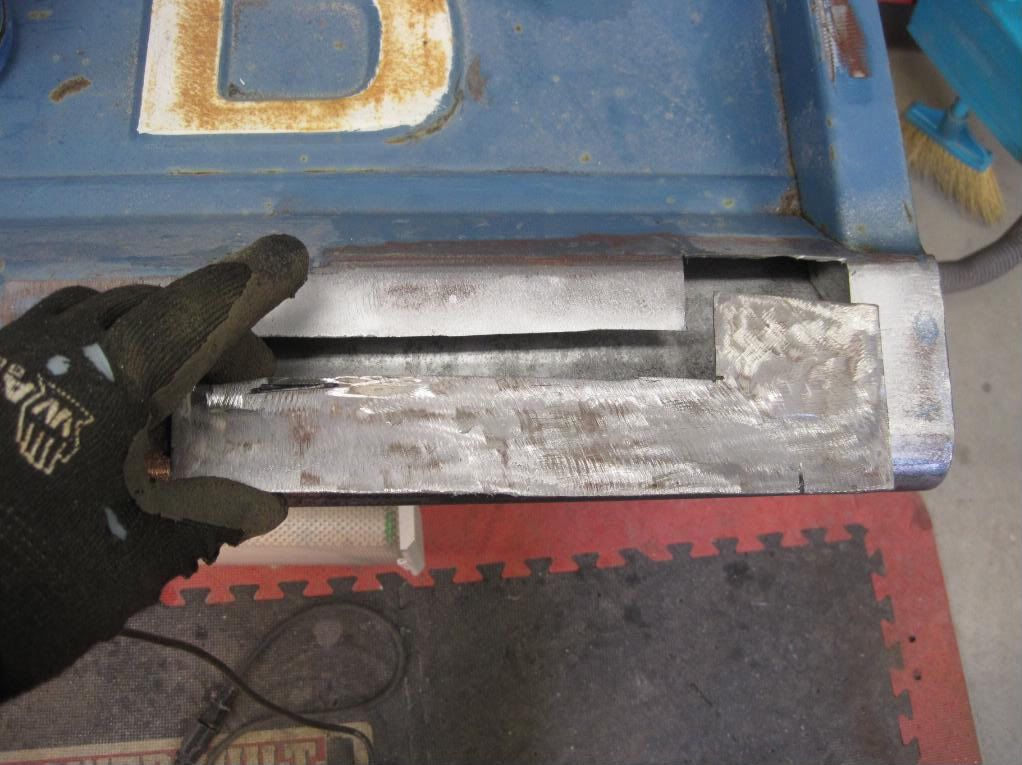
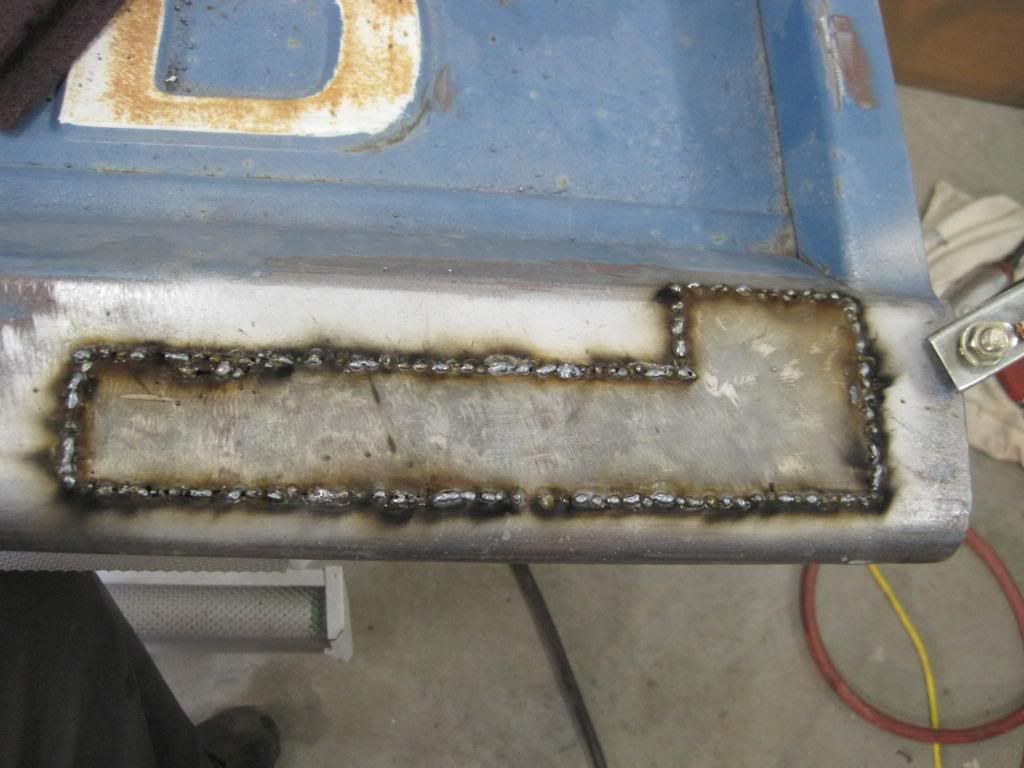
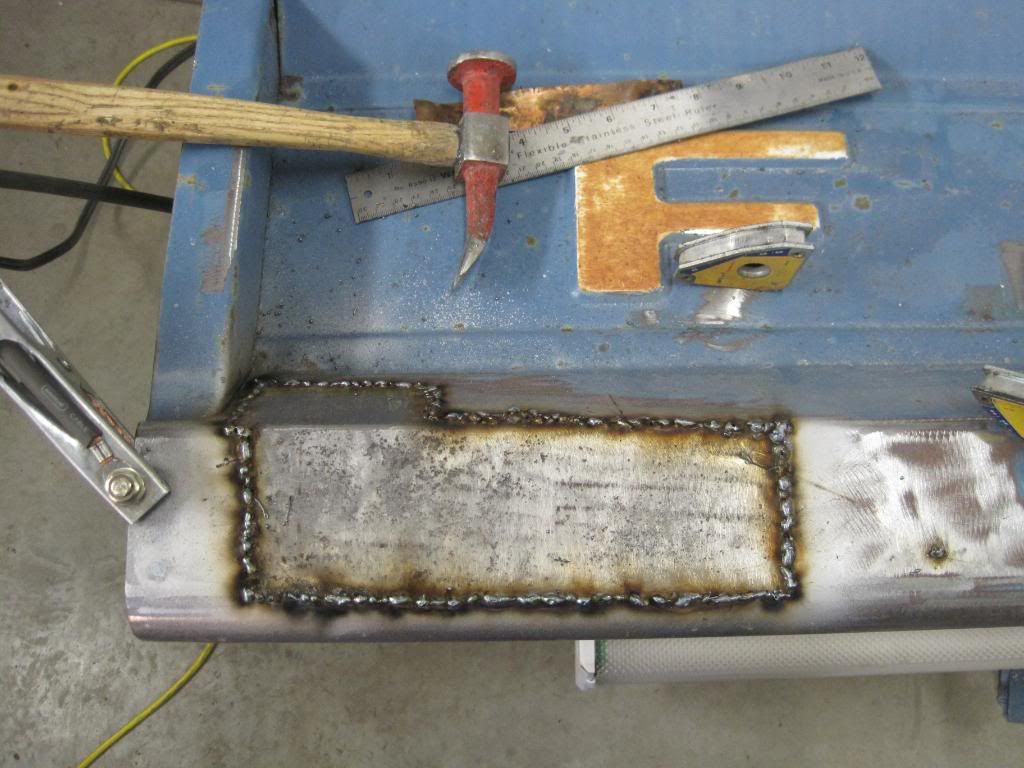
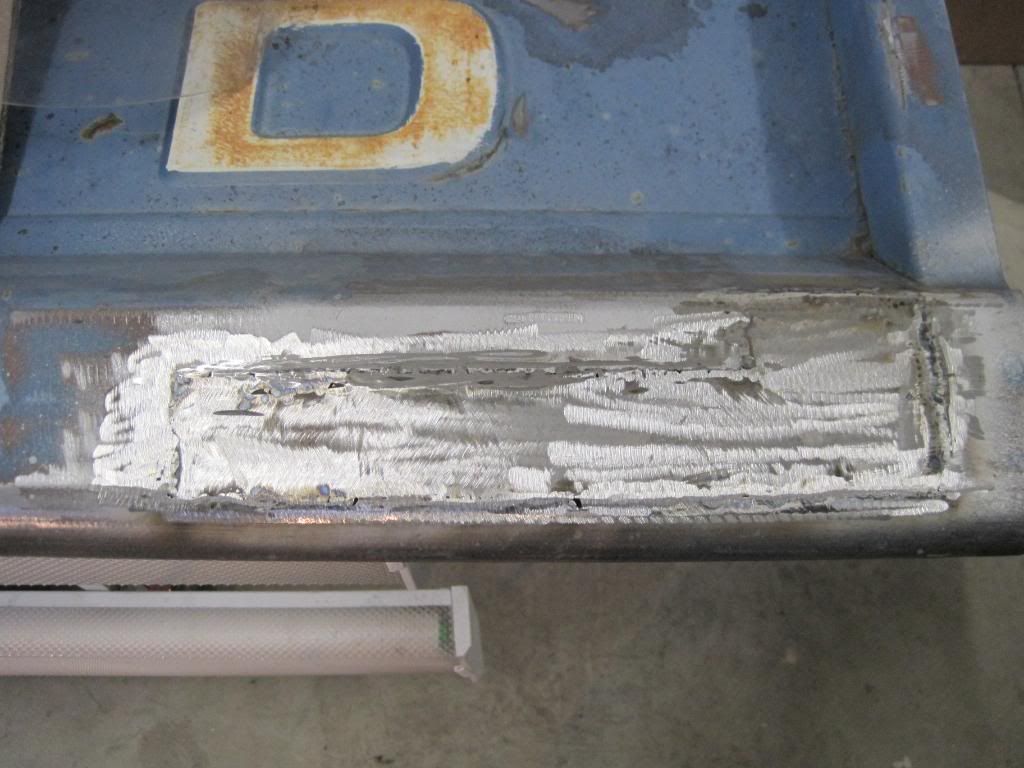
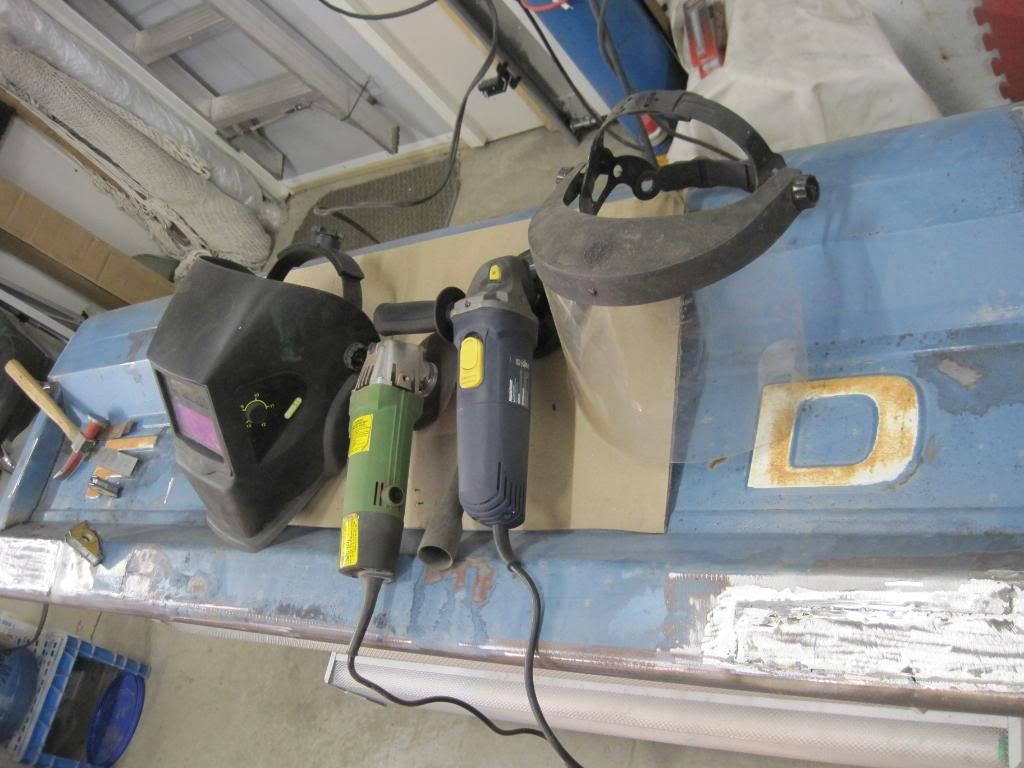
Here's the tailgate patches from my previous post all welded up. I misplaced the rubber backing for my disc sander, so I had to grind it with a hard wheel. I'll have to finish it later when I find the backing!
Then, I did some more trimming of the floor and kick panels
...and made templates for the pieces that I cut out of the kicker/post area...
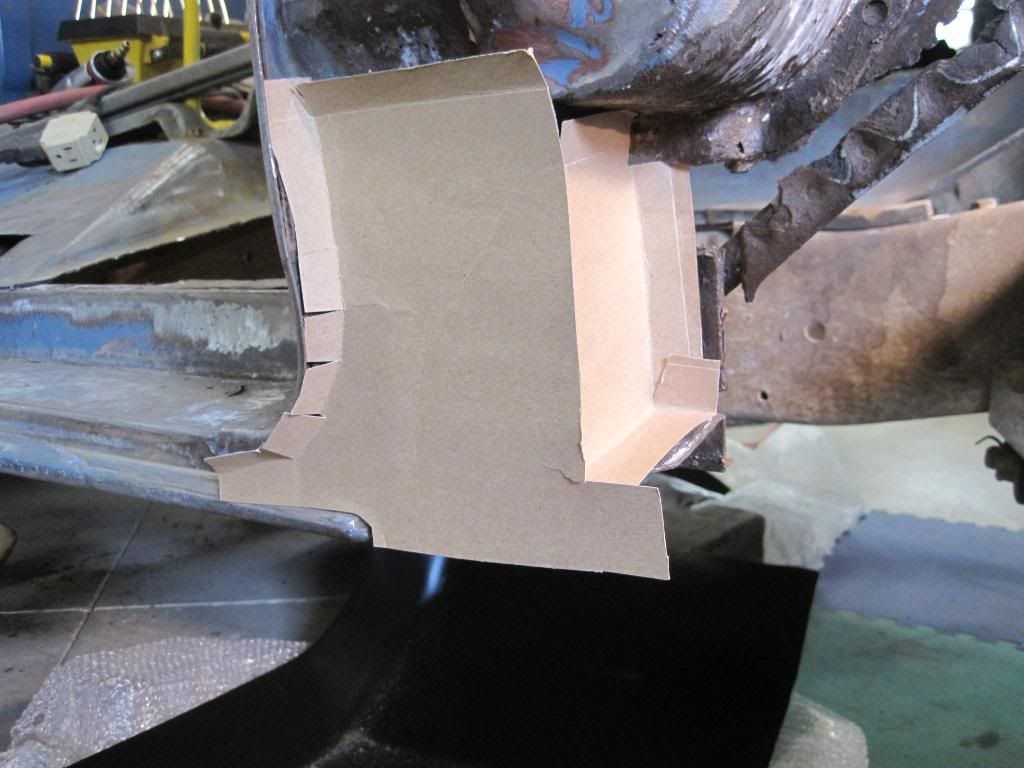
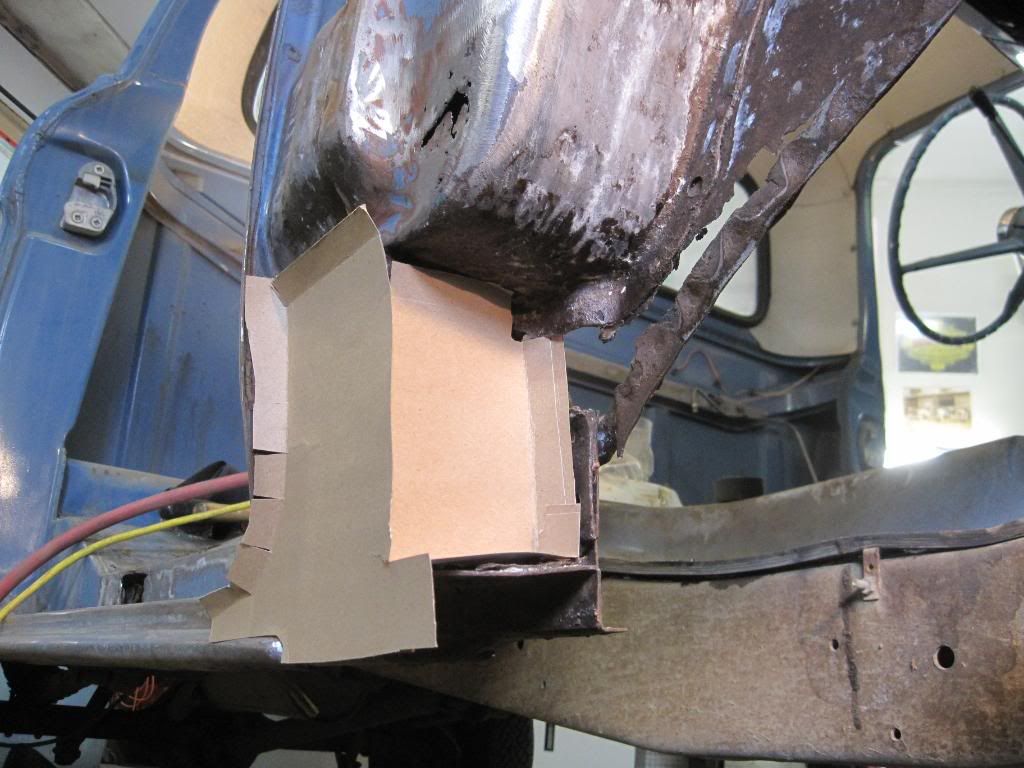
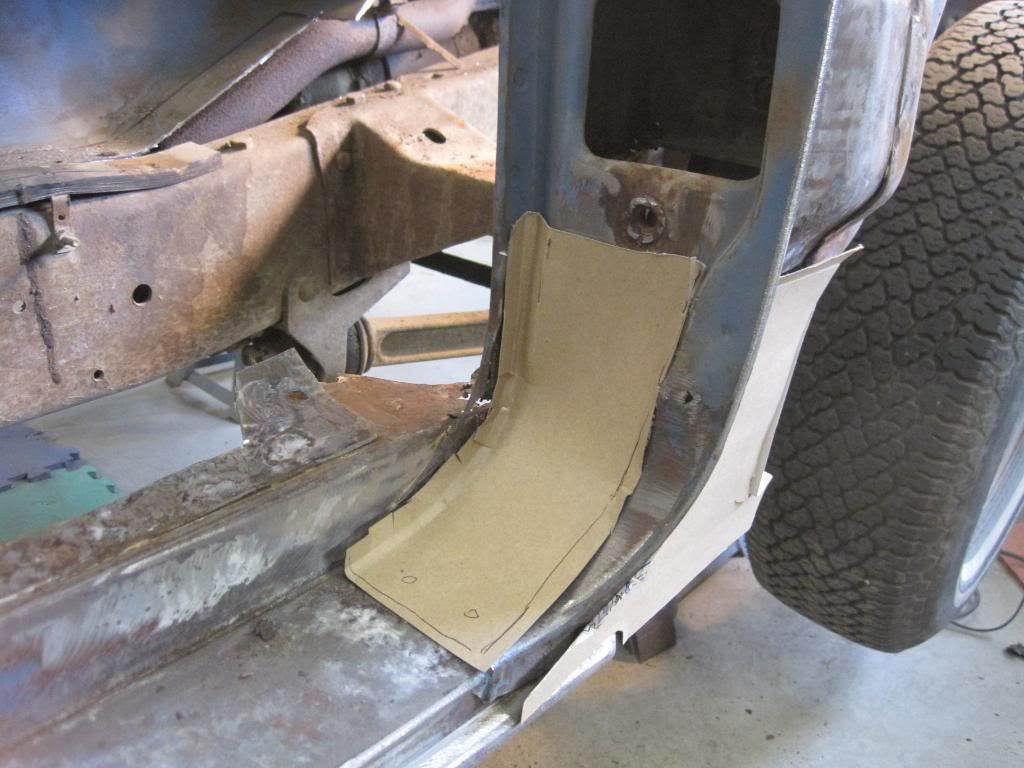
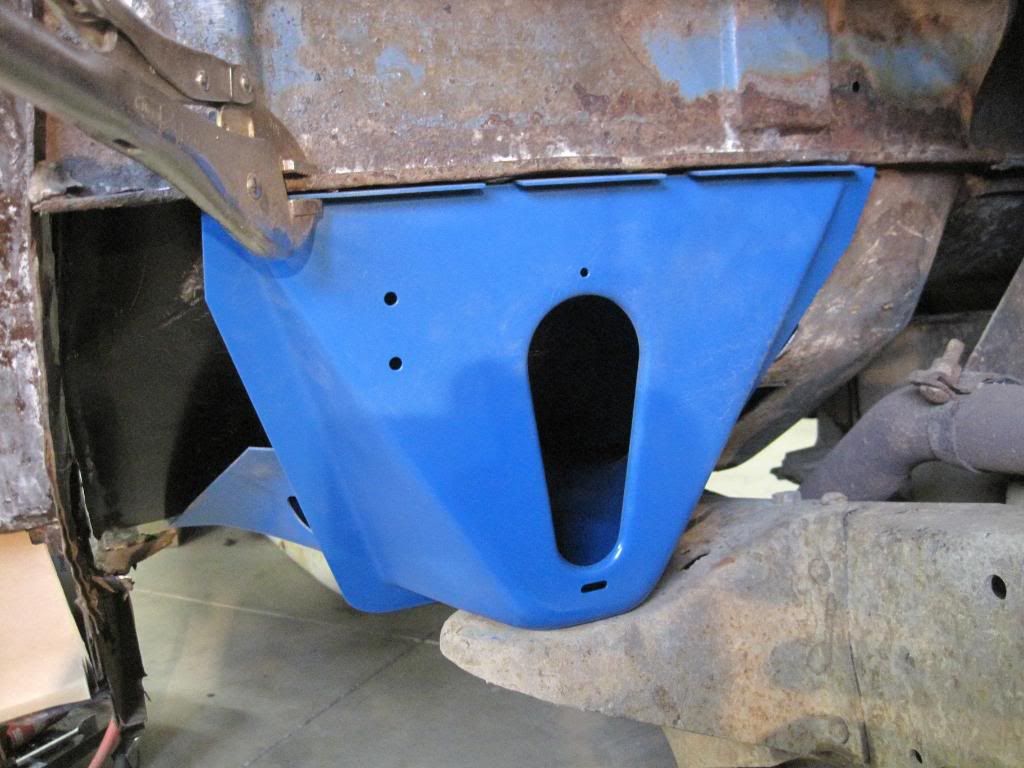
Lastly, I mocked up the floor pan (needs to be cut down now), the body mount (will need some tweeking) and the templates

Floors
Cab corners
Floor centre braces
Cut out the box rust and applied Metal Ready. I like to seal it so it works longer (over night at least)
Sprayed the "new" parts with Metal Ready as well to fixate the surface rust already on them...
Here's the tailgate patches from my previous post all welded up. I misplaced the rubber backing for my disc sander, so I had to grind it with a hard wheel. I'll have to finish it later when I find the backing!
Then, I did some more trimming of the floor and kick panels
...and made templates for the pieces that I cut out of the kicker/post area...
Lastly, I mocked up the floor pan (needs to be cut down now), the body mount (will need some tweeking) and the templates