1980 - 1986 Bullnose F100, F150 & Larger F-Series Trucks Discuss the Early Eighties Bullnose Ford Truck

86 F-150 upgrades and rebuild.

Thread Tools
 
Search this Thread
 
  #1  
Old 02-02-2021, 08:45 PM
Mrtl281's Avatar
Mrtl281
Mrtl281 is offline
New User
Thread Starter
Join Date: May 2020
Location: Texas
Posts: 11
Likes: 0
Received 1 Like on 1 Post
86 F-150 upgrades and rebuild.

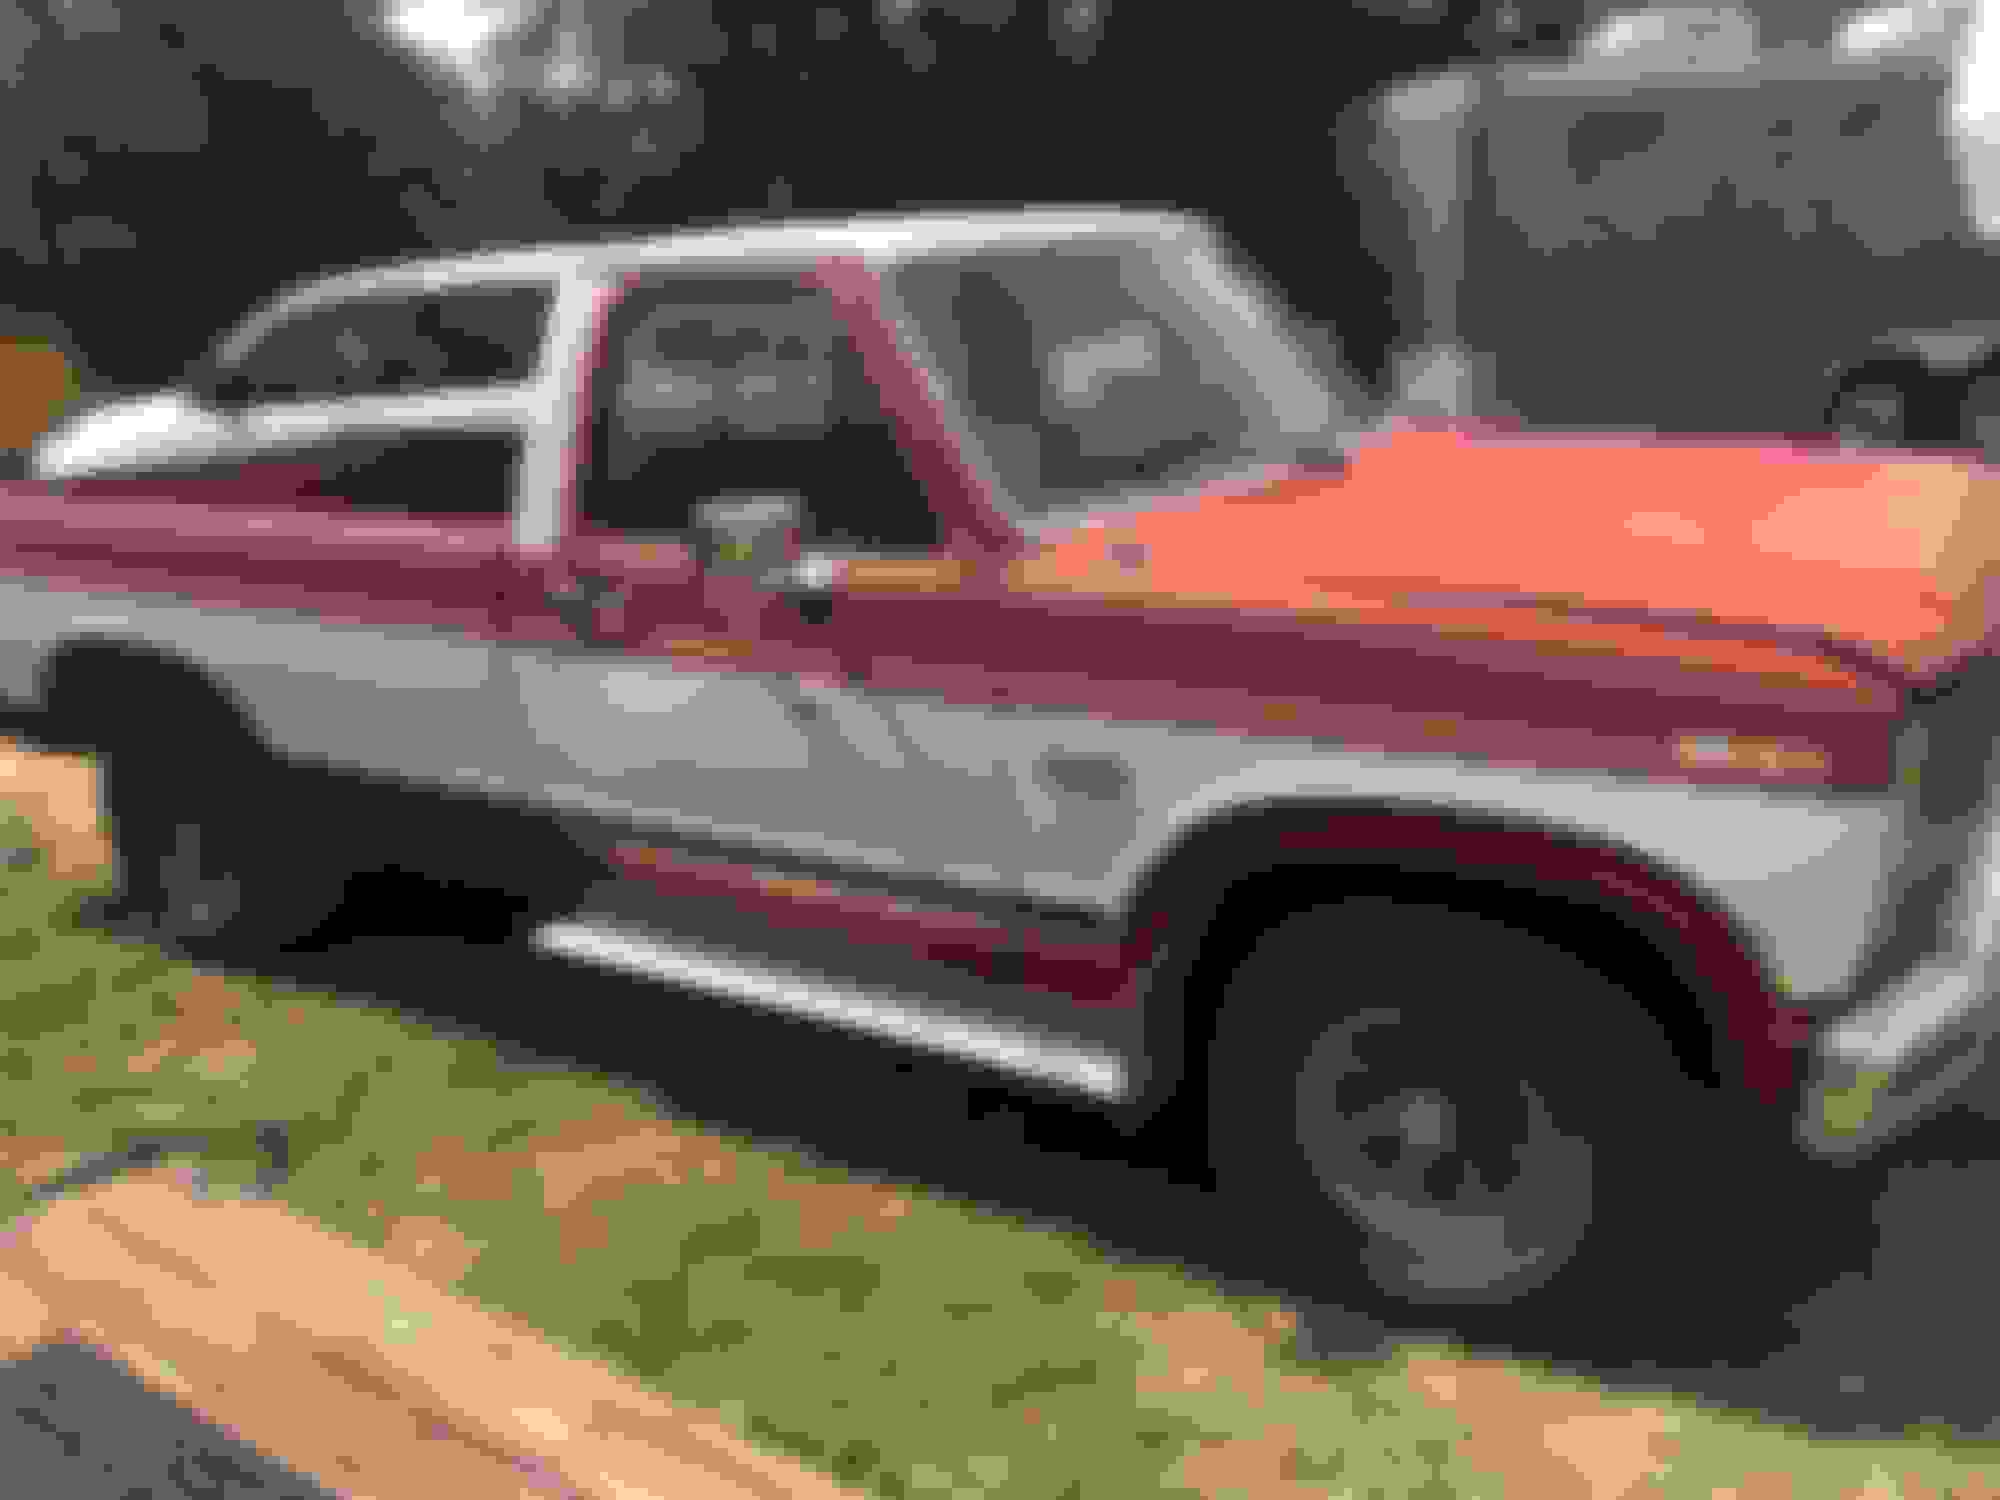
Hi all. I’ve been working on this project for a few months and have gained a lot of knowledge from this forum. Thought I should contribute with a thread to show some of what I’ve been working on, and what’s coming next. I’m not a mechanic and just learn as I go on that, but I do have a lot of experience in vehicle “upfitting” and automotive electrical. I’m horrible about taking pictures. Especially “before” pictures so bear with me, but I will upload some of what I’ve got. Here is a running list on what I’ve gotten done so far:


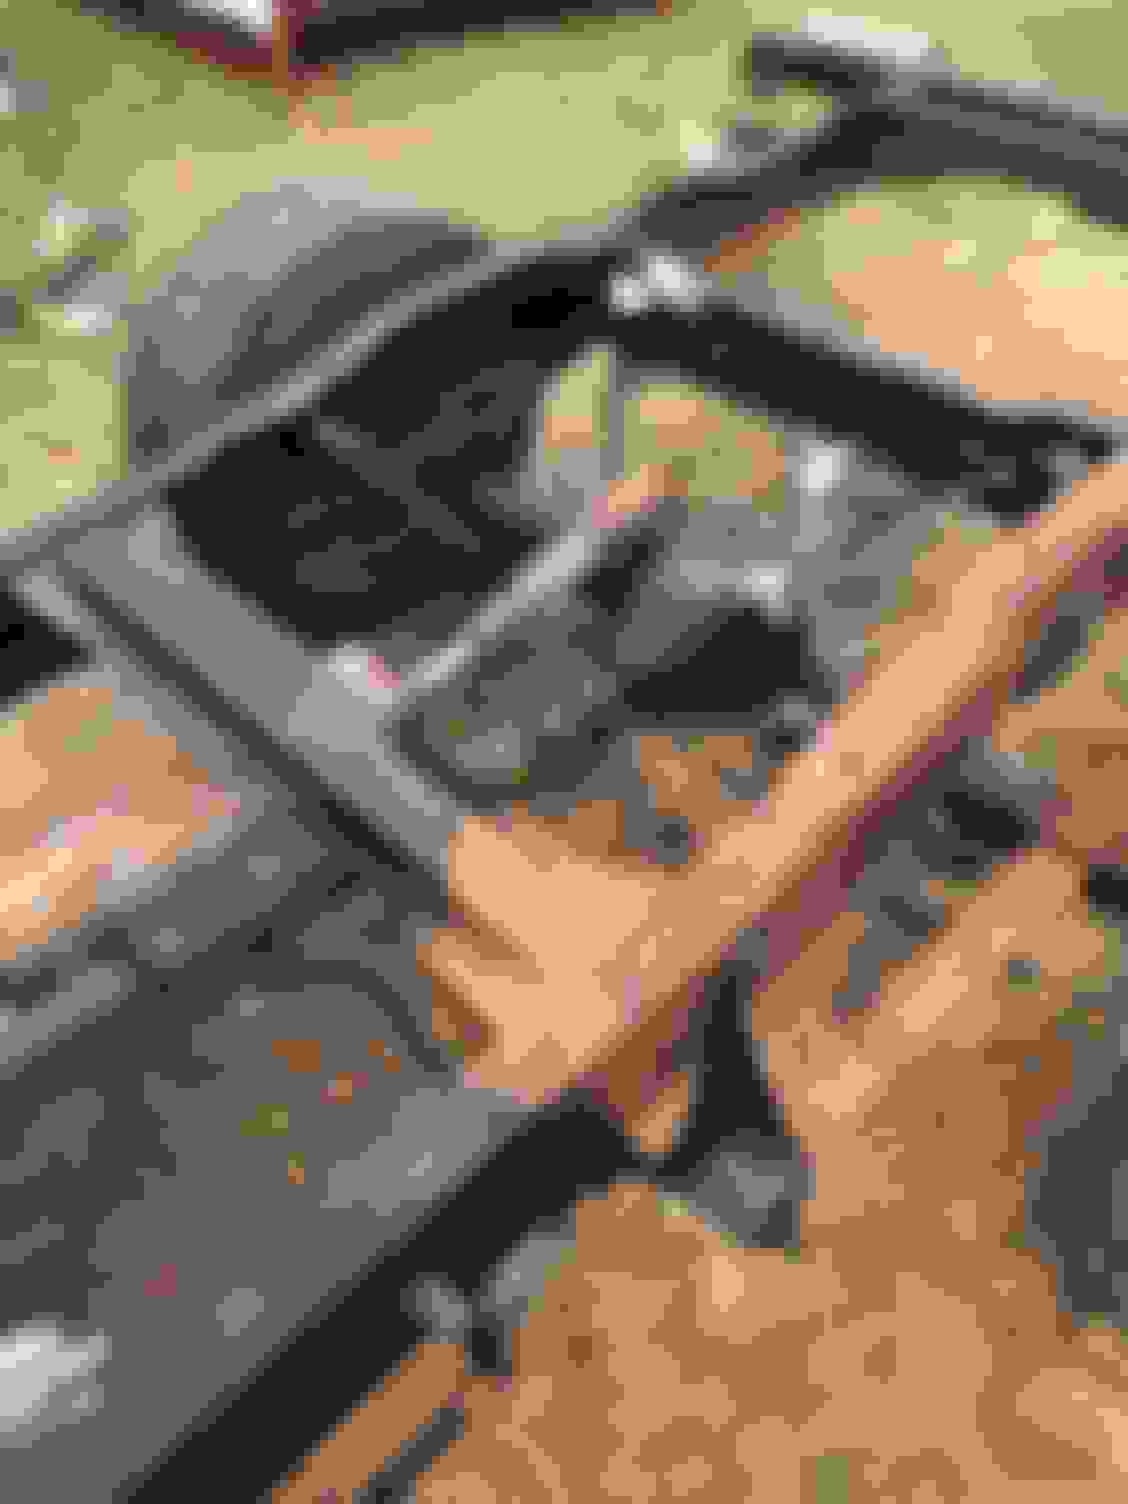
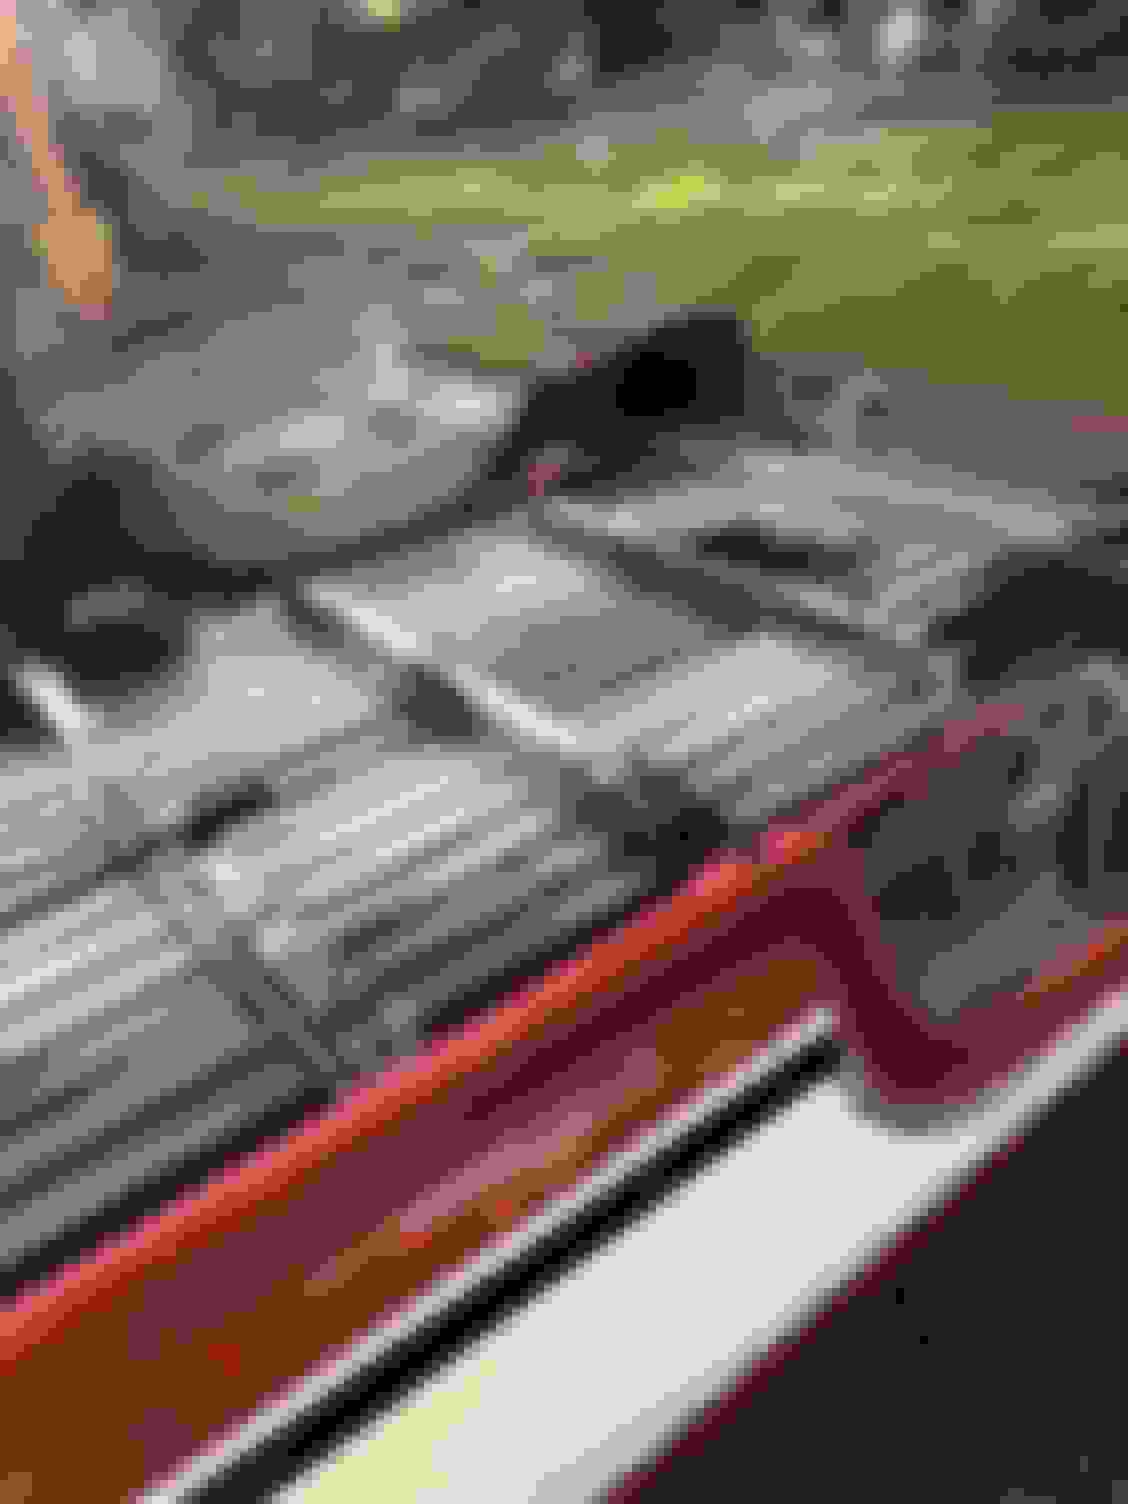
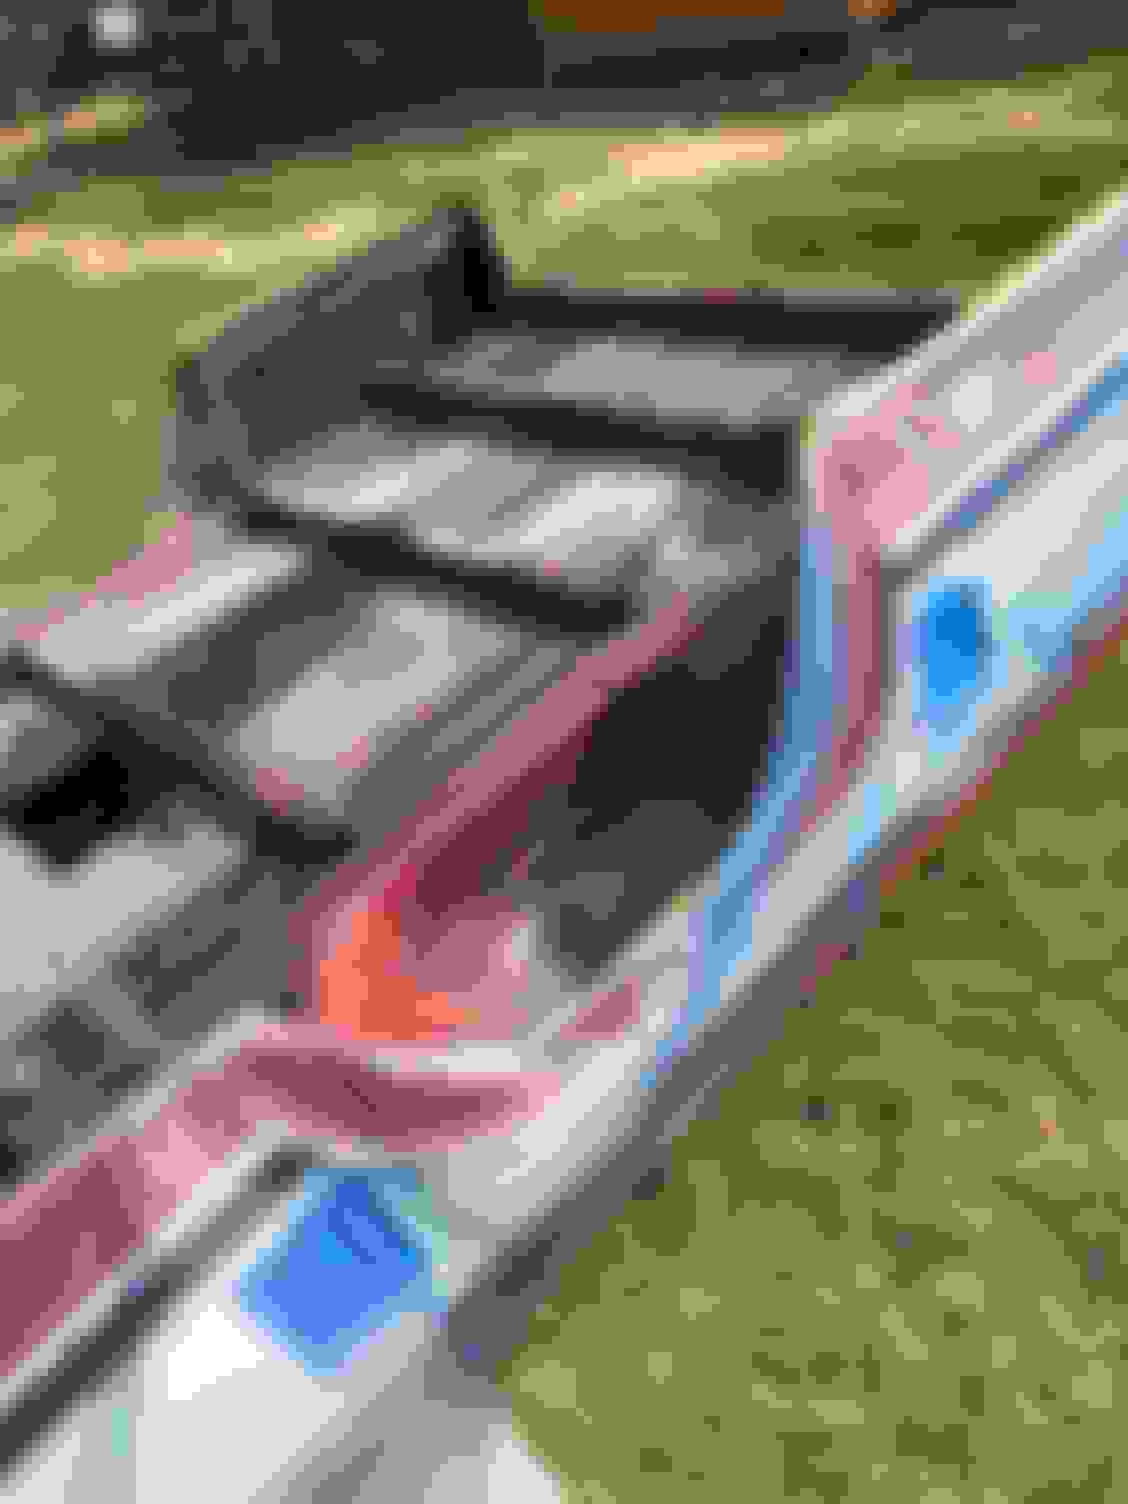
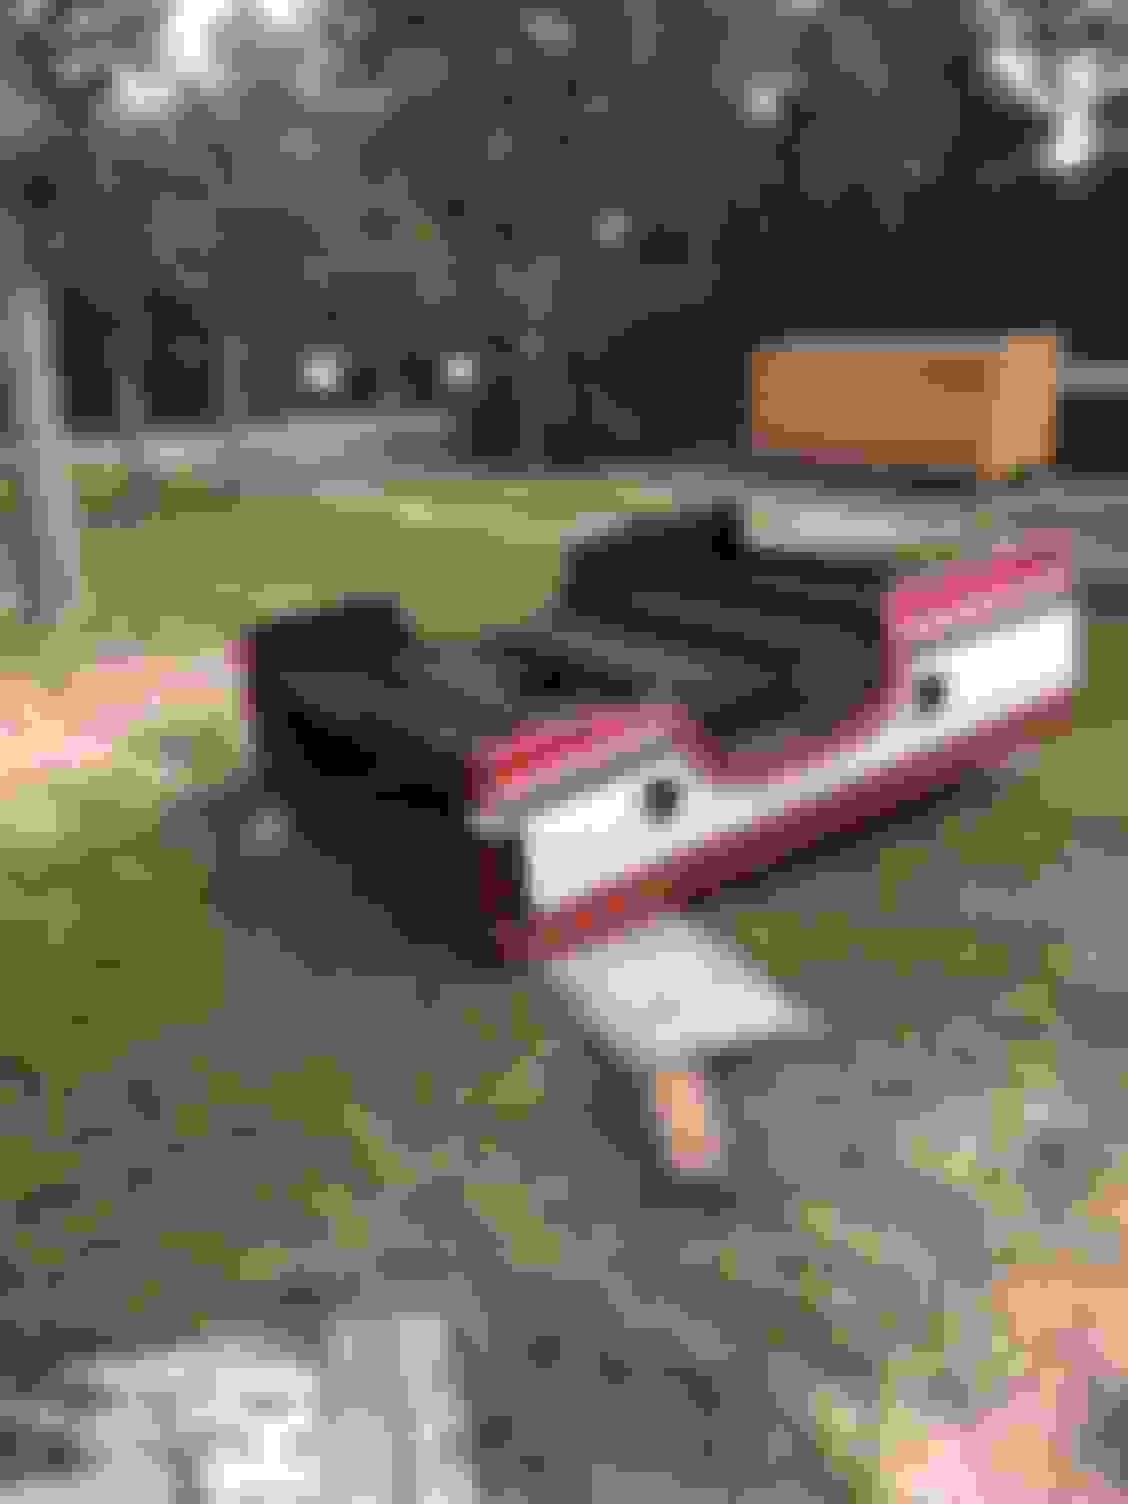
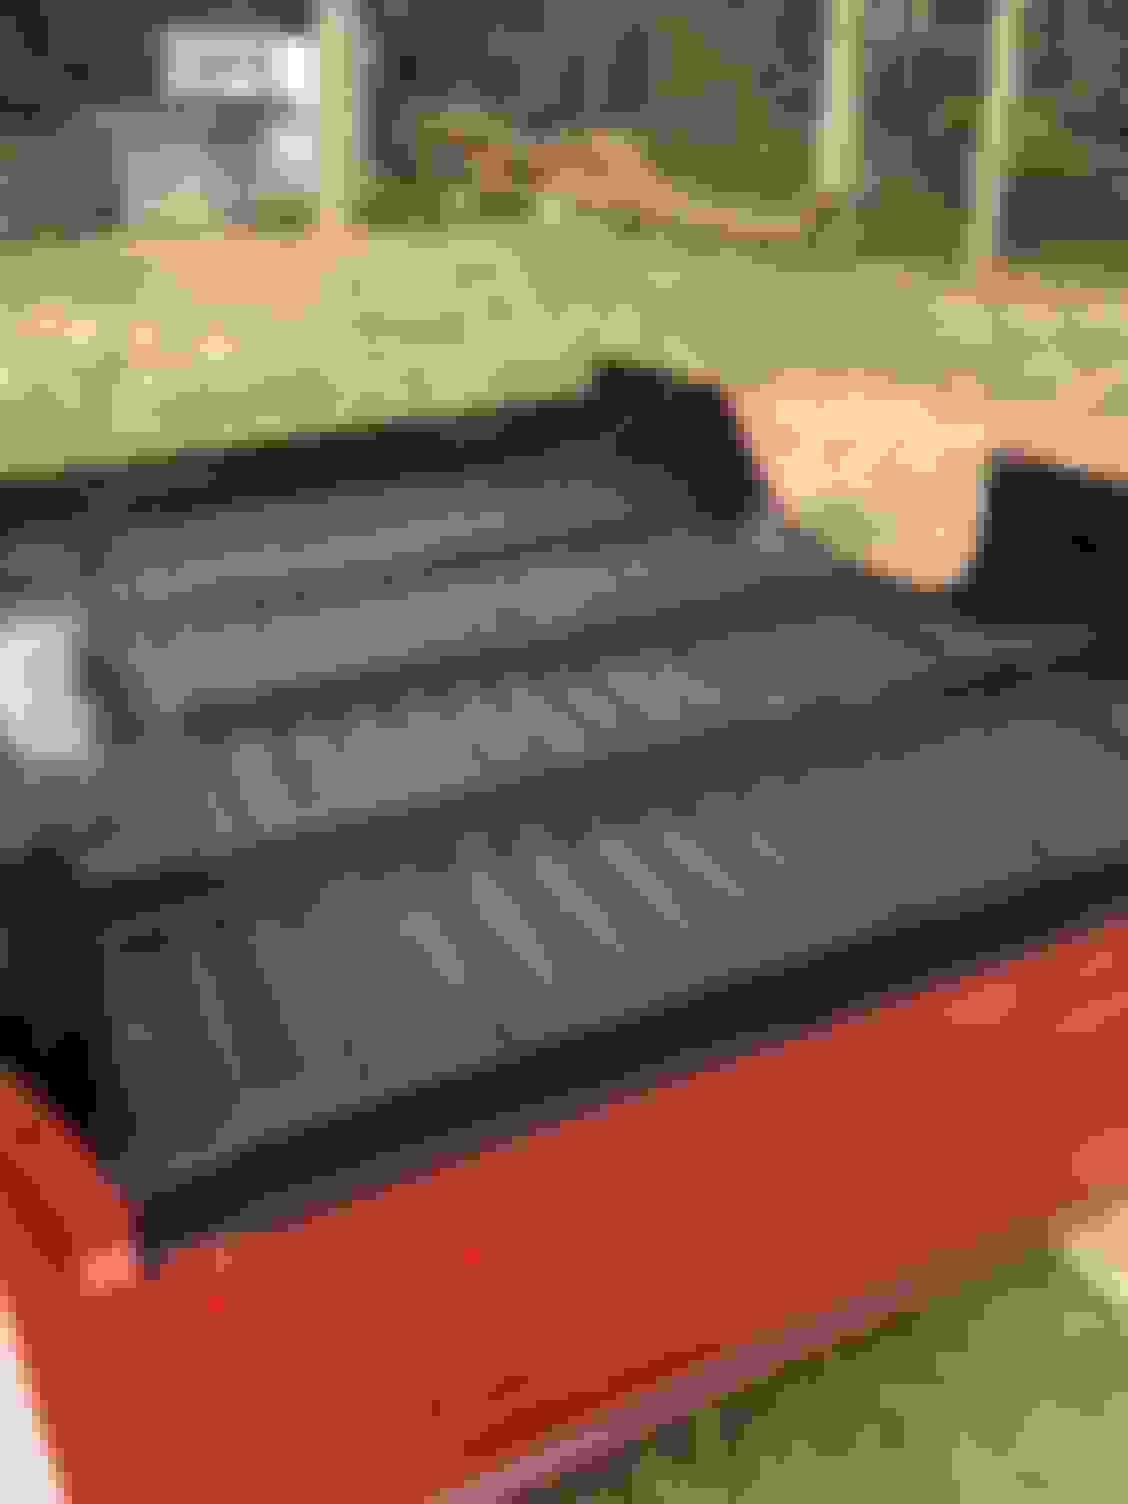
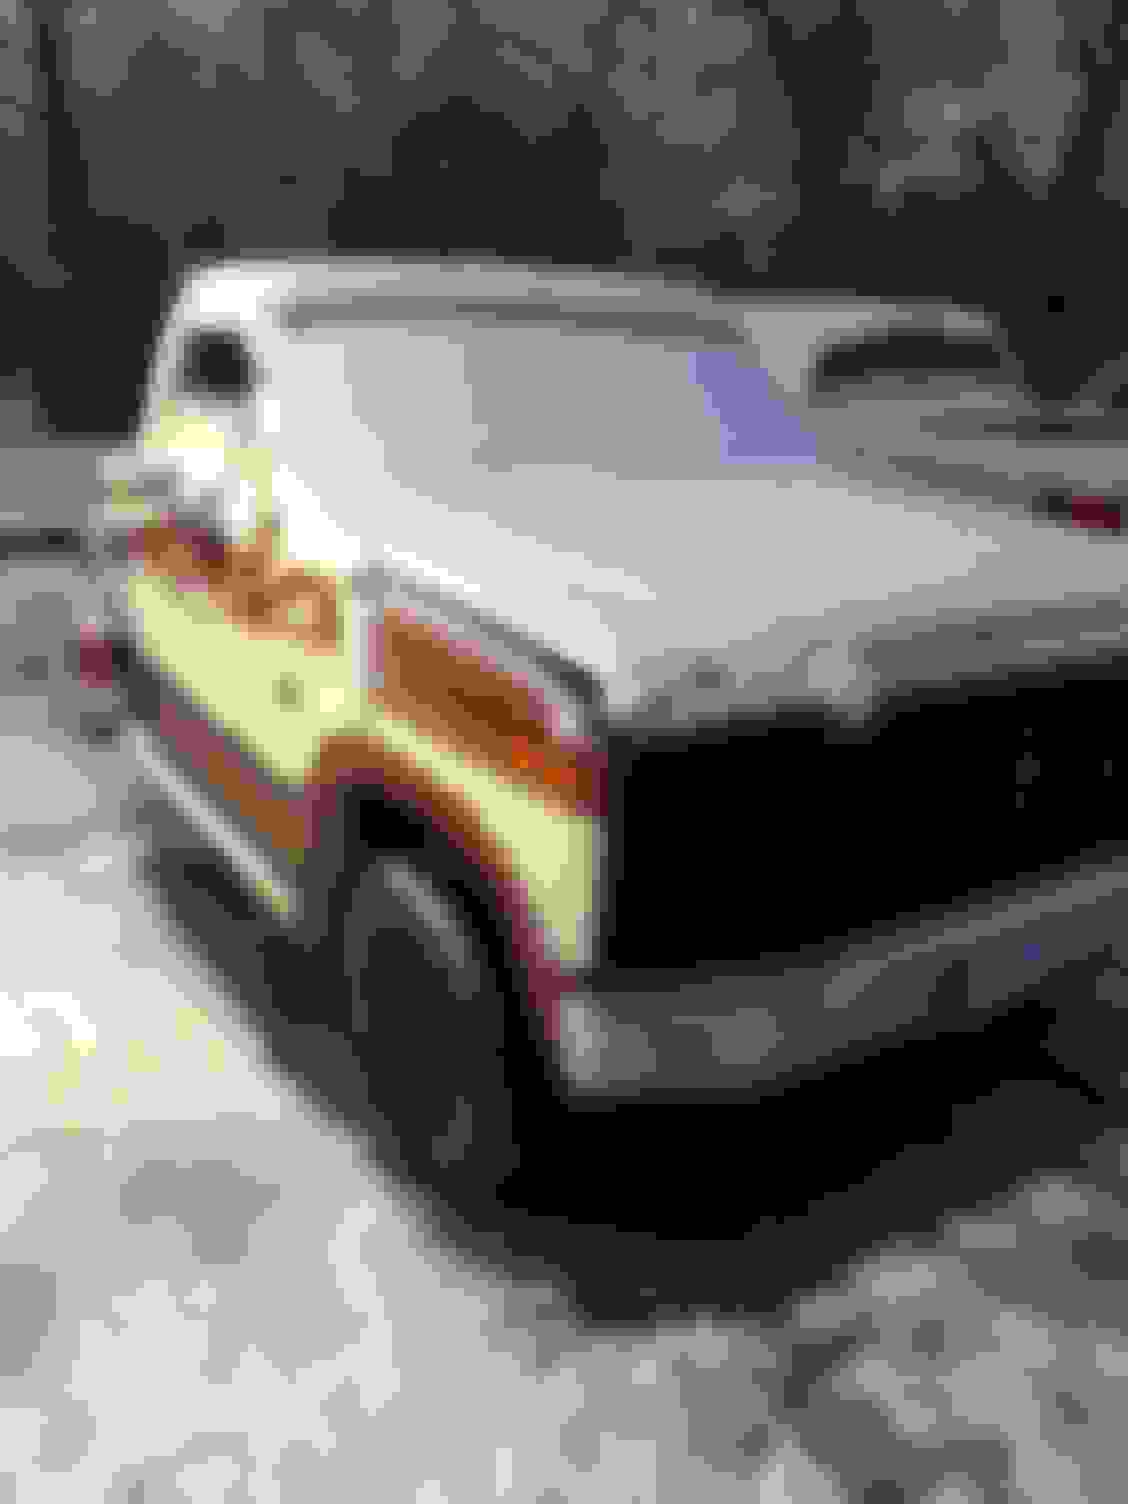
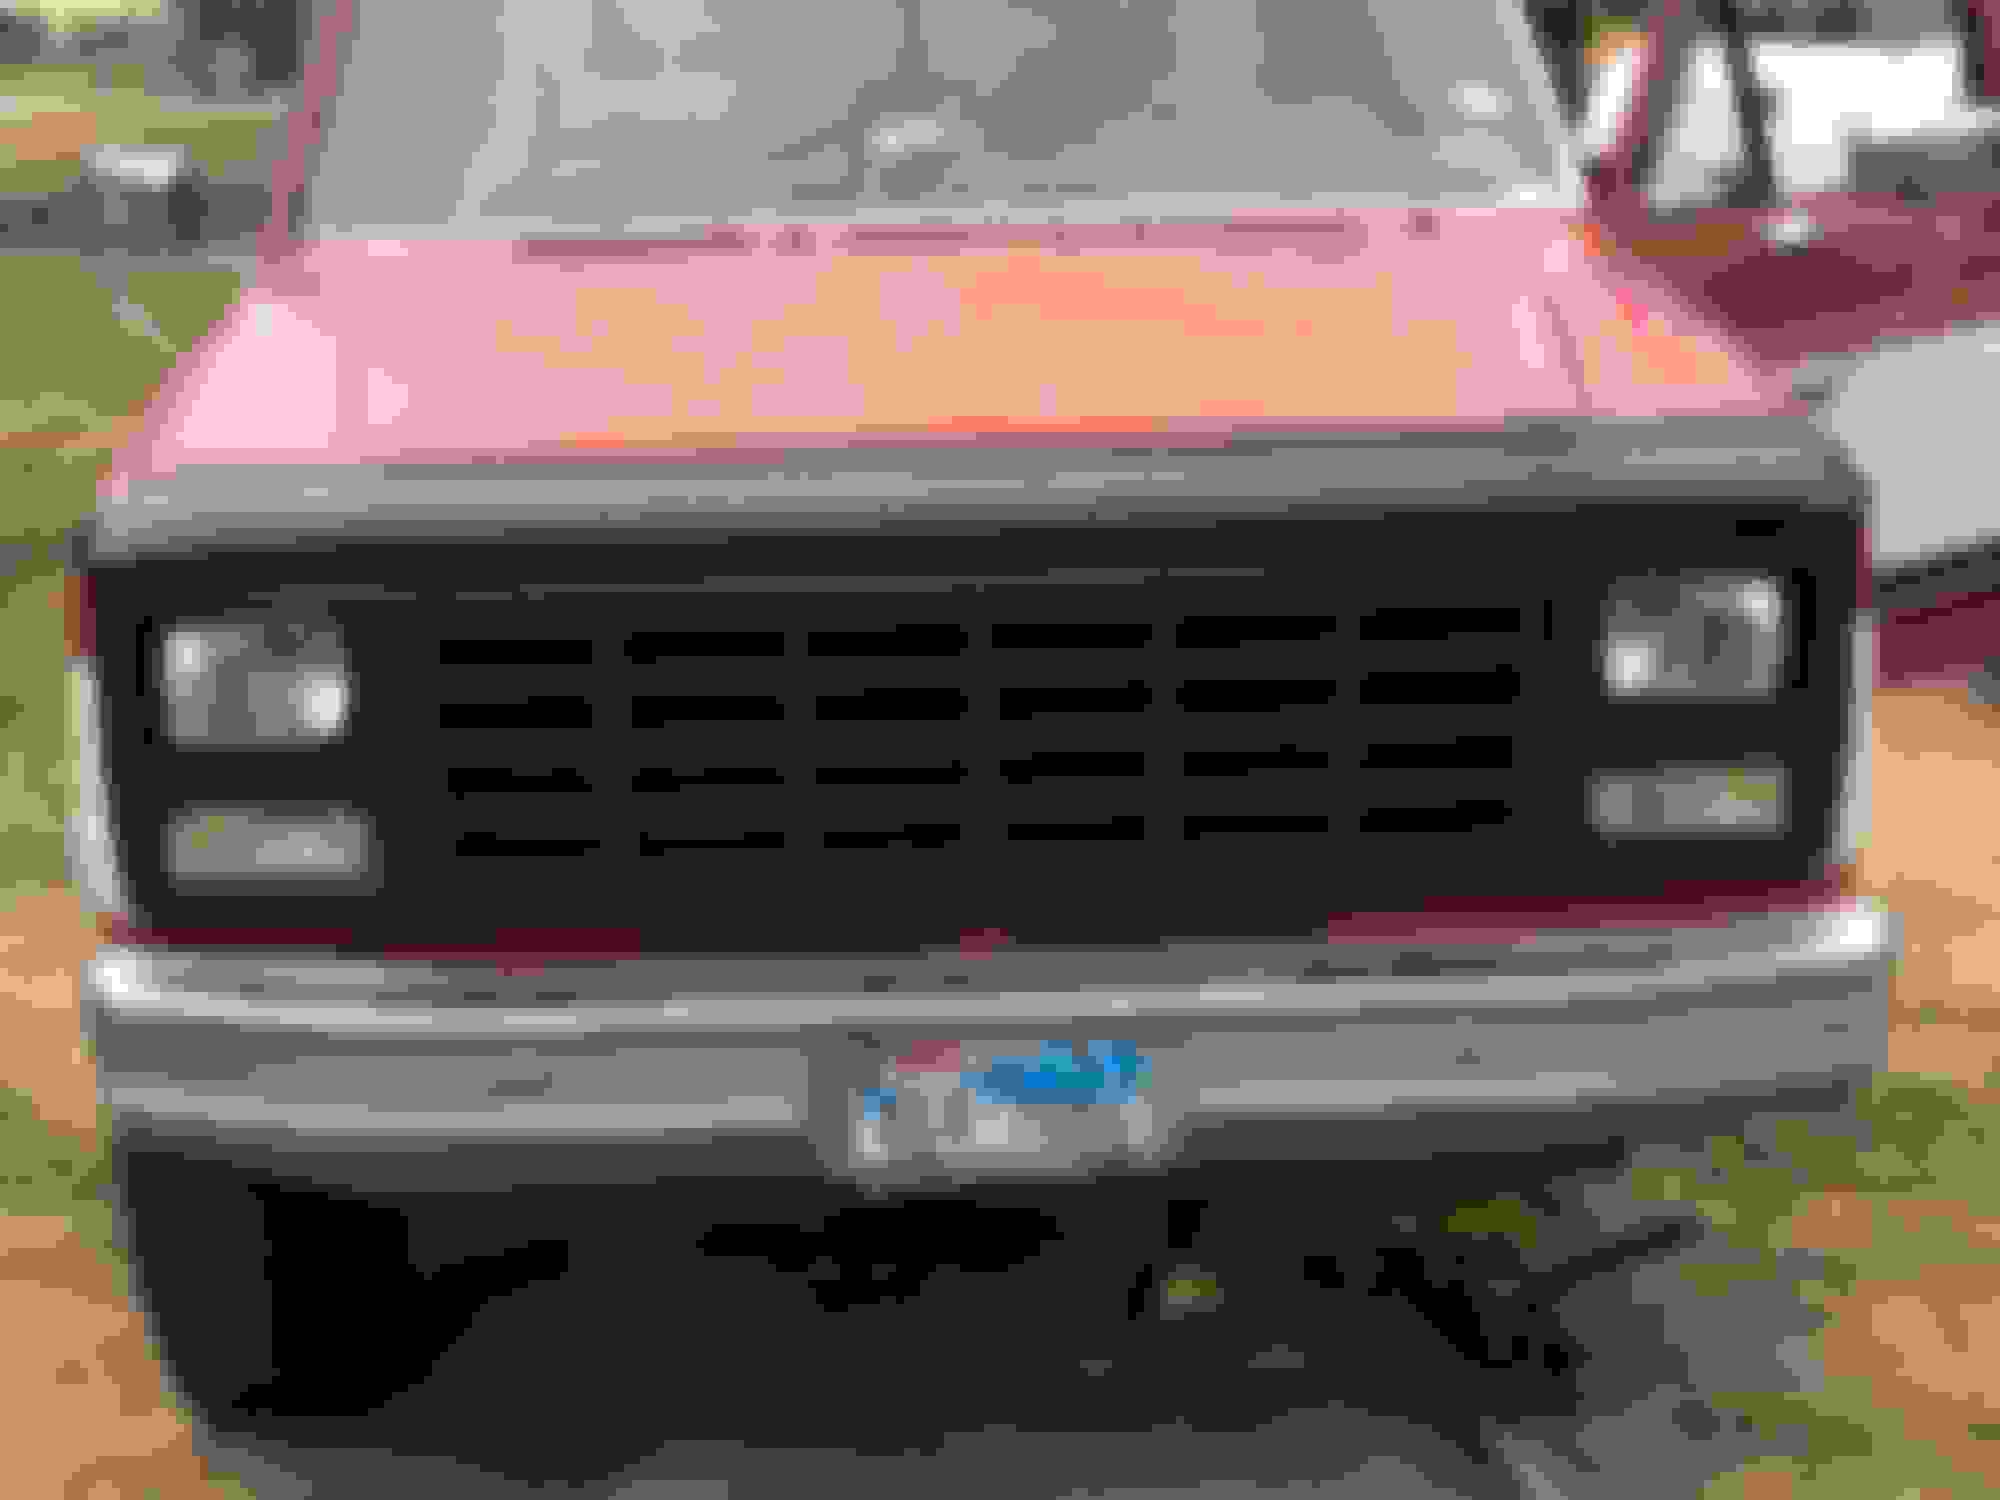
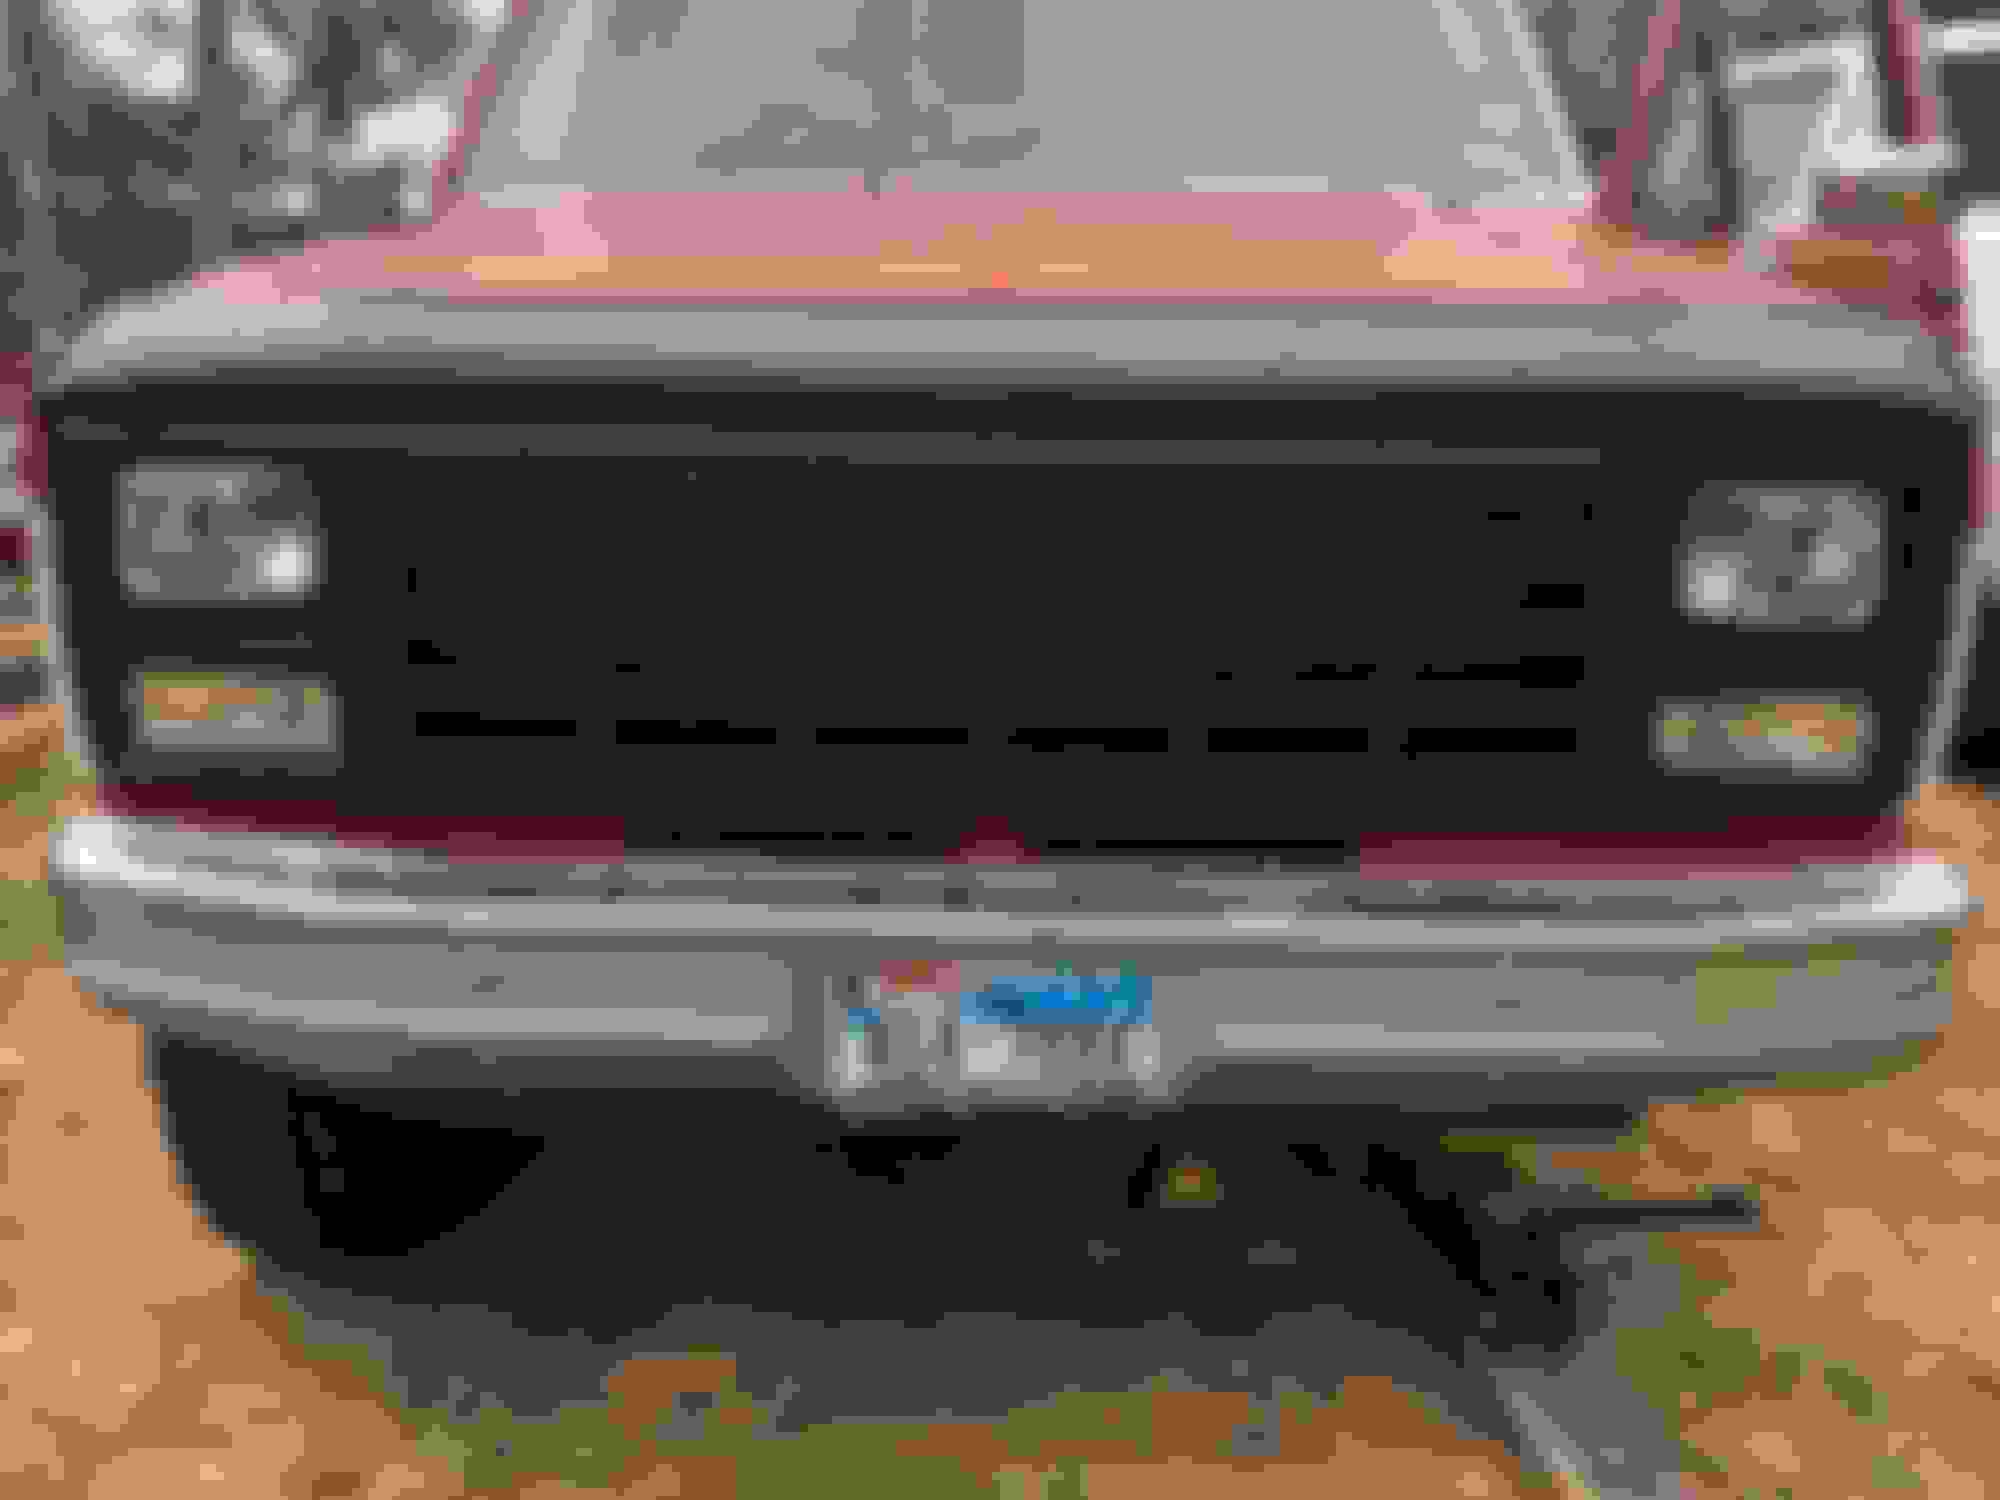
Before doing any work. The PO had parked it for 5 years. Tires were dry rotted but very minimal rust. Surface only, have not found any cancerous rust during this entire project.


Bed freshly removed. Was a pita working under there. Decades of mud and dust would fall into your eyes every time you moved or turned a wrench.

Pressure washed, wire brushed entire chassis with brake cleaner, then coated with rustoleum rust converter. Works very well.

New fuel tanks and pumps.


Prepping for rubberized under coating.


Coating applied.


Interior sound deadening. Ended up having enough to do 2 full layers.

Original front end look.

Painting core support behind grille. Didn’t want to see multiple colors behind the new one.


1/2” plywood mounted to rear wall to give a place to mount small powered subwoofer, 6x9 boxes, power inverter etc.


Carpet to hide plywood.

Wheels getting some matte black.

Very rare snow in this part of Texas.


New grille, 1980 style with no emblem. Clear marker light housings


Amber led’s


2 new fuel tanks

2 new fuel pumps and sending units

Cleaned/painted tank mounts/hardware

Replaced all fuel hose retaining clips

New gasket and 180° Thermostat

Painted break drums

Cleaned and “rust-reform” all chassis-behind cab, axle, drive shaft and bumper

Spark plugs and cables

Distributor cap and rotor

Fuel filter

Cleaned/painted parts under hood

Air filter

Oil change and filter

Transmission filter / pan gasket / fluid

Installed central grounding lug

Replaced battery hold-down

Rear shock absorbers

Matte blacked rear bumper

Flushed radiator and coolant system

Restored dome light

Wrapped dash pad

Cleaned/painted ashtray

Sea foam intake cleaner and hot soak

Sea foam HM in fuel and crank case

Cleaned / washed / prepped under bed

Rubberized undercoated entire under bed

High heat painted exhaust heat shields

New glasspack muffler and tailpipe

Installed muffler hanger

Killmat sound deadening entire floorpanx2

Installed 1/2” plywood across rear wall

Killmat plywood (sandwiched between wall)

Killmat rear wall

Carpeted rear wall and plywood

New fitted ford light gray carpet

Saddle blanket type seat cover

Window channel felt and rubbers

New optima yellow top battery

Rebuilt brake drums w/ all new hardware

New rear brake shoes and brake line

New axle vent hose

Self etching primer/matte black wheels

New BF Goodrich A/T tires

ColorBond ford gray interior parts/panels

Matte black door panel trim

Matte black threshold plates

New front shock absorbers

New rubber front brake lines

New front brake calipers (painted)

New front brake pads

Pressure wash and paint front wheel wells

New ignition (tfi) module

New ignition coil

Black paint core support etc behind grille

New 3-core all aluminum radiator

New dual electric cooling fans

mr. gasket radiator thermostat-cap 16psi

Repaired damaged tranny intercooler line

Installed seat heaters

New charcoal canister

New 1980 f150 grill and side bezels

Matte blacked entire front grille area

New clear front marker/signal lights

Cleared clogged throttle body water ports

Topped off rear differential

Lubed/greased u-joints

Installed electric door locks

Repaired “water tree” inlet

Rebuilt heater door with aluminum hinge

————————


The following users liked this post:
  #2  
Old 02-03-2021, 08:33 AM
Max Capacity's Avatar
Max Capacity
Max Capacity is offline
Cargo Master
Join Date: Jun 2013
Location: Tolland, CT
Posts: 3,025
Received 515 Likes on 463 Posts
Nice progress, looking good.

 
  #3  
Old 02-04-2021, 06:30 AM
Mitchapalooza85's Avatar
Mitchapalooza85
Mitchapalooza85 is offline
Junior User
Join Date: Nov 2018
Posts: 96
Likes: 0
Received 0 Likes on 0 Posts
keep up the good work, good think about these trucks is that parts are still pretty easy to find & they're easy to work on.
 
  #4  
Old 02-04-2021, 07:55 AM
Mjollnir81's Avatar
Mjollnir81
Mjollnir81 is offline
Junior User
Join Date: Oct 2019
Location: Tennessee
Posts: 69
Likes: 0
Received 0 Likes on 0 Posts
What headlights did you use? They look really good. I'd rather have those than the LED setups I've seen lately.
 
  #5  
Old 02-04-2021, 08:44 AM
ctubutis's Avatar
ctubutis
ctubutis is offline
Moderator
Join Date: Nov 2007
Location: Denver Metro Area, CO
Posts: 22,405
Received 72 Likes on 56 Posts
What rubberized undercoating did you use? I have a rust-free bed in my brother's back yard that's waiting to be installed and I'm wanting to do some sort of rubber coating like you did....?

Nice job on this post, lots of pictures.
 
  #6  
Old 02-04-2021, 09:26 AM
BlueWhiteFord's Avatar
BlueWhiteFord
BlueWhiteFord is offline
More Turbo
Join Date: Feb 2019
Location: Wolfsburg
Posts: 561
Received 4 Likes on 4 Posts
Nice Job. Appreciate the pictures. Always nice to see how others work on their truck.
 
  #7  
Old 02-04-2021, 09:49 AM
Mrtl281's Avatar
Mrtl281
Mrtl281 is offline
New User
Thread Starter
Join Date: May 2020
Location: Texas
Posts: 11
Likes: 0
Received 1 Like on 1 Post
Thanks everybody. The rubberized undercoating is just rattle-can rustoleum that is sold at Home Depot etc. I think it took 6 cans to do 2 coats under the bed.
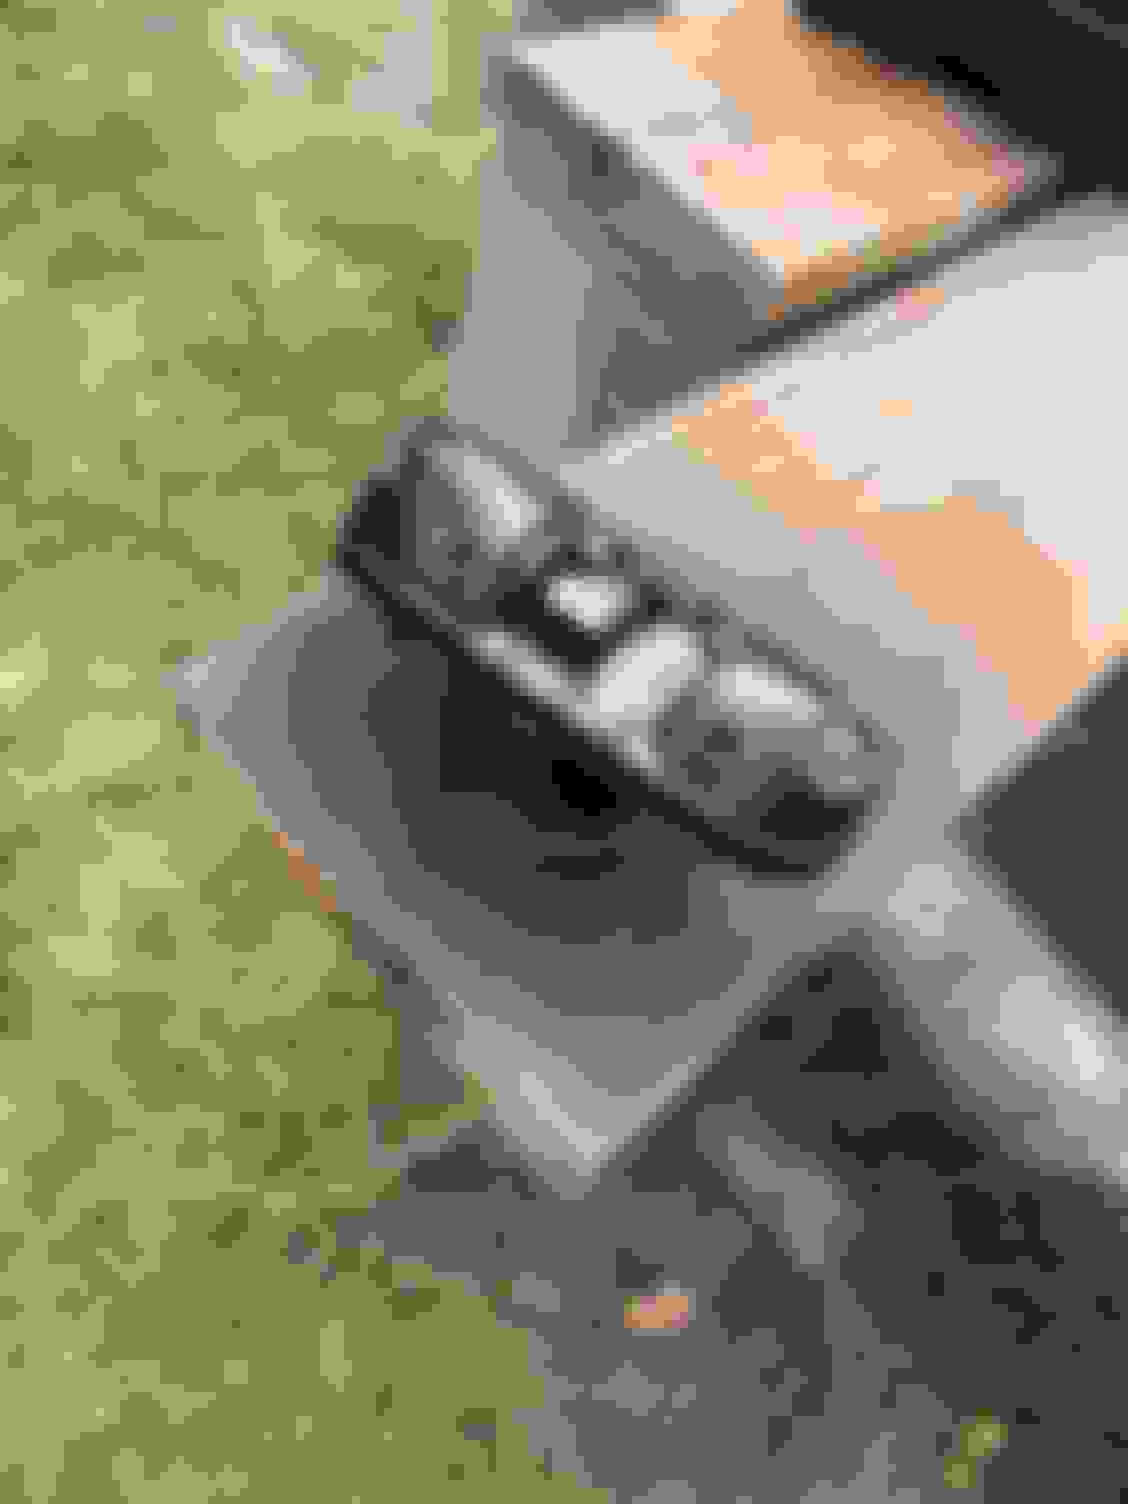
I really like the headlights too. LMC sells them. I wanted LED’s but I didn’t want the truck to look like a space ship. These fit the all-in-one form factor headlight that out trucks use, but actually has a removable/replaceable bulb. The bulbs were just some from amazon. I forget the brand name but I can go look it up if anyone is interested.
 
  #8  
Old 02-05-2021, 12:16 AM
Ismaelx's Avatar
Ismaelx
Ismaelx is offline
Trailering
Join Date: Sep 2018
Location: SoCal
Posts: 23
Received 2 Likes on 1 Post
Nice job!!
I also removed the bed from my 81 F-150, it's easier to work on fuel tanks with the bed out of the way, I can't clearly see in the pictures above, did you install some rubber between fuel tank and metal straps?
 
  #9  
Old 02-07-2021, 11:01 AM
FuzzFace2's Avatar
FuzzFace2
FuzzFace2 is online now
Fleet Owner
Join Date: Nov 2015
Location: Angier, NC
Posts: 23,682
Received 2,103 Likes on 1,791 Posts
Nice work and a lot of it too.
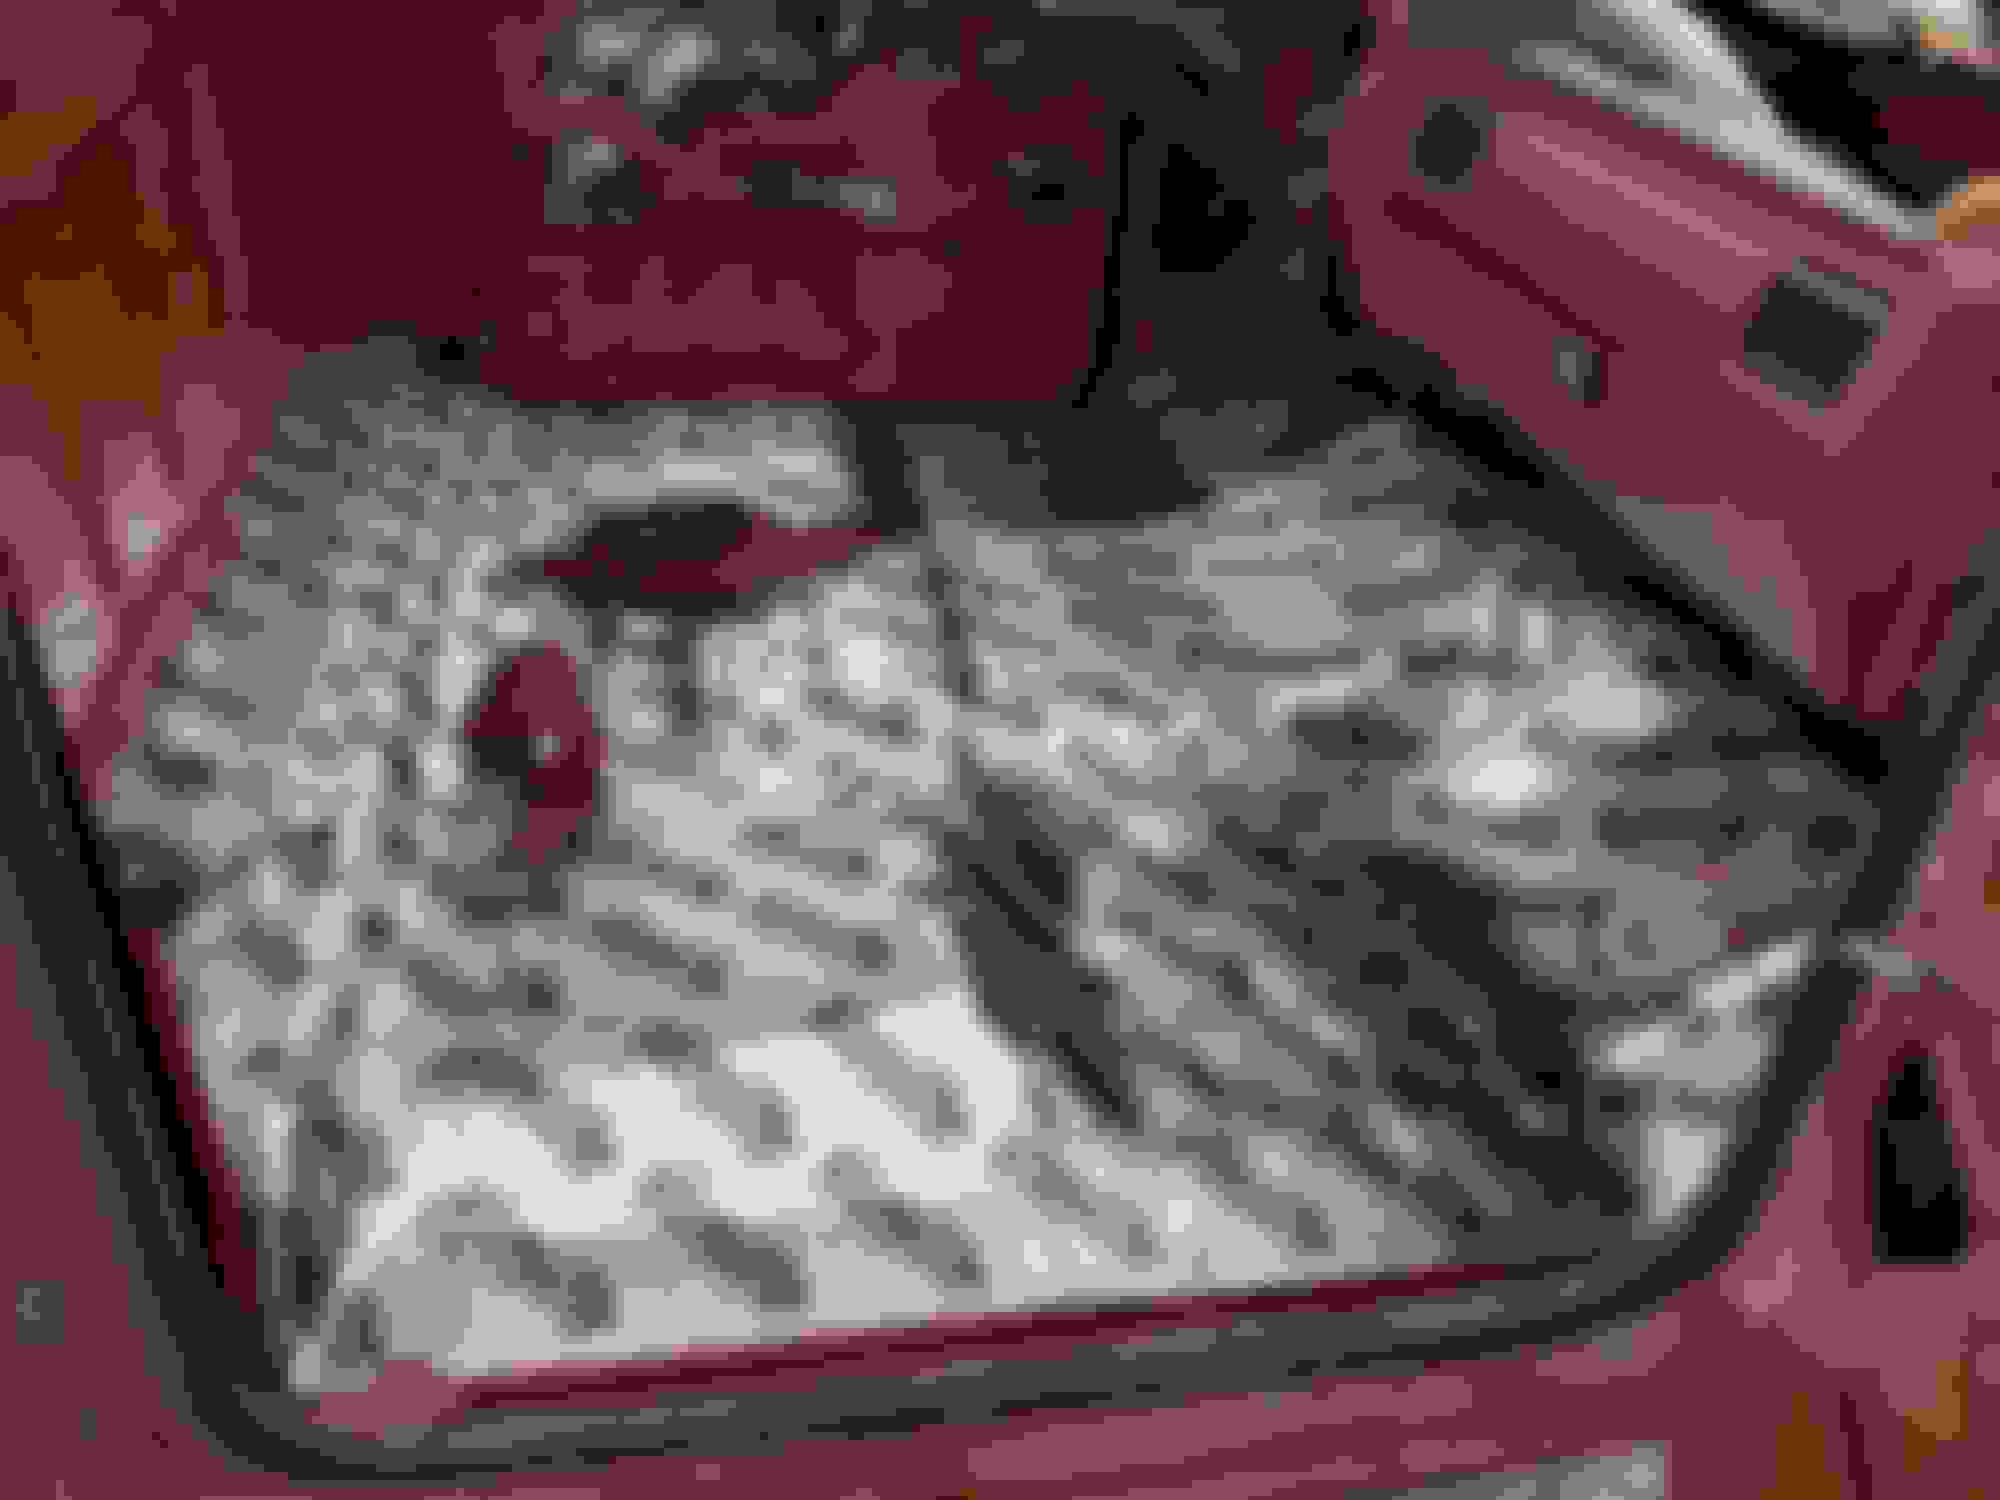
What is the hole in the bed floor for? Did someone cut it to get to the rear tank sender and if so why not weld in a new part before you did the floor under coat?
Dave ----
 
Related Topics
Thread
Thread Starter
Forum
Replies
Last Post
npd23
1987 - 1996 F150 & Larger F-Series Trucks
18
03-24-2021 08:18 PM
Connecticut Calvin
1948 - 1956 F1, F100 & Larger F-Series Trucks
47
01-06-2020 12:45 PM
bh867
Vehicles for Sale
0
01-02-2017 10:45 PM
Grubbworm
Projects
225
09-11-2016 07:40 PM
Buyerz
1973 - 1979 F-100 & Larger F-Series Trucks
8
09-19-2015 08:12 PM


Quick Reply: 86 F-150 upgrades and rebuild.


All times are GMT -5. The time now is 07:24 PM.