LFD's 51 F1 suspension Build.
#46
 01-01-2010, 11:24 AM

Senior User
Join Date: May 2006
Location: Central Coast, California
Posts: 395
Likes: 0
Received 1 Like
on
1 Post
Post pics please! I bought the underfloor setup but really thinking about buying the bracket for the firewall... I wish I had the fab skills and tools,,, I actually have done some fab and my skill is growing.... I want the brakes to be practical and easy to service... I am also looking at some killer exhaust...
#47
01-05-2010, 10:56 PM

Join Date: Sep 2006
Location: Winters Ca
Posts: 423
Likes: 0
Received 0 Likes
on
0 Posts
Here are a few pics of my progress over the last few days. Motor and trans are in and wired. I cleaned up the EFI and engine wiring a lot and I am very happy with how clean it turned out. I changed out my column for a 72 Chevy auto tilt unit I had for another project and the length worked out great. I made new upper and lower mounts out of 12ga plt and some 16ga slpit collars. This thing is very solid now and I just had to cut about 3" off the lower shaft and was able to use all the steering linkage I had already made for the stock column. I also made my radiator upper and lower steel hose/tubes and got them installed and filled the system. The brake pedal install is almost done as well I just have one more brace to put in and a bit of welding to complete.
Kevin
LFD Inc.
[IMG]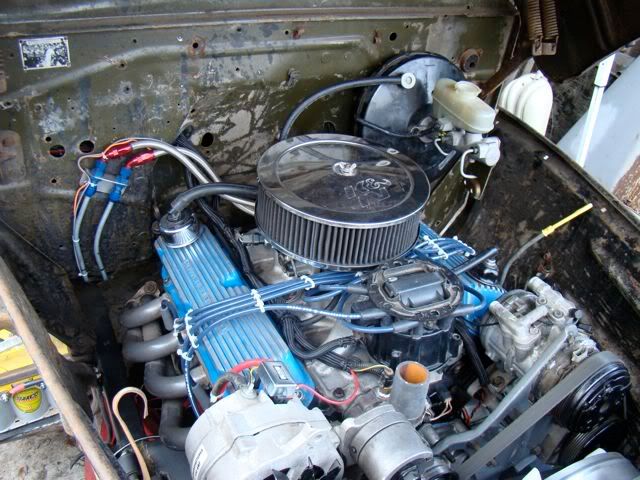 [/IMG]
[IMG]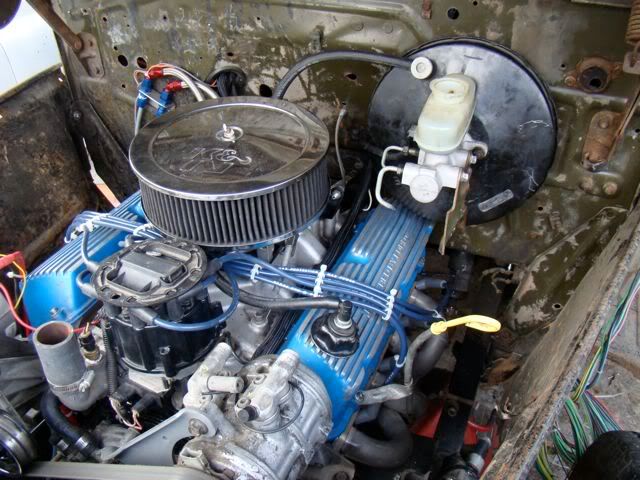 [/IMG]
[IMG]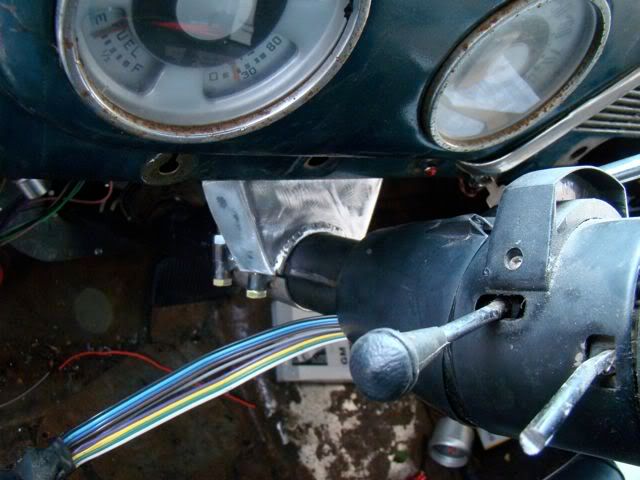 [/IMG]
[IMG] [/IMG]
[IMG]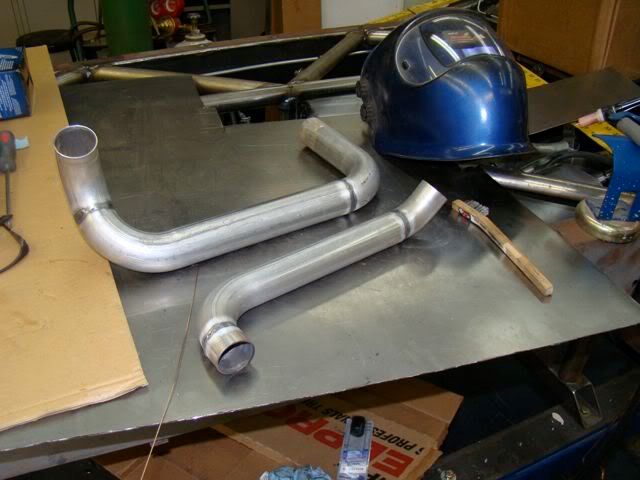 [/IMG]
[IMG]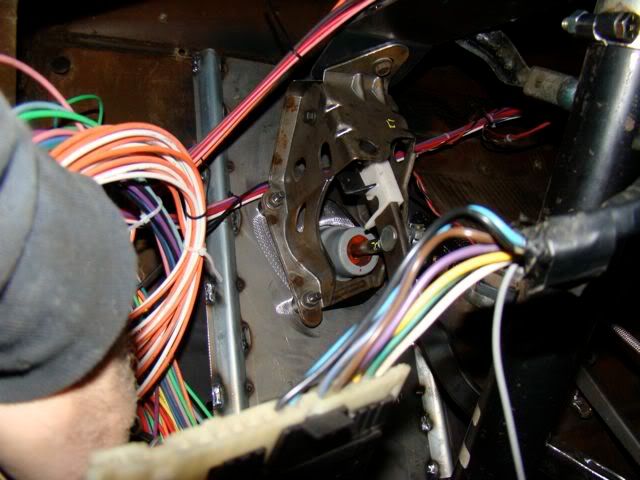 [/IMG]
[IMG]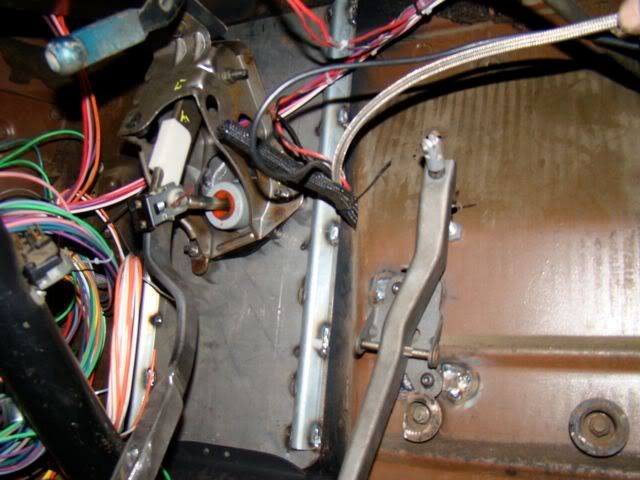 [/IMG]
[IMG]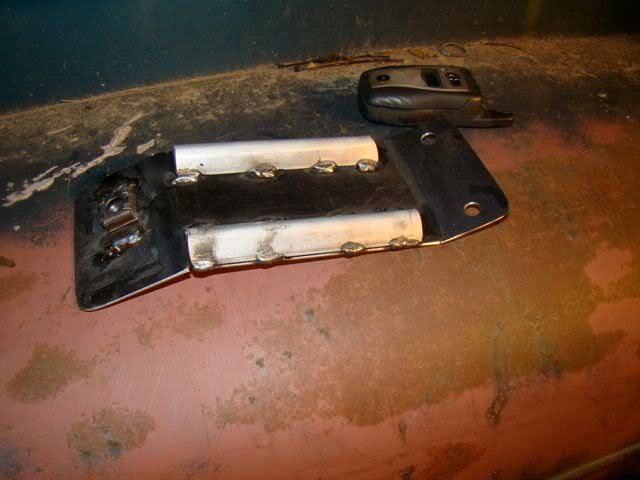 [/IMG]
[IMG] [/IMG]
[IMG]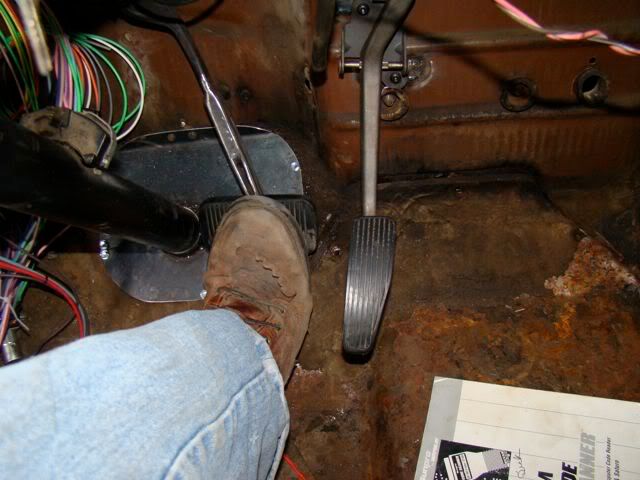 [/IMG]
Kevin
LFD Inc.
[IMG]
[/IMG][IMG]
[/IMG][IMG]
[/IMG][IMG]
[/IMG][IMG]
[/IMG][IMG]
[/IMG][IMG]
[/IMG][IMG]
[/IMG][IMG]
[/IMG][IMG]
[/IMG]
#48
01-05-2010, 10:59 PM
Join Date: Sep 2006
Location: Winters Ca
Posts: 423
Likes: 0
Received 0 Likes
on
0 Posts
Today some of my exhaust parts showed up so I was able to get my starter tubes made that go from the 2 1/2" collectors right to the 3" exhaust and the O2 sensor is installed as well. I should have the flex couplers and the 4' lengths of tube by Friday so the system will be finished over the weekend. The fuel system is finished as well and she fires right up with a flip of the switch but it is just a bit loud right now. I can't wait for the 3" flowmasters to get put in soI can hear the new sound, my son is going to love it!
In the next day I hope to get the rest of the under dash wiring buttoned up and the E-brake pedal installed as well. I will get the seat raisers made and installed for the 67 chevelle bench seat and weld in the bungs for the seat belt mounts as well.
Kevin
LFD Inc.
This was the first fire up for the motor in a year or so and the first time the ECU has seen power so the tune is off a bit but with a bit more run time it will start smoothing right out. It does have a fairly large cam so I am looking forward to the rumble with the exhaust finished up. We have only had large single exhaust on this motor before so it should be a bit different then we are used to. That plus it has never been in a street rod before only lifted 4x4's.
[IMG]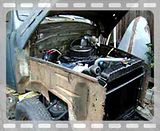 [/IMG]
In the next day I hope to get the rest of the under dash wiring buttoned up and the E-brake pedal installed as well. I will get the seat raisers made and installed for the 67 chevelle bench seat and weld in the bungs for the seat belt mounts as well.
Kevin
LFD Inc.
This was the first fire up for the motor in a year or so and the first time the ECU has seen power so the tune is off a bit but with a bit more run time it will start smoothing right out. It does have a fairly large cam so I am looking forward to the rumble with the exhaust finished up. We have only had large single exhaust on this motor before so it should be a bit different then we are used to. That plus it has never been in a street rod before only lifted 4x4's.
[IMG]
[/IMG]
#49
01-05-2010, 11:23 PM

You're just as sick as I am buddy
What site will I find you on next lol
I really like the way your truck turned out so far, I have a 50 that Im thinking about working on next (as in when I get some money lol)
Just gotta figure out what Ima do for suspension
I have a 300 I-6 with OD 4-speed out of a 84 F-150 going in mine, prolly the 9" also, along with some 17" dodge wheels I have
#50
01-06-2010, 01:20 AM
Elder User
Join Date: May 2004
Location: Rancho Cucamonga ca.
Posts: 601
Likes: 0
Received 0 Likes
on
0 Posts
#51
01-06-2010, 09:36 AM
Join Date: Sep 2006
Location: Winters Ca
Posts: 423
Likes: 0
Received 0 Likes
on
0 Posts
")
No for now it will stay stock with just the rust fixed and re-patina'd (cool new word!) to match the rest of the truck. I am focusing on getting it on the road and getting the chassis complete so it is safe and well built for years to come. Then when my 2 1/2 yr old son is old enough to help my in the shop we will begin the body mods. It is his truck but my plans include a 4-6" cab stretch through the doors not B-pillar's, 2-3" chop (mixed between glass and roof crown), 2-3" channel below the belt line of the doors then split between the hood and front fenders so to keep the proportions right and not give it the flat hood look. We will shorten the front of the bed to match the cab stretch and radius the head board a bit to match the rear of the cab. I also want to build some rockers that will frame out the bottom of the doors and close up the gap between the running boards some.
But aside from that it will stay bone stock
 Like I said for now the main goal is to get it on the road so my son grows up with memories of us with the truck, going to cruises and shows so when it is time for him to get the truck their will be a sense of ownership and not just a gift to tear up. Plus it will stay in much better shape if it is on the road and not just sitting in the corner of the yard.
By the way the paint on your truck looks great as do the body mods!
Kevin
LFD Inc.
#52
01-07-2010, 08:47 PM
Join Date: Sep 2006
Location: Winters Ca
Posts: 423
Likes: 0
Received 0 Likes
on
0 Posts
A few more pics of todays progress. I now have the E-brake out of the 92 T-bird mounted and just need to run the cable and mod what ever is needed as far as length. I built the seat frame and mounted our seat and it is done in a way that down the road when we chop and channel the truck I will be able to take 3" out of the mount with out much re-work. I also have half my gauge modification (new mech water and oil units) done thanks to Julie. I will post the gauges that I used in the next post with the complete gauge. The Mech Water temp is out in the shop trying but will be finished up tonight.
I should have the rest of my exhaust parts about noon tomorrow so I can get going on that for the weekend project and I believe my fittings came in for the PSI side of the power steering pump so I can take care of that in the morning along with installing and wiring the gauges! Oh I also picked up and installed the Drive Line today.
Kevin
LFD Inc.
[IMG] [/IMG]
[IMG] [/IMG]
[IMG] [/IMG]
[IMG]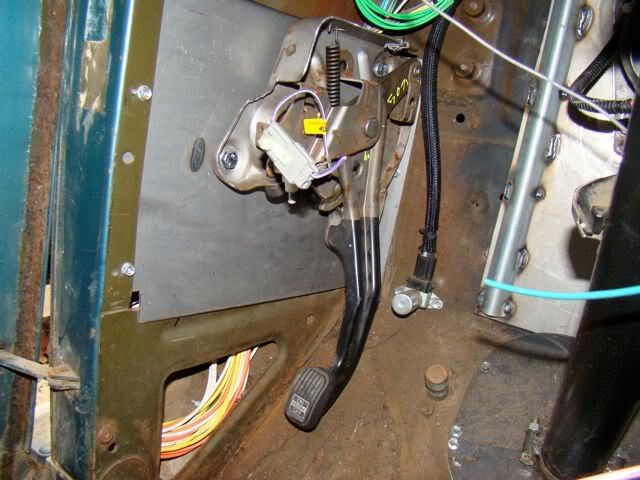 [/IMG]
[IMG]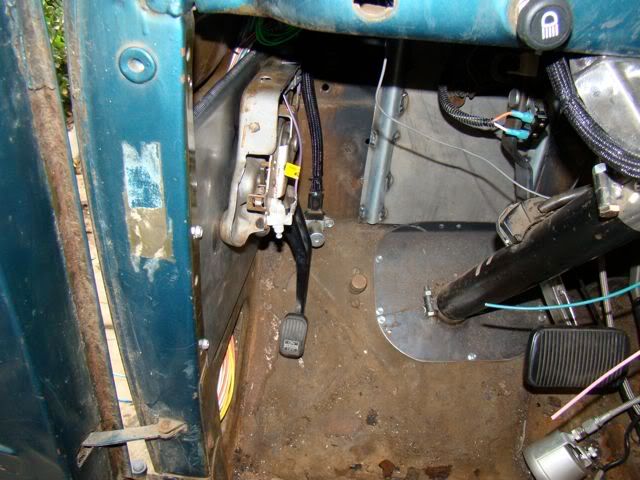 [/IMG]
I will be doing some beaded sheet metal covers for the side and the front of the seat base to clean things up a bit.
[IMG]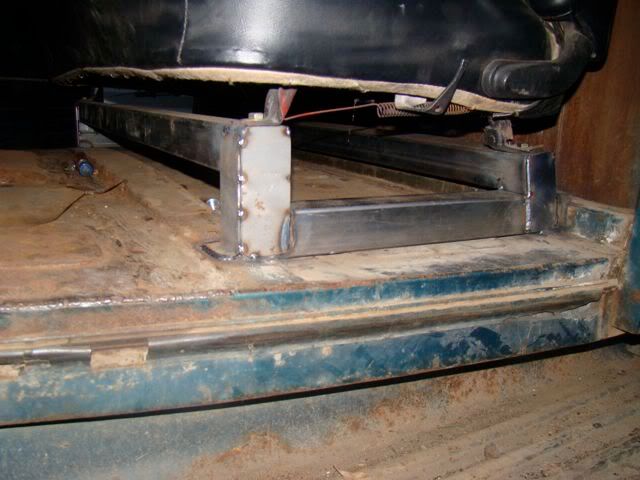 [/IMG]
[IMG]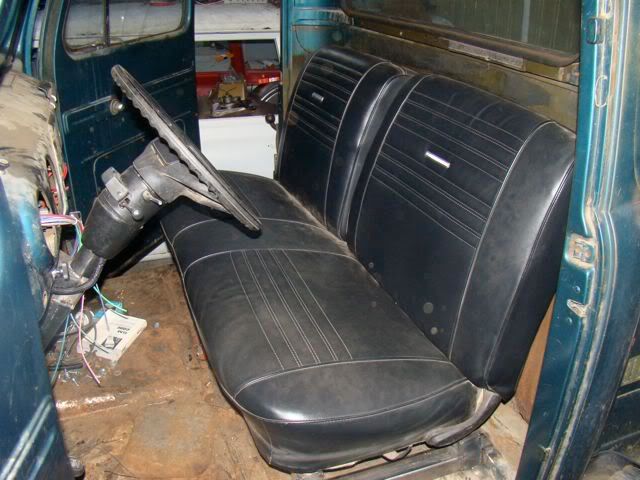 [/IMG]
[IMG]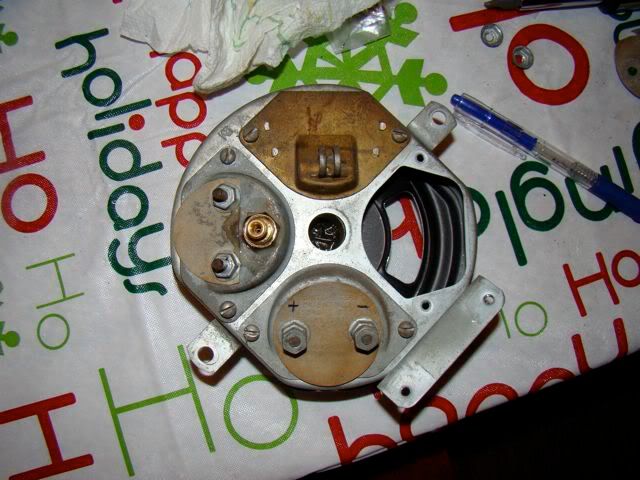 [/IMG]
I should have the rest of my exhaust parts about noon tomorrow so I can get going on that for the weekend project and I believe my fittings came in for the PSI side of the power steering pump so I can take care of that in the morning along with installing and wiring the gauges! Oh I also picked up and installed the Drive Line today.
Kevin
LFD Inc.
[IMG]
[/IMG][IMG]
[/IMG][IMG]
[/IMG][IMG]
[/IMG][IMG]
[/IMG]I will be doing some beaded sheet metal covers for the side and the front of the seat base to clean things up a bit.
[IMG]
[/IMG][IMG]
[/IMG][IMG]
[/IMG]
#53
01-08-2010, 12:09 AM
Join Date: Sep 2006
Location: Winters Ca
Posts: 423
Likes: 0
Received 0 Likes
on
0 Posts
 [/IMG]
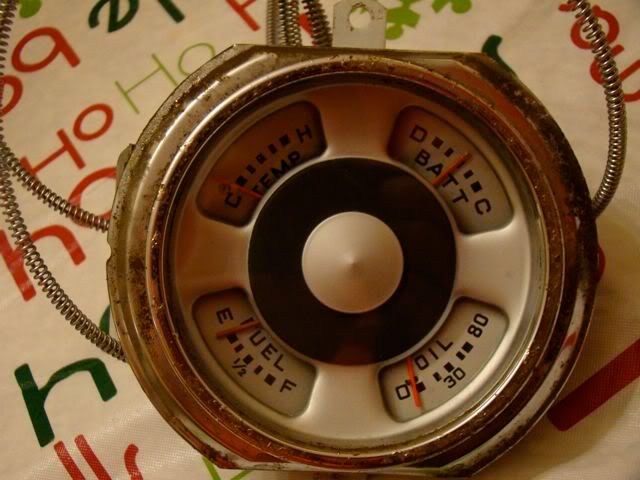 [/IMG]
#54
01-08-2010, 05:23 PM
Join Date: Sep 2006
Location: Winters Ca
Posts: 423
Likes: 0
Received 0 Likes
on
0 Posts
Well it turns out my Amp gauge was shot so I changed out that gauge as well with a Napa #501-1737. Also here is a shot of my new battery location. Once my fenders are back in place I will make a splash shield out of a mud flap to help keep things clean.
Kevin
LFD Inc.
[IMG]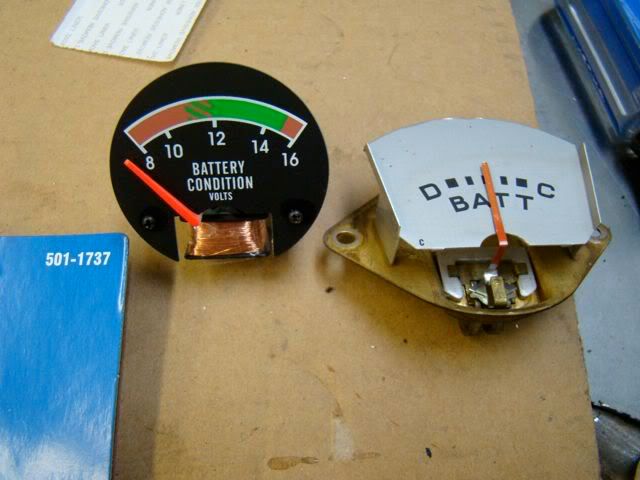 [/IMG]
[IMG]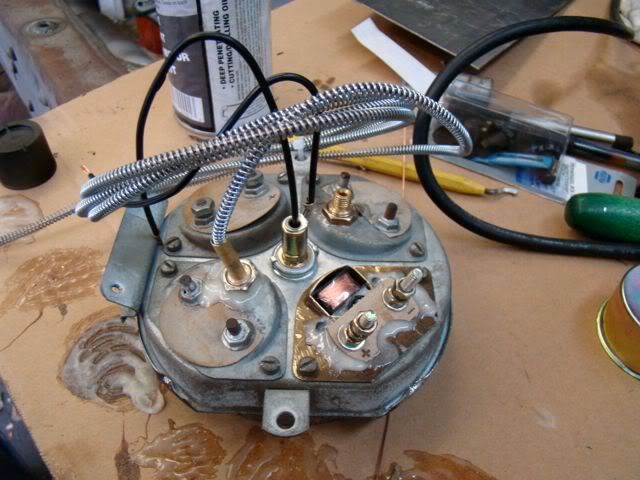 [/IMG]
[IMG]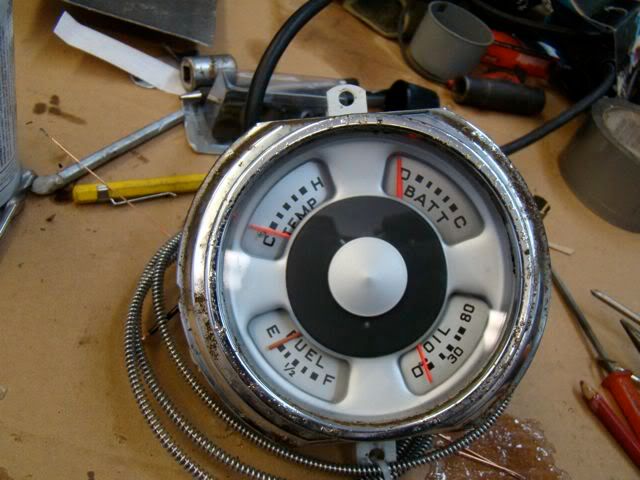 [/IMG]
[IMG]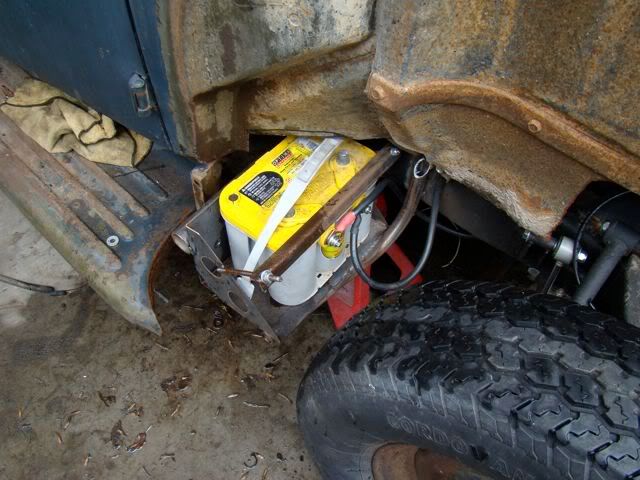 [/IMG]
Kevin
LFD Inc.
[IMG]
[/IMG][IMG]
[/IMG][IMG]
[/IMG][IMG]
[/IMG]
 Your truck coming along real nice; Lots of good info and pics. Very nice fabs. Keep posting all the progress, and pics.
  RUSTY
RUSTY
#56
01-09-2010, 08:31 PM
Join Date: Sep 2006
Location: Winters Ca
Posts: 423
Likes: 0
Received 0 Likes
on
0 Posts
Got most of the exhaust done today. I have it run under the rear and ready for the tail pipes to be added and exit the truck. I think I will keep it high and tight then dump it right behind the rear bumper once I move the bumper up and in to the body. It is all 3" mandrel bent aluminized tube with 40 series FlowMasters. It sounds great and I will get some video to post up in the morning when I can see out side.
Also all the new gauges work great!
Kevin
LFD Inc.
[IMG]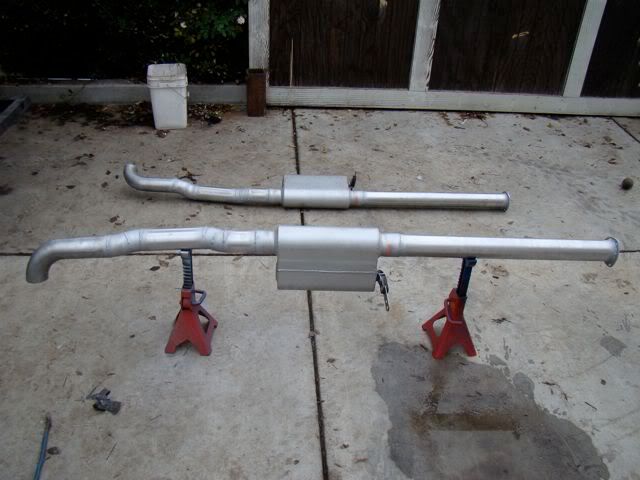 [/IMG]
Those are some big pipe's!!
[IMG]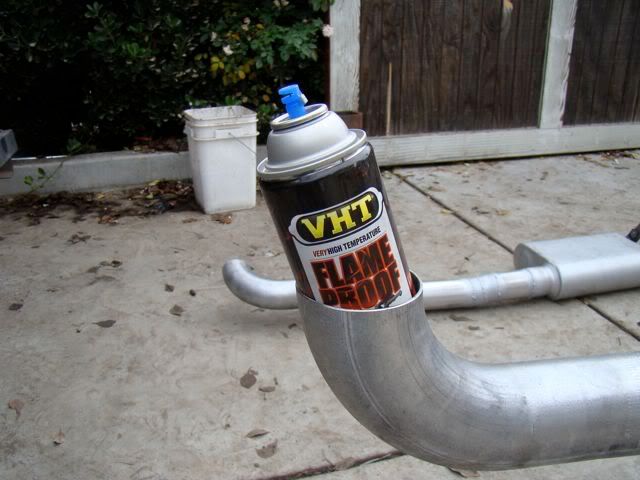 [/IMG]
Disregard the trans crossmember as the new one will be built in the morning! This one was the 1958 job that was done by the PO.
[IMG]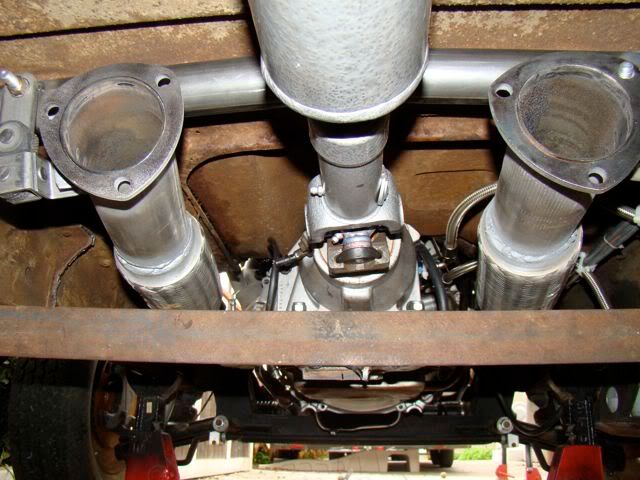 [/IMG]
[IMG]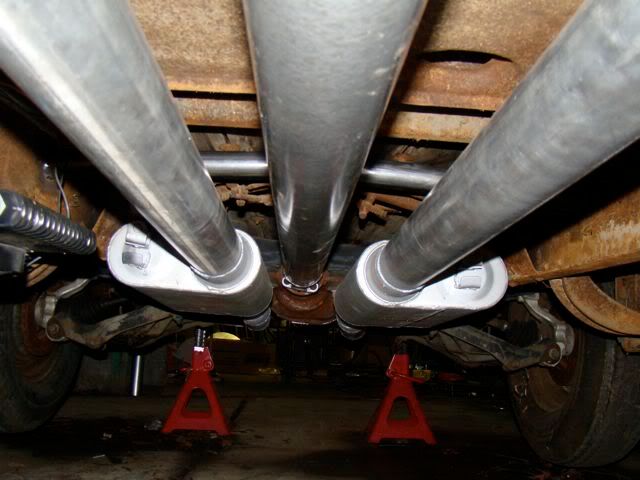 [/IMG]
At ride height. (I had to lighten up the pics)
[IMG] [/IMG]
All the way down I have about 3/4" of clearance.
[IMG]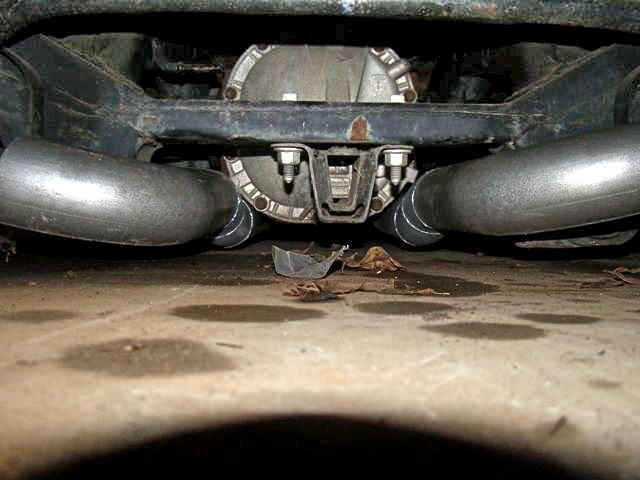 [/IMG]
1/4" of clearance and it will roll and steer this low.
[IMG]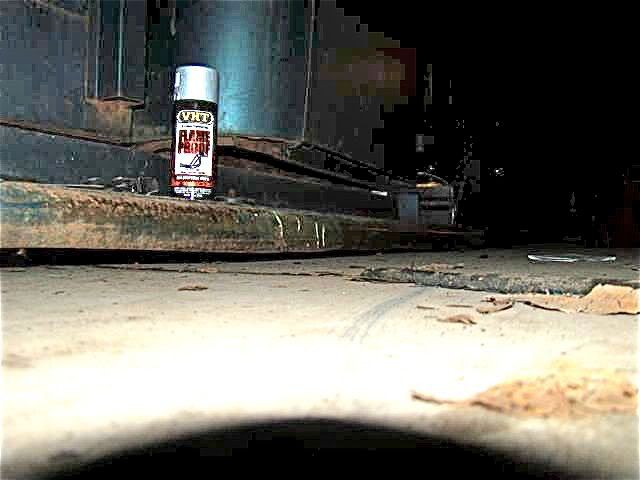 [/IMG]
Also all the new gauges work great!
Kevin
LFD Inc.
[IMG]
[/IMG]Those are some big pipe's!!
[IMG]
[/IMG]Disregard the trans crossmember as the new one will be built in the morning! This one was the 1958 job that was done by the PO.
[IMG]
[/IMG][IMG]
[/IMG]At ride height. (I had to lighten up the pics)
[IMG]
[/IMG]All the way down I have about 3/4" of clearance.
[IMG]
[/IMG]1/4" of clearance and it will roll and steer this low.
[IMG]
[/IMG]

#59
01-09-2010, 10:48 PM
Elder User
Join Date: May 2004
Location: Rancho Cucamonga ca.
Posts: 601
Likes: 0
Received 0 Likes
on
0 Posts
plans include a 4-6" cab stretch through the doors not B-pillar's, 2-3" chop (mixed between glass and roof crown), 2-3" channel below the belt line of the doors then split between the hood and front fenders so to keep the proportions right and not give it the flat hood look. We will shorten the front of the bed to match the cab stretch and radius the head board a bit to match the rear of the cab. I also want to build some rockers that will frame out the bottom of the doors and close up the gap between the running boards some.
But aside from that it will stay bone stock
But aside from that it will stay bone stock