
What have you done to your truck today?
 05-13-2014, 11:27 PM

Posting Guru
05-15-2014, 08:29 PM

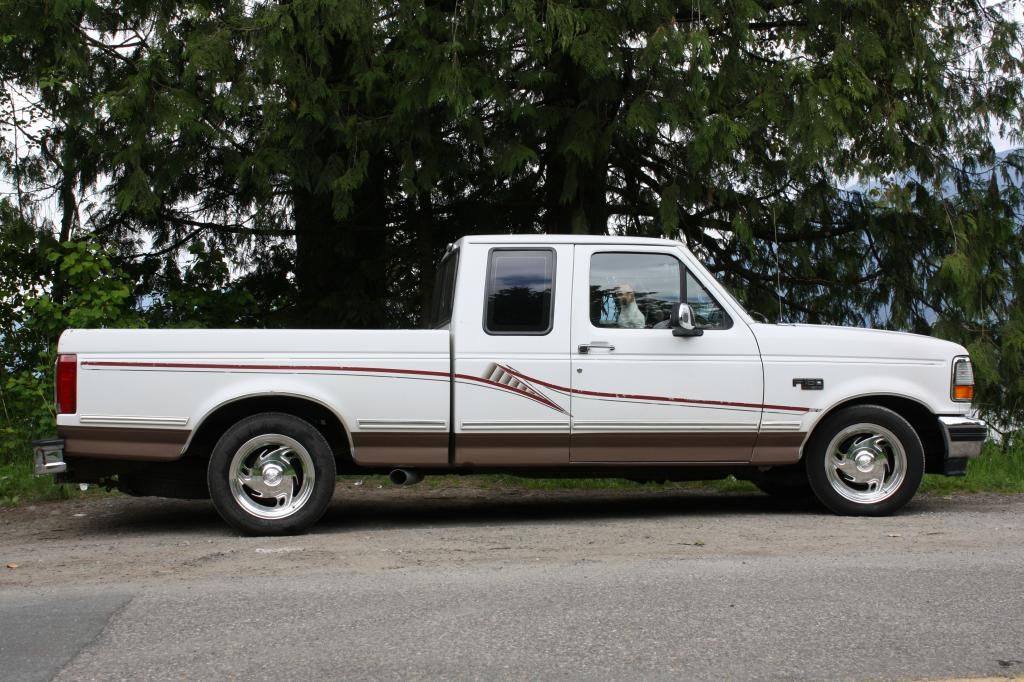
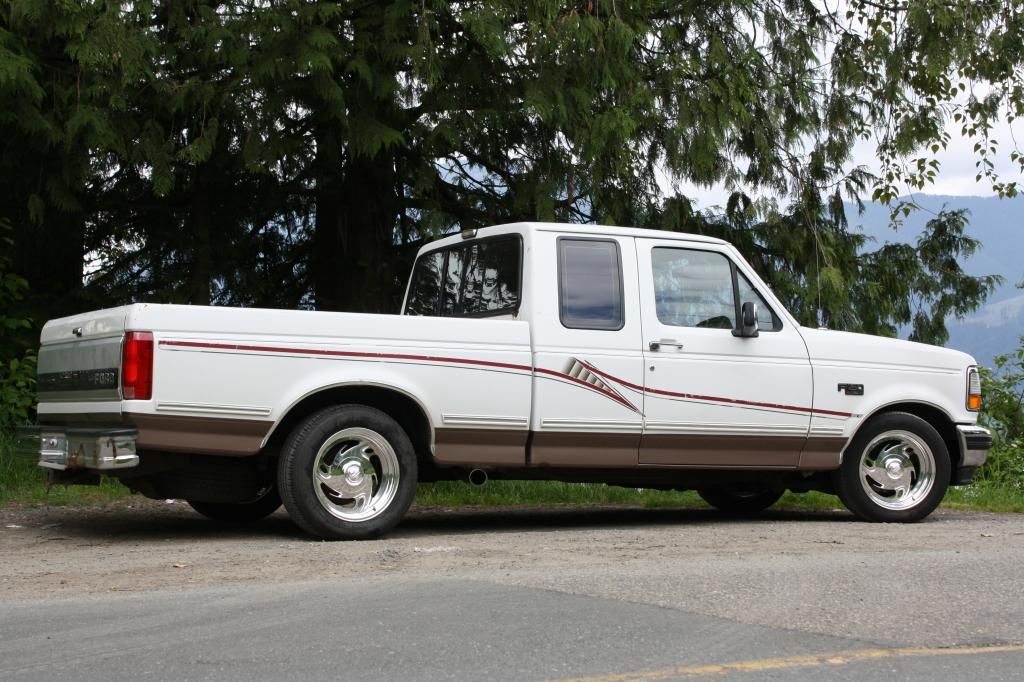
Today I decided to fix the "Empty at 1/4 tank" issue on my '94 CC 7.3L dually .
First I started on the rear tank. Not having any way to lift the bed, I had to do it the hard way and drop the tanks. First issue: The 2" receiver hitch was in the way... so I had to unbolt that V-5 150lb beast. Then I couldn't get a sipon hose to work to finish emptying the tank, which showed as 1/4 full on the gauge. Wrong!! When I dropped the tasnk onto my chest, I quickly realized it was a lot closer to half a tank... God it was heavy! Then, I could not get one of the quick disconnects to release... The supply line was no problem, but the return line wouldn't come loose for nothing. After fighting it for 3hrs.. I finally gave up and managed to remove the sending unit assembly with the tank hanging under the truck and the line attached. Then I found my gauge problem.. the float assembly wire was bent upwards.
After emptying the tank, I fitted a section of 3/8" fuel line to the end of the pickup tube, notching a V in the bottom so it wouldn't suck itself to the tank. Another hour of frustration and I had the tank refitted to the dangling sending unit assembly. After bolting the tank back in place, And remounting the hitch, I discovered the fuel filler neck hose laying in the truck bed.... Oops.
So, another hour contorting my hand into 12 different angles later, I managed to fit the hose unto the tank, and tighten the hose clamp.
No, I did not get to do the front tank... I sure hope it goes smoother than the rear tank did.
05-16-2014, 12:37 AM
05-16-2014, 12:43 AM
It has some rust issues, mainly in the trunk seams and engine bay seams. The passenger door has 2 very small rust bubbles forming near the bottom which means the door has rusted through.
Once I do some more garage cleaning and get some funds together I am going to drop the motor and start rebuilding it. Once I have it running and driving reliably I will work on the body of the car.
05-16-2014, 08:18 AM
Postmaster
I got the blasted air dryer canister thing in after getting assistance from a local shop to literally break off the bolts holding the rusted unit in place and i was tired of fighting it for a few months before hand and then last night I pulled a vaccume on the entire system so Im hoping that I got it all sorted well, filled the canister but I think the liquid from the can got into it, so I hope thats ok for the type of canister dryer/accumilator but ehh, it appears to work so I suppose its good.
also recieved the head lamps I ordered yesterday so im excited to get them on, and will be fighting those tonight and tomorrow night
my girl is looking younger and younger each day I fix something
also recieved the head lamps I ordered yesterday so im excited to get them on, and will be fighting those tonight and tomorrow night
my girl is looking younger and younger each day I fix something
05-16-2014, 02:02 PM

Just a small update. Took Michelle in for the reaming 2 tires she needed.
$177.31 for 2, Mastercraft P235/75/15's mounted, balanced and the guy rotated the other new ones to the front for free.
Also, diagnosed 2 issues.
#1) The Axle Pivot bushings are SHOT. When I take off, I sometimes hear the classic "Clunk!" from it wiggling around. I already have the new bushings ($35.00? I can't remember) and the guy will install them for $80.00 (Sounds high, til you realize I have 0 air tools, no lift, and no truly level ground OR the ball joint press ($60.00-300.00) to do it with, and then the added part of me with back issues.)
#2) The truck kinda does a little "Bunny hop" when lightly braking from 35mph to a stop.
I had previously replaced the Rear Brake Drums with the new ones off Ethel, the 1994 F-150 I had previously (Was only installed 3 months before the accident). As I suspected, they were getting oblonged/worn in an elliptical shape, rather than round.
Cost for that is:
Labor for entire axle:$50.00
Turning each brake Drum down: $15/side, so $30.00
Brake Shoes: $35-ish (Gonna put Motorcraft on this time. I HATE the Wearever's from the partshouses.
So, to recap...Another $200.00 will have everything driving and stopping correctly!
*Also, Michelle turned 219,000 miles old yesterday.
05-17-2014, 12:44 AM

Senior User
Join Date: May 2014
Location: san jose
Posts: 482
Likes: 0
Received 0 Likes
on
0 Posts
05-17-2014, 03:52 AM
Senior User
Join Date: Feb 2013
Location: California
Posts: 273
Likes: 0
Received 0 Likes
on
0 Posts
We got started on the rear headrest project today. I know the back seat in an extended cab isn't actually meant to be occupied (no engineer would be that cruel), but if it ever is, I hate the thought of someones head going through the glass if I get rear ended.
Linky to a picture. It's not finished yet, obviously. I need to get a dremel so I can cut the rear trim panel to fit, we forgot to buy enough hardware for both headrests, and then it needs to be prettied up and fine-tuned so it's less ghetto-looking. We're on the right track though I think, it's even adjustable (with a socket, but still adjustable!)
Linky to a picture. It's not finished yet, obviously. I need to get a dremel so I can cut the rear trim panel to fit, we forgot to buy enough hardware for both headrests, and then it needs to be prettied up and fine-tuned so it's less ghetto-looking. We're on the right track though I think, it's even adjustable
(with a socket, but still adjustable!)
05-17-2014, 07:11 AM
05-17-2014, 07:13 PM

 05-17-2014, 07:30 PM
Senior User
Recoverd My dashpad

 05-17-2014, 07:32 PM
05-17-2014, 07:34 PM
05-17-2014, 07:32 PM
05-17-2014, 07:34 PM

