
Bushwacker Cut Out flare install *INSTALLED*
#1
 03-23-2008, 10:35 PM

Join Date: Dec 2007
Posts: 82
Likes: 0
Received 0 Likes
on
0 Posts
I'll be installing a set of Bushwacker Cut Out Flares and was wondering if there's anyone out there with suggestions on the install? I've read the mounting instructions, but I'd like to hear from people that have already installed a set.
Thanks in advance!
Thanks in advance!
#2
03-25-2008, 10:19 PM
Join Date: Dec 2007
Posts: 82
Likes: 0
Received 0 Likes
on
0 Posts


#4
03-26-2008, 09:28 AM
Take your time, cut accurately, coat with something to prevent rusting, install flares.
I haven't installed them, but my buddy has on his K5 and I know people who've done them on SDs. Pretty straight forward install. Most use an air nibbler.
Cut the bumper to match, either reweld the lip to prevent having a sharp edge or cover it with some door edge molding.
Here's some pics from when a guy on some other forums installed his:
http://www.truckblog.com/gallery/gal...JumpTo=0%7C901
He used roofing tar to coat the edge where he cut.
#6
03-26-2008, 12:31 PM
#7
03-26-2008, 09:32 PM
Join Date: Dec 2007
Posts: 82
Likes: 0
Received 0 Likes
on
0 Posts
Trending Topics
#8
03-26-2008, 09:52 PM

Senior User
I have them. Take your time cutting. Use POR 15 to keep it all from rusting. The articulation test photos have some close ups that clearly show the flares. I would recommend a Pneumatic, high speed, small diameter cutting wheel and Cold Fire metal agent to keep the heat down and the paint on. You'll have a smooth cut with a gracefull curve
#9
03-26-2008, 11:48 PM
Join Date: Dec 2007
Posts: 82
Likes: 0
Received 0 Likes
on
0 Posts
 I'll have to check out the shop on base to see if they have a pneumatic cutting wheel. If not, I have a cut off wheel and a dremel in the garage.

#11
04-14-2008, 10:26 PM
Join Date: Dec 2007
Posts: 82
Likes: 0
Received 0 Likes
on
0 Posts
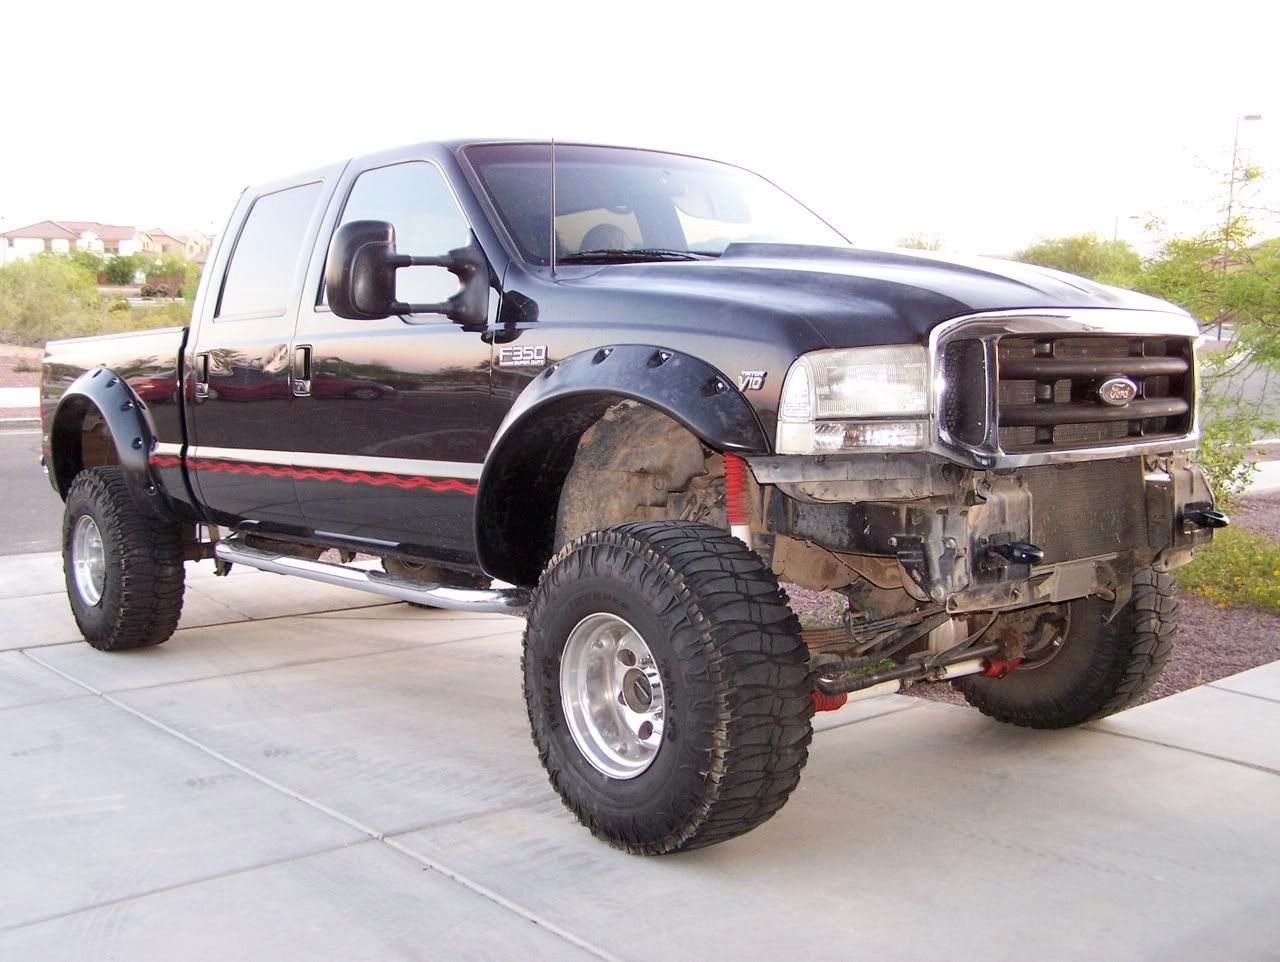
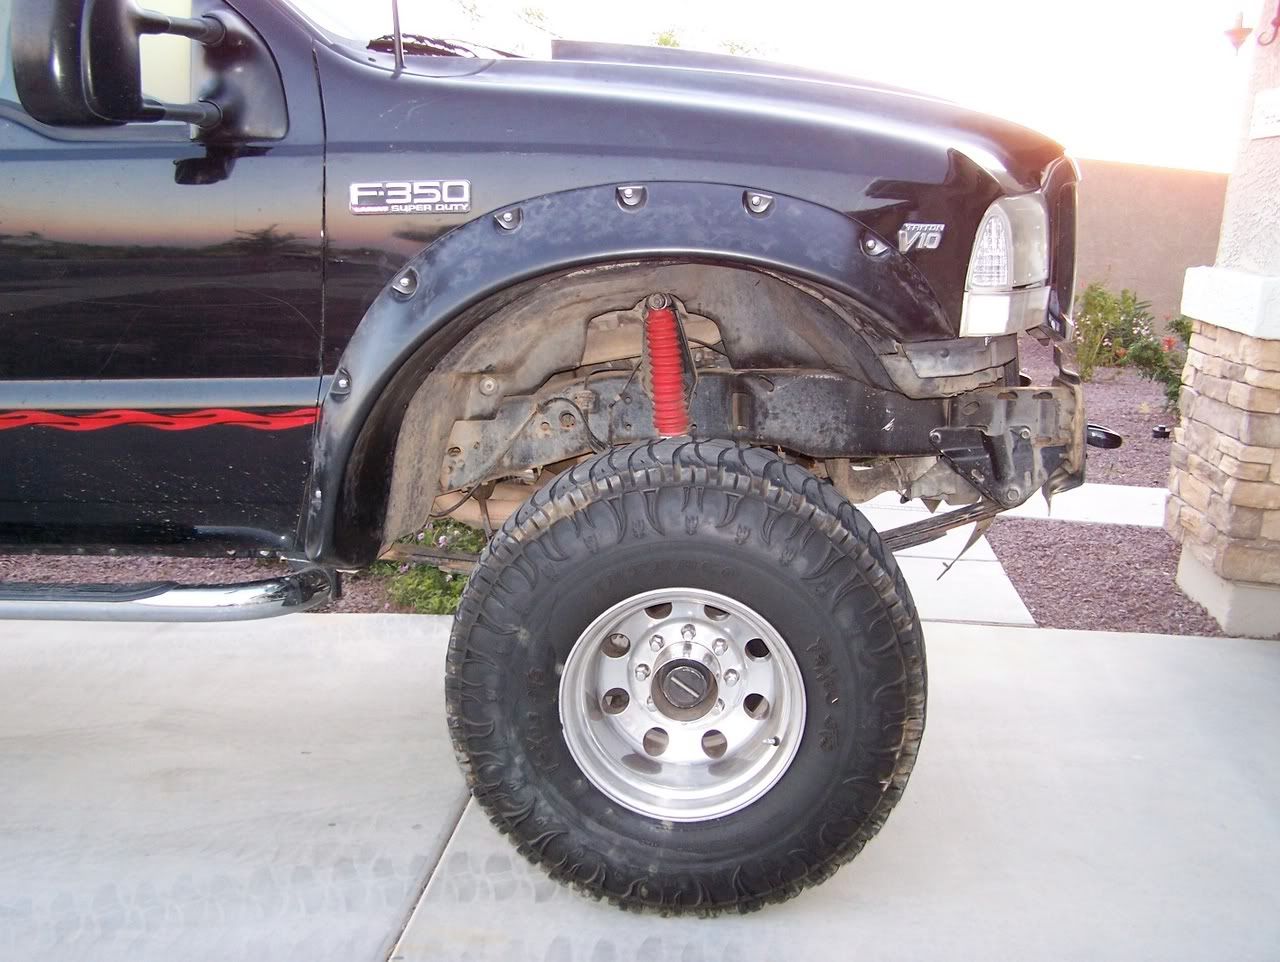
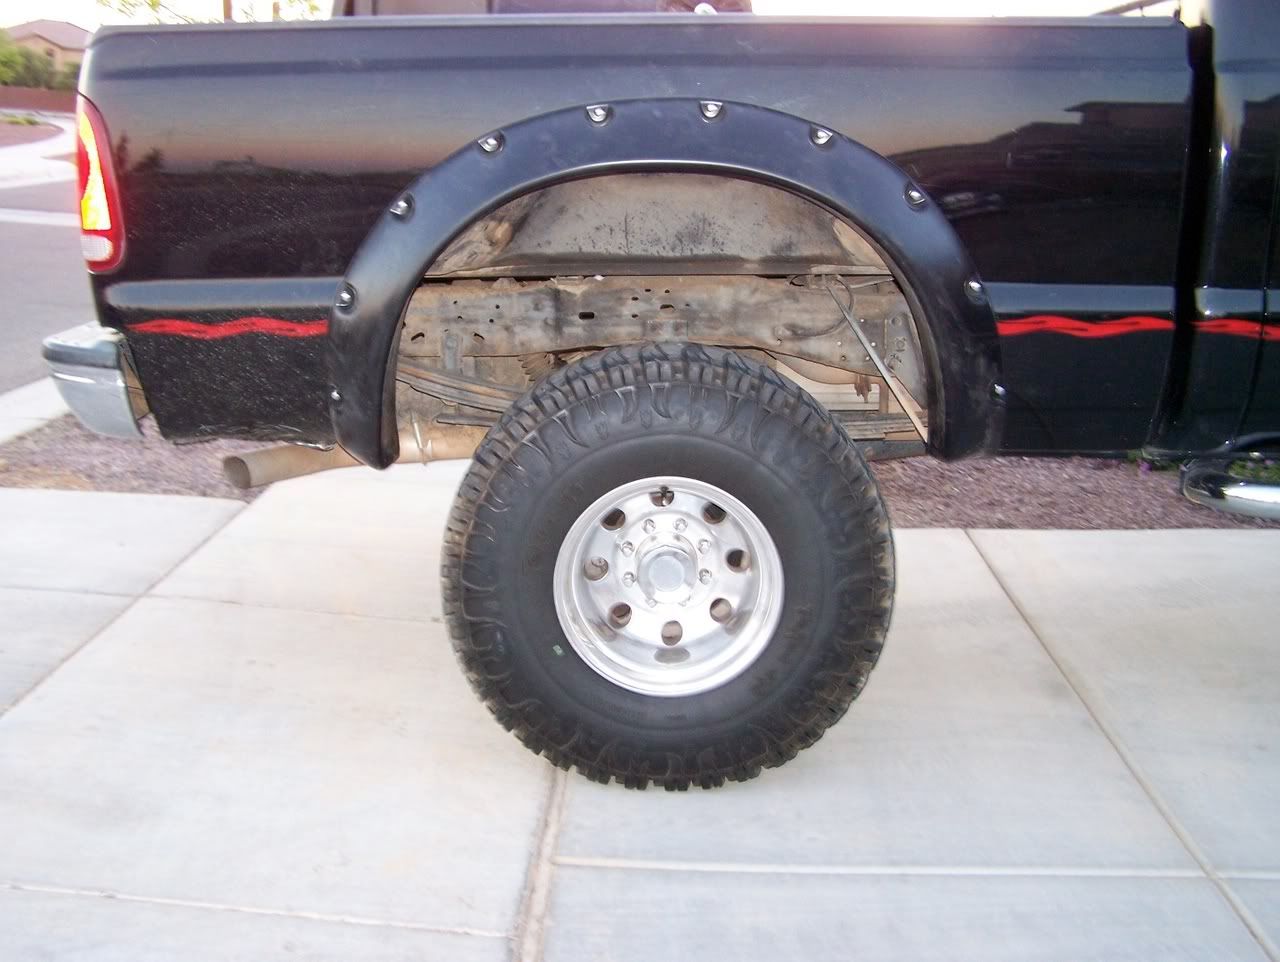
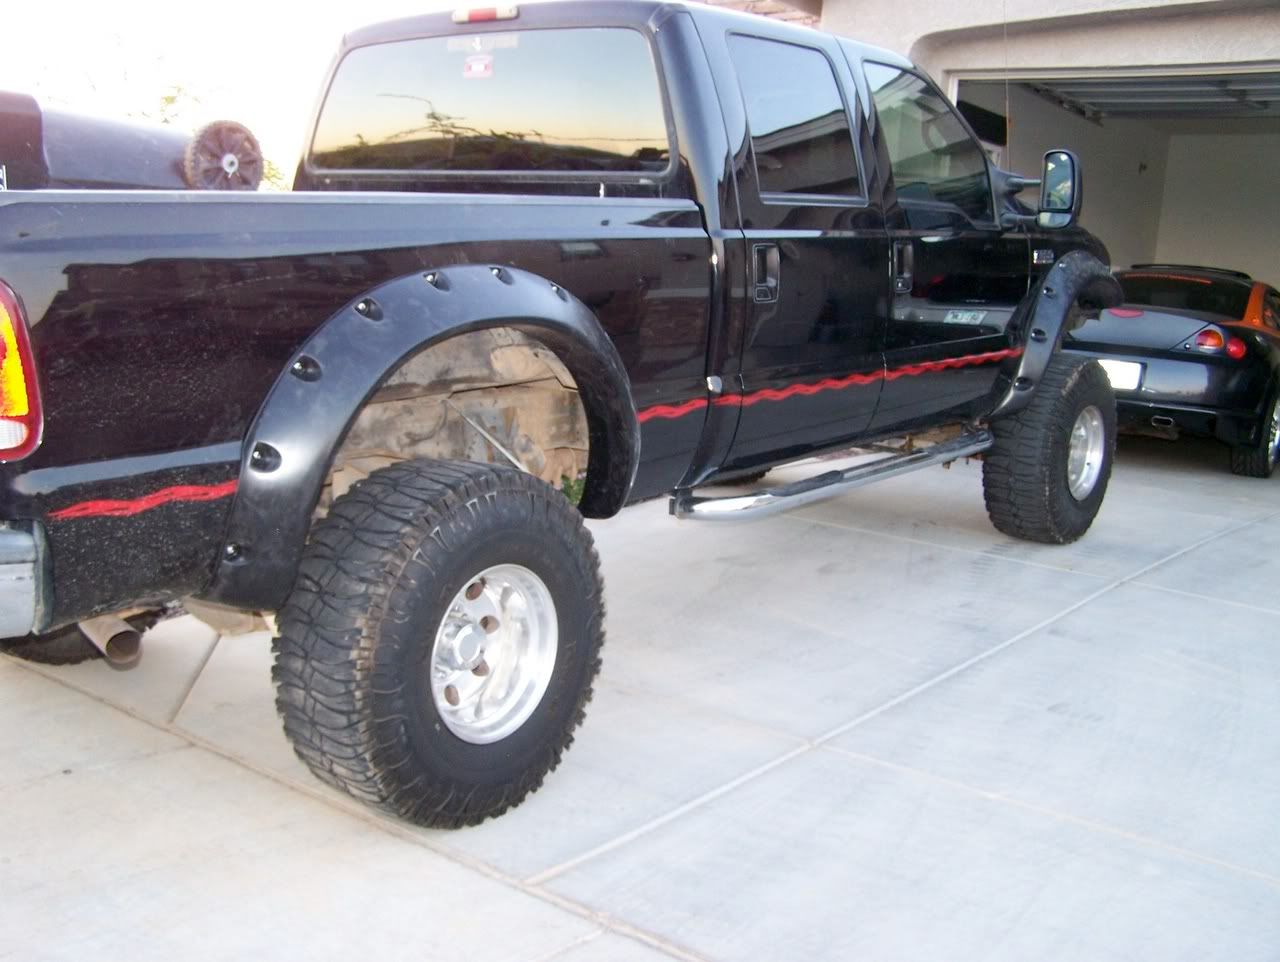
UPDATE!
I finally got around to installing these bad boys this weekend. I did it by myself since it was kind of last minute with a free day. All in all, it took me about 8 hours to get all 4 flares on.
I did not take any pictures on the installation process, but I basically measured/cut/grind/mount. Pretty straight forward.
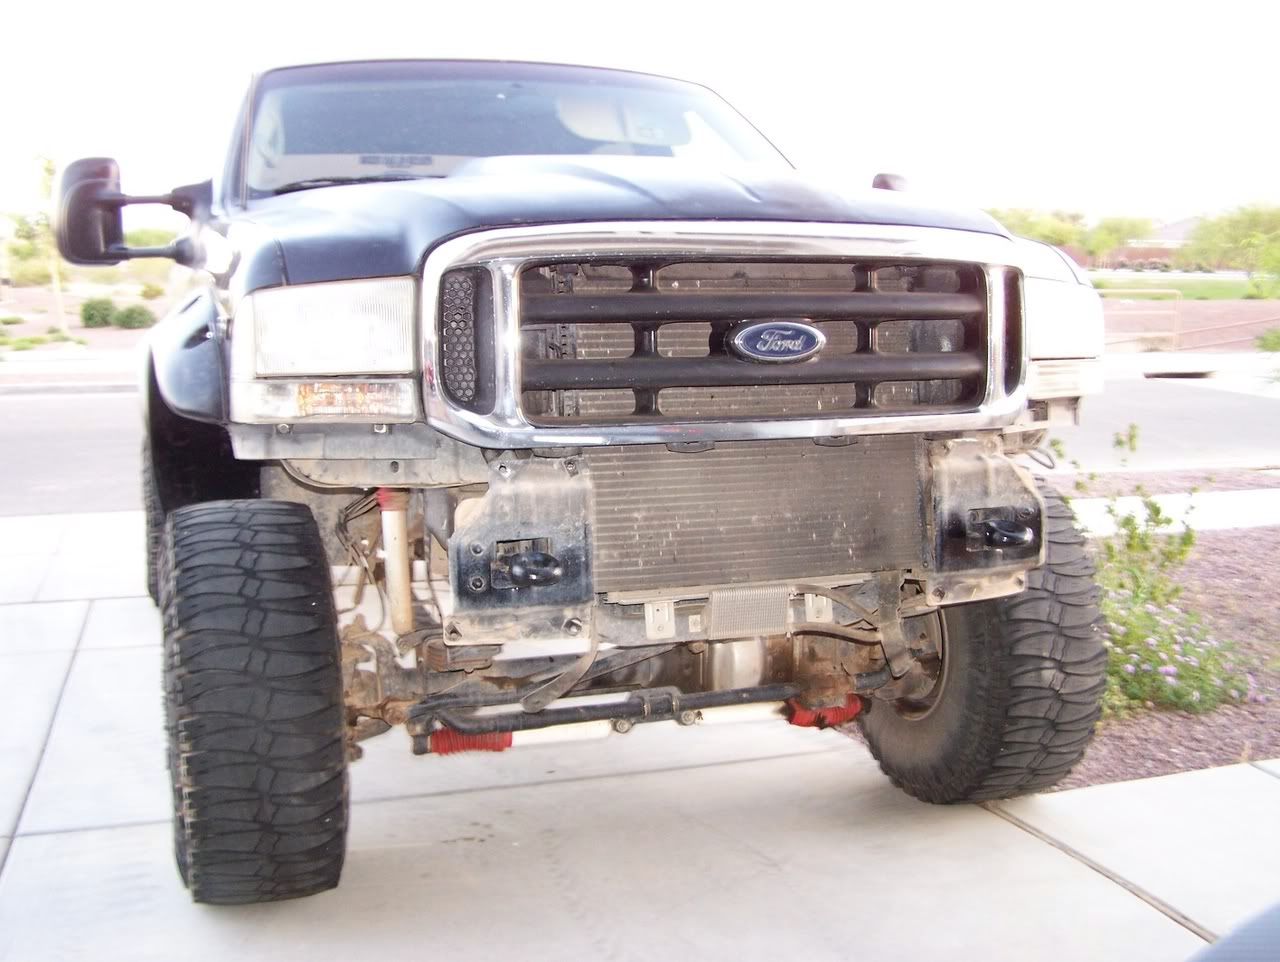
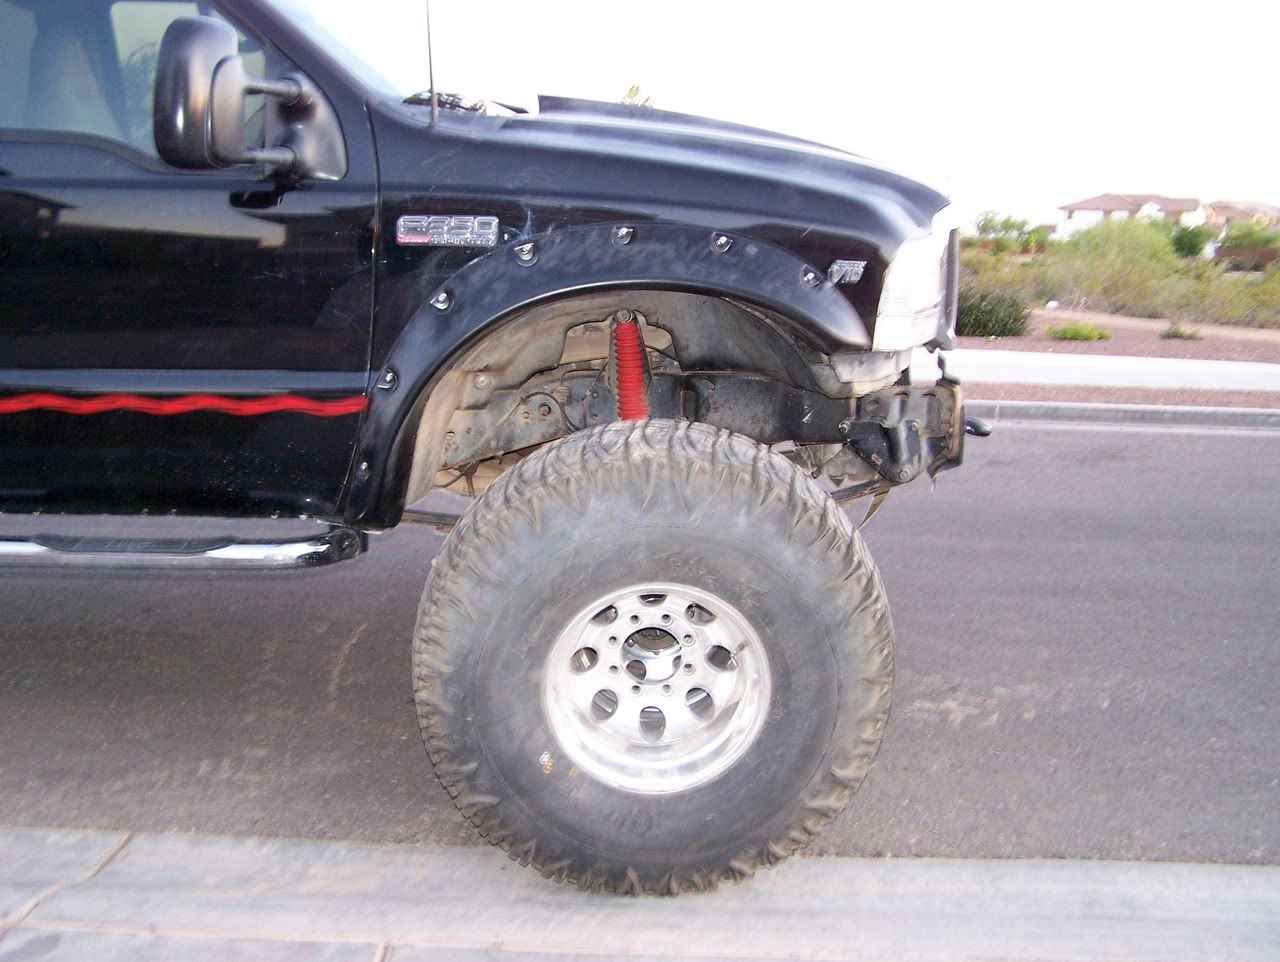
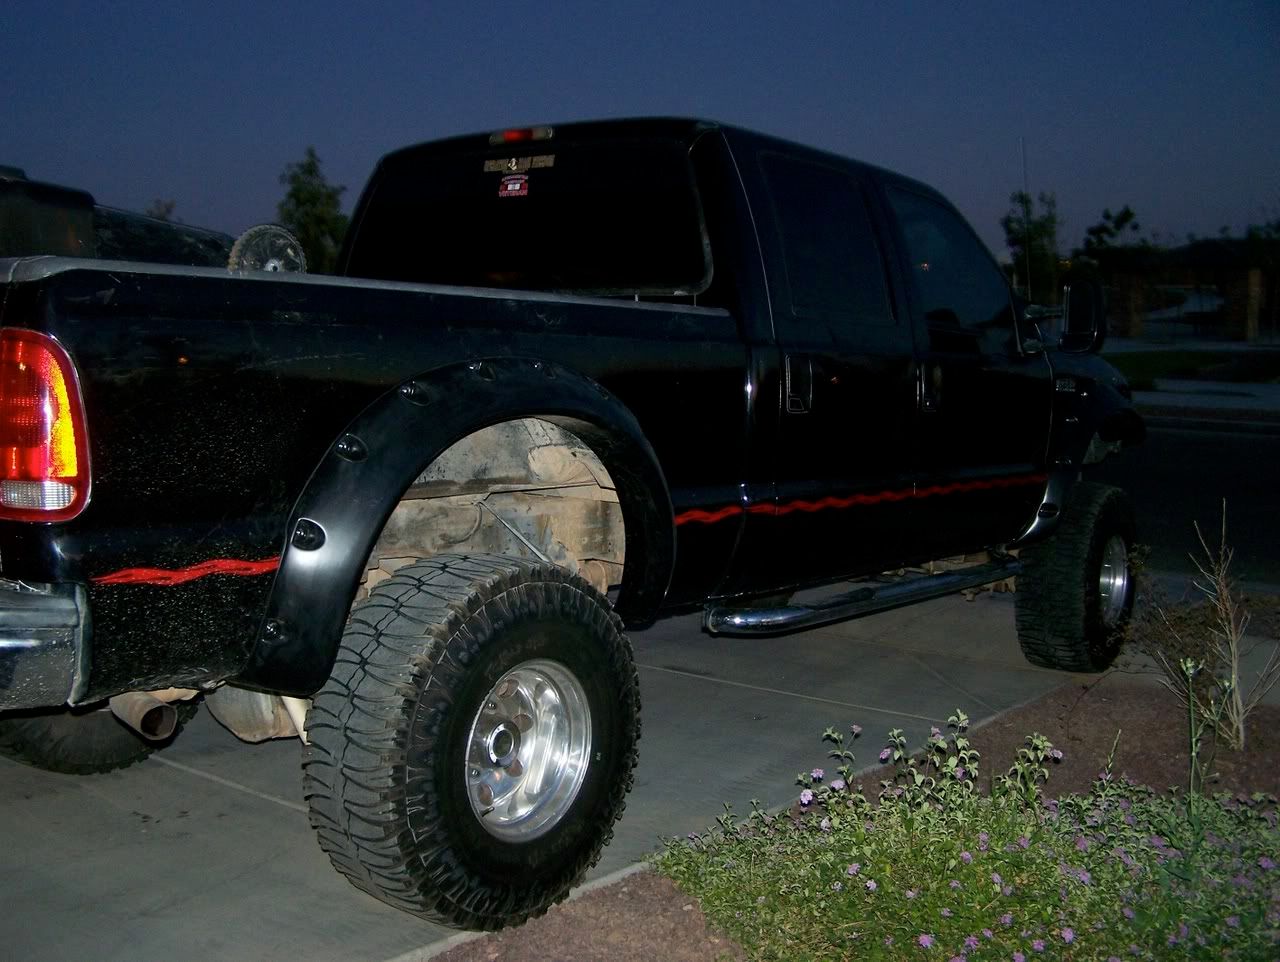
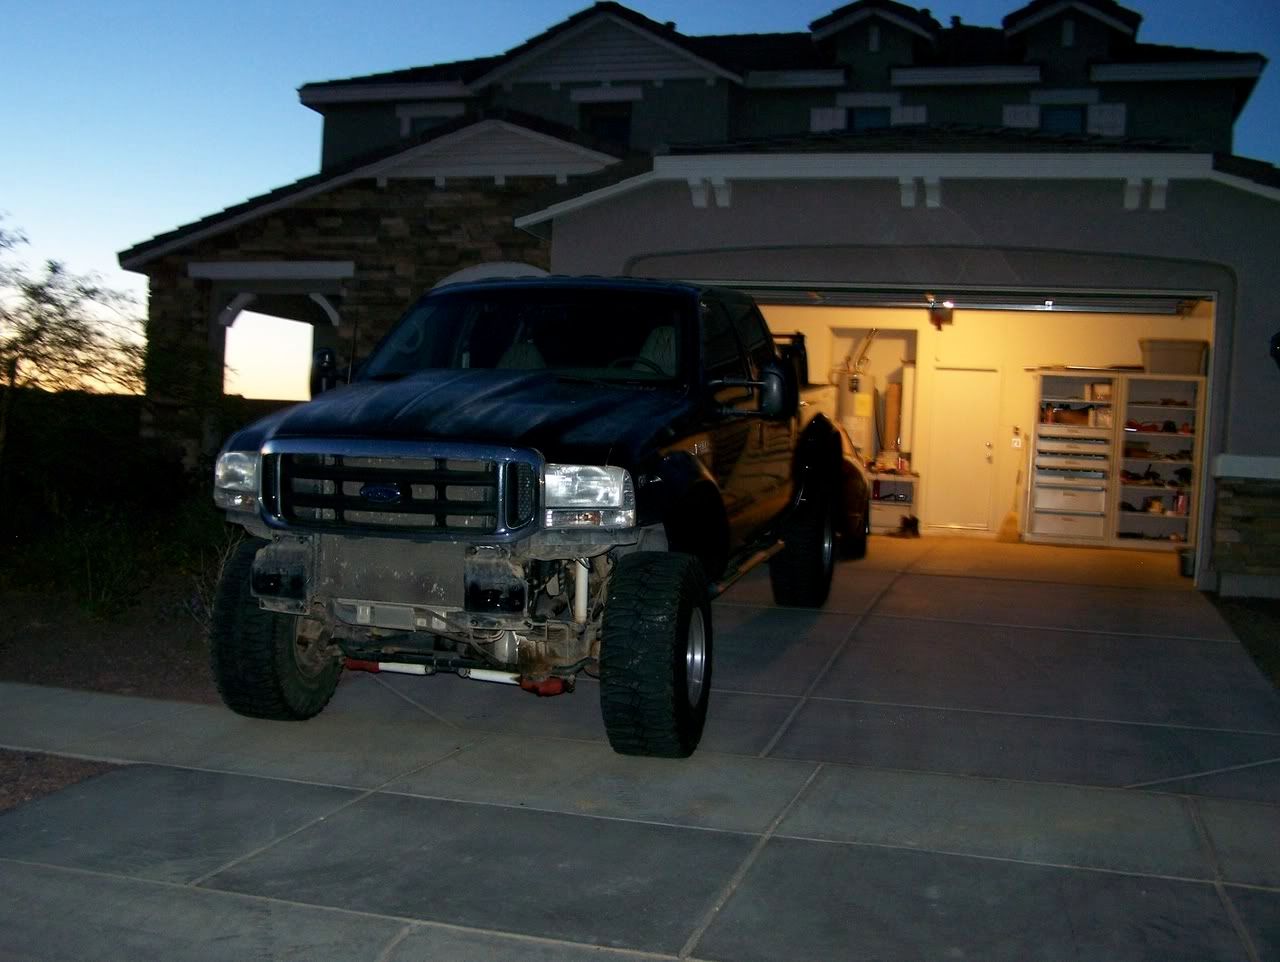
Here are the semi-completion pics (still need to cut the front bumper) Also, added in a size comparison pictures with the new 39.5x15 STS tires going on to fill out the wheel well.
Enjoy!

I finally got around to installing these bad boys this weekend. I did it by myself since it was kind of last minute with a free day. All in all, it took me about 8 hours to get all 4 flares on.
I did not take any pictures on the installation process, but I basically measured/cut/grind/mount. Pretty straight forward.
Here are the semi-completion pics (still need to cut the front bumper) Also, added in a size comparison pictures with the new 39.5x15 STS tires going on to fill out the wheel well.
Enjoy!
#12
04-14-2008, 10:32 PM
Join Date: Dec 2007
Posts: 82
Likes: 0
Received 0 Likes
on
0 Posts
#14
04-14-2008, 11:17 PM
Join Date: Dec 2007
Posts: 82
Likes: 0
Received 0 Likes
on
0 Posts
