When you click on links to various merchants on this site and make a purchase, this can result in this site earning a commission. Affiliate programs and affiliations include, but are not limited to, the eBay Partner Network.
If you are not able to get two fingers on the nut and washer use contact cement to stick the nut to your finger and the washer to the nut.
Contact cement like you use on weatherstrips, right? Not super glue ! I have visions of some poor guy with his hand stuck to a nut up inside the door and his wife has to call 911 to get him loose.
Great thread, took a while to read thru. My tip is back to post on bending sheet metal. There's a tool that sheet metal workers use to make 1/4, 1/2 and 3/4 bends in metal. Tool has measurements built in. Two sizes are 4" and 8" wide and work like pliers. Will try find picture.
Great thread, took a while to read thru. My tip is back to post on bending sheet metal. There's a tool that sheet metal workers use to make 1/4, 1/2 and 3/4 bends in metal. Tool has measurements built in. Two sizes are 4" and 8" wide and work like pliers. Will try find picture.
I just bought one of these inexpensive sheet metal benders at HF. It looks like it would work on 18 gauge or less. Not sure about 16 gauge?
Somewhere on this forum I think that I posted a lesson that I learned the hard way (is there any other way with these old trucks?) about installing inner wheel seals on a CPP disc brake conversion kit. But I can't find it now.
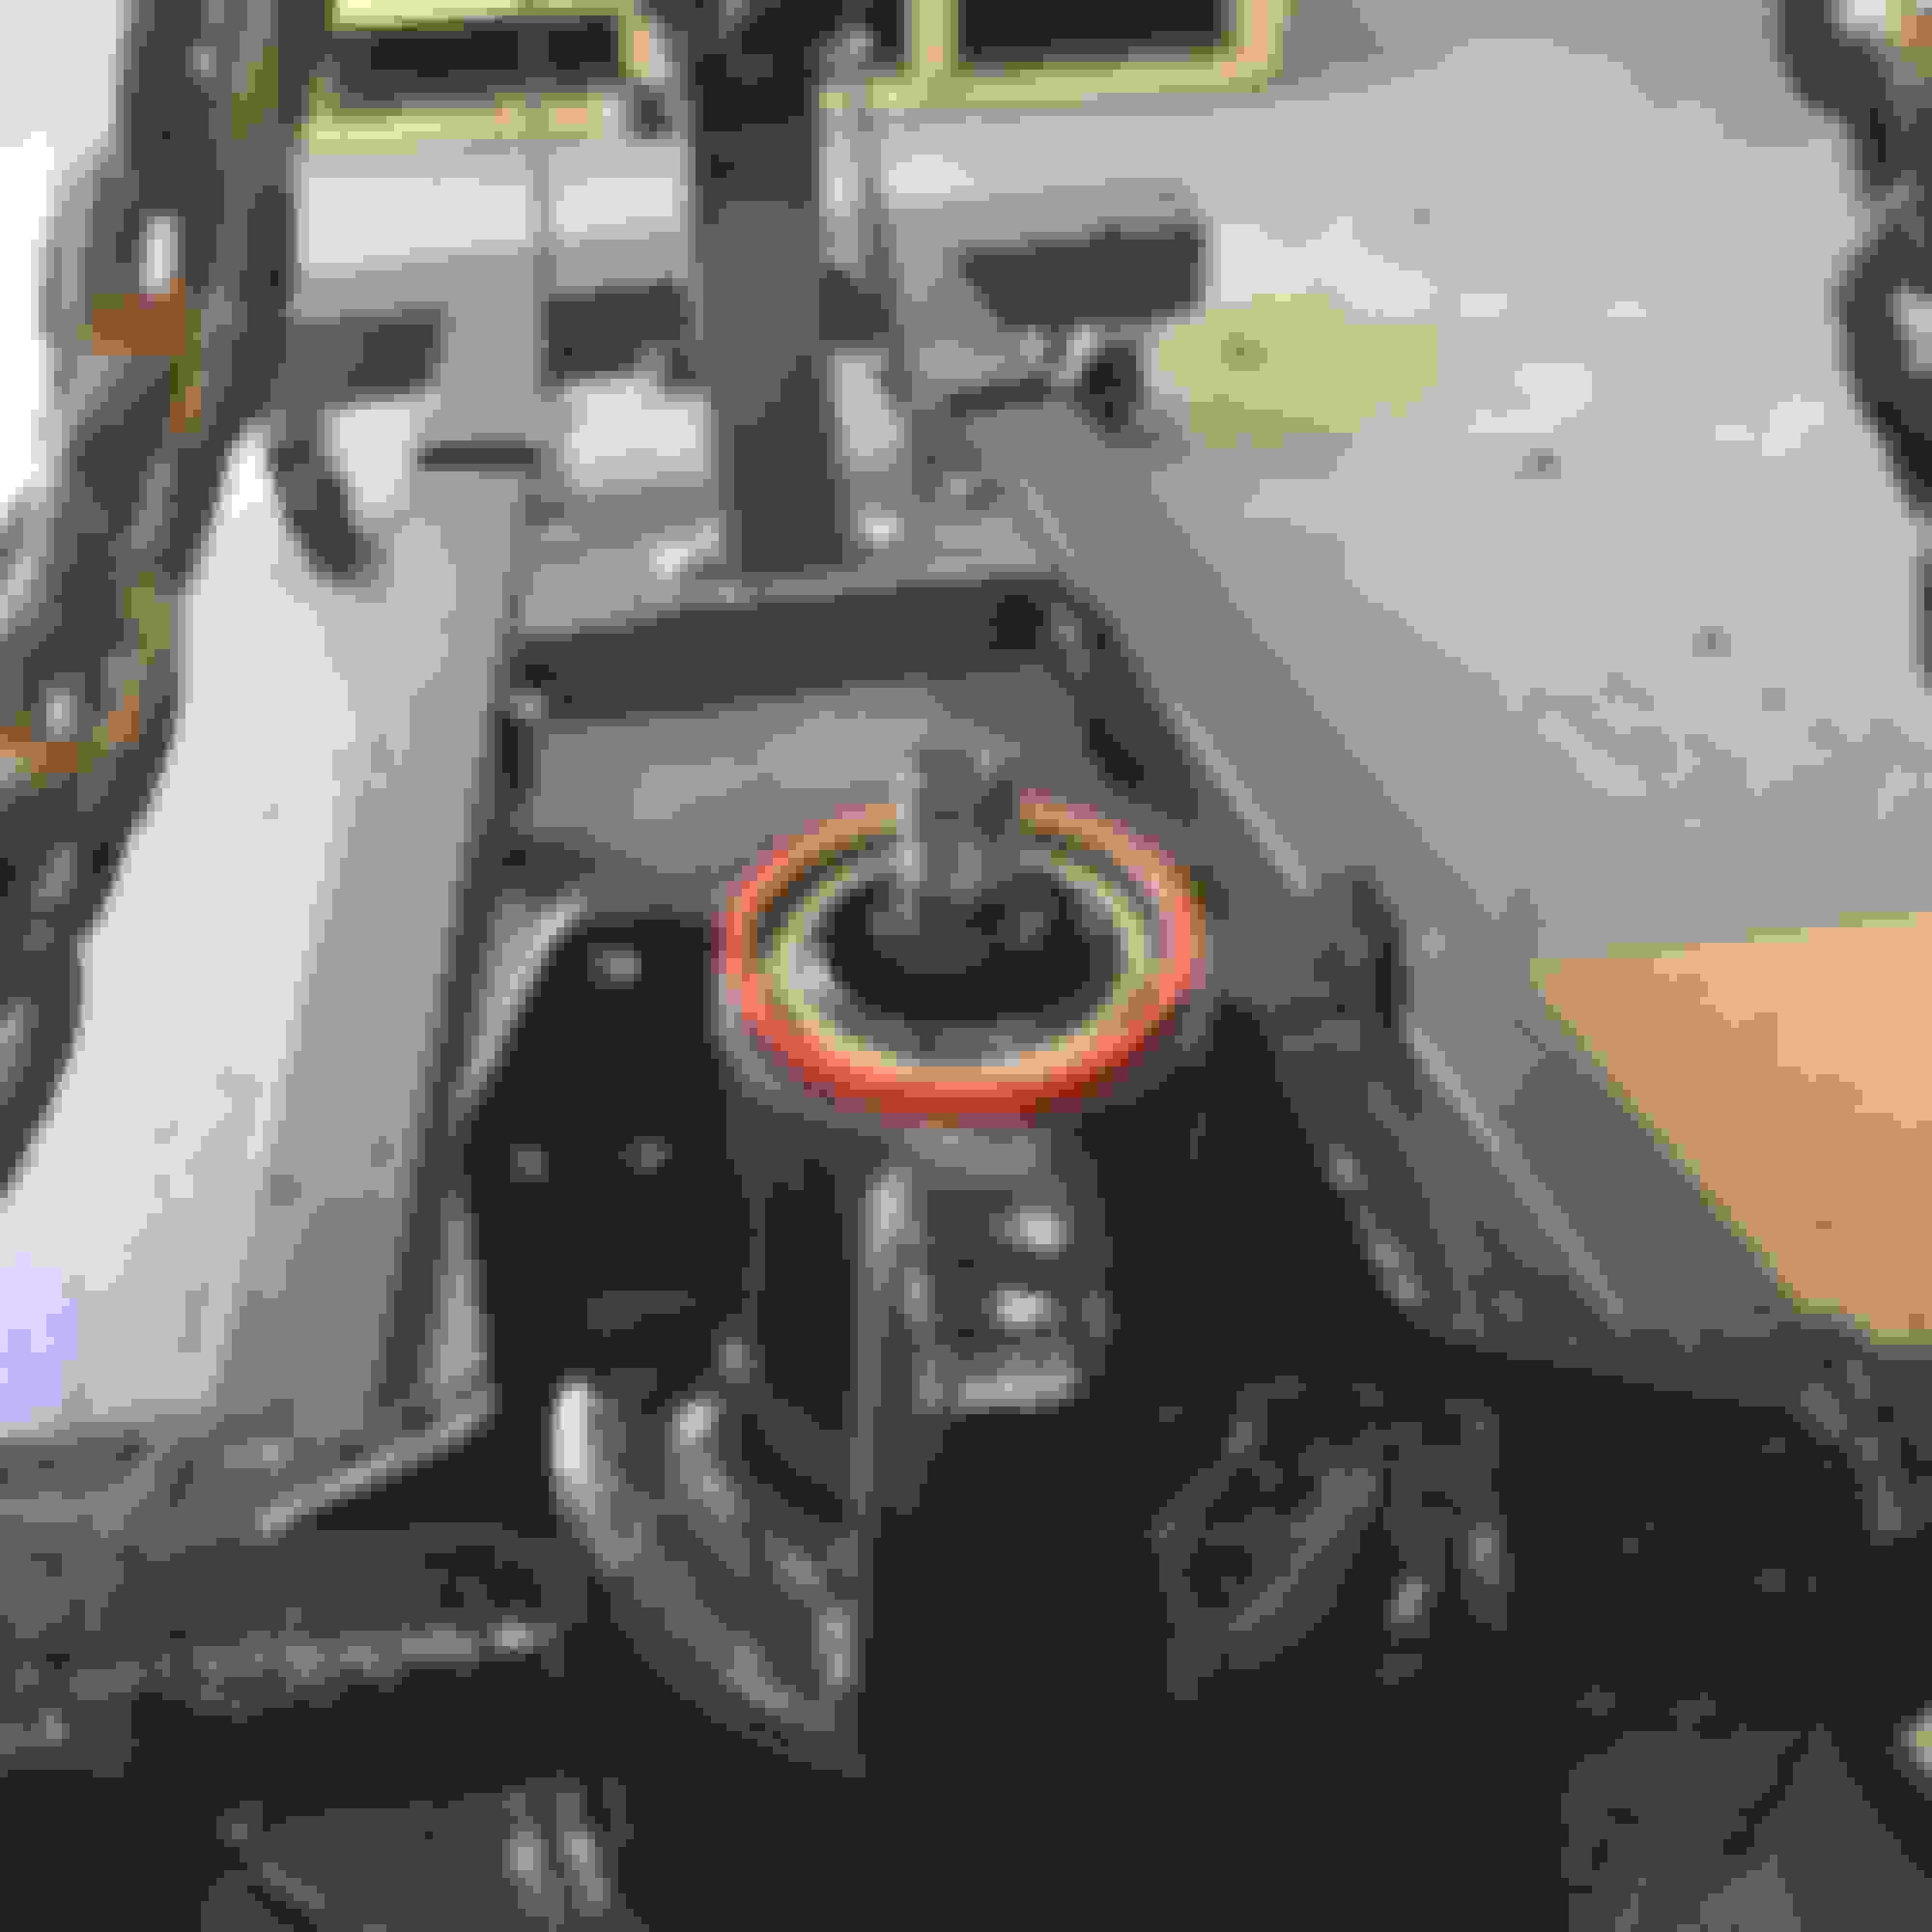
When I went to replace the pinion seal on an 8.8" Ford rear axle that I just reconditioned I realized that the pinion seal looked very similar to the previously experienced inner wheel grease seals and that the pinion opening was not chamfered which make installing the seal without damage difficult.
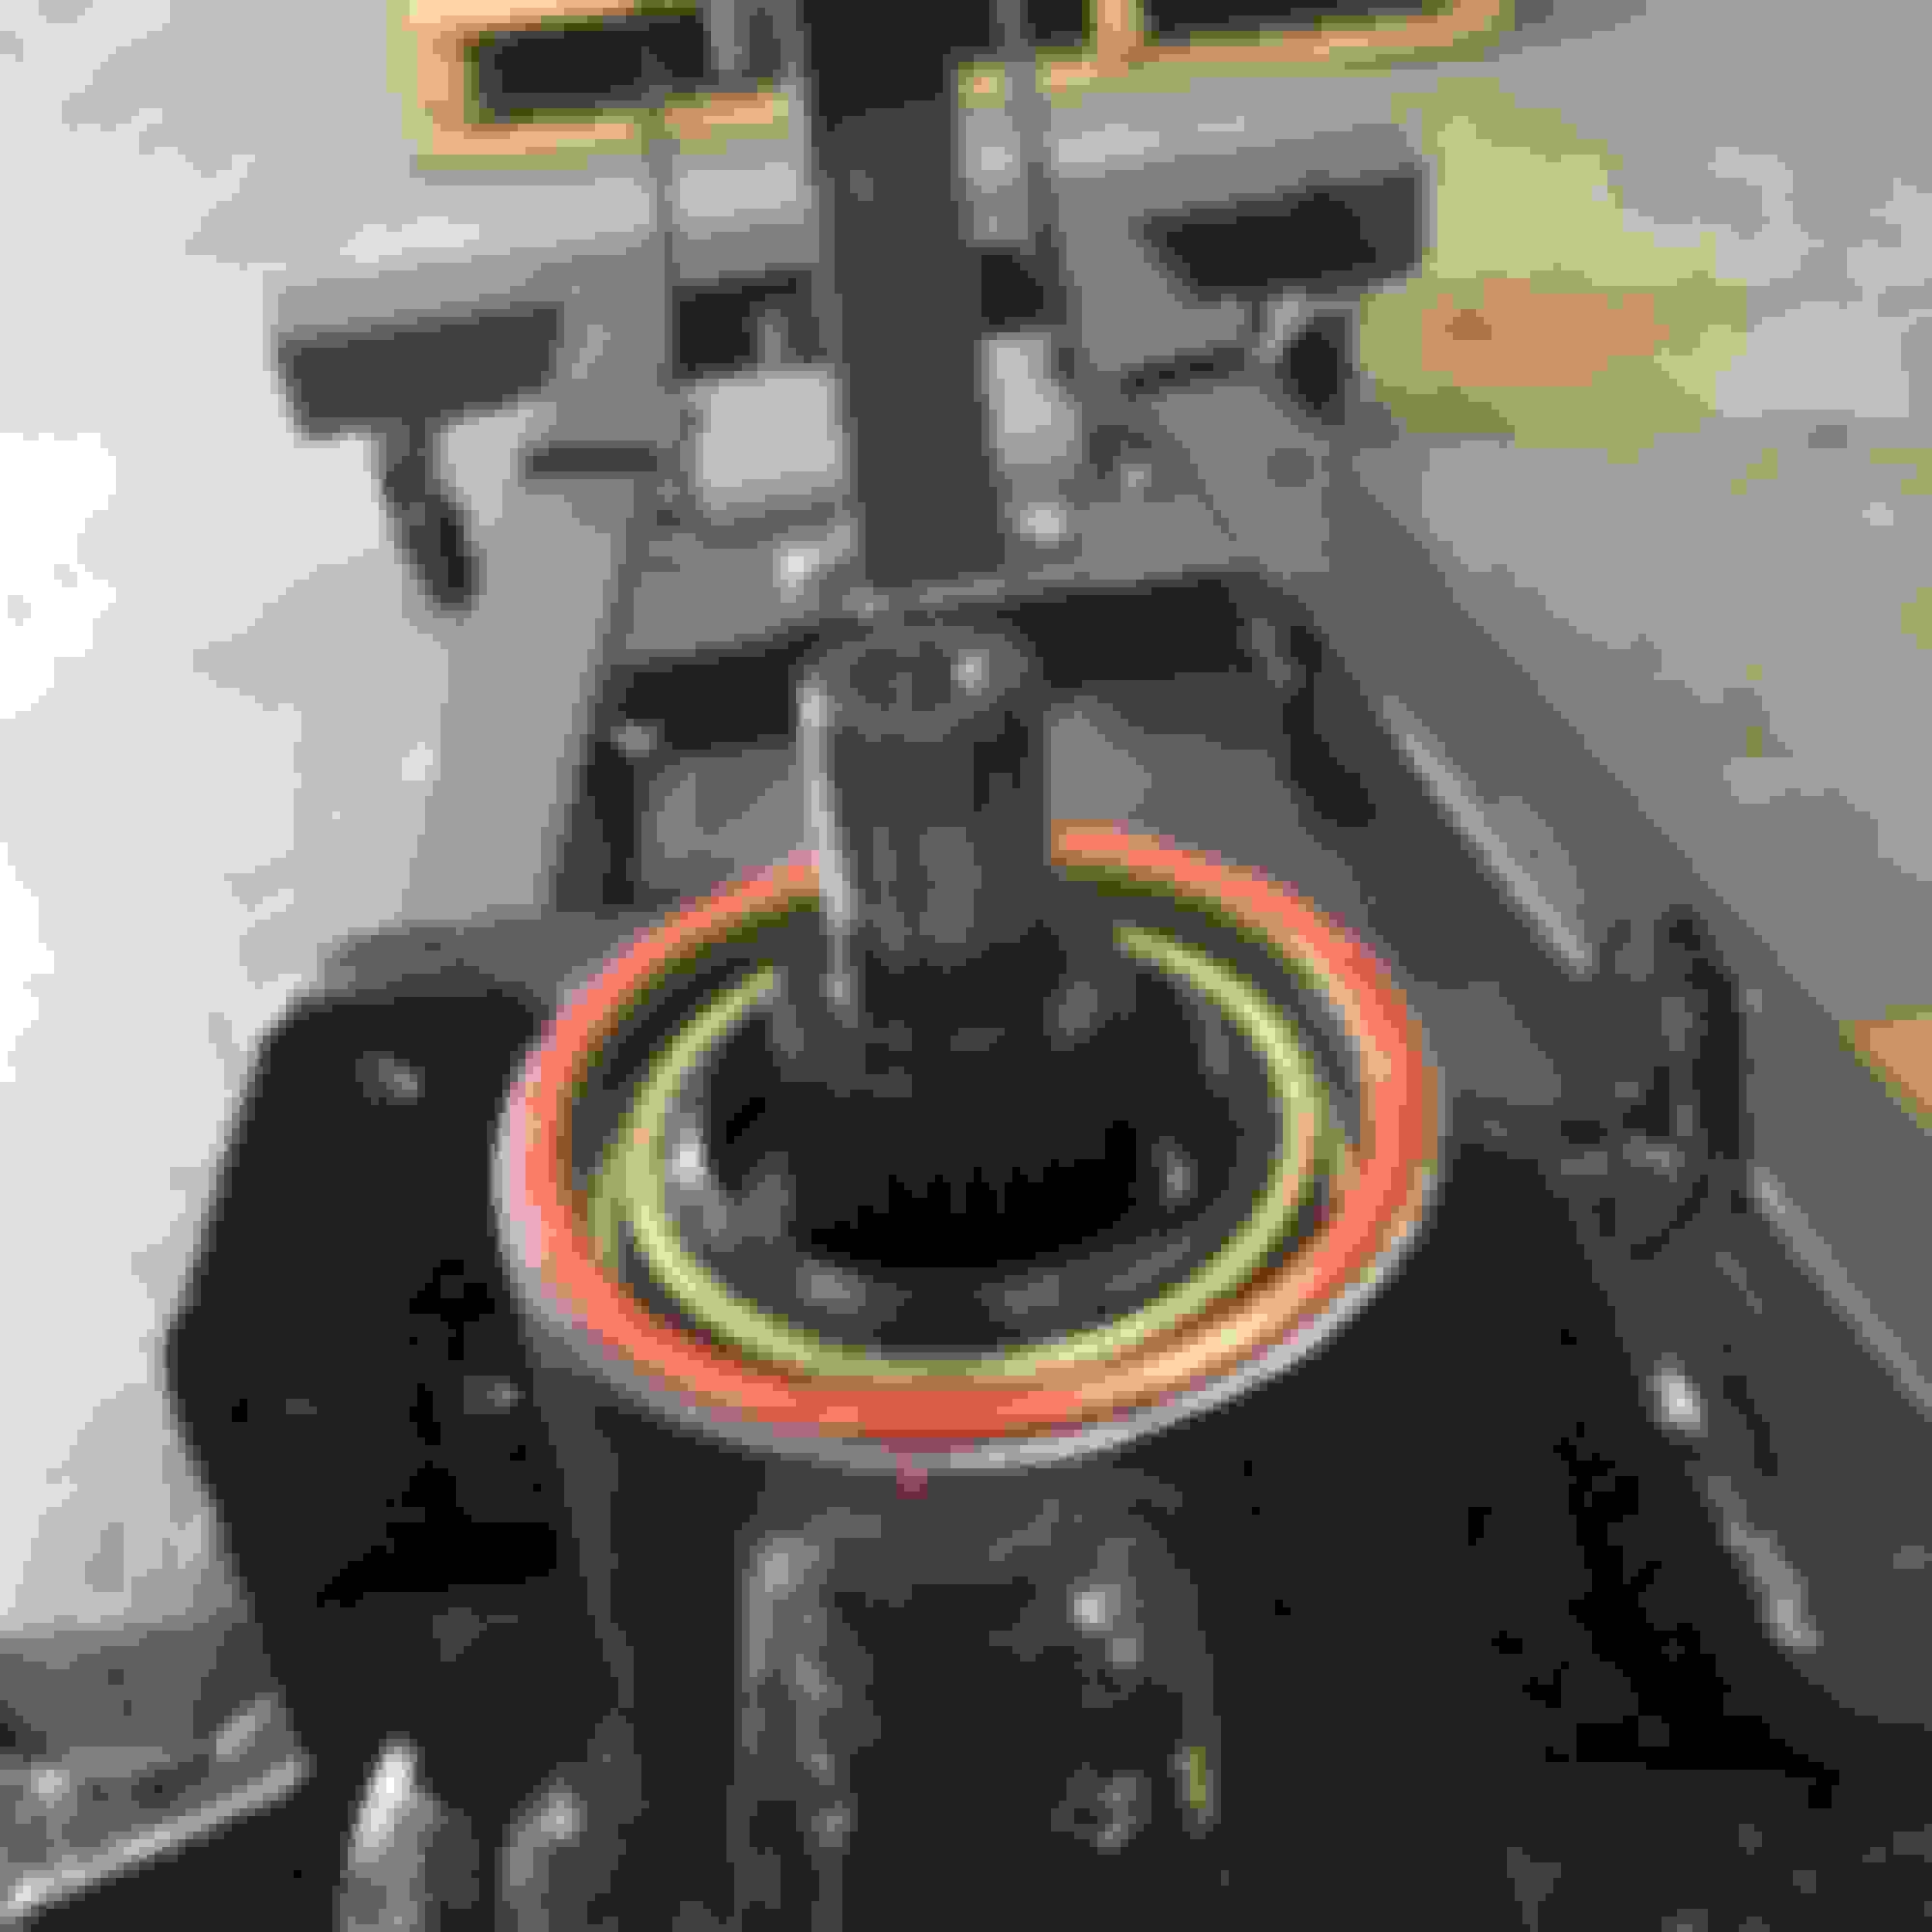
So I chamfered the lip of the opening slightly and the seal went in without damage. Here are some pictures as I know everyone likes pictures.
Square inner lip makes seal installation difficult
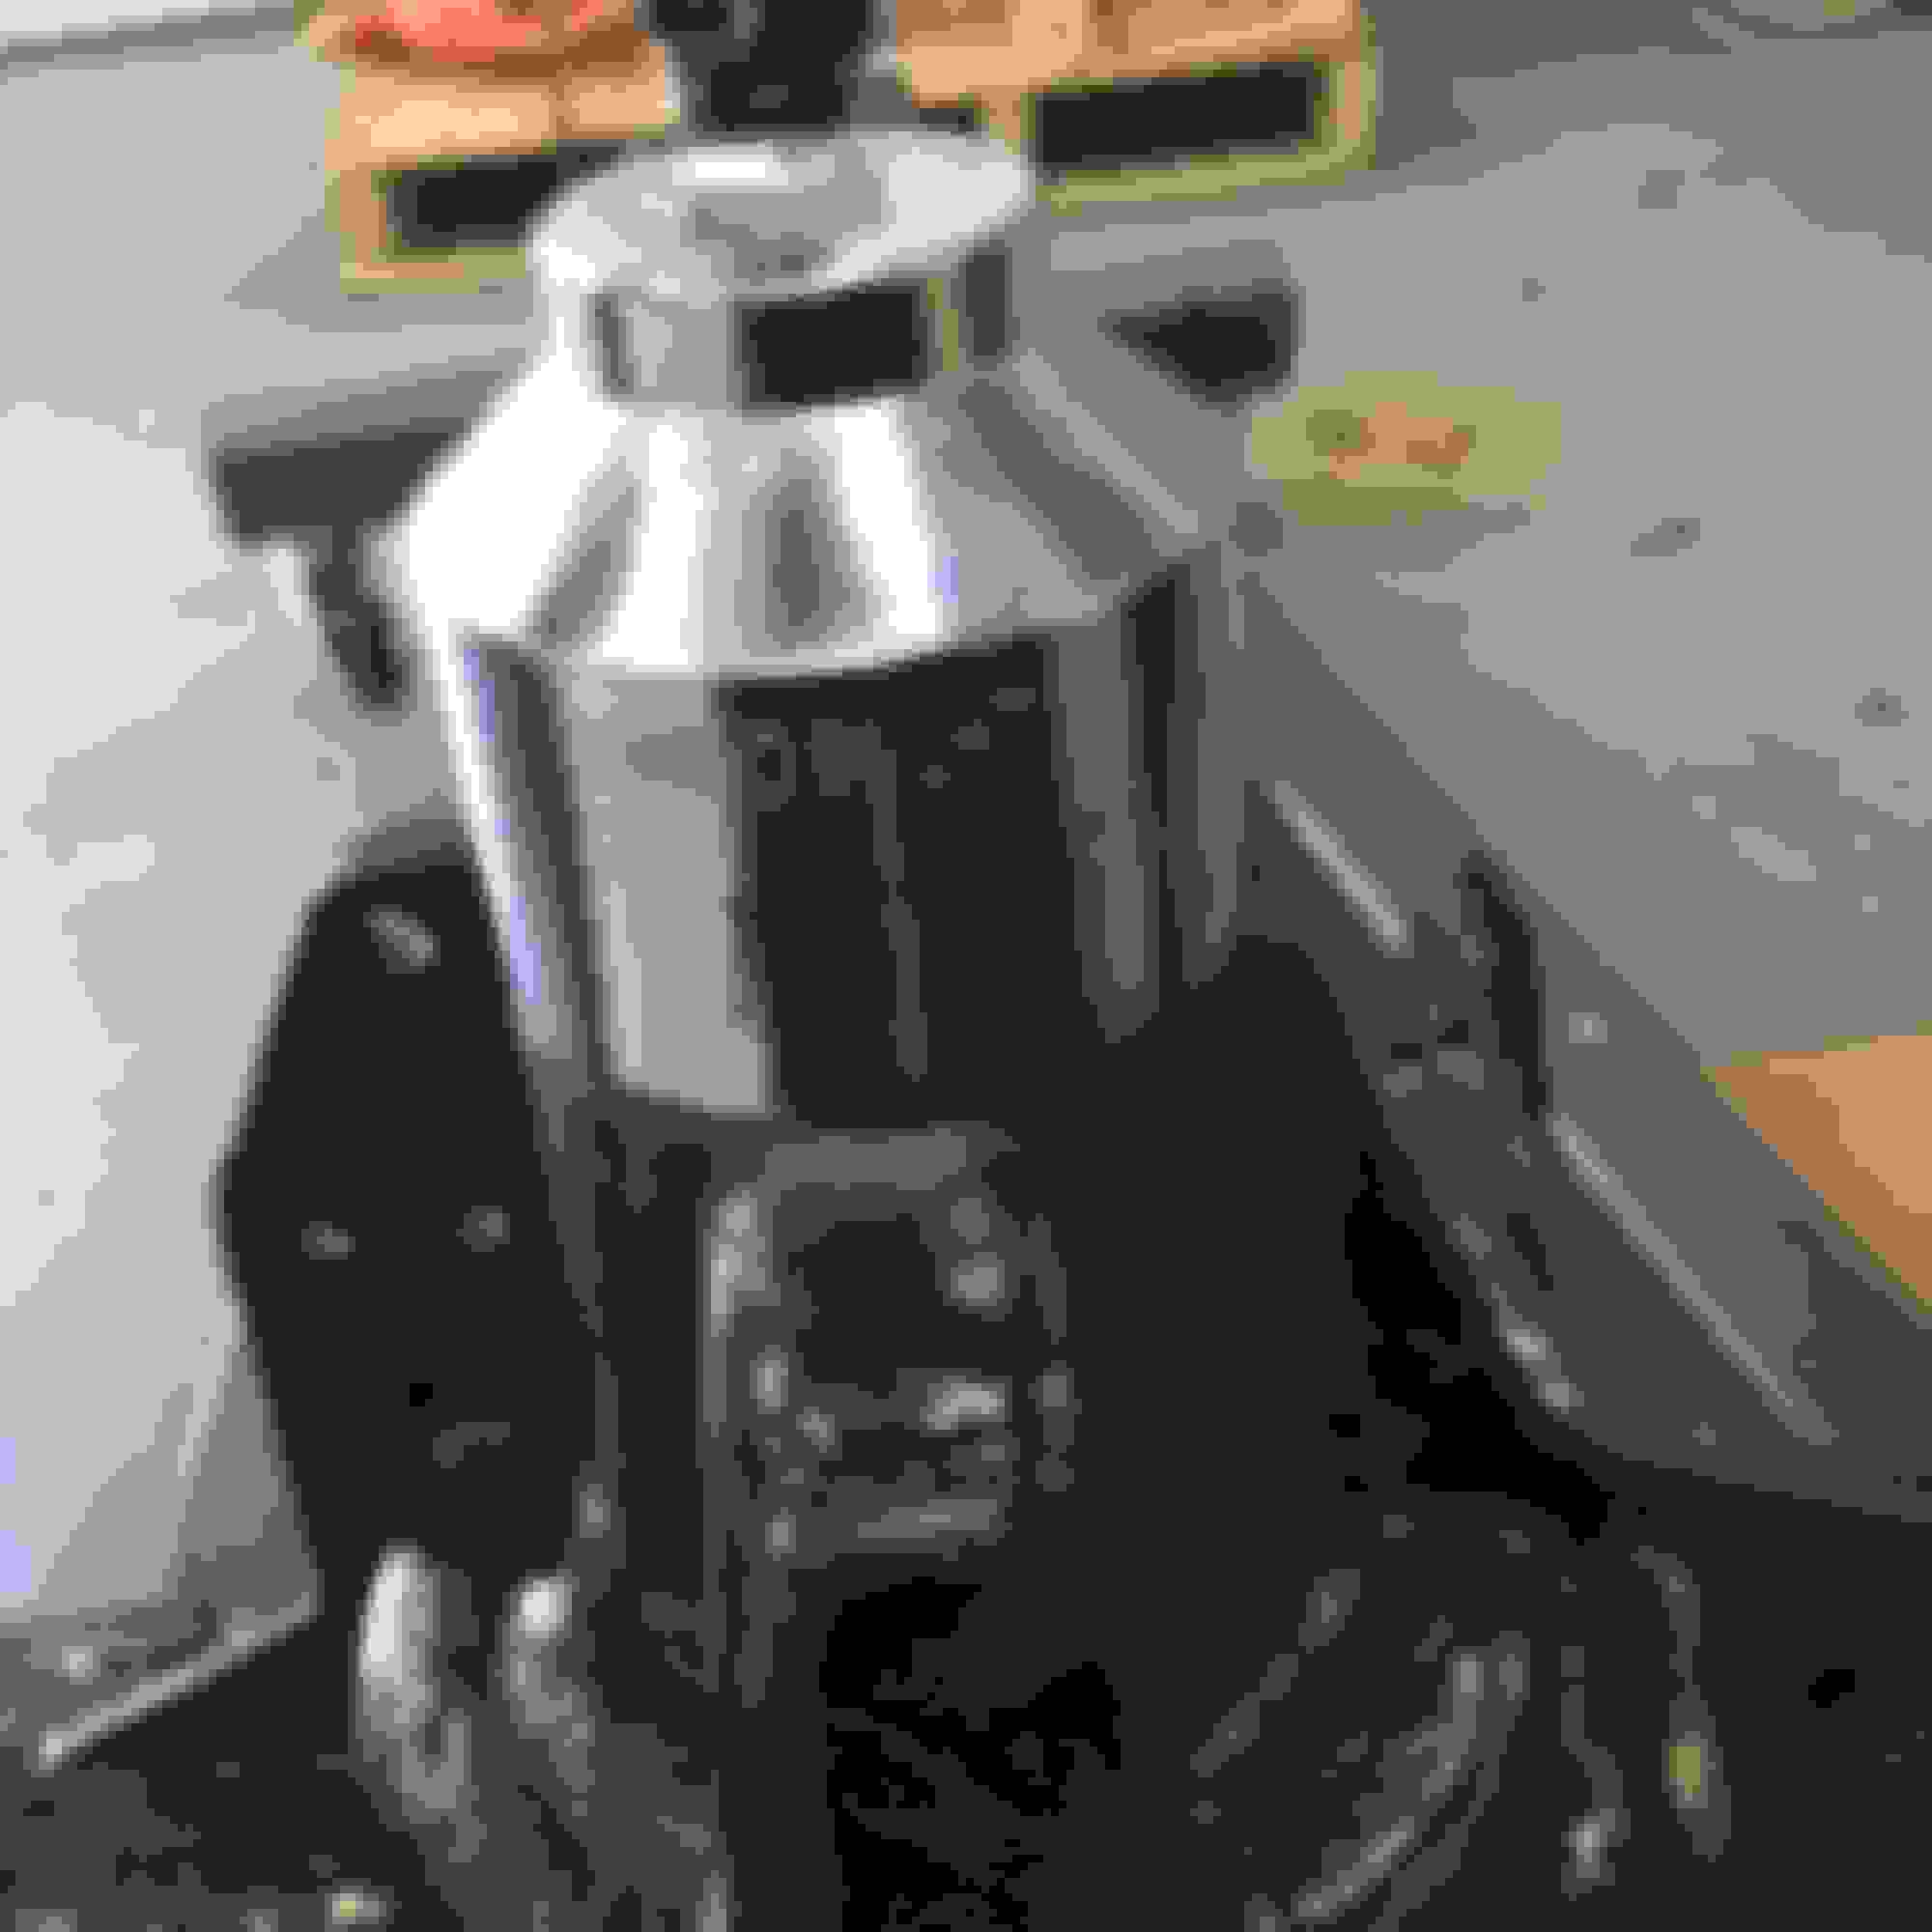
I used a Dremel tool to just slightly chamfer the edge.
Seal before installation.
I didn't have nice Kent Moore pinion seal installer so I bought a cheap 2 7/16" drive for $15 which fit perfectly.
What did you do about tightening the pinion nut? Count the turns when you took it off, tourque it,???
This axle has a solid shim for preload vs a collapsible collar. I'm going to check it with the old school method of white lead to make sure that the pattern is correct. I have a Ford bulletin on this if anyone is interested.
Here's a simple tool for locking the flywheel for torque'ing the flywheel bolts or pressure plate bolts. This is for a flat V8 but a similar trick would work on almost any engine.
I took a piece of 1-1/4 x 1-1/4 x 1/8" angle iron and drilled a hole about 2" from the end. Because I was using a piece of scrap angle iron, I actually had to drill two holes, each 2" from the end (I judged that to be easier than sawing the piece to 4"). A short 7/16" bolt clamps it to one of the well-supported block-to-bellhousing holes at the top of the block. The piece tips down so that it engages the starter ring gear teeth at no more than a 45-deg angle. Rotate to tighten FW bolts.
Well I was fighting getting my stick shift back in my NP435 transmission. I tried pushing down with my hands, screwdrivers and twisting but with no luck. This went on for an hour. I couldn't hold it down and twist the ball in place. Well finally I set my channellocks over the cap. I push down on both ends of the channellocks, twisted and wallah it was in. The rubber on the handles grip the cap just enough to hold it and twist it. The dang thing was in place in less than two seconds. I mean I faught this thing for a whole hour then boom it was in. here is a pic of how I placed the pliers. Don't know if anyone else ever done this, but man it works and it works good.
 01-30-2016, 02:46 AM


 I have visions of some poor guy with his hand stuck to a nut up inside the door and his wife has to call 911 to get him loose.